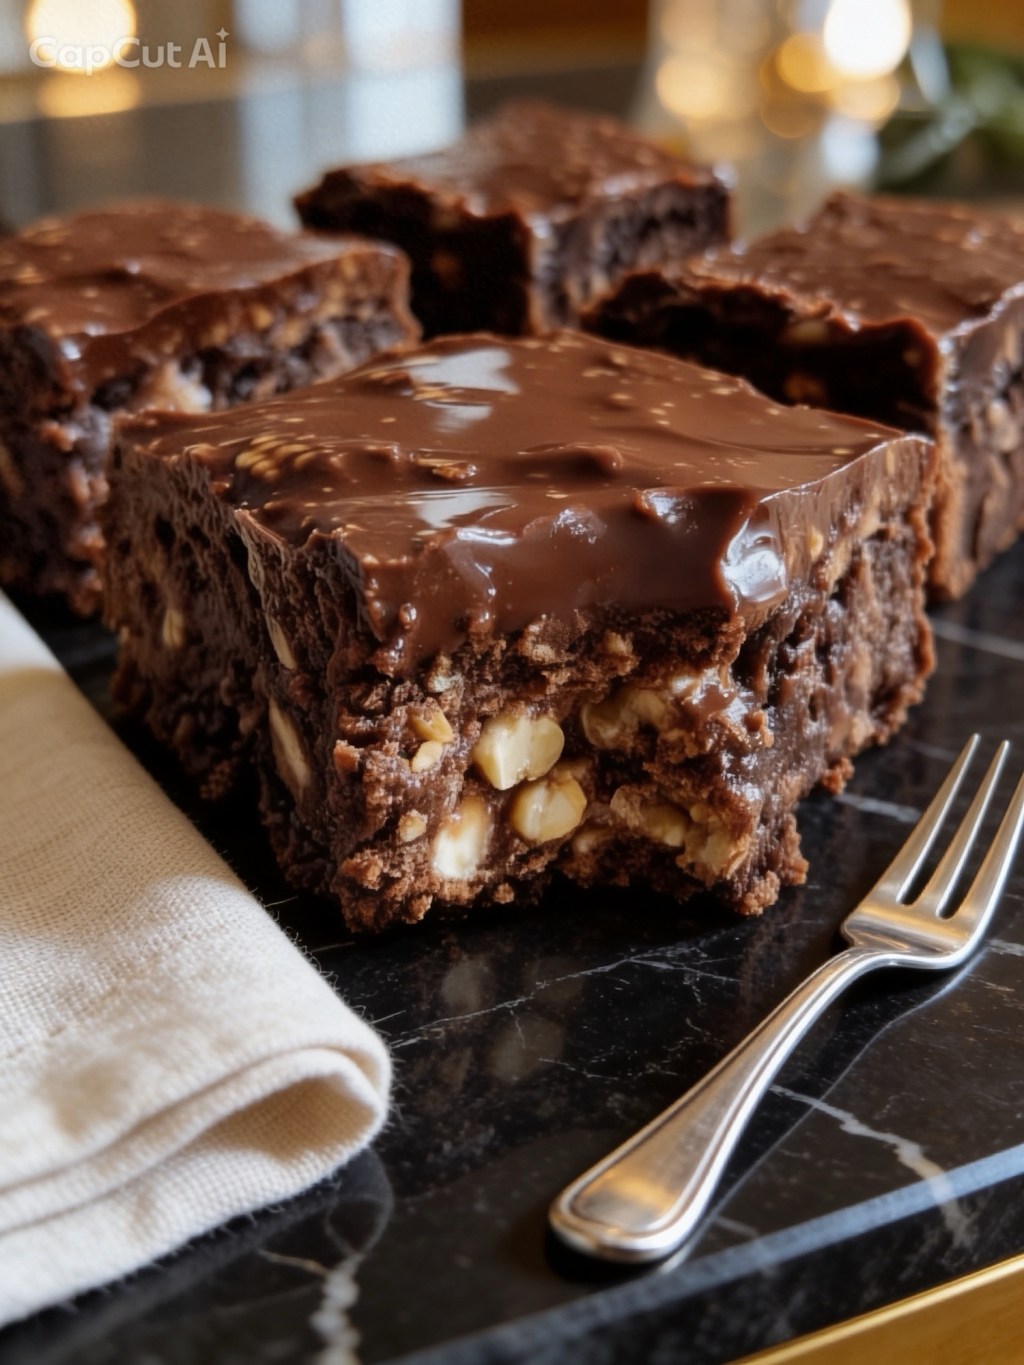
If you are looking for a brownie that is thin, cakey, or has a messy, liquid-caramel center that pools all over your plate, you’ve come to the wrong place.
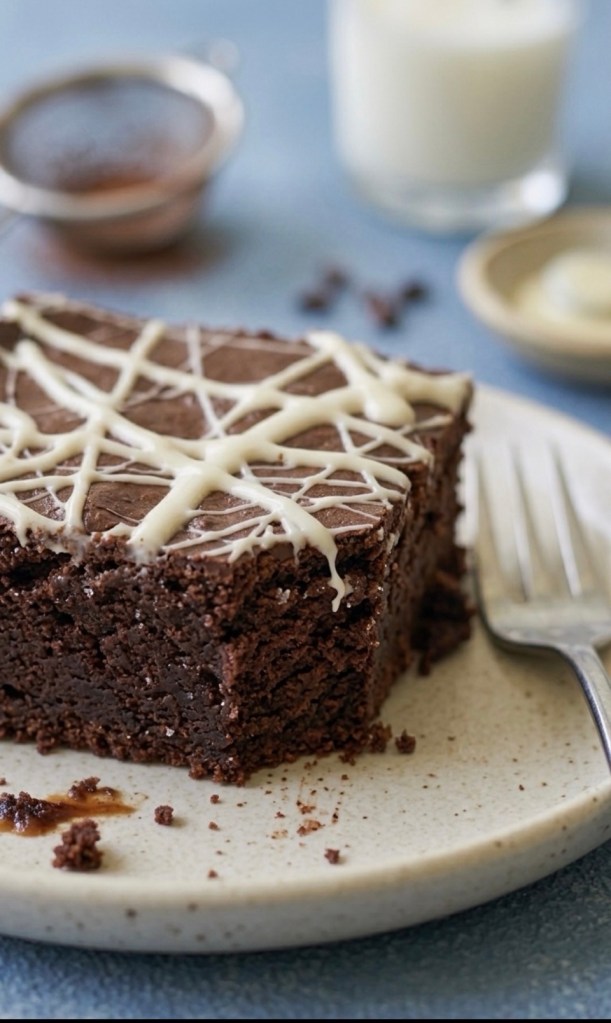
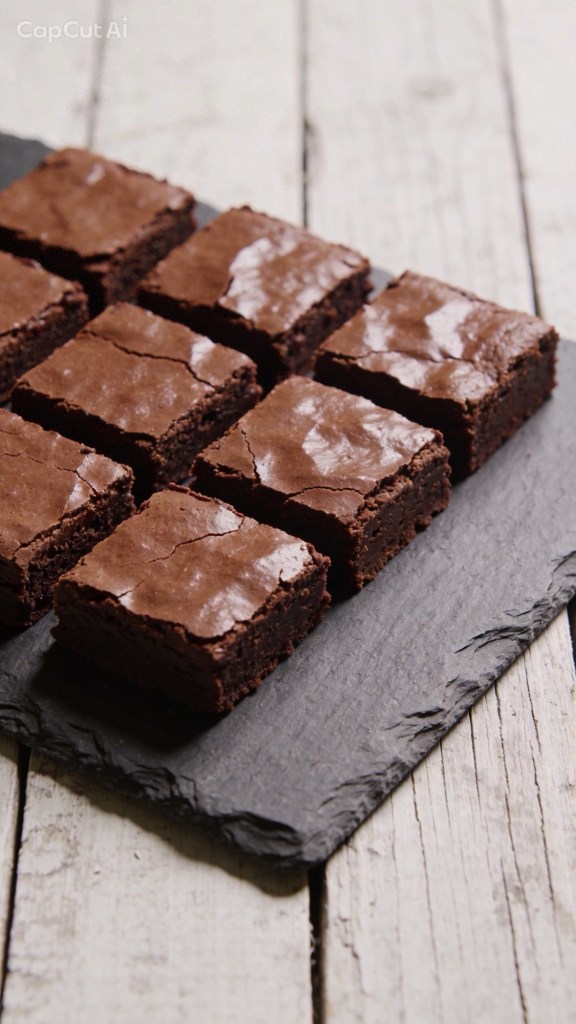
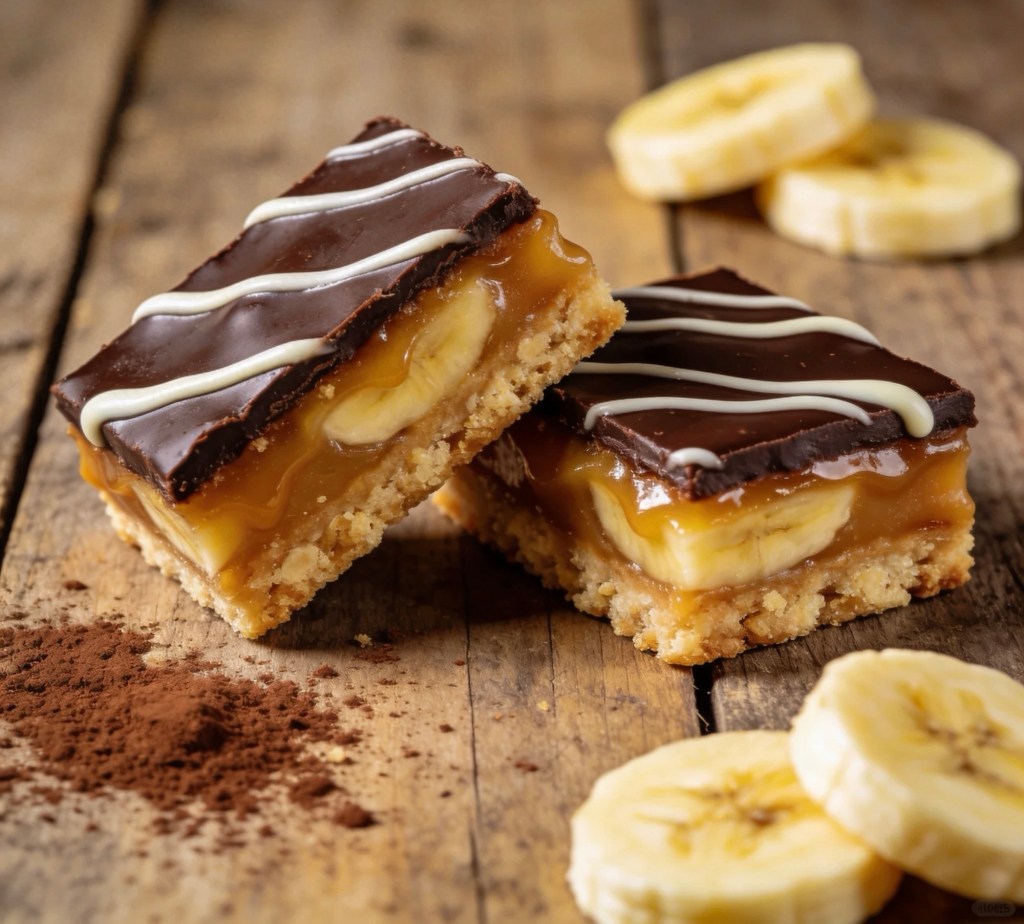
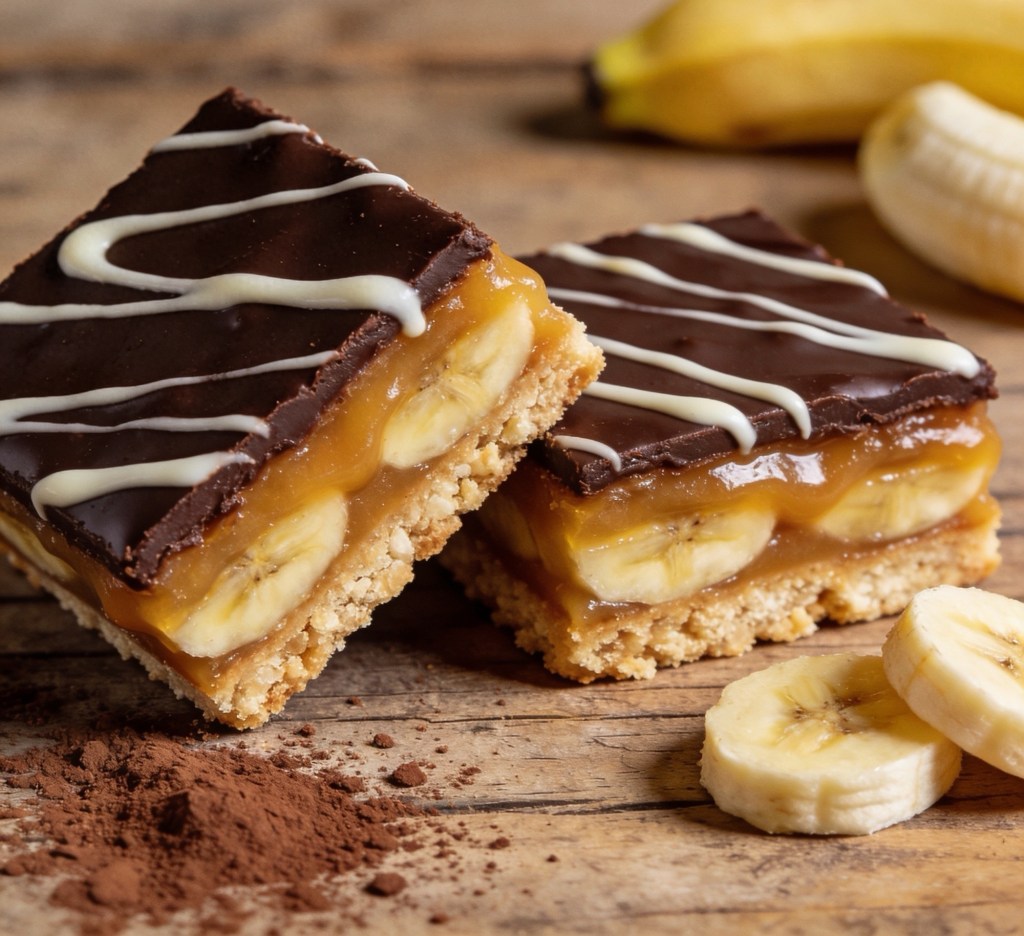
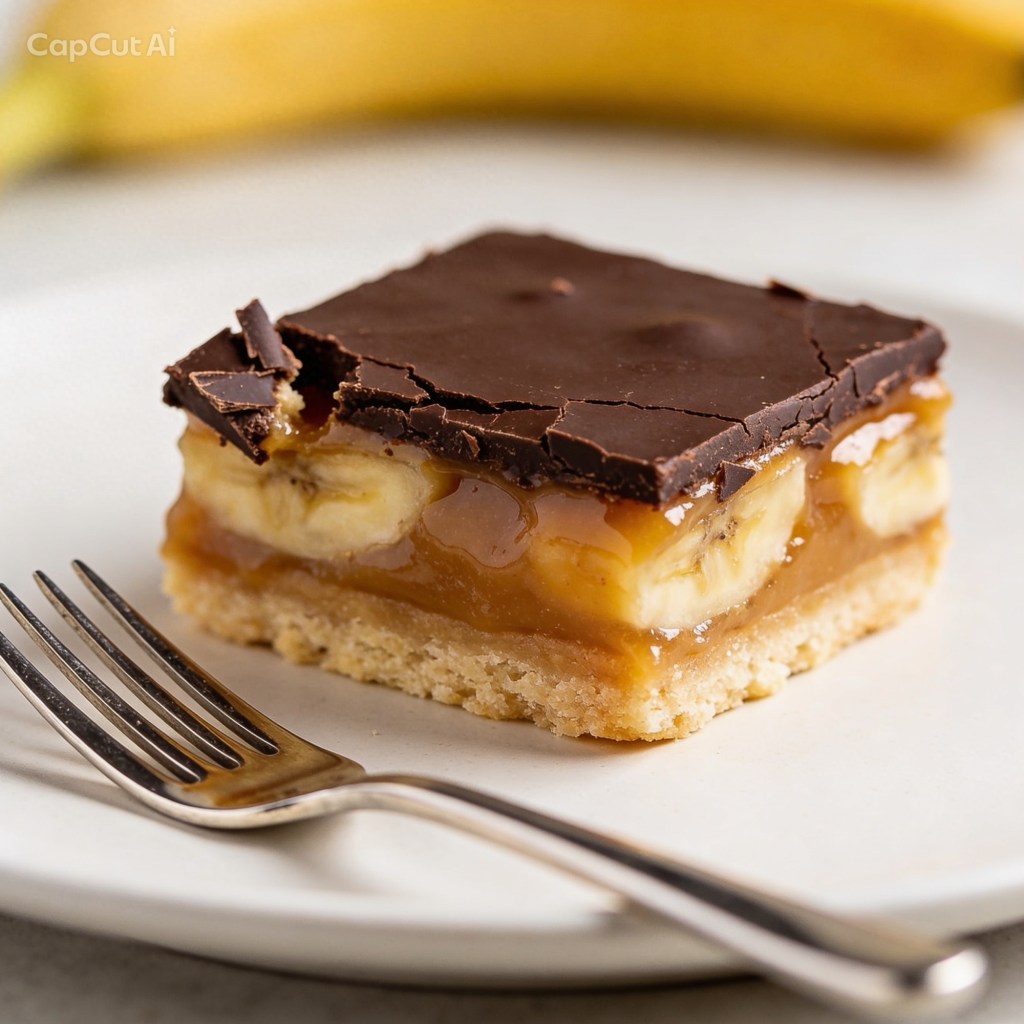
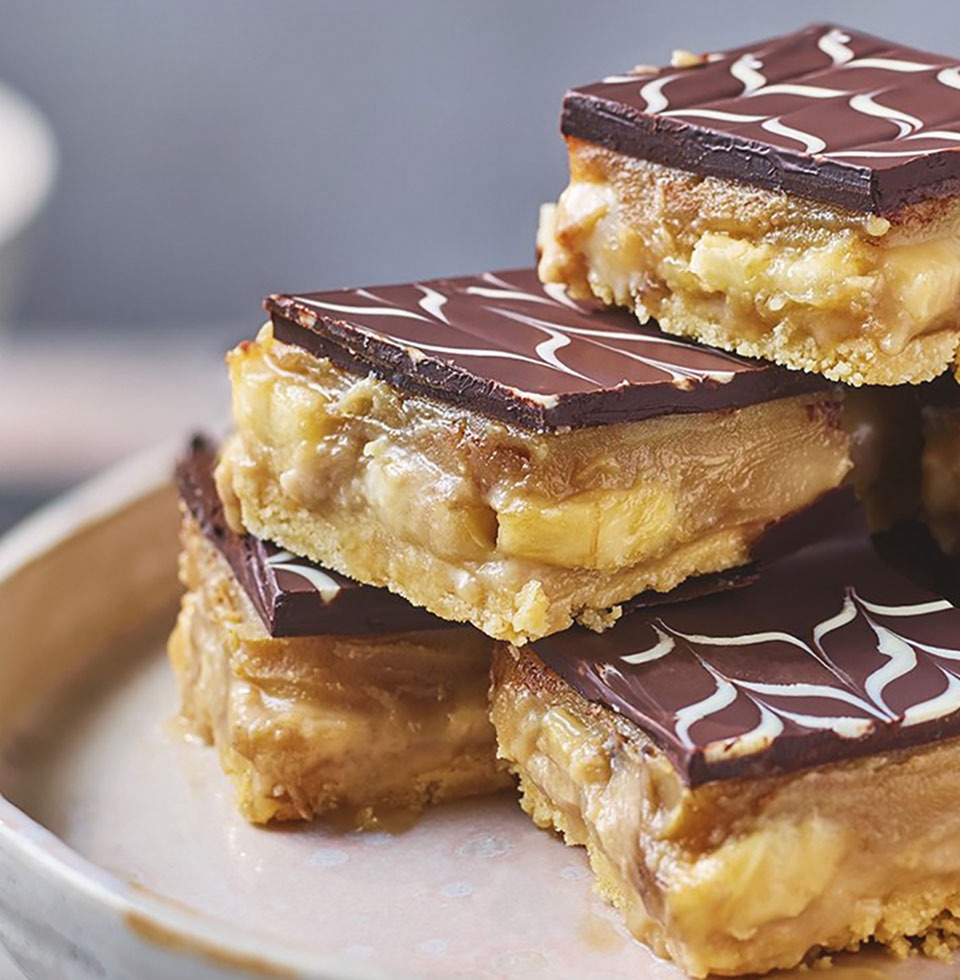
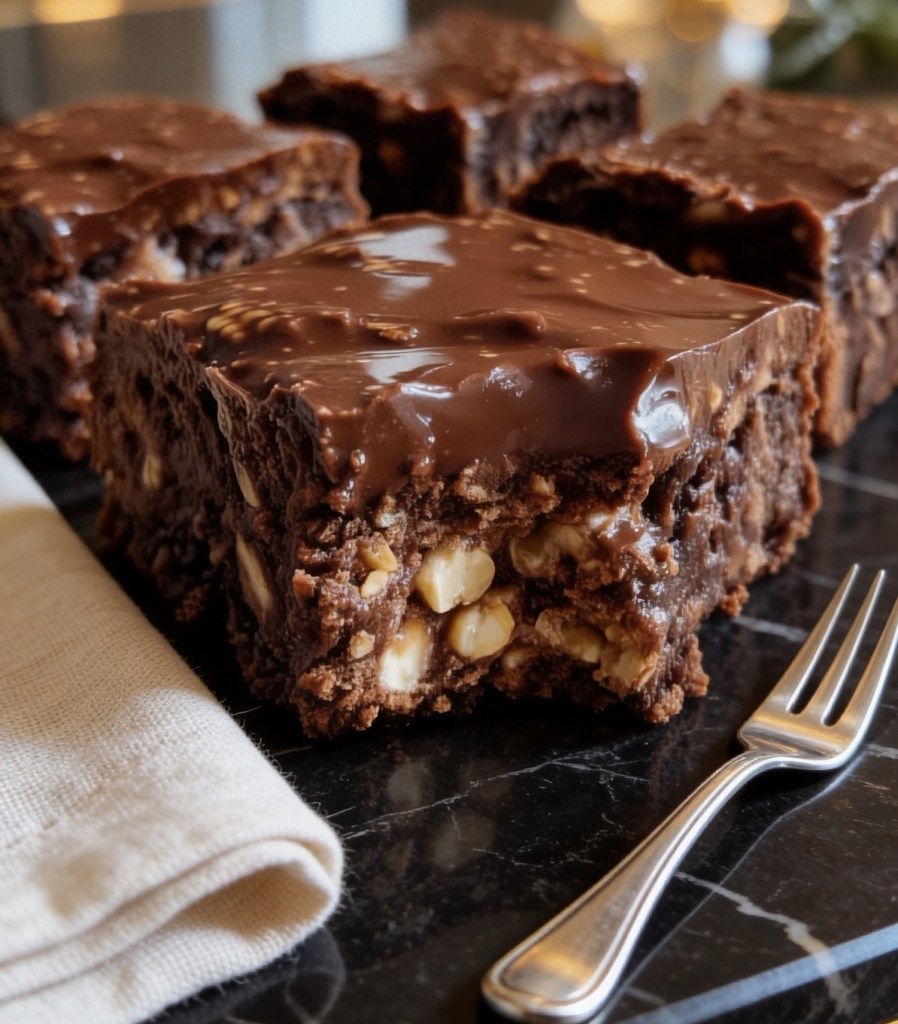
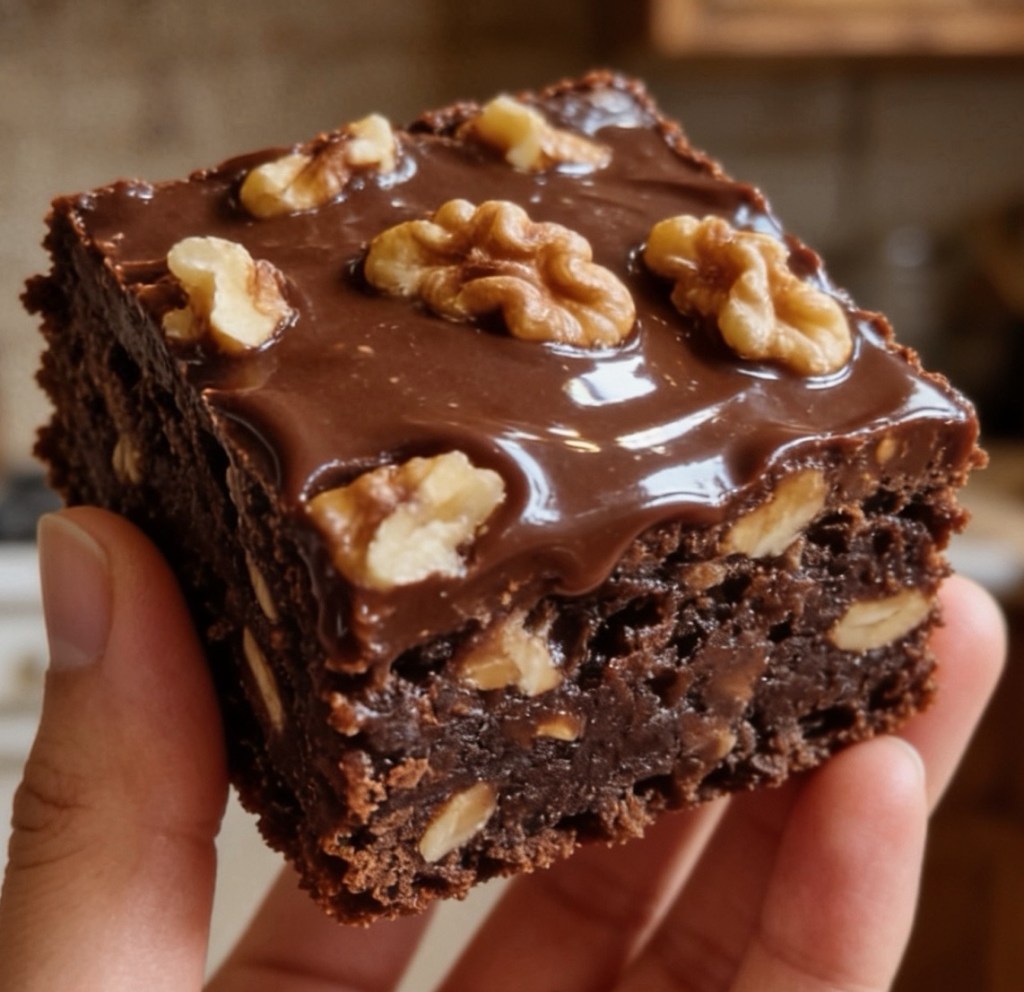
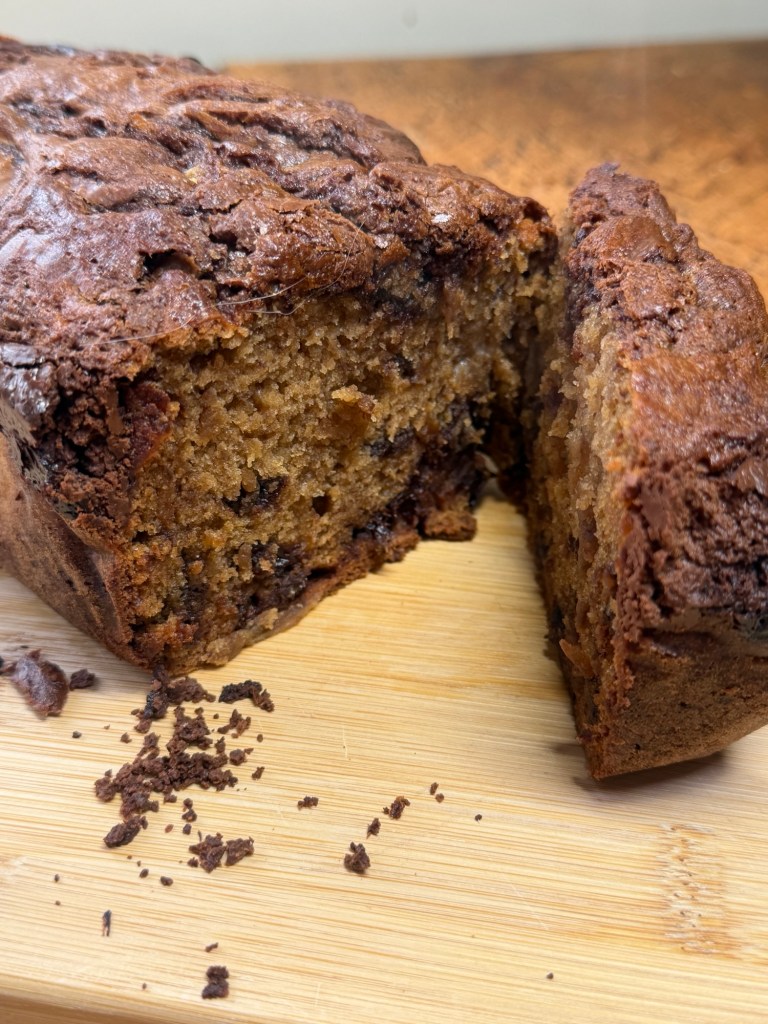
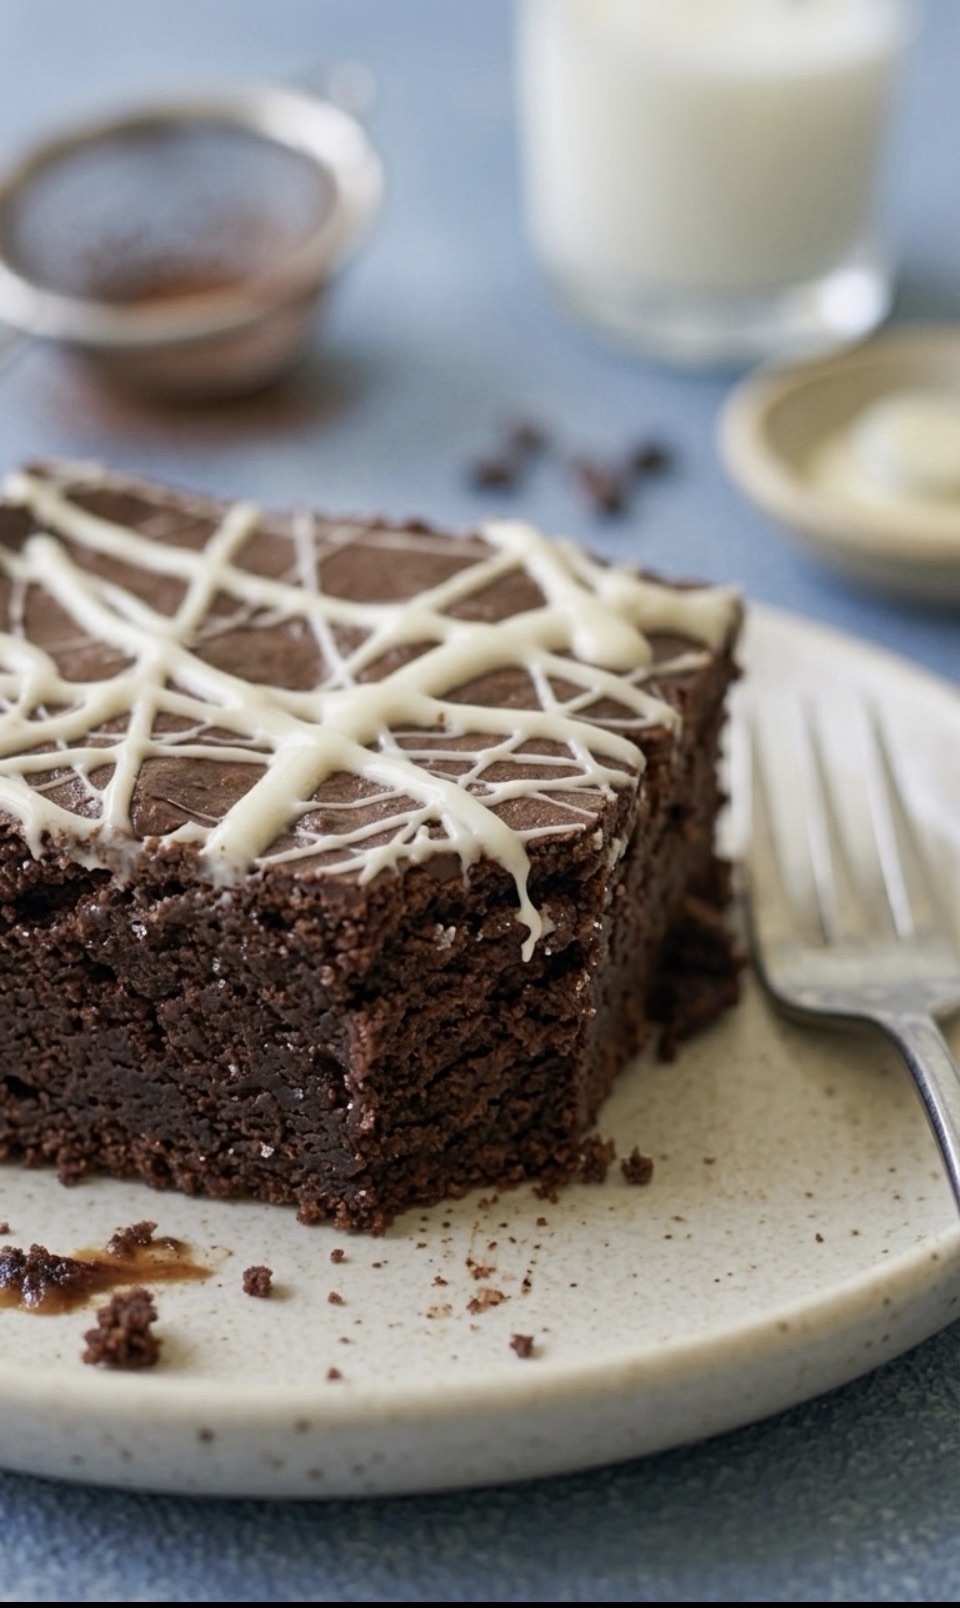
These are the ultimate fudgy salted caramel brownies. They are dense, incredibly rich, intensely chocolatey, and feature a layer of homemade salted caramel that bakes directly into the brownie crumb. The result? A perfectly chewy, cohesive bite that doesn’t collapse into a puddle. Finished with a striking white chocolate spiderweb drizzle, these brownies look like they walked straight out of a luxury bakery window.
Whether you’re baking for a weekend treat or looking to impress on social media, this foolproof recipe delivers every single time.

Why You Will Love This Recipe
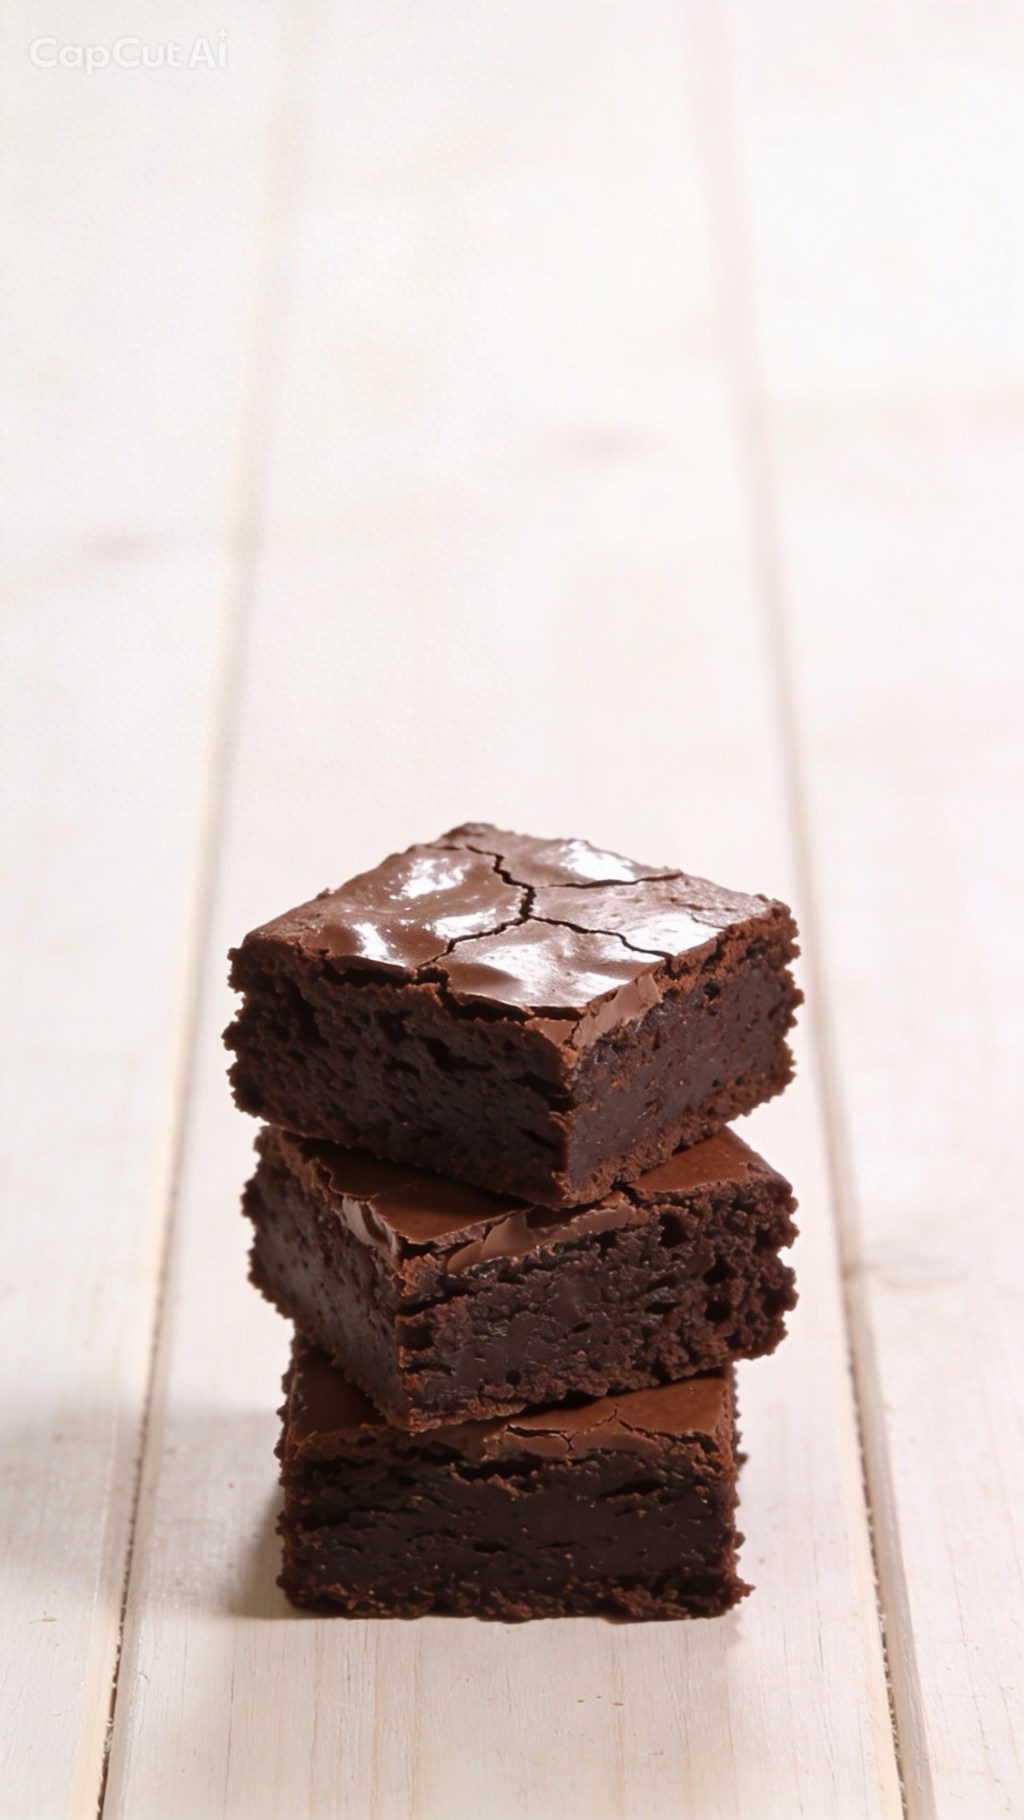
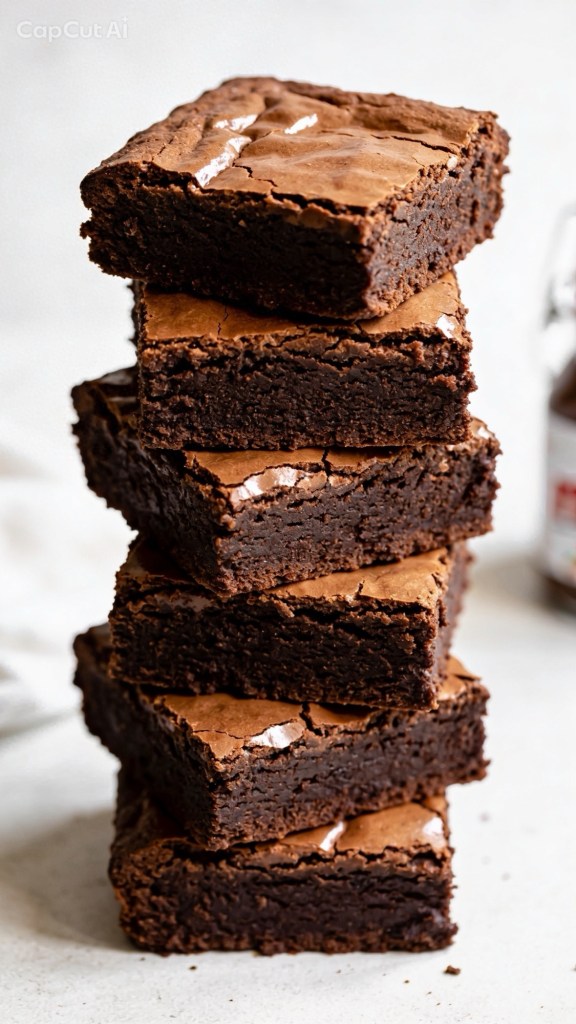
The Perfect Texture: No cakey layers here. Thanks to a high ratio of chocolate and butter to flour, these brownies are dense, fudgy, and satisfyingly chewy.
Baked-In Caramel: Instead of a runny, messy middle, the homemade caramel merges with the batter during baking to create an ultra-decadent, chewy caramel layer.
Striking Presentation: The intricate white chocolate drizzle contrasts beautifully with the dark chocolate crust, making it highly photogenic (and even more delicious).
The Secret to Fudgy Brownies
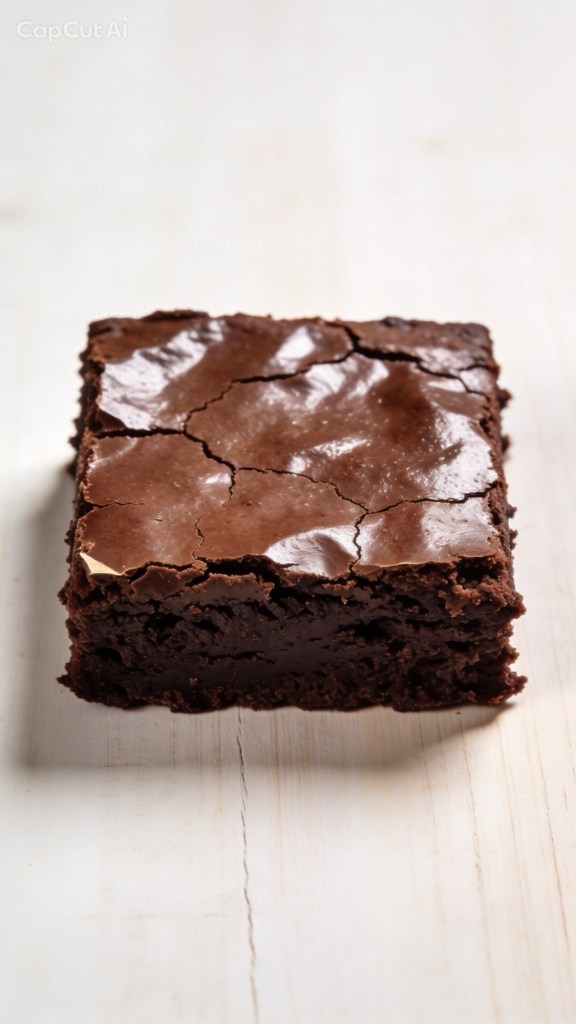
The secret to achieving that coveted, dense, crinkle-top brownie lies in how you handle the eggs and sugar. Whisking the eggs and sugars together until they are pale, thick, and fluffy creates a stable foam. When the warm, melted chocolate and butter are folded in, this foam rises slightly in the oven and creates that delicate, glossy paper-crust on top, while keeping the inside perfectly fudgy.
Ingredients You’ll Need
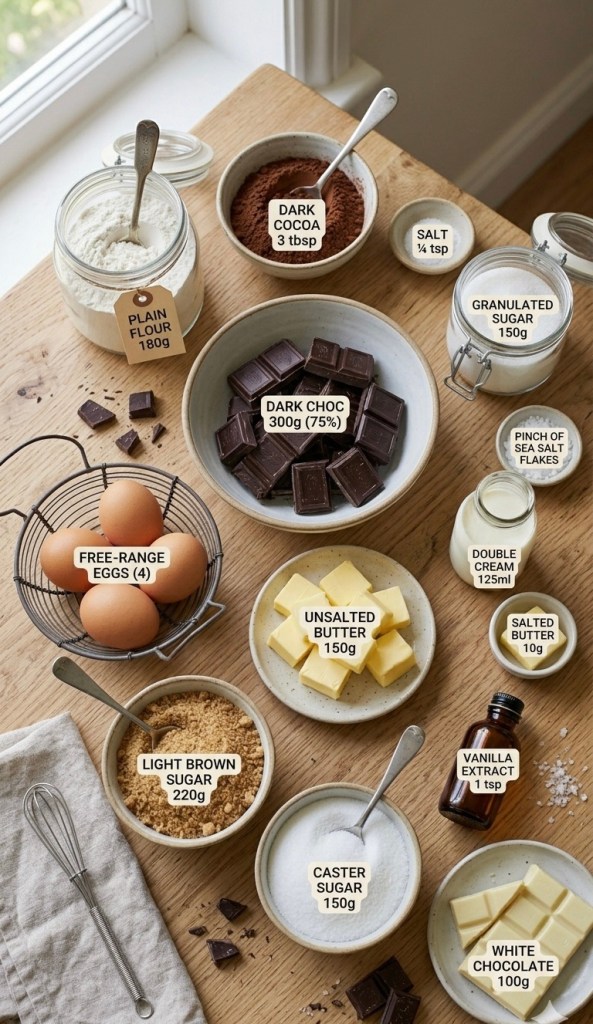
For the Salted Caramel Filling
150g (5½ oz) Granulated sugar
Pinch of Sea salt flakes
125ml (4 fl oz) Double cream
10g (¼ oz) Salted butter, softened
For the Fudgy Brownie Batter
300g (10½ oz) Dark chocolate (minimum 65-75% cocoa solids)
150g (5½ oz) Unsalted butter
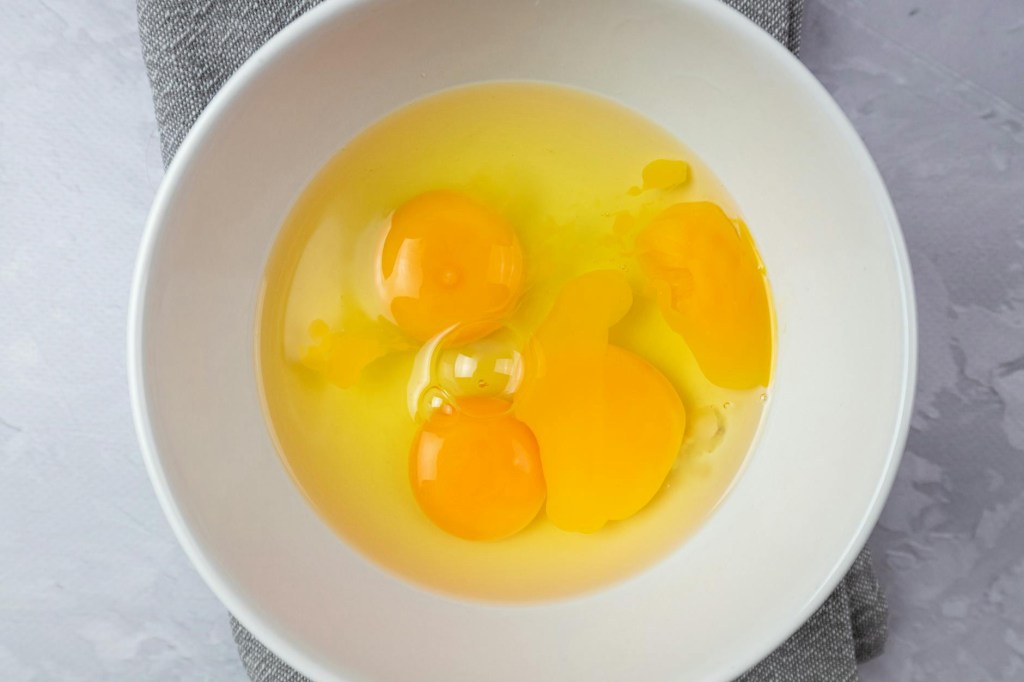
4 Free-range eggs (room temperature)
220g (8 oz) Light brown sugar
150g (5½ oz) Caster sugar
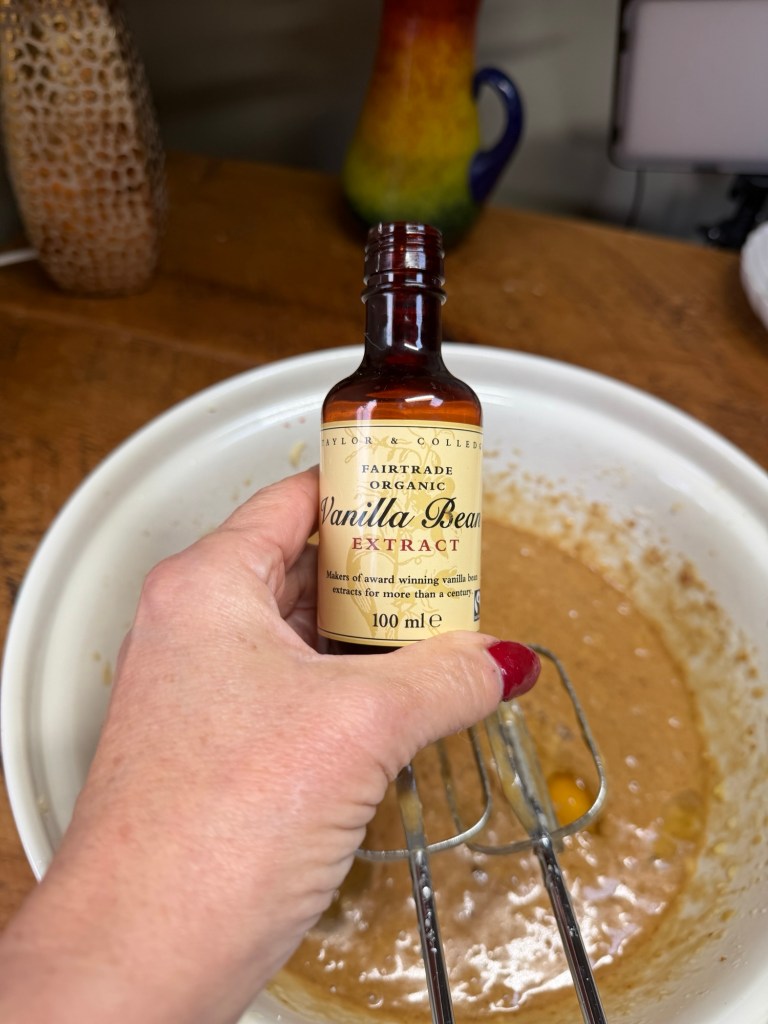
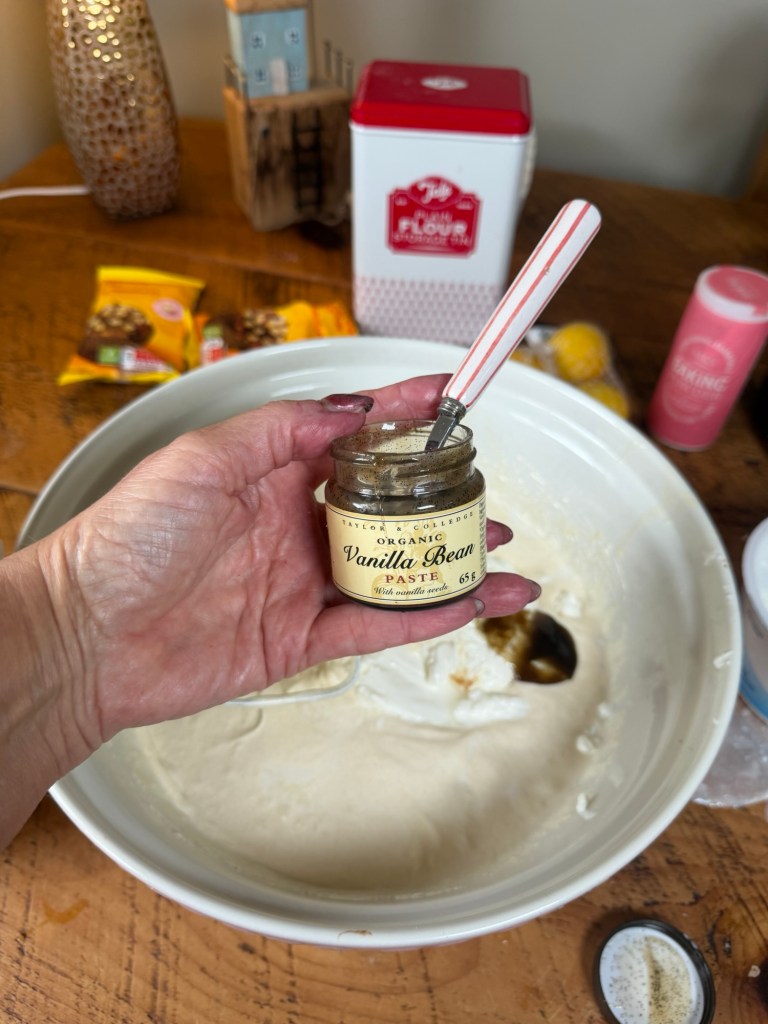
1 tsp Vanilla extract
180g (6¼ oz) Plain flour
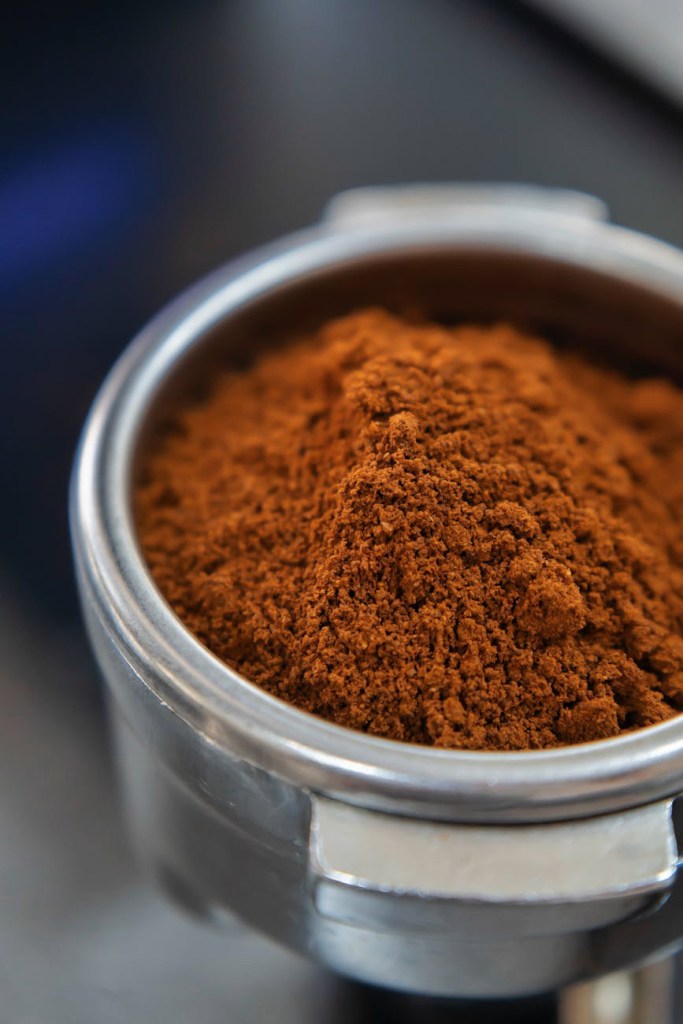
3 tbsp Cocoa powder
¼ tsp Salt
To Decorate
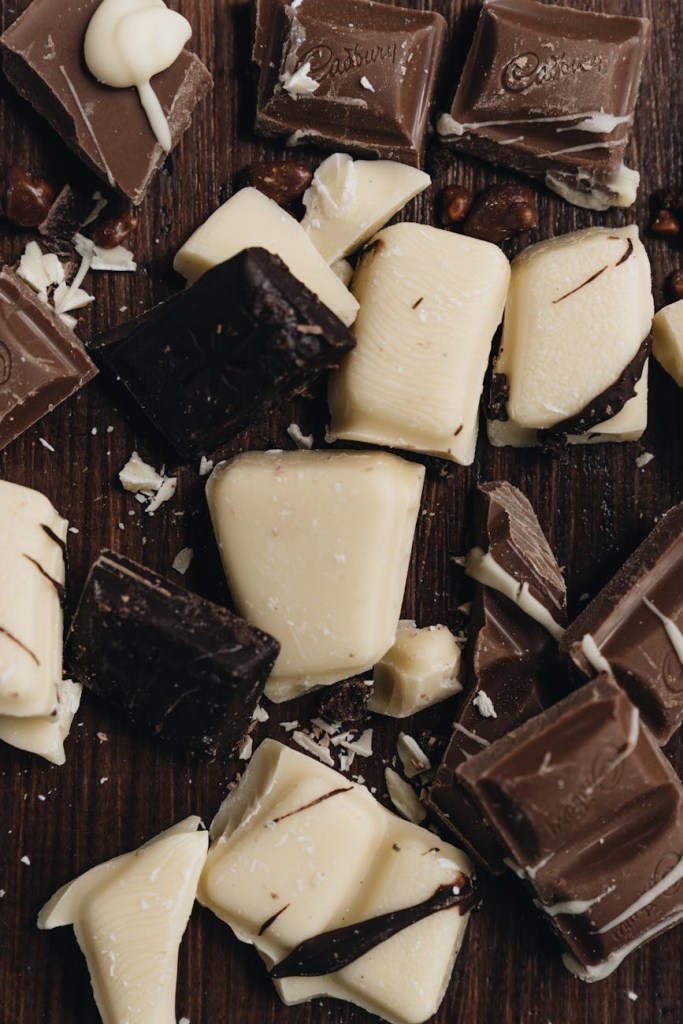
100g (3½ oz) Good-quality white chocolate
Step-by-Step Instructions
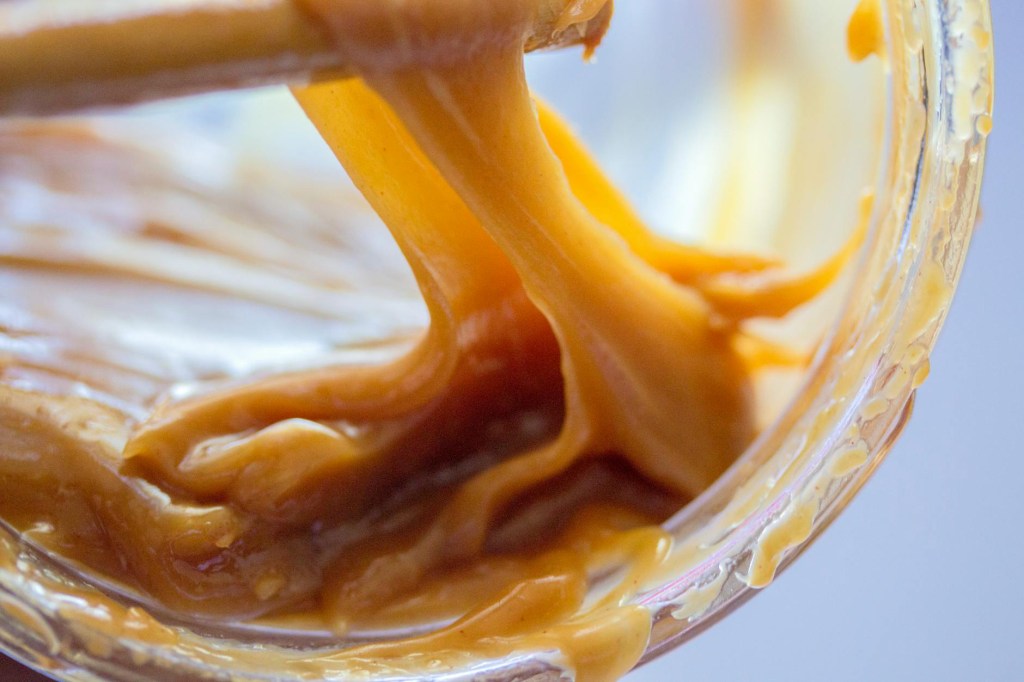
Step 1: Prepare the Homemade Salted Caramel
1 Place the granulated sugar in a clean, dry saucepan over medium heat. Allow the sugar to melt completely. Do not stir the sugar with a spoon; instead, gently swirl the pan occasionally to ensure it melts evenly.
2 Watch closely until the melted sugar turns a deep, golden amber color.
3 Immediately remove the pan from the heat. Carefully whisk in the softened salted butter and a generous pinch of sea salt.
4 Slowly pour in the double cream while whisking continuously. The mixture will bubble up rapidly, so be cautious. Keep whisking until the caramel is completely smooth and glossy. Pour it into a heatproof bowl and set it aside to cool to room temperature.
Step 2: Melt the Chocolate and Butter
1 Preheat your oven to 180°C / 160°C fan / Gas Mark 4. Line a 20cm (8-inch) square baking tin with baking parchment, leaving a bit of overhang on the sides for easy removal later.
2 Roughly chop the dark chocolate and dice the unsalted butter. Place them together in a heatproof bowl set over a pan of gently simmering water (making sure the bottom of the bowl doesn’t touch the water).
3 Stir occasionally until completely melted and smooth. Remove the bowl from the heat and allow it to cool slightly while you prepare the rest of the batter.
Step 3: Whisk the Egg and Sugar Base
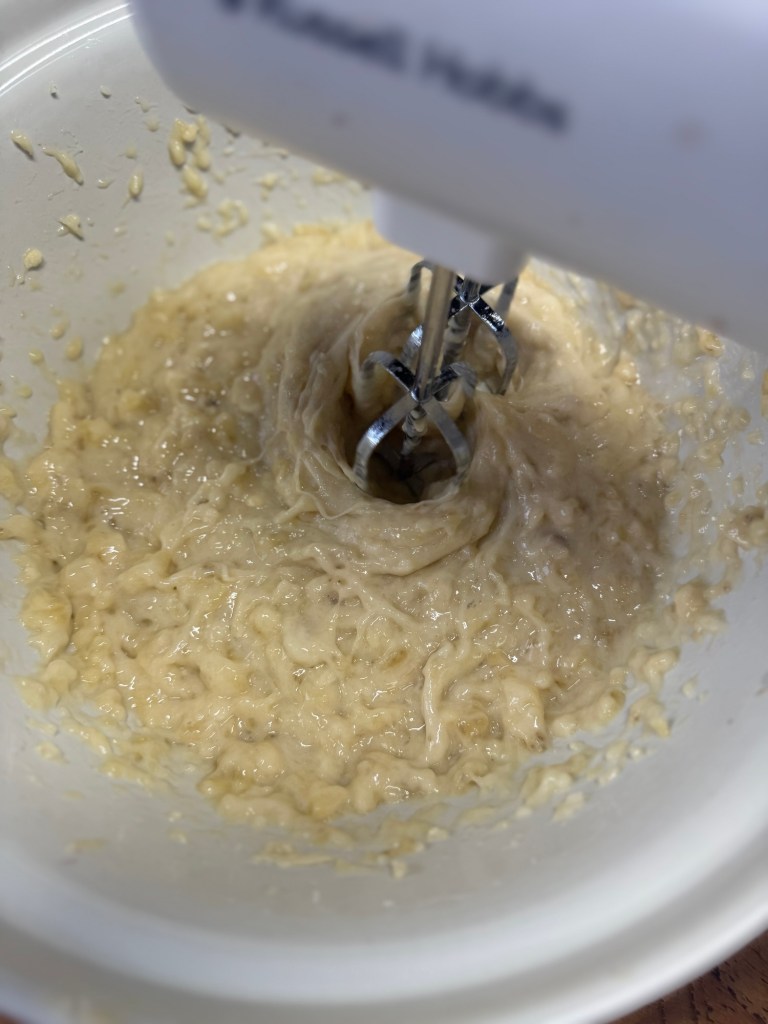
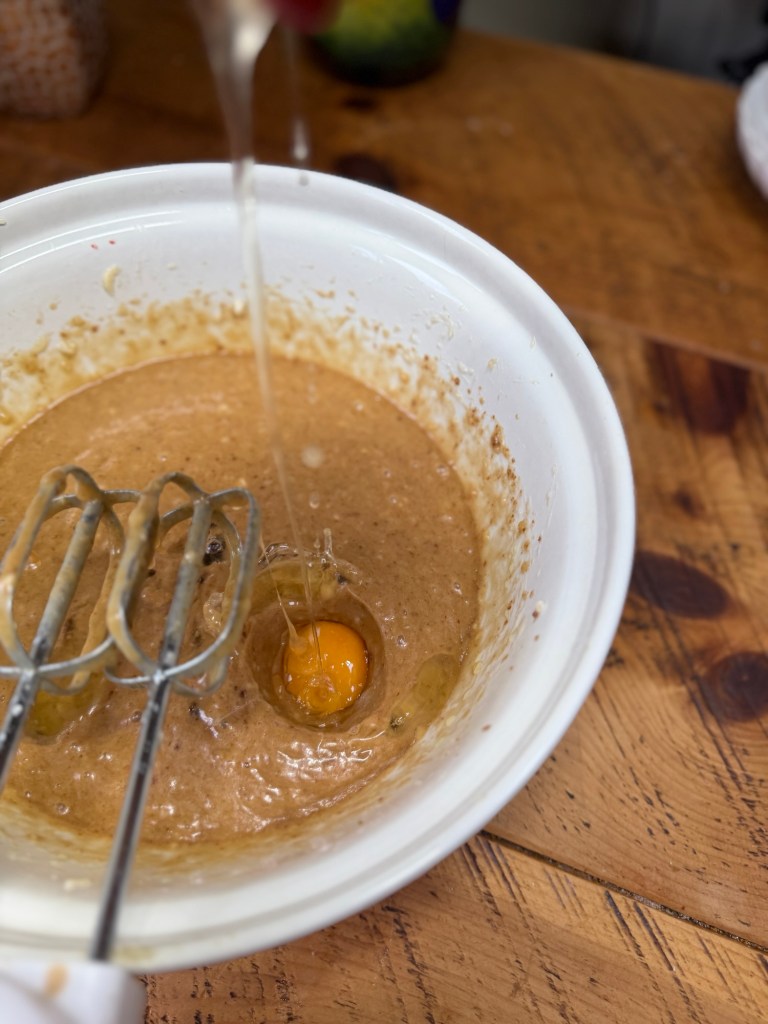
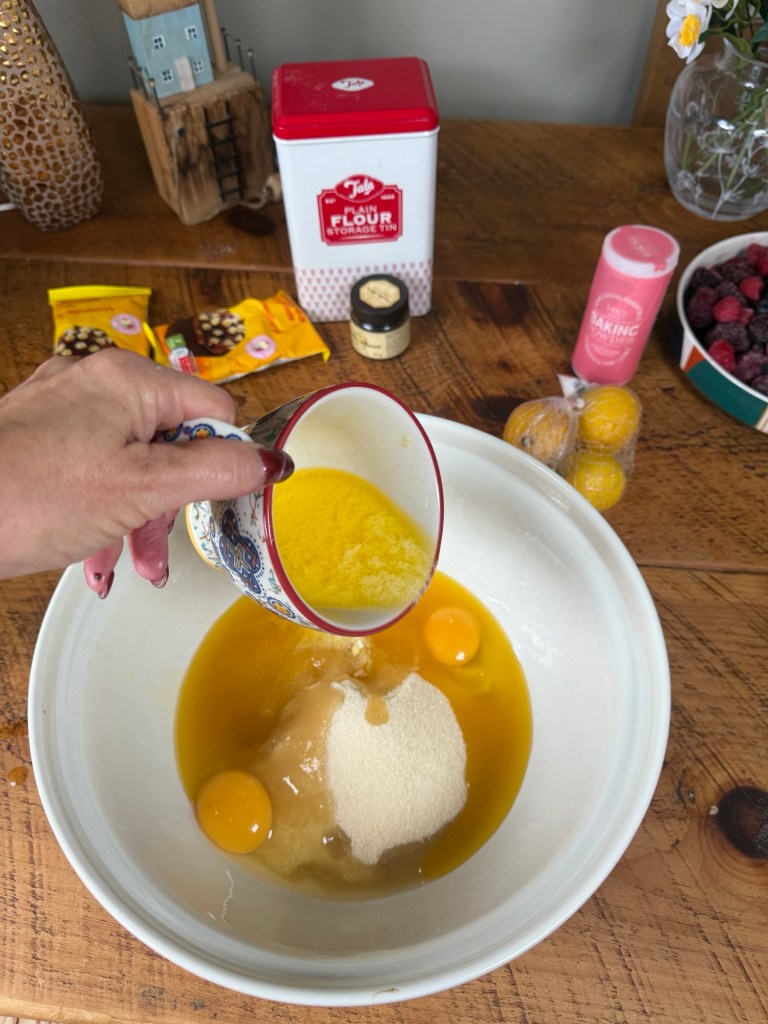
1 In a large mixing bowl (or the bowl of a stand mixer fitted with the whisk attachment), combine the 4 free-range eggs, light brown sugar, caster sugar, and vanilla extract.
2 Whisk vigorously on medium-high speed for about 3 to 5 minutes. The mixture should become pale, thick, and visibly expanded in volume. When you lift the whisk, it should leave a distinct trail (or ribbon) on the surface for a few seconds.
Step 4: Combine and Bake
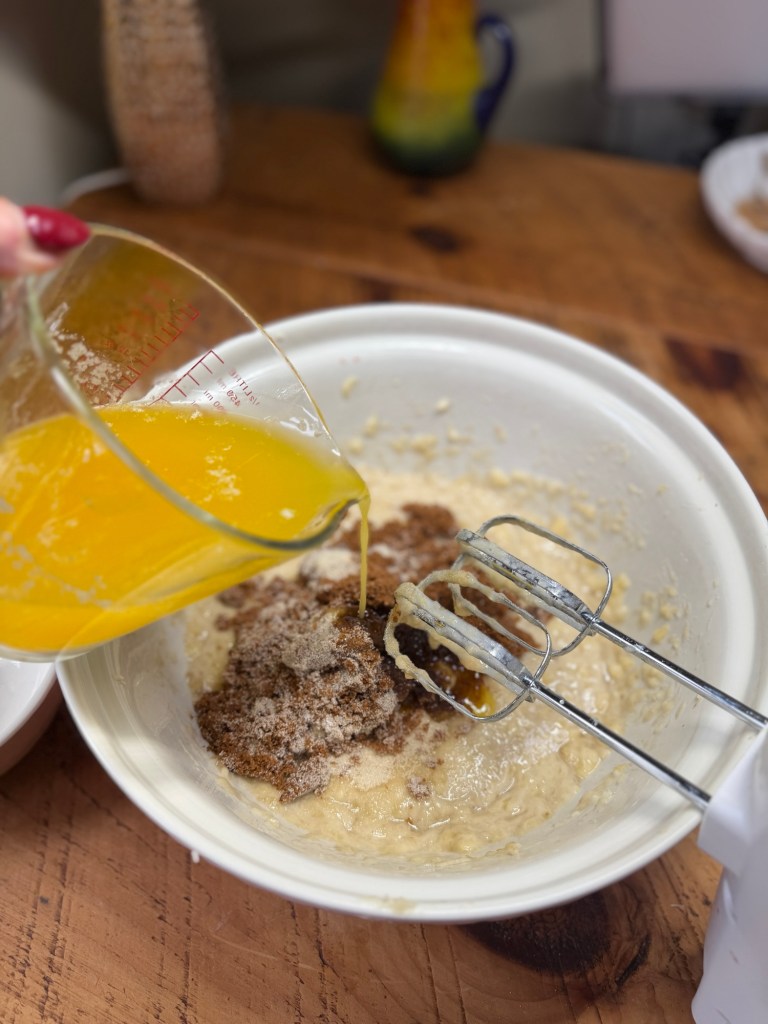
1 Gently pour the melted chocolate and butter mixture into the whisked egg base. Use a rubber spatula to gently fold the mixture together until just combined, taking care not to knock too much air out of the batter.
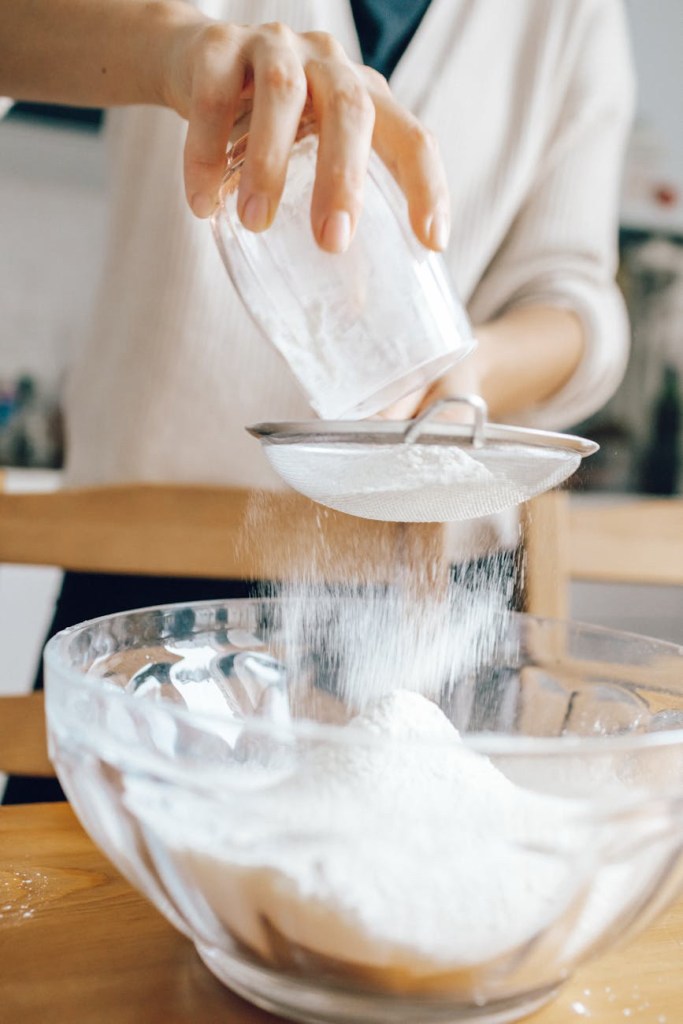
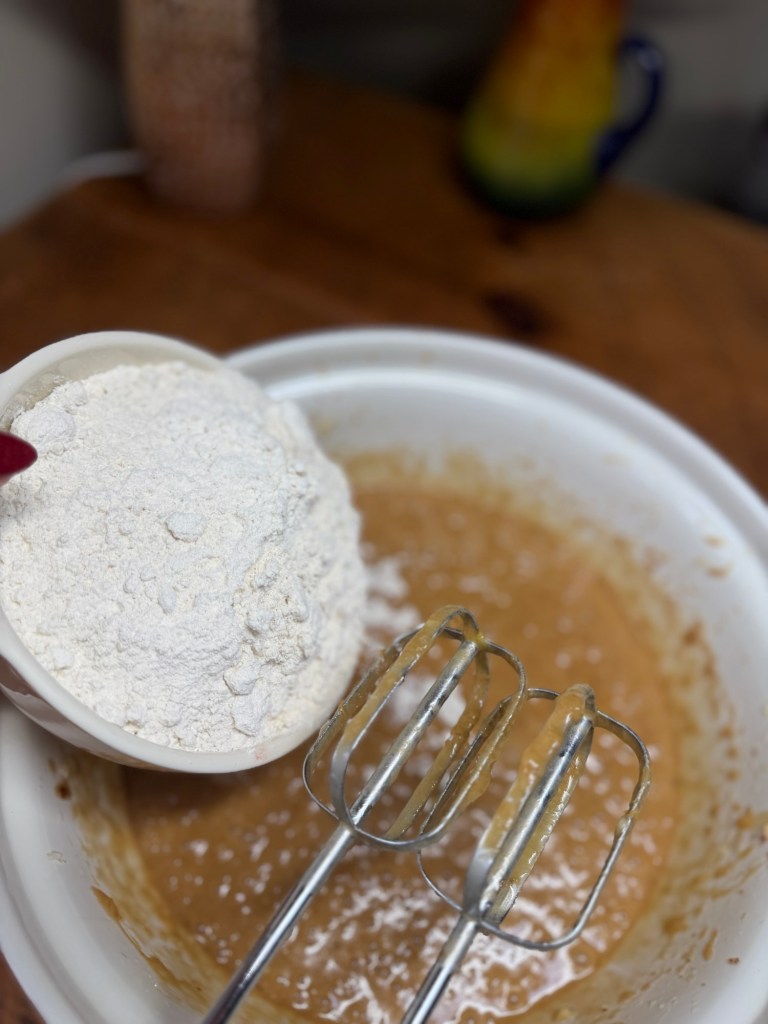
2 Sift the plain flour, cocoa powder, and ¼ teaspoon of salt directly into the bowl. Fold gently until no pockets of dry flour remain.
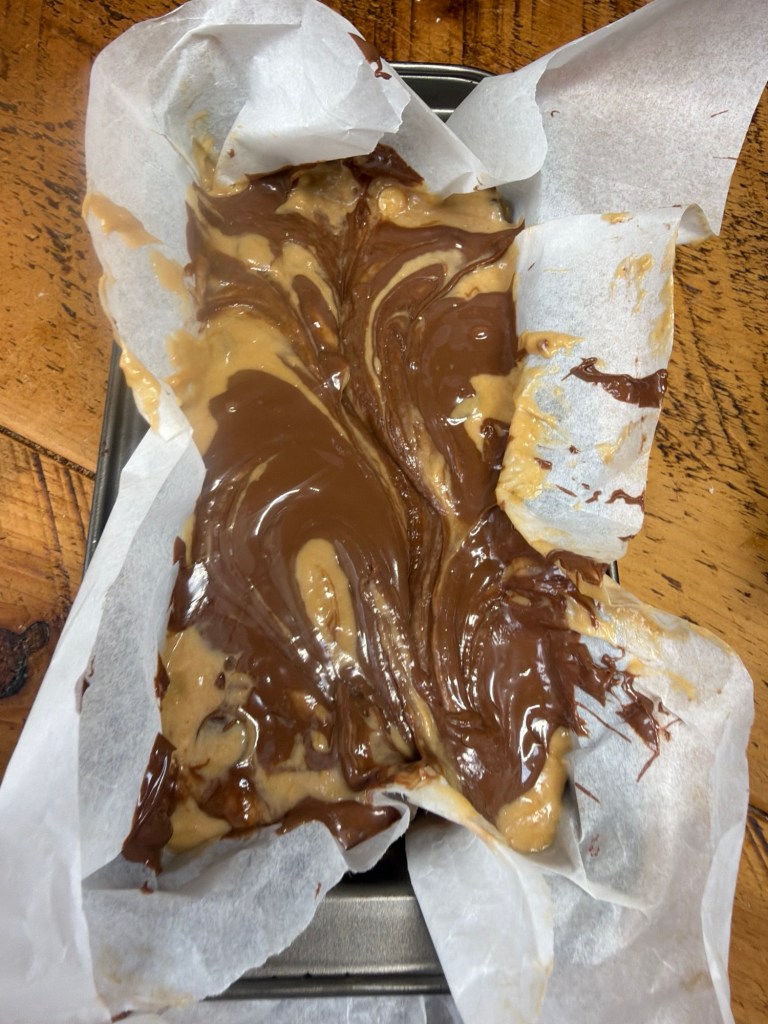
3 Pour exactly half of the brownie batter into your prepared baking tin and smooth it into an even layer.
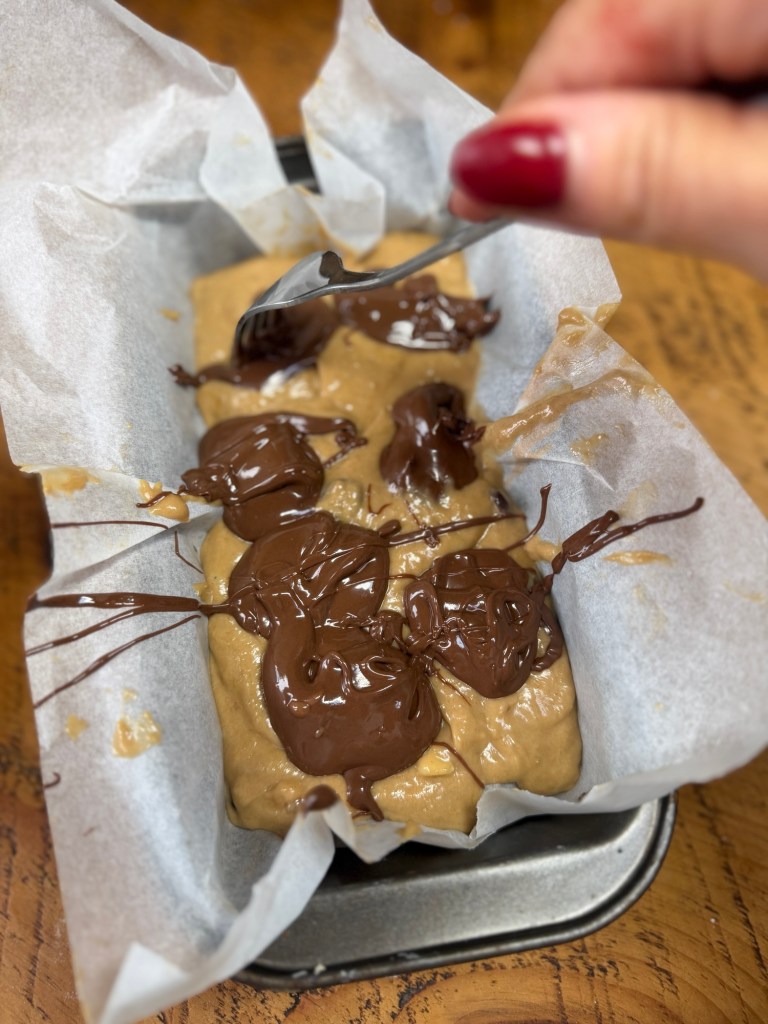
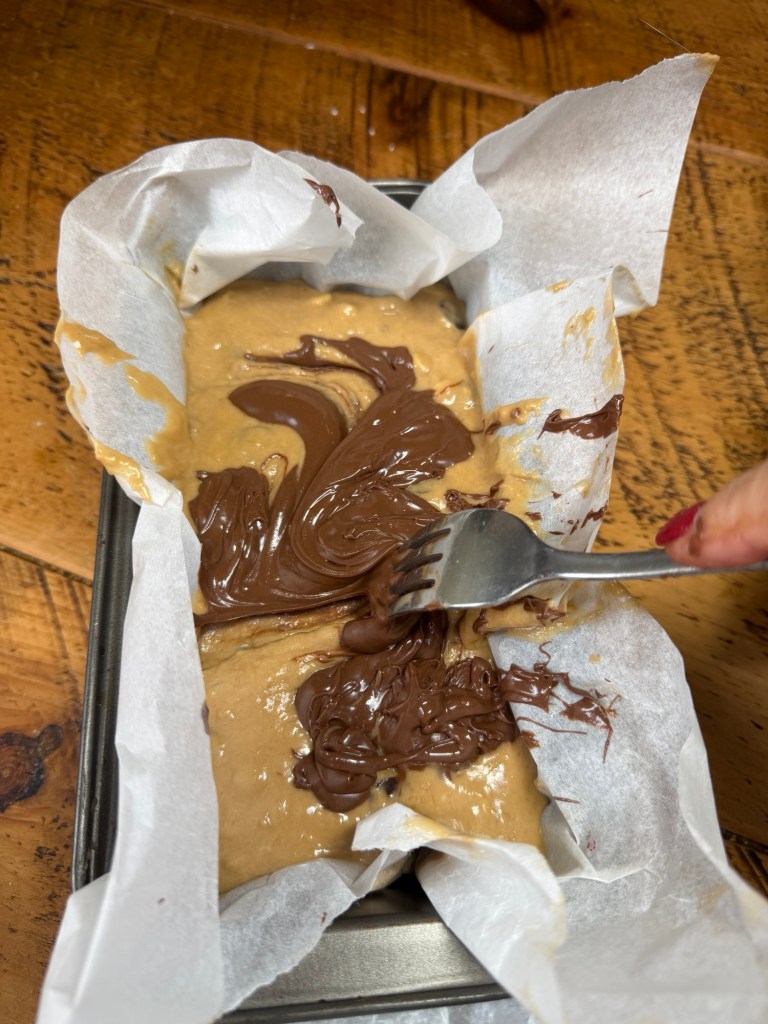
4 Take your cooled salted caramel and drizzle it uniformly over the batter layer.
5 Carefully spoon the remaining brownie batter over the caramel layer. Use a spatula to gently smooth it out to the edges, sealing the caramel inside.
6 Bake in the preheated oven for 25 to 30 minutes. When done, the edges should be completely set, but the center should still have a very slight, gentle wobble.
Step 5: Cool and Decorate
1 Remove the tin from the oven and place it on a wire rack. Let the brownies cool completely in the tin. As they cool, the center will firm up into a dense, fudgy masterpiece.
2 Once cooled, use the parchment paper overhang to lift the brownie block out of the tin.
3 Break the white chocolate into a microwave-safe bowl and melt it in 20-second bursts, stirring between each, until completely smooth.
4 Pour the melted white chocolate into a piping bag (or use a spoon) and drizzle it back and forth across the top of the brownie block in an intricate, intersecting web pattern.
5 Allow the white chocolate decoration to set completely before using a sharp, warm knife to slice into clean squares.
Top Baker’s Tips for Success
Don’t Overbake: Brownies continue cooking in the hot tin even after they are removed from the oven. If a toothpick inserted into the center comes out completely clean, they are overbaked. You want a few moist crumbs attached to the tester!
Room Temperature Eggs: Cold eggs can shock the melted chocolate mixture and cause it to seize or clump. Ensure your eggs are at room temperature before you begin.
Clean Slices: For perfectly clean, bakery-style squares, place the cooled, decorated brownie block into the fridge for 30 minutes before slicing. Wipe your knife blade with a hot, damp cloth between every single cut.
How to Store Your Brownies
Keep your brownies in an airtight container at room temperature for up to 4 days, or in the refrigerator for up to a week. If you prefer them ultra-chewy, eat them straight from the fridge! They also freeze beautifully—simply wrap individual squares tightly in plastic wrap and freeze for up to 3 months.