Category: #biscuits

  • The Softest, Chewiest Peanut Butter Rolo Cookies You’ll Ever Bake!

    The Softest, Chewiest Peanut Butter Rolo Cookies You’ll Ever Bake!

    If you know me, you know I have a serious weakness for peanut butter. There is just something about that salty-sweet combination that feels like a warm hug. Lately, I’ve been craving something a little extra special, and that’s how I landed on this recipe for Peanut Butter Rolo cookies!
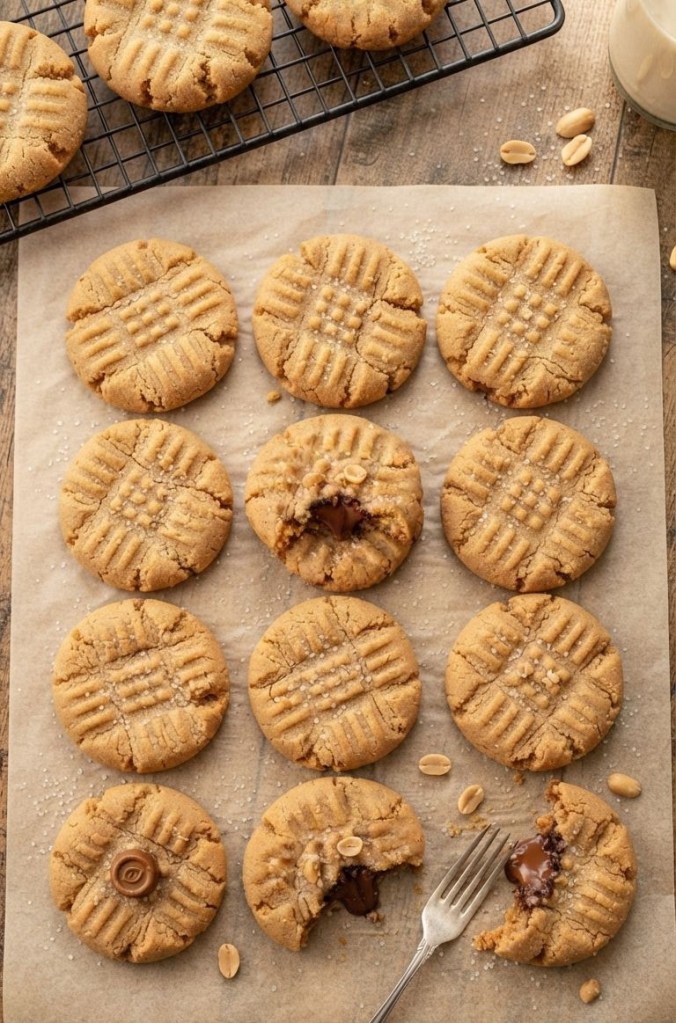
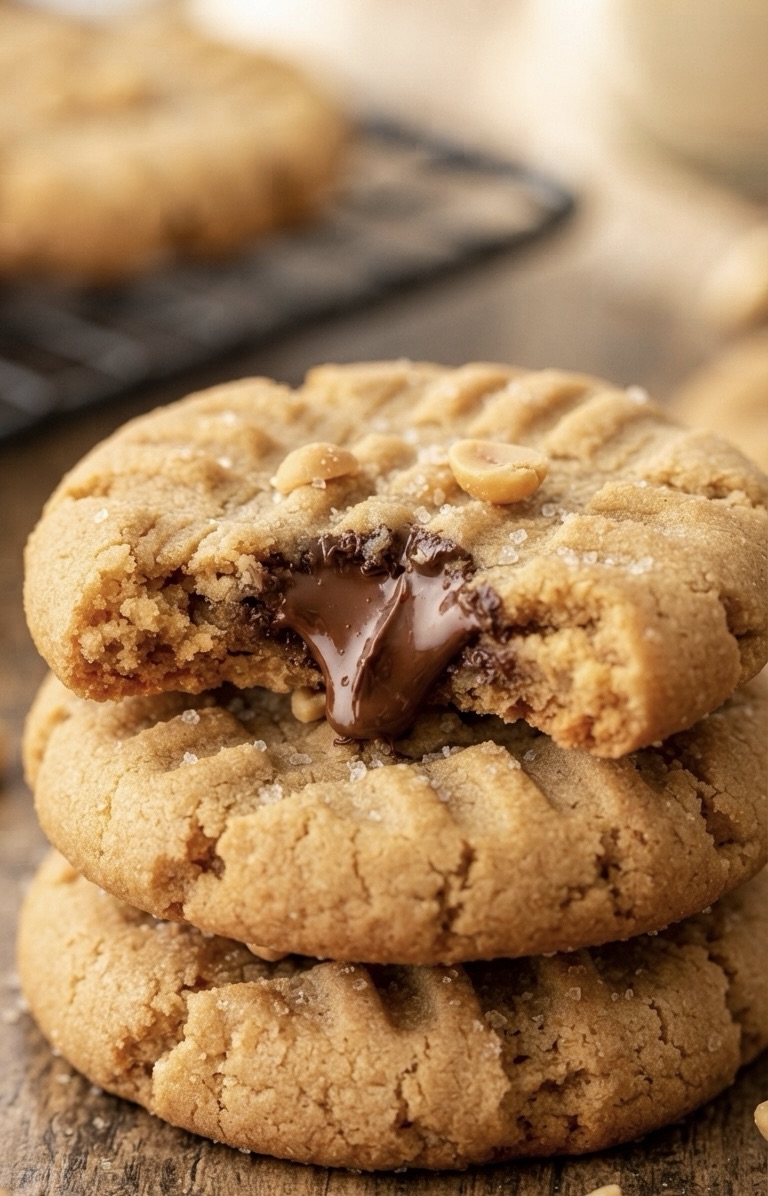
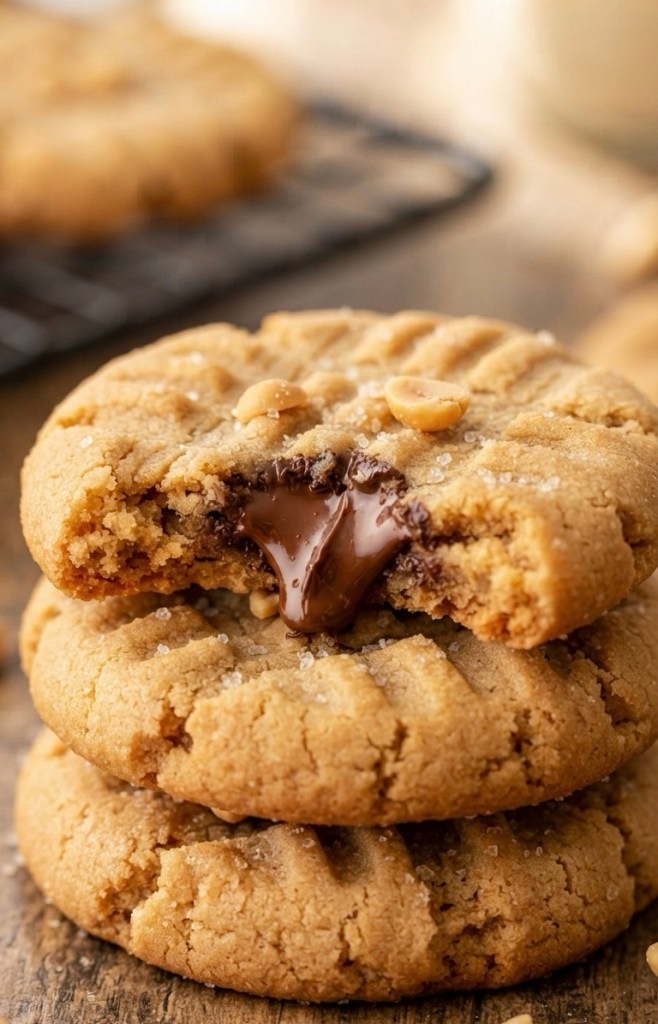
    They are soft, chewy, and stuffed with a hidden chocolate-caramel Rolo center. Seriously, these are absolute perfection. Whether you are in the US or the UK, I have you covered with the measurements, so let’s get into the kitchen!

    What You’ll Need

    To get these cookies just right, grab these ingredients:


    1 cup (approx. 250g) creamy peanut butter
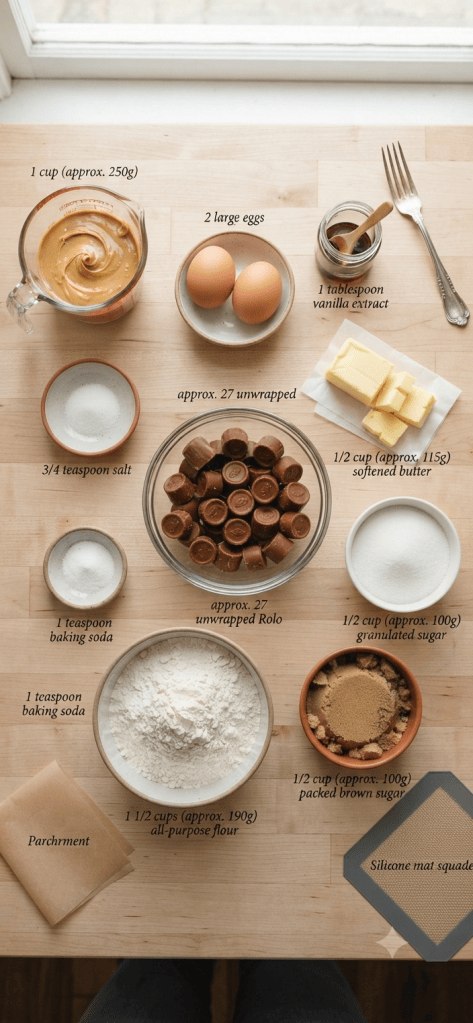
     1/2 cup (approx. 115g) butter, softened

     1/2 cup (approx. 100g) granulated sugar

     1/2 cup (approx. 100g) packed brown sugar

     2 large eggs

     1 tablespoon vanilla extract

     1 1/2 cups (approx. 190g) all-purpose flour (US) / plain flour (UK)

     1 teaspoon baking soda

     3/4 teaspoon salt

     24-30 Rolo chocolate candies, unwrapped

    How to Make Them

    1. Prep: Preheat your oven to 350°F (approx. 180°C). Line two baking pans with parchment paper or silicone mats.

    2. Mix the Wet Ingredients: Cream together the peanut butter, softened butter, granulated sugar, and brown sugar until the mixture is smooth and creamy. Add the eggs and vanilla extract, mixing until everything is well combined.

    3. Add the Dry Ingredients: In a separate mixing bowl, whisk together the flour, baking soda, and salt. Stir this flour mixture into your wet ingredients until combined.

    4. The Secret Step: Fill a cookie dough scoop about halfway with dough. Press one Rolo into the center, then finish filling the scoop with more dough to completely cover the chocolate. Place these on your prepared baking sheet.

    5. The Signature Look: Using a fork, press down on each ball of dough to flatten it slightly and create that classic criss-cross pattern. Sprinkle with a little extra sugar if you like!

    6. Bake: Pop them in the oven for 8–9 minutes. A quick tip: do not overbake!. They might not look completely finished when you pull them out, but they will set as they cool. If you bake them too long, you’ll lose that soft, chewy texture we’re going for.

    Let them cool on the baking sheet for a few minutes before transferring them to a wire rack.

    Why You’ll Love Them

    These are honestly so simple to throw together, and the surprise of the melted Rolo inside is always a hit with guests. They’re the perfect treat to bake on a slow afternoon.
    Have you tried this recipe yet? Let me know how they turned out in the comments—I love hearing about your baking adventures!

    Happy baking!
  • The Cozy Taylor Swift Cookie Recipe You Need to Bake This Weekend 🍪✨

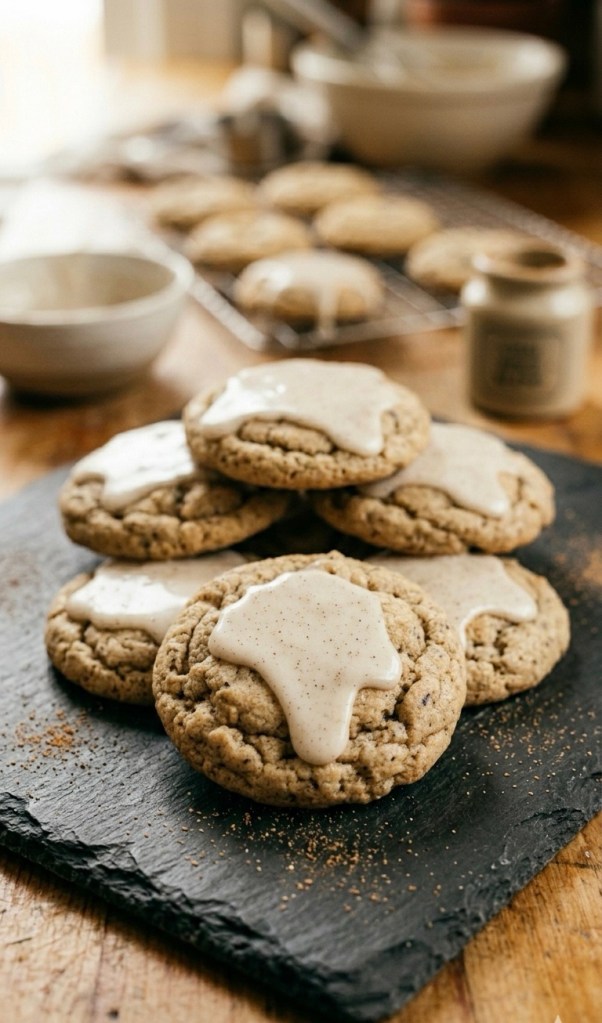
    The Cozy Taylor Swift Cookie Recipe You Need to Bake This Weekend 🍪✨

    Let’s be real for a second: is there anything better than the smell of warm spices wafting through the house on a lazy afternoon? I don’t think so!

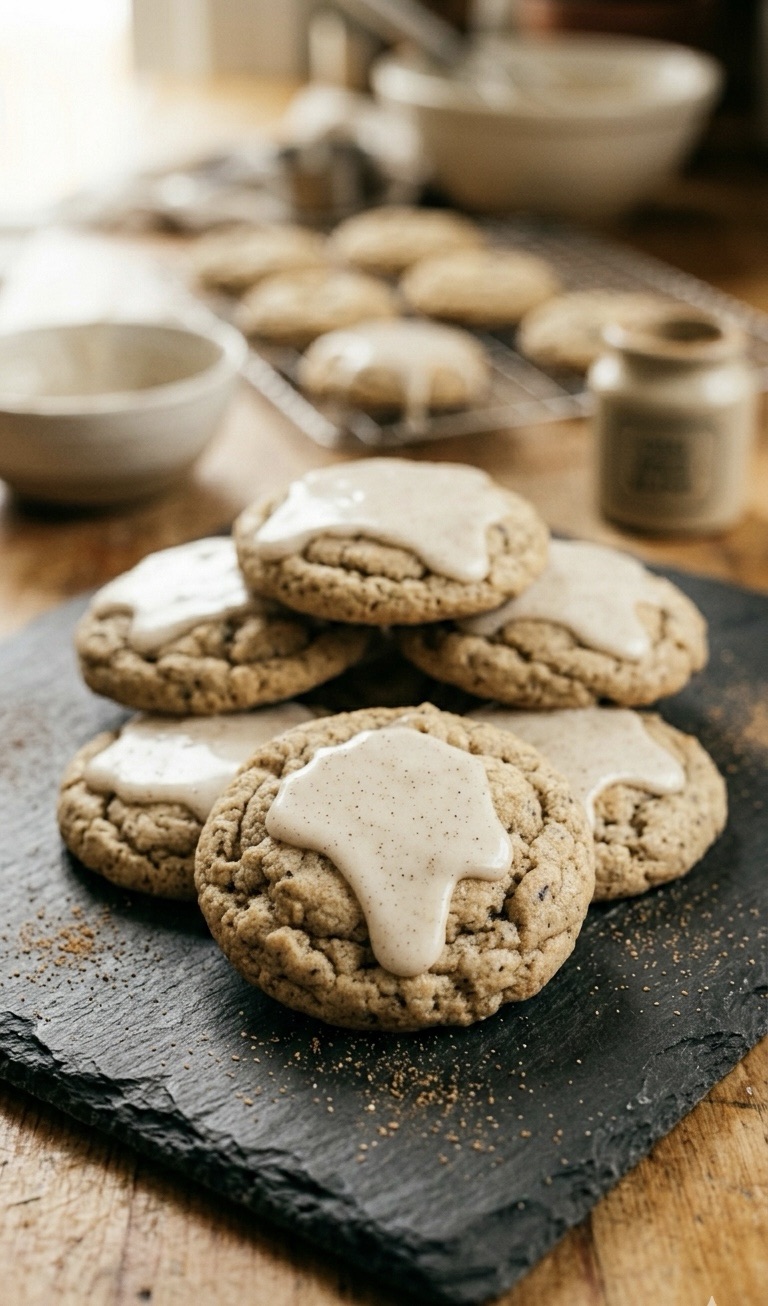
    If you’ve been hanging out in the baking corners of the internet, you’ve probably heard whispers about Taylor Swift’s famous chai sugar cookies. Well, I finally got around to making them, and let me tell you—they absolutely live up to the hype. These aren’t just your average sugar cookies; they have that soft, chewy texture we all crave, packed with the comforting warmth of a good chai latte.

    Whether you’re a Swiftie or just someone who appreciates a really, really good cookie, you need to add these to your baking list immediately.

    Why You’ll Love Them

    What makes these special is the balance. You get that sweet, buttery base, but the chai spices add a sophisticated depth that keeps you reaching for a second (or third) one. Plus, that spiced icing on top? It’s the finishing touch that takes them from “good” to “I-can’t-believe-I-made-these.”

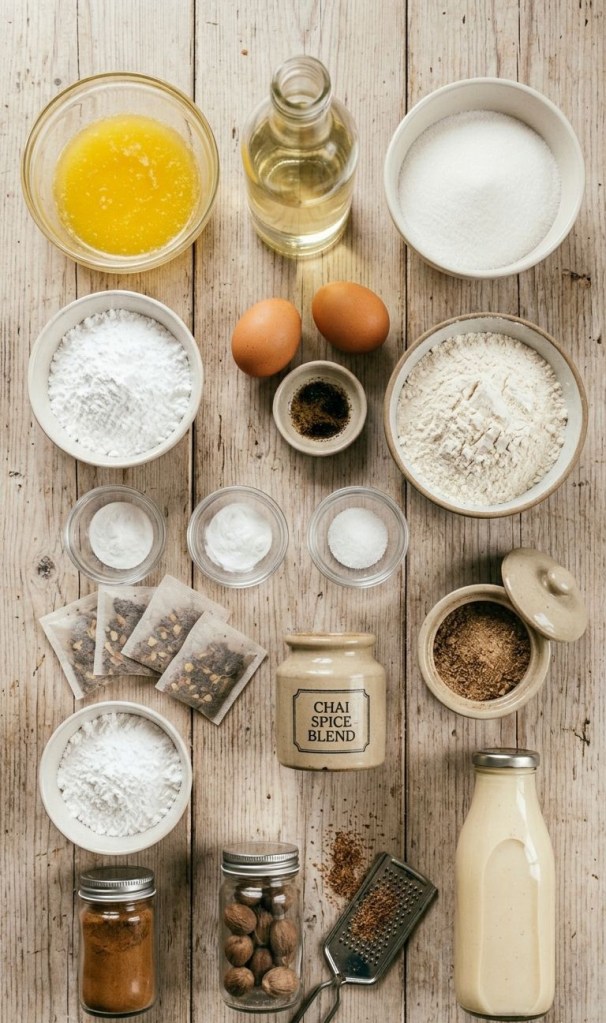
    What You’ll Need

    I’ve laid out the measurements in both UK and US formats so you can get straight to mixing without any math headaches.

    The Cookie Dough:

     Butter: 113g (1/2 cup / 1 stick) unsalted, softened

     Oil: 120ml (1/2 cup) vegetable oil

     Sugars: 100g (1/2 cup) granulated sugar + 60g (1/2 cup) icing sugar

     Egg: 1 large

     Vanilla: 2 teaspoons

     Flour: 250g (2 cups) all-purpose flour

     Leavening/Seasoning: 1/2 tsp bicarbonate of soda, 1/4 tsp salt, and the contents of 1 chai tea bag (or 1 ½ tsp chai spice blend)

    The Spiced Glaze:

     Icing Sugar: 180g (1 1/2 cups)

     Spices: 1/4 tsp each of cinnamon and nutmeg

     Liquid: 30–45ml (2–3 tablespoons) eggnog (or use milk/cream for a lighter version)

    The Game Plan

    1. Cream it up: Grab a large bowl and beat that softened butter until it’s nice and creamy. Add in your oil, both sugars, the egg, and your vanilla. Whisk it until it’s smooth.

    2. Dry ingredients: In a separate bowl, whisk your flour, bicarb, salt, and your chai spices together. If you’re using a tea bag, just rip it open and dump the contents in!

    3. Combine: Fold the dry into the wet. The dough is going to be quite soft—don’t panic, that’s exactly what we want.

    4. The most important step: Cover it and pop it in the fridge for at least an hour. This is non-negotiable! It helps the flavors meld and prevents the cookies from spreading into flat puddles in the oven.

    5. Bake: Preheat your oven to 175°C (350°F). Roll the dough into balls, pop them on a tray, and bake for 9–12 minutes until the edges are just looking golden.

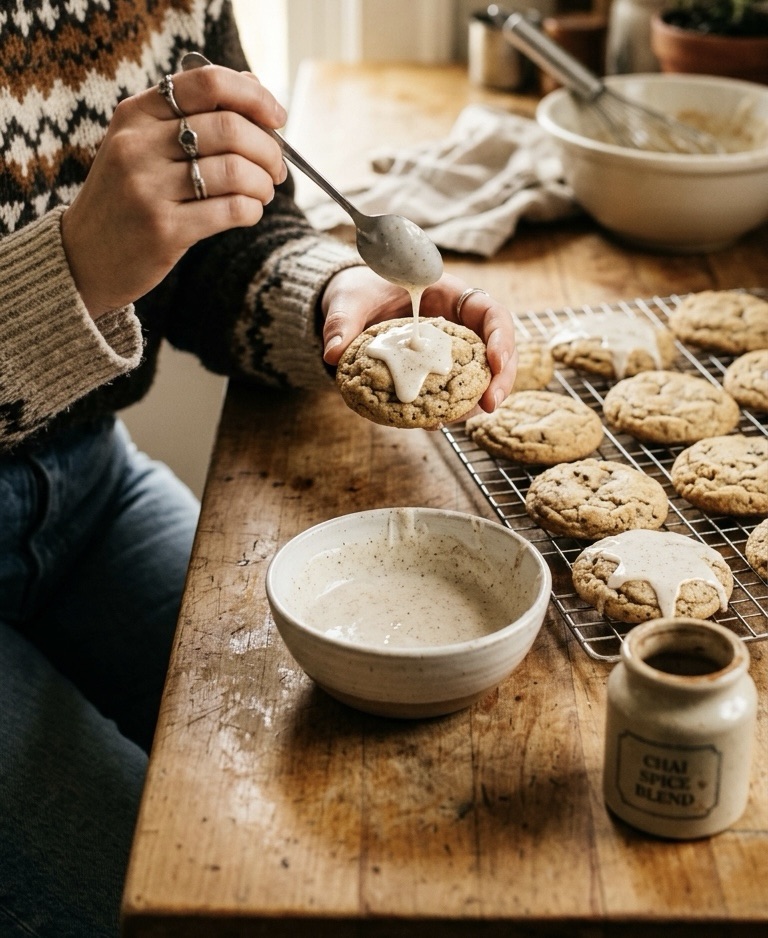
    6. The Glow Up: Once they’ve cooled down, whisk your glaze ingredients until smooth and drizzle it over the top.

    A Little Pro-Tip

    If you have the patience, chilling the dough overnight makes these even better. The spices really have a chance to infuse into the butter.

    Have you tried this recipe yet? Drop a comment below and let me know how they turned out for you! Don’t forget to save this post so you have the recipe ready for your next baking day. Happy baking,