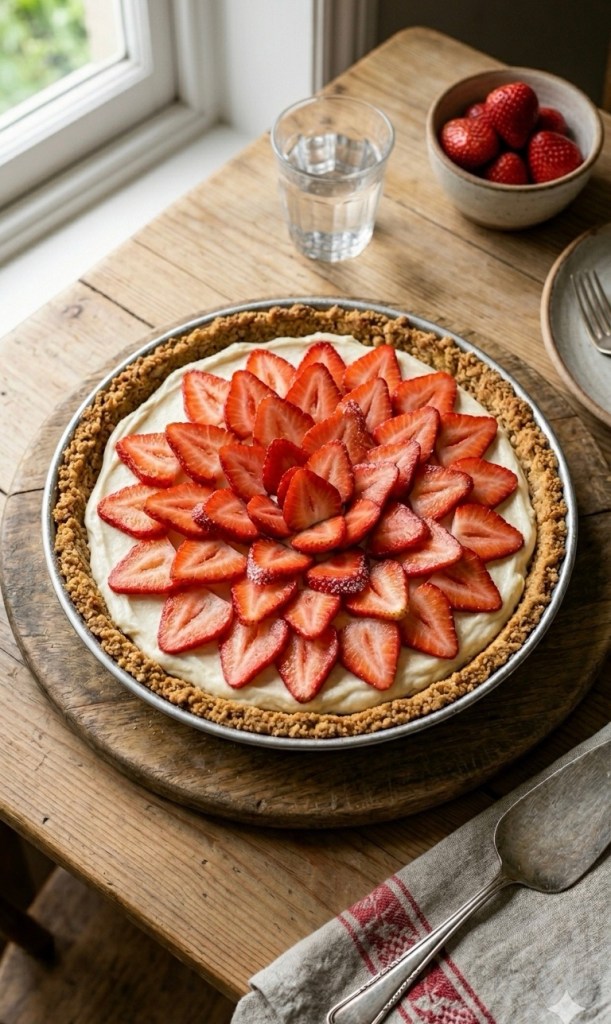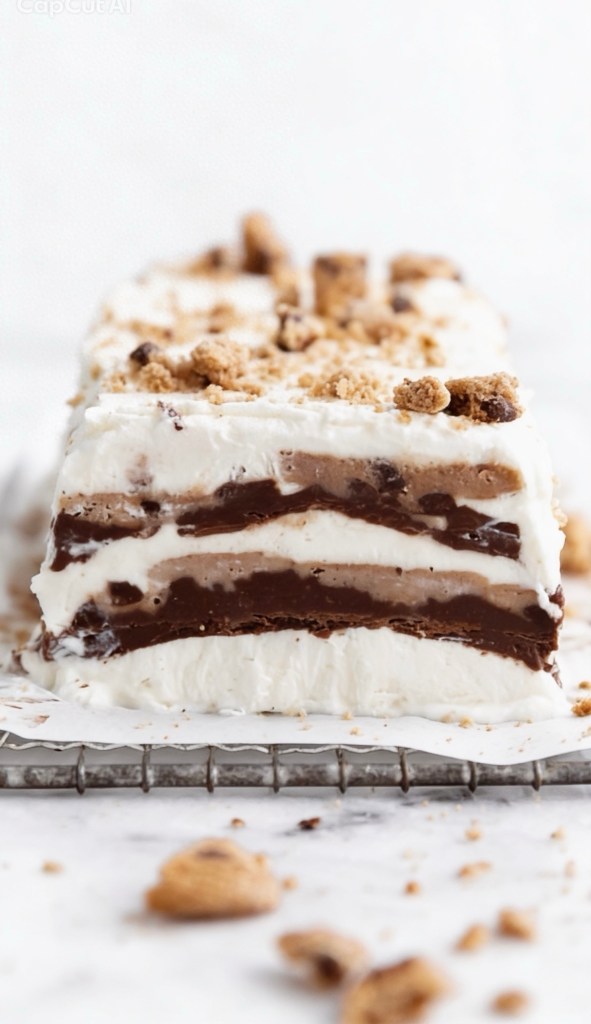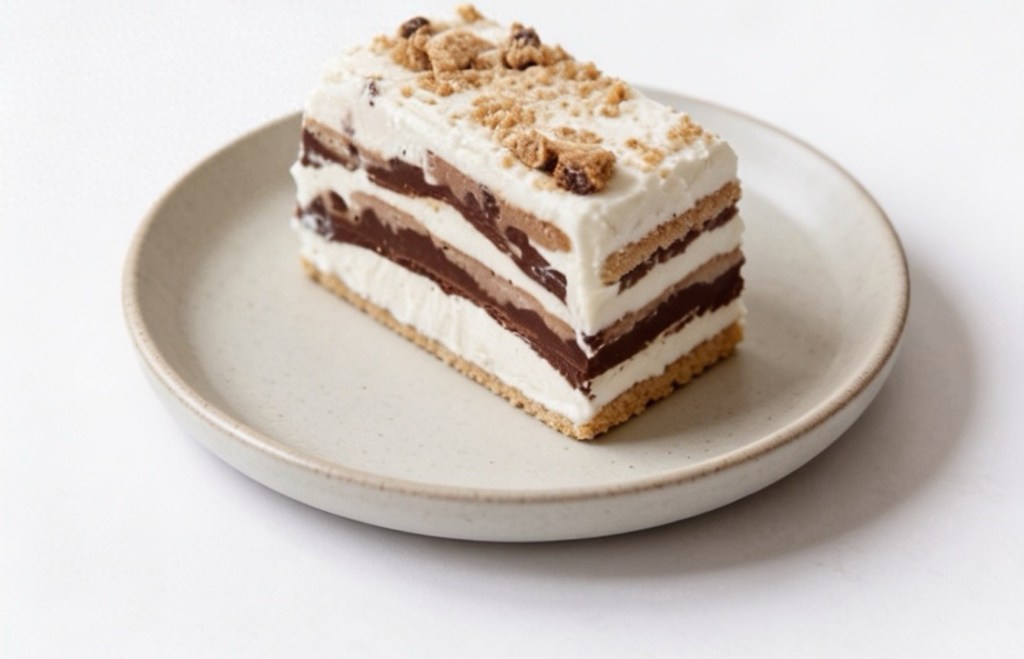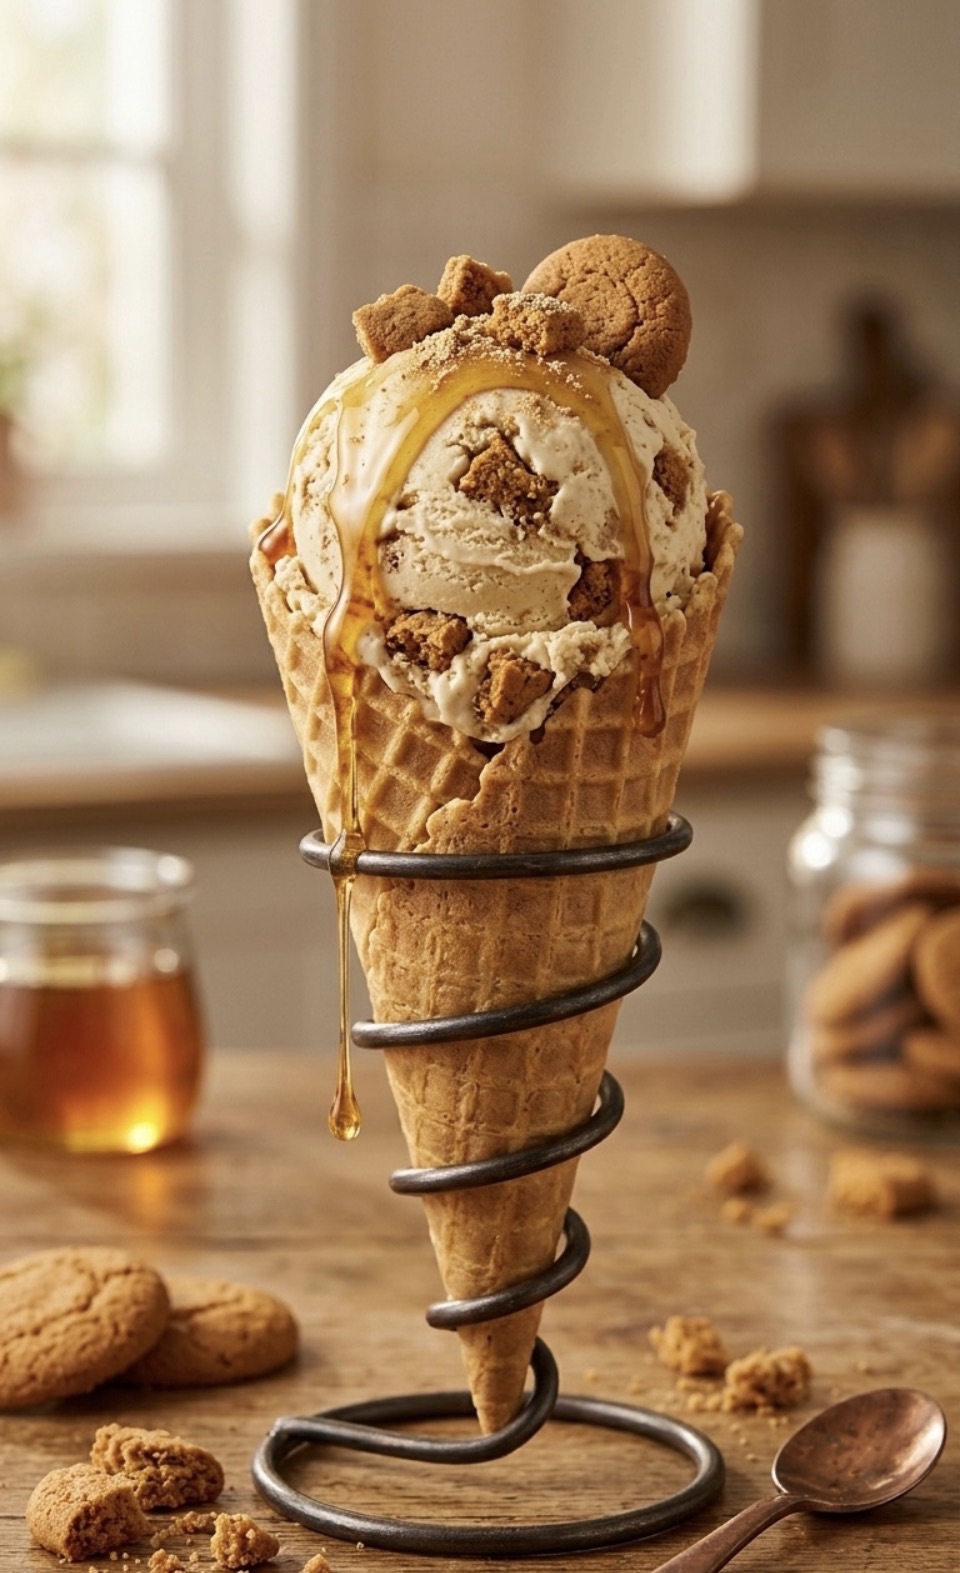
There is nothing quite like homemade ice cream. When you control the ingredients, you can create flavors that are richer, creamier, and more satisfying than anything you can buy in a store. Today, I’m sharing a recipe for a truly special treat: Gingernut Ice Cream.
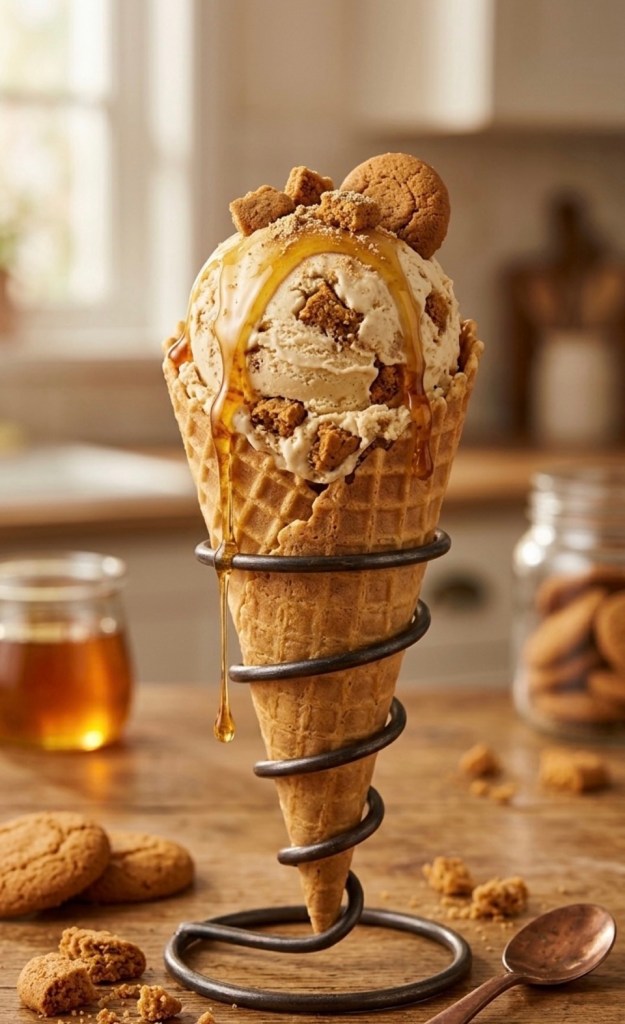
This recipe perfectly balances a velvety, cream-cheese-infused base with the warm, spicy crunch of classic gingernut biscuits, all tied together with decadent swirls of golden syrup. It’s the ultimate comfort dessert.
The Recipe
Ingredients
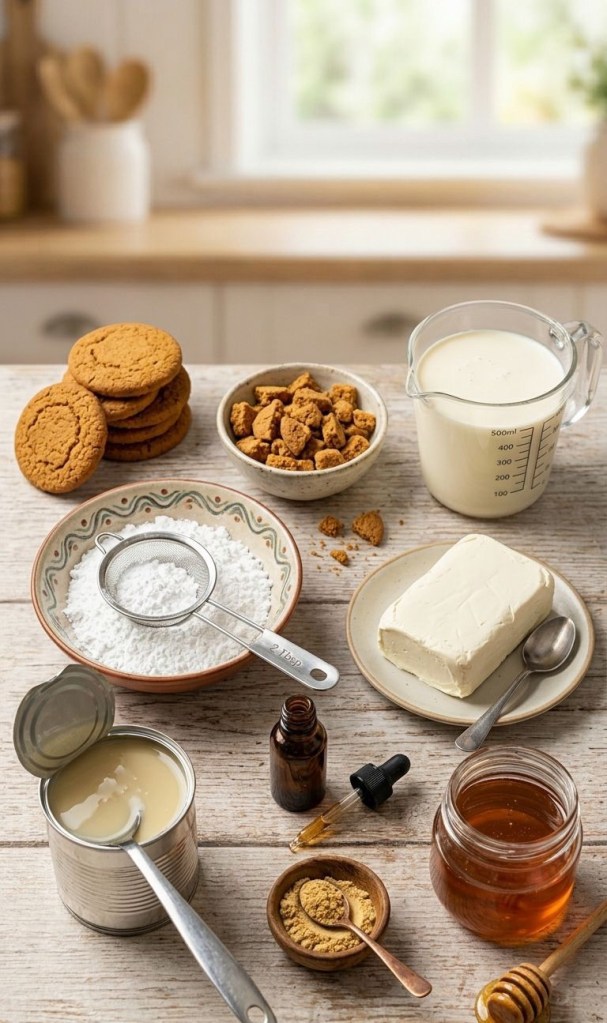
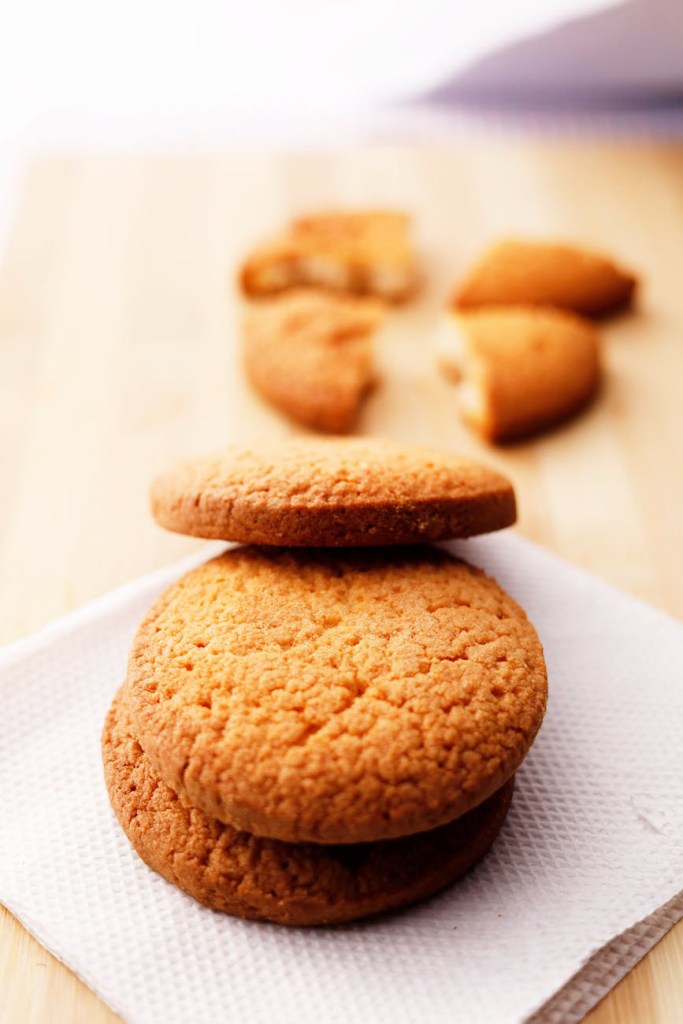
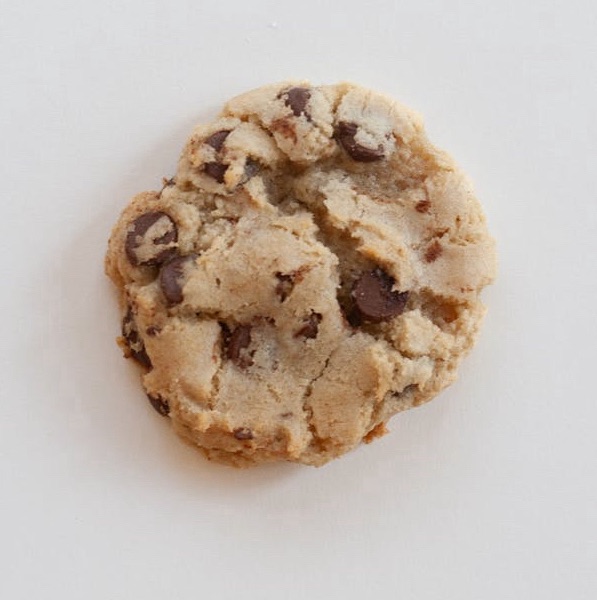
150g gingernut biscuits
500ml double cream
2 Tbsp icing sugar
200g full fat cream cheese, at room temperature
395g can sweetened condensed milk
1 tsp vanilla extract
½ tsp ground ginger
⅓ cup golden syrup (120g)
Step-by-Step Instructions (No-Churn Method)
1. Prep the Mix-Ins:
Place the biscuits in a clean resealable bag and bash with a rolling pin until roughly chopped. You could also do this in a food processor—don’t over-process as you want biscuit chunks rather than crumbs.
2. Whip the Cream:
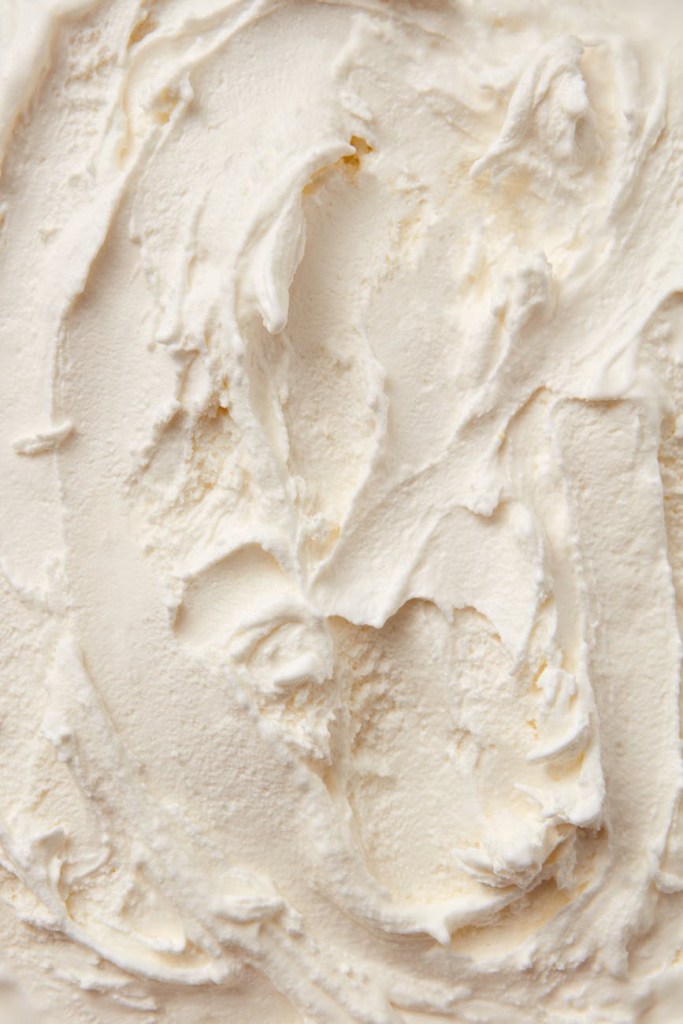
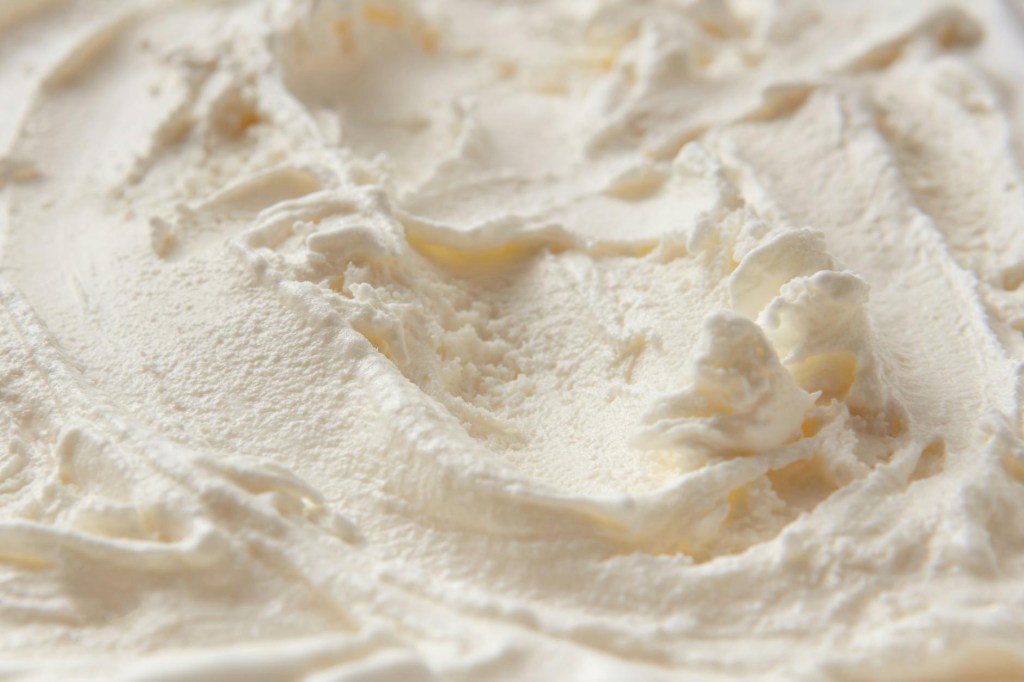
In the large bowl of a stand mixer (or use a handheld electric beater), whip the double cream and icing sugar until the cream just forms stiff peaks. Remove into another bowl.
3. Combine the Base:
Add cream cheese to the stand mixer bowl (don’t worry about cleaning it out) and beat until smooth. With the mixer on low, gradually add condensed milk, vanilla extract, and ginger, then increase speed to medium and mix until well combined.
4. The Gentle Fold:
Use a spatula to fold whipped cream into the cream cheese mixture.
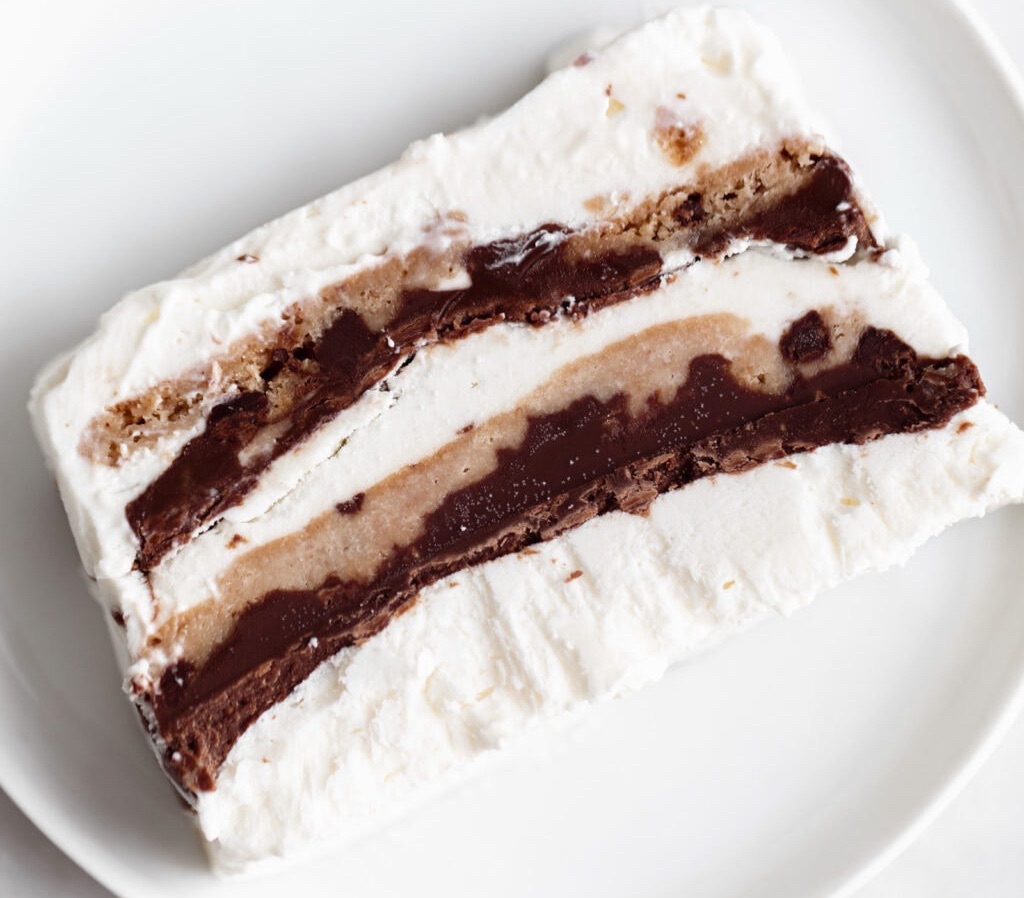
5. Layer and Swirl:
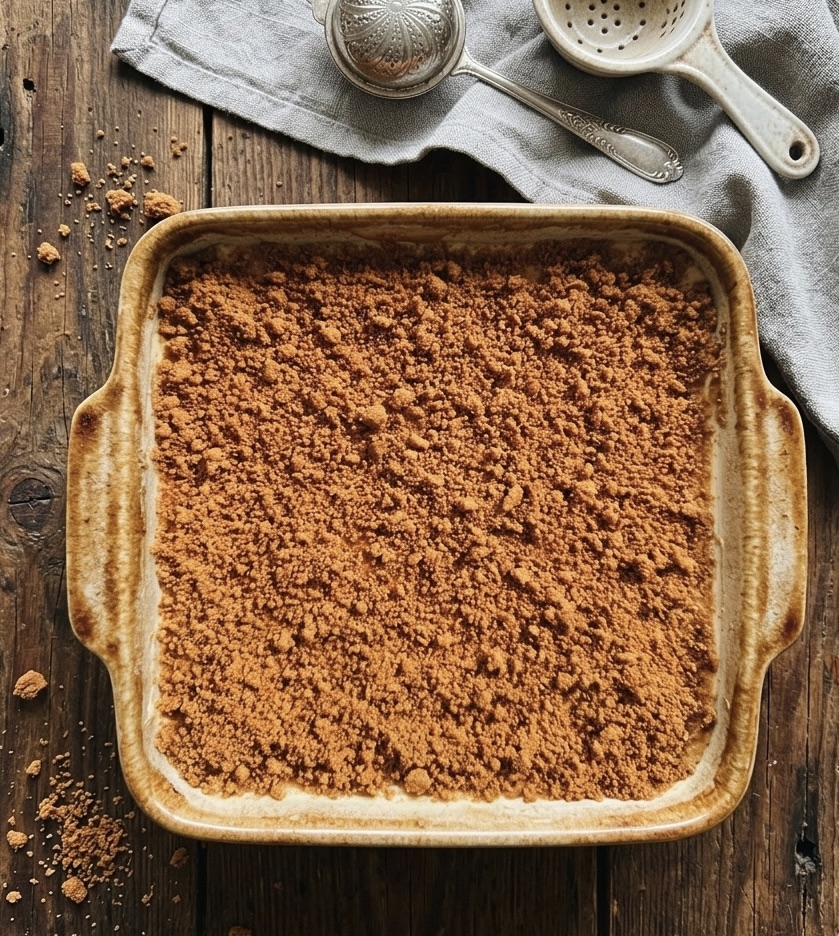
Spoon half of the mixture into a large freezer-safe airtight container. Drizzle with half of the golden syrup and biscuits. Top with remaining ice cream mixture, and most of the remaining golden syrup and biscuits. Use a knife to gently swirl in.
6. Freeze:
Drizzle remaining golden syrup over the top and sprinkle with the last of the biscuits. Freeze for at least 6 hours before serving.
How to Make It with an Ice Cream Maker
If you own an ice cream maker that requires a pre-frozen bowl, you can still enjoy this recipe! While the no-churn method is fantastic, using a machine will incorporate more air, resulting in a lighter texture.
1. Preheat the Machine:
Ensure your ice cream maker’s bowl has been in the freezer for at least 24 hours (or according to manufacturer instructions) until it is completely solid.
2. Prepare the Base Mix:
In a bowl, beat the room-temperature cream cheese until smooth. Gradually whisk in the sweetened condensed milk, vanilla extract, and ground ginger until smooth. Gently whisk in the 500ml of double cream until combined.
3. Chill the Base:
For the best result, cover the mixture and chill it in the refrigerator for at least 1–2 hours. A cold base ensures the machine churns the mixture efficiently.
4. Churn:
Set up your ice cream maker. Turn the machine on and then pour the cold base into the frozen bowl. Let the machine churn until it reaches a thick, soft-serve consistency.
5. Add the Mix-Ins:
A few minutes before the churning is finished, add the biscuit chunks and half of the golden syrup. Let the machine finish mixing them in.
6. Freeze:
Transfer the mixture into a freezer-safe container. Drizzle the remaining golden syrup over the top, swirl with a knife, and freeze for 4–6 hours to allow it to firm up to a scoopable consistency.
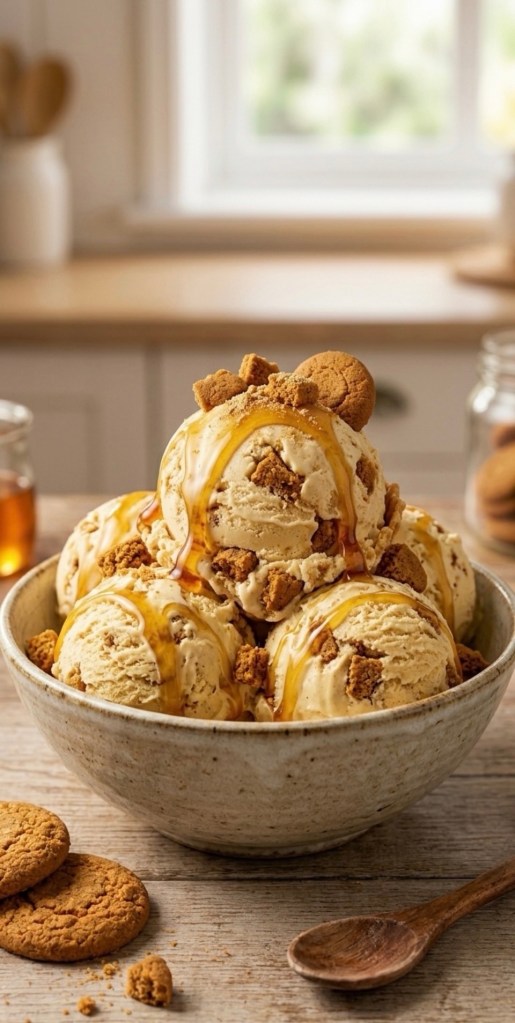
Whether you choose the quick and effortless no-churn method or the light, airy finish of an ice cream maker, this Gingernut Ice Cream is sure to become a new favorite in your dessert rotation. It is the perfect balance of spice, sweetness, and creamy indulgence, making it ideal for any occasion or just a cozy night in. Give this recipe a try, get creative with your swirls, and enjoy the satisfaction of serving a truly homemade, professional-quality treat that is bound to impress your family and friends. Happy churning!