Category: Milk shakes

  • How to Make the Ultimate Oreo Milkshake (The Cafe-Style Secret)

    How to Make the Ultimate Oreo Milkshake (The Cafe-Style Secret)

    We have all been there. You get a craving for a thick, indulgent Oreo milkshake, throw a handful of biscuits and some ice cream into a blender, hit go, and… end up with a sad, uniform, grey sludge.

    It tastes okay, but it completely lacks that premium cafe-style texture.

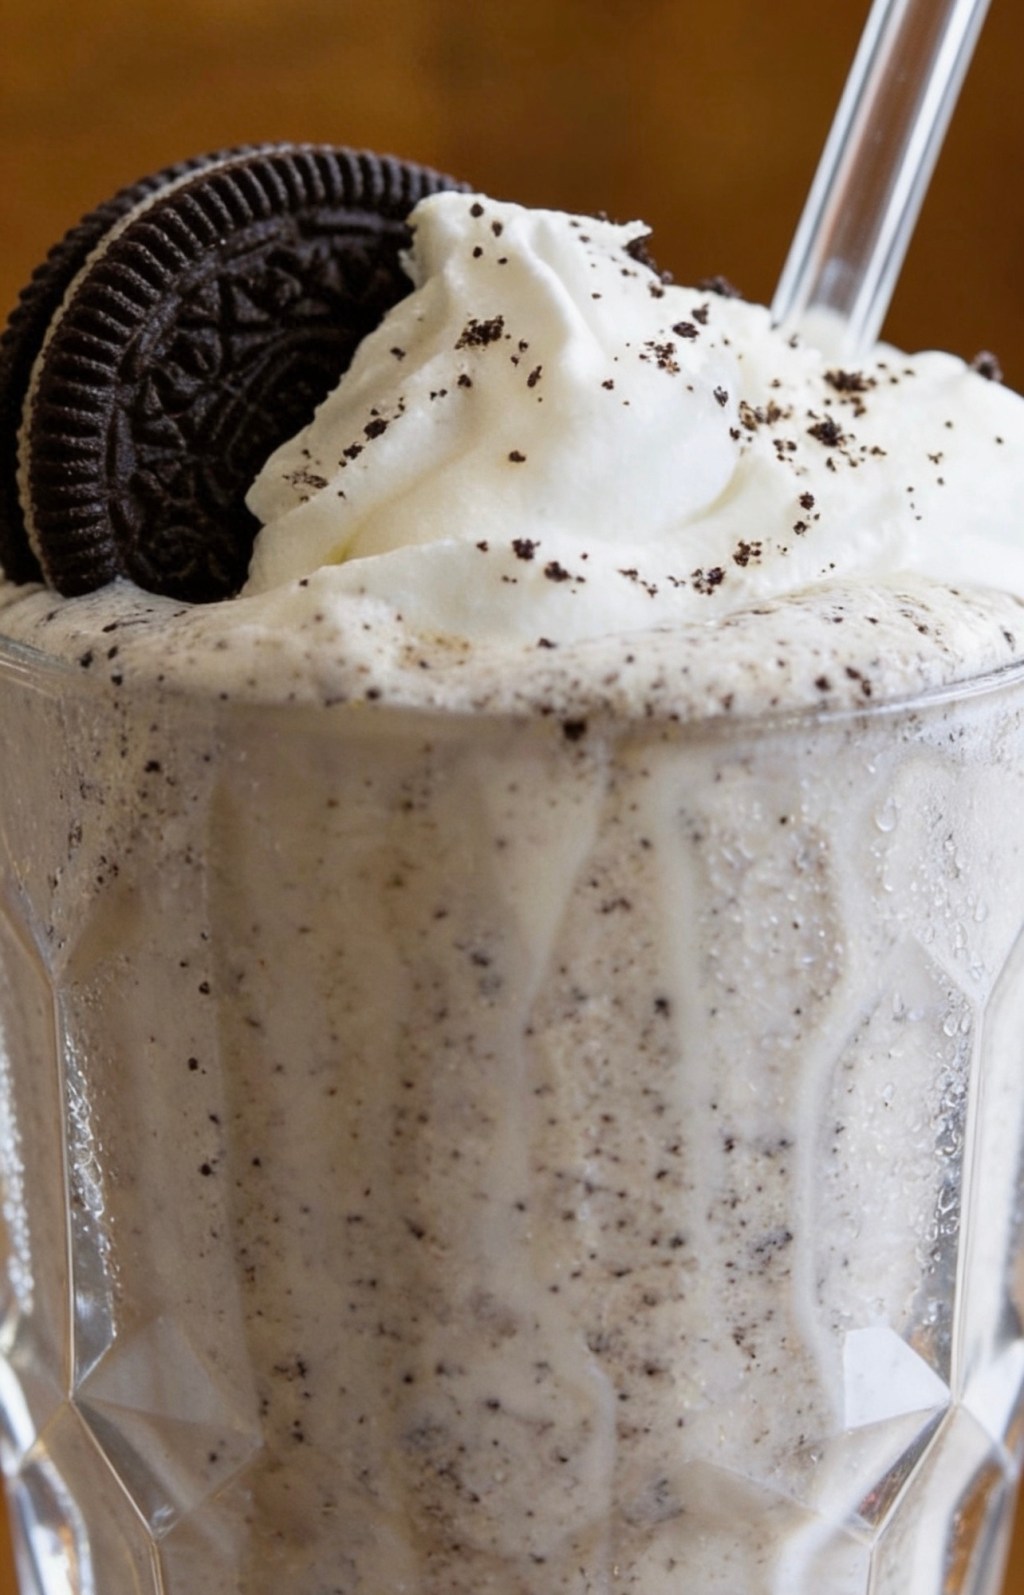
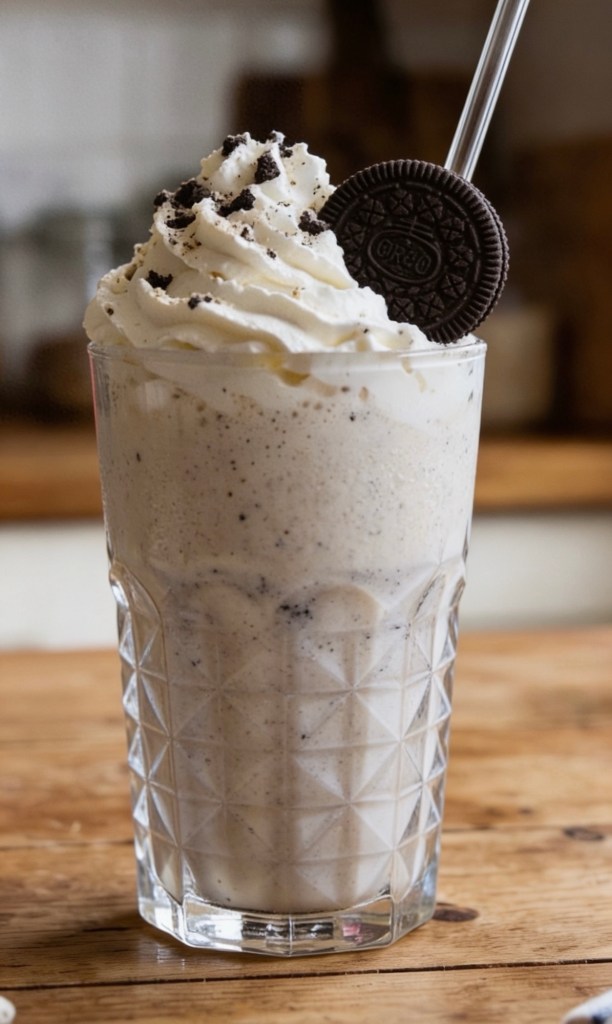
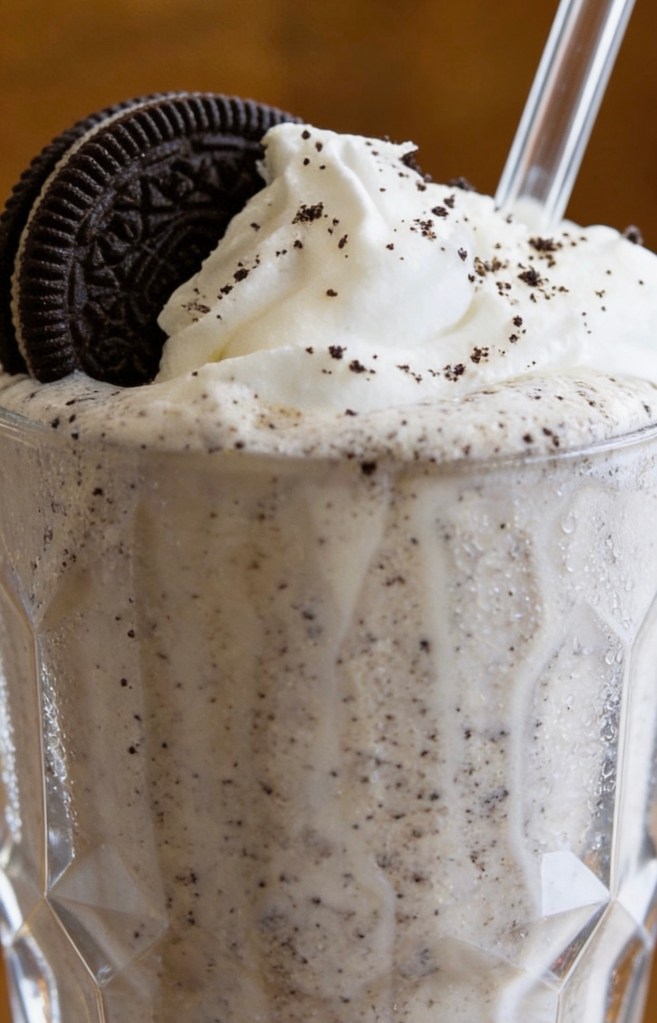
    The secret to a perfect Oreo milkshake isn’t a magical ingredient—it’s all in the timing. If you blend everything together at once, the biscuits pulverize into dust. By changing up your blending order, you get a beautiful, speckled shake with perfect crunchy biscuit bits in every single sip.

    Here is how to make a proper British cafe-standard Oreo milkshake at home in less than five minutes.

    Why This Recipe Works

     The Texture Contrast: Blending the base first keeps the ice cream thick while pulsing the biscuits at the end preserves the crunch.

     No Ice Needed: Adding ice dilutes the rich dairy flavour. We use pure ice cream and full-fat milk for maximum creaminess.

     Chilled Glass Technique: Freezing the glass with chocolate sauce ensures your milkshake stays thick from the first sip to the last.

    Ingredients

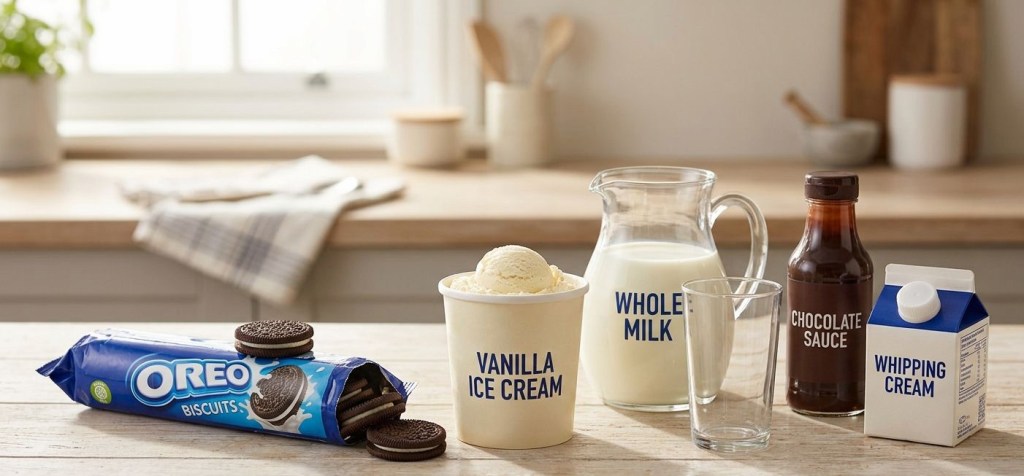
     4 large scoops vanilla ice cream

     120ml whole milk (full-fat milk gives the best texture)

     5 Oreo biscuits (plus 1 or 2 extra for the topping)

     Optional: Whipped cream (or squirty cream) and chocolate dessert sauce for decorating the glass

    Step-by-Step Instructions

    Step 1: Prep Your Glass

    Take your serving glass and drizzle chocolate sauce around the inside walls in a swirl pattern. Pop the glass straight into the freezer while you make the shake. Trust me, a chilled glass is a game-changer for keeping a milkshake thick.

    Step 2: Blend the Creamy Base

    Add the 4 large scoops of vanilla ice cream and 120ml of whole milk to your blender. Whizz on high for about 20 to 30 seconds until the mixture is completely smooth, thick, and uniform.

    Step 3: Add the Oreos and Pulse

    Drop the 5 Oreo biscuits directly into the smooth mixture. Instead of turning the blender back on continuously, use the pulse setting just 4 or 5 times. You want the blades to break the biscuits into small, chewable pieces, not turn them into powder.

    Step 4: Assemble and Serve

    Take your chilled glass out of the freezer. Pour the thick, speckled milkshake straight in. Top with a generous mountain of whipped cream, and crumble your remaining Oreo biscuits over the top. Add a wide straw and enjoy!

    💡 Pro-Tip: The 2-Minute Rule

    If your milkshake feels a bit too thick to drink through a straw, do not add more milk. Adding more milk dilutes the rich creaminess and thins it out permanently. Instead, just leave it on the kitchen side for two minutes. Let the ice cream soften naturally, and it will reach the perfect sippable consistency on its own.

    Variations to Try

     The Peanut Butter Twist: Add one tablespoon of smooth peanut butter into the blender during Step 2 for an incredible sweet-and-salty kick.

     Double Chocolate: Swap out two of the vanilla ice cream scoops for chocolate ice cream to make a decadent ultra-chocolate version.

    Over to you! Do you prefer your milkshakes completely smooth, or are you team chunky? Let me know in the comments below!

  • The Ultimate Kinder Bueno Milkshake: You NEED This in Your Life! 🍫✨

    The Ultimate Kinder Bueno Milkshake: You NEED This in Your Life! 🍫✨

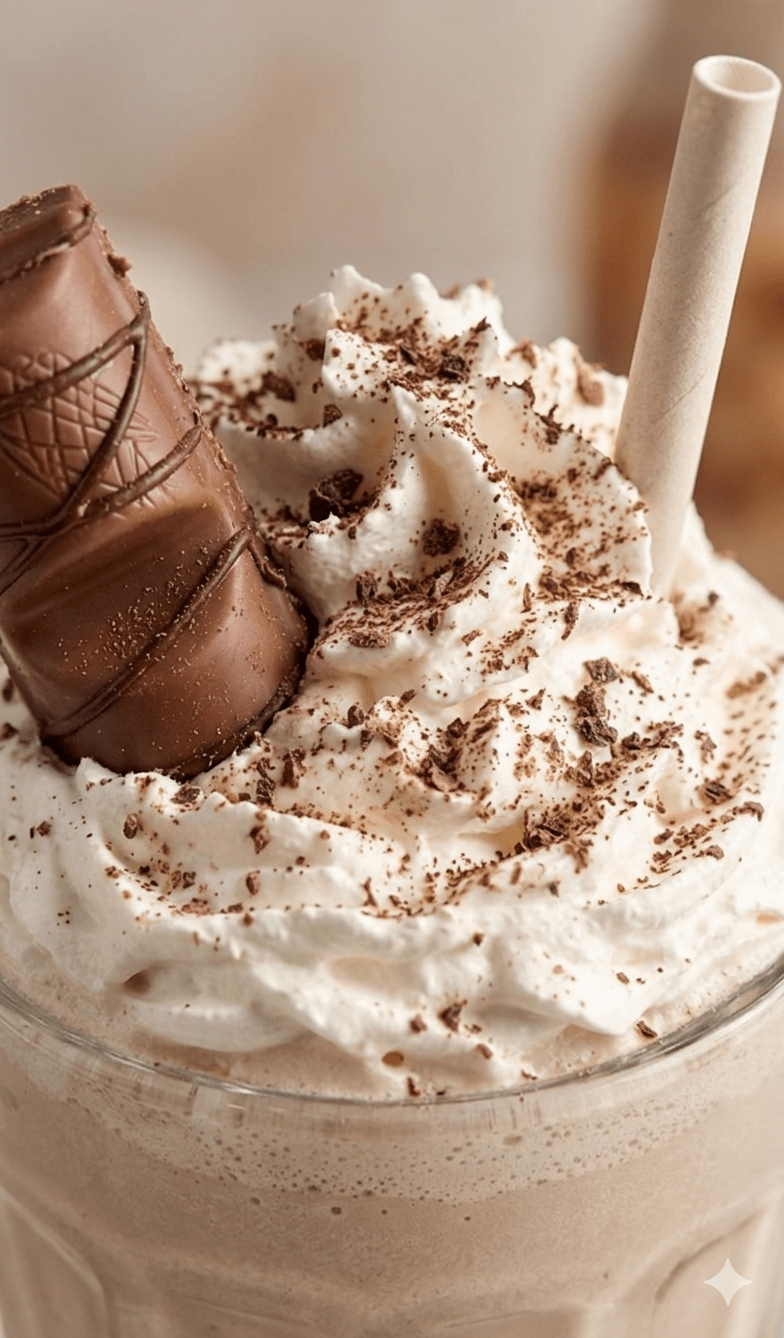
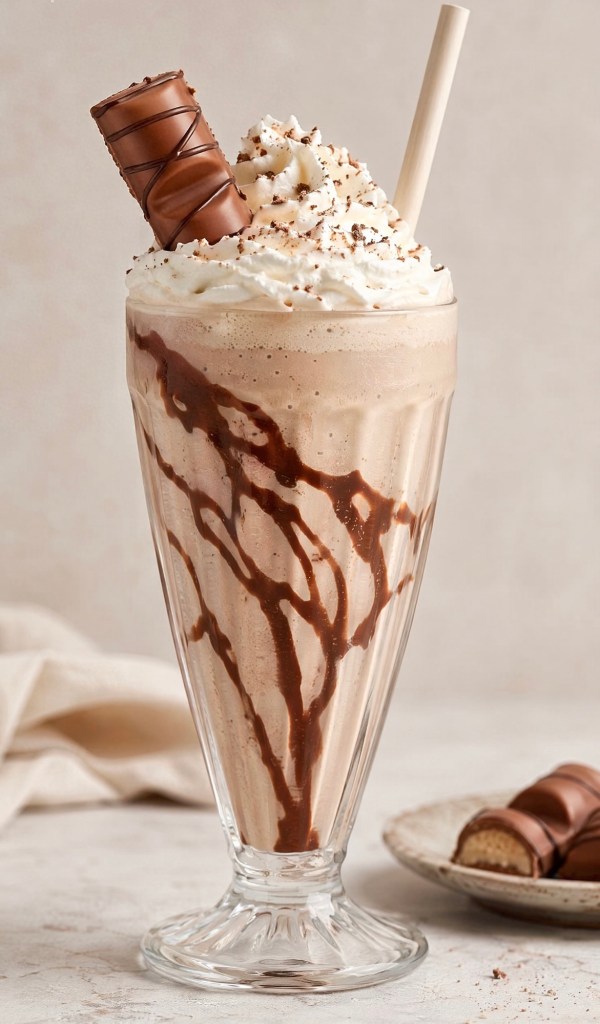
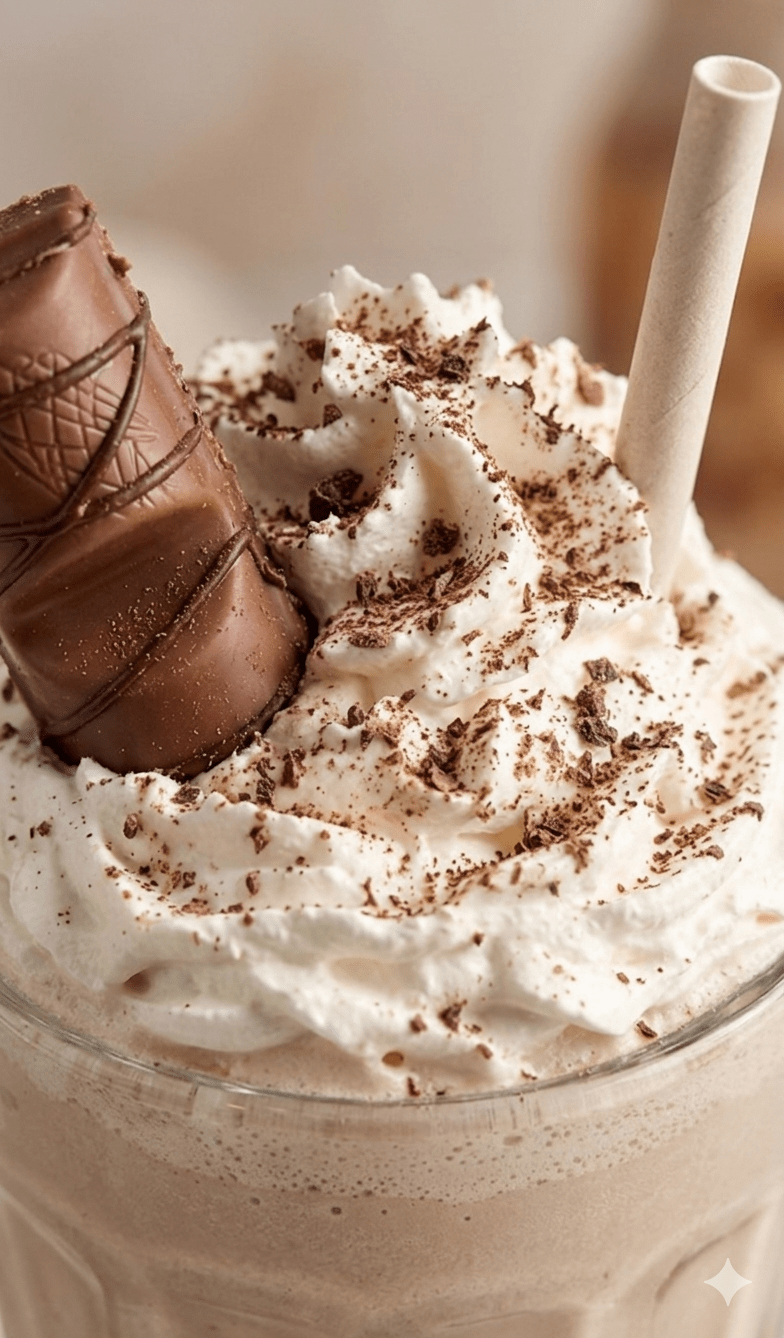
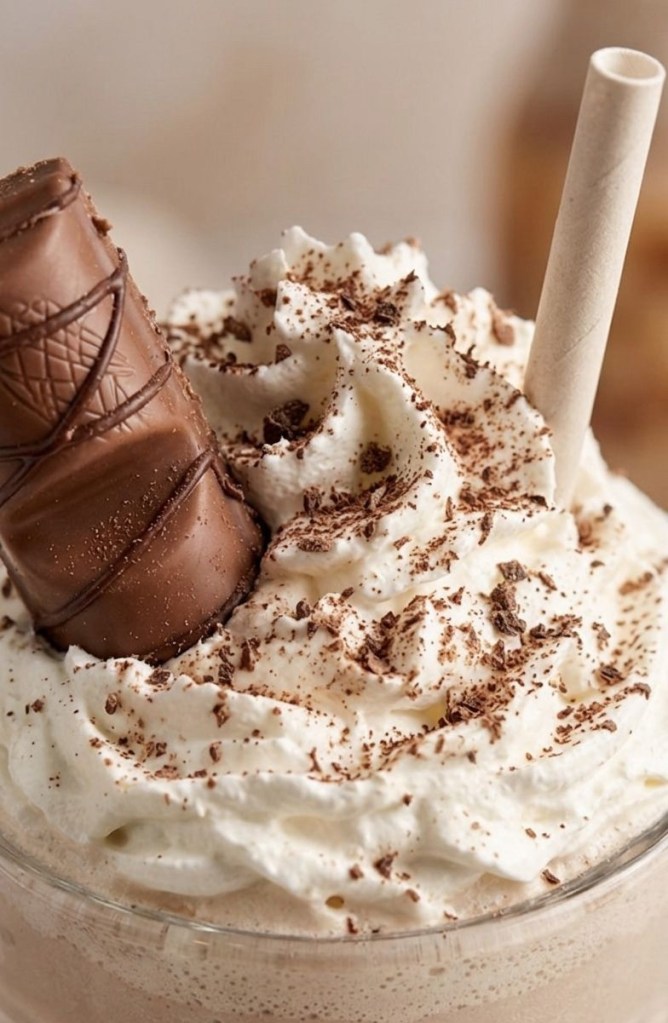
    Okay, let’s be real for a second—is there anything better than a Kinder Bueno? That hazelnutty, creamy, crispy perfection is basically a food group in my house. So, naturally, I decided to turn it into the ultimate milkshake, and wow… I think I’ve peaked.

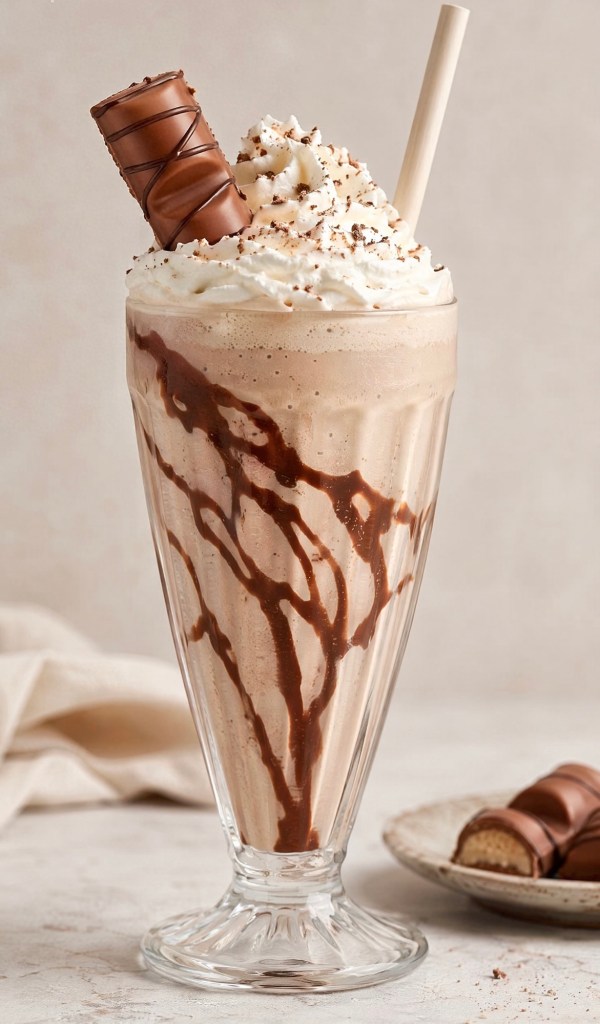
    Seriously, this isn’t just a drink; it’s a whole experience. It’s super creamy, packed with that iconic hazelnut flavor, and looks like something straight out of a fancy cafe.

    Why You’ll Be Obsessed

    If you’re having a bad day, this is your fix. If you’re having a good day, this is your celebration. It’s got everything:

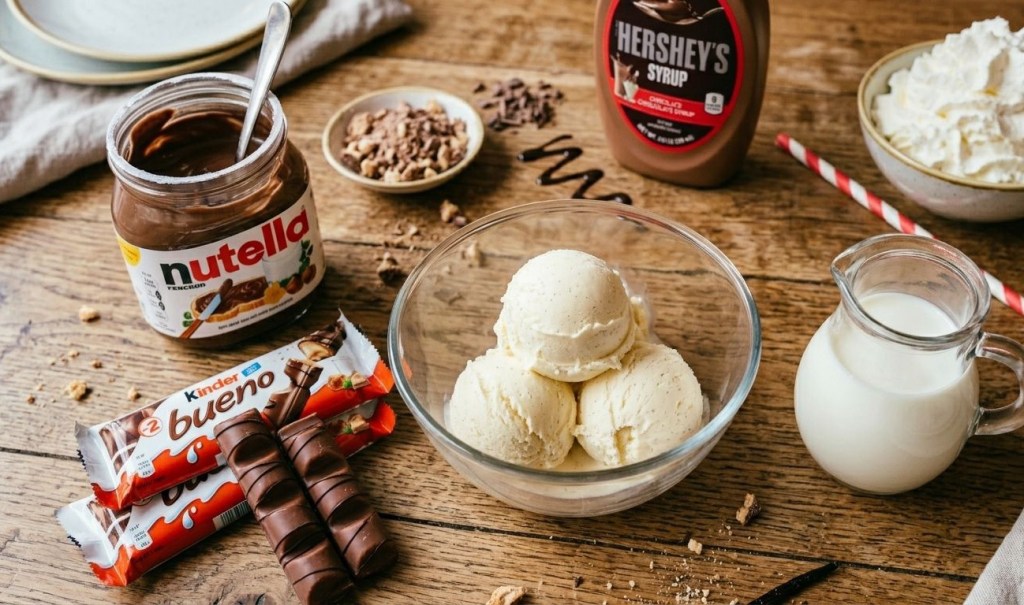
     The Secret Weapon: A big spoonful of Nutella, which makes the hazelnut flavor absolutely pop.

     Texture Heaven: Smooth vanilla ice cream blended with those signature crispy wafers.

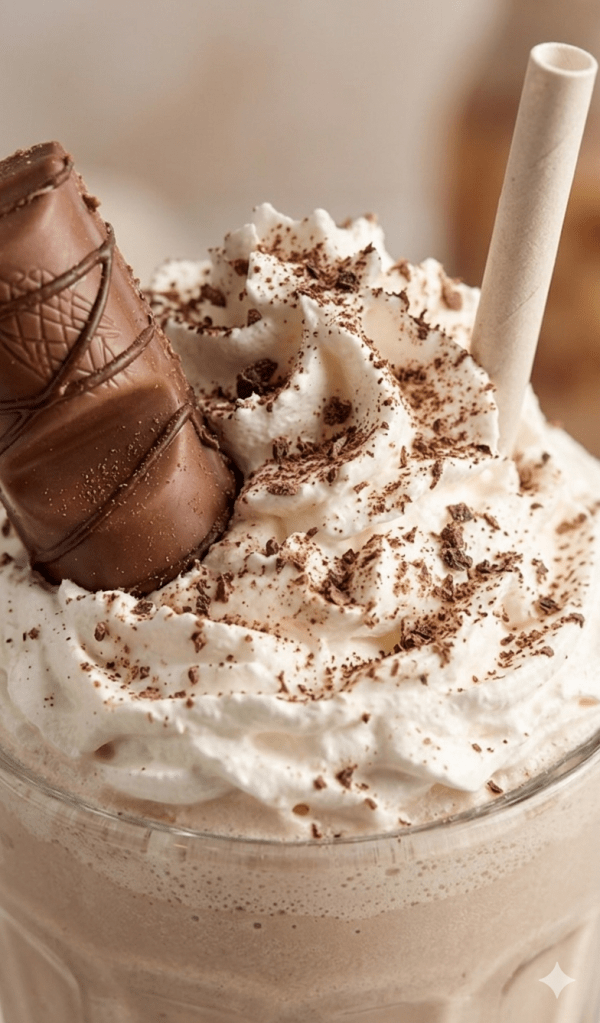
     The “Extra” Factor: A mountain of whipped cream and a chocolate syrup drizzle that looks professional (even if it took two seconds to do).

    Let’s Make It!

    You don’t need to be a barista to nail this. Just grab these:

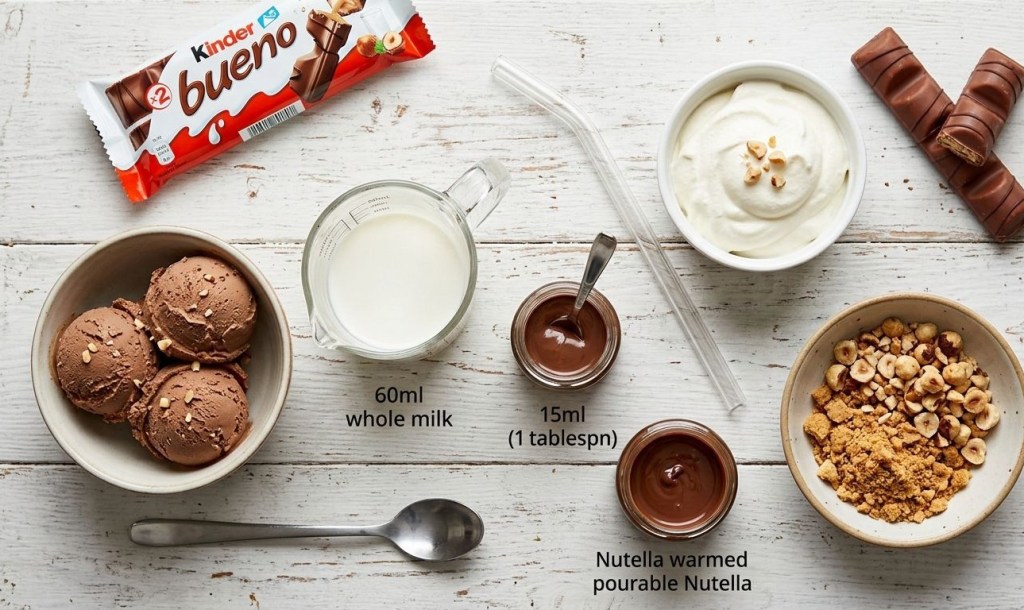
     3 scoops of your favorite vanilla ice cream

     2 bars of Kinder Bueno

     1 big tablespoon of Nutella

     1/2 cup of milk (add more if you like it thinner)

     Chocolate syrup and whipped cream for the finishing touches!

    How to do it:

    Drizzle some syrup down the inside of your glass—it makes it look so fancy! Toss the ice cream, Kinder Bueno, Nutella, and milk into the blender, and whirl it until it’s smooth. Pour it into your glass, pile on that whipped cream, and top it with an extra piece of Kinder Bueno. Boom. Done.

    Trust me, you have to try this. And when you do, tag me in your photos—I want to see your creations!
    So, are you team “drink it all” or “let’s share”? Let me know in the comments! 👇

  • The Ultimate Indulgent Jaffa Cake Milkshake Recipe

    The Ultimate Indulgent Jaffa Cake Milkshake Recipe

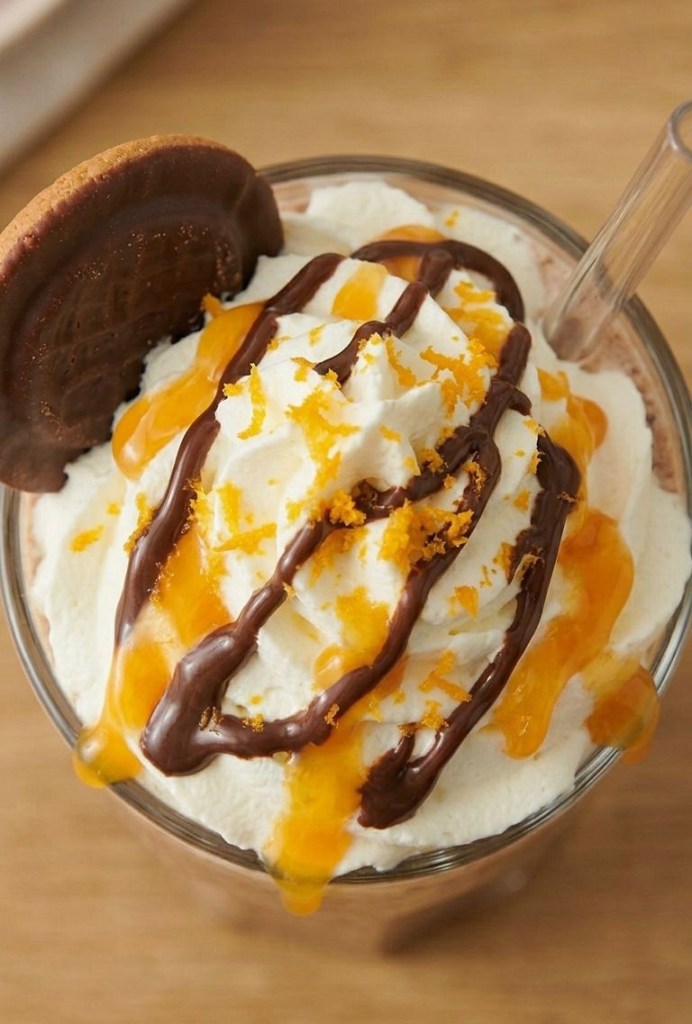
    There are few flavour combinations more iconic than rich, dark chocolate and zesty, tangy orange. It’s a classic for a reason. And when you combine that flavour profile with the texture of a real Jaffa Cake, you get something truly magical.

    I’m not talking about *flavouring* a milkshake to *taste* like orange and chocolate. No. I am talking about blending actual, whole Jaffa Cakes directly into the shake. It is thick, it is creamy, and yes, it features the distinct, spongey texture that makes Jaffa Cakes unique. Is it a cake or a biscuit? I’ll let you decide, but in this form, it is simply perfect.

    This is the ultimate, indulgent dessert-in-a-glass. Let’s get blending.

    What You Need: The Jaffa Cake Milkshake Ingredients

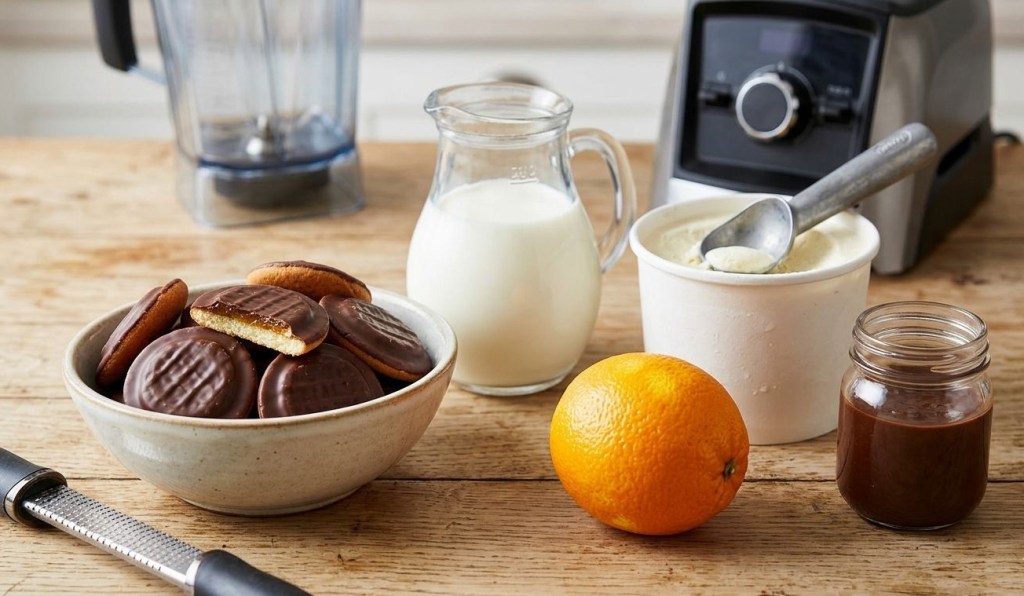
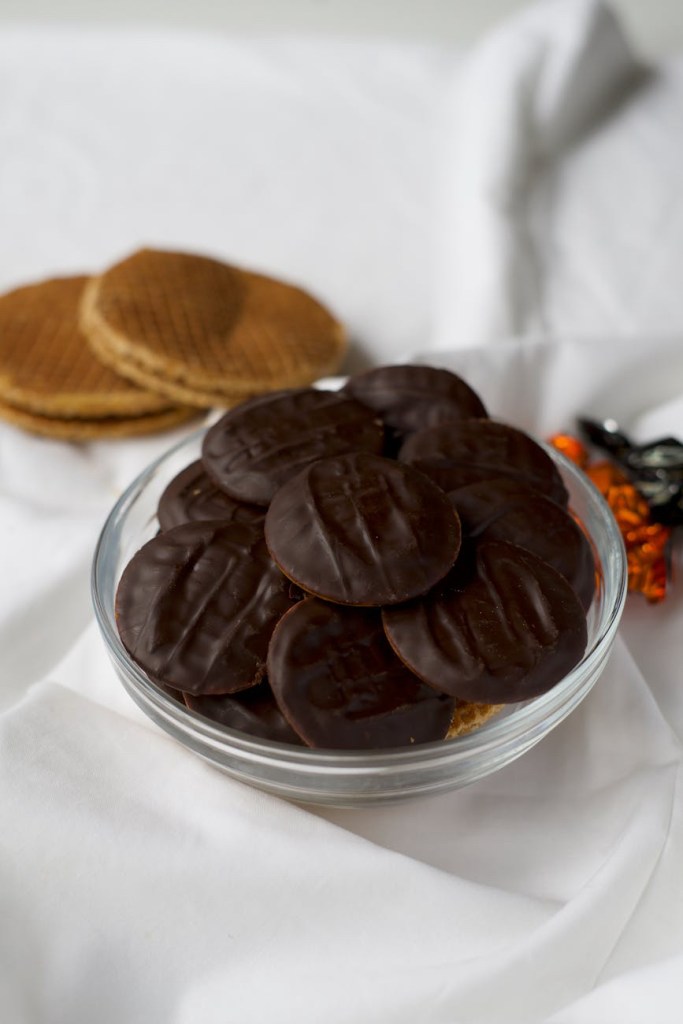
    The beauty of this recipe is its simplicity. You don’t need anything fancy, just five key ingredients and a blender. As you can see in the ingredients picture above, we keep it simple:

    • Jaffa Cakes (The Star): You will need 5 for the shake itself, and an extra one or two for the necessary garnish!
    • Vanilla Ice Cream (The Base): Use high-quality vanilla bean ice cream for the smoothest, creamiest texture.
    • Whole Milk: To give it that essential rich milkshake consistency.
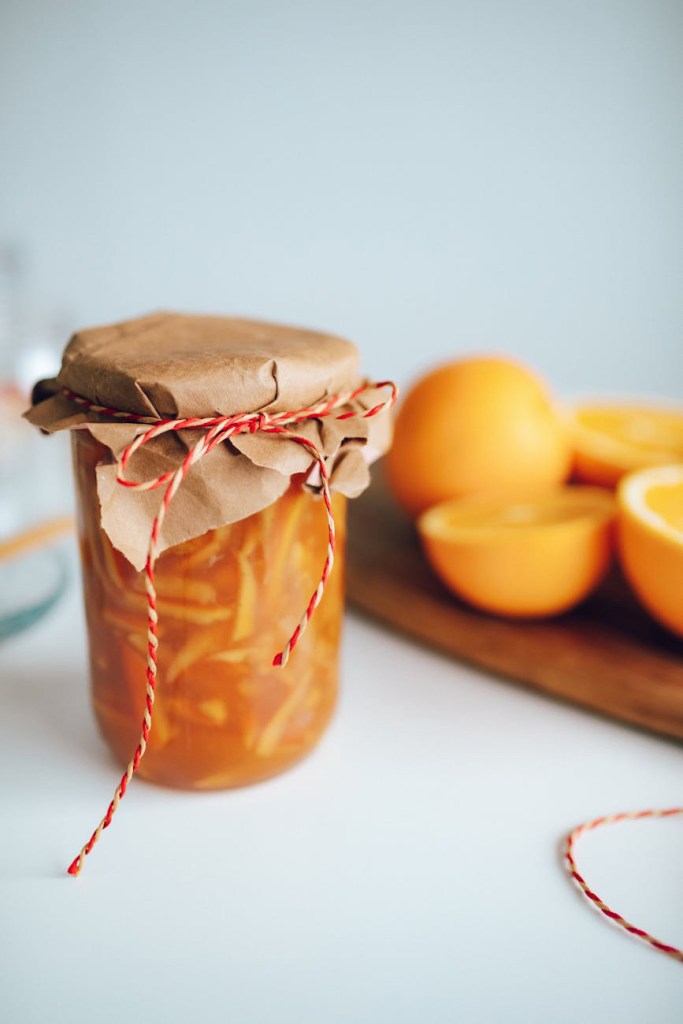
    • Orange Marmalade (The Secret): This is crucial. A tablespoon of good quality marmalade provides that explosive, zesty punch that makes it taste exactly like the jelly centre of the Jaffa Cake.
    • Chocolate Sauce: For drizzling inside the glass and over the toppings.

    Recommended Equipment

    • A high-speed blender (essential for pulverising the cakes).
    • A tall, clear glass.
    • A straw!

    Step-by-Step Method

    Follow these simple steps to chocolate-orange bliss:

    1. Prep Your Glass (Optional but Recommended): Take your serving glass and drizzle chocolate sauce artfully down the inside walls. Place the glass in the freezer while you mix the rest. This keeps your milkshake ice-cold when you serve.
    2. Break the Cakes: Roughly tear 5 Jaffa Cakes in half and drop them into the bottom of your blender pitcher.
    3. Add the Dairy: Add 3 large scoops of vanilla ice cream and 200ml of whole milk.
    4. The Secret Punch: Add 1 tablespoon of orange marmalade (or orange syrup if you prefer).
    5. Blend until Smooth: Secure the lid and blend on high speed for 20-30 seconds. You want it completely combined and frothy, but stop before it melts completely!
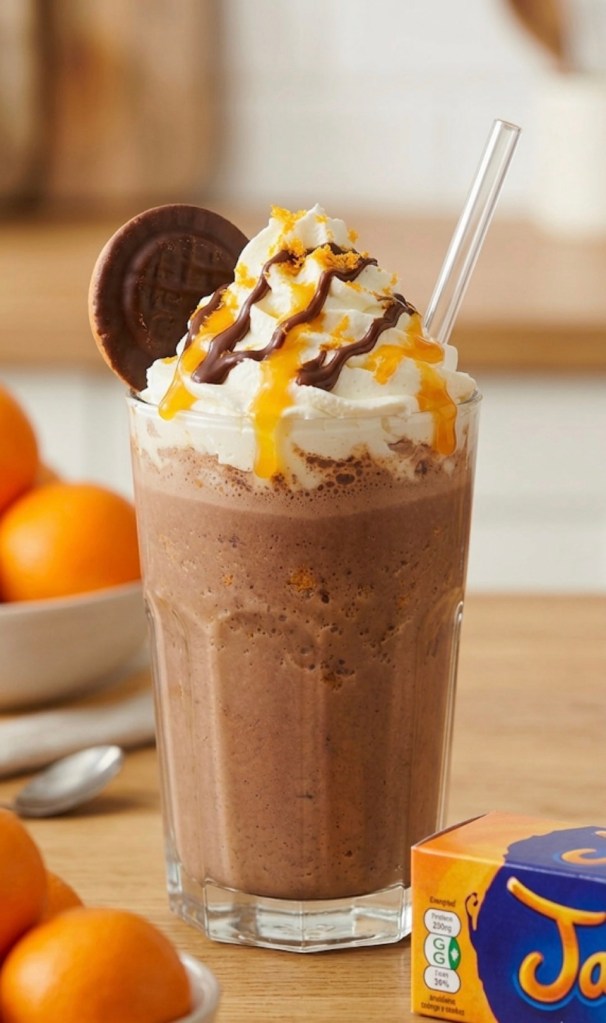
    6. Pour and Garnish: Take your chilled glass from the freezer. Pour the thick Jaffa Cake blend in.
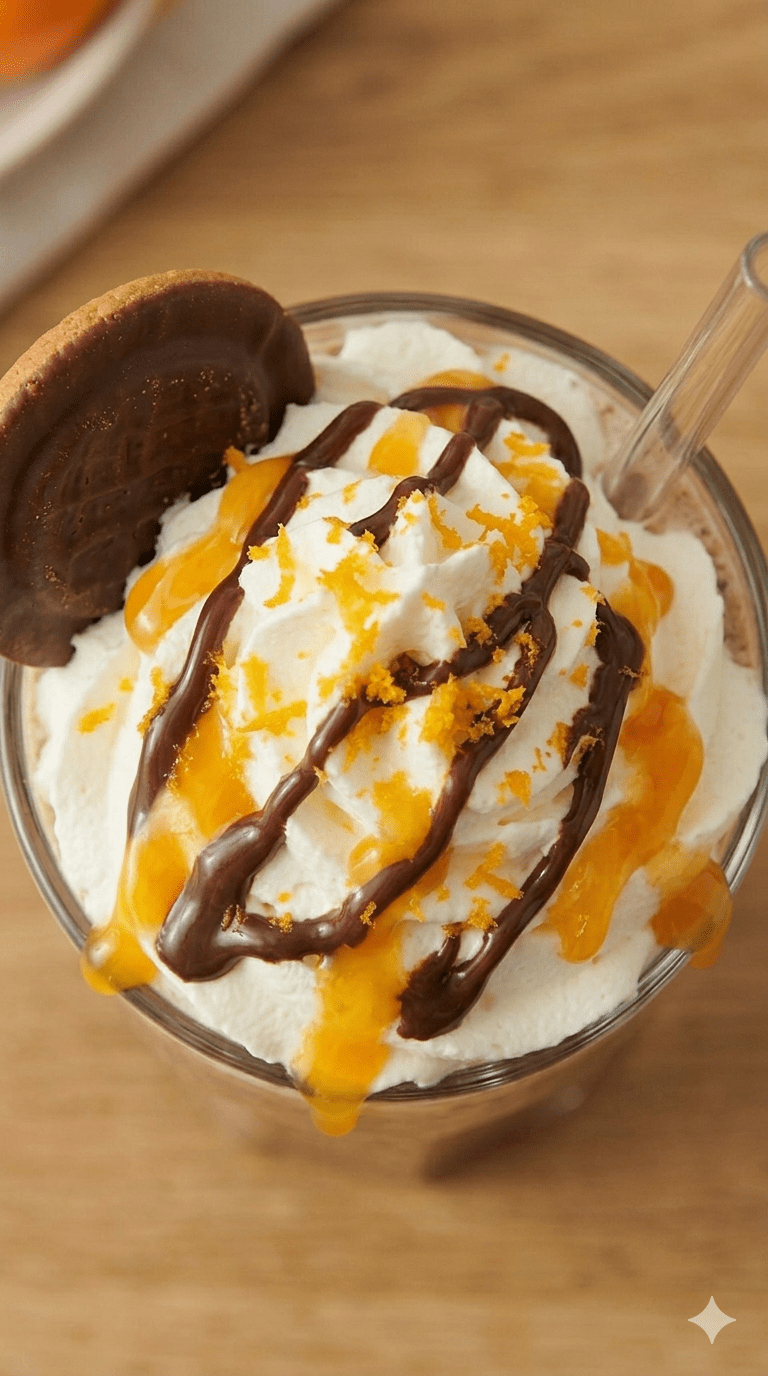
    7. The Masterpiece Top: Crown your shake with a generous serving of whipped cream. Drizzle more chocolate sauce, perhaps a sprinkle of orange zest, and perch one whole Jaffa Cake on the rim as the final garnish.

    Tips for Success

    • Consistency Check: If the shake is too thick to drink, add another splash of milk and give it a quick pulse. If it’s too thin, add another half-scoop of ice cream.
    • Vegan Option: You can easily make this vegan by using dairy-free ice cream (vanilla coconut works well), plant-based milk (oat or almond), and vegan chocolate sauce.
    • Share the Debate: When you serve this, ask the ultimate question: Biscuit or Cake? (And let me know their answers in the comments!)

    This Jaffa Cake Milkshake is a game-changer. Enjoy every sip!

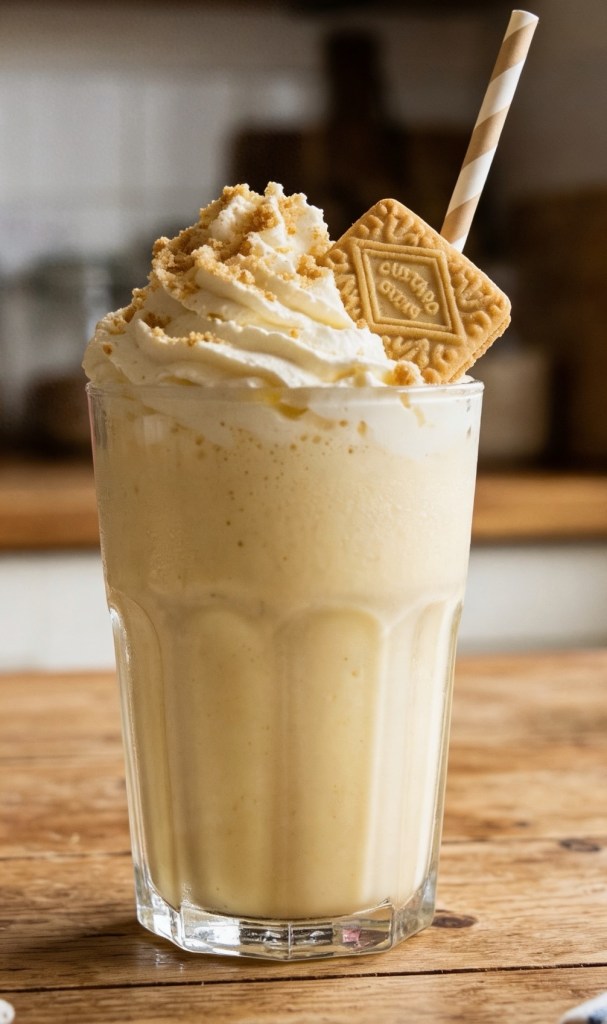
  • Skip the Lines: How to Make a DIY M&S Custard Cream Milkshake at Home

    Skip the Lines: How to Make a DIY M&S Custard Cream Milkshake at Home

    If you are a fan of classic British biscuits, you have probably heard the rumors. The supermarket kings at Marks & Spencer are reportedly launching a brand-new Custard Cream Milkshake.

    While we love an M&S treat as much as the next person, why wait for the release date (or pay supermarket prices) when you can whip up an even better version right in your own kitchen?

    This DIY Custard Cream Milkshake recipe is incredibly easy, hassle-free, and takes less than five minutes to make. If you want a quick, thick, and deeply comforting sweet treat, this is the ultimate recipe for you.


    🛒 The Ingredients

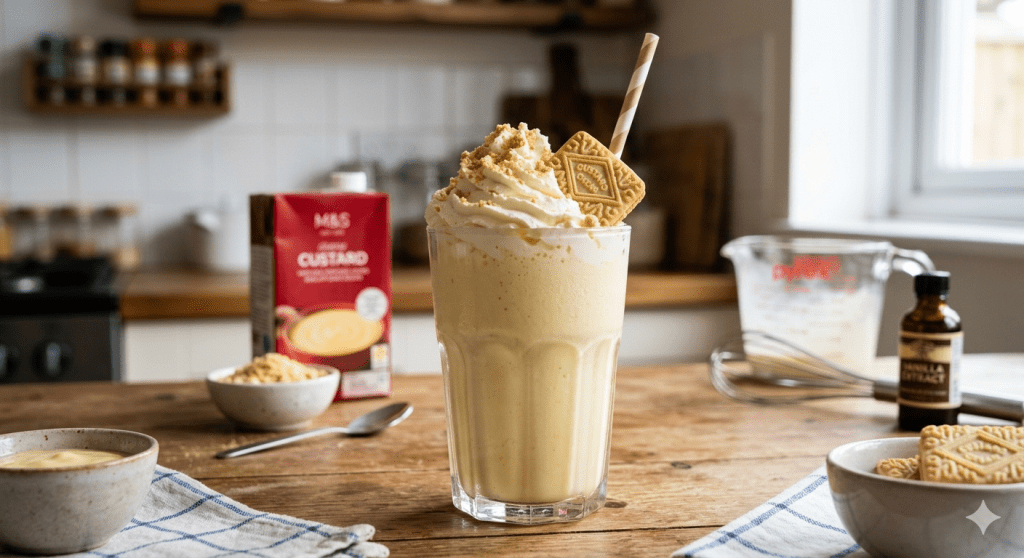
    You don’t need a professional kitchen or any fancy equipment for this recipe—just a container or a standard measuring jug and a whisk or spoon. Here is what you will need for one serving:

    • Milk: 150ml
    • Custard: 200g (Ready-made pourable custard works best!)
    • Caster Sugar: 3 teaspoons (Optional, adjust to taste)
    • Vanilla Essence: Up to 1 teaspoon
    • Whipped Cream: Vanilla whipped cream is highly recommended!
    • The Star Ingredient: Custard Cream biscuits

    👩‍🍳 Step-by-Step Instructions

    This recipe is incredibly straightforward, making it the perfect quick fix for late-night cravings

    or a fun weekend treat.

    Step 1: Blend the Base

    First, put 200g of custard into a container (a glass measuring jug works perfectly for this). Next, add your 150ml of milk. Mix or whisk vigorously until both ingredients have completely blended together into a smooth, creamy liquid base.

    Step 2: Flavor and Sweeten

    Add your 3 teaspoons of caster sugar (if you want that extra hit of sweetness) and stir it in. Then, add a little splash of vanilla essence.

    Top Tip: Keep it to a maximum of one teaspoon of vanilla essence. Anything more than that will overpower the delicate, nostalgic flavor of the custard!

    Step 3: Top it Off

    Now for the best part. Simply add as much whipped cream as your heart desires to the top of your drink. While standard whipped cream is fine, vanilla whipped cream works best because it perfectly compliments the custard base.

    Step 4: The Ultimate Garnish

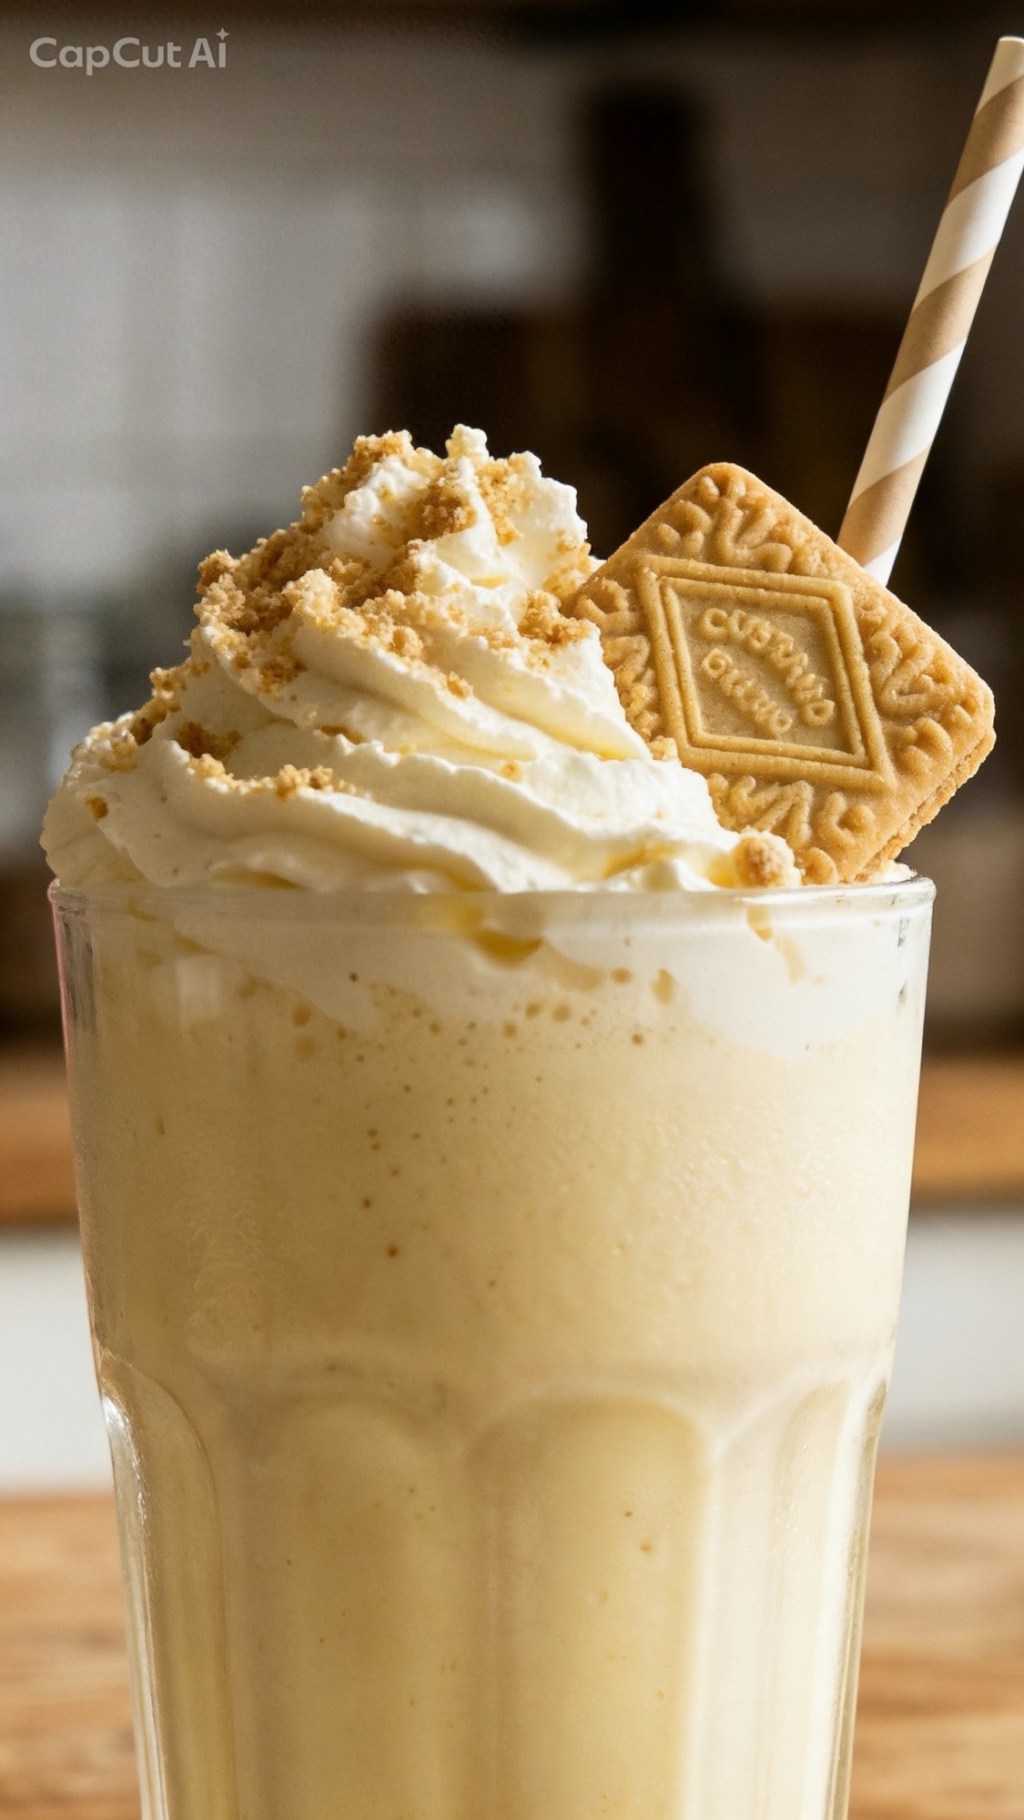
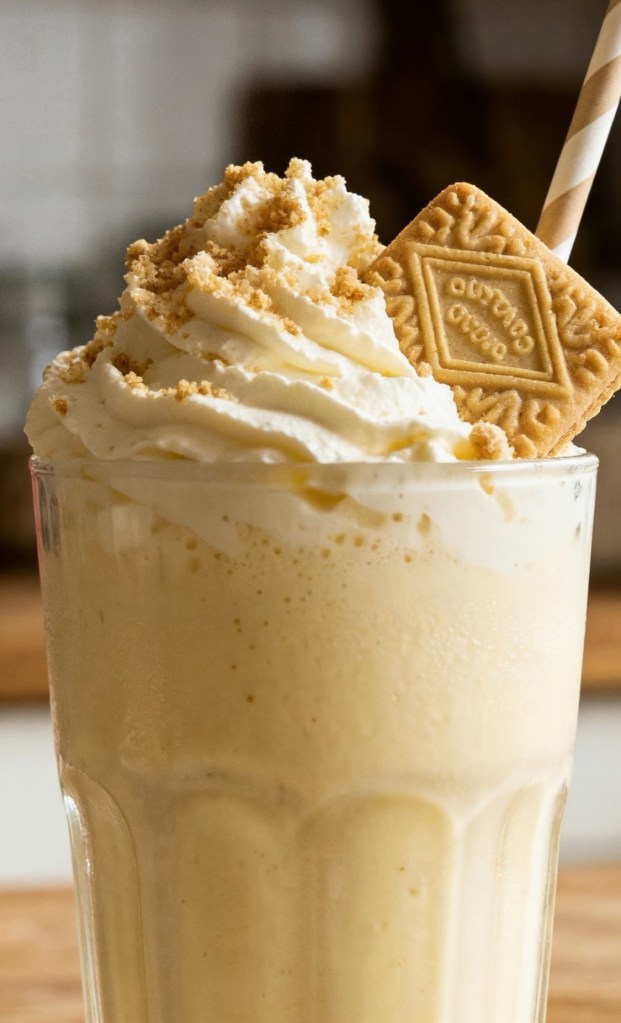
    Finally, top off your creation with a whole Custard Cream biscuit (and maybe a few extra crumbs if you are feeling fancy).

    Your homemade Custard Cream Milkshake is ready to serve!


    🥤 Why This Recipe Beats the Store-Bought Version

    Aside from saving you a trip to the high street, making this milkshake at home lets you control exactly what goes into it. You can make it extra thick by adding a bit more custard, or dial back the sugar if you prefer a more subtle sweetness.

    Plus, you get to stack the whipped cream and biscuits as high as you want!


    💬 What Do You Think?

    Are you going to try making this at home, or are you still curious to see how the official Marks & Spencer version compares?

    Let us know in the comments below if you tried this recipe, and don’t forget to share your milkshake photos with us!