Category: healthy snacks

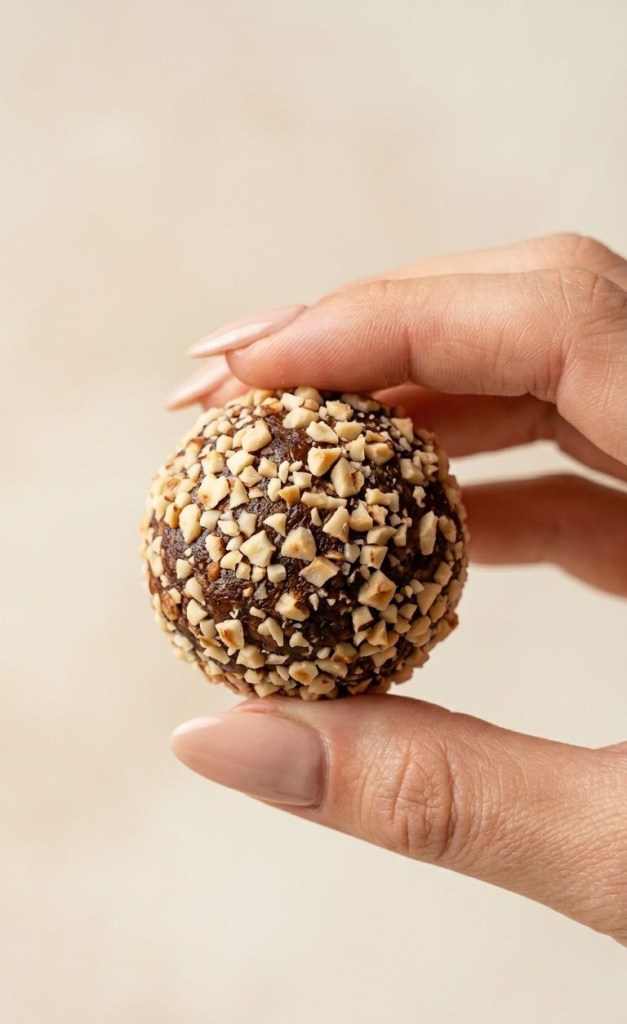
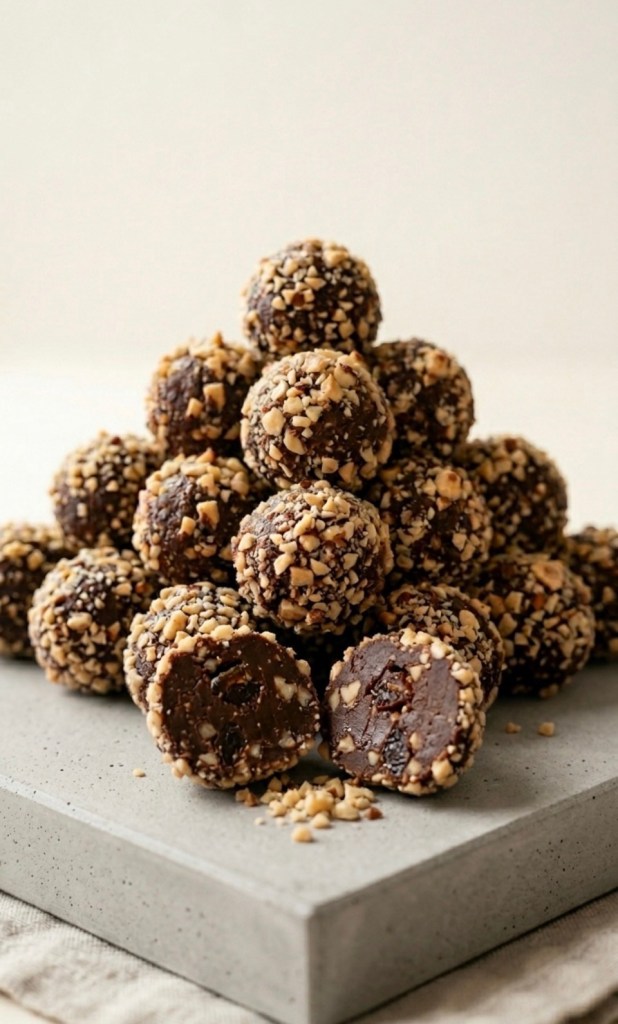
  • Healthy Hazelnut & Chocolate Bites: The Perfect Guilt-Free Snack

    Healthy Hazelnut & Chocolate Bites: The Perfect Guilt-Free Snack

    Looking for a way to satisfy those mid-afternoon chocolate cravings without reaching for the processed stuff? You are not alone. Many of us want a sweet treat that feels indulgent but keeps our health goals on track.

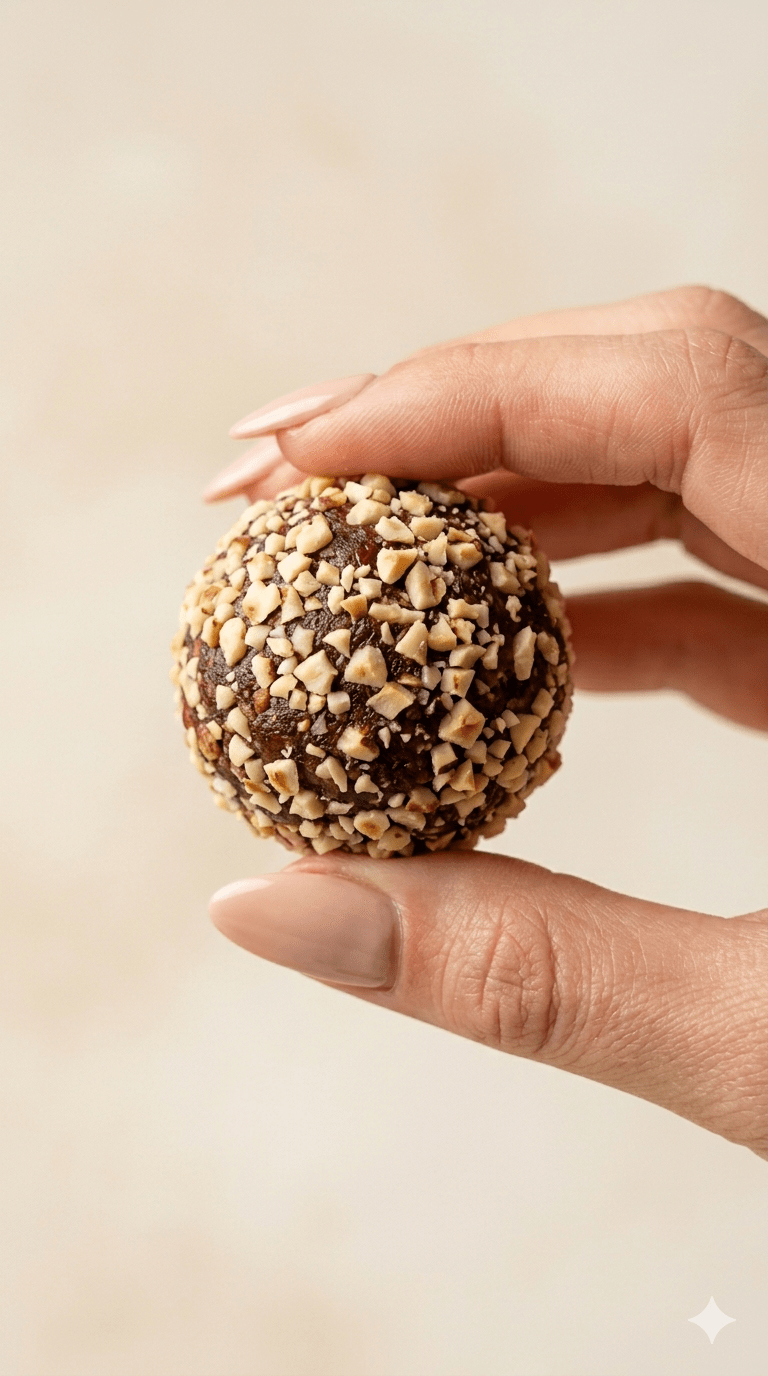
    These homemade, date-based hazelnut bites are the answer. They pack all the rich, nutty flavour of a classic luxury chocolate into a wholesome, plant-based package. Best of all? They are incredibly easy to make and require zero baking.

    Why You Will Love These Bites

     Wholesome Ingredients: They rely on natural sweetness from Medjool dates and heart-healthy fats from hazelnuts.

     Quick & Easy: No oven required—just a food processor and 30 minutes of chill time.

     Versatile: They are vegan, refined-sugar-free, and make the perfect meal-prep snack for a busy week.

    The Ingredients

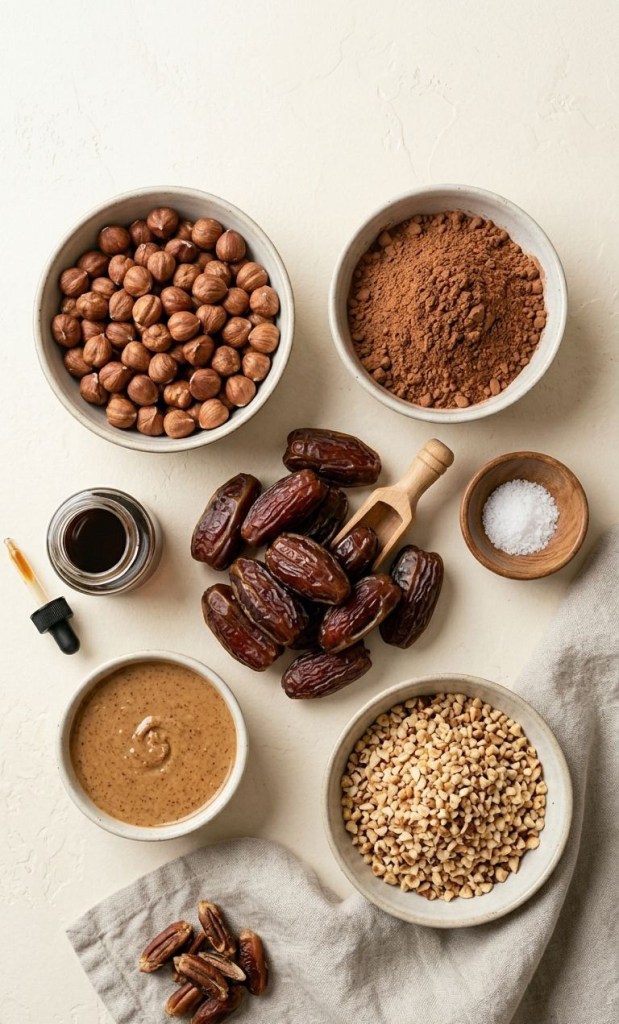
     1 cup whole hazelnuts (roasted, skins removed)

     1 ½ cups Medjool dates (pitted and packed)

     3 tbsp high-quality unsweetened cocoa powder (or raw cacao)

     1 tsp pure vanilla extract

     1 pinch sea salt

     Optional: 1 tbsp hazelnut butter for extra decadence

     For the coating: ½ cup finely chopped roasted hazelnuts

    Simple Method

    1. Prep the Nuts: Place your roasted hazelnuts into a food processor and pulse until they are coarsely chopped. Scoop out about 2–3 tablespoons and set them aside; you will use these for the final coating.

    2. Combine: Add the pitted dates, cocoa powder, vanilla extract, sea salt, and optional hazelnut butter to the processor with the remaining nuts.

    3. Blend: Blitz on high until the mixture forms a thick, sticky dough. If your dates are on the firmer side and it isn’t sticking, add a teaspoon of hot water or melted coconut oil to get it moving.

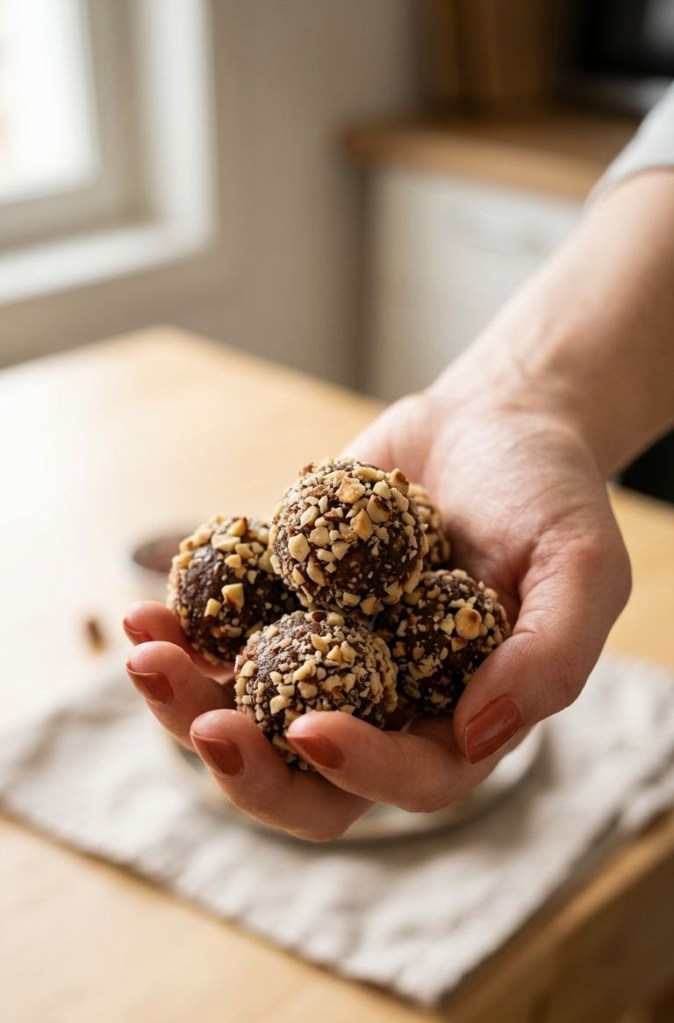
    4. Shape: Take about a tablespoon of the mixture and roll it firmly between your palms to create a ball.

    5. Coat: Roll each ball into the reserved chopped hazelnuts, pressing gently so the nut pieces stick to the outside.

    6. Chill: Place them on a tray lined with parchment paper and pop them in the fridge for at least 30 minutes to firm up.

    Storage Tips

    Keep these bites in an airtight container in your fridge for up to two weeks, or stash them in the freezer for up to two months when you need a quick energy boost.

    Who says you can’t have your chocolate and eat it too? These are made with simple, wholesome ingredients—no refined sugars, just pure hazelnut and cocoa goodness! Perfect for that 3pm slump.

  • The Best 3-Ingredient Chocolate Hazelnut Oat Bars

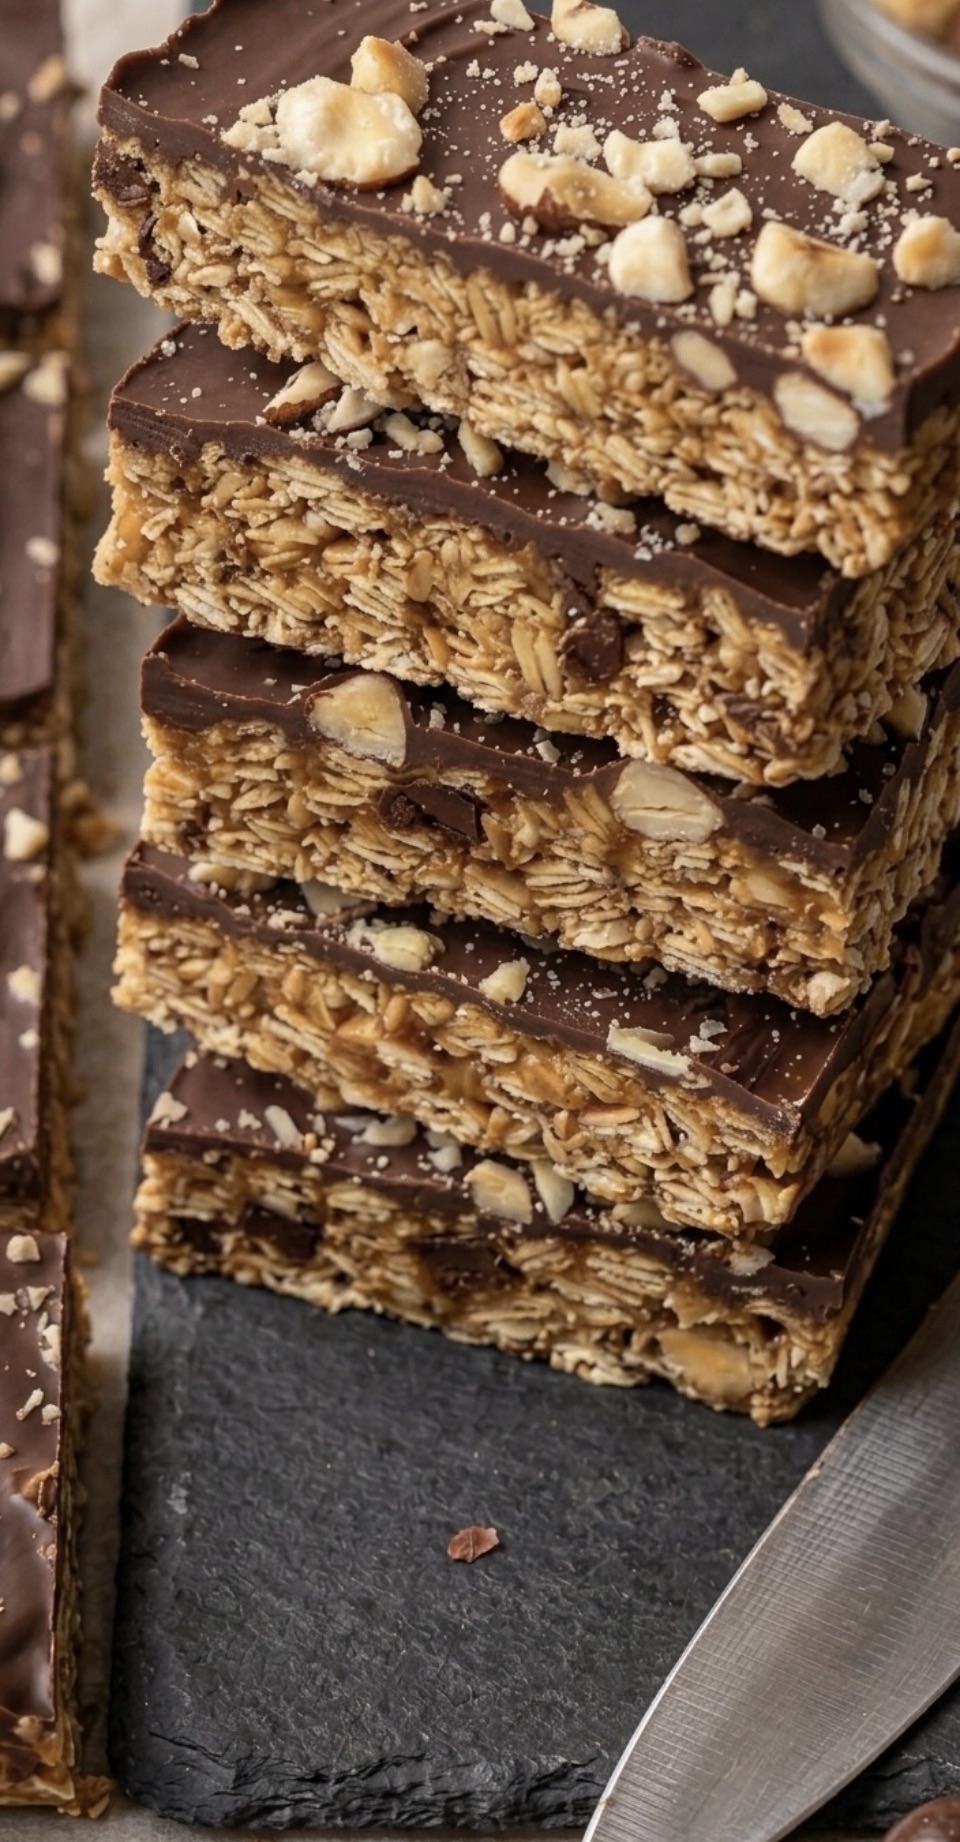
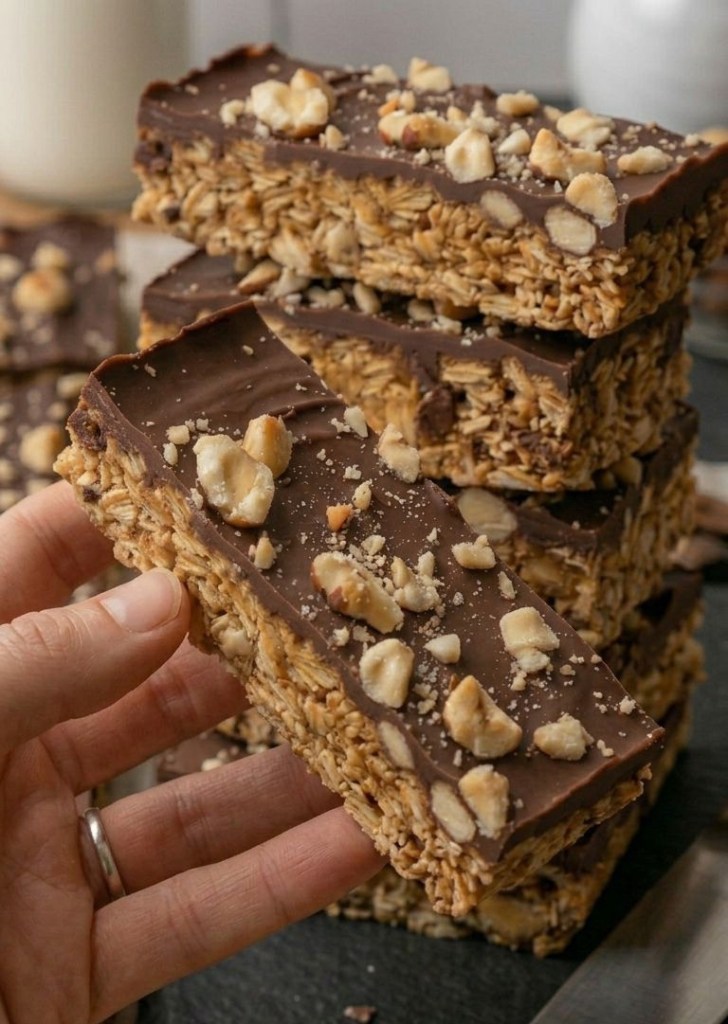
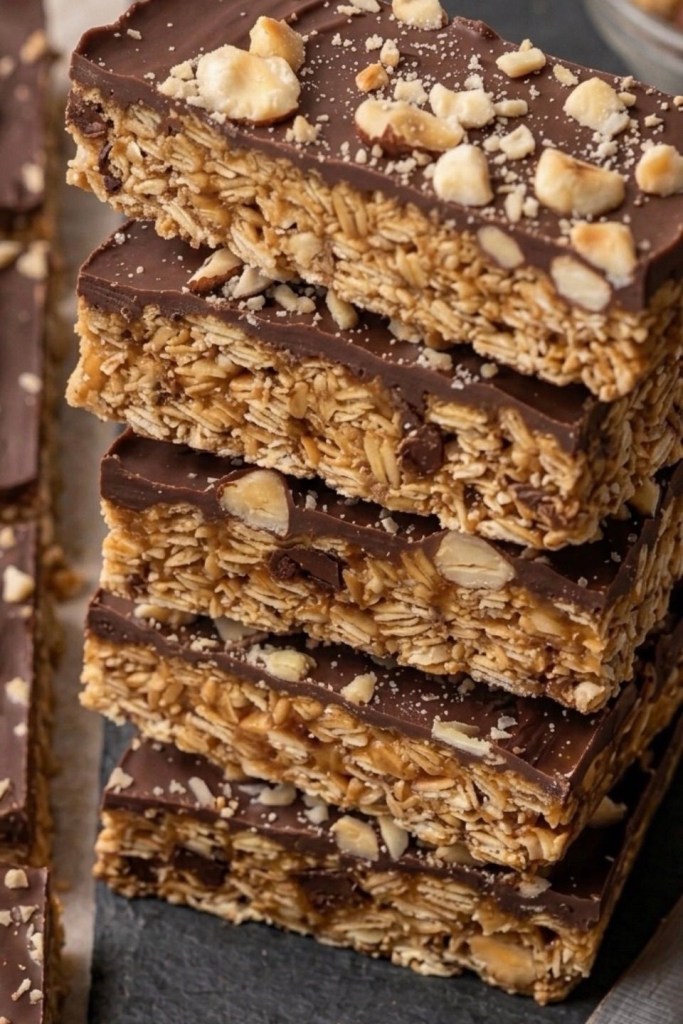
    The Best 3-Ingredient Chocolate Hazelnut Oat Bars

    Forget the expensive, processed cereal bars from the supermarket. If you want a snack that is deeply satisfying, perfectly chewy, and actually good for you, you have come to the right place.

    These chocolate hazelnut oat bars are my go-to for snack prep. They take minutes to pull together, they use simple pantry staples, and—best of all—they taste like a proper treat.

    Why You’ll Love These:

     Minimal Ingredients: Just three core ingredients for the base.

     No-Bake/Quick Prep: Perfect for busy weeks.

     Customisable: Add seeds, extra nuts, or sea salt to suit your taste.

     Healthier Energy: Packed with oats for sustained energy and healthy fats from the peanut butter.

    The Recipe (UK Measurements)

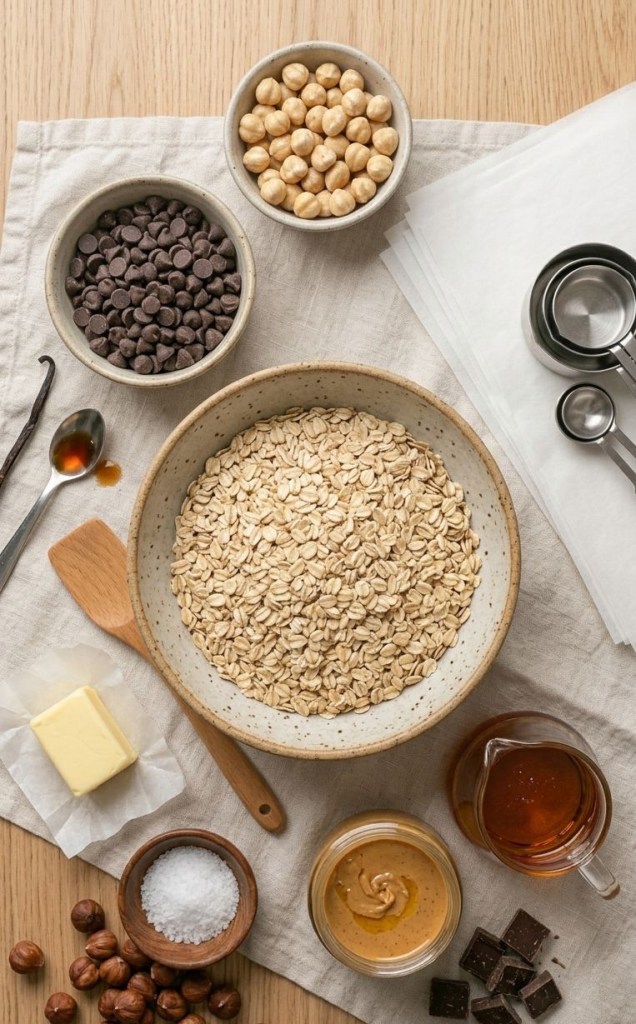
    Ingredients for the Base:

     200g Rolled Oats (use GF-certified if required)

     125g Peanut Butter (smooth or crunchy)

     110g Maple Syrup (or agave nectar/honey)

    For the Topping:

     150g Dark Chocolate (melted)

     50g Blanched Hazelnuts (roughly chopped)

    Method

    1. Prep: Line a 20cm x 20cm square baking tin with parchment paper.

    2. Mix the Binder: In a medium bowl, combine your peanut butter and maple syrup. If it’s a bit stiff, pop it in the microwave for 30 seconds until it’s nice and soft and easy to stir.

    3. Combine: Place your rolled oats into a large mixing bowl. Pour the peanut butter and syrup mixture over the oats and mix well until every oat is evenly coated.

    4. Press: Transfer the mixture into your lined tin. Use the back of a spoon or your hands to press the mixture very firmly into the tin. This is the secret to getting them to stay together!

    5. Set: Place the tin into the freezer for 30 minutes to firm up.

    6. Top: Once firm, pour your melted chocolate over the top and spread it evenly. Sprinkle the chopped hazelnuts over the wet chocolate.

    7. Chill & Slice: Place the tin back in the fridge or freezer until the chocolate has fully set. Once set, lift out of the tin using the parchment paper and slice into oblong bars.

    Tips for Success

     Storage: Keep these in the fridge to ensure they stay perfectly chewy and don’t get too soft. They will last for up to a week in an airtight container.

     Additions: Feel free to stir in chia seeds, sunflower seeds, or a pinch of sea salt to the oat mixture before pressing it into the tin.

    Did you give these a try? Let me know in the comments below how they turned out!

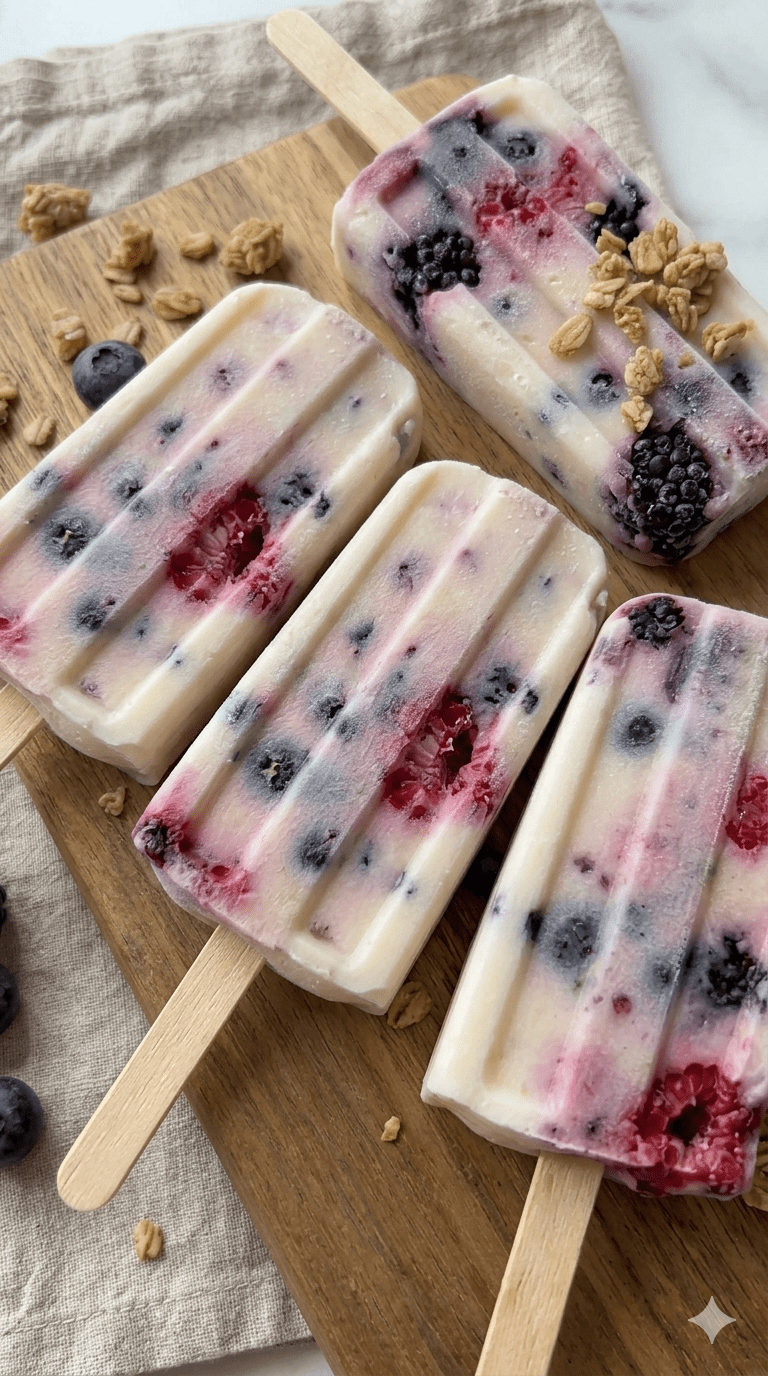
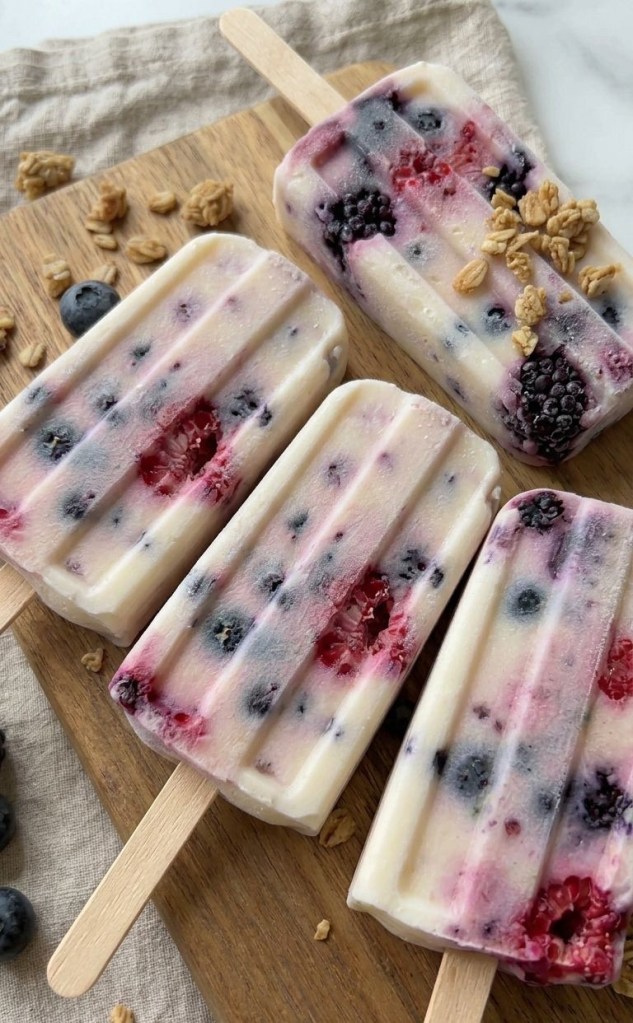
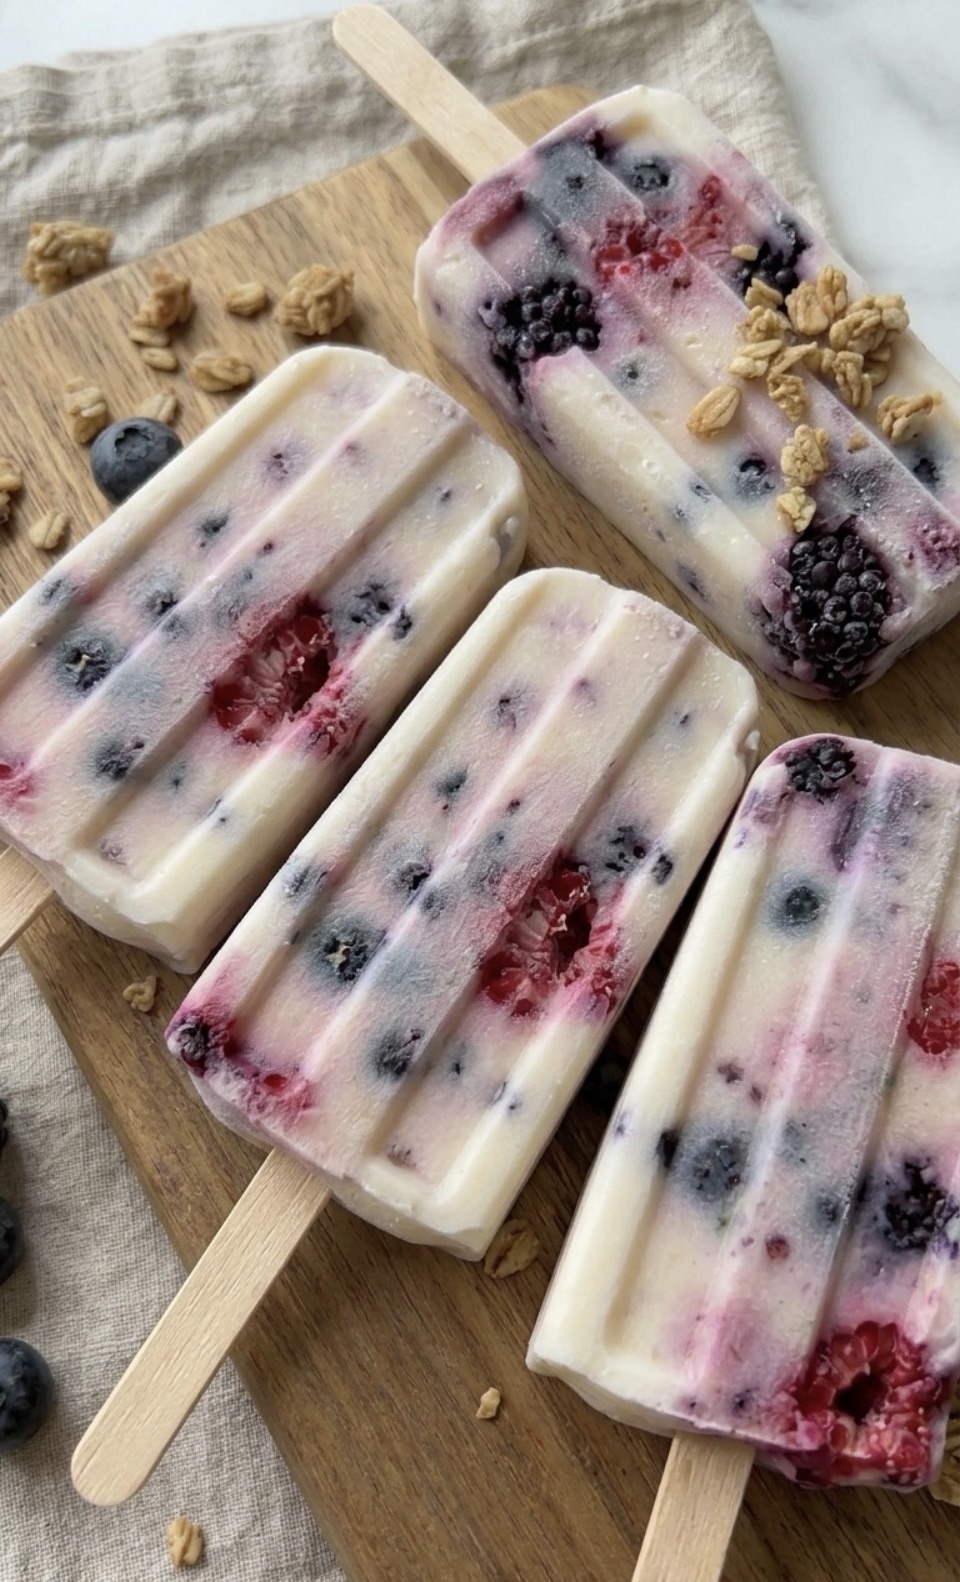
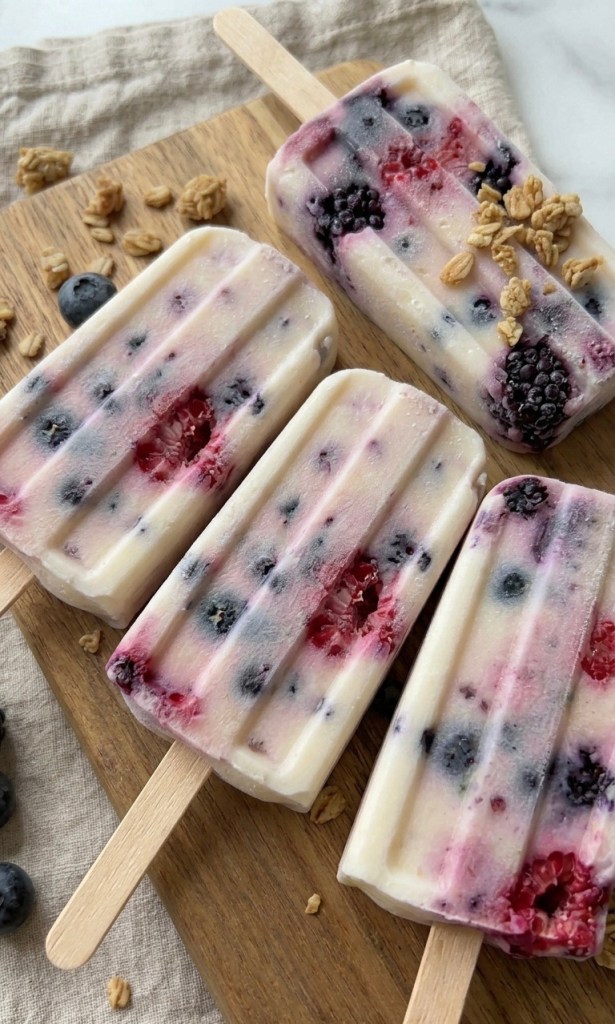
  • Cool Down with These Creamy Berry Frozen Yogurt Bars!

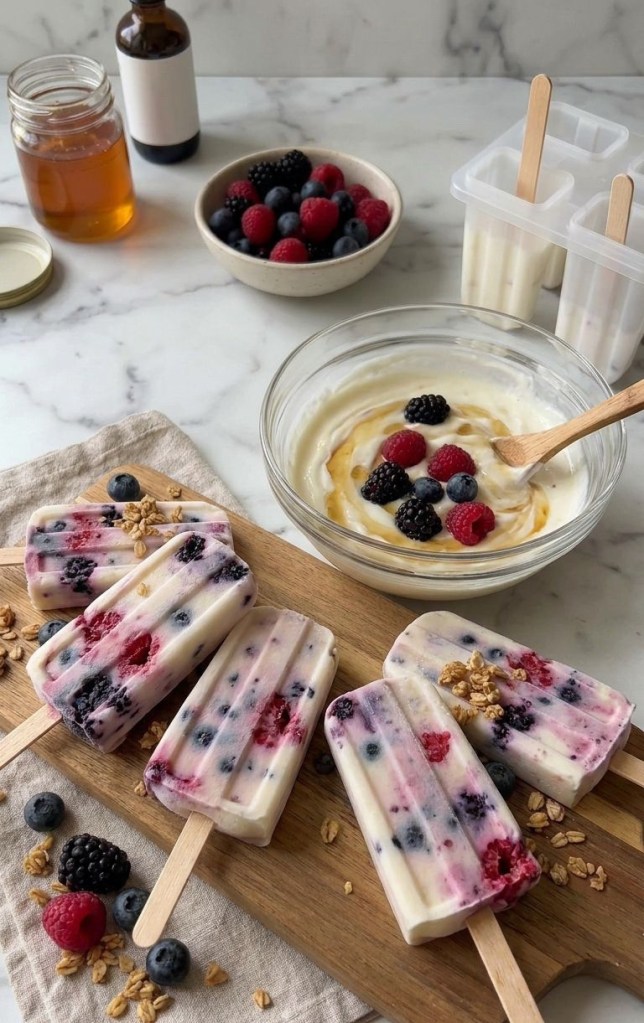
    Cool Down with These Creamy Berry Frozen Yogurt Bars!

    Are you ready to take your snack game to the next level? Sometimes, you just need a treat that feels a little indulgent but still leaves you feeling great. Enter these frozen yogurt bars! They are hands-down one of my favorite go-to recipes when I want something sweet, creamy, and refreshing without spending hours in the kitchen.

    Whether you’re looking to beat the summer heat or just need a quick, nutritious pick-me-up, these bars are exactly what you need. Plus, they are incredibly simple to whip up.

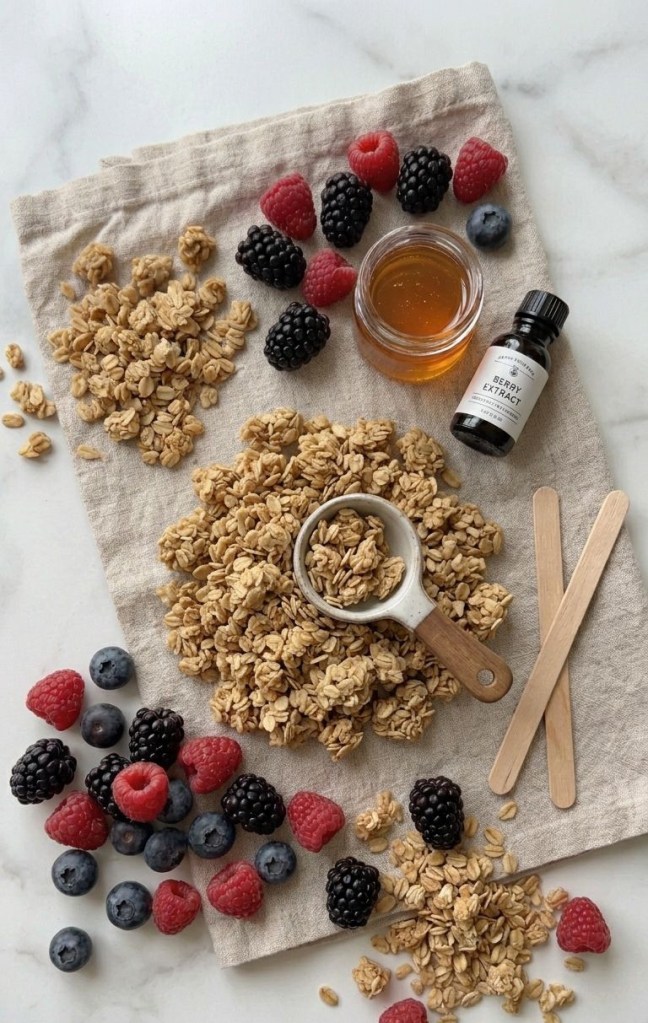
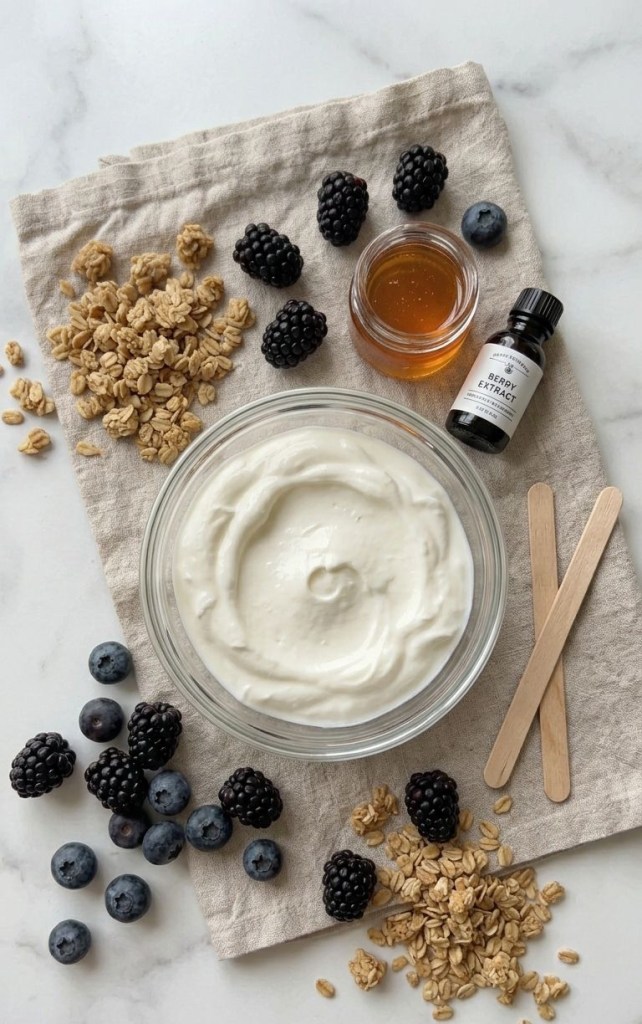
    What You’ll Need

    You probably already have most of these ingredients hiding in your fridge or pantry right now:

     2 cups (approx. 475g) of your favorite Greek yogurt — The thicker, the better for that creamy texture!

     1/2 cup (approx. 170g) of honey — This adds the perfect amount of natural sweetness.

     1 teaspoon (5ml) of vanilla extract — For that cozy, delicious aroma and flavor.

     1 cup (approx. 150g) of mixed berries — Feel free to use whatever you have, like blueberries, raspberries, or chopped strawberries.

    Let’s Get Mixing

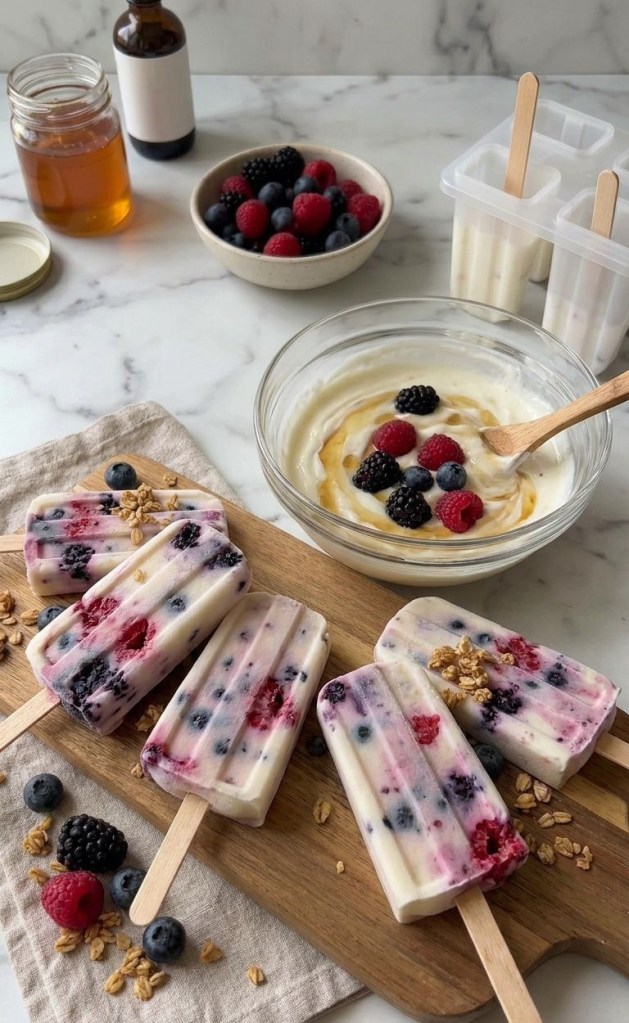
    1. Prep the base: Grab a nice mixing bowl and whisk together your Greek yogurt, honey, and vanilla extract until it’s lovely and smooth.

    2. Add the fruit: This is the fun part! Gently fold in those mixed berries so you get a little bit of fruity goodness in every single bite.

    3. Fill it up: Pour your creamy mixture into your favorite popsicle molds. If you don’t have official molds, small paper cups with wooden sticks work wonders, too!

    4. The hardest part — waiting: Pop them in the freezer and let them hang out for at least 4 hours. Once they are solid, they are ready to enjoy!

    The Macro Lowdown

    If you’re keeping an eye on your numbers, here is a quick breakdown per bar (assuming this batch makes 6 servings):

     Calories: 165 kcal

     Protein: 7g

     Carbohydrates: 28g

     Fat: 3g

    These little bars are such a breeze to make, and they honestly feel like a total cheat code for healthy snacking. Give them a try, and let me know what berry combination you decide to go with—I’m always looking for new ideas!

    What other fun toppings would you try adding to these?

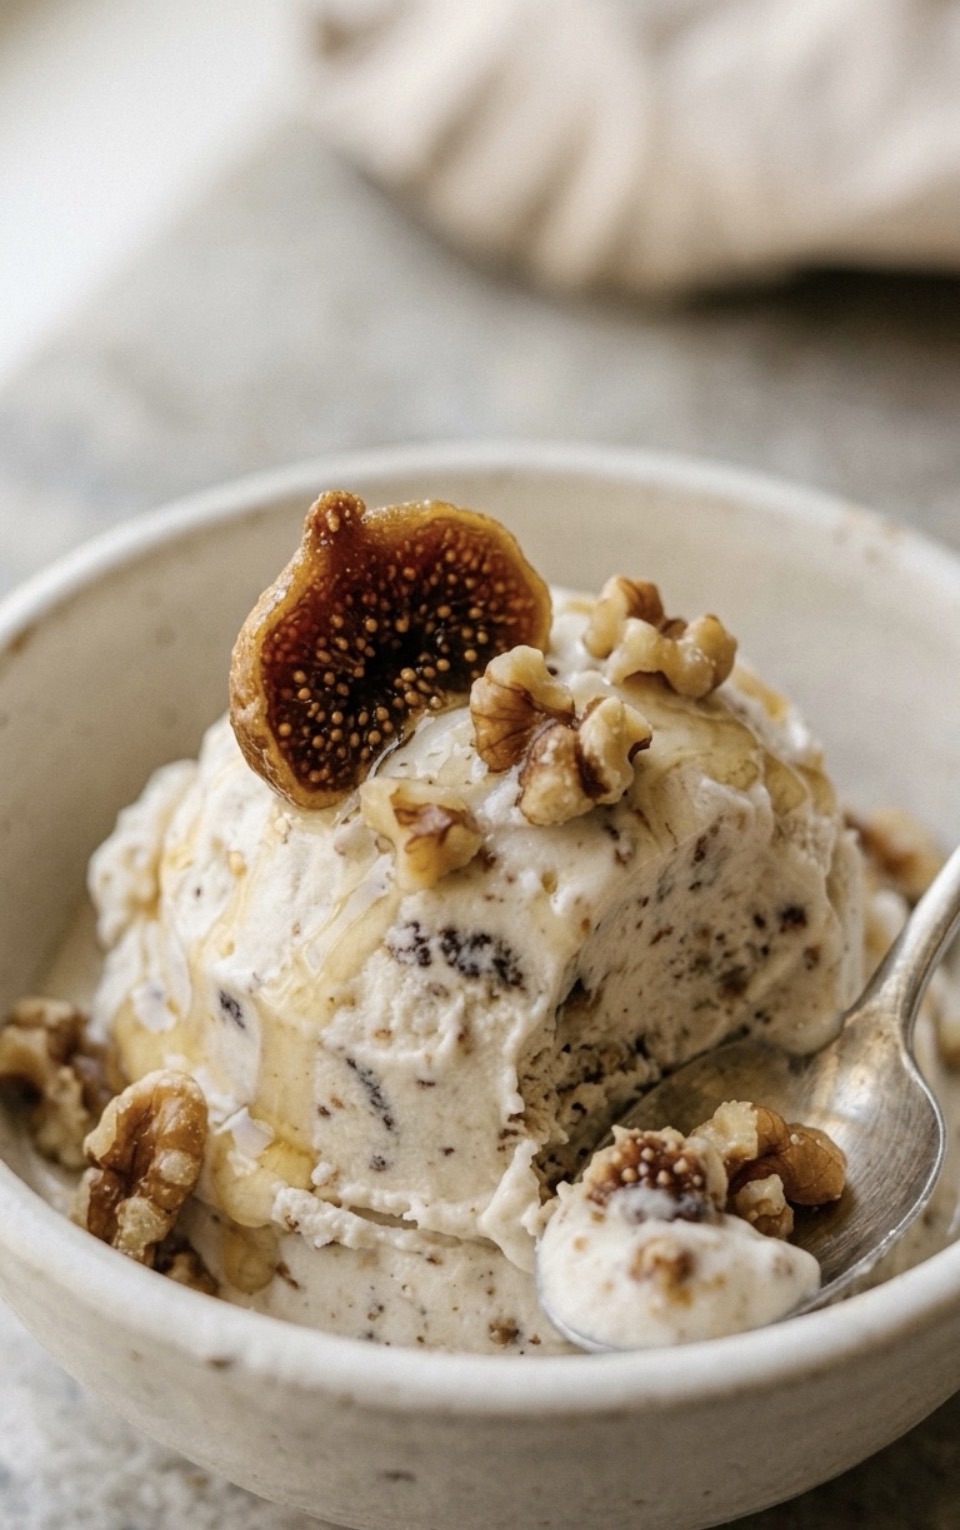
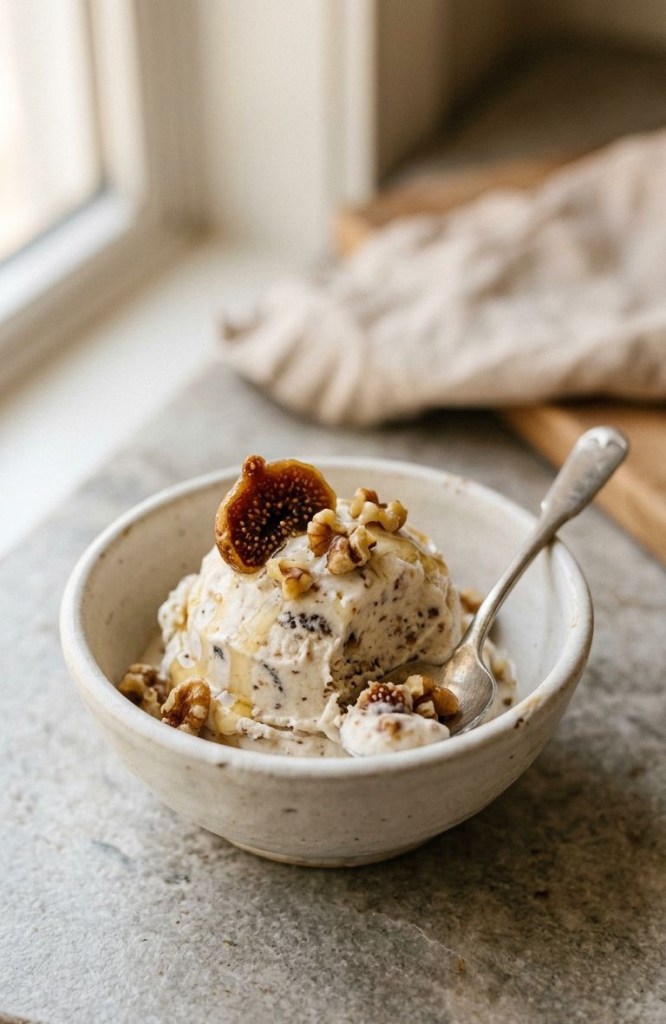
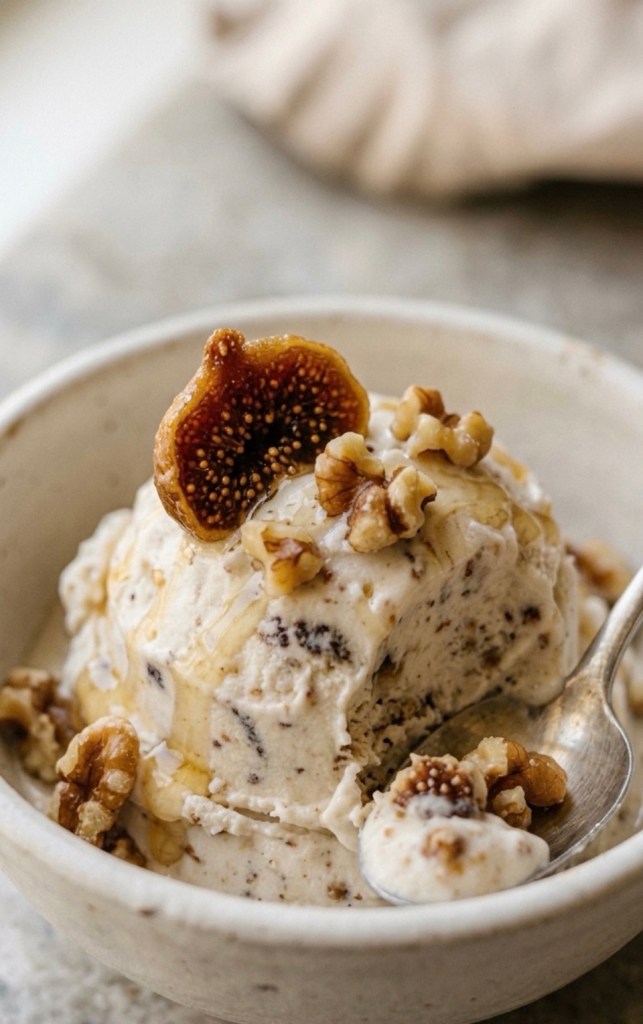
  • Fig & honey frozen yoghurt ice cream

    Fig & honey frozen yoghurt ice cream


    This frozen dessert is the perfect bridge between a quick snack and a sophisticated, naturally sweetened treat. By balancing the deep, molasses-like sweetness of dried figs with the tangy sharpness of high-quality Greek-style yogurt, you create a complex flavour profile that feels far more indulgent than the ingredient list suggests.

    Why This Recipe Works

    The secret lies in the rehydration process. Dried figs have a tough, chewy exterior and dense seeds. By soaking them, you not only soften the flesh to ensure a smooth, velvelty blend but also release their natural sugars, which helps create a more consistent texture once frozen.

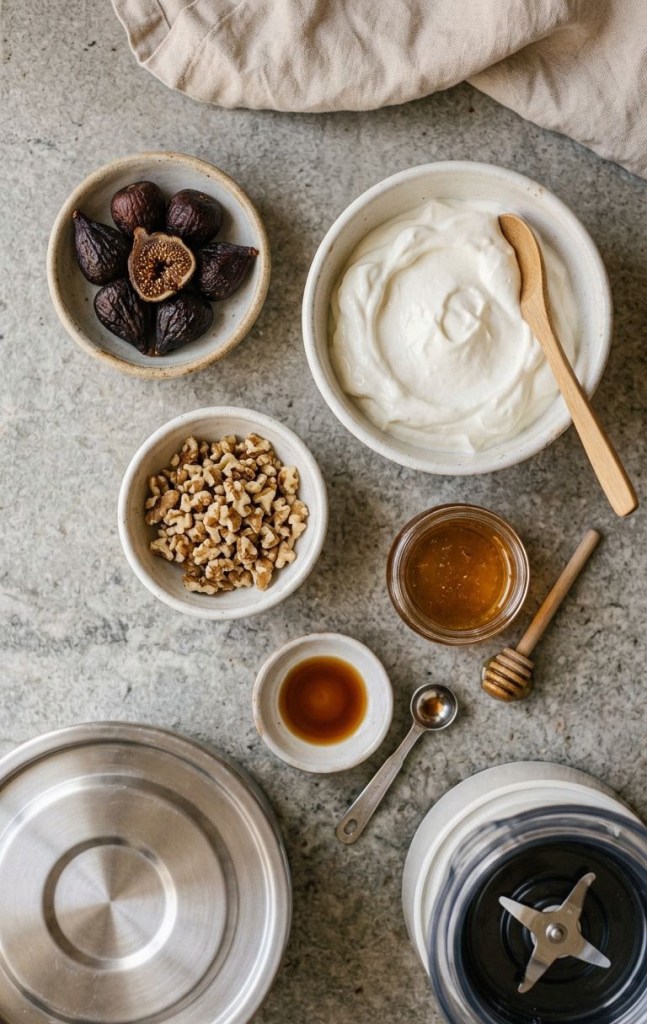
    Ingredients

    • 6 dried figs: Look for soft, organic Turkish or Mission figs if possible.
    • 250g Greek-style yogurt: Choose full-fat or 5% fat for a creamier result; the higher protein and fat content prevent icy crystals from forming.
    • 30g walnuts: Walnuts provide a necessary textural contrast. They are rich in omega-3 fatty acids, which complement the earthiness of the figs.
    • 2 tbsp runny honey: Acacia or wildflower honey works best for its clean, floral finish.
    • 1 tsp high-quality vanilla extract: A small amount of real vanilla helps bridge the gap between the fruit and the dairy.

    Step-by-Step Method

    1. The Soak: Submerge your figs in a bowl of hot (not boiling) water. Let them steep for 15–20 minutes. Drain thoroughly—excess water here will make your final product icy rather than creamy.
    2. The Blitz: Combine the softened figs (remove any hard stems first), yogurt, honey, and vanilla in a high-speed blender. Process until the mixture is uniform and the figs are completely incorporated into the dairy base.
    3. Textural Addition: Roughly chop the walnuts by hand rather than blending them. This keeps the pieces substantial. Fold them into the mixture manually to ensure an even distribution.
    4. The Freeze: Pour the mixture into a shallow, stainless steel or glass freezer-safe container. Freezing in a shallow dish increases the surface area, allowing for a faster and more even freeze.
    5. The Essential Stir: After 2 hours in the freezer, use a fork to vigorously break up the ice crystals forming along the edges. Stir thoroughly and level the top. Repeat this once more if time allows for a superior, smoother finish.
    6. Resting: Before serving, remove the container from the freezer and leave it at room temperature for 5 to 7 minutes. This allows the honey and fats to soften slightly, making it scoopable and highlighting the flavours.

    Pro-Tips for Success:

    • Toast Your Nuts: For a deeper flavour, lightly dry-toast the walnuts in a pan over medium heat for 3 minutes before chopping. Allow them to cool completely before folding into the yogurt.
    • Spice it up: Add 1/4 tsp of ground cinnamon or a pinch of cardamom to the blender for a warm, autumnal twist.
    • Storage: If you plan to store this for more than 24 hours, place a layer of baking paper directly onto the surface of the mixture to prevent ice crystals from developing on top.

    This recipe is a masterclass in using simple, whole-food ingredients to create a sophisticated dessert. Whether enjoyed as a post-workout protein snack or a light evening treat, it delivers on both texture and taste.

  • A Refreshing Treat: Simple Frozen Yogurt Bars

    A Refreshing Treat: Simple Frozen Yogurt Bars

    Looking for a healthy, crowd-pleasing dessert that takes minimal effort? These frozen yogurt bars are the perfect solution for a hot day or a quick, nutritious snack. Made with simple, wholesome ingredients, they offer a creamy, fruity flavor profile that hits the spot every time.

    Simple Ingredients

    This recipe relies on just a few staples you likely already have in your kitchen.

     2 cups (approx. 475g) Greek yogurt

     1/2 cup (approx. 170g) honey

     1 teaspoon (5ml) vanilla extract

     1 cup (approx. 150g) mixed berries

    Preparation Steps

    The process is straightforward and quick, leaving you with a delicious treat to reach for in the freezer.

    1. Mix: In a bowl, combine the Greek yogurt, honey, and vanilla extract until the mixture is smooth.

    2. Fold: Gently fold in the mixed berries.

    3. Pour: Transfer the mixture into your chosen popsicle molds.

    4. Freeze: Let them set in the freezer for at least 4 hours before serving.

    Nutrition Breakdown

    If you are tracking your macros, here is an estimate per serving, assuming the recipe makes 6 bars:

     Calories: 165 kcal

     Protein: 7g

     Carbohydrates: 28g

     Fat: 3g

    Whether you are looking to satisfy a sweet craving or need a cool-down snack, these frozen bars are a fantastic, easy-to-make option. Give them a try and let us know what your