Tag: 3 ingredient recipes

  • Why You’ll Never Buy Store-Bought Ice Cream Again (3 Ingredients!)

    Why You’ll Never Buy Store-Bought Ice Cream Again (3 Ingredients!)

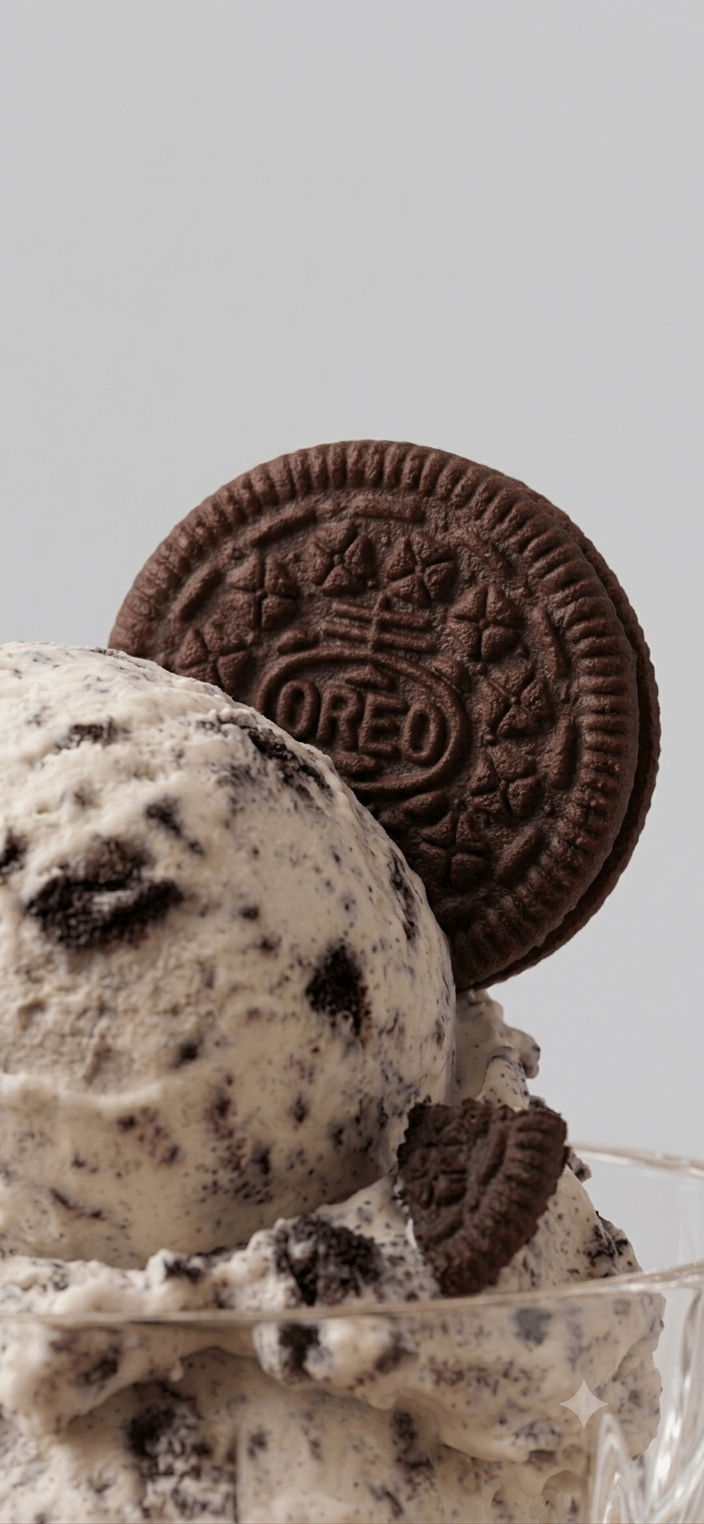
    Let’s be honest—is there anything better than a giant scoop of cookies and cream ice cream on a warm evening? But have you ever looked at the back of a carton at the shops? It’s usually packed with ingredients you can’t even pronounce.

    Well, I’ve got a secret for you. You can make the most velvety, decadent ice cream right in your own kitchen with only three ingredients. No fancy ice cream machine, no complicated techniques, just pure magic.

    Grab your whisk, crush those cookies, and let’s get into it!

    The Ingredients
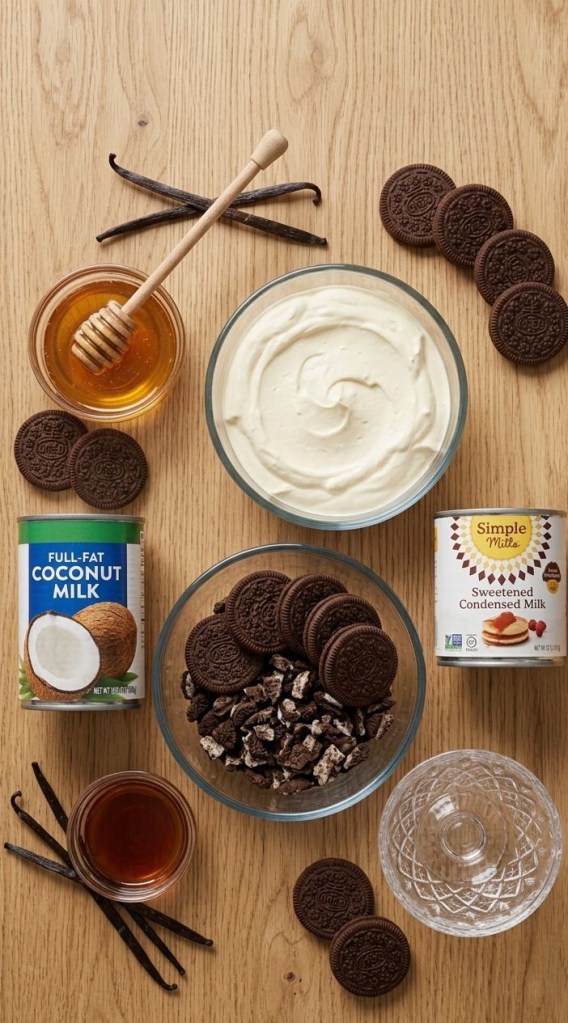
     475ml (2 cups) Double Cream – Cold from the fridge!

     1 tin (approx. 400g) Sweetened Condensed Milk – OR make it from scratch by simmering 1 tin of full-fat coconut milk with 120ml (1/2 cup) honey for 20-30 minutes until thick, then cooling completely.

     1 tbsp Vanilla Extract

     A mountain of crushed cookies – Your favorite chocolate sandwich cookies work best.

    The Method

    1. Whip the Cream: In a stand mixer or with a hand whisk, whip the double cream on high speed until you reach stiff peaks. The cream should stand up firmly on the whisk without drooping.

    2. Combine the Base: Gently fold your chosen sweet base (the condensed milk or your cooled coconut-honey mixture) and the vanilla extract into the whipped cream using a spatula. Be gentle—you want to keep all that beautiful air in the mixture!

    3. Add the Crunch: Fold in your crushed cookies. Don’t be shy—the more, the better.

    4. Freeze: Pour the mixture into a freezer-safe container. Cover it and freeze for several hours, or overnight, until firm.

    5. Serve: When you’re ready, take it out of the freezer for a few minutes to soften slightly, then scoop and enjoy!

    CTA: Seriously, try this out and let me know—what’s the first cookie you’re tossing into the mix? I’m a sucker for a classic dark cocoa biscuit, but I’d love to hear your favorite combos in the comments!
  • The Best 3-Ingredient Chocolate Hazelnut Oat Bars

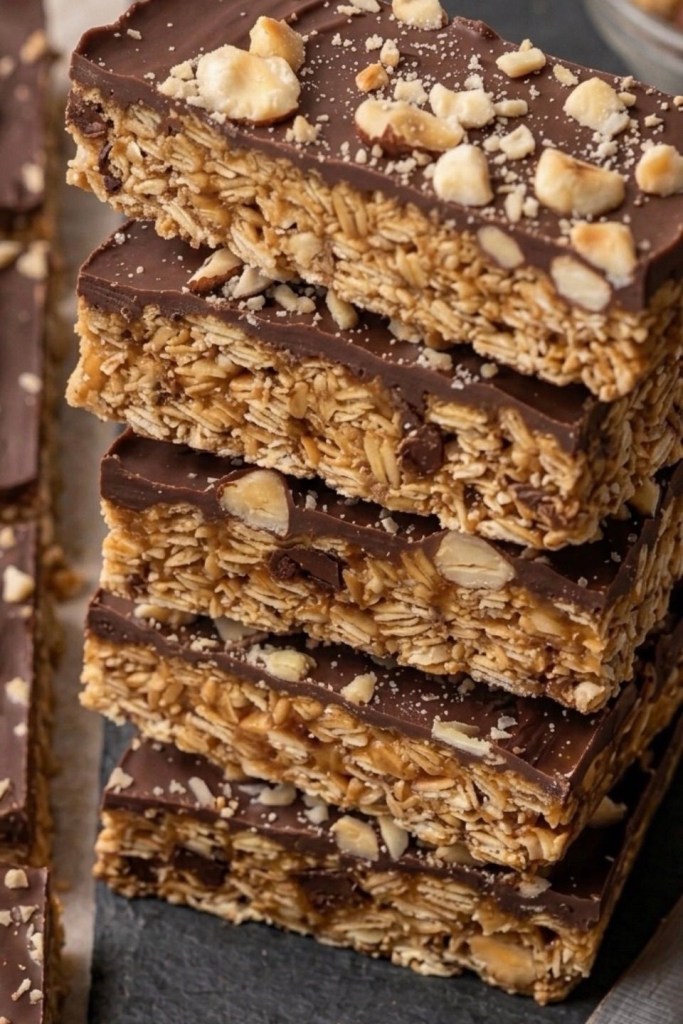
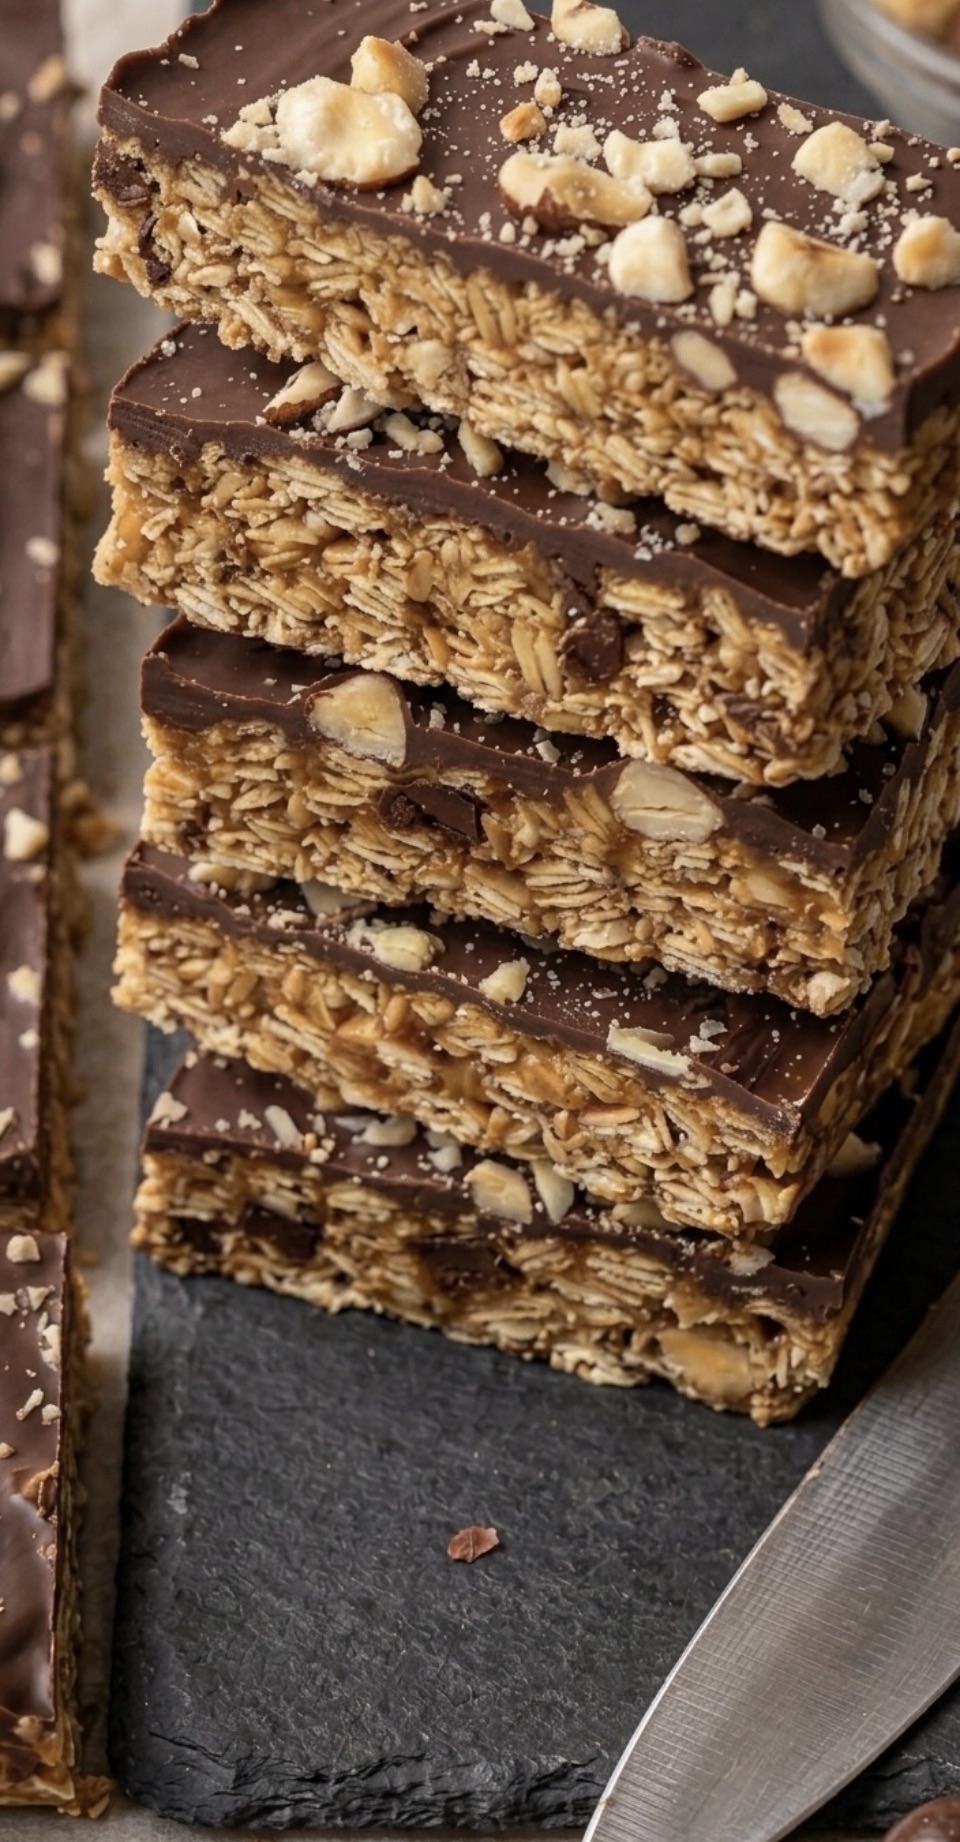
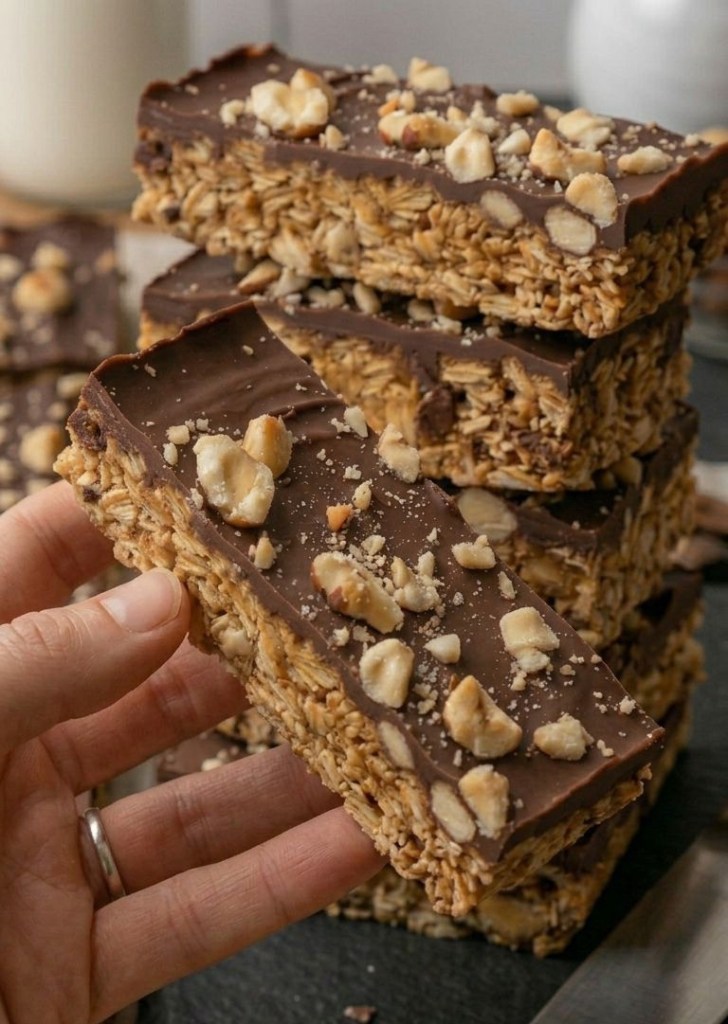
    The Best 3-Ingredient Chocolate Hazelnut Oat Bars

    Forget the expensive, processed cereal bars from the supermarket. If you want a snack that is deeply satisfying, perfectly chewy, and actually good for you, you have come to the right place.

    These chocolate hazelnut oat bars are my go-to for snack prep. They take minutes to pull together, they use simple pantry staples, and—best of all—they taste like a proper treat.

    Why You’ll Love These:

     Minimal Ingredients: Just three core ingredients for the base.

     No-Bake/Quick Prep: Perfect for busy weeks.

     Customisable: Add seeds, extra nuts, or sea salt to suit your taste.

     Healthier Energy: Packed with oats for sustained energy and healthy fats from the peanut butter.

    The Recipe (UK Measurements)

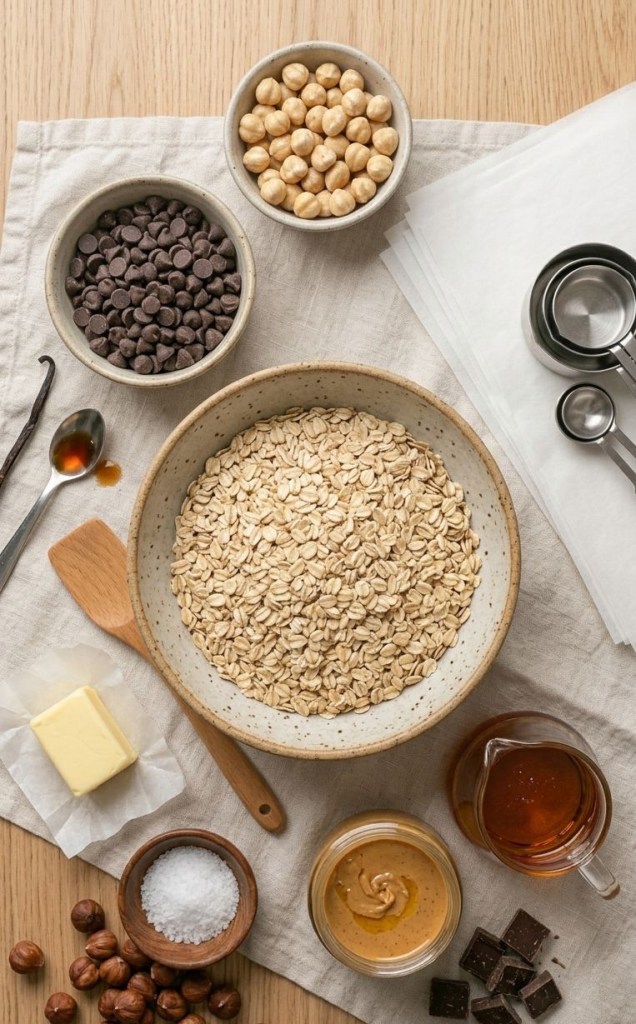
    Ingredients for the Base:

     200g Rolled Oats (use GF-certified if required)

     125g Peanut Butter (smooth or crunchy)

     110g Maple Syrup (or agave nectar/honey)

    For the Topping:

     150g Dark Chocolate (melted)

     50g Blanched Hazelnuts (roughly chopped)

    Method

    1. Prep: Line a 20cm x 20cm square baking tin with parchment paper.

    2. Mix the Binder: In a medium bowl, combine your peanut butter and maple syrup. If it’s a bit stiff, pop it in the microwave for 30 seconds until it’s nice and soft and easy to stir.

    3. Combine: Place your rolled oats into a large mixing bowl. Pour the peanut butter and syrup mixture over the oats and mix well until every oat is evenly coated.

    4. Press: Transfer the mixture into your lined tin. Use the back of a spoon or your hands to press the mixture very firmly into the tin. This is the secret to getting them to stay together!

    5. Set: Place the tin into the freezer for 30 minutes to firm up.

    6. Top: Once firm, pour your melted chocolate over the top and spread it evenly. Sprinkle the chopped hazelnuts over the wet chocolate.

    7. Chill & Slice: Place the tin back in the fridge or freezer until the chocolate has fully set. Once set, lift out of the tin using the parchment paper and slice into oblong bars.

    Tips for Success

     Storage: Keep these in the fridge to ensure they stay perfectly chewy and don’t get too soft. They will last for up to a week in an airtight container.

     Additions: Feel free to stir in chia seeds, sunflower seeds, or a pinch of sea salt to the oat mixture before pressing it into the tin.

    Did you give these a try? Let me know in the comments below how they turned out!