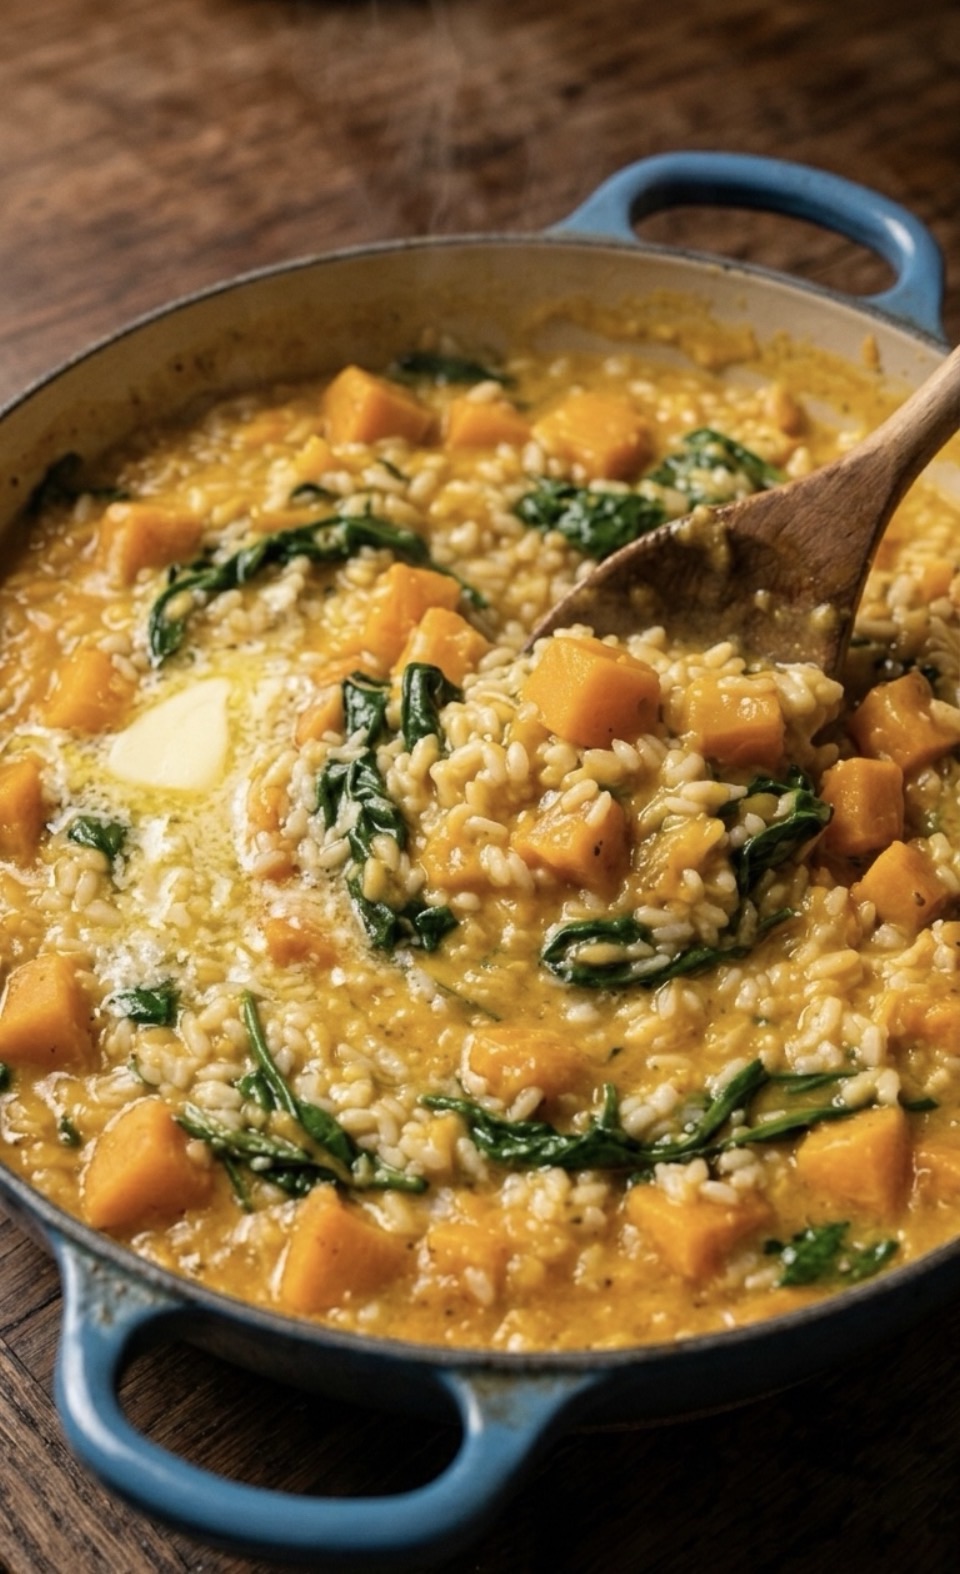
Hugh Jackman’s Mum’s Butternut Squash Risotto (With UK & US Measurements)
Every now and then a celebrity recipe pops up that feels like proper real life food rather than some cheffy faff, and this one is exactly that. Hugh Jackman’s mum’s butternut squash and spinach risotto is simple, cosy and very doable on a Tuesday night – no culinary school required
I’m a big believer that “celebrity” recipes only earn a place in our kitchens if they actually work in normal homes, with normal pans, and normal supermarket ingredients. So I’ve tested this one, translated it into UK‑friendly measurements, and added US cups and ounces so my friends across the pond can cook along too.

It’s naturally meat‑free, full of comforting carbs, and you can absolutely nudge it in a more health‑conscious direction with a couple of easy swaps. Think: lots of veg, mindful butter and cheese, and a portion size that still feels generous.
Is Hugh Jackman’s Risotto Vegetarian?
Short answer: yes, it can be.
The dish itself is built from butternut squash, spinach, Arborio rice, stock, butter and a sprinkle of hard cheese on top. There’s no meat or fish in the base recipe. The only sticking point for strict vegetarians is the cheese. Traditional Parmigiano Reggiano is made with animal rennet, which means it’s not technically vegetarian.
If you want the dish to be fully vegetarian, just choose:
• Vegetable stock instead of chicken stock
• A vegetarian “Italian hard cheese” or “Parmesan‑style” cheese (most UK supermarkets now label these clearly)
Once you’ve made those swaps, you’ve got a lovely, cosy vegetarian dinner that still tastes indulgent enough to feel like a treat.
A Few Nutrition‑Conscious Tweaks
This is comfort food, so I’m not here to remove all the joy. But if you’re trying to keep things on the lighter side, here are a few gentle tweaks that work well:
• Use olive oil to sauté the onions, then finish with a smaller knob of butter at the end rather than a big chunk
• Stick to a measured amount of hard cheese – it’s strong, so a little goes a long way
• Load up the spinach (and even add extra greens like peas or shredded cavolo nero)
• Serve with a simple side salad to add freshness and volume
You still get that creamy, restaurant‑style texture, but with a bit more balance.
Ingredients (Serves 4)
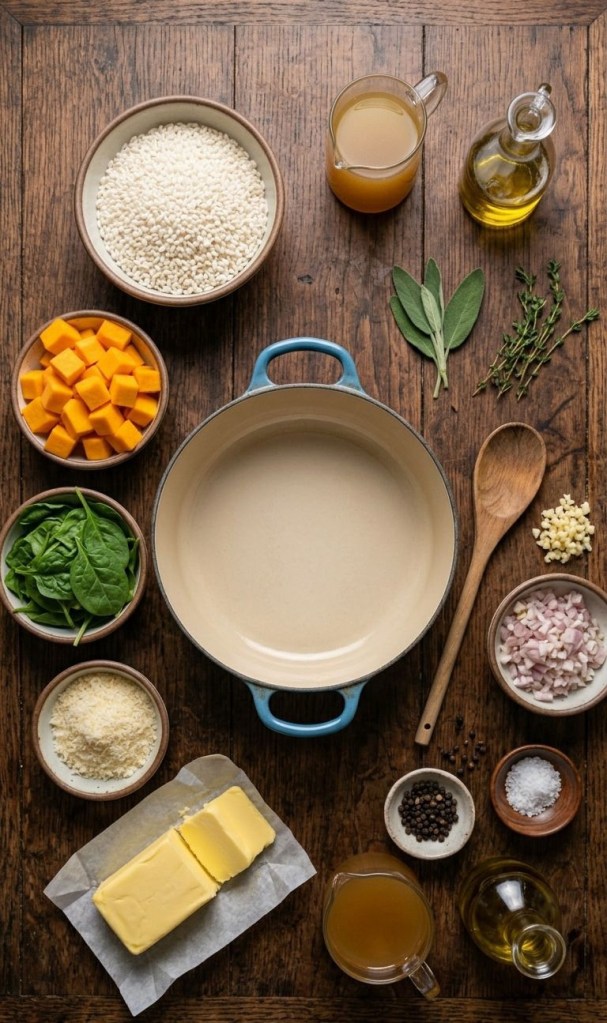
I’ve listed the UK measurements first, with US equivalents in brackets so everyone is covered.
• 1 tbsp olive oil or unsalted butter (same for US)
• 1 medium onion, finely chopped (about 150g / 5 oz)
• 2 cloves garlic, crushed (same for US)
• 300g risotto rice, Arborio (1½ cups)
• 120ml dry white wine, optional (½ cup – or use extra stock)
• 600g butternut squash, peeled and diced small (about 4 cups)
• 1–1.1L hot vegetable or chicken stock (4–4½ cups)
• 60g grated vegetarian Italian hard cheese (½ cup)
• 40g unsalted butter, to finish, optional (3 tbsp)
• 80g baby spinach, big handfuls (2 packed cups)
• Sea salt and black pepper, to taste
• Optional: squeeze of lemon to brighten at the end
If you’d like to make this dish vegan, you can:
• Use olive oil only (no butter)
• Skip the cheese or use a good vegan hard cheese alternative
• Double‑check your stock is vegan‑friendly
Method (Step‑by‑Step, No Stress)
- Start the flavour base
Heat the olive oil or butter in a large frying pan or wide saucepan over a low–medium heat. Add the finely chopped onion with a pinch of salt and let it gently soften for 5–7 minutes until translucent. You don’t want much colour here – slow and gentle wins.
Stir in the crushed garlic and cook for another minute until fragrant. - Toast the rice
Pour in the risotto rice and stir so every grain is coated in the buttery onion mixture. Give it 1–2 minutes – you’ll see the edges of the rice start to look slightly translucent. This step helps with flavour and texture. - Add the wine (or skip it)
If you’re using wine, add it now. Pour it in and stir until nearly all the liquid has been absorbed. If you don’t fancy cooking with wine, simply replace it with a ladle of hot stock instead. - Bring in the squash and stock
Stir in the diced butternut squash so it’s evenly distributed. Add your first ladle of hot stock and keep the pan at a gentle simmer. Stir every so often, and once the liquid is mostly absorbed, add another ladle.
This is the “risotto rhythm”: add stock, stir, let it absorb, repeat. It’s quite soothing once you get into it. - Keep going until creamy
Continue adding stock a ladle at a time for around 18–22 minutes. Taste a grain of rice – you’re aiming for creamy, with a little bite in the centre (al dente), and tender pieces of squash. You might not need every drop of stock, or you might need a splash more hot water. You’re looking for a loose, creamy texture, not a stiff mound. - Finish with spinach and cheese
When the rice is where you want it, turn the heat down low. Gently stir in the butter and grated vegetarian hard cheese until everything looks glossy and silky.
Fold in the baby spinach right at the end – the residual heat will wilt it in a minute or two. Taste and adjust with salt, black pepper and a squeeze of lemon juice if you’d like a bit of brightness. - Serve and enjoy
Serve straight away in warm bowls. I like to add a little extra sprinkle of cheese and a twist of black pepper on top. A simple green salad on the side works beautifully and keeps the plate feeling light.
Making It Work for Real Life
A few practical notes now I’ve made this a couple of times:
• Time: From chopping board to bowl, I’d allow about 40–45 minutes. Most of that is gentle stirring, so pop on a podcast or some music.
• Leftovers: Risotto is always best freshly made, but leftovers will reheat with a splash of stock or water in a pan. Just don’t expect quite the same silky texture.
• Batch cooking: You can prep the squash in advance and keep it in the fridge for a day or two, which does speed things up on a weeknight.
If you’re someone who loves cosy, one‑pan dinners that feel a bit special but don’t require a chef’s jacket, this one is absolutely worth adding to your list.