Tag: #biscuits

  • Lemon Meringue Shortbread Sandwiches

    Lemon Meringue Shortbread Sandwiches


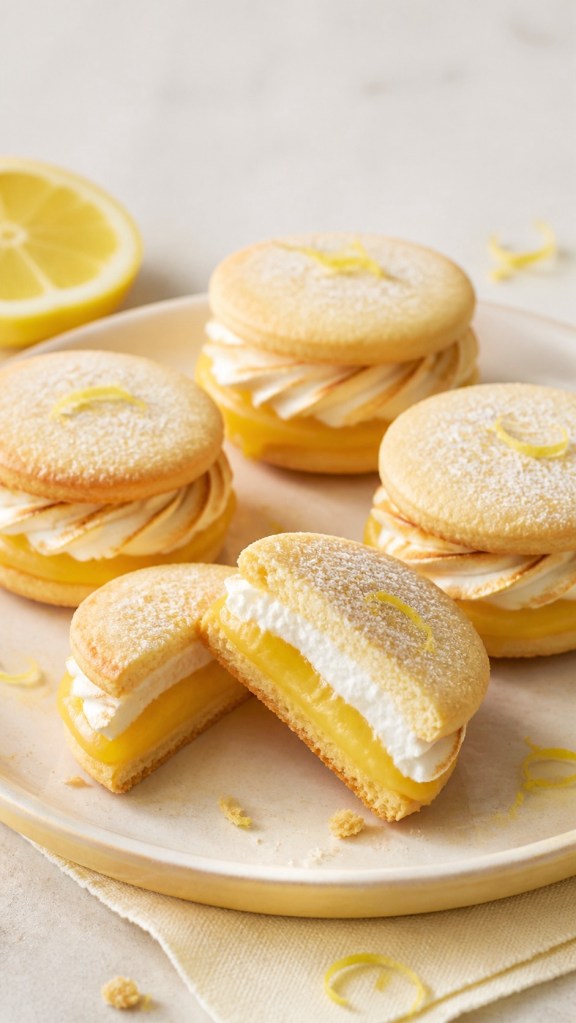
    If you love lemon meringue pie but cannot be bothered with pastry, rolling pins, blind baking and the inevitable “will this slice neatly?” stress, these Lemon Meringue Shortbread Sandwiches are for you. They have all the best bits: buttery, melt-in-the-mouth shortbread, sharp lemon curd and a little swirl of toasted meringue — but in a much cuter, grab-and-go biscuit form.
    They’re the sort of bake that looks as though it came from a fancy bakery window, yet they are genuinely simple to make at home. And yes, they are absolutely perfect with a cup of tea.
    Lemon, meringue and buttery shortbread are a classic combination, with plenty of established recipes pairing sharp lemon flavours with a crisp, rich biscuit base


    Why You’ll Love These


    I am very much a believer that lemon desserts need to be properly lemony. None of this vaguely yellow, overly sweet business. The lemon curd brings that gorgeous sharpness, while the mascarpone makes the filling soft, creamy and easy to pipe or spread.
    Then there’s the meringue. You can make it beautifully swirly and dramatic, give it a quick blast with a kitchen blowtorch and suddenly a humble biscuit turns into something that looks very impressive indeed.
    These are ideal for:
    • Afternoon tea with friends
    • Mother’s Day, Easter or spring baking
    • A summer picnic treat
    • Taking round to someone’s house when you want to look organised
    • A lovely little dessert after Sunday lunch
    • A TikTok or Instagram bake because the cross-section is so pretty
    Lemon Meringue Shortbread Sandwiches Recipe
    Makes: 10 sandwich biscuits
    Prep time: 30 minutes, plus chilling
    Bake time: 10–12 minutes
    Ingredients


    For the lemon shortbread
    • 125g salted butter, softened
    • 60g caster sugar
    • Finely grated zest of 1 lemon
    • 190g plain flour
    • 25g cornflour
    For the creamy lemon filling
    • 150g lemon curd
    • 100g mascarpone or full-fat cream cheese
    For the toasted meringue
    • 2 egg whites
    • 100g caster sugar
    • ½ tsp cream of tartar, or ½ tsp lemon juice
    Optional finishing touches
    • Extra lemon zest
    • Icing sugar
    • A little extra lemon curd for drizzling
    Method

    1. Make the shortbread dough.
      Preheat the oven to 170°C fan / 190°C conventional. Line one or two baking trays with baking paper.
    2. Add the softened butter, caster sugar and lemon zest to a mixing bowl. Beat together until pale, creamy and fluffy. This is where the lovely lemony scent starts, and it already feels promising.
    3. Add the plain flour and cornflour. Mix gently until the mixture starts to clump together into a soft dough. Try not to overwork it — shortbread loves a light touch.
    4. Shape the dough into a flat disc, wrap or cover it, then chill in the fridge for around 20 minutes. This makes it much easier to roll and helps the biscuits keep their shape in the oven.
    5. Roll out the chilled dough on a lightly floured surface to roughly 5mm thick. Cut out 20 circles using a round biscuit cutter. Transfer to the lined baking trays, leaving a little space between each biscuit.
    6. Prick each biscuit lightly with a fork. Bake for 10–12 minutes, until the edges are just turning pale golden. You do not want dark shortbread here — the softer golden colour is part of the charm.
    7. Leave the biscuits on the tray for 10 minutes, then move them to a wire rack to cool completely. Do not rush this bit; warm biscuits plus lemon filling equals a bit of a slippery situation.
    8. Make the lemon filling.
      In a small bowl, mix the lemon curd and mascarpone or cream cheese until smooth and creamy. Taste it. If you like a sharper filling, add a little extra lemon curd. If you like it softer and creamier, add a touch more mascarpone.
    9. Make the meringue.
      Place the egg whites in a clean, grease-free bowl. Whisk until foamy, then add the cream of tartar or lemon juice. Continue whisking and gradually add the caster sugar, one spoonful at a time.
    10. Keep whisking until the meringue is thick, glossy and holds stiff peaks. When you lift the whisk, the meringue should stand proudly rather than flop over sadly.
    11. Assemble the biscuits.
      Pipe or spoon the lemon filling onto the flat side of 10 shortbread biscuits. Add a swirl of meringue on top of the lemon filling.
    12. Lightly toast the meringue using a kitchen blowtorch. Keep the flame moving so it gets those golden toasted patches without catching. If you do not have a blowtorch, you can leave the meringue white and fluffy — they will still taste gorgeous.
    13. Carefully place the remaining shortbread biscuits on top. Finish with a little grated lemon zest, a dusting of icing sugar or a tiny drizzle of lemon curd if you fancy.
    14. Eat straight away, preferably with a strong cup of tea and absolutely no intention of sharing more than one.

    15. A Few Handy Tips
      • Use room-temperature butter: It creams more easily with the sugar, giving you tender rather than tough shortbread.
      • Chill the dough: It stops the biscuits spreading too much and helps them stay neat and round.
      • Cool the biscuits completely: The creamy lemon filling will soften and slide if the shortbread is still warm.
      • Use a blowtorch carefully: A quick, moving flame gives the meringue that proper lemon-meringue-pie look.
      • No piping bag? Simply spoon the filling and meringue on instead. Rustic is still pretty.
      • Want a shortcut? Shop-bought lemon curd works brilliantly here, making these much easier for a last-minute bake.
      Storing Your Sandwich Biscuits
      Because these contain mascarpone or cream cheese and meringue, they are best eaten on the day they are made. Keep them in the fridge if needed, but bring them out 15–20 minutes before serving so the shortbread is not too firm and the filling has time to soften slightly.
      If you are preparing ahead, bake the shortbread biscuits a day or two in advance and store them in an airtight tin at room temperature. Make the filling, meringue and assemble on the day you plan to serve them.

    16. The Perfect Little Lemon Bake
      These Lemon Meringue Shortbread Sandwiches are bright, buttery, tangy and just the right amount of indulgent. They feel special enough for an afternoon tea table, but easy enough to make because you fancy something sweet on a Saturday afternoon.
      The sharp lemon curd cuts through the richness of the buttery biscuit, and the toasted meringue adds that soft, sweet cloud-like finish. It is everything you love about lemon meringue pie — only much easier to eat with one hand while holding a cup of tea in the other.
      If you make them, I would love to know: are you having yours with tea, coffee, or a scoop of vanilla ice cream?
  • The Softest, Chewiest Peanut Butter Rolo Cookies You’ll Ever Bake!

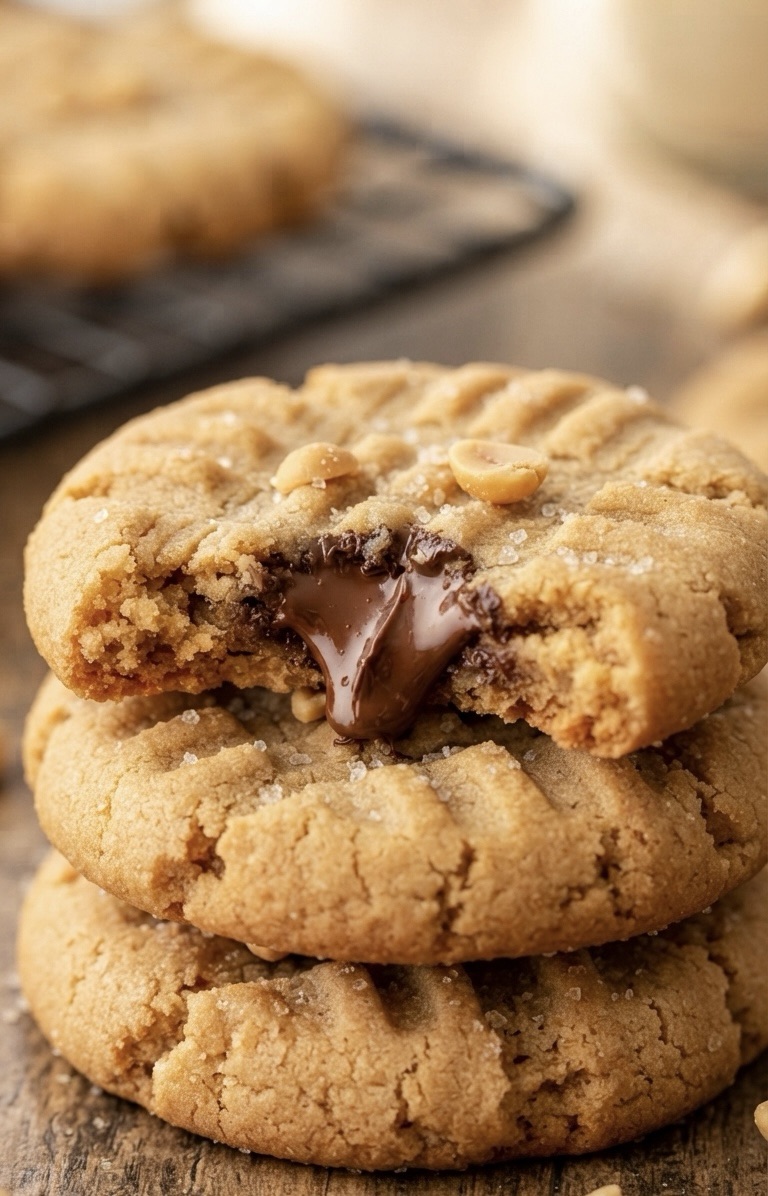
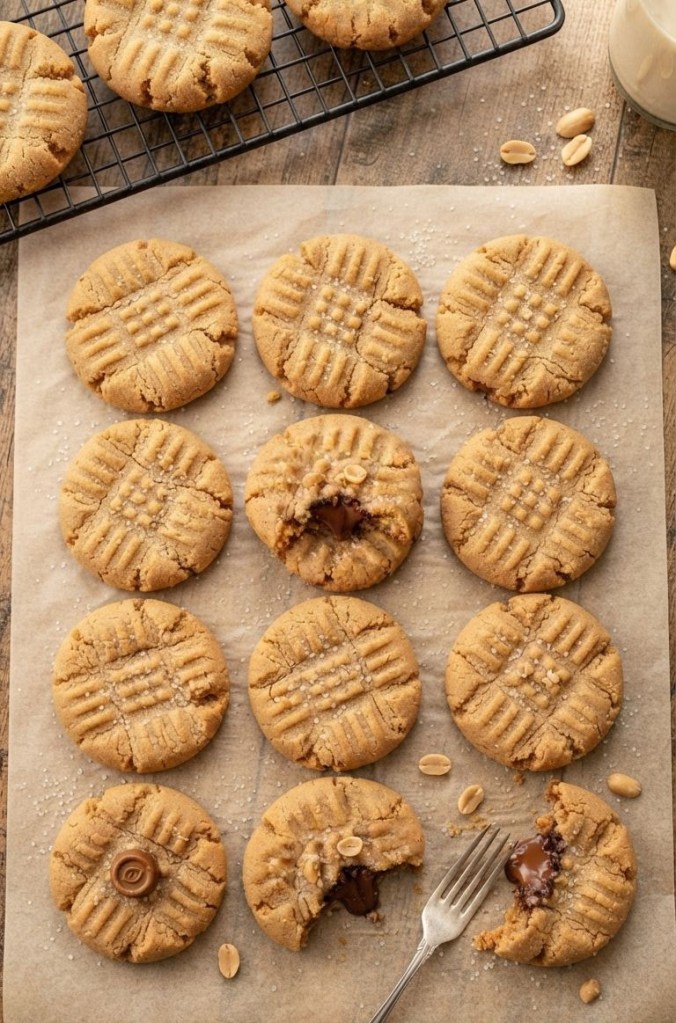
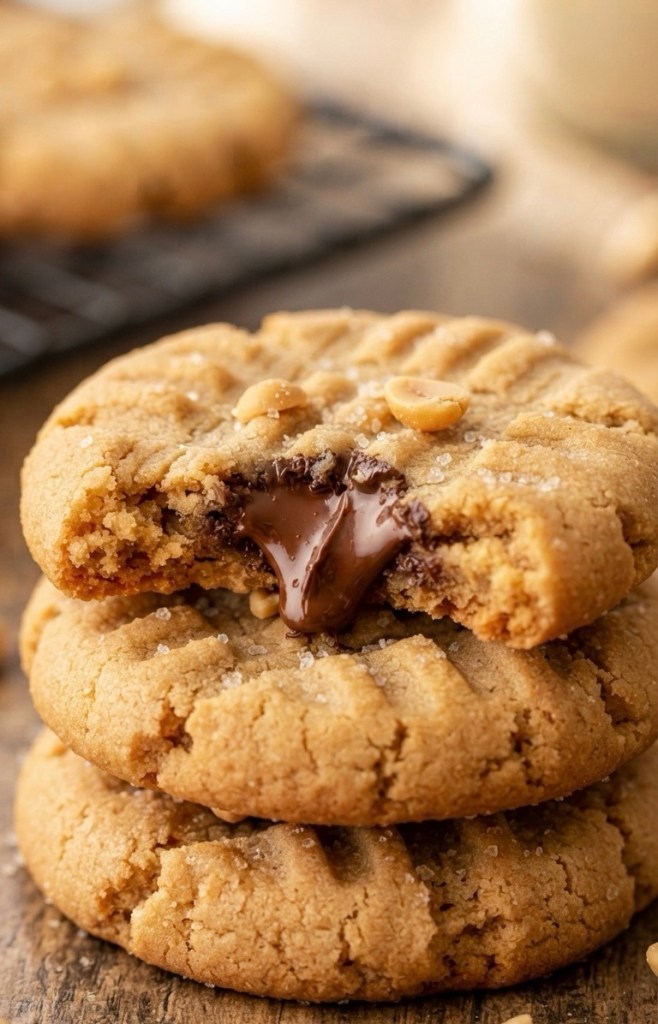
    The Softest, Chewiest Peanut Butter Rolo Cookies You’ll Ever Bake!

    If you know me, you know I have a serious weakness for peanut butter. There is just something about that salty-sweet combination that feels like a warm hug. Lately, I’ve been craving something a little extra special, and that’s how I landed on this recipe for Peanut Butter Rolo cookies!

    They are soft, chewy, and stuffed with a hidden chocolate-caramel Rolo center. Seriously, these are absolute perfection. Whether you are in the US or the UK, I have you covered with the measurements, so let’s get into the kitchen!

    What You’ll Need

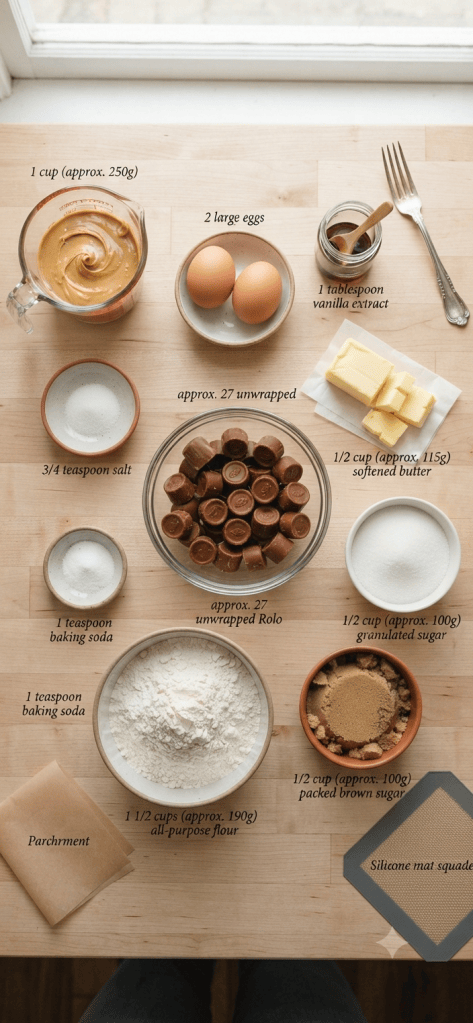
    To get these cookies just right, grab these ingredients:


    1 cup (approx. 250g) creamy peanut butter

     1/2 cup (approx. 115g) butter, softened

     1/2 cup (approx. 100g) granulated sugar

     1/2 cup (approx. 100g) packed brown sugar

     2 large eggs

     1 tablespoon vanilla extract

     1 1/2 cups (approx. 190g) all-purpose flour (US) / plain flour (UK)

     1 teaspoon baking soda

     3/4 teaspoon salt

     24-30 Rolo chocolate candies, unwrapped

    How to Make Them

    1. Prep: Preheat your oven to 350°F (approx. 180°C). Line two baking pans with parchment paper or silicone mats.

    2. Mix the Wet Ingredients: Cream together the peanut butter, softened butter, granulated sugar, and brown sugar until the mixture is smooth and creamy. Add the eggs and vanilla extract, mixing until everything is well combined.

    3. Add the Dry Ingredients: In a separate mixing bowl, whisk together the flour, baking soda, and salt. Stir this flour mixture into your wet ingredients until combined.

    4. The Secret Step: Fill a cookie dough scoop about halfway with dough. Press one Rolo into the center, then finish filling the scoop with more dough to completely cover the chocolate. Place these on your prepared baking sheet.

    5. The Signature Look: Using a fork, press down on each ball of dough to flatten it slightly and create that classic criss-cross pattern. Sprinkle with a little extra sugar if you like!

    6. Bake: Pop them in the oven for 8–9 minutes. A quick tip: do not overbake!. They might not look completely finished when you pull them out, but they will set as they cool. If you bake them too long, you’ll lose that soft, chewy texture we’re going for.

    Let them cool on the baking sheet for a few minutes before transferring them to a wire rack.

    Why You’ll Love Them

    These are honestly so simple to throw together, and the surprise of the melted Rolo inside is always a hit with guests. They’re the perfect treat to bake on a slow afternoon.

    Have you tried this recipe yet? Let me know how they turned out in the comments—I love hearing about your baking adventures!

    Happy baking!

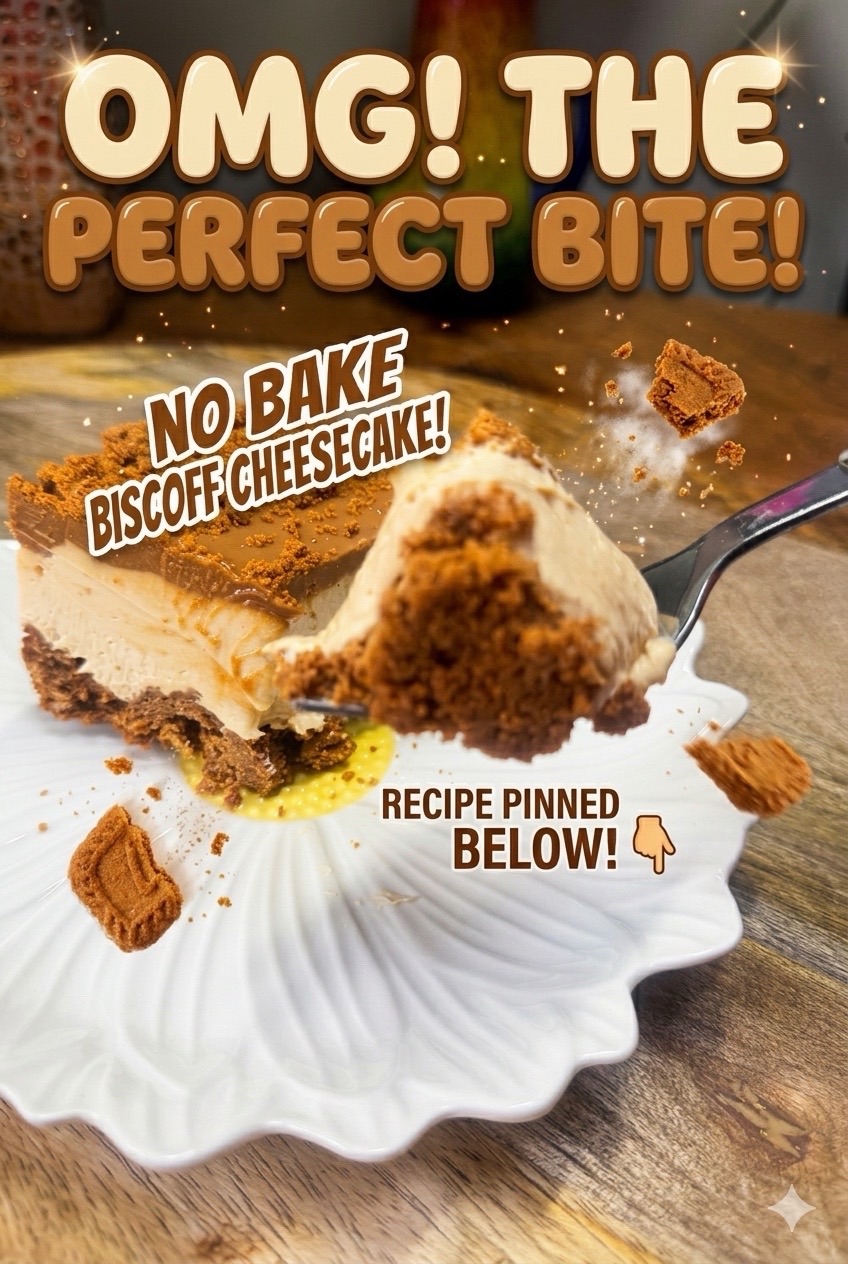
  • The No-Bake Biscoff Cheesecake Everyone Will Ask For

    The No-Bake Biscoff Cheesecake Everyone Will Ask For

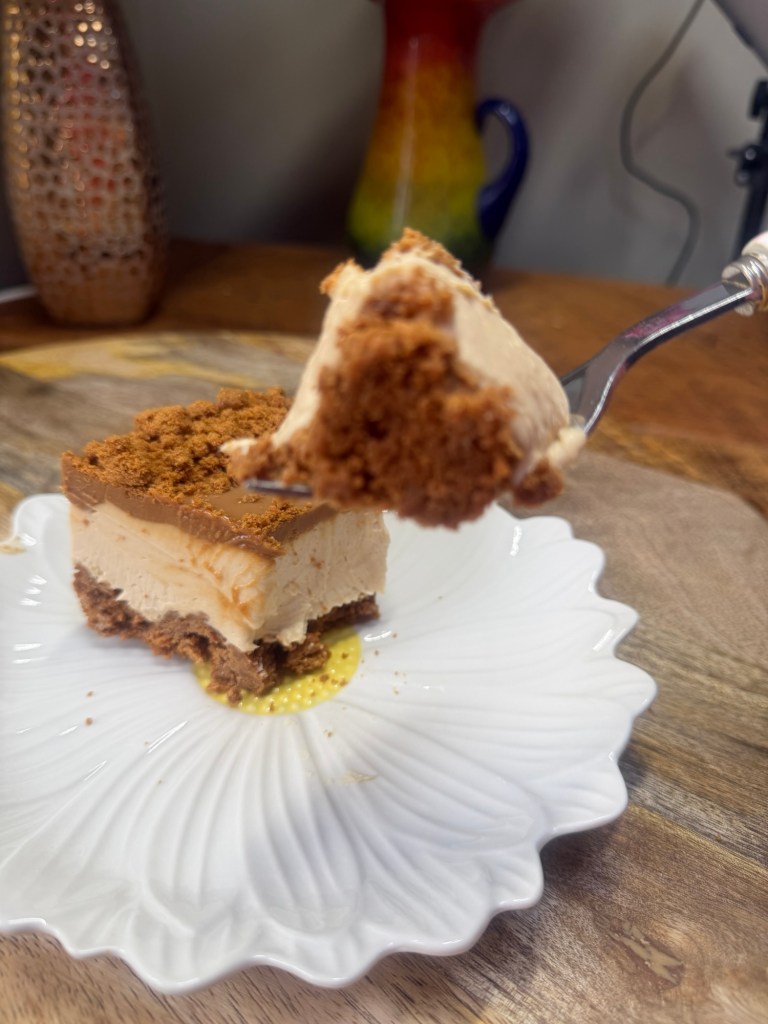
    There are some desserts that look like you’ve gone to loads of effort, when really the fridge has done most of the work. This no-bake Biscoff cheesecake is exactly that kind of pudding.

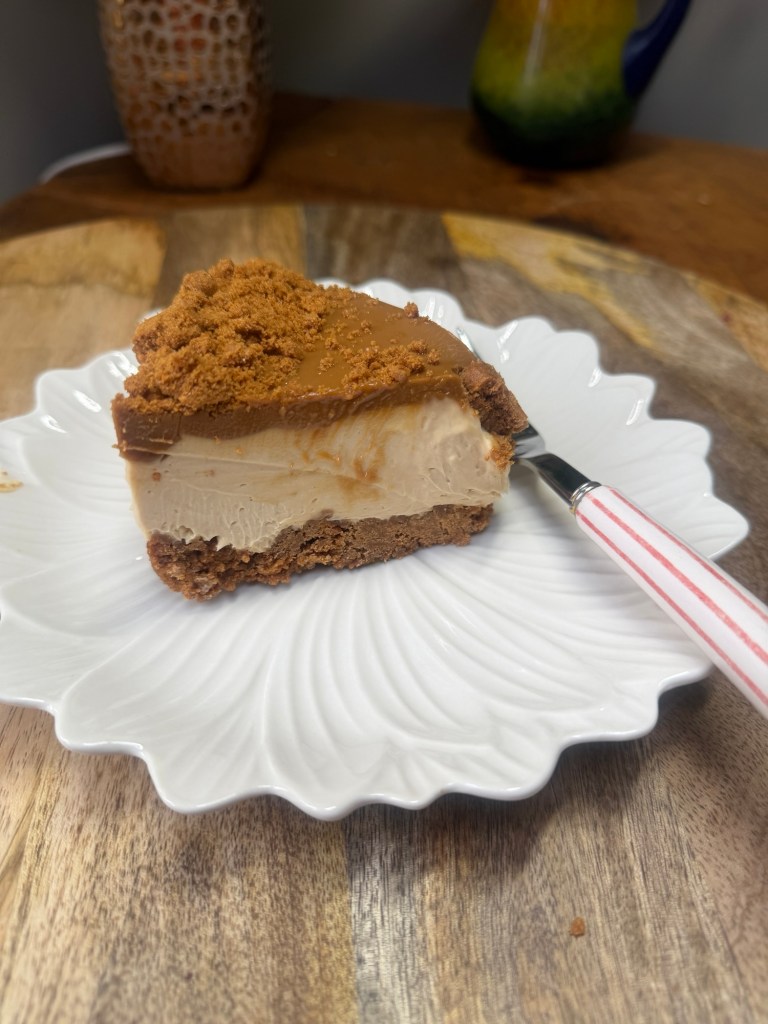
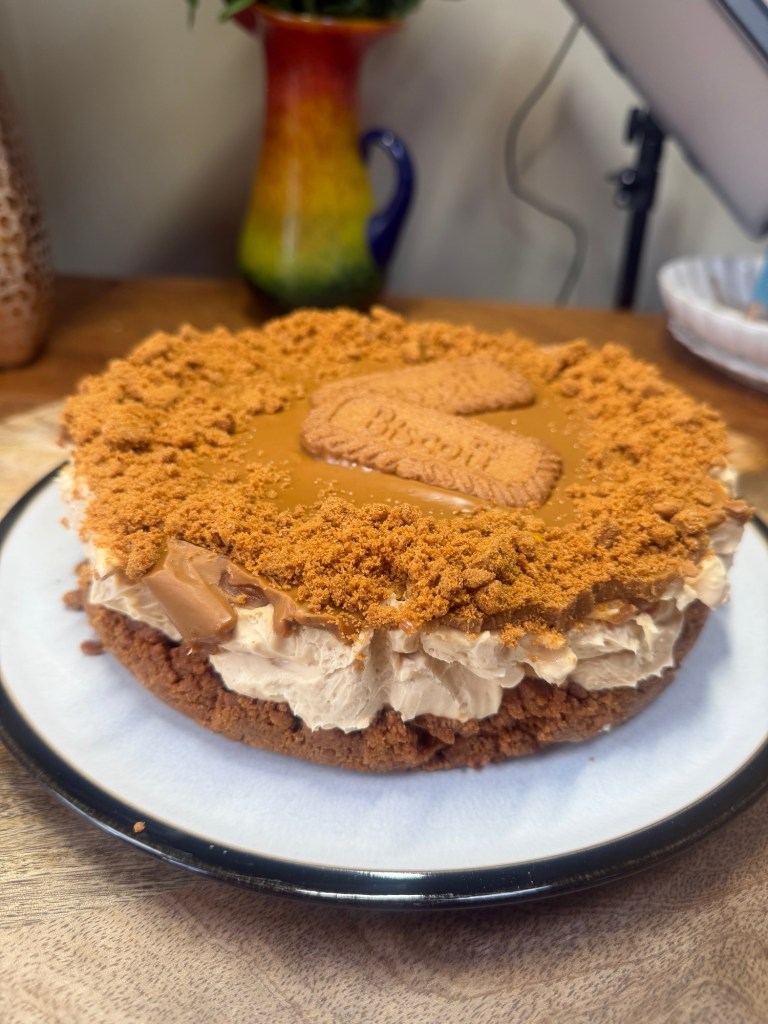
    It’s creamy, rich, caramel-biscuity and just a little bit over the top in the best way. The base is made with crushed Biscoff biscuits and melted butter, the filling is soft and mousse-like with plenty of Biscoff spread, and the top has that glossy melted Biscoff finish that makes it look properly special.
    This is the sort of dessert I’d make the night before people are coming round, then feel very smug about the next day. No oven, no gelatine, no complicated steps. Just mix, chill and decorate.


    Why You’ll Love This Recipe


    This cheesecake is perfect if you want something impressive but easy. It slices beautifully once chilled, it tastes like a caramel biscuit dream, and it’s a lovely make-ahead dessert for birthdays, family meals, Sunday lunch or Christmas buffets.
    It’s also one of those recipes that people always ask about. If you put this on the table, someone will want the recipe before they’ve even finished their slice.

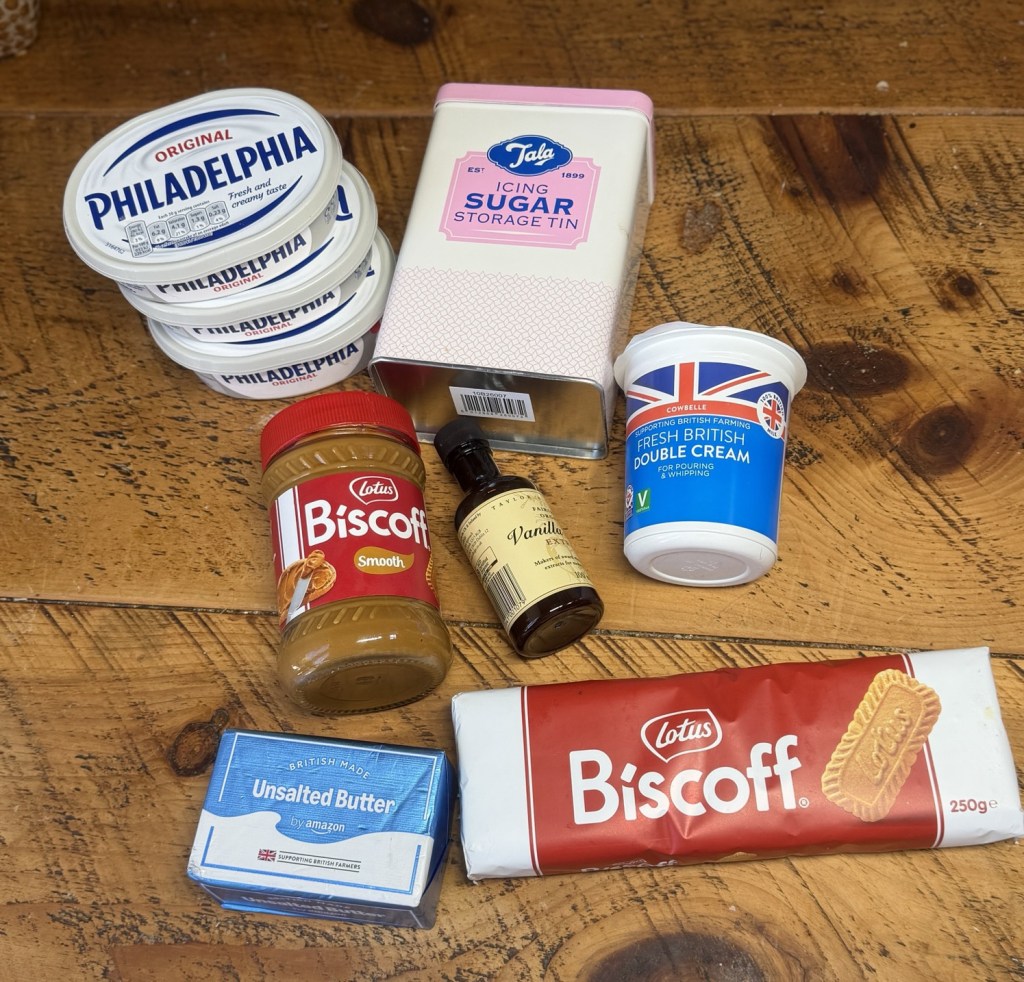
    Ingredients

    For the base
    • 250g Biscoff biscuits
    • 100g unsalted butter, melted

    For the cheesecake filling


    • 500g full-fat cream cheese
    • 300ml double cream
    • 100g icing sugar
    • 1 tsp vanilla extract
    • 200g Biscoff spread


    For the topping

    • 150g Biscoff spread
    • 4 to 6 Biscoff biscuits, crushed
    • Optional: whipped cream, extra biscuits or mini Biscoff biscuits for decorating


    How to Make No-Bake Biscoff Cheesecake


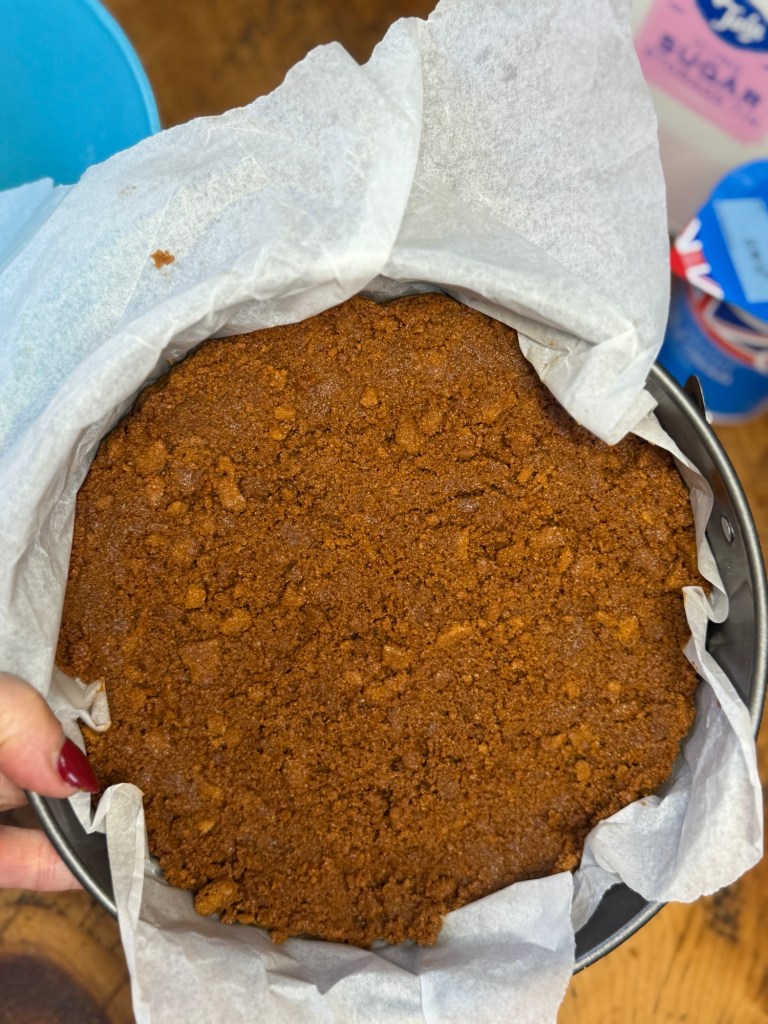
    Start by lining the base of a 20cm springform tin with baking paper. This makes it much easier to remove the cheesecake later.


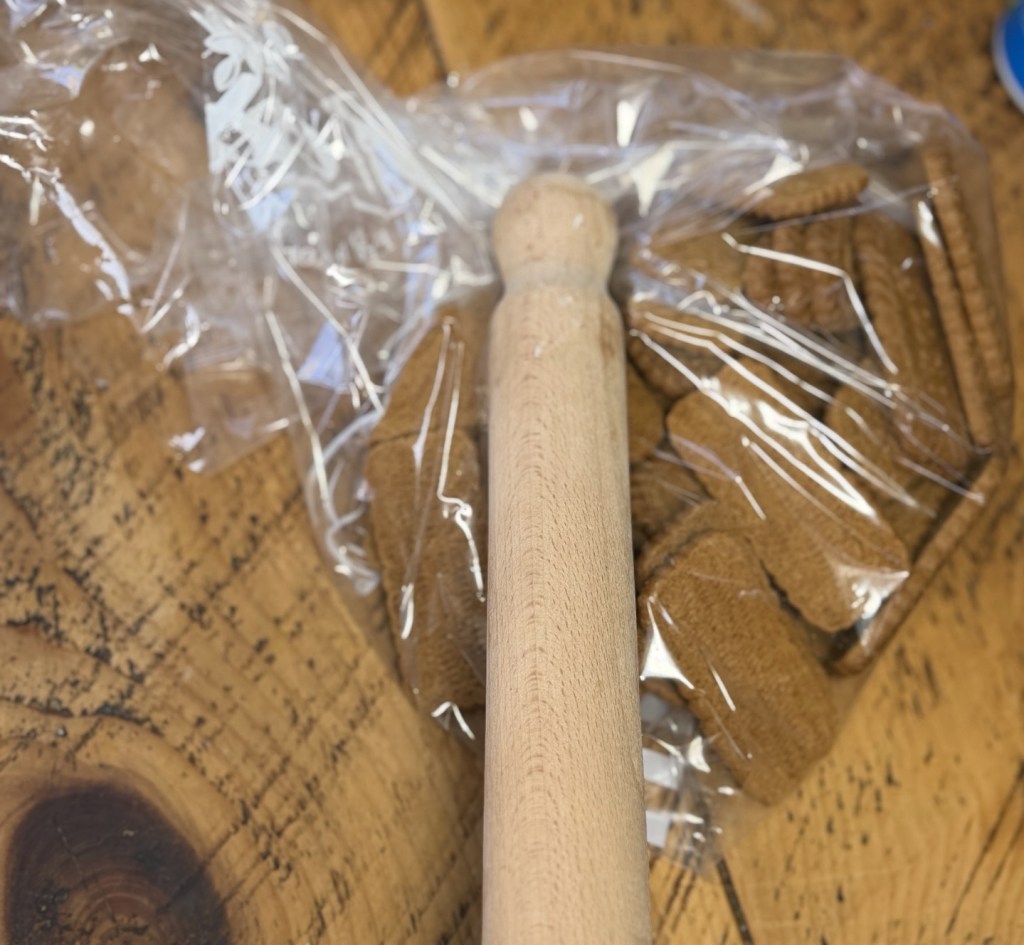
    Crush the Biscoff biscuits into fine crumbs. You can do this in a food processor, or pop them into a food bag and bash them with a rolling pin.

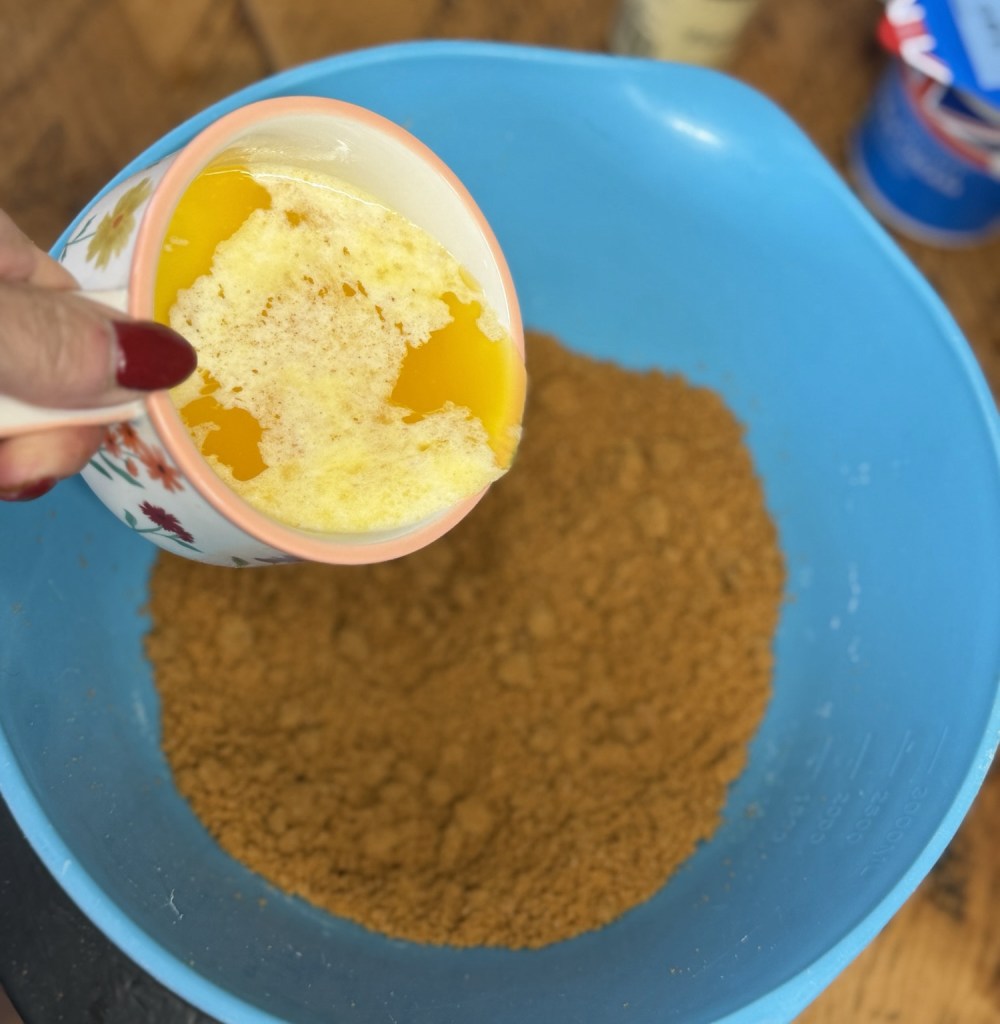
    Mix the crumbs with the melted butter until they look like wet sand.


    Press the biscuit mixture firmly into the base of the tin. I like to use the end of the rolling pin of the bottom of a glass to really compact it down. This helps the base hold together when you slice it.

    Pop it in the fridge while you make the filling.

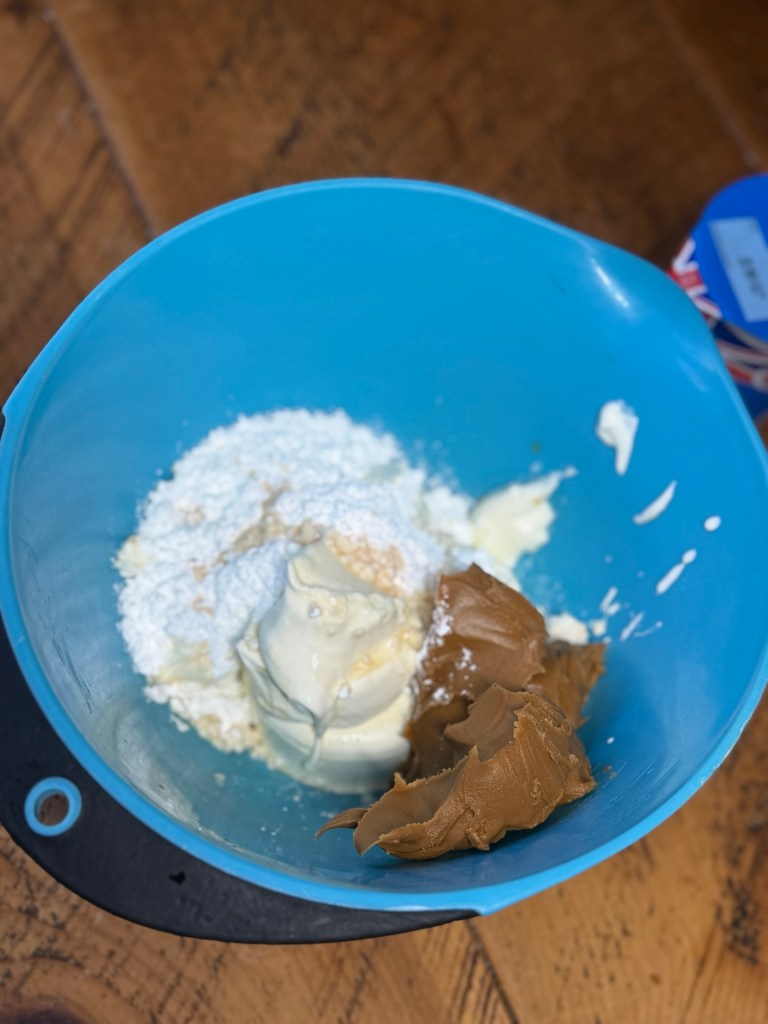
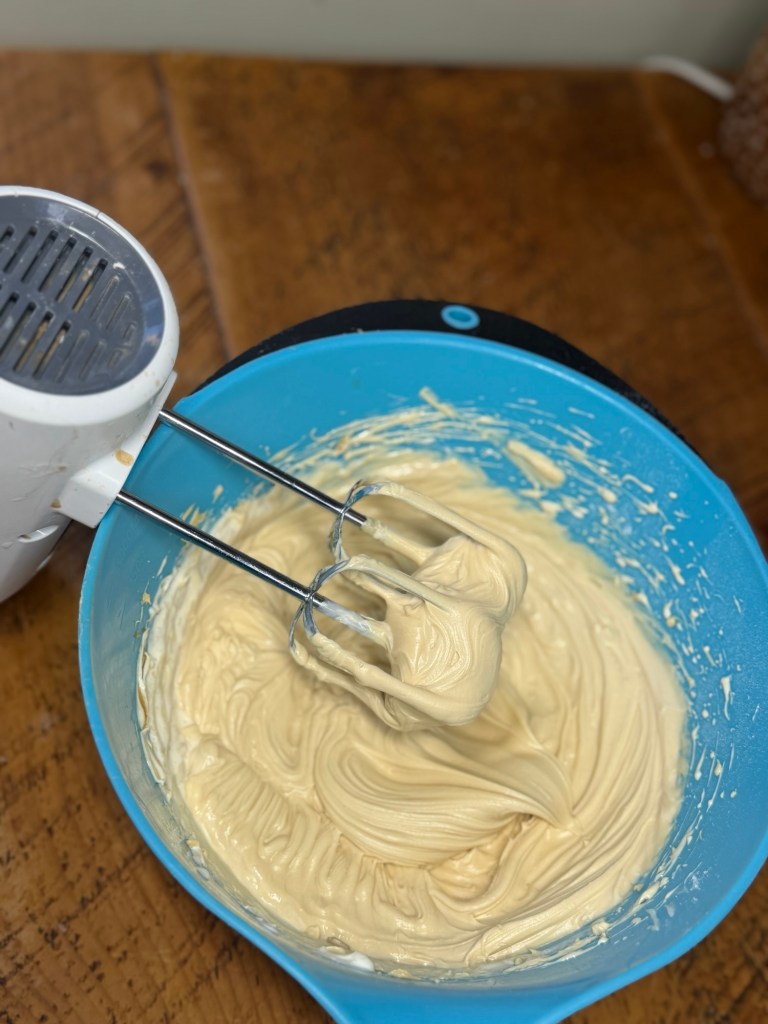
    In a large bowl, beat together the cream cheese, icing sugar, vanilla extract and Biscoff spread until smooth.

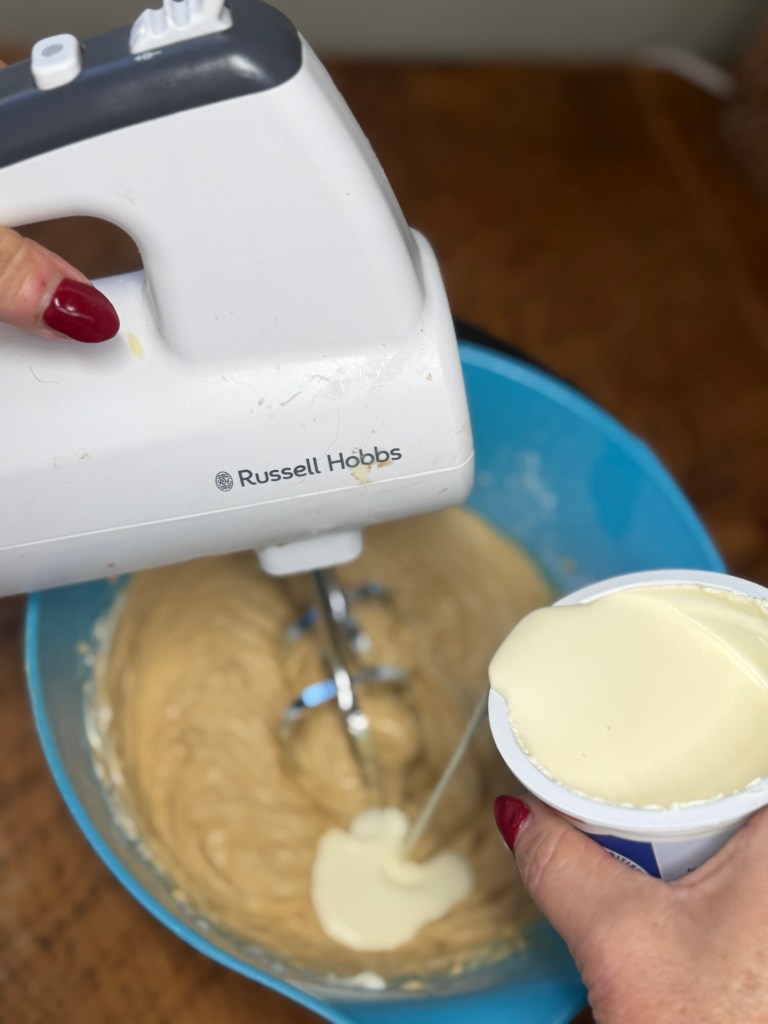
    Add the double cream and whip until the mixture is thick and holds its shape.


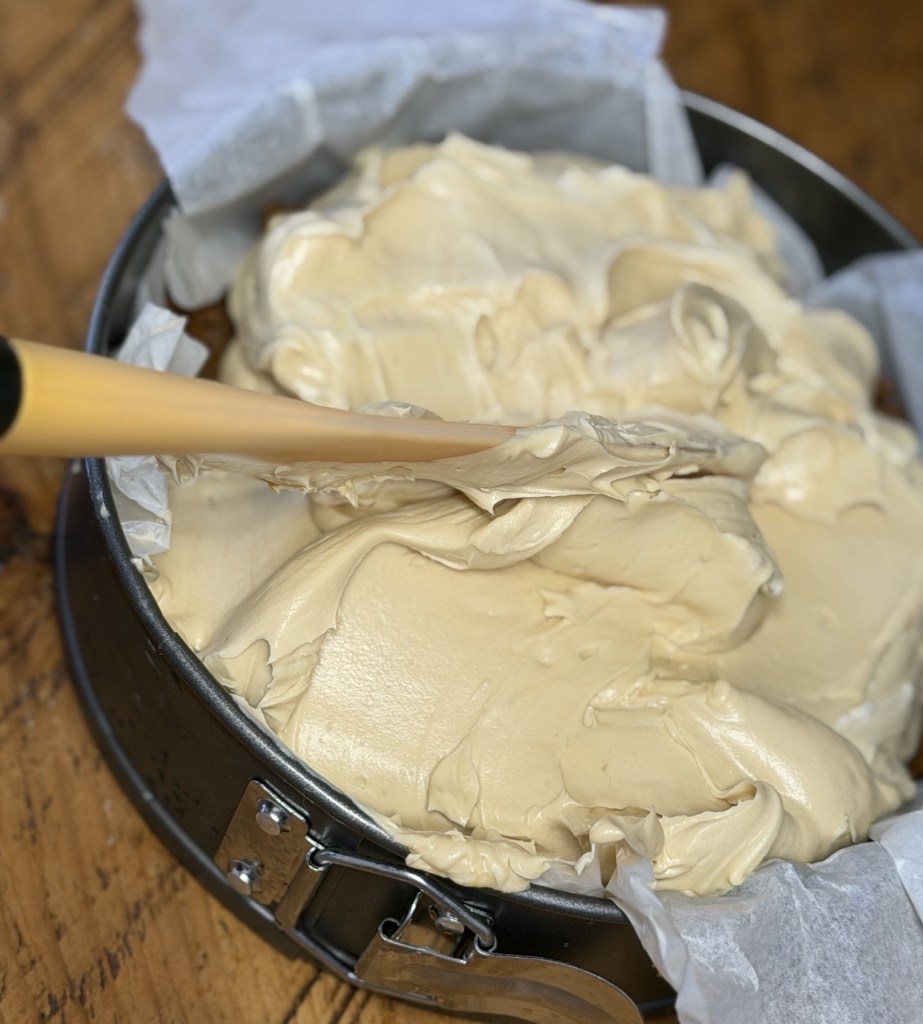
    Spoon the filling over the chilled biscuit base and smooth the top.

    Cover and chill in the fridge for at least 6 hours, but overnight is best if you want neat, clean slices.


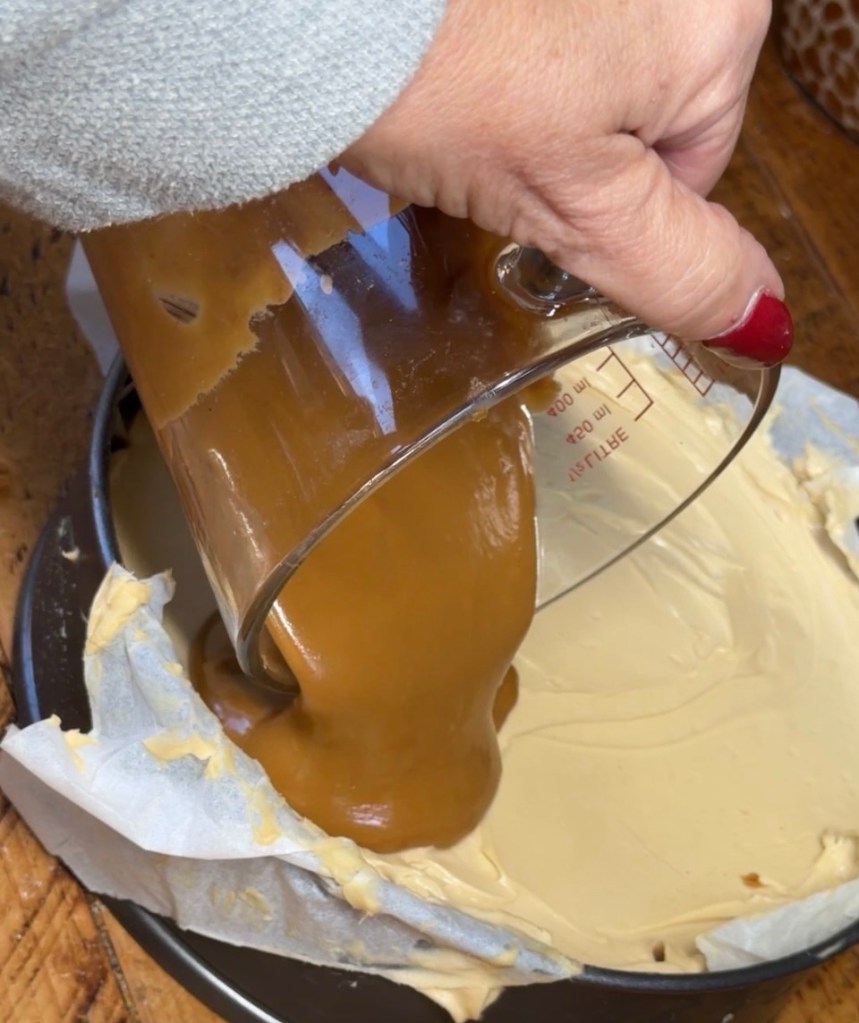
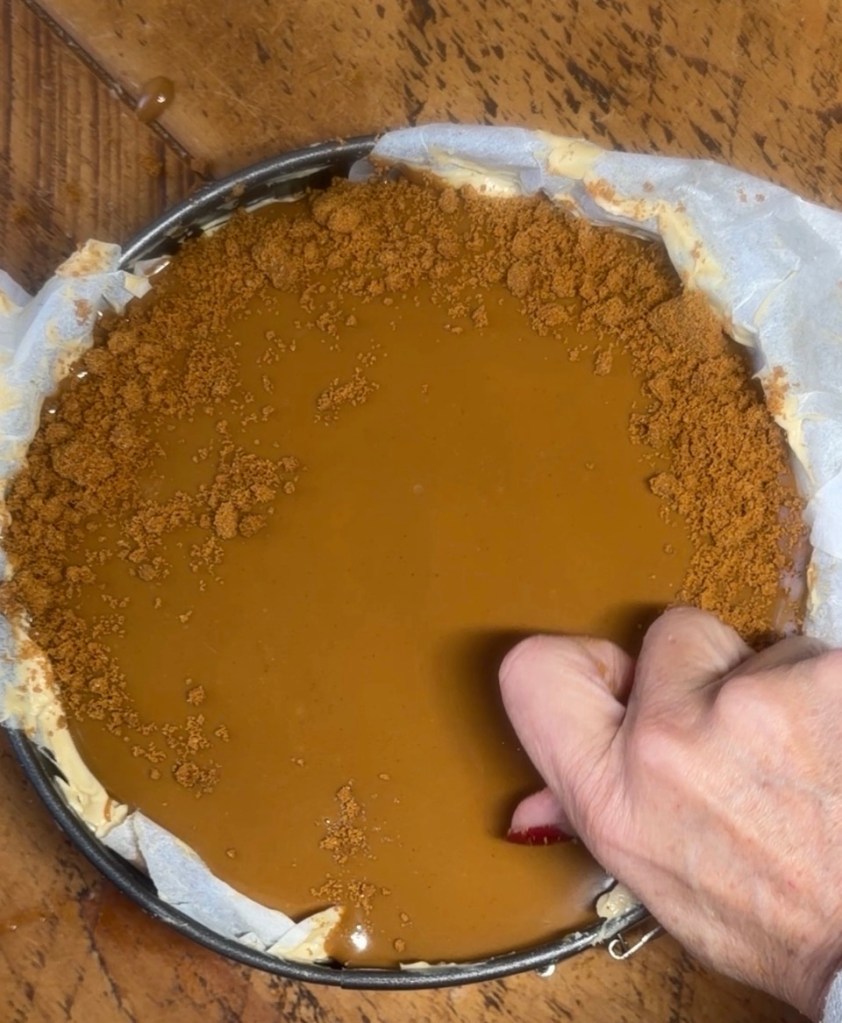
    For the topping, gently melt the Biscoff spread in the microwave for around 20 to 30 seconds until it’s pourable.

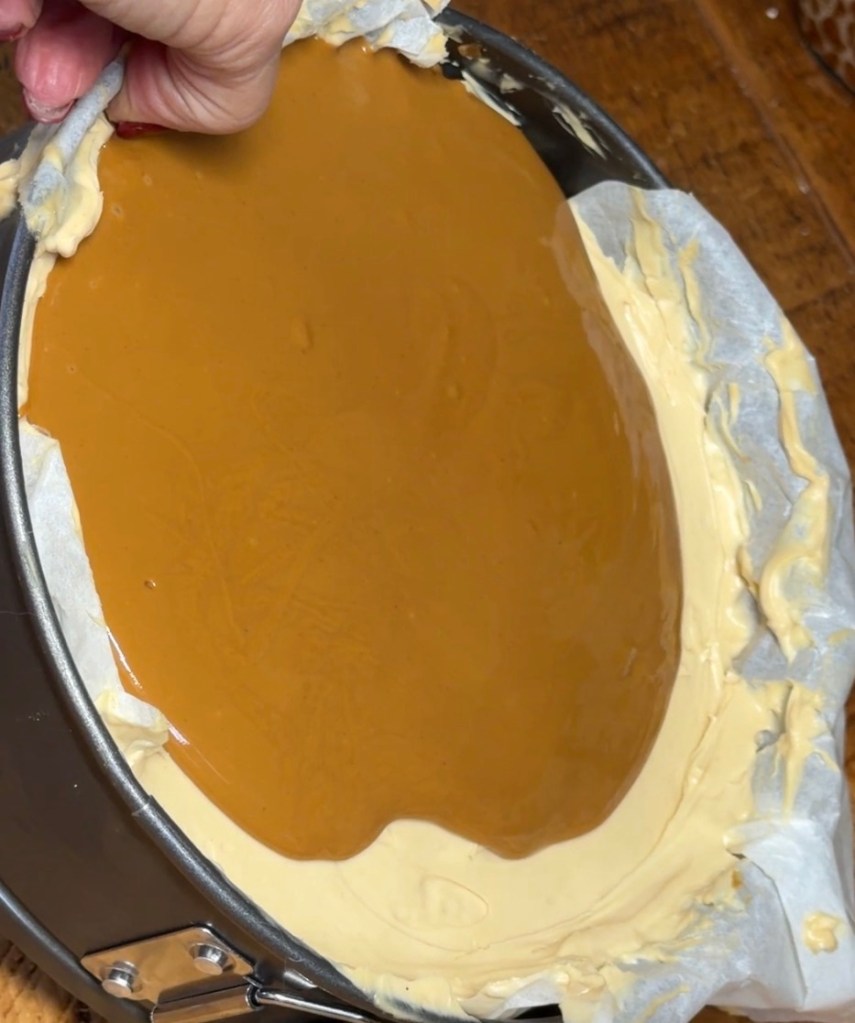
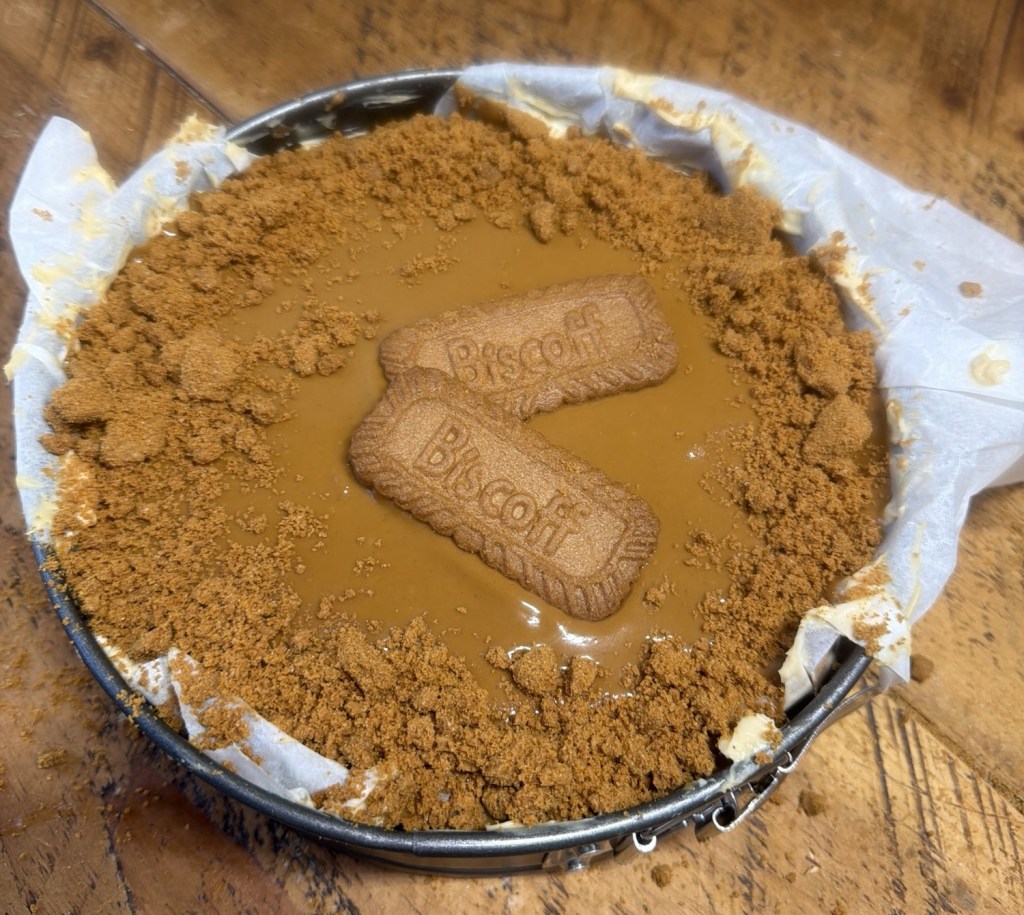
    Let it cool slightly, then pour it over the cheesecake.

    Sprinkle with crushed Biscoff biscuits and decorate however you like.


    Chill again for 30 minutes before slicing.


    My Best Tips


    Use full-fat cream cheese. The lighter versions can make the cheesecake too soft and it may not set properly.
    Make sure your double cream is cold before whipping. It thickens much better straight from the fridge.

    Don’t rush the chilling time. I know it’s tempting, but this cheesecake really does need time to firm up.


    For neat slices, dip a sharp knife in hot water, wipe it dry, then cut. Repeat between slices if you want it to look really tidy.


    How Long Does It Keep?

    This no-bake Biscoff cheesecake will keep in the fridge for up to 3 days. Keep it covered or in an airtight container so it stays fresh.
    I wouldn’t leave it out at room temperature for too long because of the cream cheese and double cream. Bring it out just before serving, then pop any leftovers back in the fridge.


    Can You Make It Ahead?


    Yes, and I actually recommend it. This cheesecake is best made the night before you need it. The texture firms up beautifully overnight and the flavour seems to get even better.

    You can add the melted Biscoff topping the night before too, or do that part on the day if you want it to look extra glossy and fresh.

    To me, this is the kind of dessert that feels like a proper little treat without needing hours in the kitchen. It’s creamy, cosy, sweet in all the right ways, and always feels a bit special when you bring it to the table. Whether you’re making it for family, friends, or just because you fancy something lovely in the fridge, this no-bake Biscoff cheesecake is one of those recipes you’ll come back to again and again.

    Shopping links

    Biscoff spread

    https://amzn.to/4cKFVta

    Biscoff biscuits

    https://amzn.to/3Peg3wP

    Vanilla essence https://amzn.to/4w1MpeT

    Springform tin

    https://amzn.to/4w7w3l2