Tag: #breadloaf

  • The Banned Nutella Banana Bread the Girls Finally Got To Try!!

    The Banned Nutella Banana Bread the Girls Finally Got To Try!!

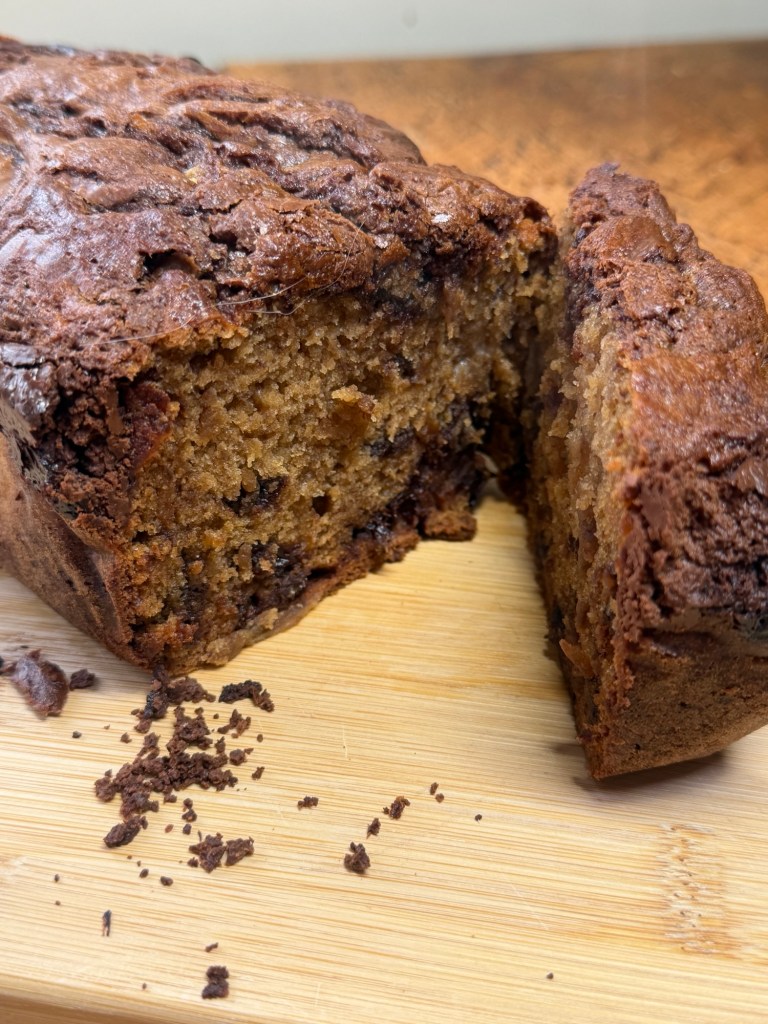
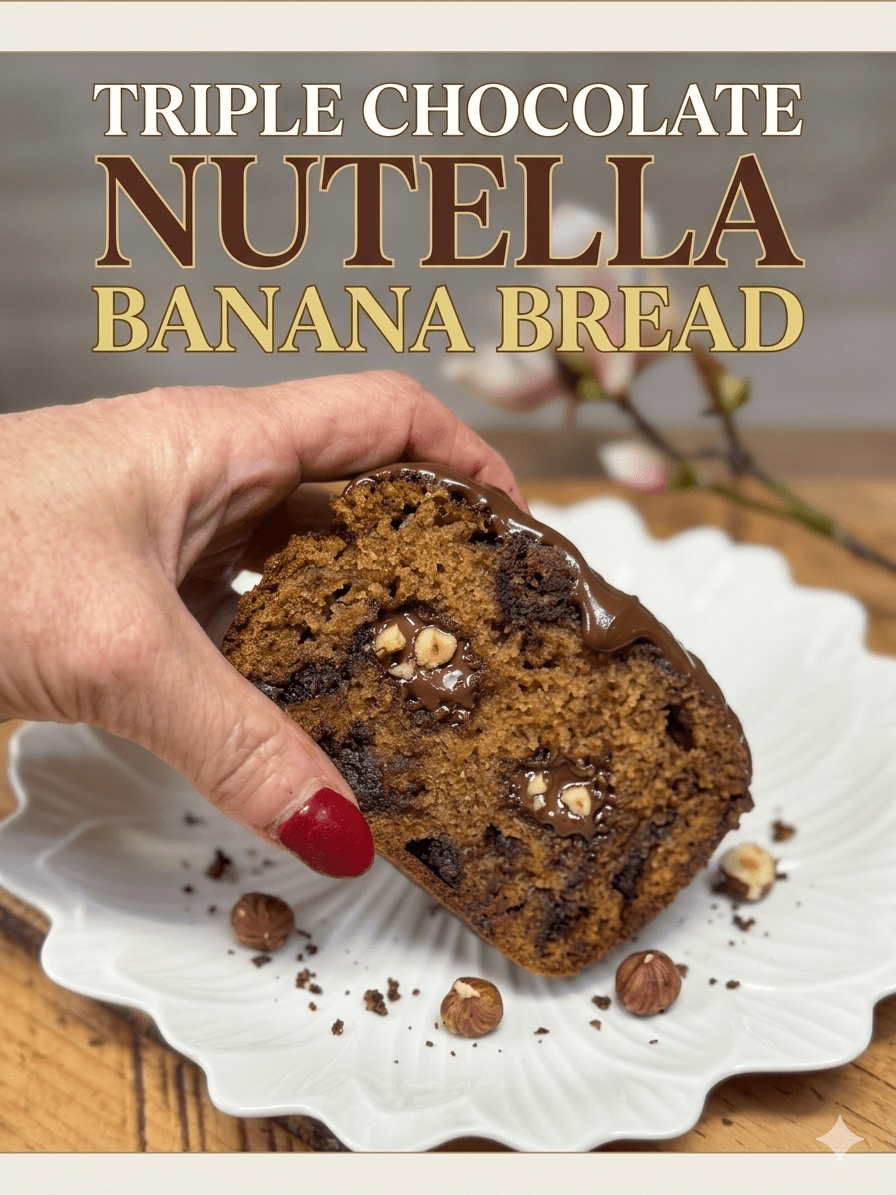
    There are some bakes that feel less like recipes and more like little love letters to your past self, and this banana, Nutella and triple‑chocolate loaf is absolutely one of them.

    It started, as these things so often do, with a bowl of sad, freckled bananas on the counter giving me the side‑eye. You know the ones: too far gone for toast, too soft for slicing, but absolutely perfect for baking. So into the bowl they went, all mashed up with melted butter, soft brown sugar and a bit of caster sugar until everything turned into that gorgeous, glossy, caramel‑smelling batter. I make banana bread every week for my dad as it’s his favourite but I thought I’d give him a bit of variation.
    And then I got a bit carried away.
    First came the Nutella. Now, Nutella is a bit of a… contraband item in this house. When the girls were younger, it was more or less banned – not because of the sugar, but because they had an absolutely terrible habit of leaving sticky Nutella spoons all over the kitchen. Honestly, I’d find them on the worktops, next to the sink, abandoned on plates – little chocolatey crime scenes everywhere. For my own sanity, the jar quietly disappeared for a few years.
    This time, I had to smuggle it back in like some sort of undercover snack dealer. Jar tucked discreetly into the shopping, no announcements made, straight into the cupboard before anyone could clock it and start reliving their spoon‑licking glory days.

    Once I’d recovered from my secret mission, it was time to turn those bananas into something special.
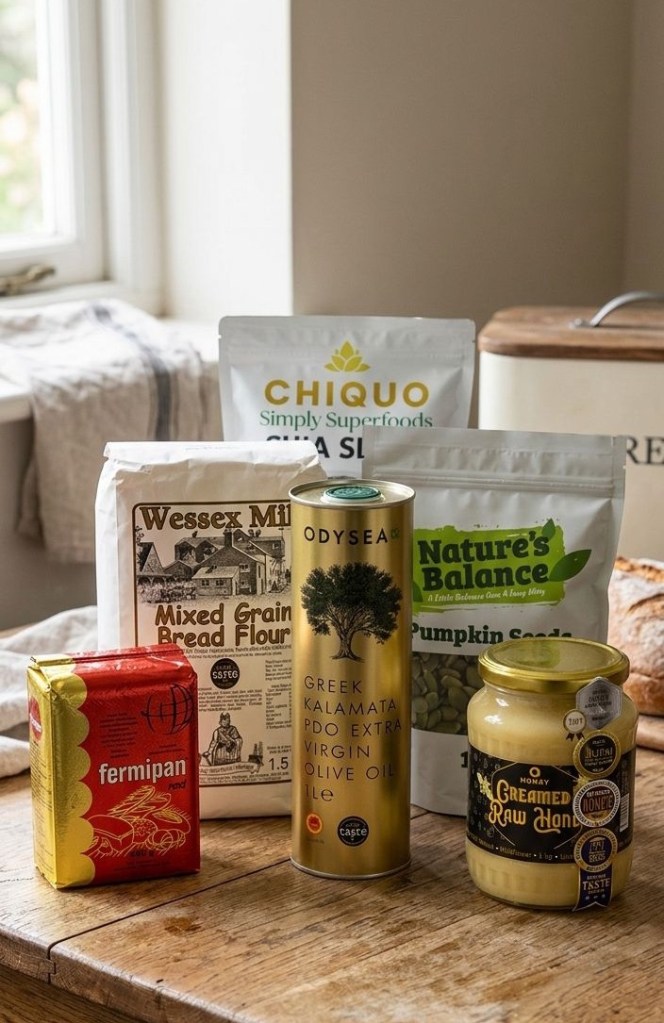
    Ingredients


    For one standard 2lb loaf tin:
    • 100 g soft light brown sugar
    • 50 g caster sugar
    • 115 g unsalted butter, melted and slightly cooled
    • 2 medium eggs
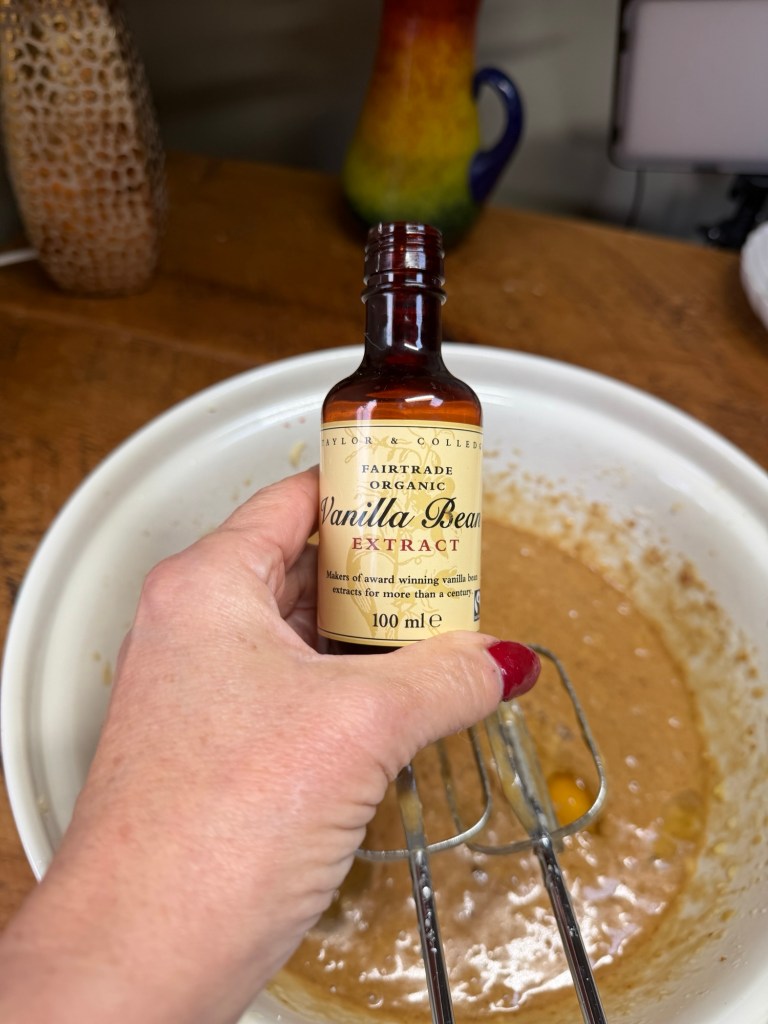
    • 1 teaspoon vanilla extract
    • 350–375 g mashed very ripe bananas (about 4–5 medium bananas)
    • 250 g plain flour
    • 1 teaspoon fine salt
    • 1 teaspoon bicarbonate of soda
    • 120 g Nutella (or chocolate hazelnut spread), gently warmed so it’s pourable
    • 100 g white chocolate chunks

    . 100g of dark chocolate chunks

    Method

    Prep the tin and oven
    • Heat the oven to 180°C (160°C fan).
    • Grease and line a 2lb loaf tin with baking paper, letting the paper overhang slightly so you can lift the loaf out later.
    • Set aside while you get on with the wet ingredients.

    Make the banana mixture
    • In a large mixing bowl, whisk the bananas until they are soft

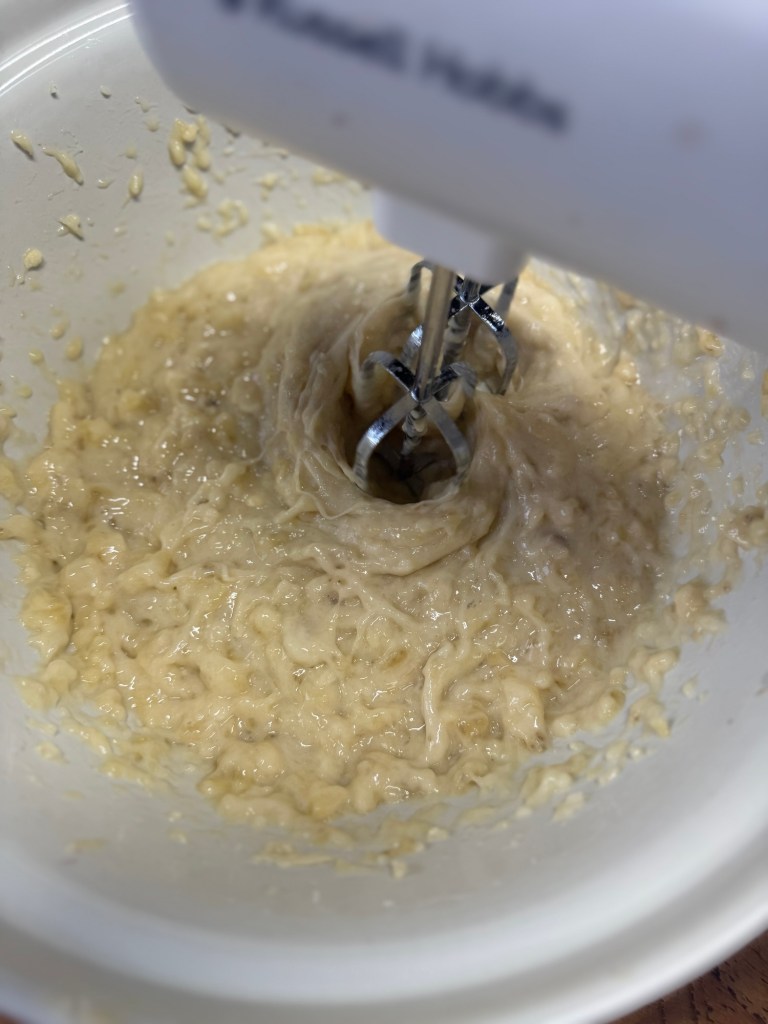
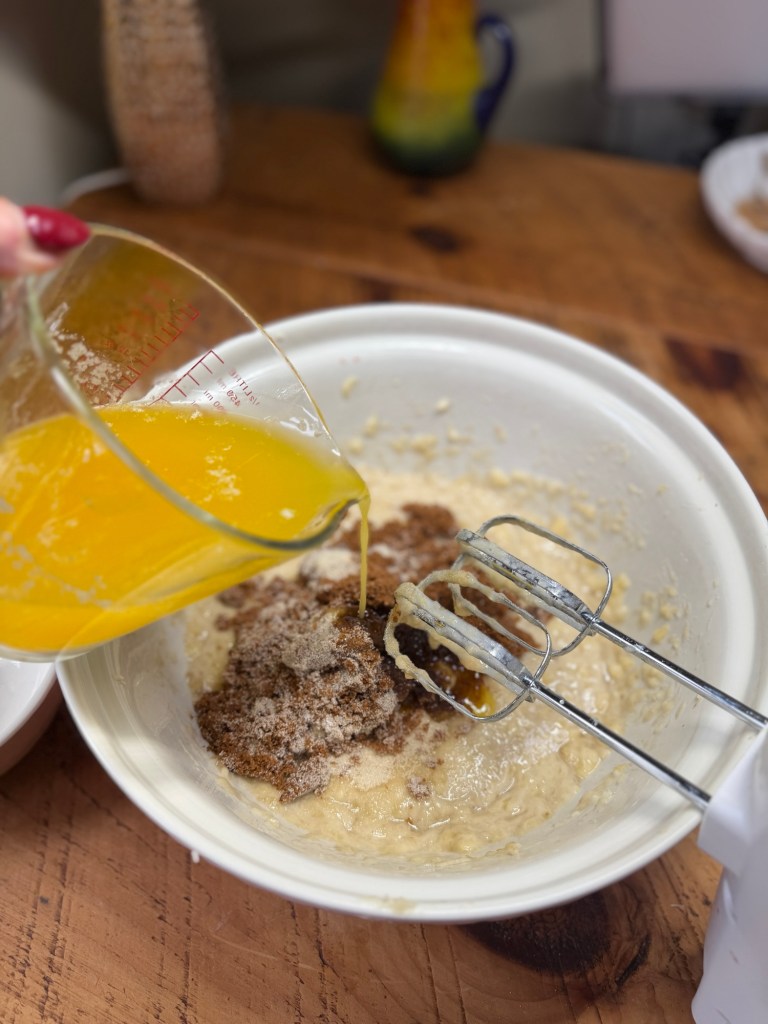
    then add the melted, slightly cooled butter with the soft brown sugar and caster sugar until well combined and a bit glossy.


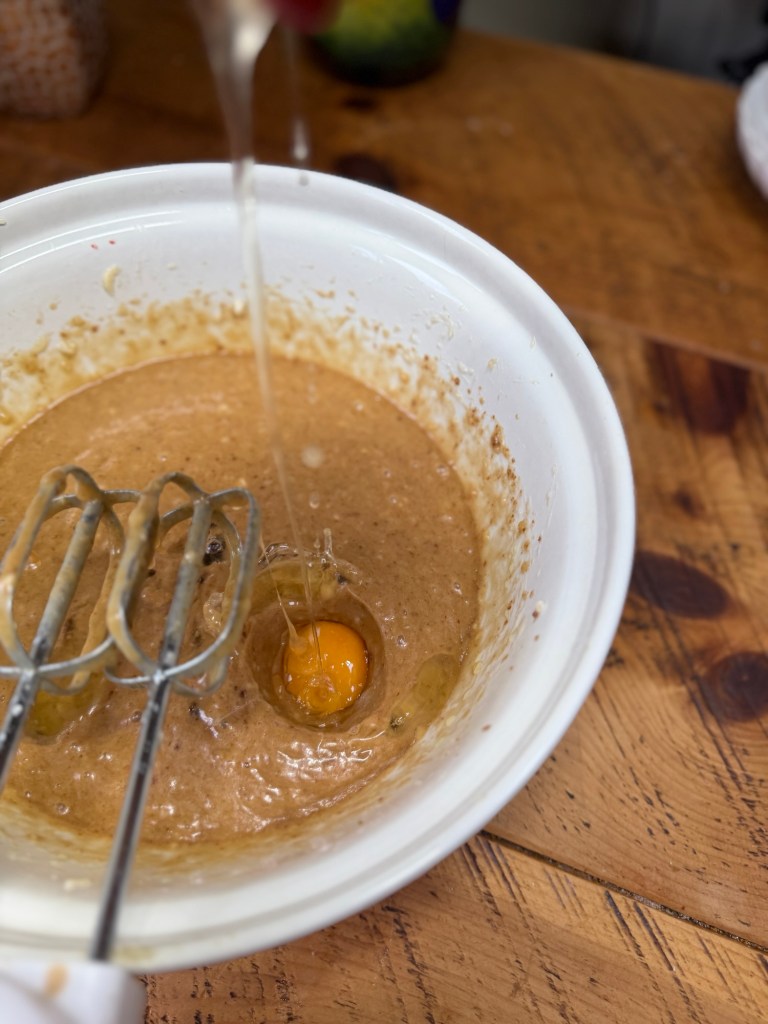
    • Add the eggs and vanilla extract, whisking until the mixture looks smooth and a little lighter.

    Add the dry ingredients – plain flour, salt and bicarbonate of soda very ripe bananas and stir them into the bowl until everything is well combined.

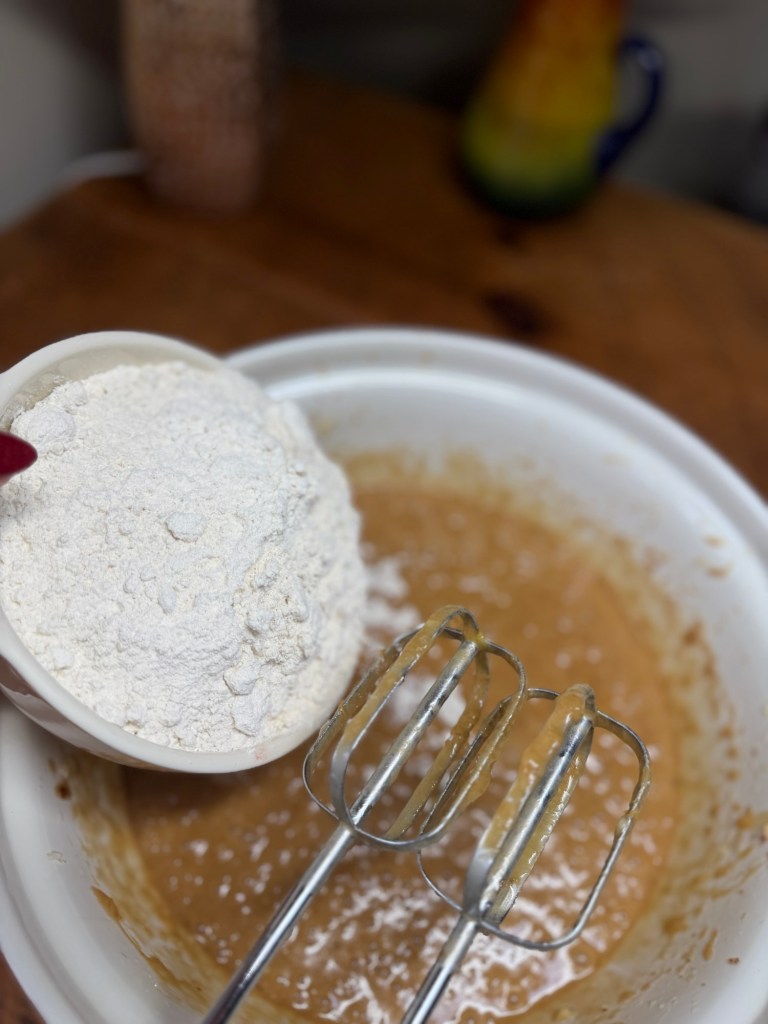
    Fold in the dry ingredients until you can’t see any streaks of dry flour. Try not to overmix so you keep the loaf nice and soft.

    Add the chocolate chunks
    • Sprinkle in the white chocolate chunks and dark chocolate chunks.


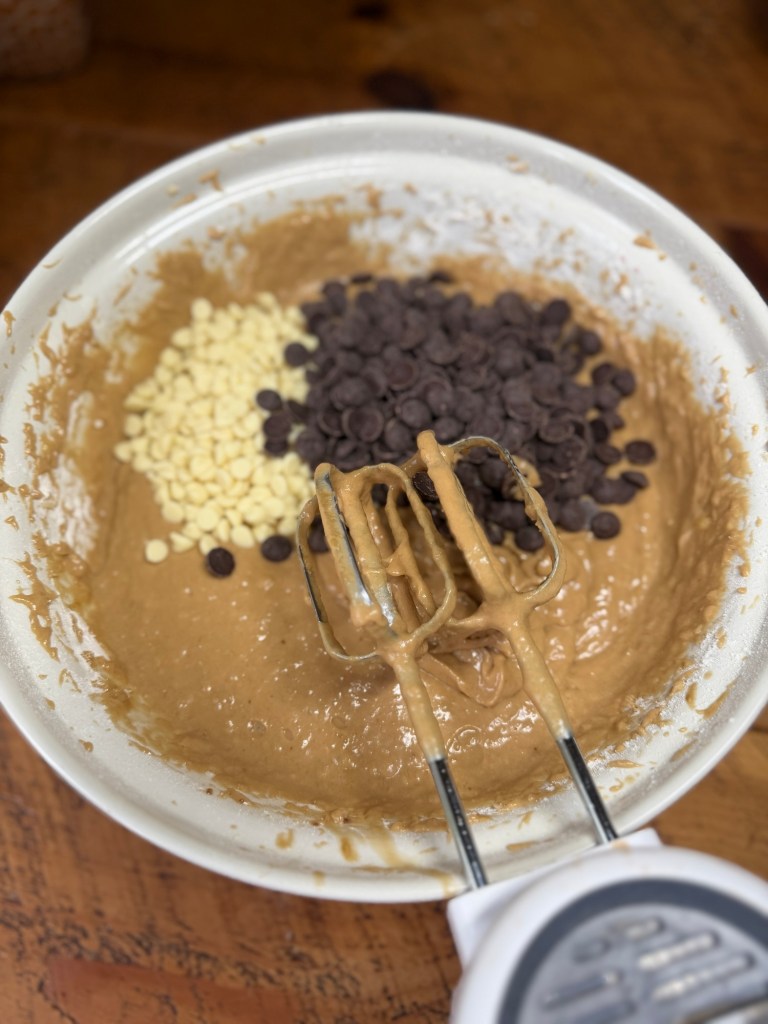
    • Fold them through the batter so they’re evenly distributed, ready to melt into little pockets of joy as the loaf bakes
    • Pour the banana batter into your prepared loaf tin and smooth the top.
    • Warm the Nutella very gently (a few seconds in the microwave or sit the jar in a bowl of hot water) so it loosens and becomes pourable.


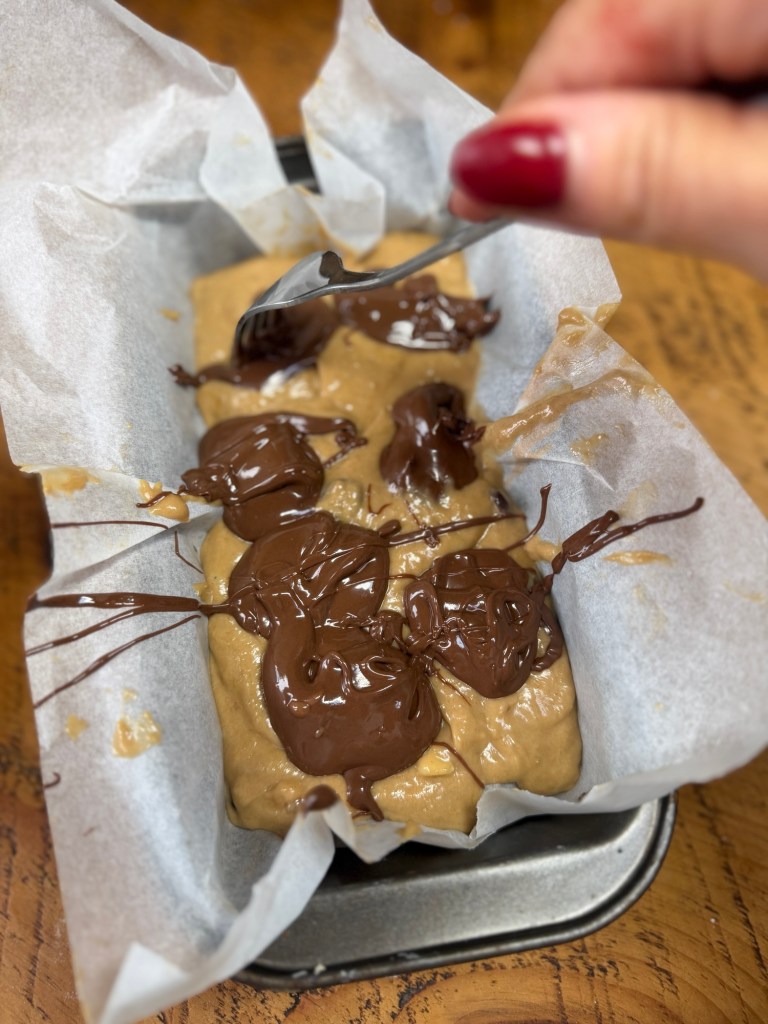
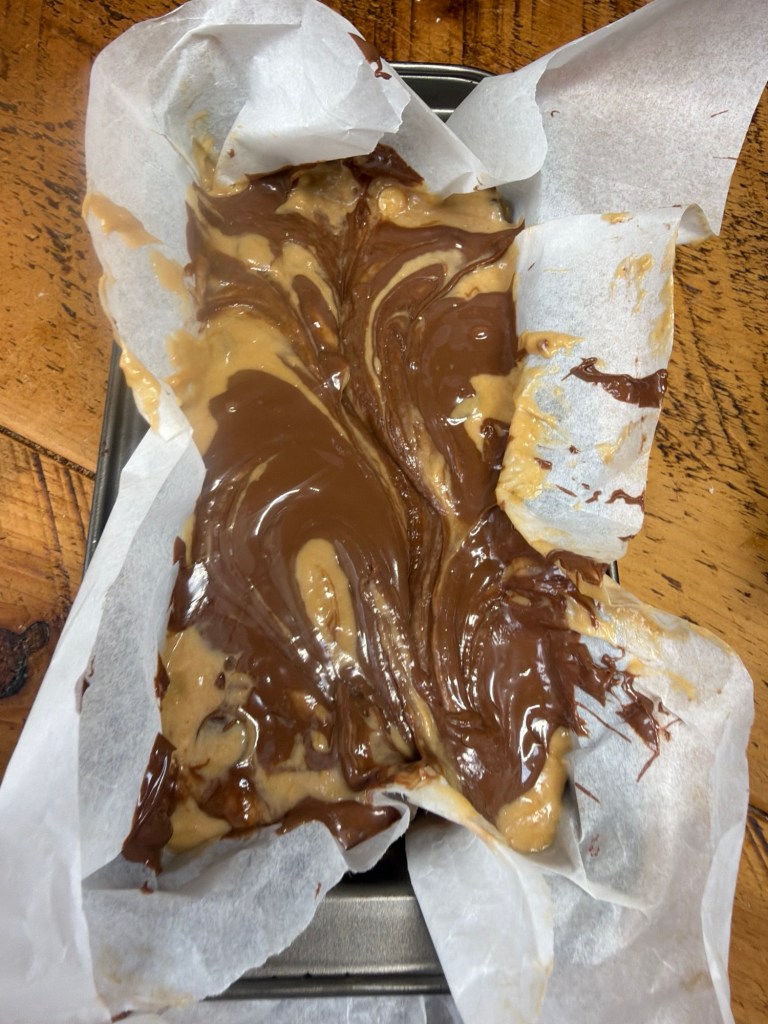
    • Dollop or drizzle the Nutella over the top of the batter, then use a knife or skewer to swirl it through, creating ribbons of hazelnut chocolate.

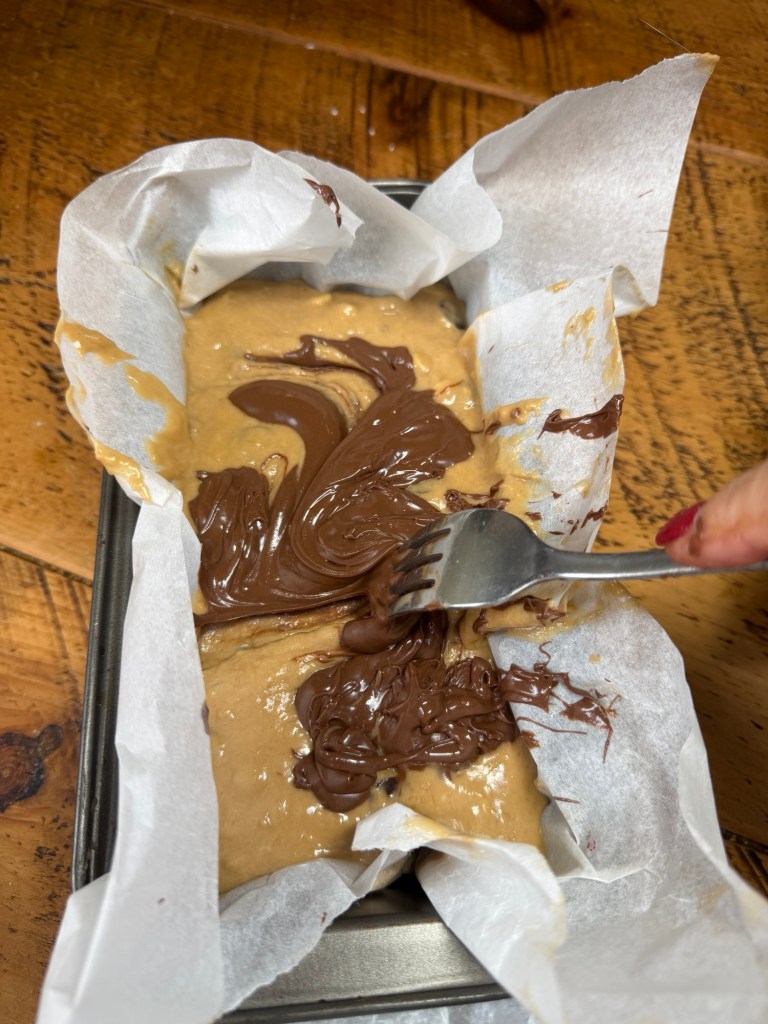
    No need for perfection here – messy swirls taste just as good.

    Bake
    • Pop the tin into the oven and bake for about 55–65 minutes, or until the loaf is risen, golden, and a skewer inserted into the centre comes out mostly clean, with just a few moist crumbs (avoid a big melted chocolate pocket when you test).
    • If the top is browning too quickly, loosely cover with foil for the last 10–15 minutes.

    1. Cool (as much as you can bear)
      • Leave the loaf to cool in the tin for about 15 minutes, then lift it out onto a wire rack.

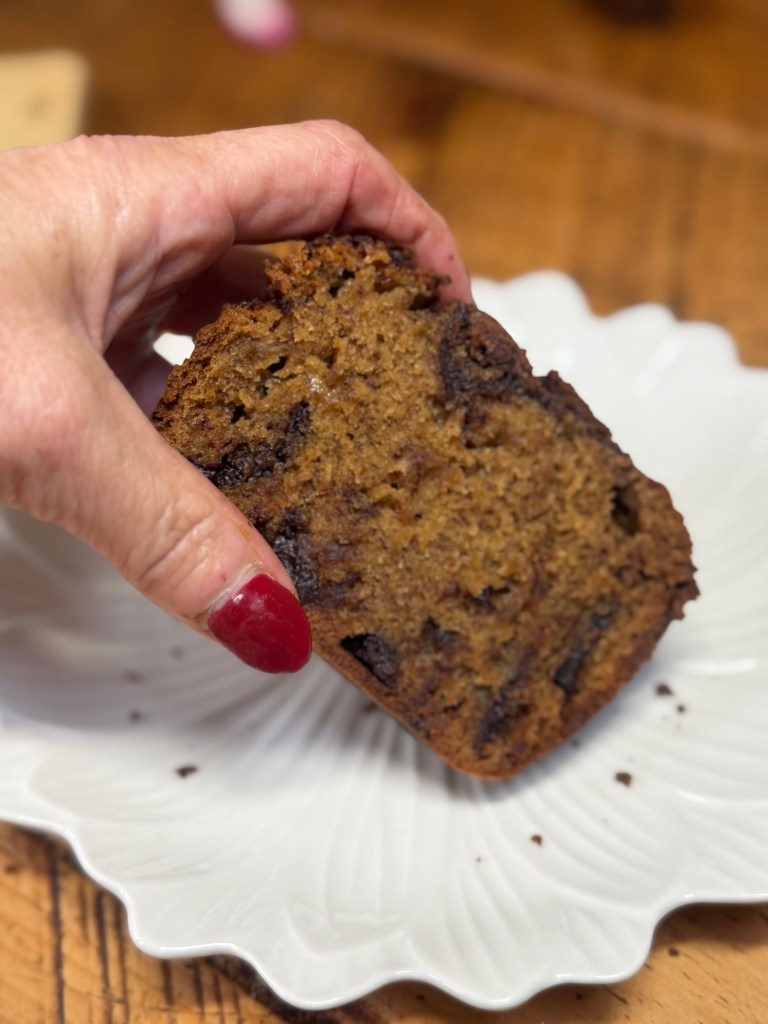
    • You can let it cool completely… or do what we do and cut the first slices while it’s still just warm, when the chocolate is soft and the Nutella ripples are extra gooey.

    Every slice is a little bit of everything: soft, banana‑rich crumb, sweet white chocolate, deep dark chocolate and those cheeky streaks of Nutella that still feel ever so slightly naughty after its years-long ban.
    The funniest part is serving it now. No banned jars, no drama, no trail of sticky spoons (yet!) – just the girls eyeing up the tin and asking, “Is there Nutella in this?” with that look that tells me they know exactly what I’ve smuggled back into the house. Have you tried this recipe or any other suggestions for different types of banana bread ? Let me know in the comments.

  • The Little Bread Maker That’s Earned Its Place on My Worktop

    The Little Bread Maker That’s Earned Its Place on My Worktop


    There’s something really lovely about making your own bread at home, isn’t there? It feels homely before you’ve even sliced into it. The smell alone is enough to make the kitchen feel cosy.


    I’ve been using the Panasonic SD-PN100 Automatic Mini Bread Maker, and I have to say, I’m really pleased with it. I didn’t want a huge bread maker taking over the worktop, and this one is such a nice compact size. i had a larger one years ago and it was heavy and unsightly and ended up stuck in a cupboard used only a handful of times . This is different- it sits neatly on the counter without looking bulky, which is a big thing for me because kitchen space is precious.
    It’s designed to be a smaller, more compact bread maker for everyday kitchens. It makes a smaller loaf of around 400g, which is ideal for individuals and couples who want fresh bread without making too much at once.
    For us, it’s just the right amount. A loaf lasts around two days for a couple, so it gets eaten while it’s still fresh.

    I much prefer that to buying a big supermarket loaf and then finding the last few slices looking sad at the back of the bread bin.

    So Quick and Easy
    One of the things I love most is how simple it is. I’m all for homemade, but I don’t always want a big faff. With this, you just add the ingredients into the bread pan, choose the setting, press start, and let it get on with it.


    No kneading by hand. No flour everywhere. No standing around wondering whether the dough has proved enough.
    The machine does the mixing, kneading, proving and baking for you. It really does feel like a little kitchen helper.
    A loaf can be ready in under two hours, which is brilliant when you suddenly fancy fresh bread but haven’t planned ahead. I love that it’s quick enough to feel practical, not just something you use once and then put in the cupboard forever.
    And honestly, nothing beats the smell of fresh bread baking. It’s one of those smells that makes everyone wander into the kitchen asking, “Is that bread?” There’s just something comforting about it.

    Why I Wanted to Make More Bread at Home

    One of the main reasons I wanted to make more bread myself is because I like knowing what’s going into it. I’m not saying I’ll never buy supermarket bread again, because real life is real life, but I do think it’s nice to have the choice. There are so many different types of flour available so no excuses to get bored . We also love soda bread which is so hard to find where we live, none of the larger supermarket Sell it, only Marks & Spencer’s and it’s always sold out!


    A basic homemade loaf can be really simple: flour, water, yeast and salt. But when you look at some supermarket bread labels, the ingredient list can be much longer.
    A typical UK supermarket white loaf may include wheat flour, water, yeast and salt, but it can also include vegetable oils, soya flour, preservatives such as calcium propionate, emulsifiers such as E472e and E481, and flour treatment agents such as ascorbic acid. These ingredients are often used to help with softness, texture, shelf life and consistency, but I personally like being able to make a simpler loaf at home.
    Salt is another thing that can creep up on us. Adults are generally advised not to have too much salt, and a lot of the salt we eat can come from packaged and everyday foods such as bread, breakfast cereals, meat products and ready meals. So when I make my own bread, I like that I can control how much goes in.
    It just feels better knowing exactly what I’ve added.

    My Favourite Bread Additions

    I’ve been making mine with pumpkin seeds and chia seeds, and I absolutely love the texture they give. It turns a simple loaf into something a bit more special. Pumpkin seeds add a lovely nutty flavour and a little crunch. They also contain protein, magnesium, potassium, zinc, iron and healthy fats. I like that they make the bread feel more filling too. Chia seeds are tiny, but they’re such an easy way to add extra goodness. They contain fibre, omega-3 fatty acids, iron, calcium and antioxidants. They disappear nicely into the loaf, so you’re getting the benefit without changing the bread too much. For a lighter bread I use a tablespoon or so of powdered milk which makes it a little softer. I’ve also been using raw whipped honey instead of refined white sugar. It gives the bread a gentle sweetness and a lovely flavour. Honey is still a sugar, so I wouldn’t call the bread sugar-free, but I do like that I’m not using refined white sugar. Raw honey is less processed than many standard sweeteners and can contain natural antioxidant compounds.
    I also use Himalayan salt. I like the taste, and I like the little touch of pink colour when I’m measuring it out. Himalayan salt is mostly similar to regular salt, but it also contains small amounts of trace minerals which give it the pink colour. Like all salt, it still needs to be used in moderation, but I do enjoy the flavour.
    Handy Features
    The Panasonic SD-PN100 has 18 automatic programmes, including bread settings, gluten-free settings, dough settings and sweet settings. I like that it’s not just for one basic loaf. You can play around with different types of bread, doughs and sweeter bakes.
    It can be used for things like wholewheat bread, brioche, pizza dough, pasta dough, gluten-free options and even homemade jam. I haven’t worked my way through everything yet, but I love knowing I’ve got options.
    You can also choose from light, medium or dark crust settings, which is handy because everyone has their own idea of the perfect crust. Some days I want a softer loaf, and other days I like it a bit darker and more crusty.
    It also has a timer that can be set, so you can get the ingredients ready and have the bread finished when it suits you. That’s such a useful feature if you want fresh bread ready in the morning or later in the day.
    It comes with a measuring cup and measuring spoon too, which is helpful because bread making does like a bit of accuracy. It keeps everything simple, especially if you’re just getting into making bread at home.
    One thing to note is that this model does not have an automatic yeast dispenser or raisin and nut dispenser, so seeds and extras need to be added manually. That doesn’t bother me at all because I like adding my pumpkin and chia seeds myself.


    Less Waste, Less Packaging


    Another thing I really like is that making bread at home means I’m not bringing home another plastic supermarket bread bag every time. I store my homemade bread in cotton drawstring bags, which feels much nicer and less wasteful.
    It’s such a simple little swap, but it makes me happy. Fresh homemade bread, stored in a reusable cotton bag, with no plastic packaging to throw away.
    Because the loaf is a smaller size, we actually eat it while it’s fresh. So there’s less food waste and less packaging waste. That feels like a win-win to me.
    Is It Cheaper?
    Once you’ve got your flour, yeast, salt and favourite extras in the cupboard, making a loaf at home can be really inexpensive. I like that I can make something fresh and lovely without paying bakery prices.
    Of course, the seeds, honey and extras add a little bit, but you’re choosing exactly what goes in. For me, that’s worth it.
    It also stops those little top-up trips to the shop where you go in for bread and somehow come out with ten other things. We’ve all done it.

    Final Thoughts

    I’m really pleased with the Bread Maker. It’s compact, quick, simple to use and perfect for a smaller household.
    I love that it doesn’t take up much room on the worktop. I love that a loaf is ready in under two hours. I love that I can just throw the ingredients in and let it do the hard work.
    Most of all, I love knowing what’s in my bread. Pumpkin seeds, chia seeds, raw whipped honey, Himalayan salt, and no refined white sugar. Just a fresh little loaf made exactly how we like it.
    For a couple, it’s the perfect size. For a smaller kitchen, it’s practical. And for anyone who loves the smell of fresh bread, it’s such a treat.
    Because really, is there anything nicer than walking into the kitchen and smelling a fresh loaf baking?

    Shopping list

    These are the things I use, mainly from Amazon because bulk buying seeds etc works out so much cheaper and you have a greater variety than you can get In the shops . I am an Amazon associate so if you purchase I get a tiny amount which helps keep the cats in food !

    Panasonic bread maker

    https://amzn.to/4t1aEao

    Bread bags

    https://amzn.to/3P77C6o

    Bread knife – looks scary but it’s amazing

    https://amzn.to/4tGEYIq

    Yeast – this is a fabulous size packet and last ages – store in an airtight container

    https://amzn.to/4ef7agI

    Bread flour – I love the Wessex mill flour as they have a great range – a little bit pricier than ordinary bread flour but it lovely

    https://amzn.to/4cEaiBG

    Bread boards

    https://amzn.to/4mZb3sr

    Honey – this is seriously the best honey ever . Like the honey I used to have as a child – the whole family are converted – it’s a large jar which is just as well as it flys out in our house

    https://amzn.to/48toN8V

    Chia seeds these are organic

    https://amzn.to/4eeSy0K

    Pumpkin seeds

    https://amzn.to/420e8im

    Olive oil – I love Odysea products as they are imported from Greece – their Greek yoghurt is out of this world !

    https://amzn.to/4vVbPuD

    Milk powder

    https://amzn.to/4t2YzRZ

    Salt

    https://amzn.to/4t0ddta