Tag: #BritishDessert

  • Classic Bread and Butter Pudding Recipe

    Classic Bread and Butter Pudding Recipe

    Classic Bread and Butter Pudding Recipe
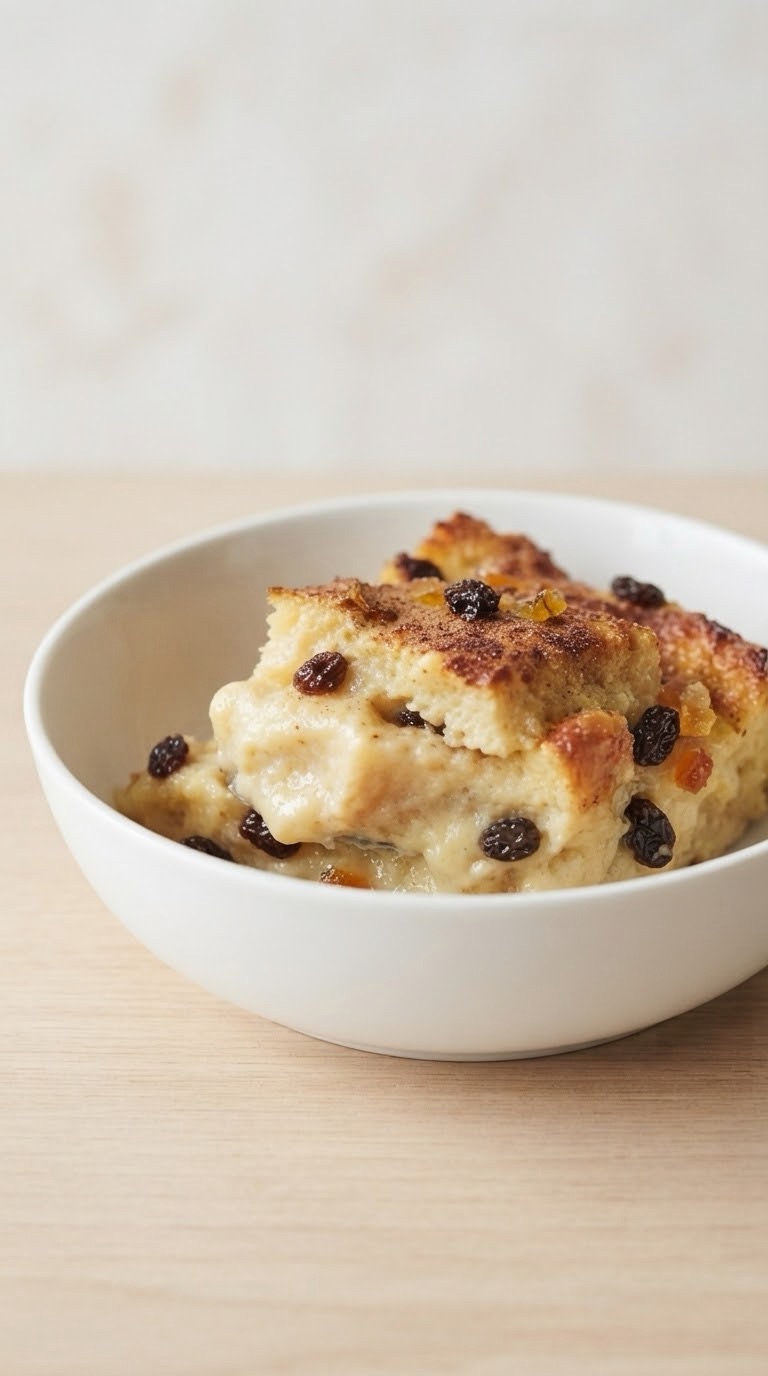
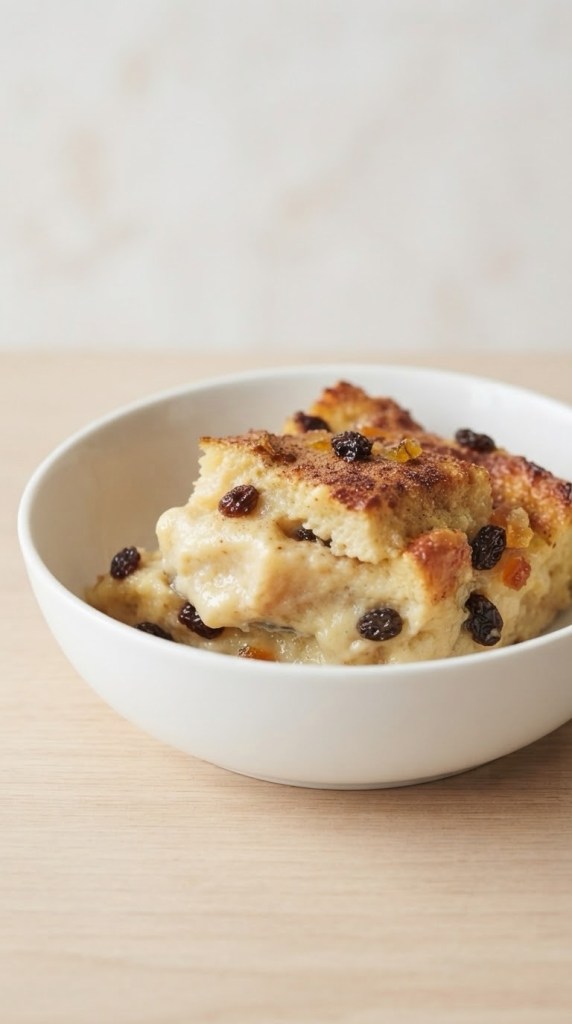
    There is something wonderfully comforting about a classic bread and butter pudding. With its crisp, golden top, soft custardy centre and gentle warmth of nutmeg, it is the kind of traditional British dessert that feels right at home after a Sunday roast, on a chilly evening, or whenever you have a few slices of bread to use up.
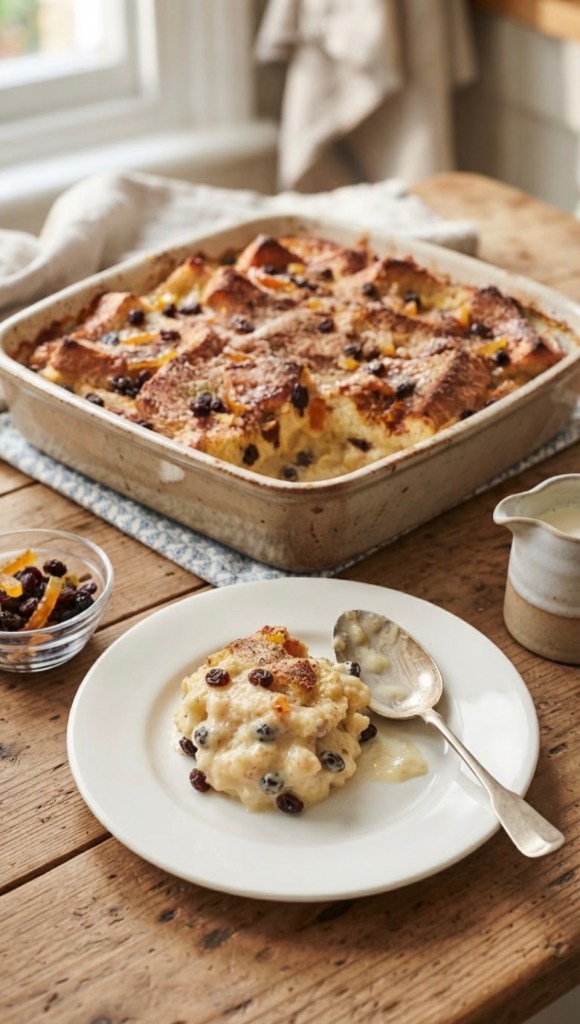

    This easy bread and butter pudding recipe uses simple cupboard ingredients, including white bread, butter, currants, candied peel, eggs, milk and cream. It is a brilliant way to turn everyday leftovers into a warm, indulgent pudding that the whole family can enjoy.
    Why You’ll Love This Recipe
    • A traditional British dessert that is simple to make.
    • Uses everyday ingredients.
    • A great way to use up leftover bread.
    • Soft, creamy and comforting, with a crisp golden topping.
    • Easy to prepare ahead, then bake when needed.
    • Delicious served with custard, cream or vanilla ice cream.


    Classic Bread and Butter Pudding
    Serves: 4–6
    Preparation time: 20 minutes, plus 20–30 minutes soaking time
    Cooking time: 30–40 minutes
    Ingredients
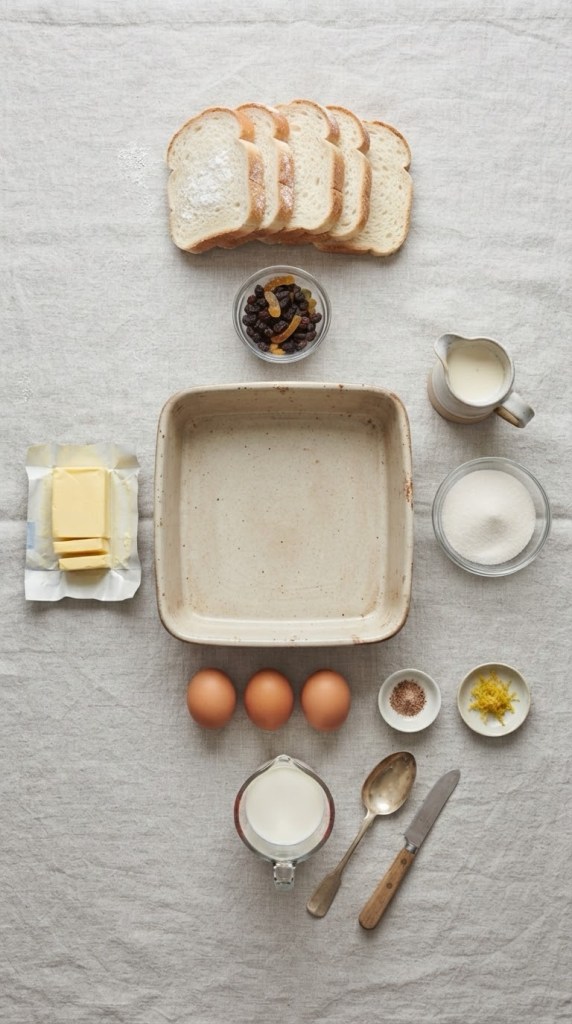

    • 6 slices good-quality white bread, with the crusts left on
    • 50g softened butter / 3½ tablespoons, plus extra for greasing
    • 50g currants / ⅓ cup
    • 25g finely chopped candied peel / 3 tablespoons
    • 275ml whole milk / 1¼ cups
    • 60ml double cream / ¼ cup heavy cream
    • 50g caster sugar / ¼ cup granulated sugar
    • Finely grated zest of ½ lemon
    • 3 large eggs
    • Freshly grated nutmeg, to taste
    Method

    1. Preheat the oven to 180°C / 160°C fan / Gas Mark 4 / 350°F. Lightly butter a medium-sized ovenproof dish.
    2. Generously butter each slice of bread, then cut every slice into four triangles or squares.
    3. Arrange half of the buttered bread in the bottom of the dish. Scatter over the candied peel and half of the currants.
    4. Layer the remaining bread on top, then sprinkle over the rest of the currants.
    5. In a jug or bowl, whisk together the whole milk, double cream, sugar, lemon zest and eggs until smooth.
    6. Slowly pour the custard mixture over the bread, making sure the top layer is lightly soaked too. Gently press the bread down with the back of a spoon if needed.
    7. Grate a little fresh nutmeg across the top. Leave the pudding to stand for 20–30 minutes so that the bread can absorb the custard.
    8. Bake for 30–40 minutes, until the top is golden and lightly crisp, while the middle remains soft, creamy and gently set.
    9. Leave to rest for around 5 minutes before serving warm.
      Serving Suggestions
      Bread and butter pudding is lovely on its own, but it is even better with something cool or creamy alongside it. Try serving it with:
      • Warm custard
      • Cold pouring cream
      • Vanilla ice cream
      • Thick Greek yoghurt
      • A spoonful of berry compote
      • Orange or lemon marmalade for a citrusy twist
      Top Tips
      Use slightly stale bread
      Day-old bread works particularly well because it absorbs the custard without becoming too soggy. White sandwich bread is traditional, but brioche, challah, croissants or leftover panettone also make delicious alternatives.
      Don’t skip the soaking time
      Letting the pudding sit before baking is what gives it that soft, custardy middle. Twenty minutes is enough, but a little longer is even better if you have time.
      Add your own twist
      You can easily adapt this recipe to suit what you have at home. Swap the currants for raisins, sultanas, dried cranberries or chopped dates. If candied peel is not your favourite, leave it out and add a little extra lemon zest or a teaspoon of vanilla extract instead.
      For a richer version, spread a little marmalade, jam or chocolate spread between the layers of bread before adding the custard.

    10. Can You Make Bread and Butter Pudding Ahead?
      Yes. Assemble the pudding, cover it and keep it in the fridge for up to a few hours before baking. This also gives the bread plenty of time to soak up the custard.
      If baking from chilled, allow a few extra minutes in the oven and make sure the centre is hot and softly set before serving.
      Storing Leftovers
      Any leftovers can be covered and stored in the fridge for up to two days. Reheat individual portions in the microwave until hot, or warm the whole dish in the oven at a low temperature until heated through.
      Bread and butter pudding is at its best freshly baked, when the top is still crisp and the custard is warm and creamy.

    11. A Proper Comforting Dessert
      This classic bread and butter pudding is proof that the simplest recipes are often the best. It takes humble ingredients and turns them into a pudding that feels nostalgic, satisfying and completely irresistible.
      Whether you serve it as a family dessert, make it for a cosy weekend treat, or use it as a way to avoid wasting leftover bread, this is a recipe worth keeping on repeat.
  • Classic Victoria Sponge: A Traditional British Afternoon Tea Cake

    Classic Victoria Sponge: A Traditional British Afternoon Tea Cake


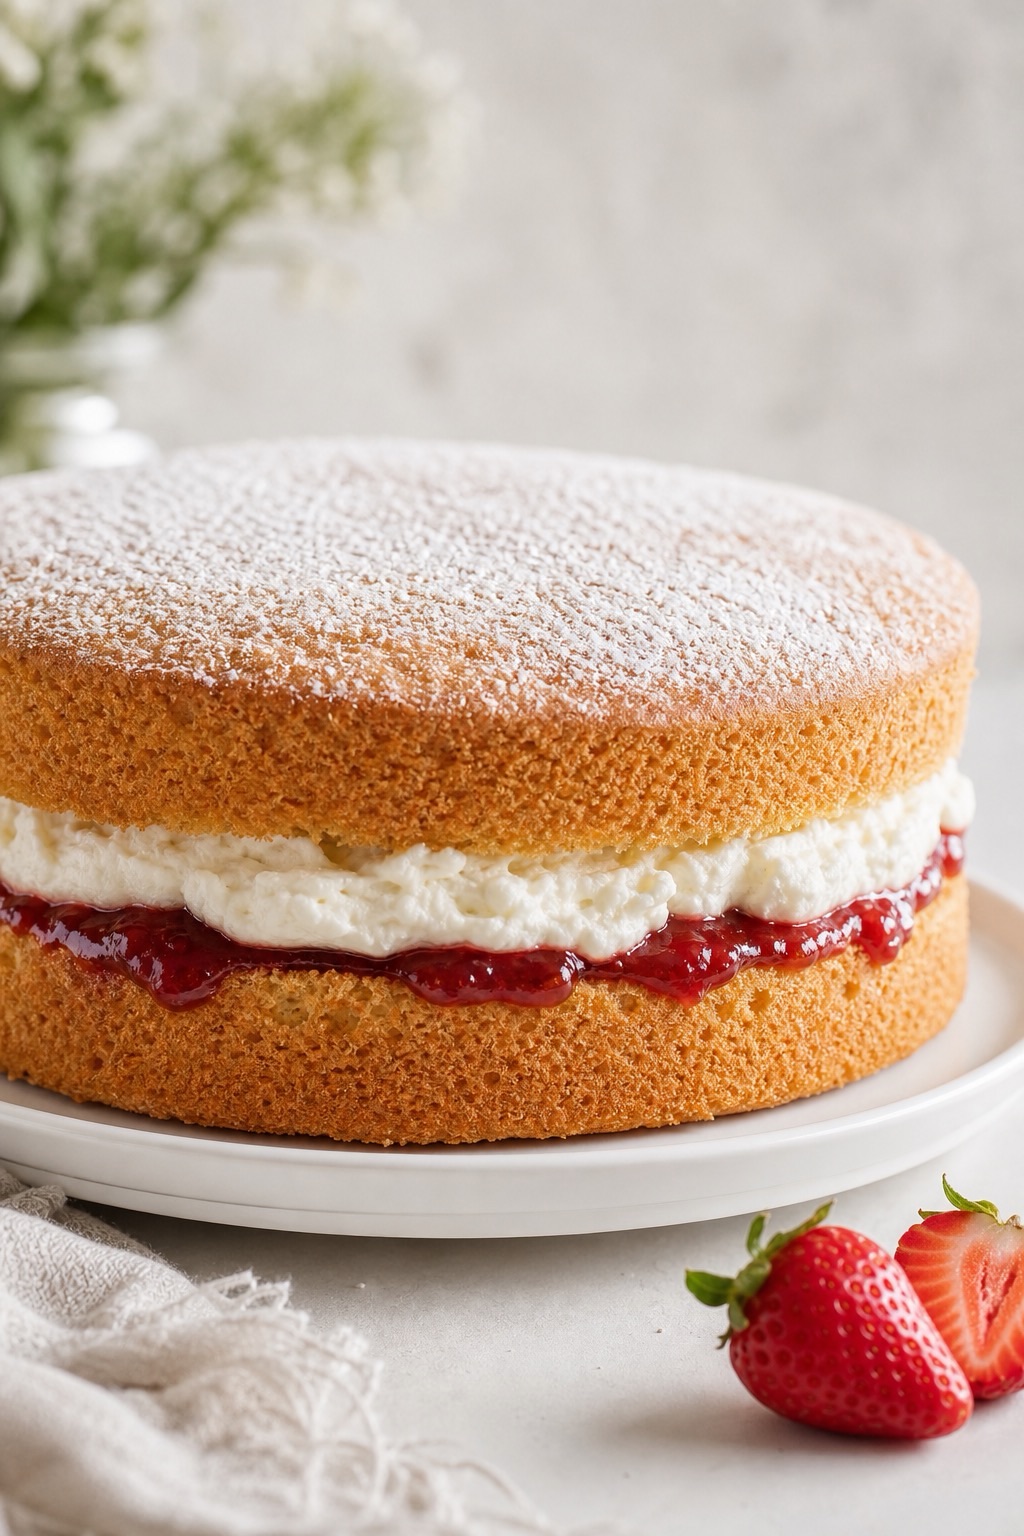
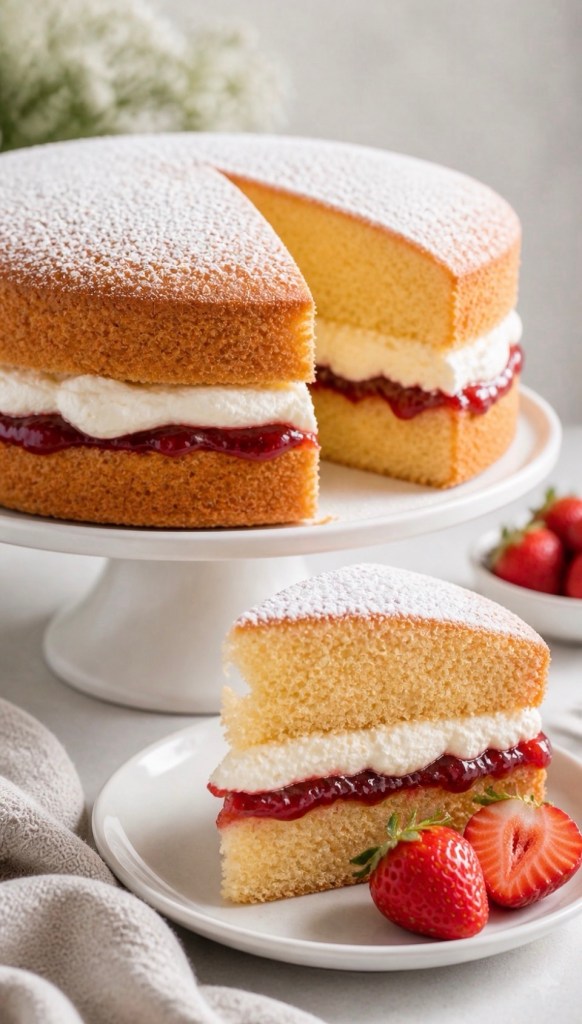
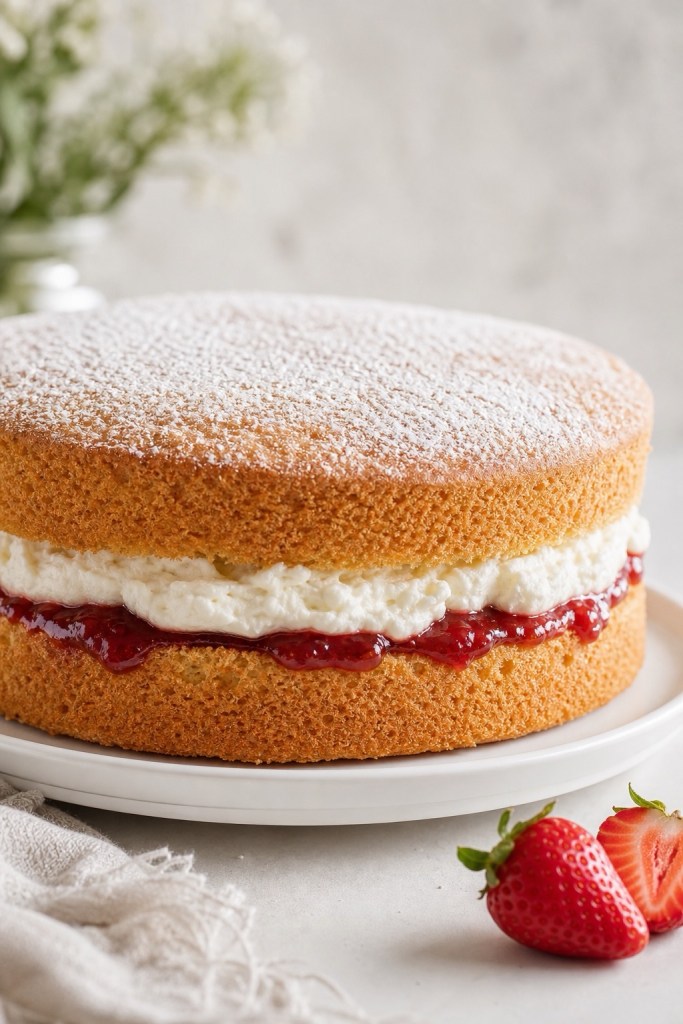
    There’s something wonderfully nostalgic about a classic Victoria sponge cake – light golden layers, a generous spread of strawberry jam, and soft clouds of cream, all finished with a delicate dusting of icing sugar.

    It’s simple, elegant, and feels like a warm invitation to sit down with a proper cup of tea.

    This version uses both UK and US measurements, so no matter where you’re baking from, you can follow along easily. It’s a brilliant go‑to recipe for afternoon tea, birthdays, or whenever you fancy a traditional British bake that never goes out of style.

    What Is a Victoria Sponge?
    A Victoria sponge (or Victoria sandwich) is a traditional British cake made from two layers of vanilla sponge, sandwiched together with jam and often whipped cream. It’s named after Queen Victoria, who was said to enjoy a slice with her afternoon tea.

    What makes it special is its simplicity. There’s no heavy frosting or elaborate decoration – just soft, buttery sponge, a bright layer of jam, and a creamy filling. When you cut into it and see those neat layers, it just feels like home on a plate.

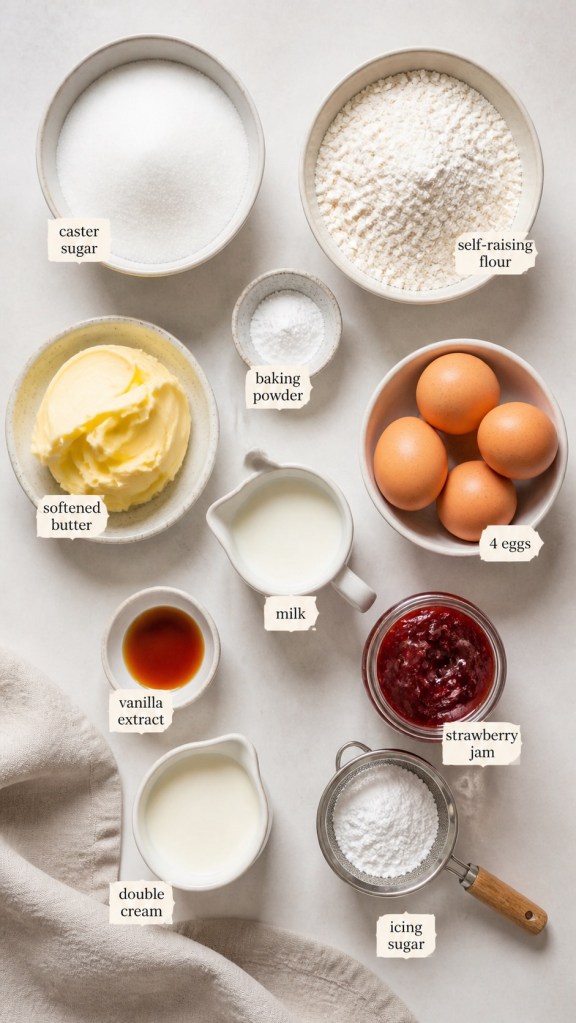
    Ingredients (UK & US Measurements)
    This recipe makes one 20 cm / 8‑inch two‑layer cake.


    For the sponge
    • 200 g caster sugar (1 cup superfine sugar)
    • 200 g unsalted butter, softened (14 tbsp / 1 ¾ sticks)
    • 4 medium eggs (UK) or 4 large eggs (US)
    • 200 g self‑raising flour (1 ⅔ cups self‑rising flour)
    • 1 tsp baking powder
    • 2–3 tbsp milk (2–3 tbsp whole milk), as needed for consistency
    • 1 tsp vanilla extract
    For the filling
    • 200 g strawberry jam (about ¾ cup)
    • 150 ml double cream, whipped (⅔ cup heavy or whipping cream, whipped)
    • Icing sugar (powdered sugar) for dusting the top
    Equipment
    • Two 20 cm sandwich tins (two 8‑inch cake pans)
    • Baking paper (parchment) for lining

    • Mixing bowl, electric mixer, spatula, wire rack

    Step‑by‑Step Method

    1. Prepare your tins and oven
      Preheat your oven to 180°C (160°C fan) / 350°F.
      Grease the bases and sides of your two 20 cm / 8‑inch tins, then line the bases with baking paper.

    Taking a moment to line the tins properly really helps the sponges rise evenly and release cleanly, which is especially important if you want neat layers for photos or video.

    1. Cream the butter and sugar
      In a large mixing bowl, beat the softened butter and caster sugar together until very pale and fluffy. This usually takes around 3–4 minutes with an electric hand mixer or a stand mixer.

    This step is key: creaming properly incorporates air into the mixture and gives you that light, soft crumb that makes a Victoria sponge so lovely to eat.

    1. Add the eggs and vanilla
      Add the eggs one at a time, beating well after each addition so the mixture stays smooth. If it starts to look a little curdled, you can mix in a spoonful of the flour to bring it back together.

    Stir in the vanilla extract. It adds a gentle sweetness that lifts the flavour without overpowering the jam and cream.

    1. Fold in the dry ingredients
      Sift the self‑raising flour and baking powder together, then gently fold them into the bowl using a spatula or large metal spoon.

    Add the milk a tablespoon at a time until the batter reaches a soft “dropping” consistency – when you lift the spoon, the mixture should fall off slowly in dollops rather than running or sticking.

    1. Bake the sponges
      Divide the batter evenly between the two prepared tins and level the tops so they bake flat.

    Bake in the preheated oven for 20–25 minutes, or until the sponges are risen, lightly golden and a skewer inserted into the centre comes out clean. Try not to open the oven door too early, as that can cause the cakes to sink.

    1. Cool completely
      Leave the cakes in their tins for about 5 minutes, then carefully turn them out onto a wire rack. Peel away the baking paper and allow the sponges to cool completely.

    If the cakes are even slightly warm when you add the filling, the cream can melt and the top layer may slide, so cooling fully is worth the wait.

    1. Fill with jam and cream
      Once the sponges are fully cool, place one layer upside down on your serving plate or cake pedestal.
      • Spread an even layer of strawberry jam over the base.
      • Whip the double cream to soft peaks and spoon it over the jam, spreading gently towards the edges.

    Carefully place the second sponge on top, right‑side up, and try not to press down too firmly so you don’t squeeze out all the filling.

    1. Finish and serve
      Just before serving, sift a light dusting of icing sugar over the top of the cake.

    Slice with a sharp knife to reveal the layers of sponge, jam and cream. This is the perfect moment for a close‑up photo or video: one slice on a small plate in front, showing off the crumb and filling, with the rest of the cake proudly on its pedestal behind.

    Tips for the Perfect Victoria Sponge
    • Use room‑temperature ingredients: Butter and eggs blend more easily and help create a smoother, lighter batter.
    • Don’t overmix once the flour goes in: Gentle folding keeps the sponge tender and prevents it turning dense.
    • Measure accurately: For sponge cakes, weighing ingredients (especially flour and sugar) makes a big difference to the final texture.
    • Watch the bake time: Start checking from around 20 minutes; over‑baked sponge will feel dry rather than soft and springy.

    • Serve fresh: This cake is best on the day it’s filled, when the sponge is soft and the cream is fresh and light.

    Variations on This Traditional British Cake
    Once you’re comfortable with the classic, you can easily play with a few variations:
    • Swap strawberry jam for raspberry, cherry or mixed berry jam.
    • Add a handful of fresh sliced strawberries to the filling for extra colour and texture.
    • Use vanilla buttercream instead of whipped cream if the cake needs to sit out for a while or travel.

    • Add a little lemon zest to the sponge for a subtle citrus twist.

    Perfect for Afternoon Tea – And Social Media
    This classic Victoria sponge is ideal for afternoon tea, family celebrations or a simple weekend treat. It also happens to be incredibly photogenic, especially when you show off the crumb and layers in a close‑up slice.
    If you share your bake on social media, let people know whether you’re team “jam only” or “jam and cream” and invite them to vote in the comments – it’s a fun way to spark conversation around this traditional British favourite