Tag: celebrity recipes

  • The Secret to the Famous Kris Jenner Brownies: Fudgy, Rich, and Irresistible

    The Secret to the Famous Kris Jenner Brownies: Fudgy, Rich, and Irresistible

    The Secret to the Famous Kris Jenner Brownies: Fudgy, Rich, and Irresistible

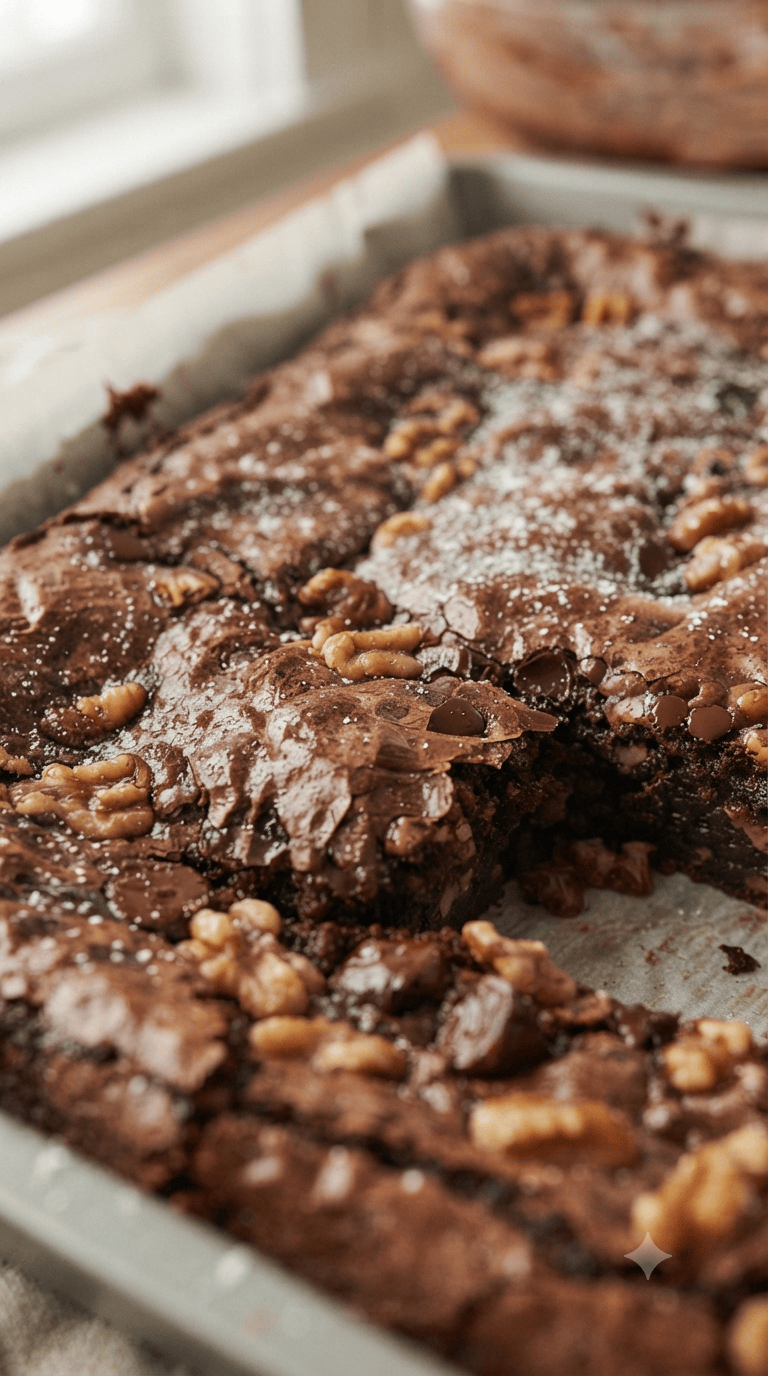
    If you have watched Keeping Up with the Kardashians or The Kardashians over the last decade, you have undoubtedly seen them—the legendary brownies. They are famous for being thick, decadent, and perfectly chewy. Whether you are a fan of the family or just a fan of high-quality chocolate, these brownies are a staple for any home baker.
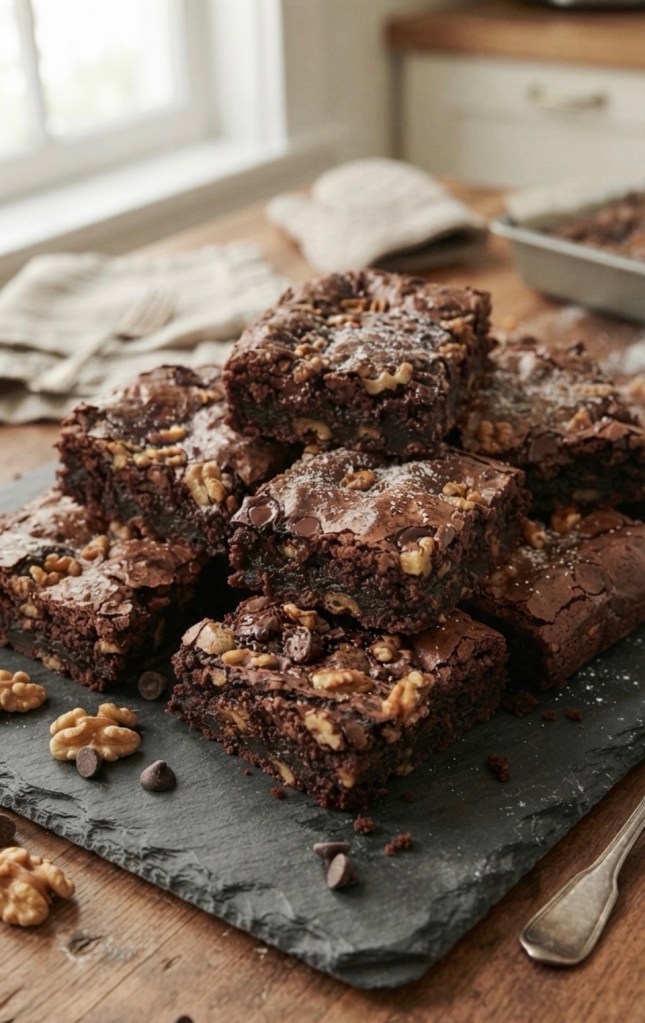
    Today, we are breaking down how to make these at home. We have combined the measurements for both our US and UK readers so you can bake these without any guesswork.

    The Secret Ingredient? Patience.

    The secret to these brownies isn’t a hidden spice; it’s the ratio of butter and chocolate to flour. Because this recipe uses a high amount of chocolate chips and nuts, the texture is dense and fudgy rather than cakey.

    Ingredients
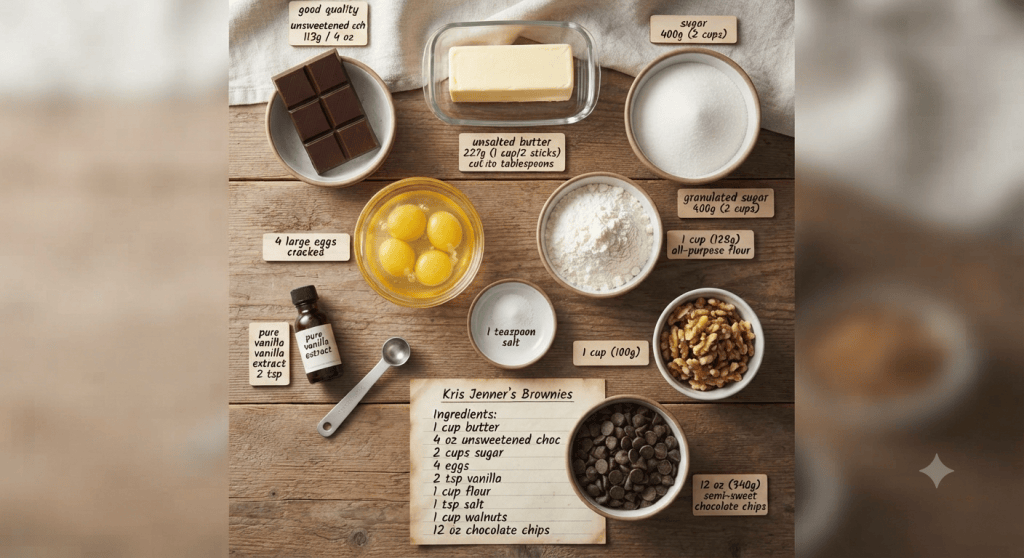
     Butter: 1 cup (2 sticks) / 227g unsalted butter

     Unsweetened Chocolate: 4 oz / 113g, chopped

     Sugar: 2 cups / 400g granulated or caster sugar

     Eggs: 4 large eggs

     Vanilla Extract: 2 tsp

     Flour: 1 cup / 128g all-purpose or plain flour

     Salt: 1 tsp

     Walnuts: 1 cup / 100g, chopped

     Semisweet Chocolate Chips: 12 oz / 340g

    Method

    1. Prep: Preheat your oven to 325°F (160°C fan/Gas 4). Grease or line a 9×13 inch (23×33 cm) baking tin with parchment paper to ensure easy removal.

    2. Melt: Melt the unsweetened chocolate and butter together until smooth. Set aside and allow to cool slightly.

    3. Mix: In a large bowl, whisk the eggs and vanilla together. Gradually whisk in the sugar until the mixture is well combined.

    4. Combine: Gently stir in the melted chocolate and butter mixture.

    5. Dry Ingredients: Whisk in the flour and salt. Finally, fold in the chopped walnuts and the generous portion of chocolate chips.

    6. Bake: Spread the batter into your prepared tin. Bake for 20–25 minutes. Pro tip: The edges should be set, but the center should remain moist—don’t overbake them!

    7. Serve: Allow the brownies to cool completely in the tin before slicing. This allows the fudgy texture to set properly.

    Why We Love Them

    These brownies strike the perfect balance between a crunchy, crackly top and a soft, molten center. They are the perfect treat for parties, gifts, or a cozy night in.
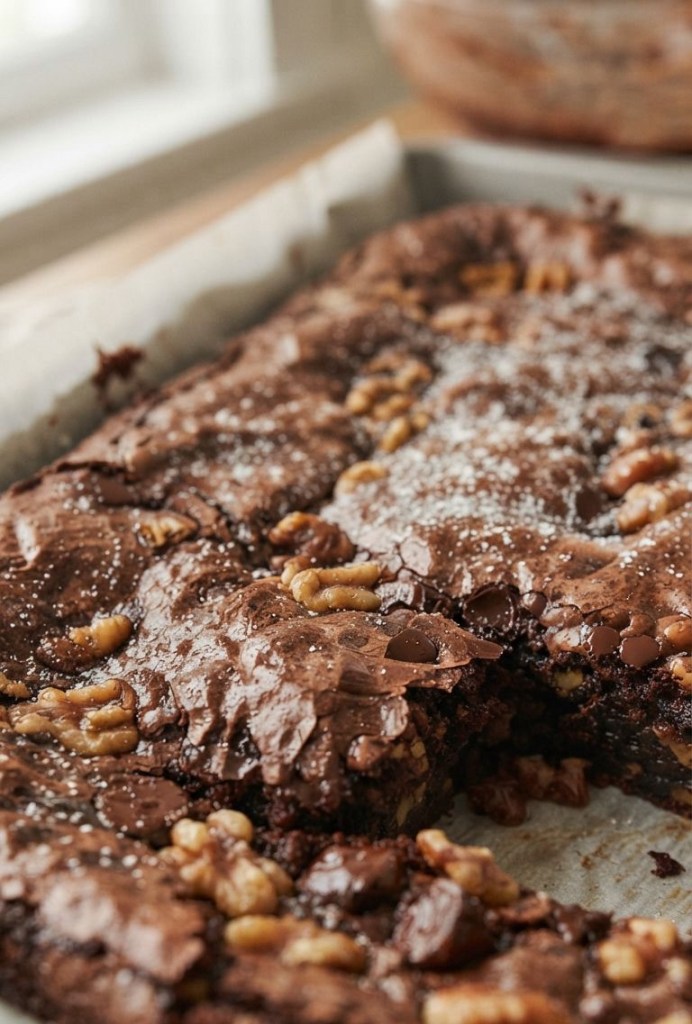
    Have you tried making these yet? Let me know in the comments how yours turned out and if you added a scoop of vanilla ice cream on top!
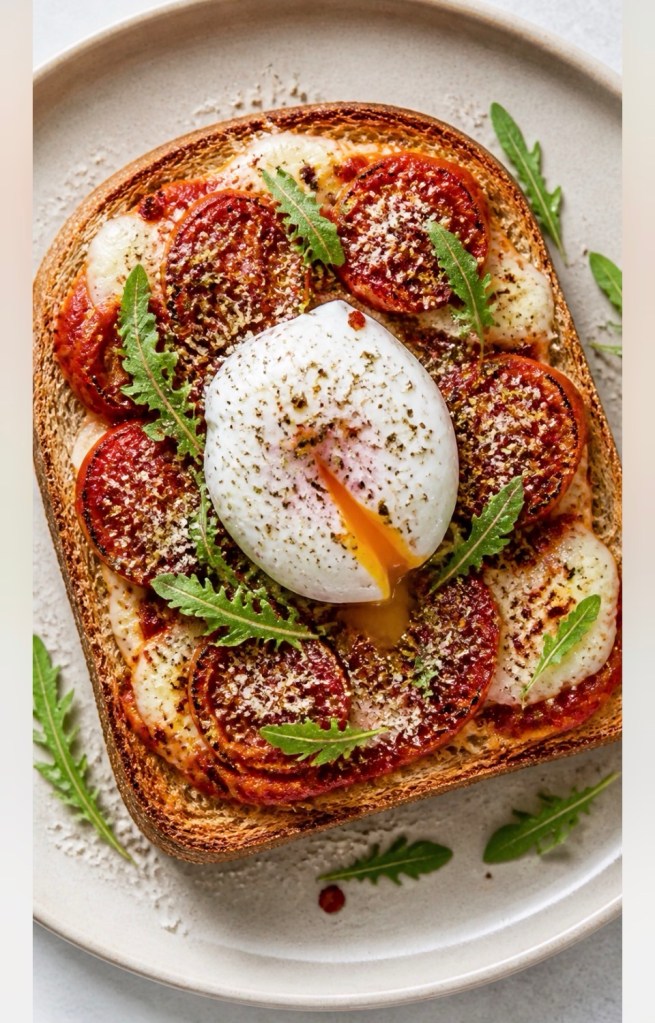
  • Brunch Like Hailey Bieber: Lighter Pizza Toast With A Protein Twist

    Brunch Like Hailey Bieber: Lighter Pizza Toast With A Protein Twist


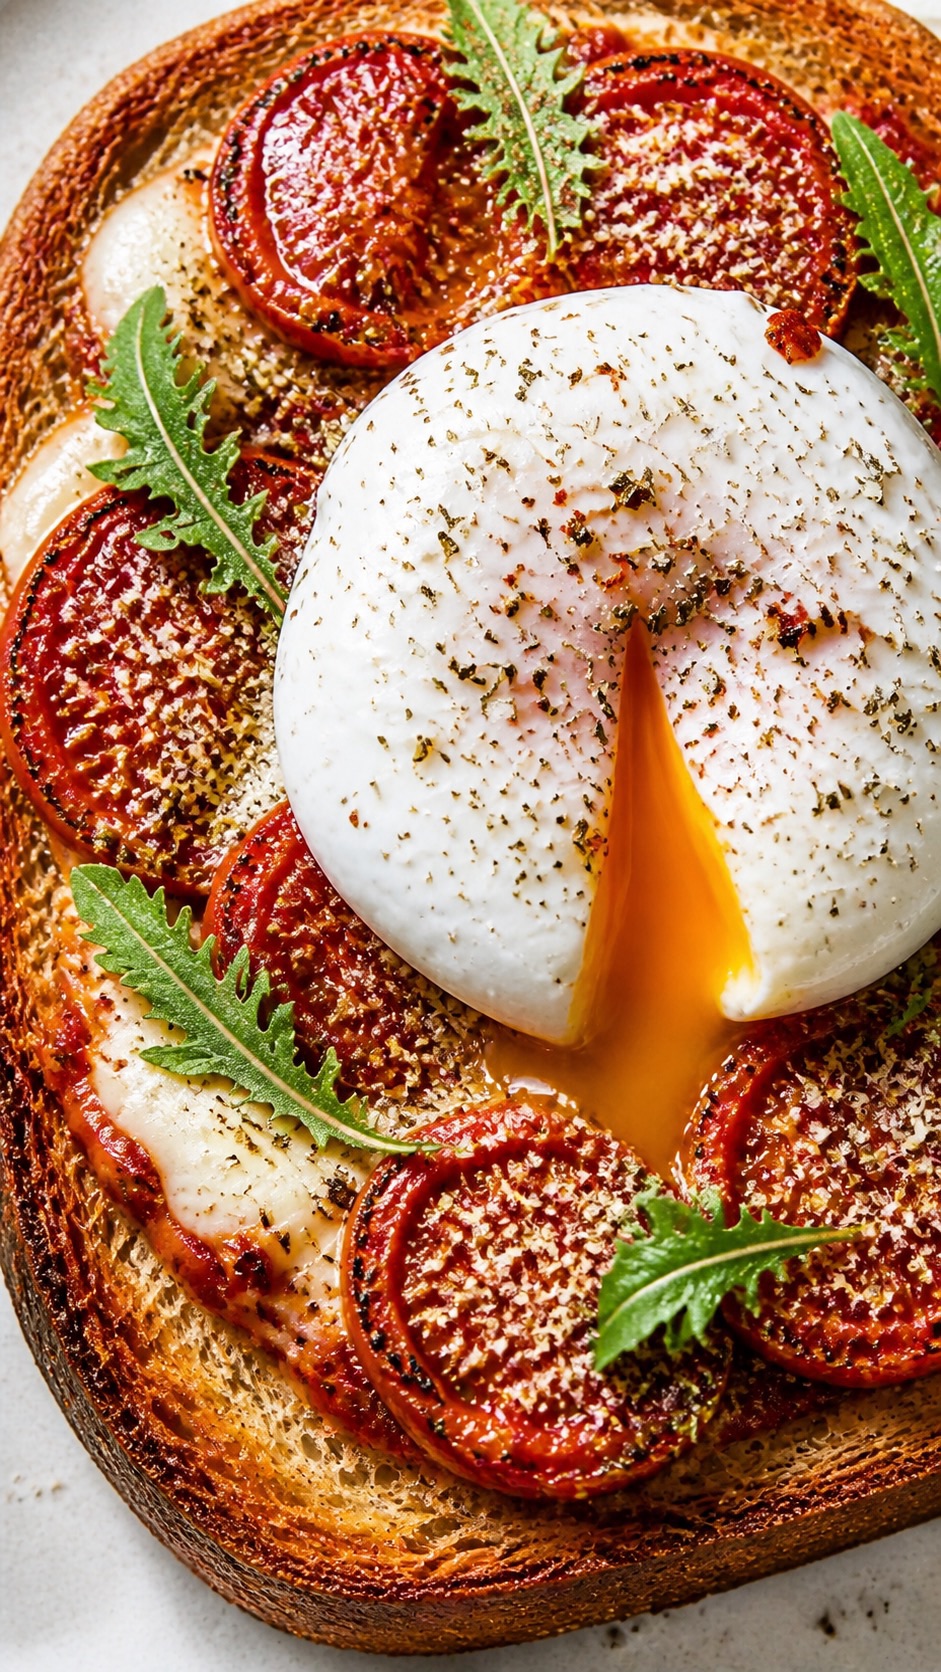
    If you’ve been anywhere near food TikTok over the last couple of years, you’ve probably seen Hailey Bieber’s famous pizza toast doing the rounds. It’s buttery sourdough, burrata, tomatoes, parmesan, truffle oil – basically everything you’d expect from a celebrity brunch at home.
    I love the idea, but I also like my brunch to actually keep me going – ideally without blowing my calories for the entire day. So this is my lighter, more balanced version: still indulgent and “celeby”, but around 450 calories with a decent hit of protein from the egg and cheese.

    It’s perfect for a slow weekend brunch, or a “treat but not too extra” weekday brunch if you work from home.

    Hailey‑Inspired Pizza Brunch Toast (Around 450 Calories)
    Serves: 1
    Time: 15–20 minutes
    Approx. per serving: around 450 kcal, with a good mix of protein, carbs and fats (will vary depending on your bread and cheese)
    Ingredients


    Toast base
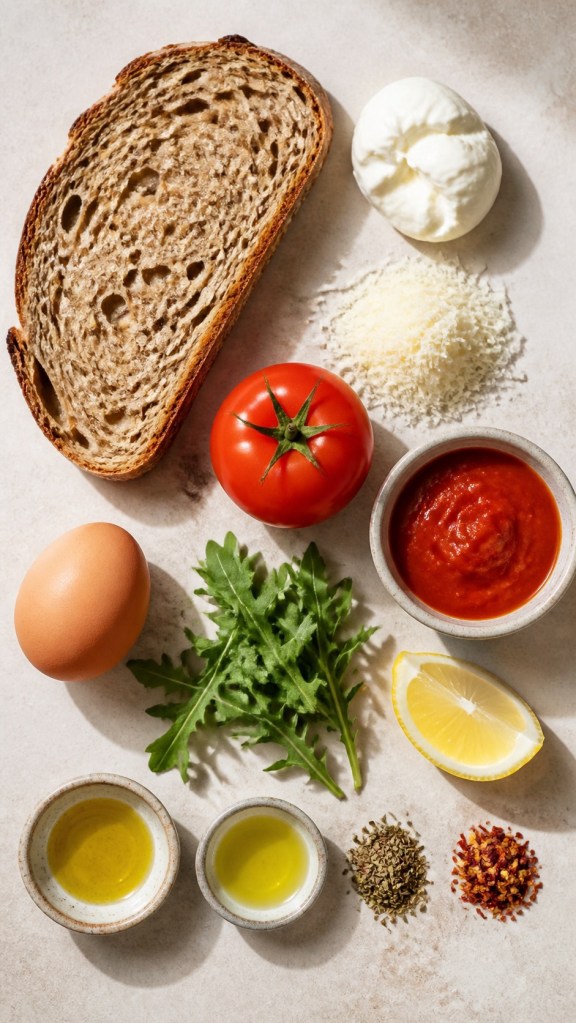
    • 1 medium slice wholemeal or seeded sourdough (about 40 g / 1.4 oz)
    • ½ teaspoon butter or olive spread (2–3 g)
    • ½ teaspoon truffle oil (optional, but very “celebrity”)
    • Pinch of salt
    Tomato layer
    • 1 medium ripe tomato, thinly sliced
    • 1 teaspoon extra‑virgin olive oil (5 ml)
    • Squeeze of lemon juice
    • Pinch of salt
    • Pinch of dried oregano or Italian herbs
    Cheese and “pizza” toppings
    • 30 g burrata or fresh mozzarella, torn (just over 1 oz)
    • 2 tablespoons marinara sauce or herby passata (about 30 ml)
    • 1 tablespoon finely grated parmesan (about 5 g)
    • Pinch of dried oregano
    • Pinch of chilli flakes
    Brunch protein and greens (my twist)
    • 1 medium egg (poached or fried in spray oil)

    • Small handful rocket or fresh basil leaves

    Method

    1. Marinate the tomatoes
      Slice your tomato and lay the slices in a small dish. Drizzle over the olive oil, a squeeze of lemon juice, a pinch of salt, and a little dried oregano or Italian herbs. Gently toss and leave them to marinate while you sort out the toast – even 5–10 minutes makes a difference.
    2. Toast the bread
      Lightly spread both sides of your sourdough with the butter or olive spread. Drizzle one side with the truffle oil and add a tiny pinch of salt.
      Heat a non‑stick pan over medium heat and toast the bread on both sides until golden and crisp. You want it sturdy enough to hold all the toppings without going soggy.
    3. Build the pizza toast
      Transfer the toasted bread to a small baking tray.
      Tear the burrata or mozzarella over the top of the toast. Layer the marinated tomato slices on top of the cheese and drizzle over any leftover marinade from the bowl. This adds loads of flavour without extra effort.
    4. Grill until melty
      Preheat your grill (broiler) to medium‑high, or use a hot oven (around 180–200 °C / 350–400 °F).
      Pop the tray under the grill for a few minutes, until the cheese is soft and beginning to melt and the edges of the toast are even more crisp. Keep an eye on it – it can go from perfect to burnt quite quickly.
    5. Add the pizza toppings
      Warm the marinara or passata in a small pan or the microwave.
      Spoon the sauce over the cheesy toast, then sprinkle with the parmesan, a little more dried oregano and a pinch of chilli flakes.
      Return the toast to the grill for 1–2 minutes, just until the parmesan melts and the top looks bubbling and irresistible.
    6. Finish with egg and greens
      While the toast is under the grill, cook your egg. I like it poached with a runny yolk, but you can fry it in a little spray oil if that’s easier.

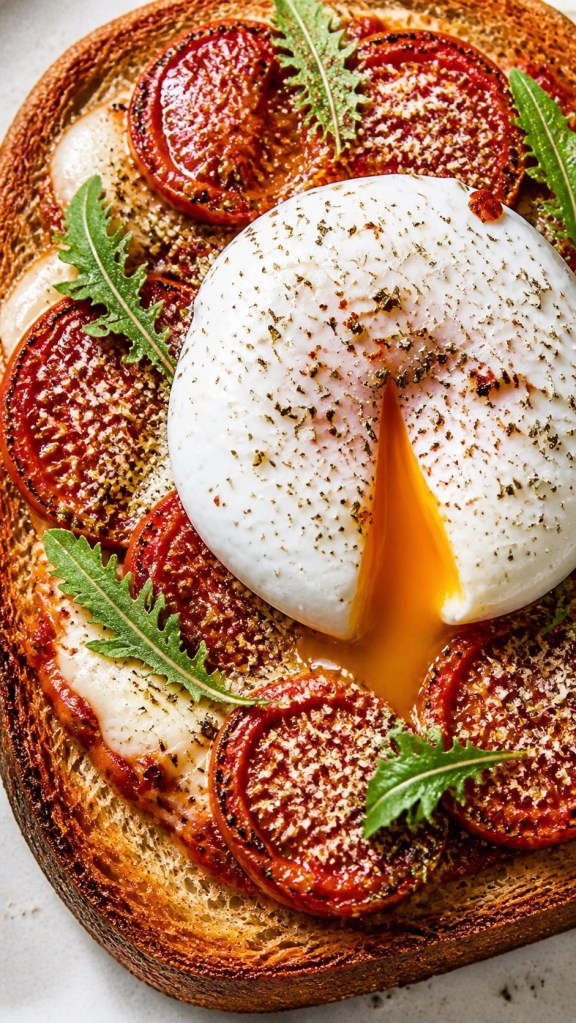
    Place the egg on top of the pizza toast and scatter over the rocket or basil leaves. Slice into the yolk and let it run into the sauce and cheese – that’s your perfect brunch moment right there.

    How “health‑ified” is this version?
    The original pizza toast recipe is very generous with butter, oil and cheese. By slightly shrinking the bread slice, dialling down the fat, and keeping the egg for protein, this version sits closer to the 450 calorie mark for one serving, while still feeling like a proper treat.
    You’ve still got:
    • Carbs for energy from the sourdough and tomato
    • Protein from the egg and cheese
    • Fats from the oils and cheese to keep you satisfied
    • A bit of fibre from the wholemeal/seeded bread, tomato and rocket

    For the most accurate numbers, plug the exact ingredients and brands you use into your usual tracker (NutraCheck, MyFitnessPal, Cronometer etc.), as calories can vary a lot between breads and cheeses.

    Serving and variations
    • Add more protein: Use two eggs instead of one, or add a few slices of turkey, chicken or smoked salmon on the side.
    • Make it veggie‑heavy: Add a layer of wilted spinach or a few thin courgette ribbons under the cheese.
    • Go dairy‑lighter: Swap burrata for a lighter mozzarella, or use a reduced‑fat cheese and keep the parmesan as your flavour punch.
    • Make it truffle‑free: If you’re not a fan of truffle, skip the truffle oil and just use a little extra olive oil.
    If you make this, I’d love to know – are you team classic breakfast or team “celebrity brunch toast” now? Tag me on social or leave a comment with your tweaks and toppings.

  • Nigella’s Mughlai Chicken: Taylor Swift’s Favourite Curry (With a Lighter Twist)

    Nigella’s Mughlai Chicken: Taylor Swift’s Favourite Curry (With a Lighter Twist)


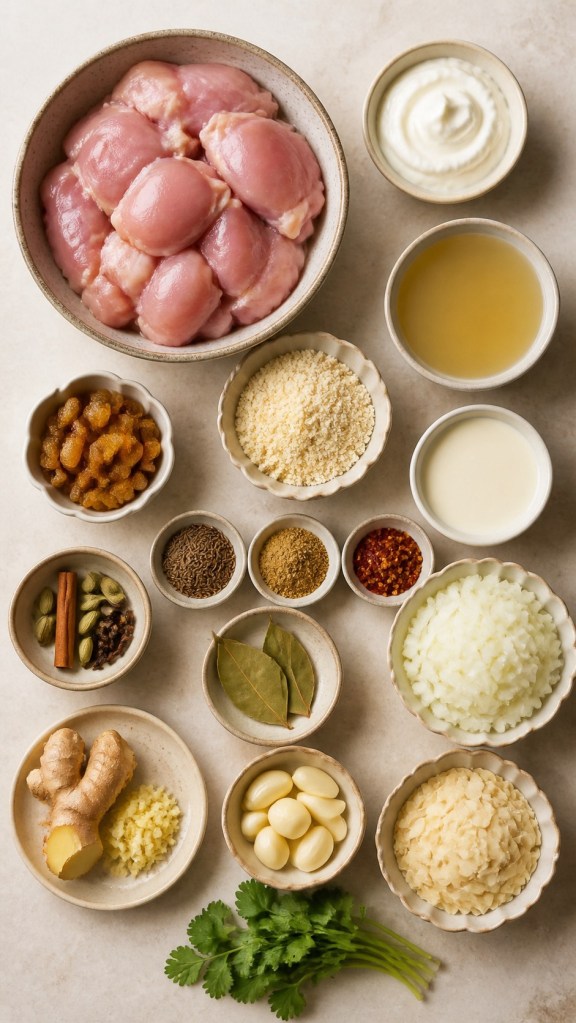
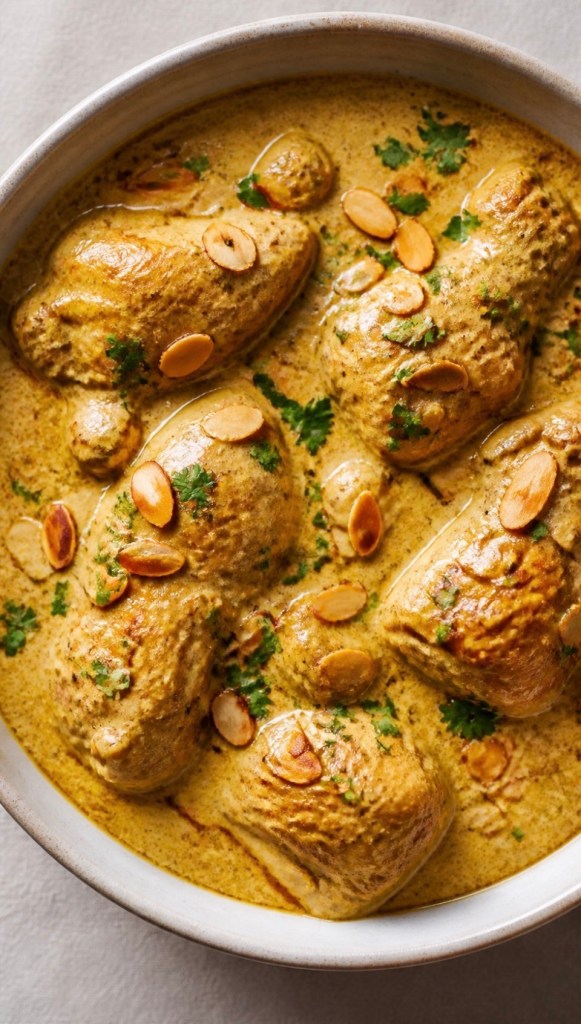
    If you’ve ever wondered what Taylor Swift might serve when she has friends around for dinner, this creamy Mughlai chicken from Nigella Lawson is one of her go‑to dishes. It’s a rich, gently spiced curry with yoghurt, cream, almonds and golden sultanas – cosy, luxurious and surprisingly straightforward to make at home.

    In this post, I’m sharing a slightly lightened version that still keeps all the warm, “royal” Mughlai flavours, but with a few tweaks to make it more everyday‑friendly and suitable for a balanced midlife lifestyle.

    What Is Mughlai Chicken?
    Mughlai chicken is a North Indian–inspired curry associated with the rich, aromatic dishes served in the Mughal courts. It typically combines tender chicken in a sauce built from yoghurt, cream, nuts and warm spices like cumin, coriander, cardamom and cinnamon.

    Nigella’s version uses boneless chicken, a fragrant ginger–garlic–spice paste, Greek yoghurt, cream, ground almonds and golden sultanas, all finished with toasted flaked almonds on top. The result is a silky, mildly spiced curry that feels special enough for guests but is achievable on a weeknight with a bit of planning.

    Why This Dish Is Linked to Taylor Swift
    Taylor has talked about hosting dinner parties and using a few favourite celebrity‑chef recipes, including Nigella Lawson’s Mughlai chicken, as part of her entertaining repertoire. Food writers who tested the dish described it as ultra‑tender chicken in a sweetly spiced cream sauce that’s very crowd‑pleasing and not aggressively hot.

    For content creators, that makes it a brilliant “celebrity recipe” hook: you can truthfully reference Taylor’s love for this dish while showcasing your own interpretation and tweaks.

    Ingredients (UK and US Measurements)


    This version stays close to Nigella’s original profile, with a little less heavy cream and a balance of yoghurt and stock.
    Chicken and aromatics
    • 1.2–1.3 kg boneless, skinless chicken thighs, cut into chunks (about 2.6–2.9 lb)
    • 3 cm piece fresh ginger, peeled and roughly chopped (about 20 g / ¾ oz)
    • 4 garlic cloves, peeled
    • 2 tsp ground cumin
    • 1 tsp ground coriander
    • ½–1 tsp dried chilli flakes (to taste)
    • 3 tbsp ground almonds (25–30 g / about ¼ cup)
    • 3–4 tbsp water (to loosen the paste)
    Whole spices and base
    • 4 green cardamom pods, lightly crushed
    • 1 small cinnamon stick
    • 2 bay leaves
    • 3 whole cloves
    • 2 tbsp olive oil or ghee
    • 2 medium onions, finely chopped
    Sauce and finish
    • 250 g Greek yoghurt (about 1 cup)
    • 250 ml chicken stock (about 1 cup)
    • 150–200 ml single cream or half‑and‑half (about ⅔–¾ cup)
    • 50 g golden sultanas/raisins (about ⅓ cup)
    • 1 tsp garam masala
    • 1–2 tsp sugar (to taste)
    • 1–1½ tsp fine salt (plus more to taste)
    • 30 g flaked almonds, toasted (about ¼ cup)

    • Fresh coriander, chopped, to garnish

    Step‑by‑Step Method

    1. Make the spice–almond paste
      Add the ginger, garlic, ground cumin, ground coriander, chilli flakes, ground almonds and 3–4 tablespoons of water to a small blender or mini chopper. Blend to a thick, smooth paste, adding another spoon of water if needed to help it along.
    2. Brown the chicken
      Heat 1 tablespoon of oil in a large, heavy‑based pan over medium–high heat, then add the chicken pieces in batches with a pinch of salt. Brown them until they take on a little colour on the outside, then transfer to a bowl and repeat until all the chicken has been seared.
      You’re not trying to cook the chicken through at this stage; you just want the flavour and texture of light browning.
    3. Toast the whole spices and cook the onions
      In the same pan, add the remaining tablespoon of oil if needed. Tip in the cardamom pods, cinnamon stick, bay leaves and cloves, and fry for 30–60 seconds until fragrant. Add the finely chopped onions and cook over medium heat, stirring often, until they are soft and lightly golden – around 8–10 minutes.
      This slow onion stage gives sweetness and body to the final sauce.
    4. Add the paste and yoghurt
      Stir the spice–almond paste into the onions and cook for 2–3 minutes, letting it darken slightly and smell toasty. While it cooks, whisk the Greek yoghurt in a separate bowl until smooth.
      Take the pan off the heat and add the yoghurt a spoonful at a time, stirring well after each addition. This off‑heat step helps prevent the yoghurt from splitting and keeps the sauce silky.
    5. Build the sauce and simmer
      Return the pan to a low heat and add the browned chicken plus any juices that have collected in the bowl. Pour in the chicken stock, stir everything together, and bring to a gentle simmer.
      Add the single cream, sultanas, 1 teaspoon of sugar and about 1 teaspoon of salt. Stir, cover the pan, and let the curry simmer very gently for 25–30 minutes, stirring occasionally, until the chicken is tender and the sauce has thickened slightly.
    6. Finish the curry
      Once the chicken is cooked through and the sauce is glossy, stir in the garam masala. Taste the sauce and adjust the salt and sugar to your liking; you’re aiming for a balance of savoury, gently sweet and warm spice.

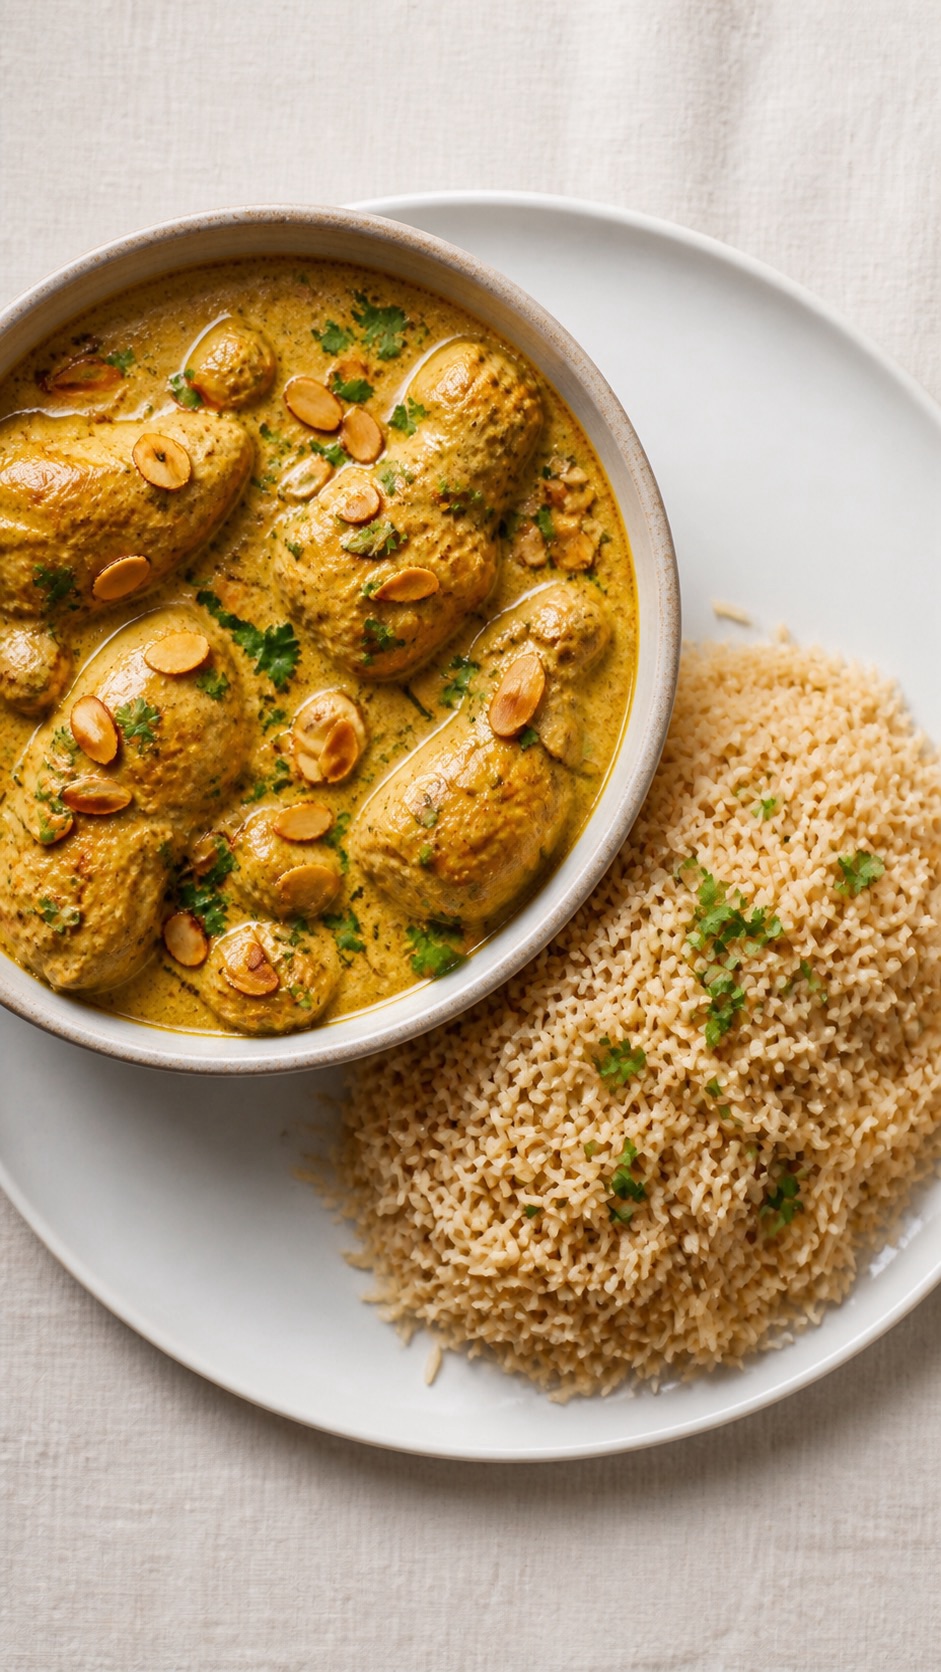
    Sprinkle the toasted flaked almonds over the top and finish with chopped fresh coriander. Remove the cinnamon stick, bay leaves and any whole cloves or cardamom pods you spot before serving.

    Lighter Swaps and Variations
    While the original Mughlai chicken is unapologetically rich, there are a few easy tweaks if you want to keep it more “healthylish” without losing the essence:
    • Use more yoghurt, less cream – keep the cream at the lower end of the range and lean into the tang and protein of Greek yoghurt.
    • Serve with brown basmati or cauliflower rice to increase fibre and keep the meal more blood‑sugar friendly.
    • Trim visible fat from the chicken thighs so you still get tenderness and flavour but reduce some saturated fat.

    Because this dish isn’t a precision bake, the small differences between UK and US cup measures aren’t critical, which makes it easy to share with a mixed audience.

    Taylor‑Style Serving Suggestions
    To keep the celebrity story front and centre, you can plate this in ways that feel “Taylor‑coded”:
    • Brown basmati rice and curry bowl
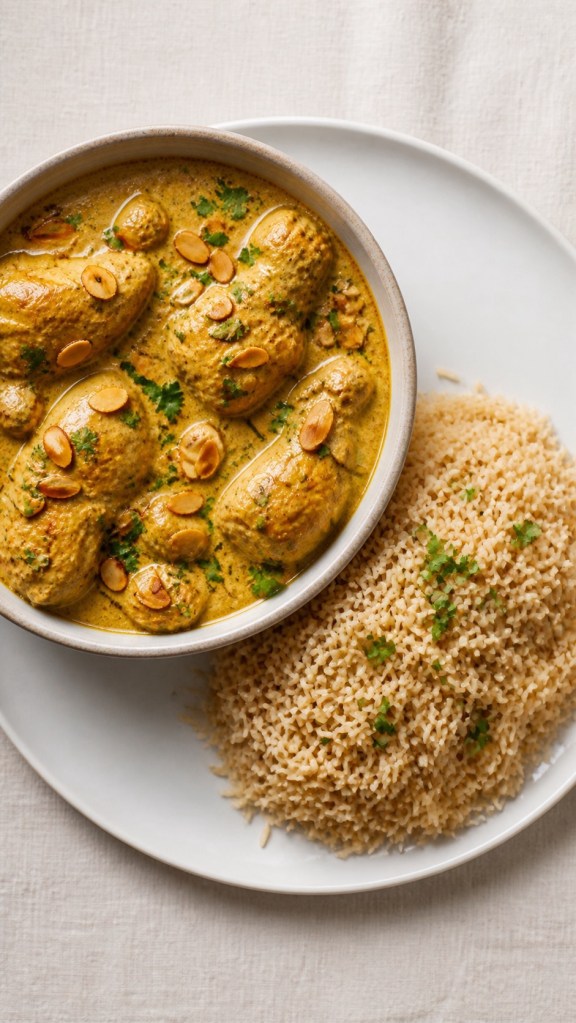
    Serve a modest mound of brown basmati rice with a generous ladle of Mughlai chicken over the top, finishing with extra almonds and coriander. This gives cosy, dinner‑party energy while still looking balanced on the plate.
    • “Swift bowl” with greens
    For a lighter take, try a half‑and‑half base: half brown rice, half shredded lettuce or finely chopped cabbage, topped with the curry and a spoon of yoghurt on the side. It’s an easy way to stretch the sauce and add volume without overdoing the carbs.

  • Rihanna’s 5‑Minute Chickpea Salad (UK & US Measurements)

    Rihanna’s 5‑Minute Chickpea Salad (UK & US Measurements)

    Rihanna’s 5‑Minute Chickpea Salad (Perfect For Heatwave Days)
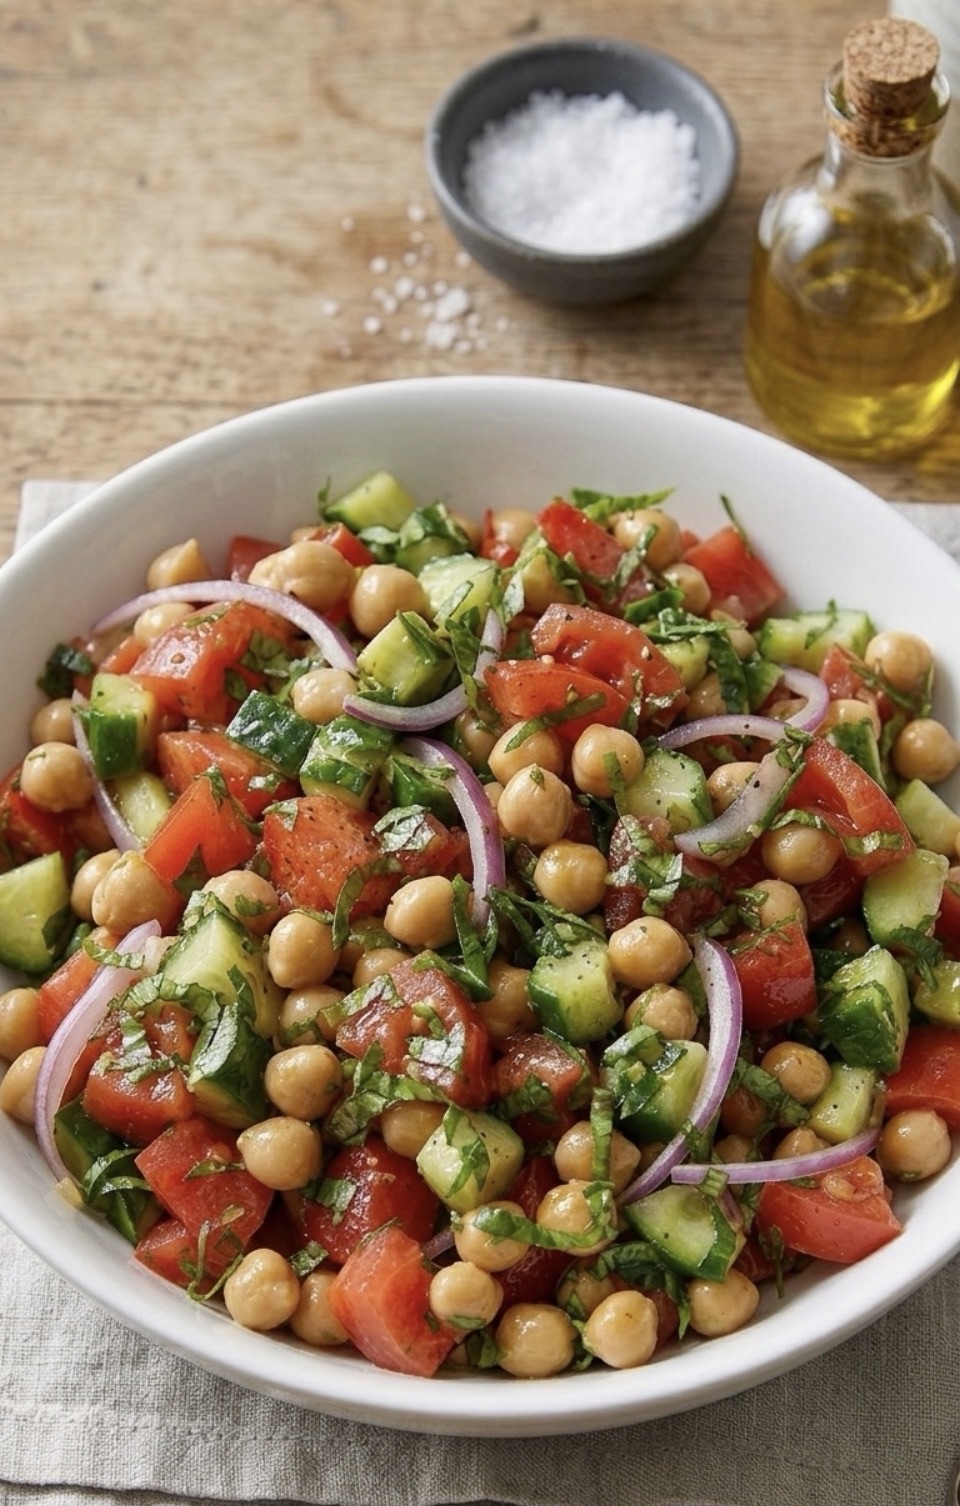
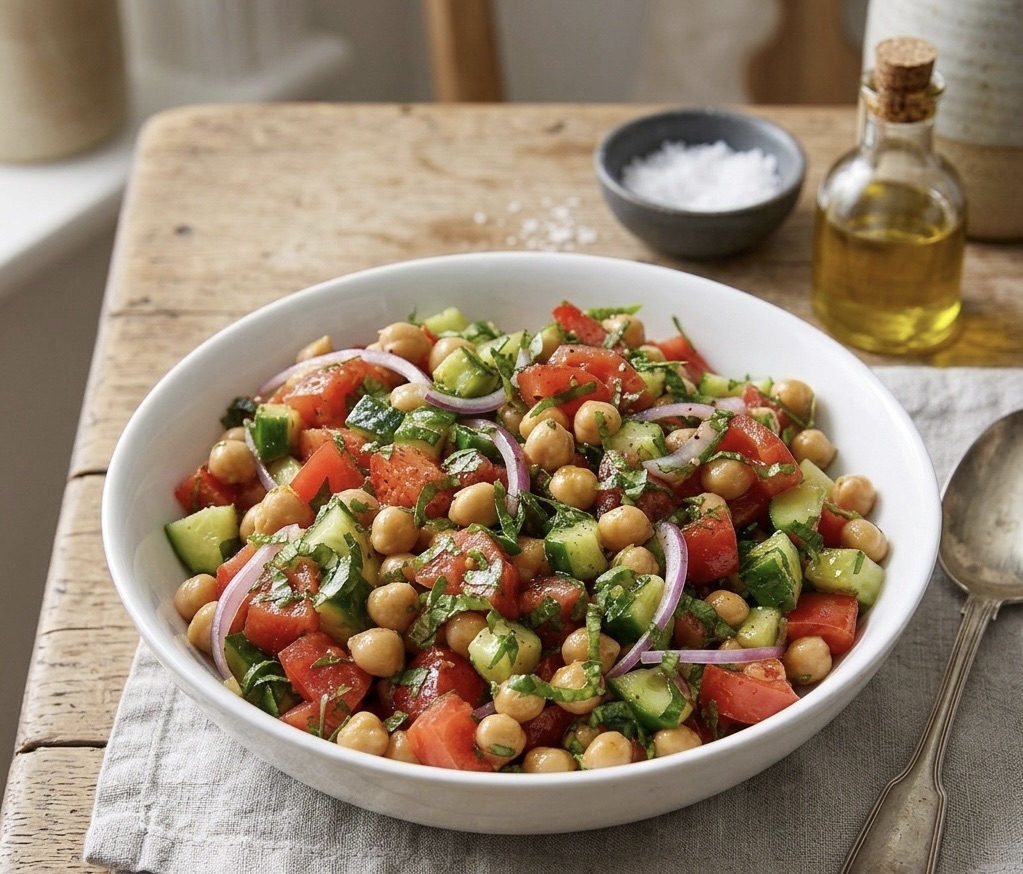
    When the weather is warm and you do not want to turn the oven on, this Rihanna-inspired chickpea salad is the perfect solution. It is fresh, light, high in fibre and ready in about five minutes – ideal for quick lunches, busy evenings or a no-fuss desk meal.

    I have adapted the recipe so it works for both UK and US readers, combining tin and can measurements in one place. The ingredients are very simple supermarket staples, but the basil, lemon and a touch of chilli keep it feeling bright and a little bit special.

    Why you will love this Rihanna-inspired salad
    • No cooking – everything is simply chopped and tossed together.
    • Budget friendly – mostly tinned and basic fresh produce.
    • High fibre and naturally vegetarian, with easy dairy-free options.

    • Scales up beautifully for meal prep or sharing.

    Ingredients (UK & US combined)
    Serves 2–3 as a main, 3–4 as a side.
    • 1 tin / can chickpeas (400g / 15 oz), drained and rinsed
    • 1 medium cucumber, diced
    • 2 medium tomatoes, diced
    • ¼ small red onion, finely sliced
    • Small handful fresh basil, chopped
    • 1 tbsp extra virgin / extra-virgin olive oil
    • Juice of ½ lemon
    • 1 tbsp red wine vinegar (or apple cider vinegar)
    • Salt and black pepper, to taste
    • Pinch chilli flakes / red pepper flakes (optional)
    Optional toppings for extra protein and creaminess:

    • 2 tbsp crumbled feta cheese or a spoonful of Greek yoghurt / yogurt

    Method

    1. Drain and rinse the chickpeas, then tip them into a large mixing bowl.
    2. Dice the cucumber and tomatoes, and finely slice the red onion. Add everything to the bowl with the chickpeas.
    3. Chop the basil and add it to the salad.
    4. In the same bowl, drizzle over the olive oil, squeeze in the lemon juice and add the vinegar. Season generously with salt, black pepper and a pinch of chilli or red pepper flakes if you like a little heat.
    5. Toss everything together until the chickpeas and vegetables are well coated in the dressing. Taste and adjust the seasoning – add more lemon or salt if needed.
    6. Serve immediately, or chill in the fridge for 20–30 minutes to let the flavours mingle.

    If you are using feta or Greek yoghurt, add it just before serving so it stays fresh and creamy.

    Helpful swaps and variations
    This salad is easy to tweak to suit what you have at home.
    • No basil: Use parsley, coriander/cilantro or a mix of dried herbs.
    • Dairy-free / vegan: Skip the feta or yoghurt and add extra chickpeas or diced avocado.
    • No vinegar: Use a little extra lemon juice and a pinch of sugar to balance the acidity.
    • Extra crunch: Add a handful of chopped nuts or seeds just before serving.

    You can also turn this into a more filling meal by serving it with toasted pitta bread / pita bread or spooning it over leafy greens.

    How to store Rihanna’s chickpea salad

    Store any leftovers in an airtight container in the fridge. The salad will keep well for up to 2 days, although the fresh herbs are best on the first day. If it tastes a little flat after chilling, simply add an extra squeeze of lemon and a small pinch of salt before serving.

    Bringing this salad to TikTok

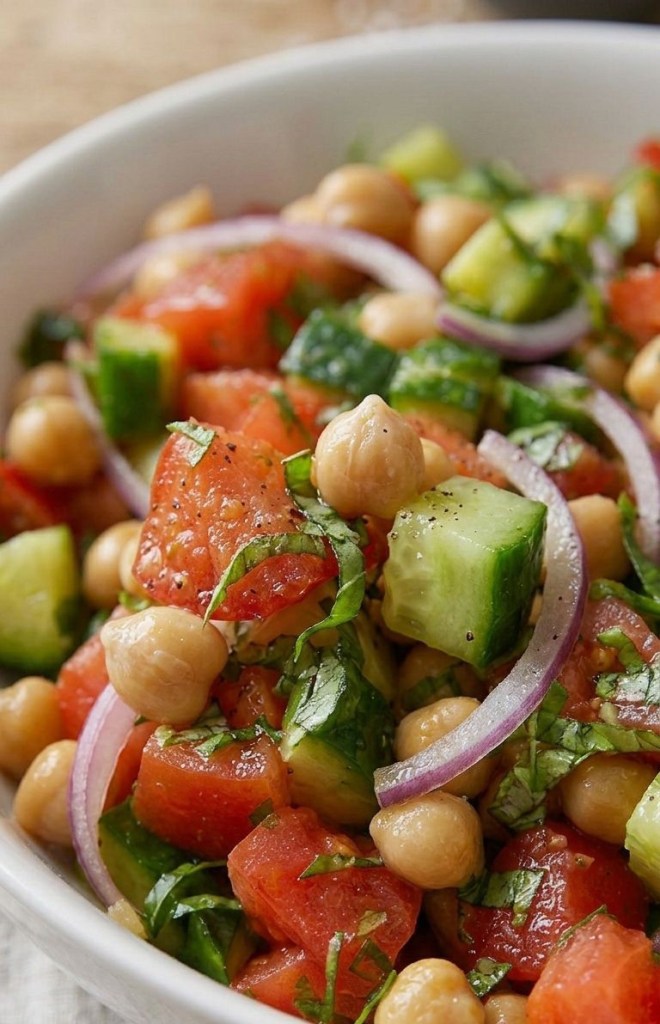
    This recipe works beautifully for short-form video. The colourful chickpeas, cucumber, tomatoes and basil look fantastic on camera, and the no-cook method means you can film it quickly. If you share it on TikTok or Instagram, tag me so I can see your version of Rihanna’s chickpea salad.

  • Hugh Jackman’s Mum’s Butternut Squash Risotto (With UK & US Measurements)

    Hugh Jackman’s Mum’s Butternut Squash Risotto (With UK & US Measurements)

    Hugh Jackman’s Mum’s Butternut Squash Risotto (With UK & US Measurements)
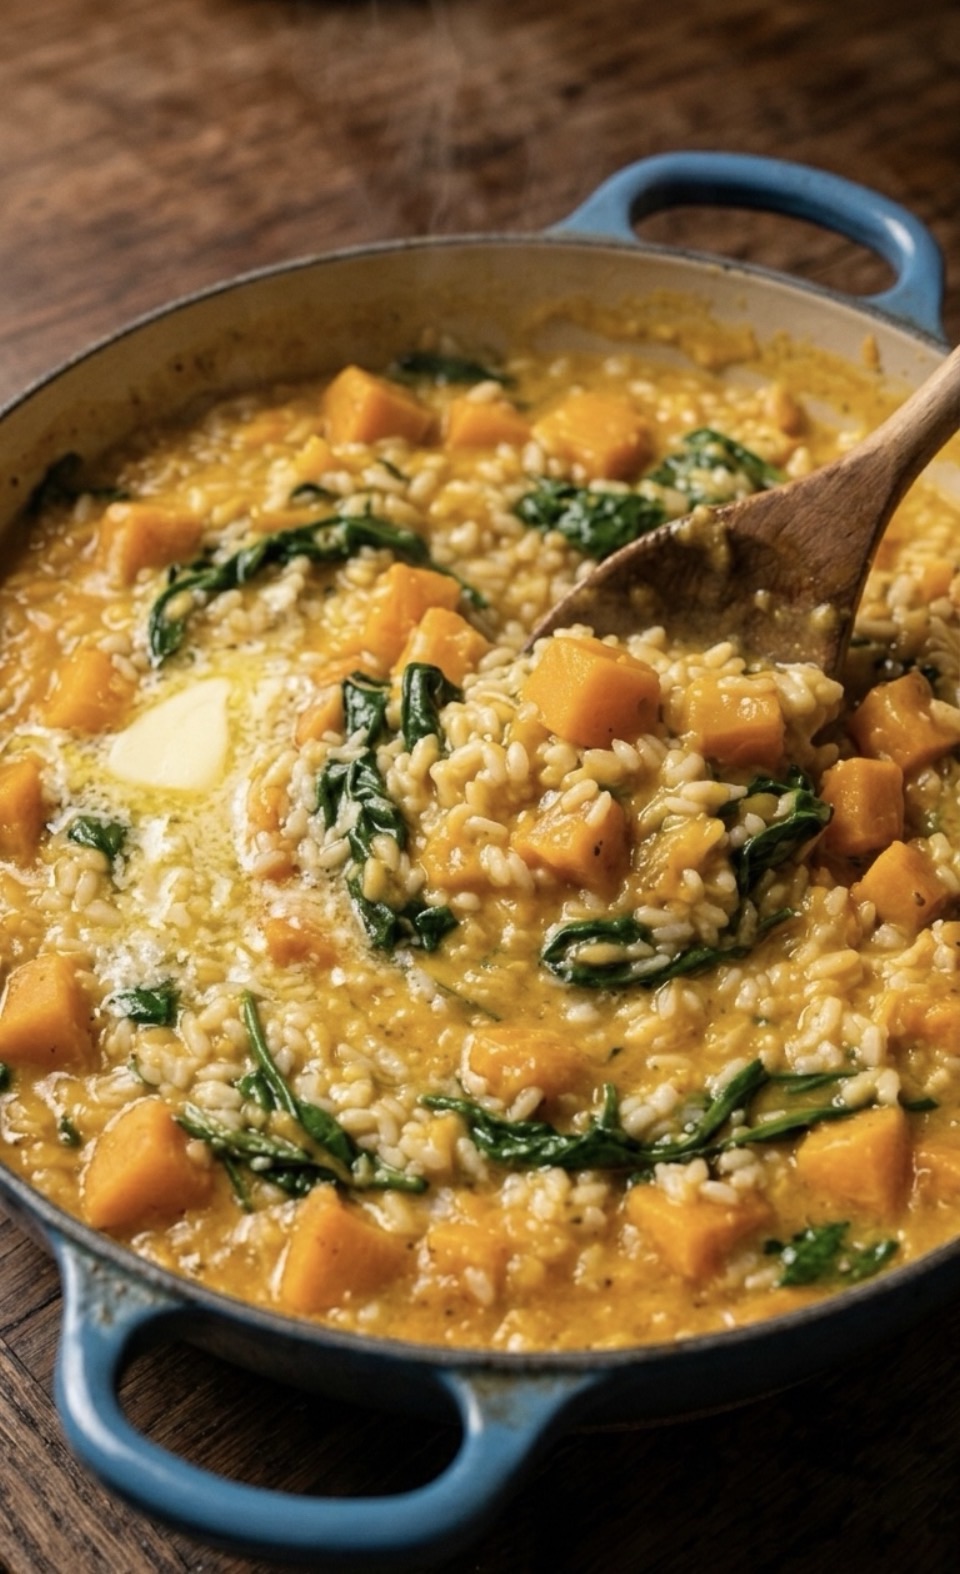
    Every now and then a celebrity recipe pops up that feels like proper real life food rather than some cheffy faff, and this one is exactly that. Hugh Jackman’s mum’s butternut squash and spinach risotto is simple, cosy and very doable on a Tuesday night – no culinary school required


    I’m a big believer that “celebrity” recipes only earn a place in our kitchens if they actually work in normal homes, with normal pans, and normal supermarket ingredients. So I’ve tested this one, translated it into UK‑friendly measurements, and added US cups and ounces so my friends across the pond can cook along too.

    It’s naturally meat‑free, full of comforting carbs, and you can absolutely nudge it in a more health‑conscious direction with a couple of easy swaps. Think: lots of veg, mindful butter and cheese, and a portion size that still feels generous.

    Is Hugh Jackman’s Risotto Vegetarian?
    Short answer: yes, it can be.
    The dish itself is built from butternut squash, spinach, Arborio rice, stock, butter and a sprinkle of hard cheese on top. There’s no meat or fish in the base recipe. The only sticking point for strict vegetarians is the cheese. Traditional Parmigiano Reggiano is made with animal rennet, which means it’s not technically vegetarian.
    If you want the dish to be fully vegetarian, just choose:
    • Vegetable stock instead of chicken stock
    • A vegetarian “Italian hard cheese” or “Parmesan‑style” cheese (most UK supermarkets now label these clearly)

    Once you’ve made those swaps, you’ve got a lovely, cosy vegetarian dinner that still tastes indulgent enough to feel like a treat.

    A Few Nutrition‑Conscious Tweaks
    This is comfort food, so I’m not here to remove all the joy. But if you’re trying to keep things on the lighter side, here are a few gentle tweaks that work well:
    • Use olive oil to sauté the onions, then finish with a smaller knob of butter at the end rather than a big chunk
    • Stick to a measured amount of hard cheese – it’s strong, so a little goes a long way
    • Load up the spinach (and even add extra greens like peas or shredded cavolo nero)
    • Serve with a simple side salad to add freshness and volume

    You still get that creamy, restaurant‑style texture, but with a bit more balance.

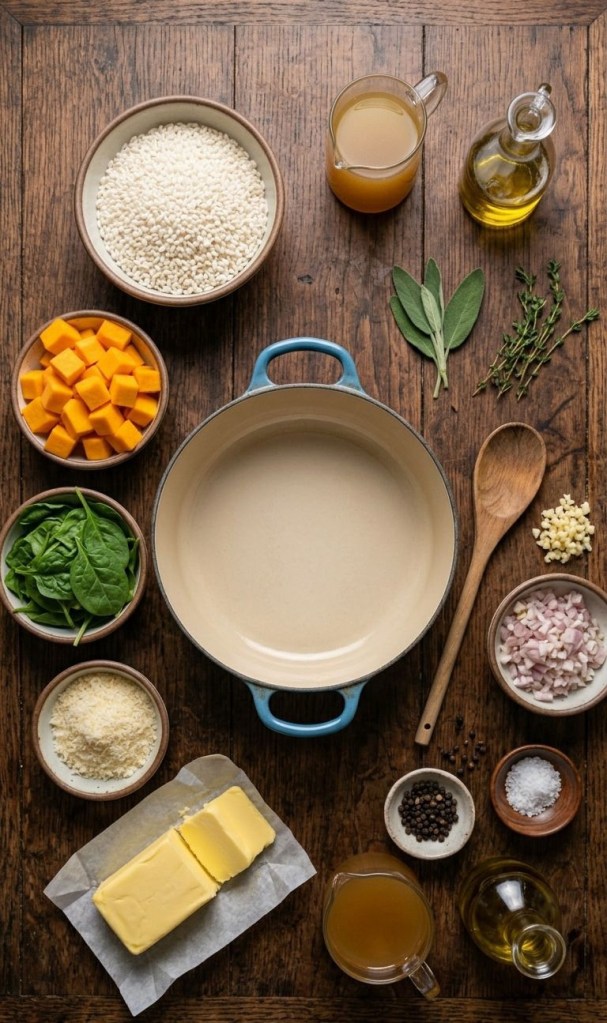
    Ingredients (Serves 4)

    I’ve listed the UK measurements first, with US equivalents in brackets so everyone is covered.
    • 1 tbsp olive oil or unsalted butter (same for US)
    • 1 medium onion, finely chopped (about 150g / 5 oz)
    • 2 cloves garlic, crushed (same for US)
    • 300g risotto rice, Arborio (1½ cups)
    • 120ml dry white wine, optional (½ cup – or use extra stock)
    • 600g butternut squash, peeled and diced small (about 4 cups)
    • 1–1.1L hot vegetable or chicken stock (4–4½ cups)
    • 60g grated vegetarian Italian hard cheese (½ cup)
    • 40g unsalted butter, to finish, optional (3 tbsp)
    • 80g baby spinach, big handfuls (2 packed cups)
    • Sea salt and black pepper, to taste
    • Optional: squeeze of lemon to brighten at the end
    If you’d like to make this dish vegan, you can:
    • Use olive oil only (no butter)
    • Skip the cheese or use a good vegan hard cheese alternative

    • Double‑check your stock is vegan‑friendly

    Method (Step‑by‑Step, No Stress)

    1. Start the flavour base
      Heat the olive oil or butter in a large frying pan or wide saucepan over a low–medium heat. Add the finely chopped onion with a pinch of salt and let it gently soften for 5–7 minutes until translucent. You don’t want much colour here – slow and gentle wins.
      Stir in the crushed garlic and cook for another minute until fragrant.
    2. Toast the rice
      Pour in the risotto rice and stir so every grain is coated in the buttery onion mixture. Give it 1–2 minutes – you’ll see the edges of the rice start to look slightly translucent. This step helps with flavour and texture.
    3. Add the wine (or skip it)
      If you’re using wine, add it now. Pour it in and stir until nearly all the liquid has been absorbed. If you don’t fancy cooking with wine, simply replace it with a ladle of hot stock instead.
    4. Bring in the squash and stock
      Stir in the diced butternut squash so it’s evenly distributed. Add your first ladle of hot stock and keep the pan at a gentle simmer. Stir every so often, and once the liquid is mostly absorbed, add another ladle.
      This is the “risotto rhythm”: add stock, stir, let it absorb, repeat. It’s quite soothing once you get into it.
    5. Keep going until creamy
      Continue adding stock a ladle at a time for around 18–22 minutes. Taste a grain of rice – you’re aiming for creamy, with a little bite in the centre (al dente), and tender pieces of squash. You might not need every drop of stock, or you might need a splash more hot water. You’re looking for a loose, creamy texture, not a stiff mound.
    6. Finish with spinach and cheese
      When the rice is where you want it, turn the heat down low. Gently stir in the butter and grated vegetarian hard cheese until everything looks glossy and silky.
      Fold in the baby spinach right at the end – the residual heat will wilt it in a minute or two. Taste and adjust with salt, black pepper and a squeeze of lemon juice if you’d like a bit of brightness.
    7. Serve and enjoy

    Serve straight away in warm bowls. I like to add a little extra sprinkle of cheese and a twist of black pepper on top. A simple green salad on the side works beautifully and keeps the plate feeling light.

    Making It Work for Real Life
    A few practical notes now I’ve made this a couple of times:
    • Time: From chopping board to bowl, I’d allow about 40–45 minutes. Most of that is gentle stirring, so pop on a podcast or some music.
    • Leftovers: Risotto is always best freshly made, but leftovers will reheat with a splash of stock or water in a pan. Just don’t expect quite the same silky texture.
    • Batch cooking: You can prep the squash in advance and keep it in the fridge for a day or two, which does speed things up on a weeknight.


    If you’re someone who loves cosy, one‑pan dinners that feel a bit special but don’t require a chef’s jacket, this one is absolutely worth adding to your list.