Tag: Clean Eating

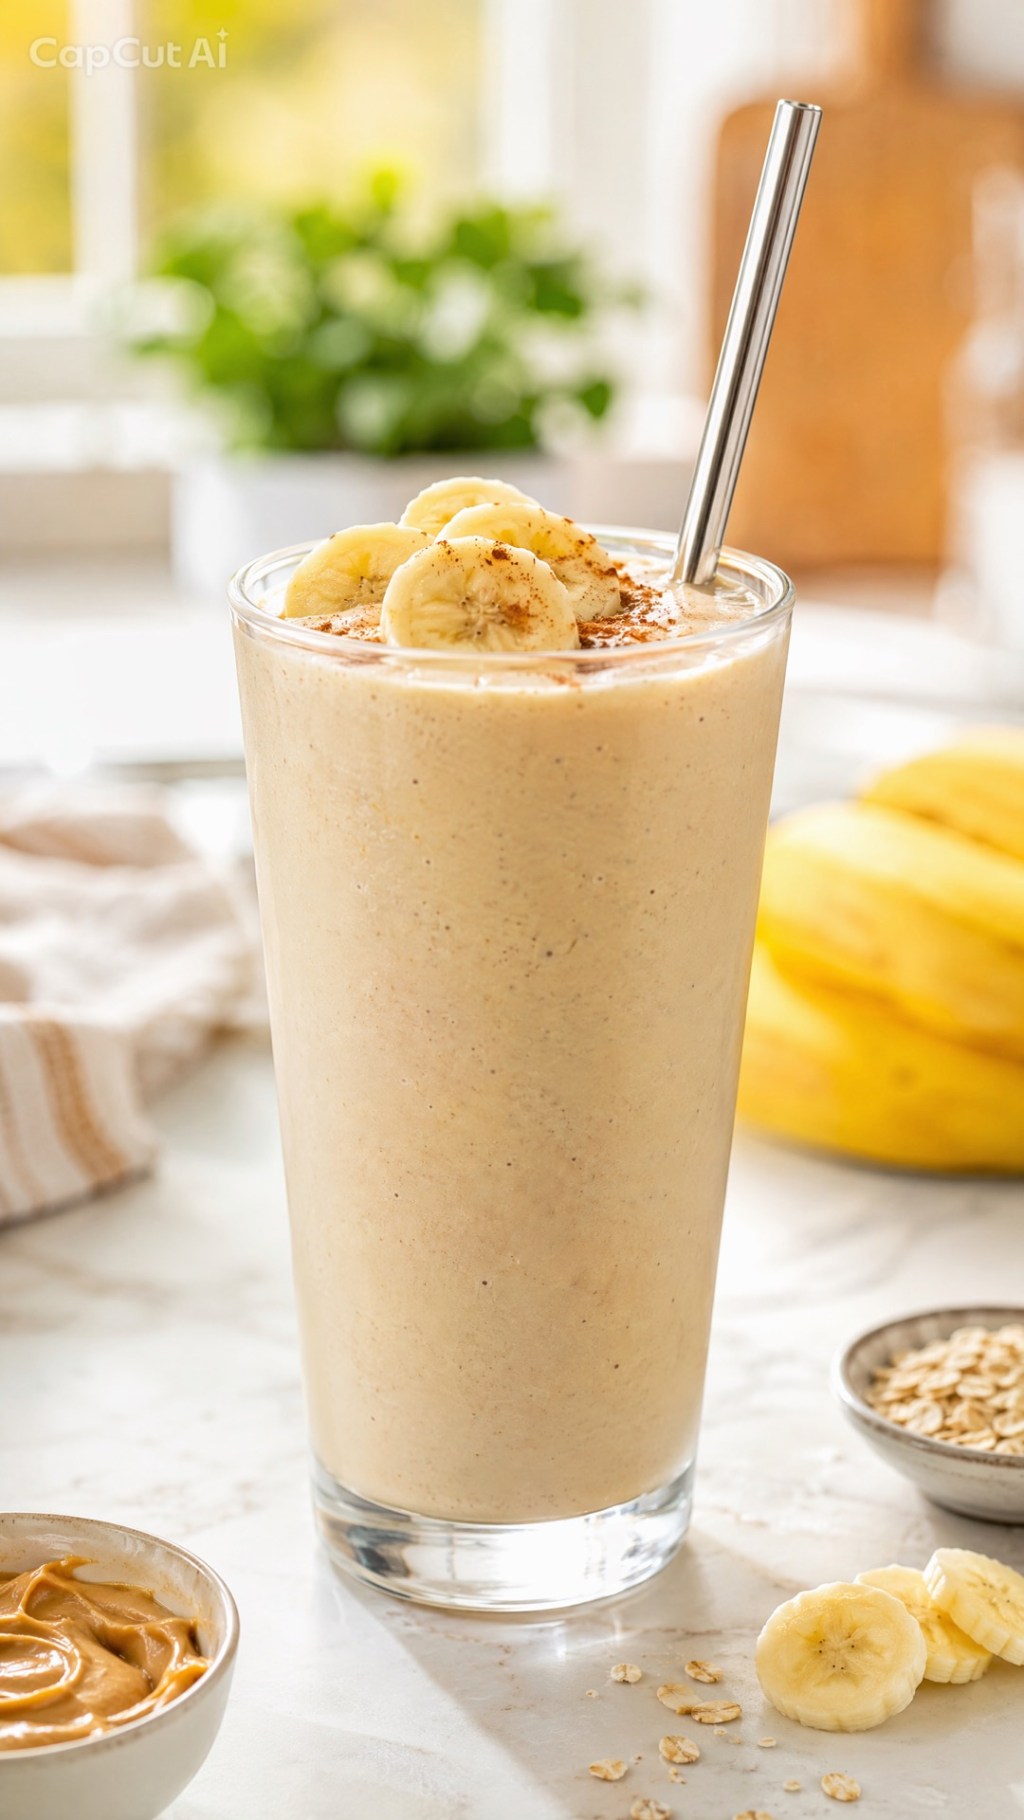
  • Let’s Talk Real Fuel: Your New Go-To Protein Shake (Without the Powders!)

    Let’s Talk Real Fuel: Your New Go-To Protein Shake (Without the Powders!)

    Hey everyone! Welcome back to the blog. Today, we are keeping things deliciously simple, wholesome, and completely real-food focused.

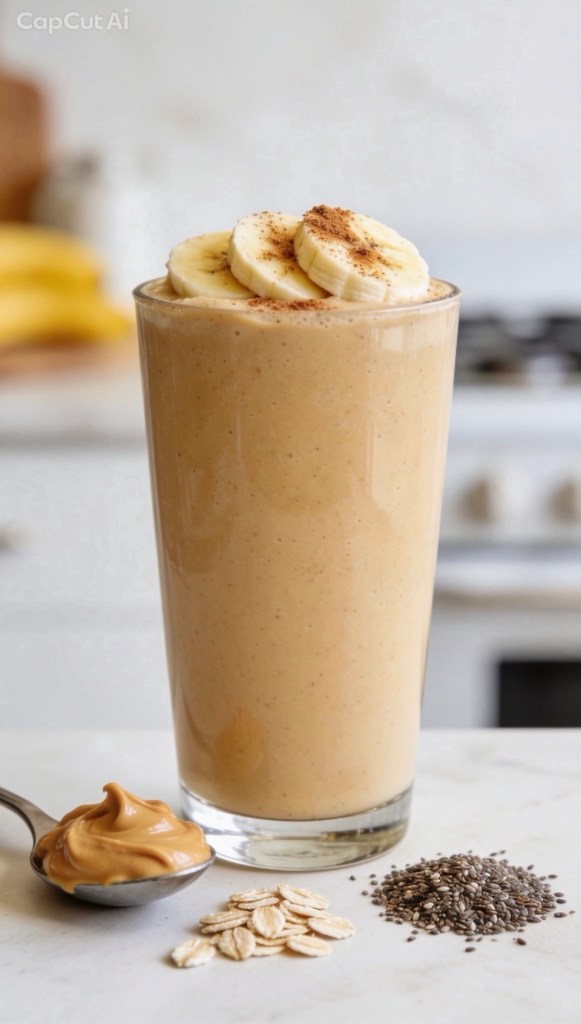
    If you are anything like me, you’ve probably stared at a massive tub of protein powder before, squinted at an ingredient list that reads like a high school chemistry textbook, and thought, “Surely there’s a better way.” Good news: there is! You don’t need chalky, artificial supplements to build a satisfying, muscle-loving recovery drink. Today, we are breaking down a gorgeous, creamy, whole-food power shake that tastes like a treat and actually keeps you full.
    Why Ditch the Powder?

    Don’t get me wrong—protein powders have their place. But sometimes your stomach just wants real food. By turning to kitchen staples like Greek yogurt, oats, seeds, and nut butter, you get a complex matrix of fiber, healthy fats, micronutrients, and slow-releasing energy that powders simply can’t match. Plus, it tastes genuinely amazing.

    The Recipe: Peanut Butter Banana Power Shake

    This beauty packs roughly 25 to 30 grams of protein using everyday ingredients you probably already have sitting in your pantry.

    Ingredients:
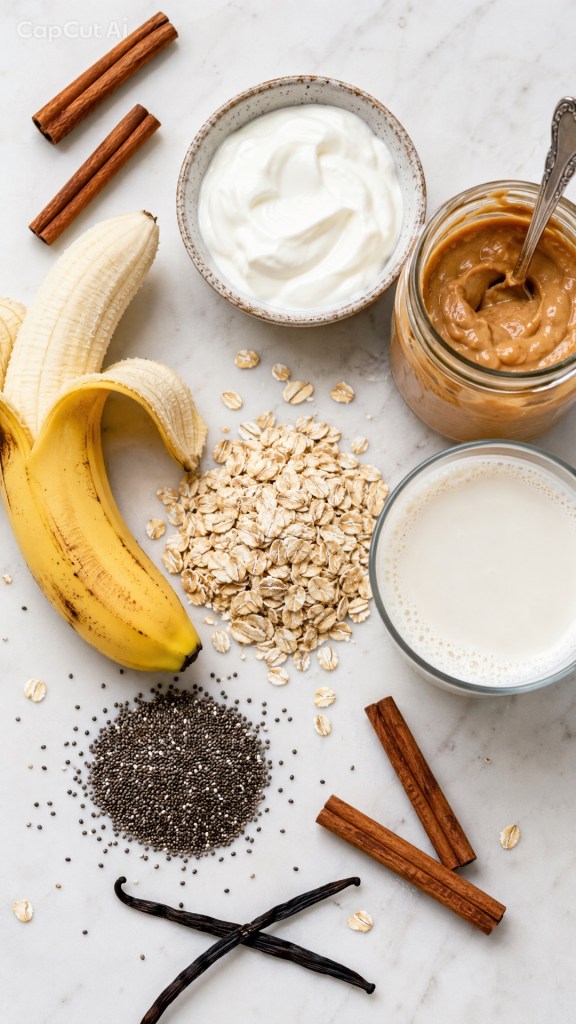
     1 cup (250 ml) Milk of your choice (Oat, Soy, or Whole Dairy work wonders!)

     ½ cup (120 g) Plain Greek yogurt (your secret weapon for a thick, protein-rich base)

     2 tablespoons (32 g) Natural peanut butter (or almond butter)

     1 medium Ripe banana (fresh, or frozen if you love a super frosty texture)

     2 tablespoons (20 g) Rolled oats (blends right in for great complex carbs and fiber)

     1 tablespoon Chia seeds or hemp seeds (packed with plant protein and healthy fats)

     A pinch of cinnamon or a splash of vanilla extract for that extra cozy flavor kick

    How to Whip It Up:

    1. Liquid First: Pour your milk of choice into the blender first. This stops everything from getting stuck to the blades and ensures a silky-smooth finish.

    2. Add the Good Stuff: Drop in your Greek yogurt, peanut butter, and banana.

    3. Toss in the Dry Ingredients: Add your rolled oats along with the chia or hemp seeds.

    4. Blend Until Dreamy: Start on low and crank it up to high. Let it run for about 45 to 60 seconds until completely creamy. If it’s too thick, just splash in a tiny bit more milk.

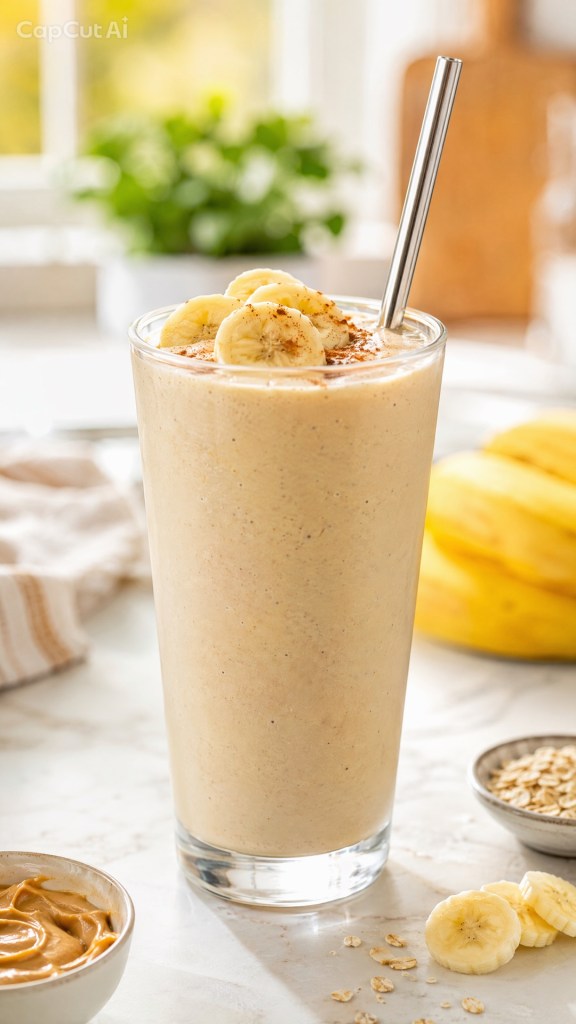
    5. Serve & Sip: Pour it into a tall glass, grab a reusable straw, and enjoy!

    Let’s Talk Milk: Which One Should You Pick?

    Choosing your liquid base depends entirely on your dietary preferences and goals:

     Whole Dairy Milk: A classic choice that brings a complete amino acid profile, natural fats, and about 8 grams of protein per cup.

     Soy Milk: If you prefer plant-based, soy is your MVP. It’s one of the few plant milks that matches dairy’s protein punch (roughly 7 to 8 grams per cup) and is a complete protein.

     Oat Milk: Creamy, slightly sweet, and fantastic for texture, though it tends to be a bit lower in natural protein unless you buy a fortified high-protein variety.

    Why This Works Post-Workout (Or as a Meal)

    The magic here is the balance. You’ve got natural complex carbohydrates from the banana and oats to replenish your glycogen stores, paired with the healthy fats and protein from the yogurt, peanut butter, and seeds to repair muscle tissue and keep your blood sugar steady.
    Have you tried making a protein shake without powder yet? Let me know your favorite ingredient combinations in the comments below! Catch you in the next post!
  • The Morning Glow-Up: Jason Mraz’s Famous Green Smoothie

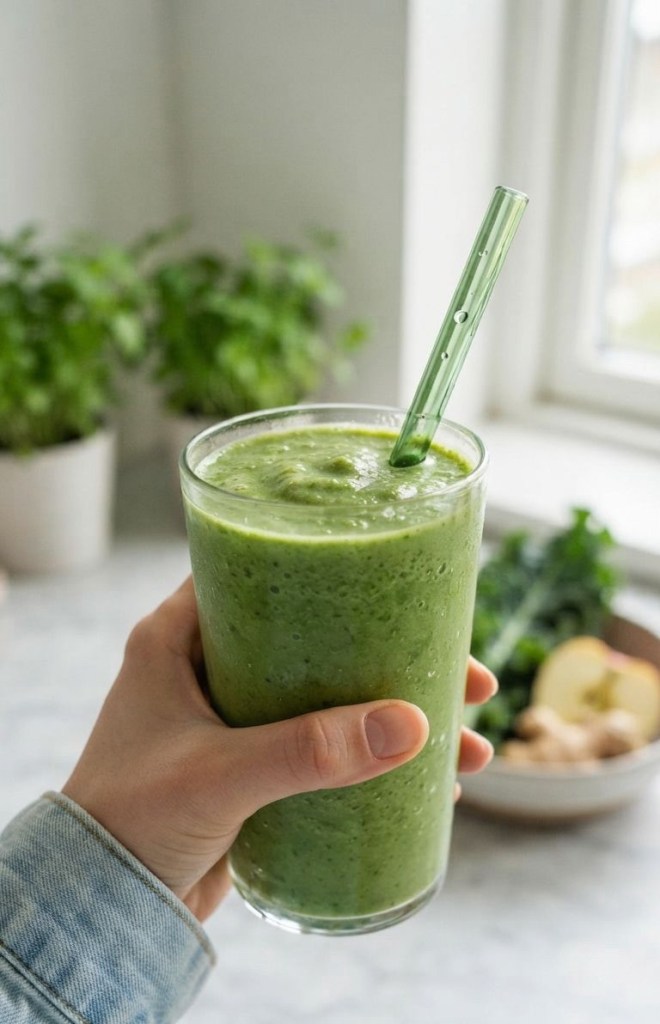
    The Morning Glow-Up: Jason Mraz’s Famous Green Smoothie

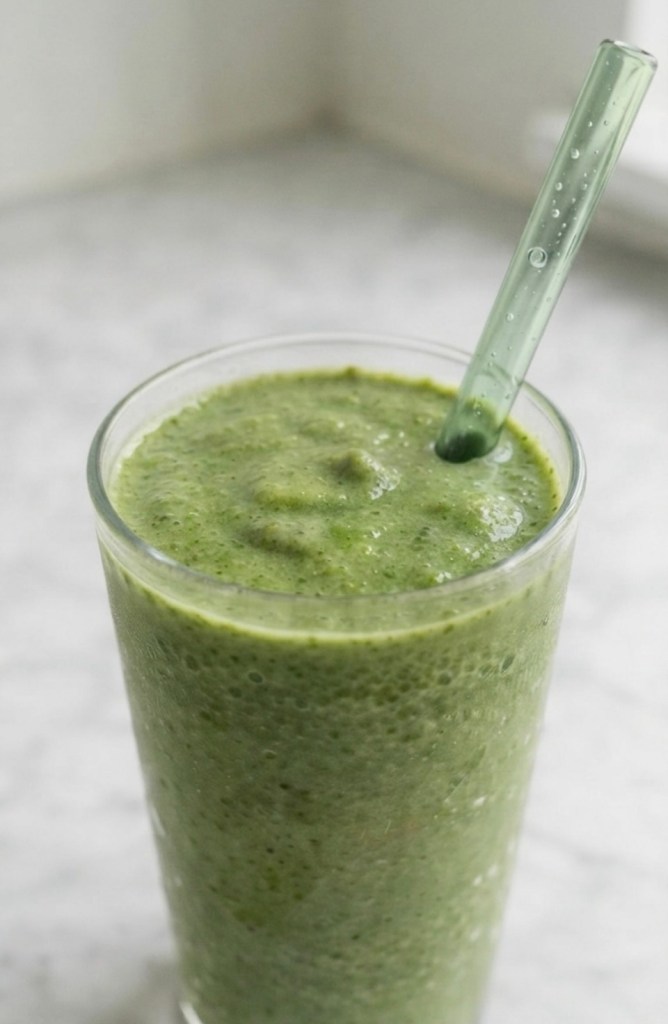
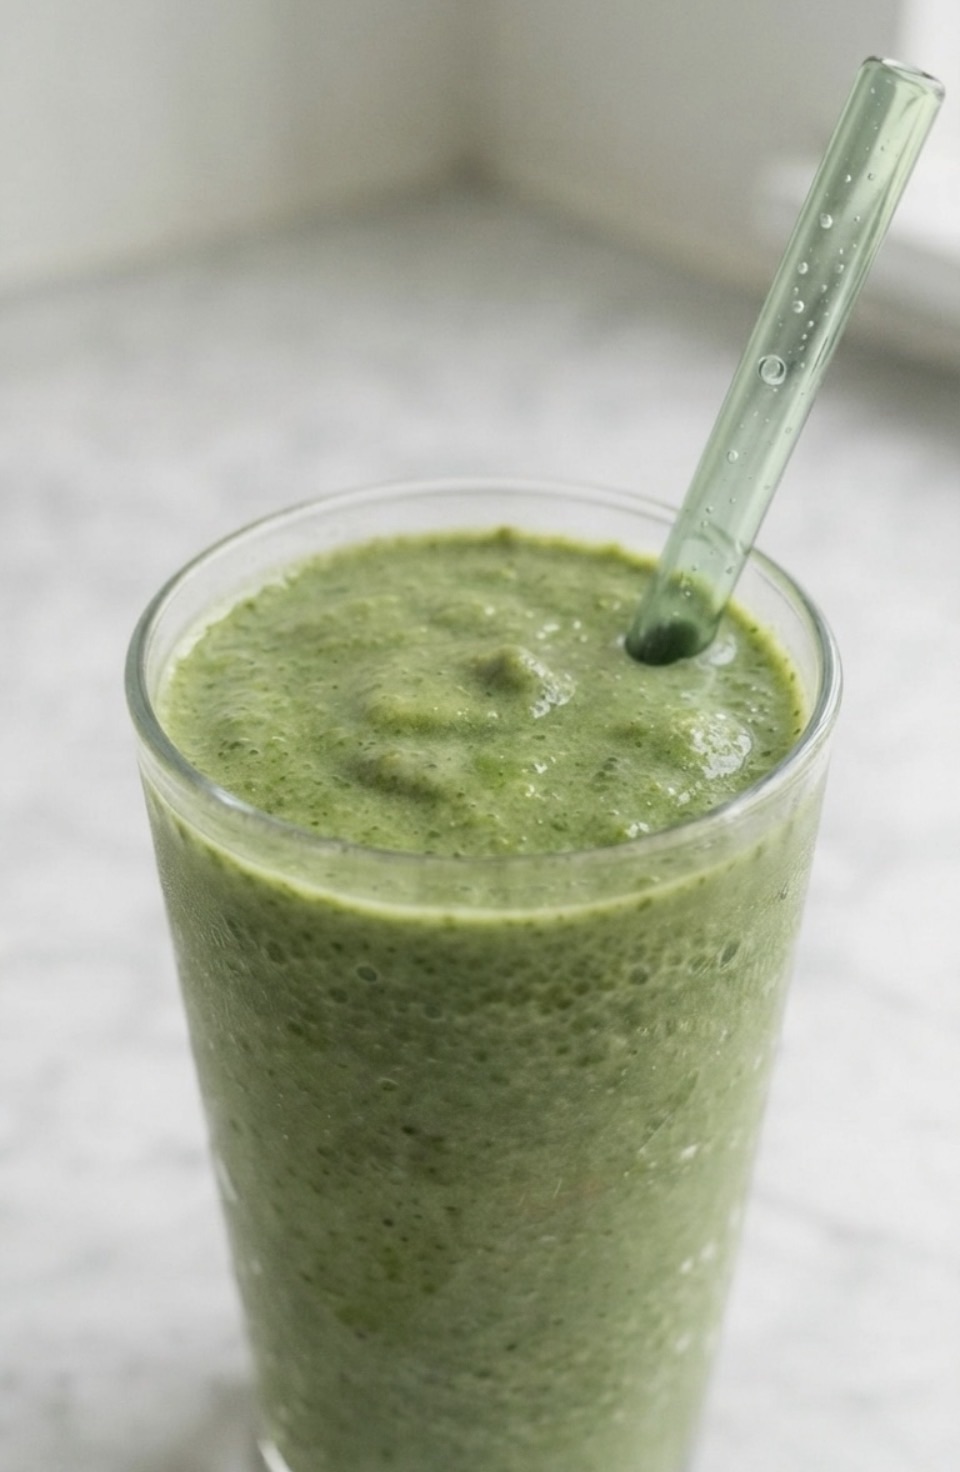
    Have you ever wondered how to start your day with a literal burst of energy? I recently stumbled upon the green smoothie recipe that Jason Mraz swears by, and I have to be honest—I’m obsessed. It’s not just “healthy”; it’s actually delicious, creamy, and keeps me going all morning long.

    If you’ve been looking for a way to get more greens into your diet without feeling like you’re chewing on a lawn, this is the one. The blend of avocado and banana makes it incredibly smooth, while the ginger adds that perfect little zing to wake up your taste buds.

    Why This Recipe Stands Out

    We all know that breakfast is the most important meal of the day, but it’s so easy to fall into a rut of toast or sugary cereals. What makes this recipe a personal favorite is the balance. You have the healthy fats from the avocado, which provide sustained energy, and the natural sweetness from the banana and crisp apple to keep things palatable.

    Adding celery and ginger gives it a sophisticated flavor profile that feels much more “café-style” than your average at-home blend. Plus, it’s a fantastic way to clear out those leftover greens in the fridge before they wilt!

    Customizing Your Blend

    One of the best things about this recipe is how forgiving it is.

     The Greens: If you find kale too bitter, feel free to swap it for baby spinach. It’s milder and blends into a beautiful, vibrant color.

     The Liquid: Whether you prefer the nutty profile of almond milk or the creaminess of coconut milk, both work perfectly as a base.

     The Ginger: If you love a spicy kick, don’t be afraid to add an extra half-inch of ginger! It’s incredible for digestion and gives the drink a refreshing bite.

    The Recipe

    Prep time: 5 minutes

    Servings: 1

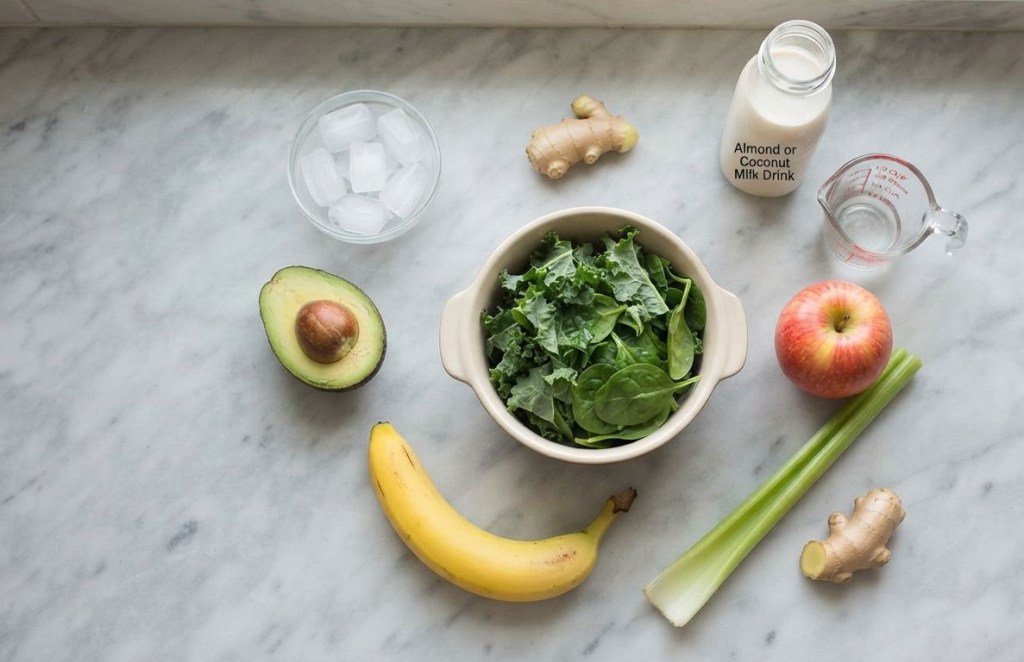
    Ingredients:

     1 ¼ cups (300ml) cold unsweetened almond or coconut milk drink

     1 ripe avocado

     1 ripe banana

     1 sweet apple (such as Honeycrisp), sliced

     ½ large or 1 small stalk celery, chopped

     2 cups (approx. 60g) lightly packed kale leaves or spinach

     1-inch (2.5cm) piece peeled fresh ginger

     8 ice cubes

    Instructions:

    1. Prep your base: Start by pouring your chosen milk beverage into the blender. Adding the liquid first helps the blades move freely.

    2. Add the produce: Toss in the avocado, banana, apple slices, celery, and your greens.

    3. The aromatics: Add that piece of fresh ginger for the signature zing.

    4. Finish with ice: Top with the 8 ice cubes to ensure a frosty, refreshing consistency.

    5. Blend: Blitz everything on high until it is very smooth.

    If you give this a try, let me know in the comments how you like it! Do you prefer kale or spinach in your smoothies?

  • Creamy Raspberry & Lemon No-Bake Cheesecake Jars

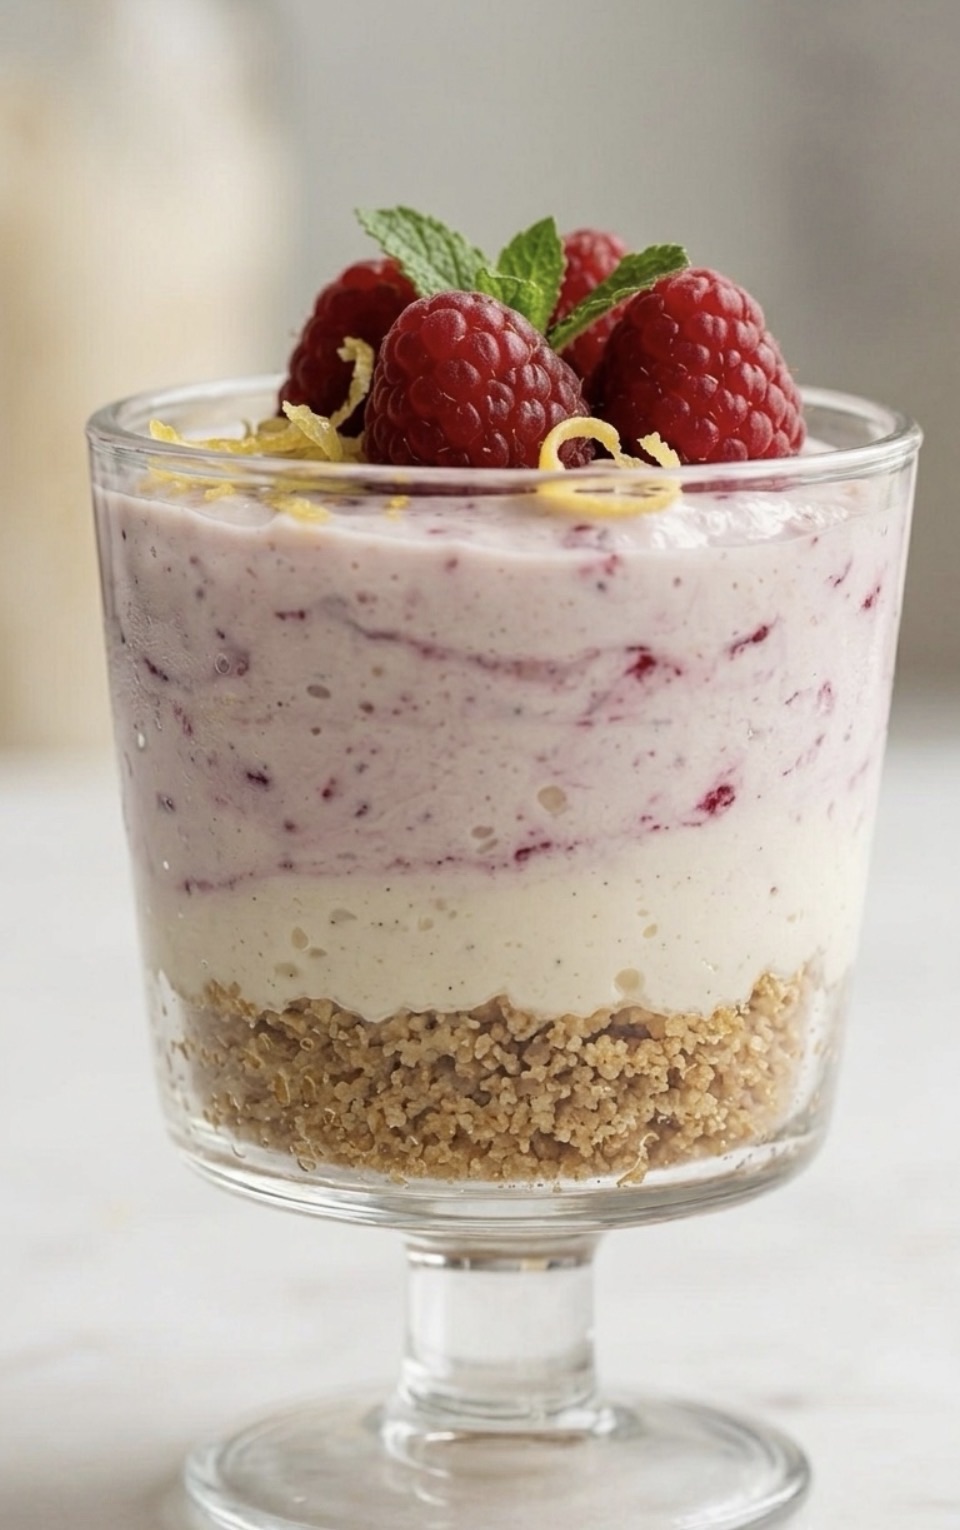
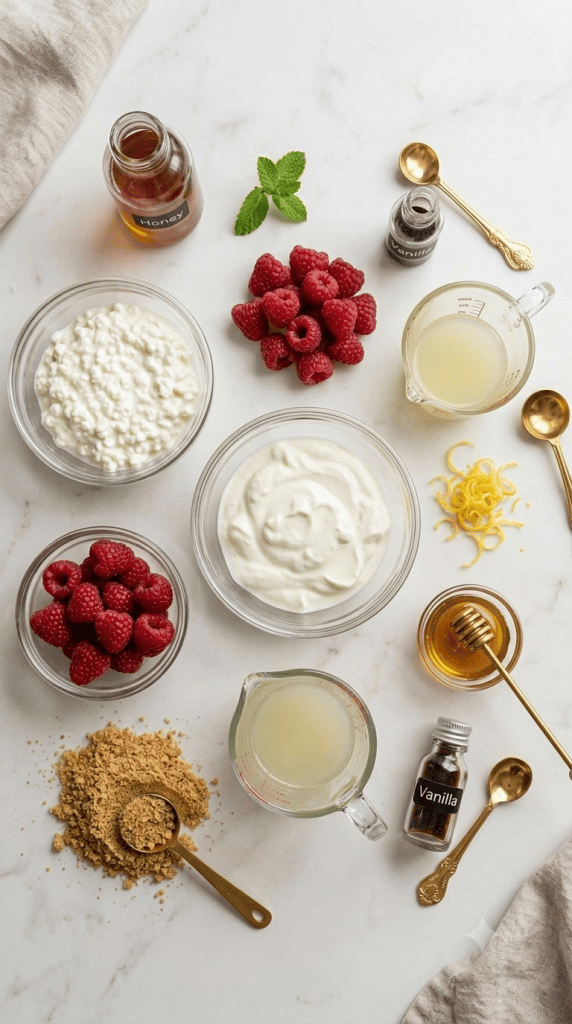
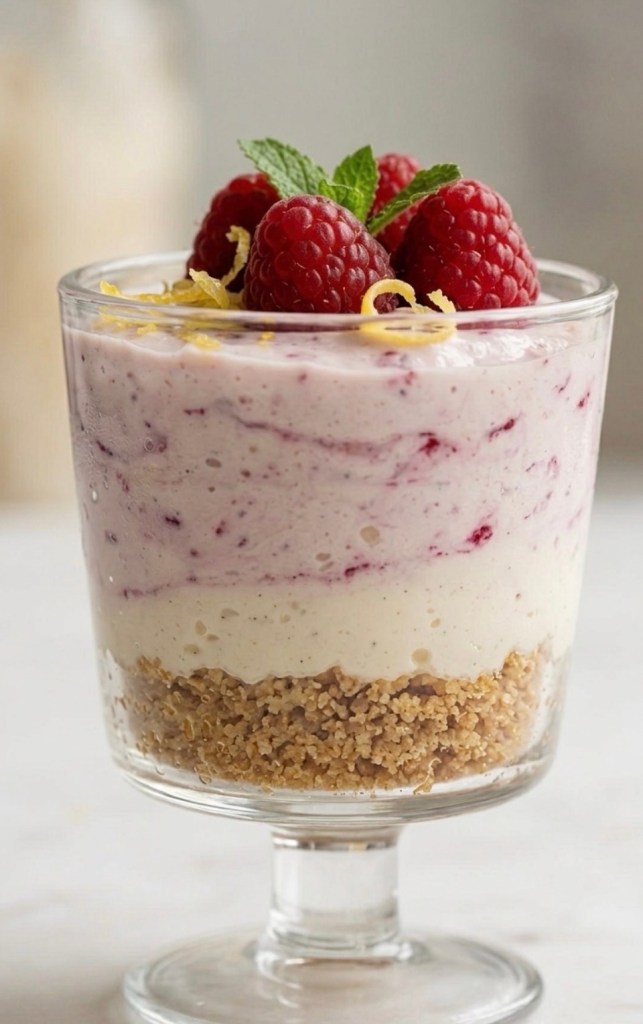
    Creamy Raspberry & Lemon No-Bake Cheesecake Jars

    There is something undeniably satisfying about a dessert that looks sophisticated but comes together in minutes. Whether you are meal-prepping healthy treats for the week or need a quick crowd-pleaser for a dinner party, these No-Bake Raspberry & Lemon Cheesecake Jars are the answer.

    Combining the tang of Greek yogurt with the creamy texture of cottage cheese, this dessert provides a protein boost while satisfying your sweet tooth. Best of all, it requires zero time in the oven.

    Why You’ll Love This Recipe

     Minimal Effort: No baking, no fuss, just fresh ingredients.

     Protein-Packed: By using cottage cheese and Greek yogurt, you get a much more satisfying treat than standard heavy-cream desserts.

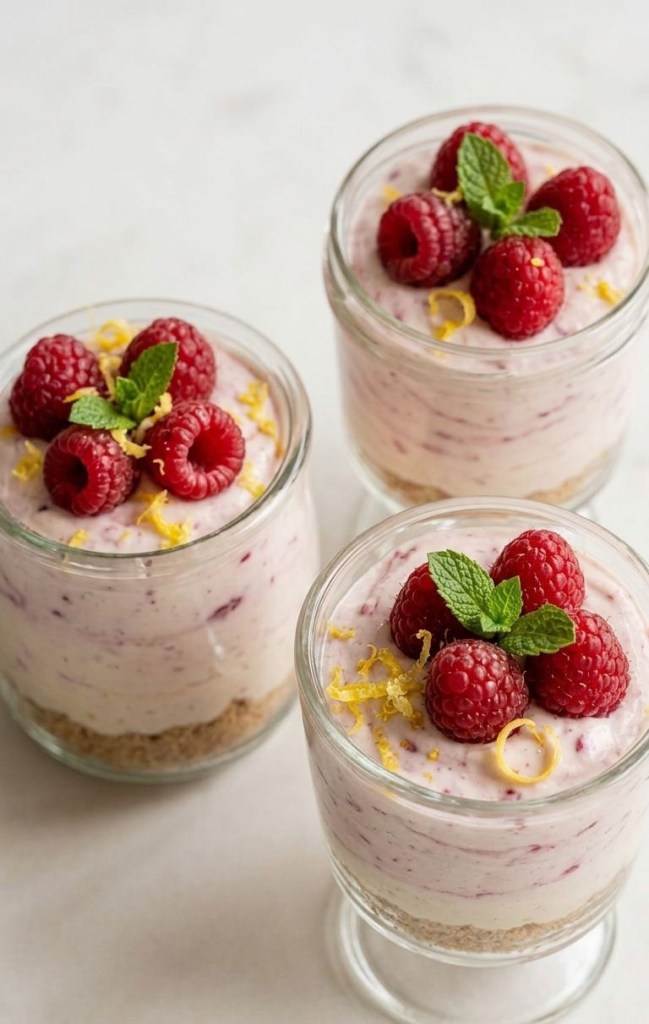
     Perfectly Portionable: The individual jars make them easy to grab on the go or store in the fridge.

     Customizable: You can swap the berries for blueberries or even add a drizzle of melted dark chocolate.

    The Recipe

    Prep time: 10 minutes | Servings: 3

    Ingredients

     1 cup (100g) Digestive biscuits or graham crackers (crushed)

     1 cup (225g) Cottage cheese

     1/2 cup (120g) Greek yogurt

     1 cup (125g) Fresh raspberries

     2 tbsp Honey (or maple syrup)

     1 tbsp Lemon juice

     1 tsp Vanilla extract

     Optional: Lemon zest and mint leaves for garnish

    Instructions

    1. Prepare the Base: Divide your crushed biscuits equally among three jars. Press them down gently with a spoon to create a compact, even layer.

    2. Blend the Cream: In a food processor or high-speed blender, combine the cottage cheese, Greek yogurt, honey, lemon juice, and vanilla extract. Blitz until the mixture is completely smooth and creamy.

    3. Add the Fruit: Gently fold in half of your fresh raspberries. If you prefer a marbled look, pulse the blender just two or three times rather than fully blending them.

    4. Assemble: Spoon or pipe the cheesecake mixture over the biscuit bases.

    5. Garnish: Top with the remaining fresh raspberries, a sprinkle of lemon zest, and a small mint leaf.

    6. Set: You can enjoy these immediately, but they taste even better after chilling in the fridge for 30 minutes!

    Nutritional Information

    Per serving (makes 3)

    📊 Macros

     Calories: 215 kcal

     Protein: 14g

     Carbohydrates: 32g

     Fat: 3g

    Tips for Success

     Smooth Texture: If you don’t like the texture of cottage cheese curds, blending it thoroughly is key. It will transform into a silky cream that rivals mascarpone.

     Keep it Crunchy: If you plan to store these for more than a day, add the biscuit base right before serving to ensure it stays crunchy rather than getting soggy from the moisture in the cream.

     Zest is Best: Don’t skip the lemon zest! It adds a bright, fresh aroma that ties the lemon and berries together perfectly.

    Have you tried this recipe? Tag us in your photos or let us know in the comments how you customized your jars!

  • Healthy Hazelnut & Chocolate Bites: The Perfect Guilt-Free Snack

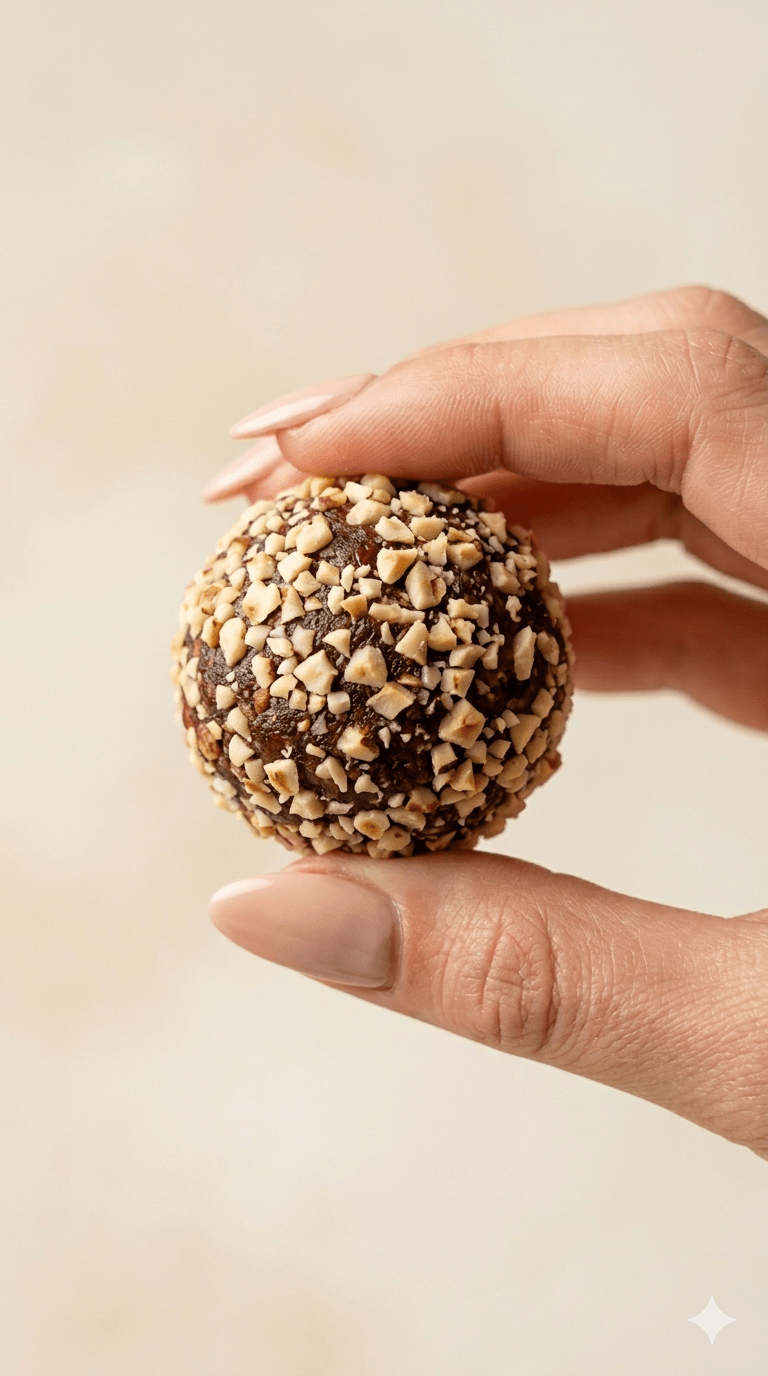
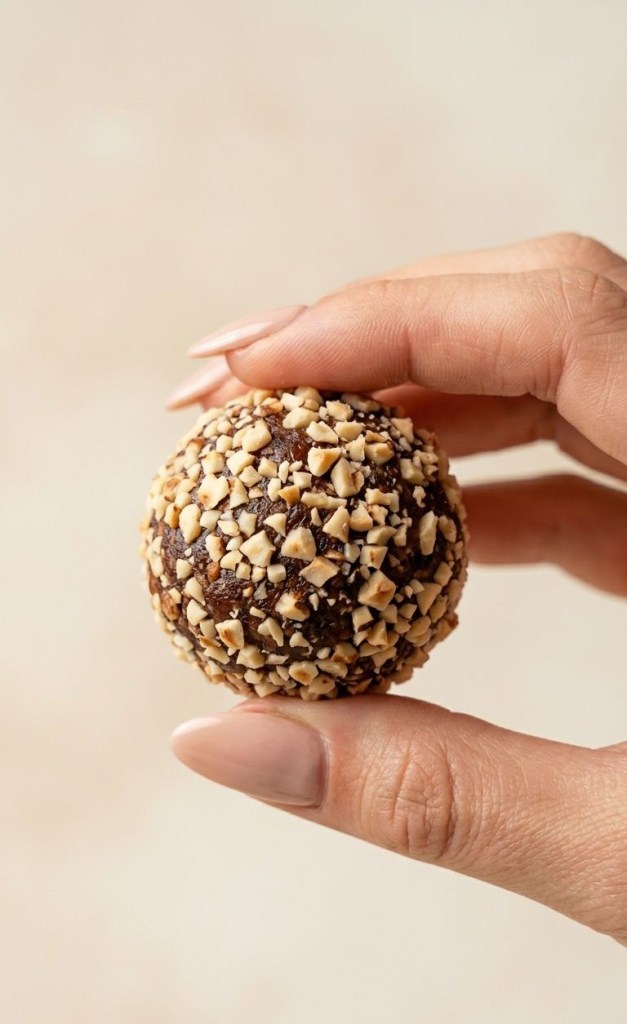
    Healthy Hazelnut & Chocolate Bites: The Perfect Guilt-Free Snack

    Looking for a way to satisfy those mid-afternoon chocolate cravings without reaching for the processed stuff? You are not alone. Many of us want a sweet treat that feels indulgent but keeps our health goals on track.

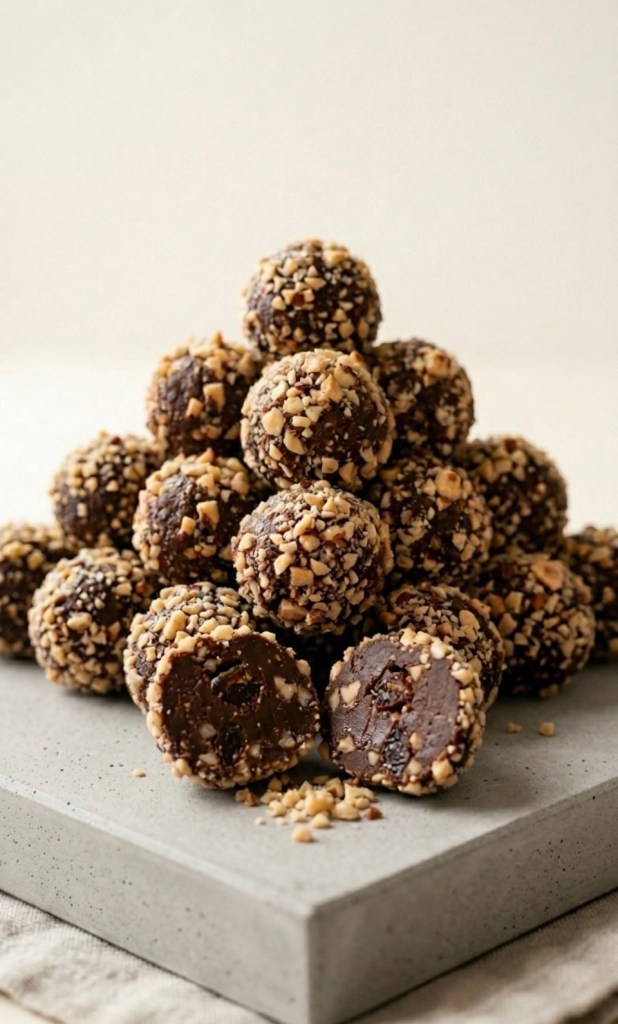
    These homemade, date-based hazelnut bites are the answer. They pack all the rich, nutty flavour of a classic luxury chocolate into a wholesome, plant-based package. Best of all? They are incredibly easy to make and require zero baking.

    Why You Will Love These Bites

     Wholesome Ingredients: They rely on natural sweetness from Medjool dates and heart-healthy fats from hazelnuts.

     Quick & Easy: No oven required—just a food processor and 30 minutes of chill time.

     Versatile: They are vegan, refined-sugar-free, and make the perfect meal-prep snack for a busy week.

    The Ingredients

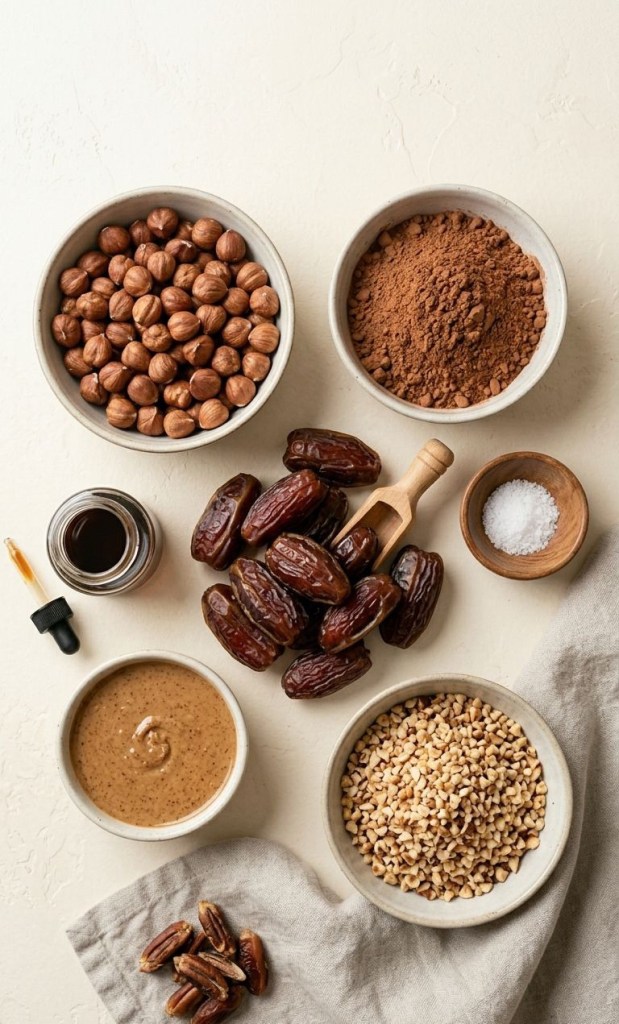
     1 cup whole hazelnuts (roasted, skins removed)

     1 ½ cups Medjool dates (pitted and packed)

     3 tbsp high-quality unsweetened cocoa powder (or raw cacao)

     1 tsp pure vanilla extract

     1 pinch sea salt

     Optional: 1 tbsp hazelnut butter for extra decadence

     For the coating: ½ cup finely chopped roasted hazelnuts

    Simple Method

    1. Prep the Nuts: Place your roasted hazelnuts into a food processor and pulse until they are coarsely chopped. Scoop out about 2–3 tablespoons and set them aside; you will use these for the final coating.

    2. Combine: Add the pitted dates, cocoa powder, vanilla extract, sea salt, and optional hazelnut butter to the processor with the remaining nuts.

    3. Blend: Blitz on high until the mixture forms a thick, sticky dough. If your dates are on the firmer side and it isn’t sticking, add a teaspoon of hot water or melted coconut oil to get it moving.

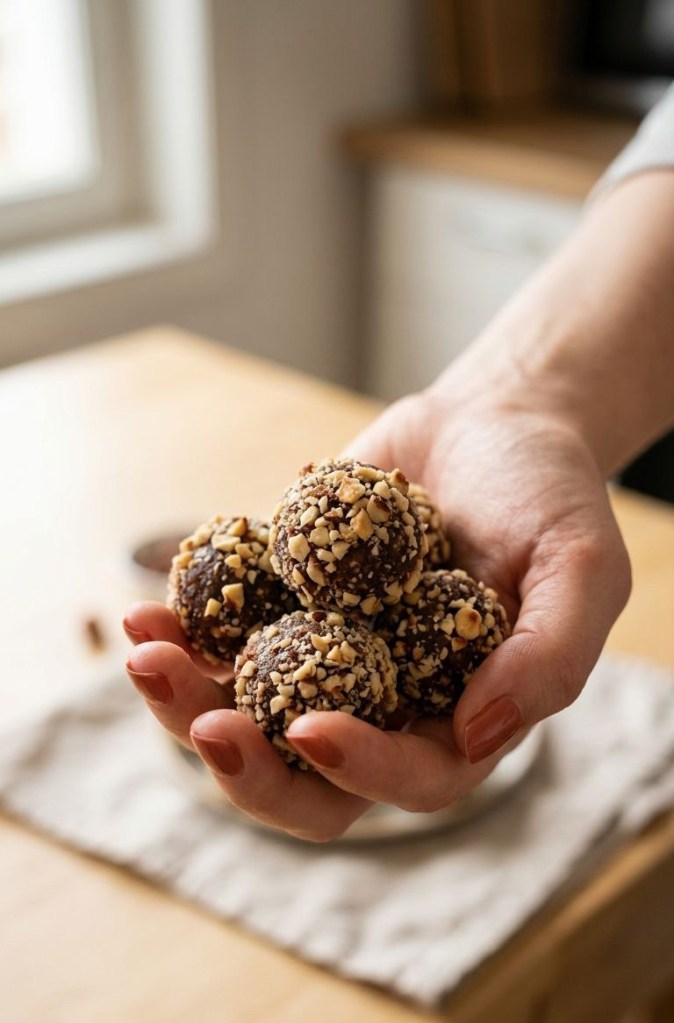
    4. Shape: Take about a tablespoon of the mixture and roll it firmly between your palms to create a ball.

    5. Coat: Roll each ball into the reserved chopped hazelnuts, pressing gently so the nut pieces stick to the outside.

    6. Chill: Place them on a tray lined with parchment paper and pop them in the fridge for at least 30 minutes to firm up.

    Storage Tips

    Keep these bites in an airtight container in your fridge for up to two weeks, or stash them in the freezer for up to two months when you need a quick energy boost.

    Who says you can’t have your chocolate and eat it too? These are made with simple, wholesome ingredients—no refined sugars, just pure hazelnut and cocoa goodness! Perfect for that 3pm slump.

  • Carrot cake smoothie .. yes you read that right !

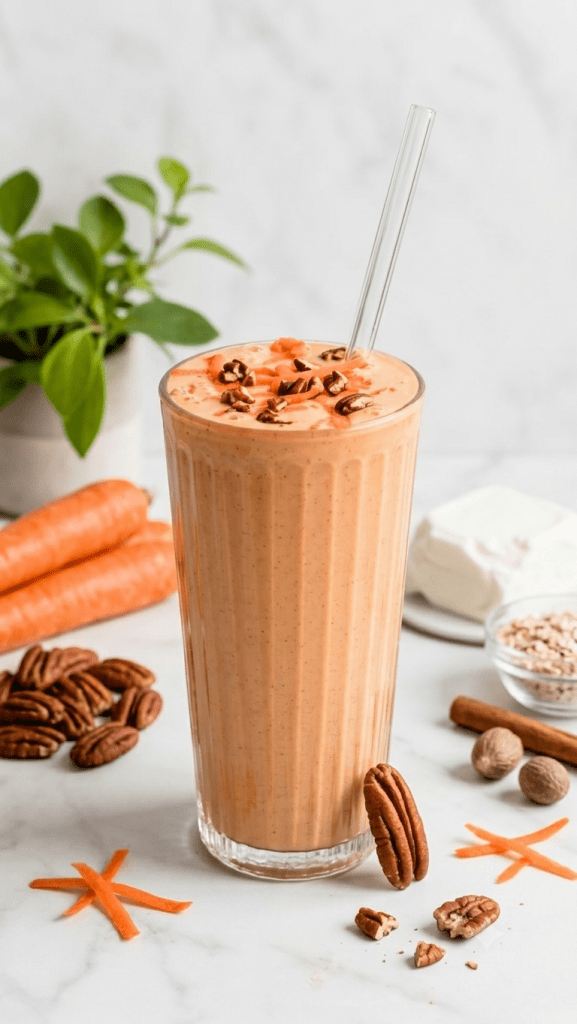
    Carrot cake smoothie .. yes you read that right !

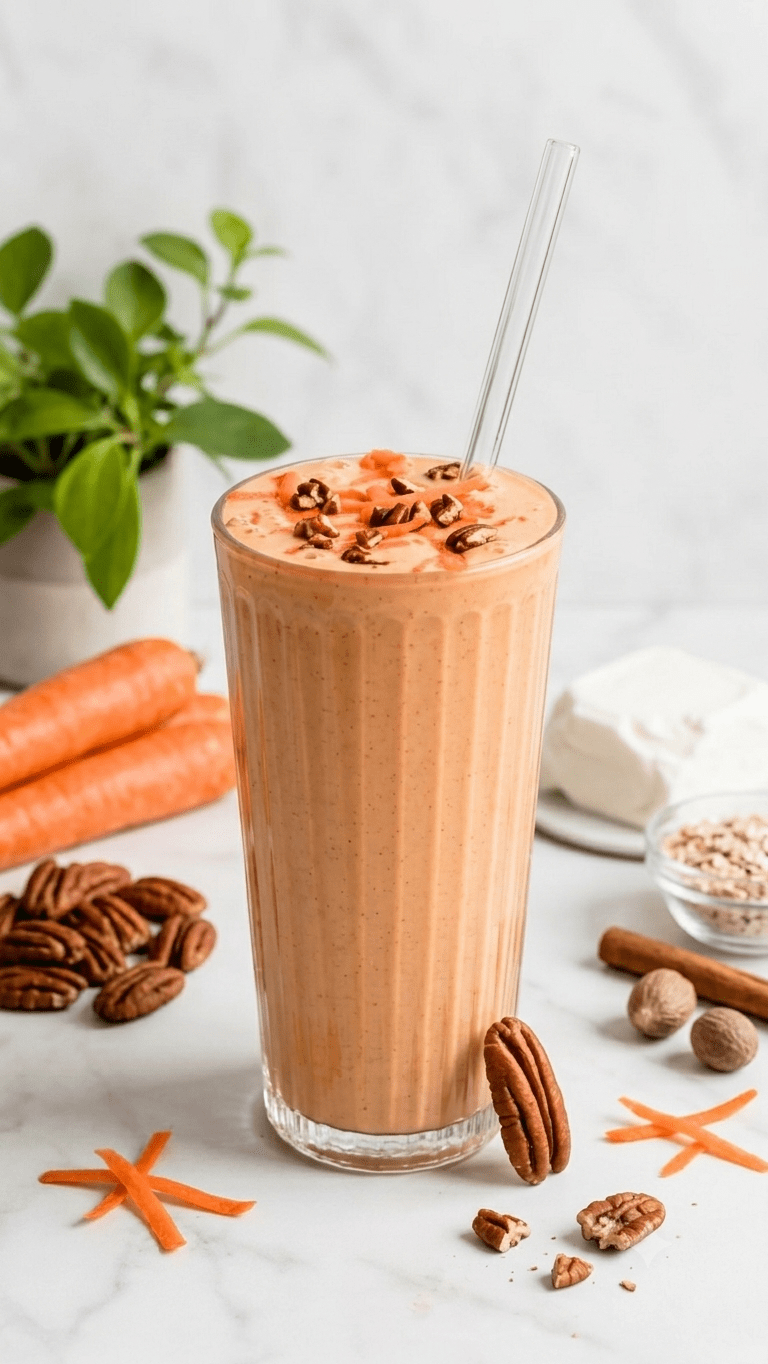
    Stop scrolling—your morning routine just got a major upgrade. This smoothie tastes exactly like a decadent slice of carrot cake, but it’s packed with wholesome ingredients to fuel your day!

    The Recipe (UK Edition)

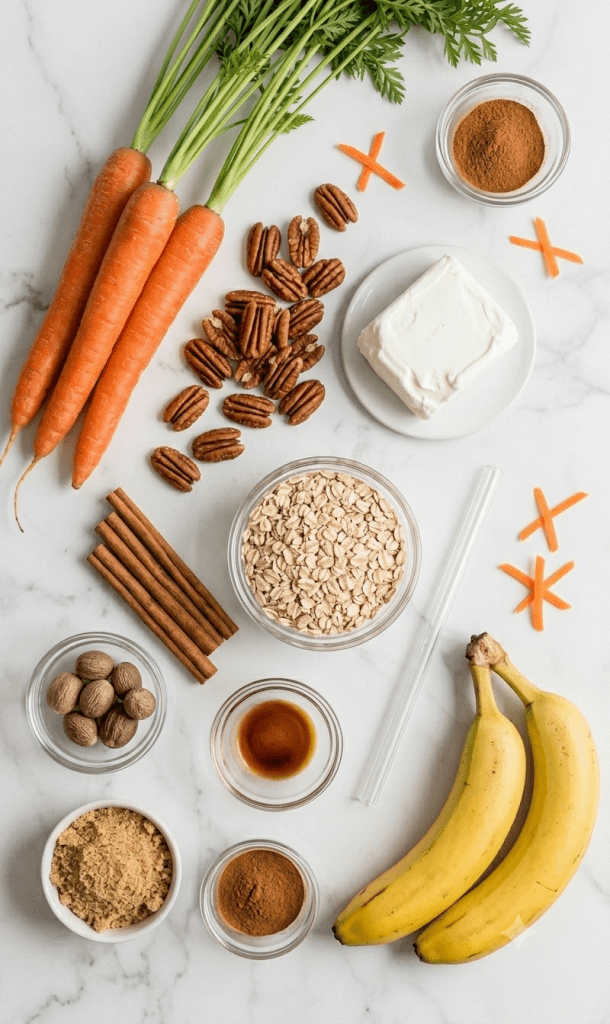
     1 medium carrot, peeled and roughly chopped

     1 frozen medium ripe banana

     75g (approx. ½ cup) frozen pineapple chunks

     180ml (¾ cup) light coconut milk (or any milk of your choice)

     60g (¼ cup) plain Greek yogurt

     20g (¼ cup) gluten-free oats

     1 tbsp pecan or almond butter

     1 tsp vanilla extract

     ½ tsp ground cinnamon

     Pinch of ground nutmeg

    Method

    1. Add the chopped carrot, frozen banana, pineapple, milk, yogurt, oats, nut butter, vanilla, cinnamon, and nutmeg into a high-speed blender.

    2. Blend on high until completely smooth and creamy. If it’s too thick, add a splash more milk.

    3. Pour into your favourite glass.

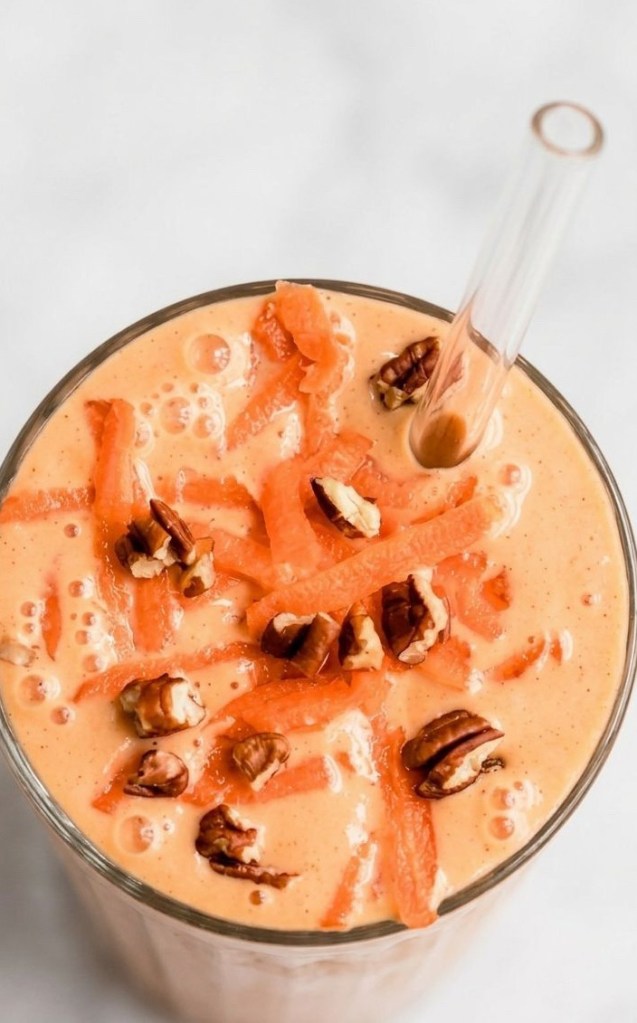
    4. Top with a little extra grated carrot and crushed pecans for that signature carrot cake crunch!

    5. Enjoy with a glass straw.

    Protein Boost: Make It Your Own

    This base recipe provides roughly 10g of protein. If you need an extra energy kick for a post-workout breakfast or a busy morning, try these easy additions:

     Protein Powder: Add one scoop of your favourite vanilla or unflavoured protein powder for an instant +20–25g protein boost.

     Seed Power: Add 1 tablespoon of hemp seeds or chia seeds for an extra 3–5g of plant-based protein and healthy fats.

     Yogurt Upgrade: Increase your Greek yogurt to 125g (½ cup) to add another 5g of protein.

     High-Protein Milk: Swap the coconut milk for a pea-protein or soy-based milk.

    CTA: Did you try this recipe? Let me know in the comments—are you a team “smoothie bowl” or “smoothie in a glass” person? Don’t forget to save this post for your next breakfast meal prep!

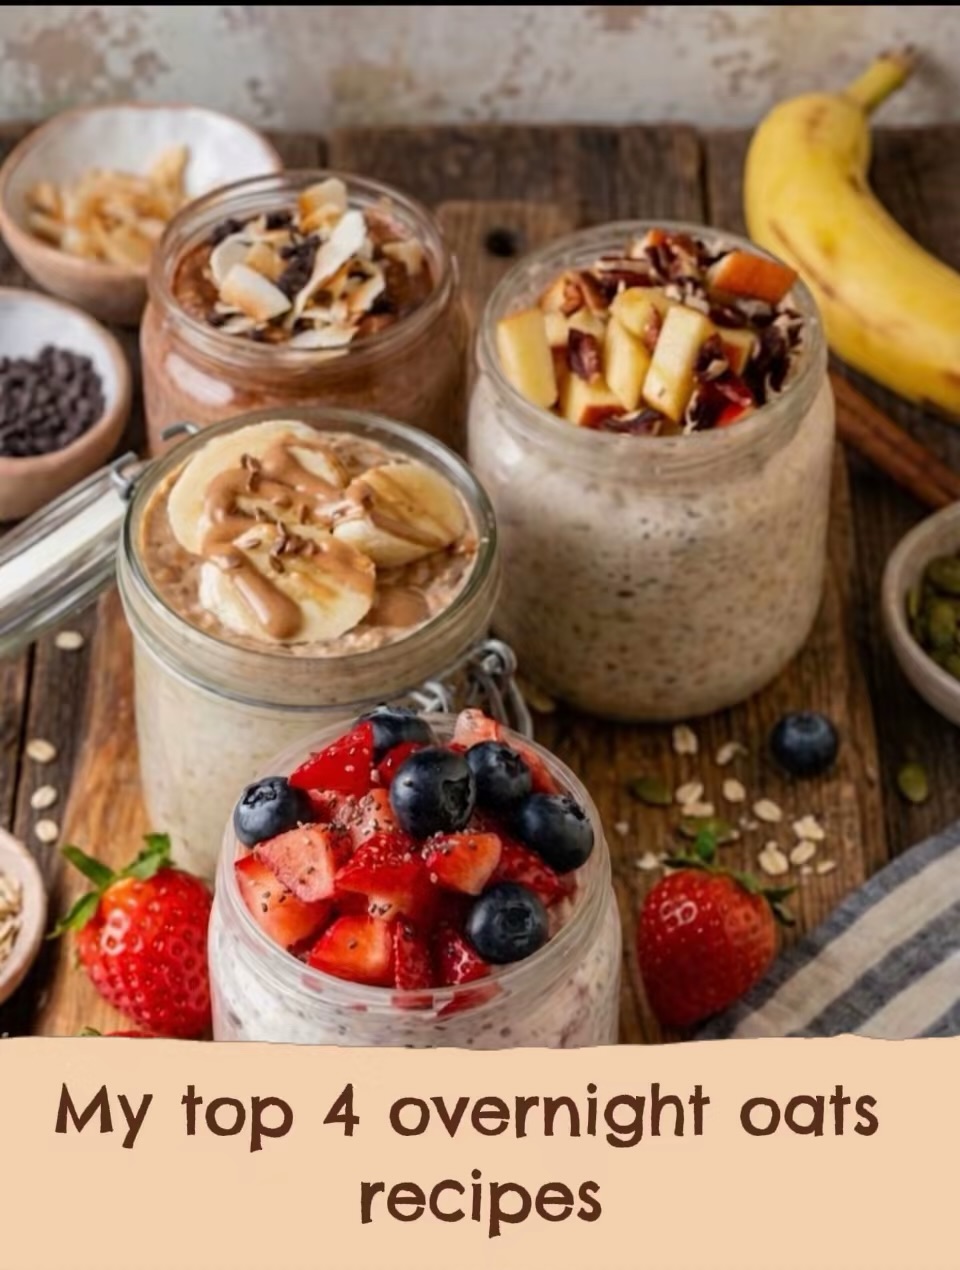
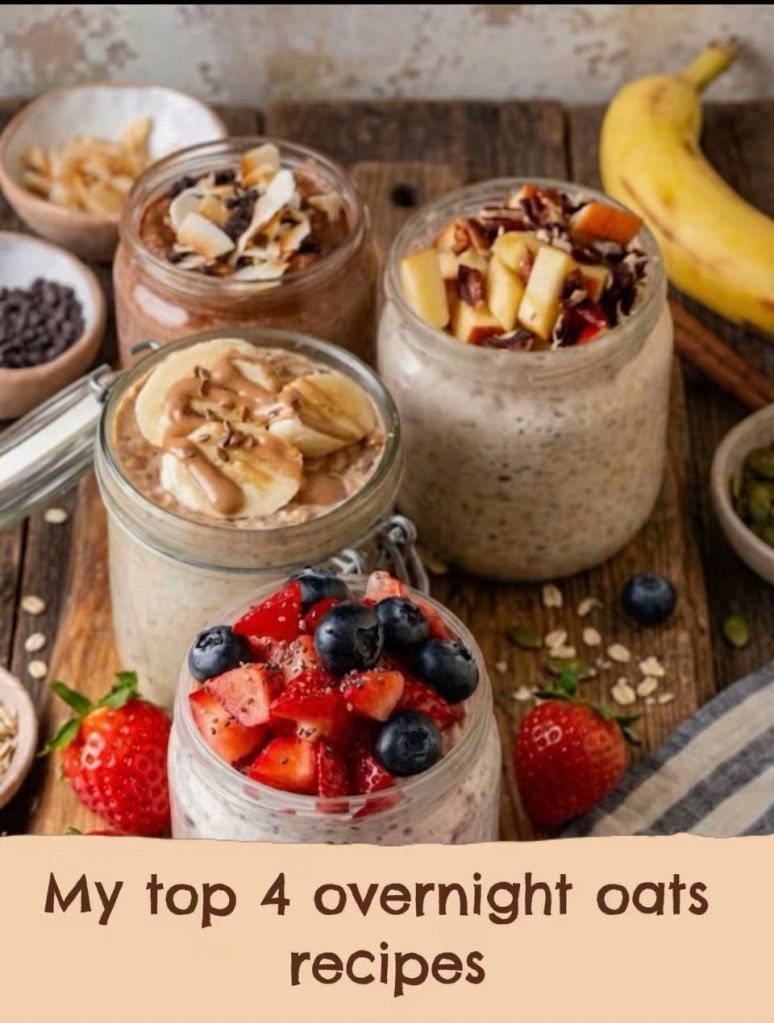
  • Fuel Your Day: My Top 4 Nutrient-Dense Overnight Oats

    Fuel Your Day: My Top 4 Nutrient-Dense Overnight Oats

    We all know the morning struggle: you’re running late, the kitchen is chaotic, and you end up skipping breakfast or grabbing something processed.

    But here is the secret to a high-energy morning: prep your fuel the night before. Overnight oats are more than just a convenient breakfast; they are a nutritional powerhouse. By soaking your oats, you make them easier to digest, and when you combine them with whole-food ingredients, you get a balanced macro-nutrient profile to sustain your energy levels throughout the morning.

    Here are my four go-to recipes, each designed with health and satiety in mind.

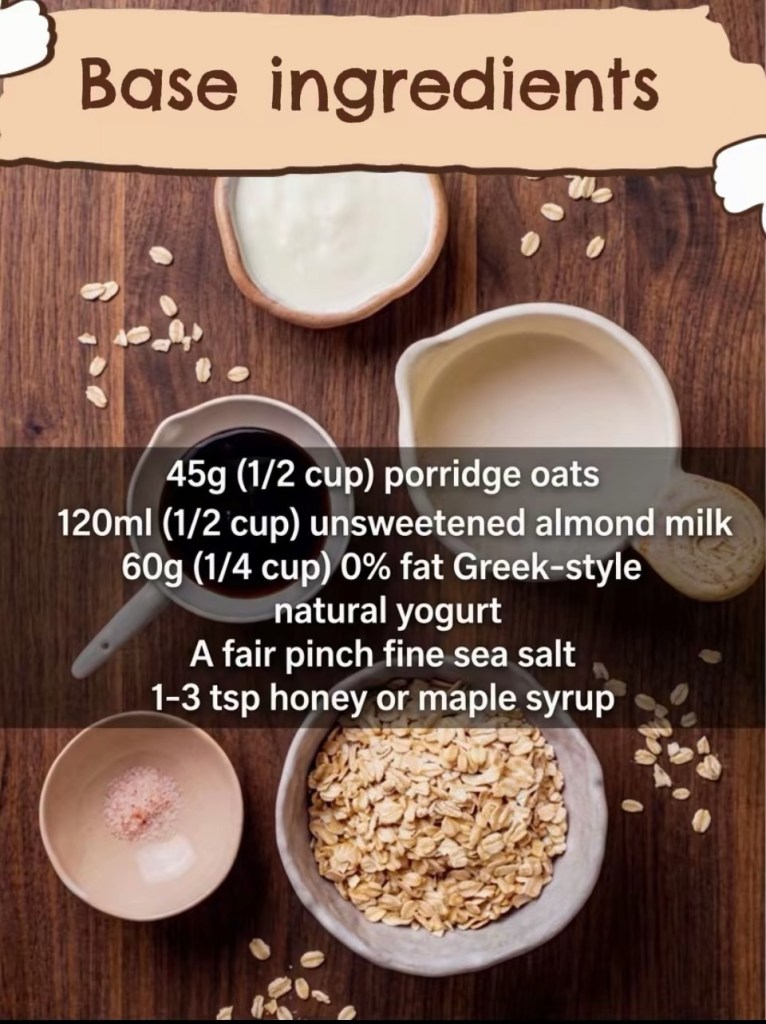
    The Nutrient-Dense Base

    To ensure you are getting a complete breakfast, I use this base ratio for every jar:

     1/2 cup (45g) Rolled Oats: A fantastic source of complex carbohydrates and beta-glucan fiber, which helps support heart health.

     1/2 cup (120ml) Unsweetened Plant-Based Milk: I prefer almond or soy for a lighter profile.

    60g Greek yoghurt

     A pinch of Sea Salt: Essential for electrolyte balance.

    Instructions: Simply combine these in a glass jar, add your specific “flavour add-ins” below, stir, seal, and refrigerate for at least 4 hours.

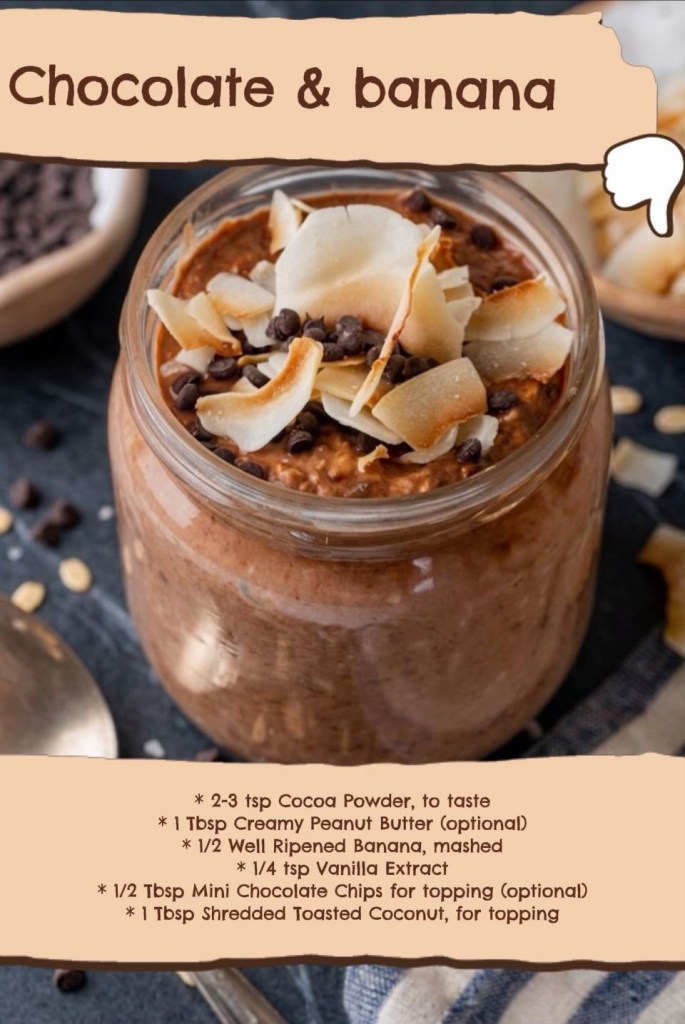
    1. Chocolate Coconut Bliss (Antioxidant-Rich)

    Satisfy your sweet tooth with ingredients that actually support your well-being.

     2-3 tsp Raw Cacao Powder: High in flavonoids, which are excellent for cardiovascular health.

     1 tbsp Natural Peanut Butter: Provides healthy monounsaturated fats to keep you satiated.

     1/2 Well-Ripened Banana: Provides a natural source of potassium and energy.

     Topping: 1 tbsp shredded unsweetened coconut (for healthy MCT fats) and a sprinkle of 70% dark chocolate chips.

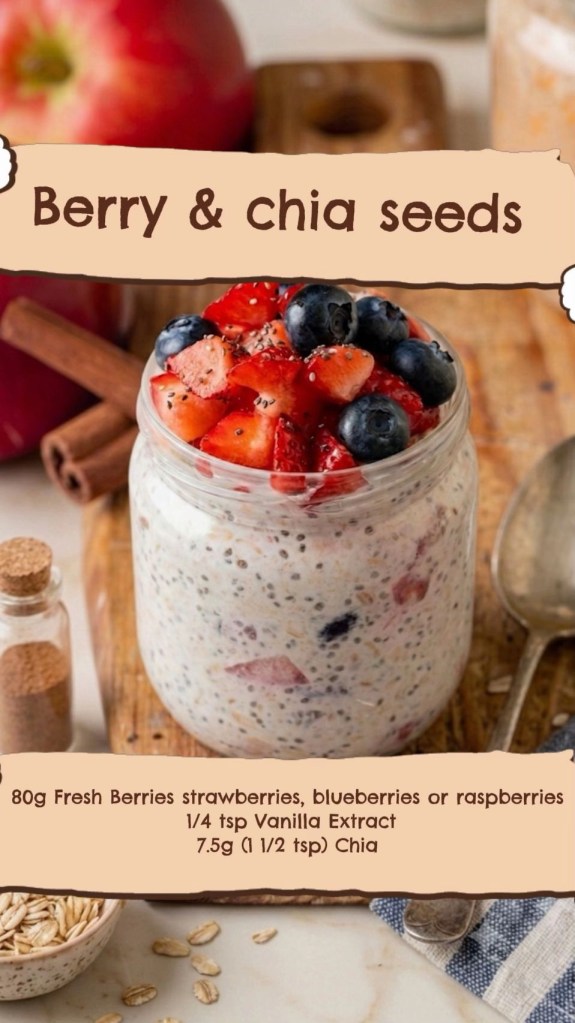
    2. Berry Chia Power (Omega-3 & Fiber Boost)

    The perfect way to start your day with anti-inflammatory nutrients.

     1/2 cup Fresh Berries: Blueberries and strawberries are packed with vitamin C and antioxidants.

     1 1/2 tsp (7.5g) Chia Seeds: A goldmine of Omega-3 fatty acids and soluble fiber to support gut health.

     Preparation: Shake well to ensure the chia seeds are evenly distributed, allowing them to create a hydrating, gel-like texture.

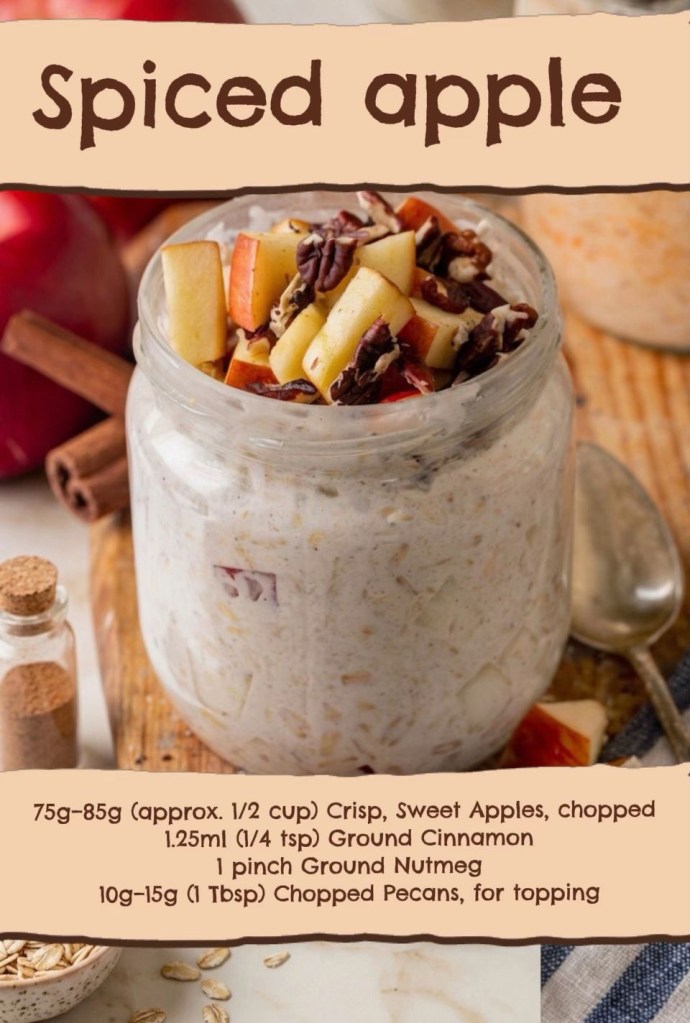
    3. Apple Autumn Spice (Blood Sugar Friendly)

    A comforting bowl that focuses on digestion and stable energy.

     1/2 cup Finely Chopped Apple: Provides natural fiber and pectin.

     1/4 tsp Ground Cinnamon: Studies suggest cinnamon may help support healthy blood sugar levels.

     1 Pinch Nutmeg: Added for its digestive benefits.

     Topping: 1 tbsp (10g) raw pecans. Pecans offer a great hit of plant-based protein and magnesium.

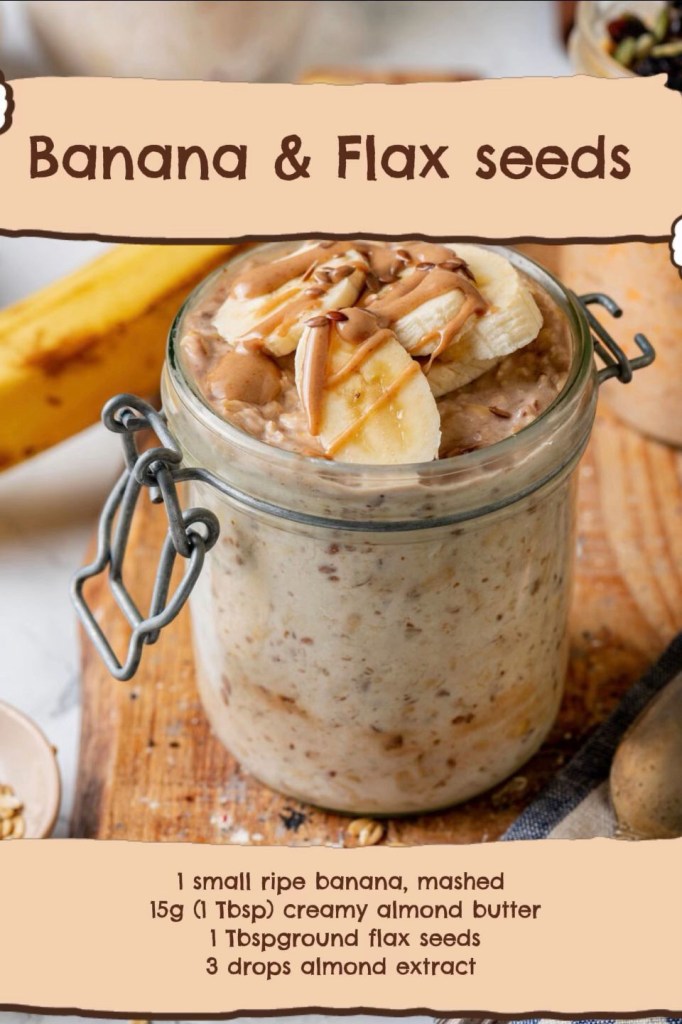
    4. Banana Almond Flax (The “Energy Sustainer”)

    My favorite “power” bowl for long mornings where I need sustained focus.

     1 Small Ripe Banana: Mashed for natural sweetness and quick-release energy.

     1 tbsp (15g) Natural Almond Butter: Rich in vitamin E and healthy fats.

     1 tbsp (7g) Ground Flax Seeds: A stellar source of plant-based Omega-3s and lignans.

     3 Drops Almond Extract: Provides all the flavor without any added sugars or syrups.

    Why These Are Better for You:

     Sustained Energy: Unlike high-sugar breakfast cereals, the fiber in oats and flax/chia keeps your blood sugar levels stable, preventing that mid-morning “crash.”

     Gut Health: The soluble fiber in these ingredients acts as a prebiotic, nourishing your gut microbiome.

     Whole-Food Focused: Every ingredient serves a purpose, providing vitamins, minerals, and healthy fats rather than empty calories.

    Pro-Tip: If you need a protein boost, stir in one tablespoon of your favorite unflavored or vanilla plant-based protein powder to any of these bases!

    Which one of these nutrient-dense jars are you going to prep first? Let me know in the comments below!

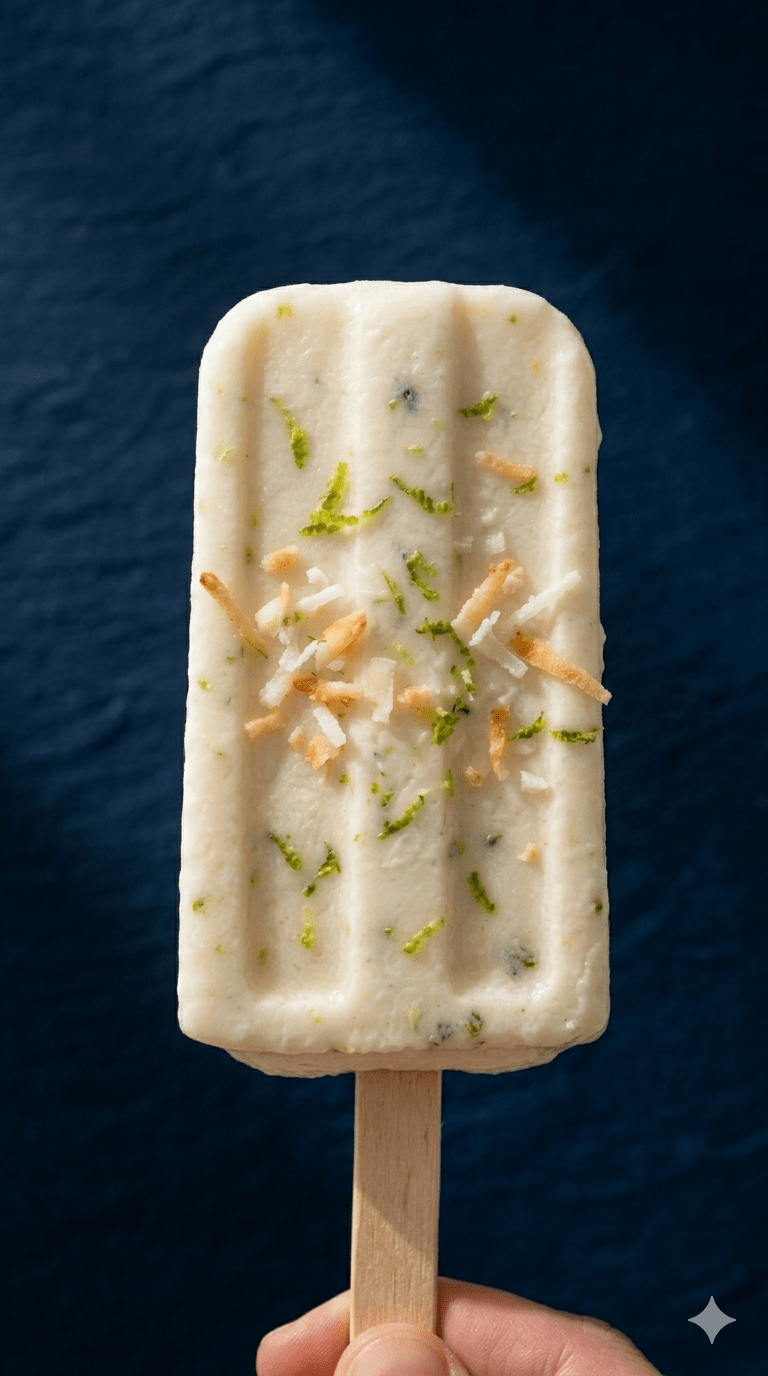
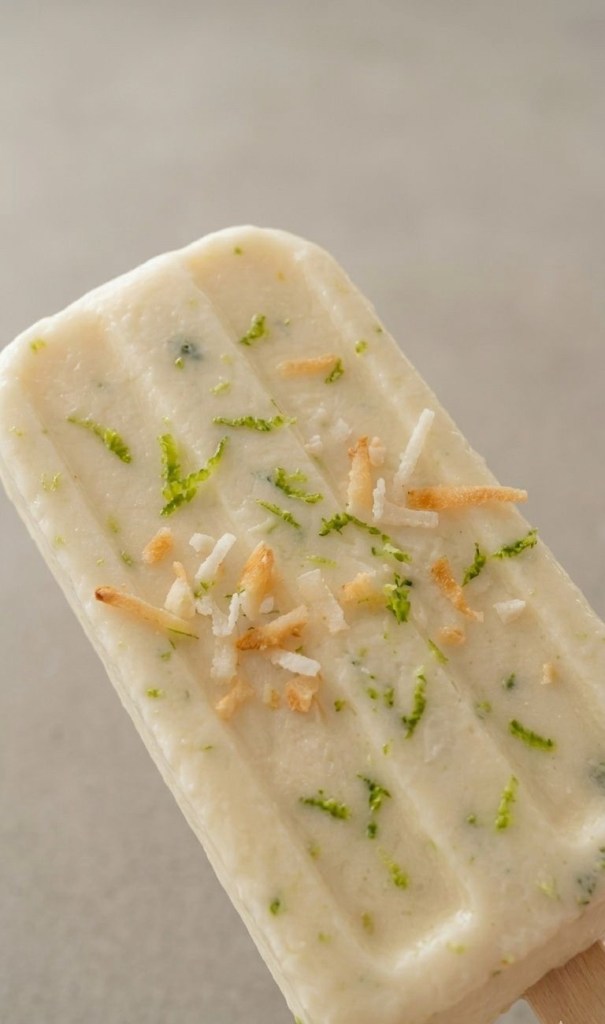
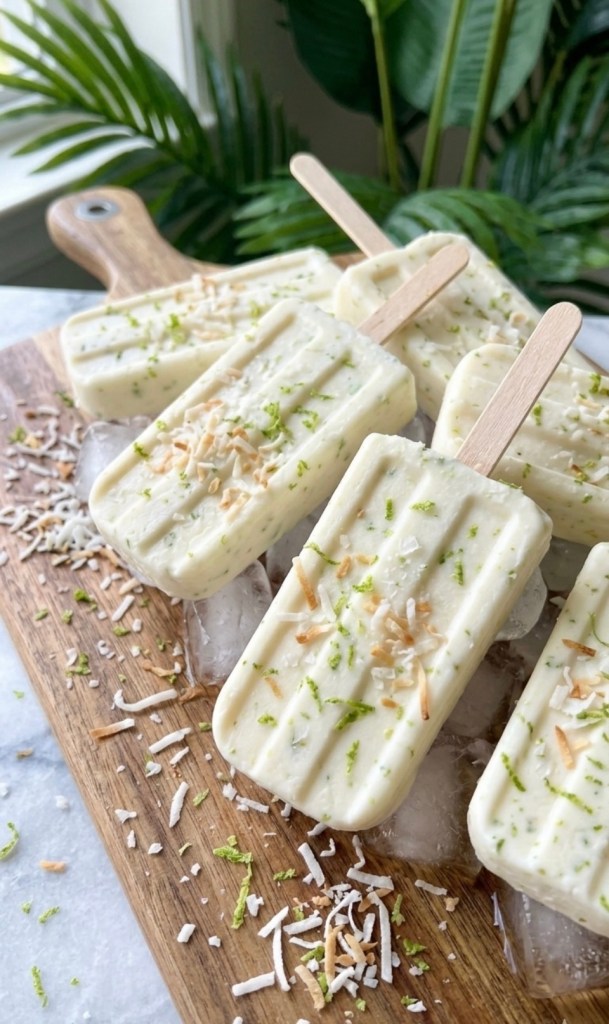
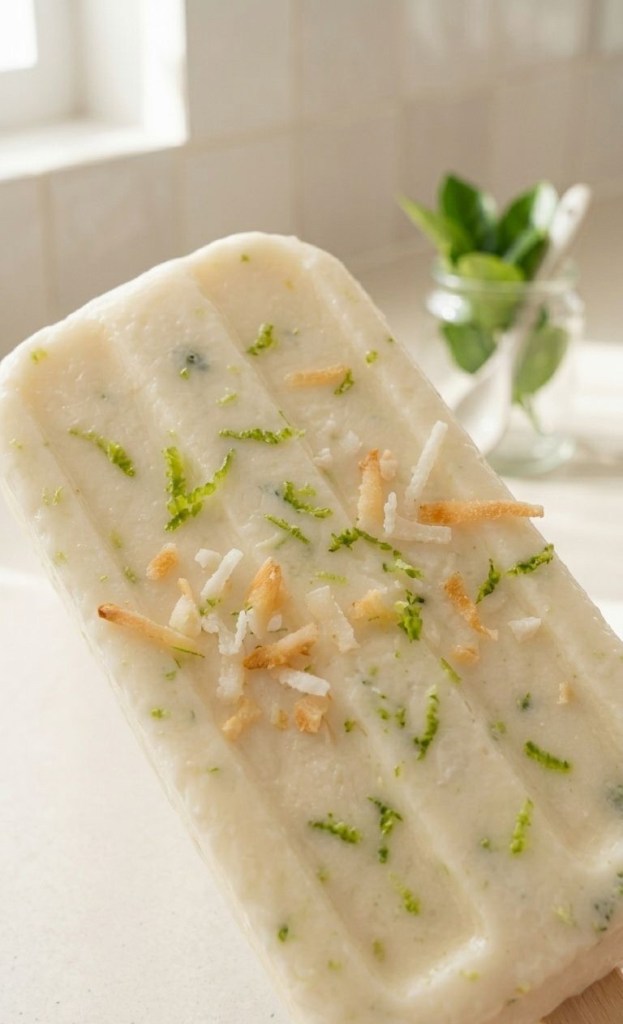
  • Healthy Treat: Zesty Lime & Coconut Superfood Lollies

    Healthy Treat: Zesty Lime & Coconut Superfood Lollies

    Summer is officially here, and when the temperature rises, there is nothing quite like a cooling treat to refresh your palate. If you are tired of store-bought ice lollies packed with refined sugar, I have the perfect solution for you

    These Lime & Coconut Superfood Lollies are not just delicious—they are designed to fuel your body with healthy fats, probiotics, and a nutrient-packed punch.

    Why You Will Love These

     No Refined Sugar: We use natural sweeteners for a guilt-free indulgence.

     Probiotic Boost: The Greek yogurt base is excellent for gut health.

     Superfood Additions: With chia seeds, lime zest, and goji berries, every bite is loaded with fiber and antioxidants.

    The Recipe

    Prep time: 10 mins | Freeze time: 4–6 hours | Yields: Approx. 6 lollies

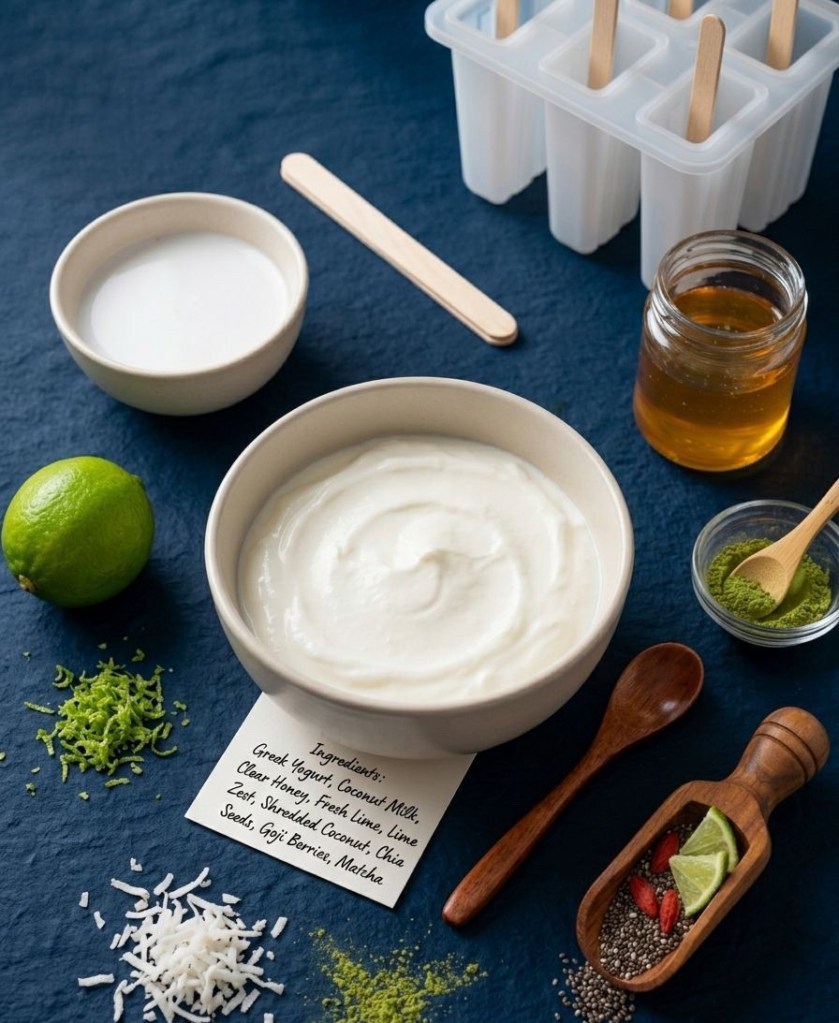
    Ingredients:

     500g plain Greek yogurt

     60ml coconut milk

     2 tbsp clear honey or maple syrup

     1 tbsp fresh lime juice

     1 tsp fresh lime zest

     2 tbsp shredded coconut

     1 tbsp chia seeds

     Toppings: Dried goji berries and a light dusting of matcha powder.

    Method:

    1 Whisk: In a large mixing bowl, combine the Greek yogurt, coconut milk, honey (or maple syrup), lime juice, and lime zest. Whisk until the mixture is perfectly smooth.

    2 Fold: Gently fold in the chia seeds and shredded coconut to ensure they are evenly distributed throughout the mixture.

    3 Fill: Pour the mixture carefully into your ice lolly moulds. Insert your wooden sticks.

    4 Freeze: Place the moulds in the freezer for at least 4–6 hours, or until completely set.

    5 Serve: Run the moulds under warm water for a few seconds to release the lollies. Before serving, top with a sprinkle of goji berries and a dusting of matcha for that extra antioxidant boost.

    Pro-Tip for the Perfect Lolly

    If you want to keep these strictly vegan, simply swap the Greek yogurt for a thick, high-quality coconut or soy yogurt.

    What is your favourite healthy flavour combination? Let me know in the comments below!