Tag: comfort food

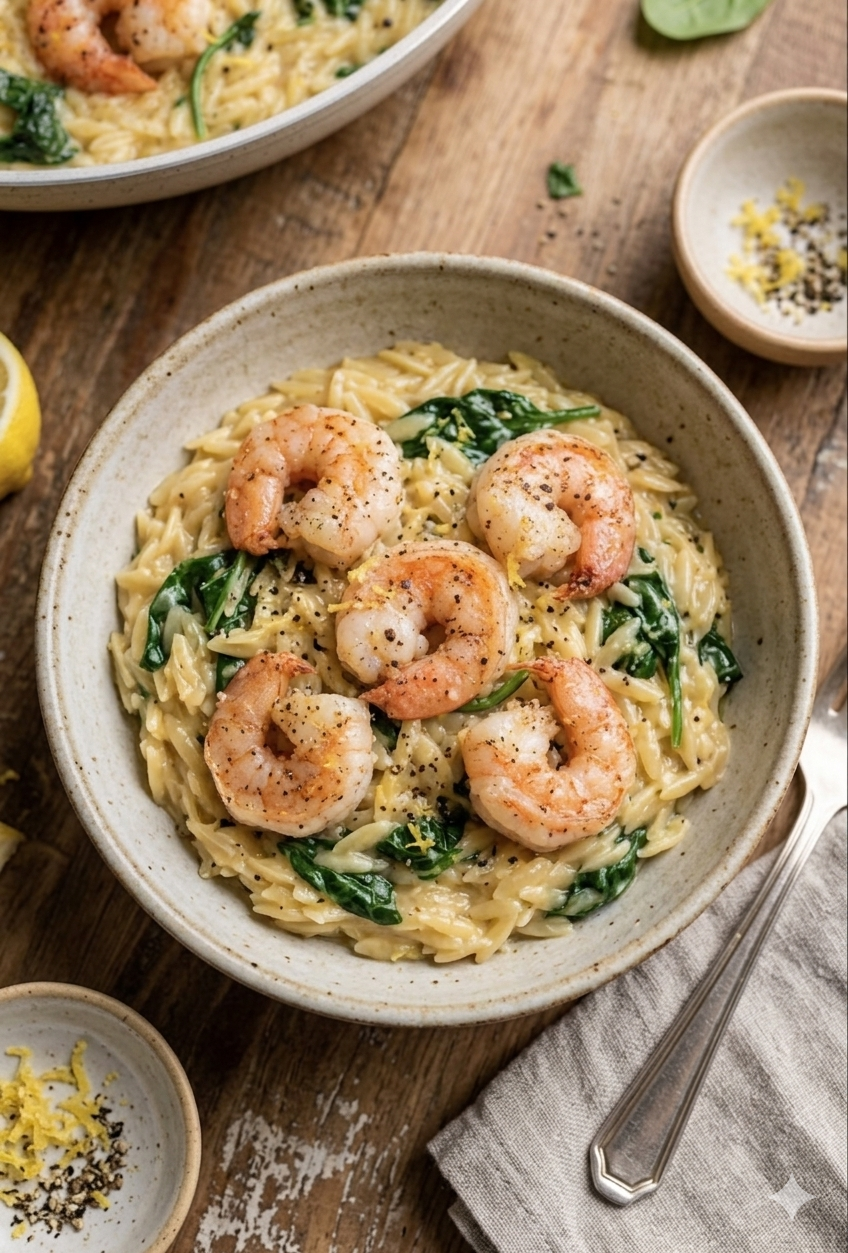
  • One-Pan Lemon Pepper Prawns, Orzo and Spinach (Easy High-Protein Dinner)

    One-Pan Lemon Pepper Prawns, Orzo and Spinach (Easy High-Protein Dinner)


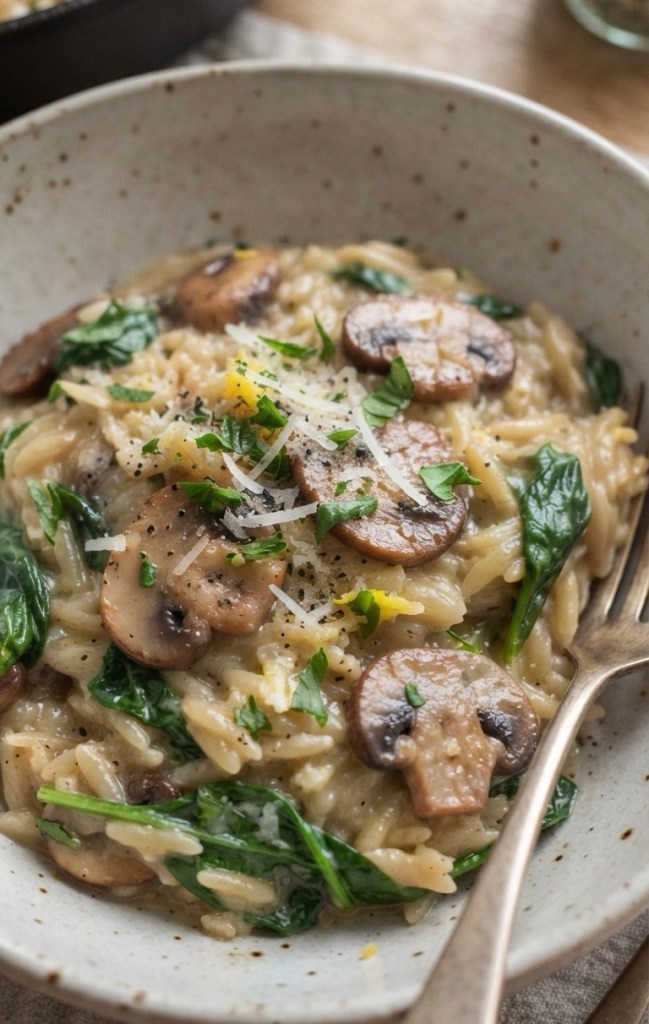
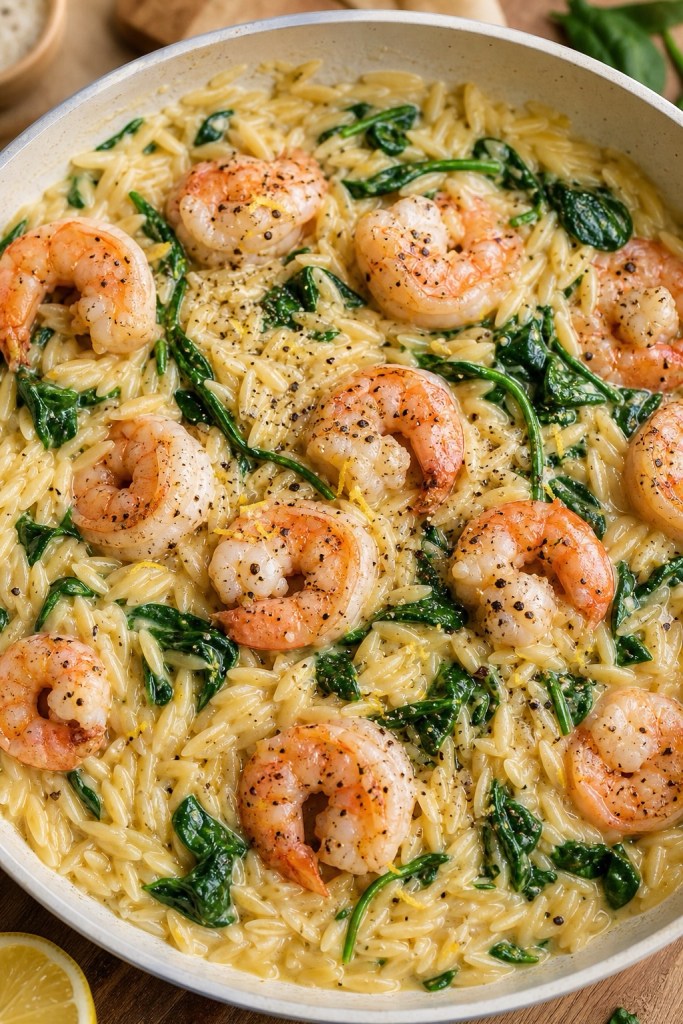
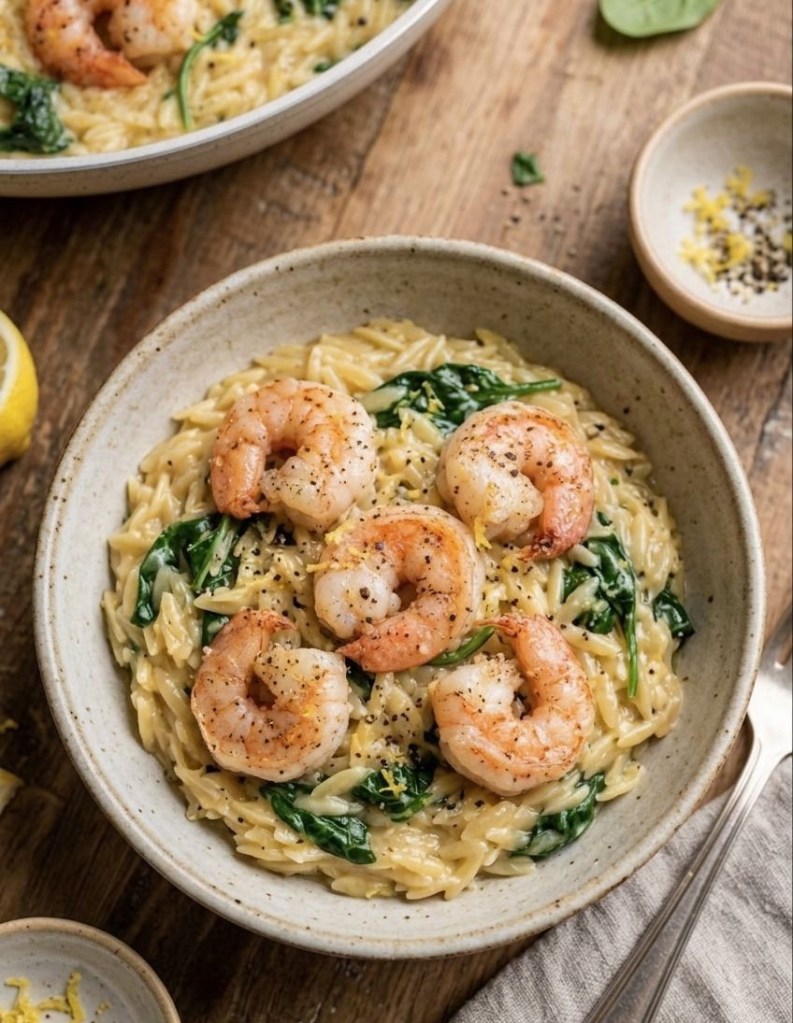
    If you love a cosy, creamy bowl of pasta but hate a mountain of washing up, this one-pan lemon pepper prawns, orzo and spinach is about to become your new weeknight staple. It’s high in protein, full of fresh flavour, and cooks in around 25 minutes – all in a single frying pan or skillet.


    What Makes This Recipe Different

    Most creamy pasta dishes rely on loads of cream or cheese, but this version gets its silkiness from starchy orzo and a little butter, brightened with lemon and packed with spinach for extra greens. You get that “comfort food” feeling without a heavy, bloated aftermath, and it’s easy to scale up or down depending on how many you’re feeding.

    Ingredients


    Serves 4
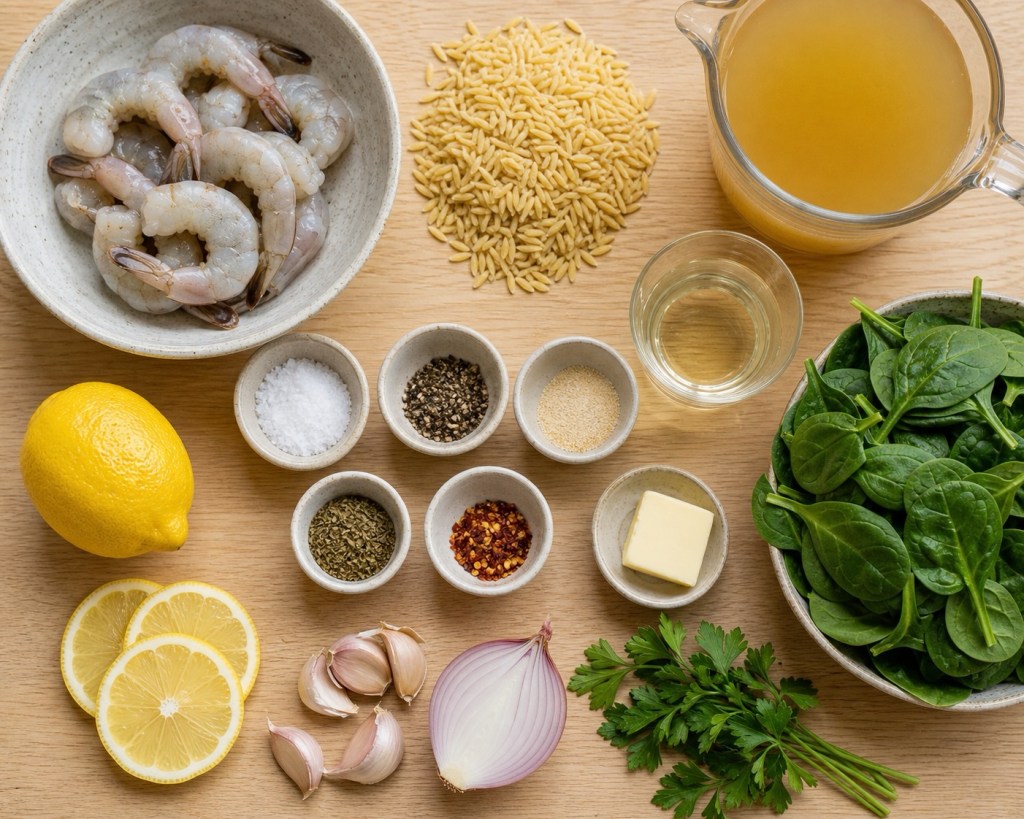
    • 1 lb / 450 g raw prawns (shrimp), peeled and deveined
    • ½ teaspoon kosher salt, plus extra to taste
    • ½ teaspoon black pepper
    • ½ teaspoon garlic powder
    • 1 tablespoon neutral oil (olive or rapeseed)
    • 1 lemon, thinly sliced
    • ½ small onion or 1 small shallot, finely diced
    • 3–4 garlic cloves, minced
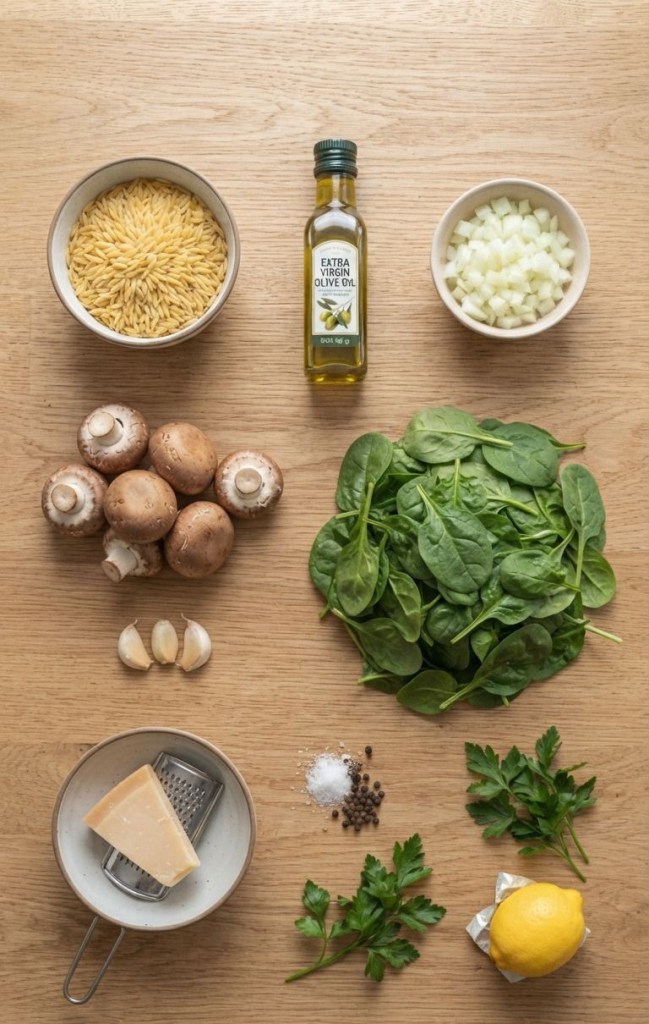
    • 1½ cups / about 280 g dry orzo pasta
    • ½ cup dry white wine (optional but adds great flavour)
    • 2 cups / 480 ml chicken or vegetable stock
    • Zest and juice of 1 lemon
    • ½ teaspoon dried oregano or Italian herb mix
    • Pinch chilli flakes / red pepper flakes (optional)
    • 1–2 tablespoons butter (optional, for richness)
    • 2–3 cups fresh spinach, roughly chopped or whole baby leaves
    • Small handful fresh parsley, dill or basil, chopped

    Optional: add ½ teaspoon lemon pepper seasoning or extra cracked black pepper for a stronger lemon pepper kick.

    Step-by-Step Method

    1. Season the Prawns
      Pat the prawns dry with kitchen paper, then toss them in a bowl with the salt, pepper, garlic powder, a drizzle of oil and a little lemon zest. This quick seasoning step helps the prawns sear nicely and means every bite is flavourful.
    2. Sear the Prawns and Lemon Slices
      Heat the oil (and 1 tablespoon butter if using) in a large frying pan or skillet over medium–high heat. Add the prawns in a single layer and sear for 30–60 seconds per side, just until they turn pink around the edges, then transfer them to a plate. Quickly add the lemon slices to the hot pan, sear both sides for about 30 seconds, and set them aside with the prawns.
    3. Build the Flavour Base
      Turn the heat down to medium. Add the diced onion or shallot to the same pan and cook for 2–3 minutes until softened and translucent. Stir in the minced garlic and chilli flakes, cooking for 30–60 seconds until fragrant – this forms the aromatic base for the whole dish.
    4. Toast the Orzo
      Tip the dry orzo into the pan and stir so it’s coated in the onion, garlic and oil. Toast it for 2–3 minutes, stirring frequently, until some of the grains look lightly golden. This step deepens the flavour and helps the orzo hold its texture as it cooks.
    5. Deglaze and Simmer
      Pour in the white wine, if you’re using it, and scrape up any browned bits from the bottom of the pan with a wooden spoon. Let the wine bubble away until it’s mostly absorbed, then add the stock, remaining lemon zest, dried oregano or Italian herbs, and a pinch of salt and pepper. Bring everything up to a gentle boil, then reduce the heat and simmer for 8–10 minutes, stirring occasionally, until the orzo is just tender and most of the liquid has been absorbed.
    6. Add Spinach and Prawns
      Stir the spinach through the hot orzo and let it wilt for 1–3 minutes. Once the greens have softened, return the prawns and seared lemon slices to the pan, nestling them into the orzo. Cook for another 2–3 minutes until the prawns are fully pink and opaque and the orzo is creamy but not dry.
    7. Finish with Lemon and Herbs

    Take the pan off the heat and stir in the lemon juice and another small knob of butter if you like a glossy finish. Taste and adjust the seasoning with extra salt, pepper or lemon juice, then scatter over your chopped fresh herbs. Serve straight from the pan at the table for that relaxed, rustic feel.

    How to Make It Lighter or Heavier

    For a lighter version, skip the butter and use extra stock instead of wine, then load up the spinach or add extra vegetables like courgette or peas. For something more indulgent, stir in a little grated Parmesan or pecorino at the end to create a richer, risotto-like texture without needing loads of cream.

    Serving Suggestions and Leftovers

    This dish is pretty much a complete meal in one pan, but you can add a simple side salad or some crusty bread if you want to stretch it for more people. Leftovers reheat well with a splash of stock or water; the orzo will thicken as it sits, so loosening it gently on the hob brings it back to life without drying out the prawns.

    From TikTok to Table
    If you found this recipe via my TikTok, you’ve already seen how quick and simple it is to throw together. Over there I share the step-by-step video, plus real-time cooking tips and flavour swaps. If you cook this one-pan lemon pepper prawns and orzo, tag me in your video or photo so I can see your creation

  • Comfort Food Hack: Loaded Chicken, Bacon & Mushroom Garlic Bread

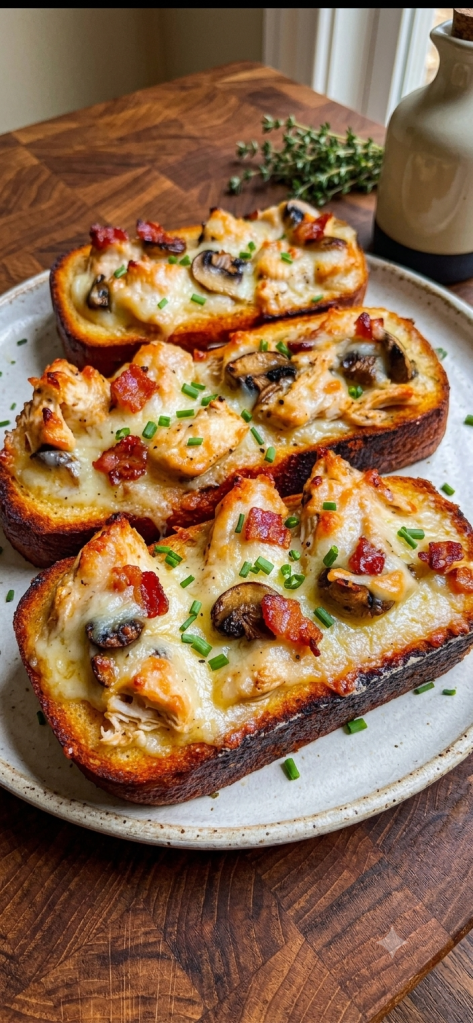
    Comfort Food Hack: Loaded Chicken, Bacon & Mushroom Garlic Bread

    Let’s be honest: sometimes, you just need dinner to be a hug in edible form. You’ve had a long week, you’re craving something indulgent, and the idea of a complicated multi-step recipe is just not happening.

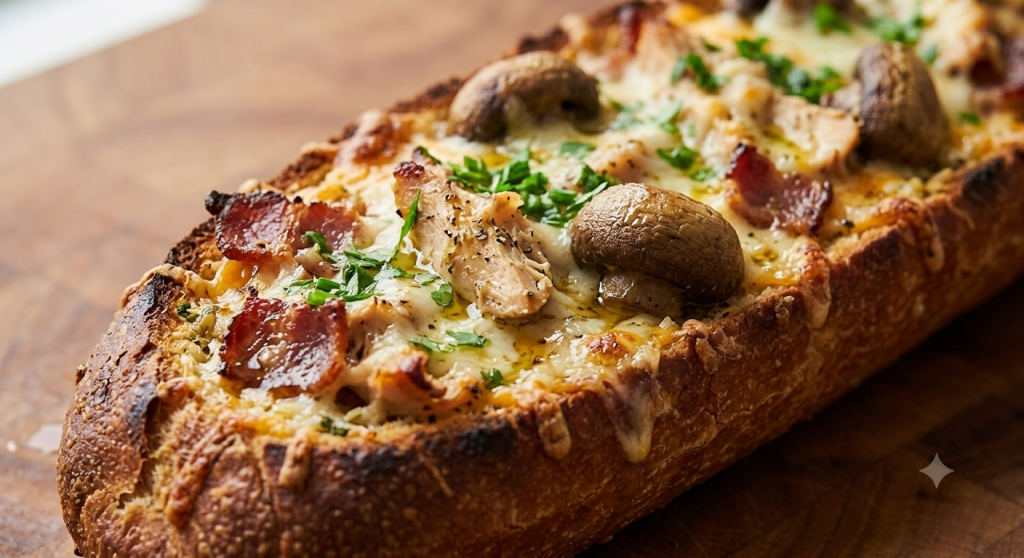
    Enter the Loaded Chicken, Bacon & Mushroom Garlic Bread.

    This isn’t just a side dish; it’s a full-blown “fakeaway” masterpiece. It’s creamy, it’s crispy, it’s ridiculously cheesy, and—best of all—it takes just 30 minutes from start to finish. Whether you’re feeding a hungry family or just want a lazy Friday night treat, this recipe is about to become your new kitchen staple.

    Why You’ll Love It

     Minimal Effort: It uses a store-bought French loaf, so you don’t have to worry about dough rising times.

     The Texture: You get the crunch of the toasted bread, the creaminess of the chicken mixture, and the salty bite of crispy bacon.

     Customizable: Want it spicier? Add some chilli flakes. Want more greens? Throw in some spinach.

    The Recipe: Loaded Garlic Bread Supreme

    Prep time: 15 mins | Cook time: 15 mins | Total time: 30 mins

    Oven: 200°C (Fan) / Gas Mark 6

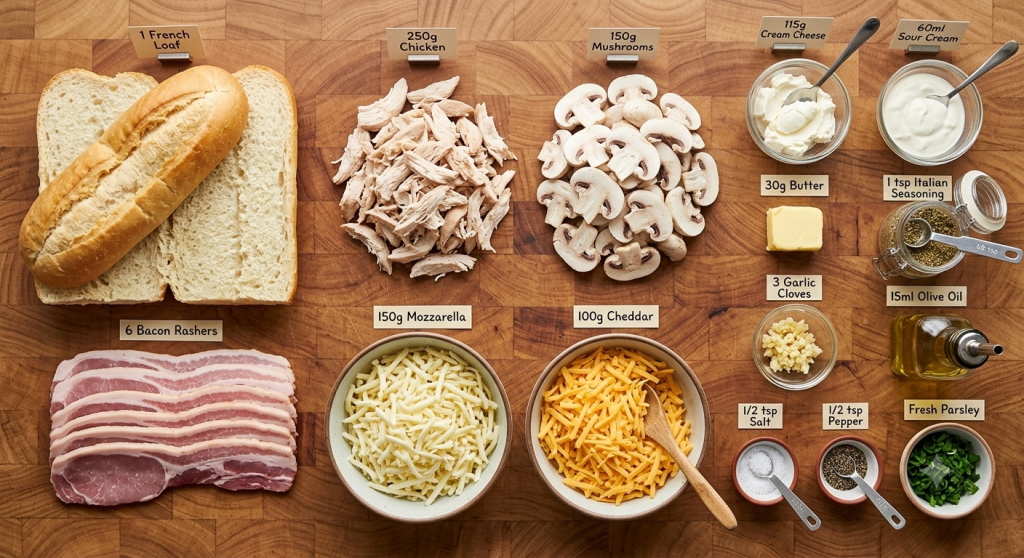
    What You’ll Need

     1 large French bread loaf (halved lengthwise)

     250g cooked chicken breast, shredded

     6 slices bacon, cooked and crumbled

     150g mushrooms, sliced

     30g butter

     3 cloves garlic, minced

     115g cream cheese, softened

     60ml sour cream

     1 tsp Italian seasoning

     1/2 tsp salt

     1/2 tsp black pepper

     150g mozzarella cheese, shredded

     100g cheddar cheese, shredded

     15g fresh parsley, chopped

     15ml olive oil

    Step-by-Step Method

    1. Sauté the Magic:

    Start by heating your olive oil and butter in a skillet over medium heat. Toss in those sliced mushrooms and cook them until they’re golden brown—about 5-6 minutes. Stir in your minced garlic for the last 30 seconds until it smells incredible, then take it off the heat.

    2. Mix the Goodness:

    In a large mixing bowl, combine your softened cream cheese, sour cream, Italian seasoning, salt, and black pepper. Give it a good whisk until it’s smooth. Now, fold in your shredded chicken, crumbled bacon, the sautéed mushrooms, and exactly half of your mozzarella and cheddar.

    3. Assemble & Bake:

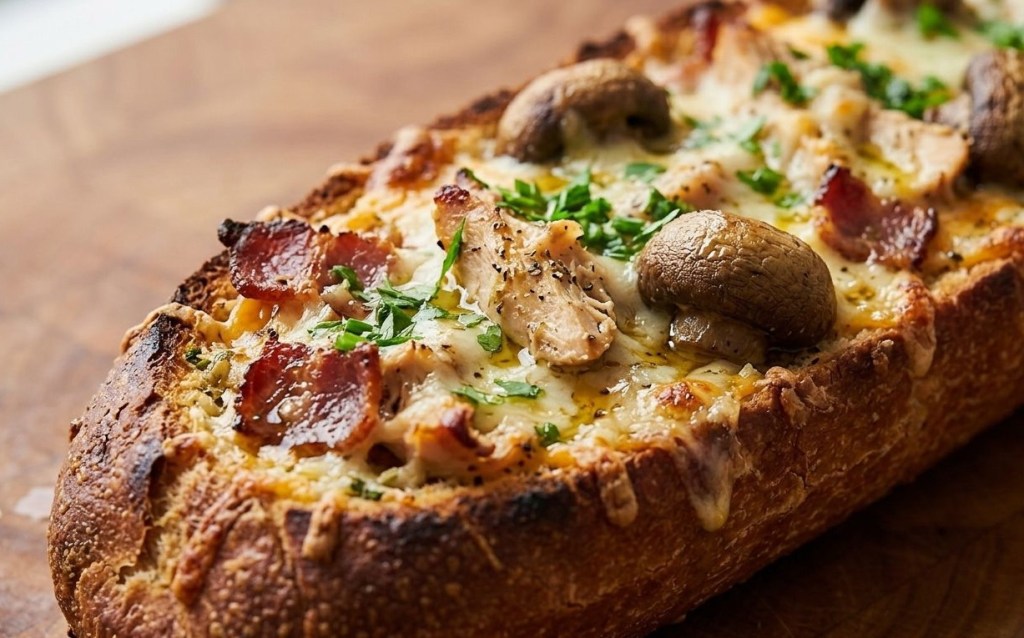
    Place your French bread halves on a baking sheet. Spread that chicken and cream cheese mixture evenly over the bread. Sprinkle the remaining mozzarella and cheddar over the top (the more cheese, the better, right?). Pop it in the oven for 12–15 minutes until it’s bubbly, golden, and looking absolutely irresistible.

    4. The Finishing Touch:

    Pull it out of the oven, garnish with a generous sprinkle of fresh parsley, and slice it up. Serve it while it’s hot and gooey!
    Pro-Tips for Success

     Don’t skip the butter: Sautéing the mushrooms in butter gives them a much deeper flavour than oil alone.

     The Bread: Use a crusty French stick rather than a soft supermarket baguette if you can—it holds up much better under the weight of the toppings.

     Make it ahead: You can mix the chicken, bacon, and cheese mixture up to a few hours in advance. Just keep it in the fridge until you’re ready to assemble and bake!

    Have you tried this recipe yet? Let me know in the comments how it turned out, or tag me in your photos on socials! I’d love to see your creations.

    Happy cooking!

  • The Ultimate One-Pot Creamy Garlic & White Wine Chicken Bake

    The Ultimate One-Pot Creamy Garlic & White Wine Chicken Bake

    There is something truly magical about a one-pot meal that looks like it took hours of professional French training but actually only requires about 15 minutes of hands-on work.

    This Creamy Garlic & White Wine Chicken Bake is exactly that. It’s a “set it and forget it” kind of luxury. By using bone-in chicken thighs, we ensure the meat stays succulent while the skin gets that perfect golden sear. The sauce is a rich, velvety blend of dry white wine, chicken stock, and double cream, finished with a crispy Parmesan lid that will have everyone fighting for seconds.

    Why You’ll Love This Recipe

    • Minimal Washing Up: Everything happens in one oven-safe pot (a casserole dish or Dutch oven is perfect here).

    • Deep Flavours: We use the rendered fat from the bacon to sauté the veg—flavour efficiency at its finest!

    • Crowd Pleaser: It’s fancy enough for a dinner party but comforting enough for a rainy Tuesday night.

    🛒 The Shopping List

    The Main Event

    • 6 Chicken Thighs: Bone-in and skin-on.

    • 4 Rashers of Bacon: Smoked or unsmoked.

    • 1 Medium Brown Onion: Or 3-4 shallots for a sweeter profile.

    • 4 Garlic Cloves: Freshly minced.

    The Veg & Aromatics

    • 225g Mushrooms: Button or chestnut, sliced.

    • 2 Medium Carrots: Peeled and chopped into rounds.

    • 1 tsp Thyme: Dried or a few fresh sprigs.

    • 2 Bay Leaves: Remove before serving.

    The Liquid Gold

    • 350ml Dry White Wine: Sauvignon Blanc or Pinot Grigio work best.

    • 250ml Chicken Stock: Low-sodium is a great option.

    • 250ml Double Cream: For that signature thick, decadent texture.

    The Crunchy Topping

    • 50g Panko Breadcrumbs: For extra crunch.

    • 40g Parmesan Cheese: Freshly grated.

    👩‍🍳 Step-by-Step Method

    1. Prep and Sear: Preheat your oven to 180°C (160°C Fan/Gas Mark 4). Season your chicken thighs generously with salt and pepper.

    In a large oven-safe pot, fry your chopped bacon over medium heat until it’s beautifully crispy. Remove the bacon and set it aside, but leave that liquid gold (the bacon fat) in the pot!

    2. The Soffritto: Add your onion and garlic to the bacon fat. Sauté for about 3–4 minutes until they are translucent. Throw in the mushrooms and carrots, cooking for another 5 minutes until they start to soften.

    3. The Deglaze: Turn the heat up to medium-high. Nestle the chicken thighs back into the pot, skin-side down first, searing for 4–5 minutes per side until golden brown. Pour in the white wine and chicken stock. Use a wooden spoon to scrape the bottom of the pot to release all that flavour.

    4. The Slow Bake: Stir in the thyme, bay leaves, and the crispy bacon. Bring the liquid to a gentle simmer, pop the lid on, and slide it into the oven for 40–45 minutes.

    5. The Grand Finale: Remove the pot from the oven. Stir in the double cream to transform the pan juices into a rich sauce. In a small bowl, mix your breadcrumbs and Parmesan. Sprinkle the mixture over the top and pop the pot under the grill for 2–3 minutes until the topping is bubbling and bronzed.

    The Final Bite

    There you have it—a rustic, soul-warming classic that proves you don’t need a sink full of dishes to create a masterpiece. Whether you’re gathered around the table for a Sunday family feast or just looking for a bit of midweek indulgence, this creamy chicken bake is guaranteed to hit the spot. There’s nothing quite like the sound of that first “crunch” through the Parmesan crust into the velvety sauce below.

    So, pour yourself a glass of whatever wine is left in the bottle, grab a big spoon, and dive in.

    Happy cooking!

  • The Ultimate Single-Serving Sticky Toffee Pudding (Classic British Comfort Food)

    The Ultimate Single-Serving Sticky Toffee Pudding (Classic British Comfort Food)

    There is comfort food, and then there is traditional British Sticky Toffee Pudding. If you’ve never had it, imagine a deeply rich, moist sponge cake packed with sweet dates, completely smothered in a warm, velvety, buttery toffee sauce.

    While it’s traditionally baked in one large dish, making these as individual mini cakes (using a standard muffin tin) is a total game-changer. They bake faster, look beautiful on the plate, and ensure everyone gets their own perfect ratio of sponge to sauce.

    Whether you’re looking for the ultimate Sunday roast finale or a viral-worthy dessert to show off on social media, this foolproof recipe delivers every single time.

    What Makes This Sticky Toffee Pudding So Good?

    The secret to the incredibly moist texture of a proper British sticky toffee pudding isn’t just the butter—it’s the dates.

    By soaking Medjool dates in boiling water and blending them directly into the batter, you get a cake that is naturally sweet, intensely rich, and impossible to dry out. Paired with a hint of molasses (or black treacle) and a 10-minute homemade toffee sauce, it’s pure magic.

    The Recipe: Step-by-Step

    Prep time: 15 mins | Cook time: 20 mins | Servings: 12 mini puddings

    Ingredients You’ll Need

    For the Sponge:

    • 225g Medjool dates (pitted)

    • 240ml Boiling water

    • 75g Unsalted butter (room temperature)

    • 145g Light brown soft sugar

    • 2 Large eggs (room temperature)

    • 2 tbsp Molasses or black treacle

    • 2 tsp Vanilla extract

    • 200g Plain flour

    • 1.5 tsp Baking powder

    • 1 tsp Bicarbonate of soda

    • 1/4 tsp Salt

    For the Toffee Sauce:

    • 120ml Double cream (or heavy whipping cream)

    • 115g Unsalted butter

    • 160g Light brown soft sugar

    • A pinch of salt

    • 2 tsp Vanilla extract

    • Chopped walnuts (optional, for garnish)

    Instructions

    Step 1: Prep the Dates

    Preheat your oven to 180°C (160°C fan / Gas Mark 4). Lightly grease a 12-cup muffin tin or individual ramekins. Place your pitted dates into a blender or food processor, pour the 240ml of boiling water over them, and let them sit for 5 minutes to soften.

    Step 2: Make the Batter Base

    In a large bowl, cream together the 75g of butter and 145g of light brown sugar until pale and fluffy. Beat in the eggs one at a time, making sure to mix well after each. Stir in the molasses and vanilla extract.

    Step 3: Combine and Fold

    Sift the flour, baking powder, and salt into your wet mixture and stir until just combined. Next, blitz your soaked dates and water in the food processor until smooth. Stir the bicarbonate of soda into the date puree (it might fizz a little!), then gently fold it into your main cake batter. Take care not to over-mix!

    Step 4: Bake to Perfection

    Divide the batter evenly into your prepared muffin tin. Bake for 18 to 20 minutes. Test the center with a toothpick—it should come out clean or with a few moist crumbs. Tip: Do not overbake, or you’ll lose that signature fudgy texture!

    Step 5: Master the Toffee Sauce

    While the cakes are baking, add the double cream, butter, brown sugar, and salt to a saucepan. Cook over a low heat, stirring constantly, until the sugar completely dissolves and the sauce thickens slightly (about 7–10 minutes). Remove from the heat and stir in the vanilla extract.

    Pro Tip: For the ultimate flavor explosion, flip the warm cakes upside down onto your serving plate, poke a few holes in the top with a skewer, and pour the warm toffee sauce over immediately. Let it sit for 2 minutes to absorb!

    How to Serve and Store

    Serve these warm, flat-side up, with an extra generous ladle of toffee sauce. Garnish with chopped walnuts if you like a bit of crunch.

    The ultimate debate: Do you serve it with a scoop of cold vanilla ice cream, a drizzle of cold double cream, or warm vanilla custard? (Let me know your team in the comments below!).

    • To Store: Keep the cakes and the sauce in separate airtight containers in the fridge for up to 5 days. Warm the cakes in the microwave for 20 seconds and reheat the sauce on the stove before serving

    Leave a Comment!

    Did you make this recipe? Tag me in your baking videos or leave a comment below to let me know how yours turned out!