Tag: #cookies

  • The Ultimate Mashup: Banoffee Millionaire’s Shortbread

    The Ultimate Mashup: Banoffee Millionaire’s Shortbread

    If you can’t decide between a classic Banoffee Pie and the rich, decadent layers of a Millionaire’s Shortbread, I have some very good news: you don’t have to.

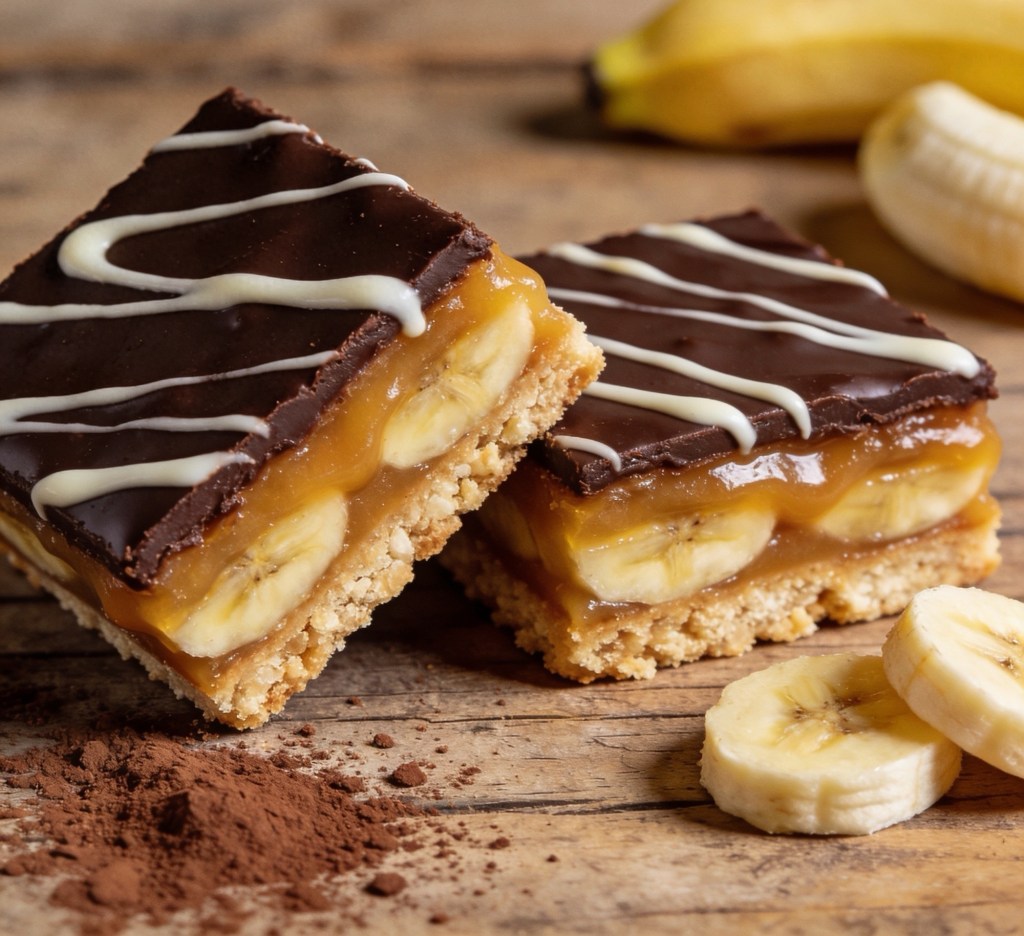
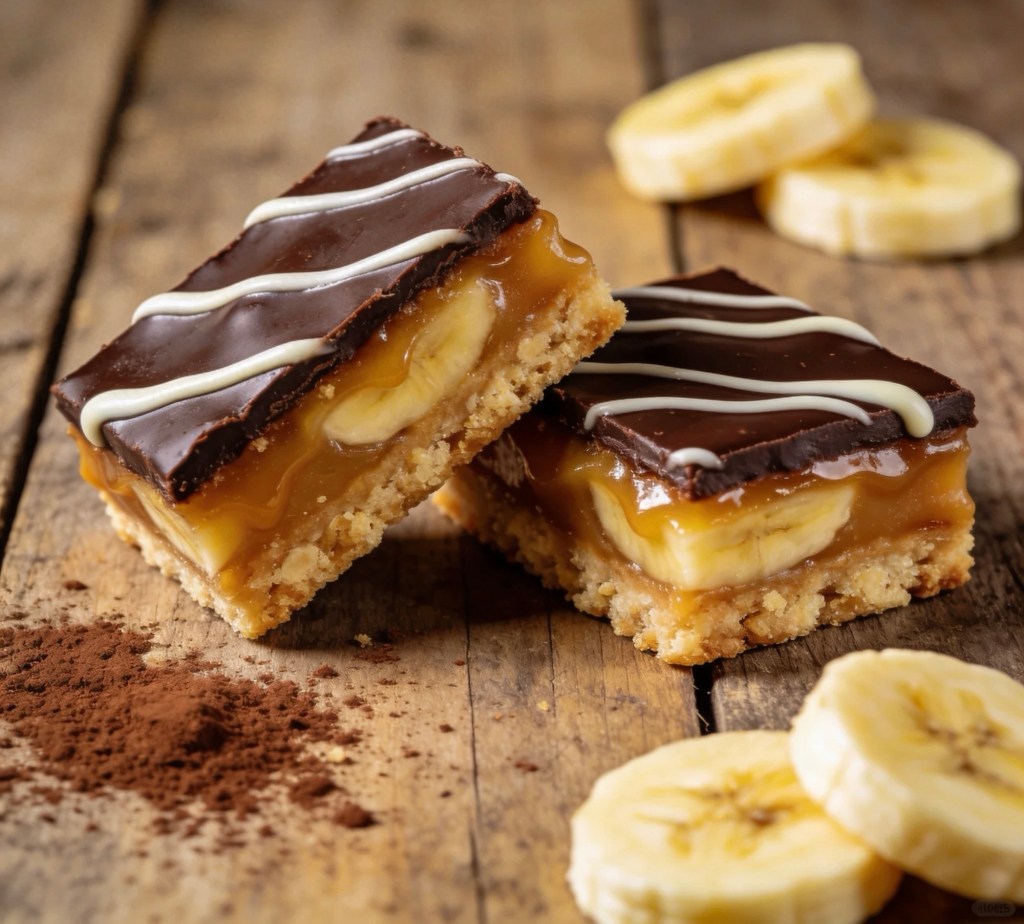
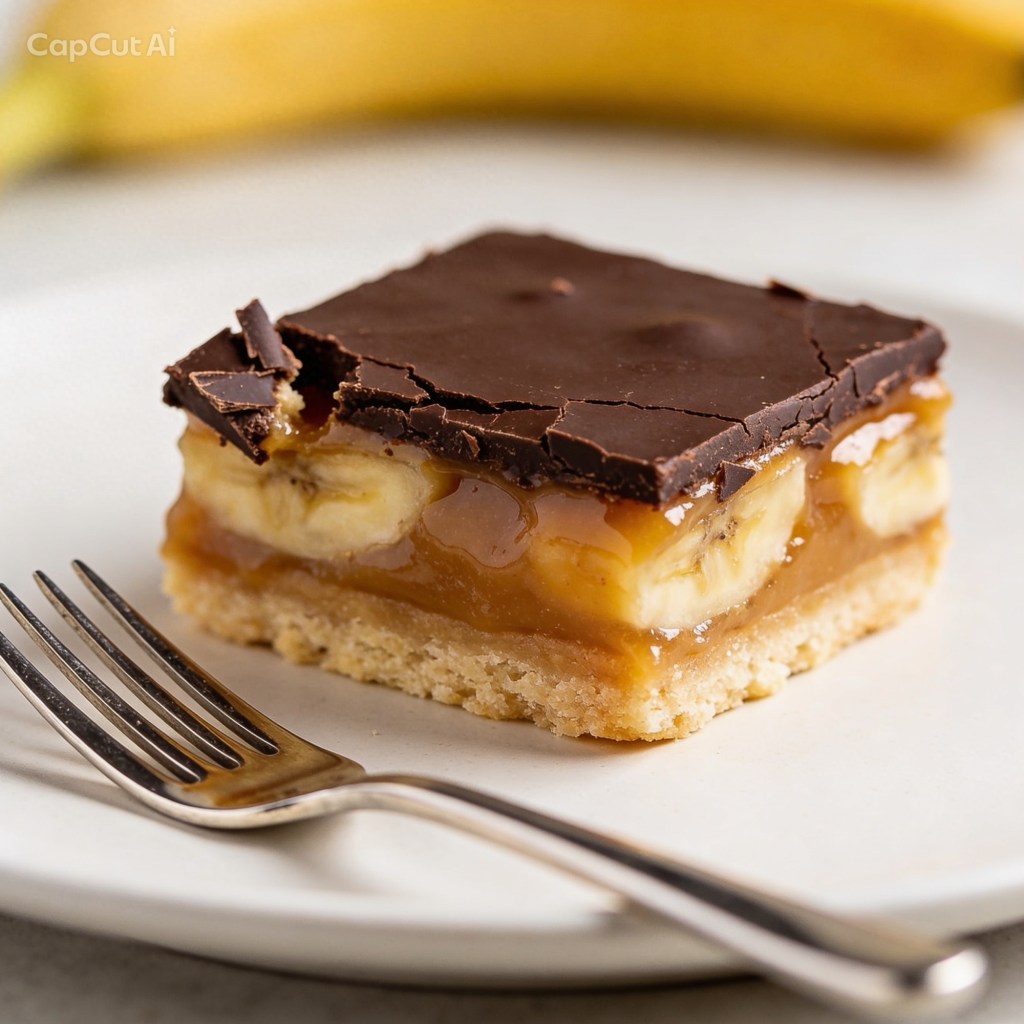
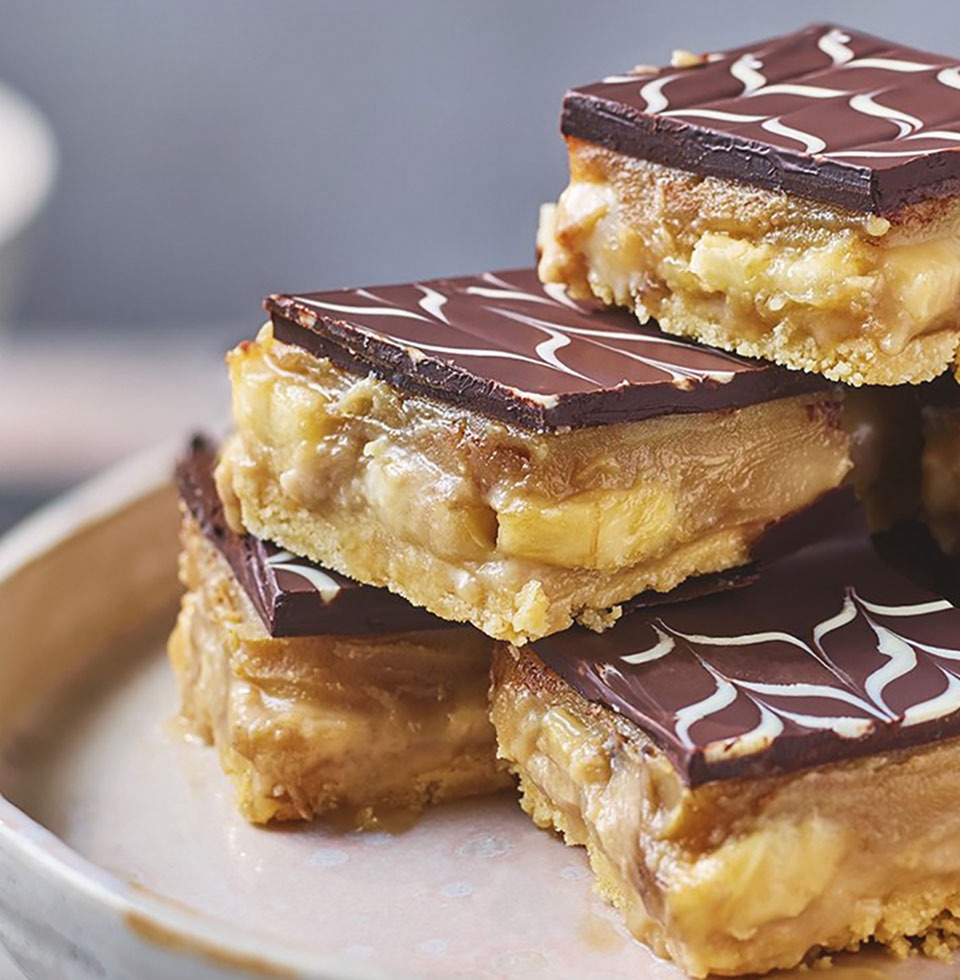
    This Banoffee Millionaire’s Shortbread takes everything you love about both desserts and stacks them into one incredible bite. We’re talking a buttery shortbread base, a layer of fresh sliced bananas, a deep fudge-like caramel, and a marbled chocolate topping that looks professional but is secretly so easy to do.

    The Shopping List

    The Base

    • 250g Shortbread Biscuits: Crushed into fine crumbs.

    • 55g Butter: Melted to bind it all together.

    The Filling

    • 150g Dark Brown Soft Sugar: This gives the caramel a deeper, toffee-like flavor.

    • 150g Butter: For that silky texture.

    • 397g Can Condensed Milk: The secret to perfect “no-fail” caramel.

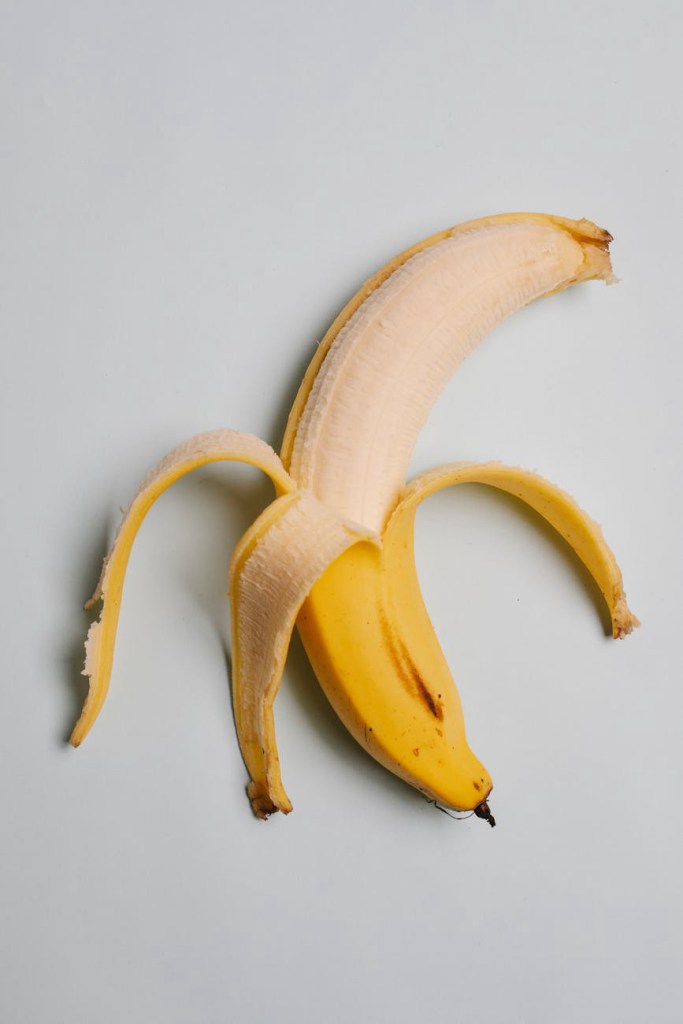
    • 2 Bananas: Ripe but firm works best here.

    The Topping

    • 200g Dark Chocolate: To balance the sweetness of the caramel.

    • 55g White Chocolate: For that beautiful marbled effect.

    Step-by-Step Instructions

    1. The Foundation

    Start by combining your crushed shortbread and the 55g of melted butter. Press this firmly into a 20cm square tin lined with parchment paper. You want it packed tight so it doesn’t crumble when you slice it later! Pop that in the fridge for 20 minutes to firm up.

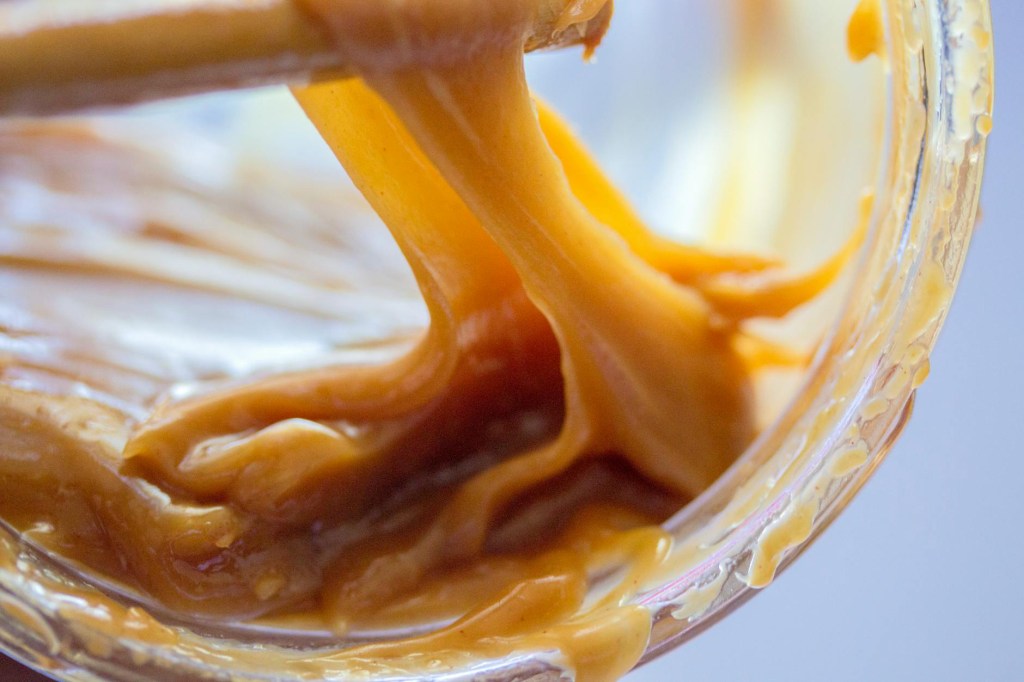
    2. The Caramel Layer

    In a non-stick pan, gently melt the sugar and the remaining 150g of butter. Once smooth, pour in the condensed milk. Now, turn up the heat and bring it to a rapid boil, stirring constantly (don’t walk away, or it’ll catch!). Cook for about a minute until it thickens and turns a gorgeous amber color.

    3. The Banoffee Secret

    While the caramel is slightly cooling, slice your bananas and layer them evenly across your chilled biscuit base. Pour that warm caramel directly over the bananas, smoothing it out to the edges. Let it cool, then chill in the fridge until it’s fully set.

    4. The Marbled Finish

    Melt your dark and white chocolates in separate bowls. Pour the dark chocolate over the set caramel layer. While it’s still wet, drop spoonfuls of the white chocolate on top. Use a skewer or a small spoon to gently swirl them together to create a marble pattern.

    5. The Perfect Slice

    Once the chocolate is set, remove the block from the tin. To get those clean, “bakery-style” edges, dip your knife in hot water, wipe it dry, and slice through the chocolate while the blade is still warm.

    Why This Works

    The dark brown sugar in the caramel mimics the flavor of a traditional Banoffee “Dulce de Leche,” while the fresh bananas add a soft texture that breaks up the richness of the chocolate. It’s the perfect treat for a weekend bake or a crowd-pleasing party tray.

    Did you make this? Tag me in your photos!

  • 🍪 Soft & Gooey Mini Egg Cookies – Our Favourite Easter Bake 🐣💐

    🍪 Soft & Gooey Mini Egg Cookies – Our Favourite Easter Bake 🐣💐

    Every Easter, our kitchen starts to smell like pure happiness — that mix of butter, sugar, and melting chocolate means one thing: Mini Egg Cookies are back.This recipe has become a bit of a spring tradition for us. The first batch never makes it to the cooling rack because the moment those cookies come out of the oven, still warm and soft in the middle, we can’t resist breaking one open. The pastel colours of the Mini Eggs peek through the golden dough, and the centres stay deliciously gooey — it’s comfort and nostalgia in every bite.

    💕 Why You’ll Love These Cookies
    They’re simple to make — no fancy mixers, no tricky steps — just classic, homely baking. Yet they look like something from a bakery window. The mix of white and dark chocolate chunks gives a lovely balance of sweet and rich, while the crushed Mini Eggs bring that irresistible Easter crunch and colour.
    Whether you’re baking with little ones, creating gifts for friends, or just enjoying a quiet weekend bake (our favourite kind of self-care), these cookies are joyful, a little messy, and absolutely delicious.

    🧺 Ingredients
    • 175g softened butter
    • 200g light brown soft sugar
    • 100g golden caster sugar
    • 1 tbsp vanilla extract
    • 1 large egg
    • 250g plain flour
    • ½ tsp bicarbonate of soda
    • Pinch of sea salt
    • 50g white chocolate, chopped
    • 100g dark chocolate, chopped
    • 100g Mini Eggs, lightly crushed (save a few large pieces for decorating)

    🥣 Method

    • Preheat & prepare: Heat your oven to 190°C (170°C fan) and line two baking trays with parchment.
      Tip: If your kitchen is cool, leave the butter out a little longer — soft butter makes all the difference for that light, fluffy texture at the start.
    • Cream the base: In a large mixing bowl, beat together the butter, both sugars, and vanilla extract until pale and creamy. You can use a hand‑held whisk, but mixing by hand works just as well (and makes your kitchen smell heavenly).
    • Add the egg: Crack in your egg, then mix again until smooth and glossy.
    • Form the dough: Add the flour, bicarbonate of soda, and a pinch of salt. Fold gently until everything comes together — it should feel thick and a little sticky.
    • Add the magic: Stir through the white and dark chocolate chunks and about half of your crushed Mini Eggs. Save the bigger, prettier pieces to press on top later — they’ll make the cookies look beautiful when baked.
    • Shape & chill: Scoop out golf ball‑sized mounds of dough and place them on the trays (4–6 per tray so they have room to spread). For that perfect chunky bakery-style cookie, chill the dough for 30 minutes before baking.
    • Bake to perfection: Bake for 15–18 minutes, swapping trays halfway through. You want the edges golden and just set, but the middles still soft and pale. That’s the secret to the gooey texture.
    • Cool & serve: Leave the cookies on the tray for 10 minutes to finish setting, then move them to a cooling rack. It’s honestly worth waiting a few minutes before biting in — but if a little melted chocolate ends up on your fingers, that’s part of the fun.

    🌷 A Few Baking Notes
    • If you prefer crispy cookies, add a couple of extra minutes to the baking time.
    • Freeze‑ahead tip: shape the dough balls, place them on a tray to freeze, then store in a container for up to 3 months. Bake straight from frozen, adding 2–3 minutes to the time.
    • They make a lovely homemade gift — stack a few, tie them up in a clear bag with ribbon, and add a little Easter tag.

    💬 Final Thoughts
    Sometimes the simplest bakes are the most special. These cookies don’t just taste amazing; they bring everyone into the kitchen — chatting, laughing, stealing bits of dough when they think no one’s looking.
    So pour yourself a cuppa, pop on a playlist, and bake a tray. When that first batch comes out warm and golden, you’ll understand why these have become our Easter tradition.
    🐣💐 Happy baking from our kitchen to yours.

    MiniEggCookies #EasterBakes #HomeBaking #CookieRecipe #SpringTreats #UKBakers #BakingTok #LCLivingKitchen

    Links – small commission paid

    Russell Hobbs hand blenderhttps://amzn.to/41AA0QS

    Tala self raising flour tin https://amzn.to/4s3CeDk

    Tala plain flour tin https://amzn.to/416gWdd

    Tala sugar tin https://amzn.to/4sZMn5r

    Baking tray https://amzn.to/4dRbwu0

    Measuring spoons https://amzn.to/4rWdSex

    Kitchen scales https://amzn.to/4thgZPq

    Wire cooling rack https://amzn.to/4dOxbD9