Let’s talk about those days. You know the ones: work ran late, you forgot to defrost anything, and the temptation to just scroll through a delivery app is strong. We’ve all been there.
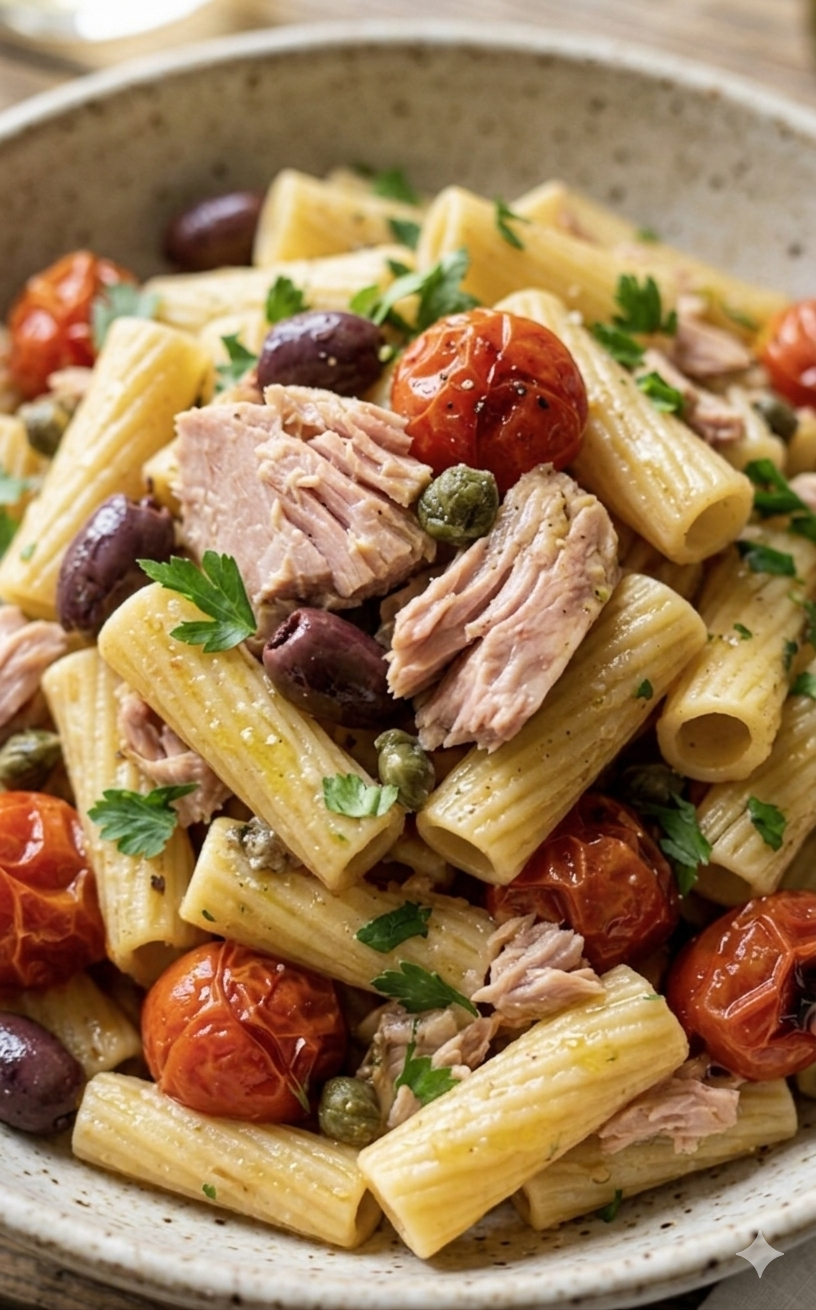
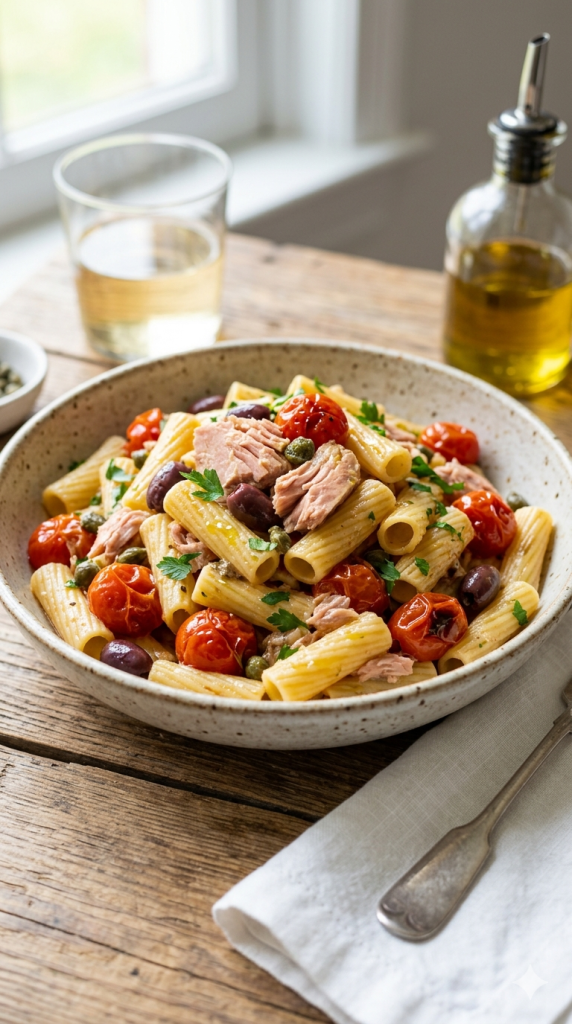
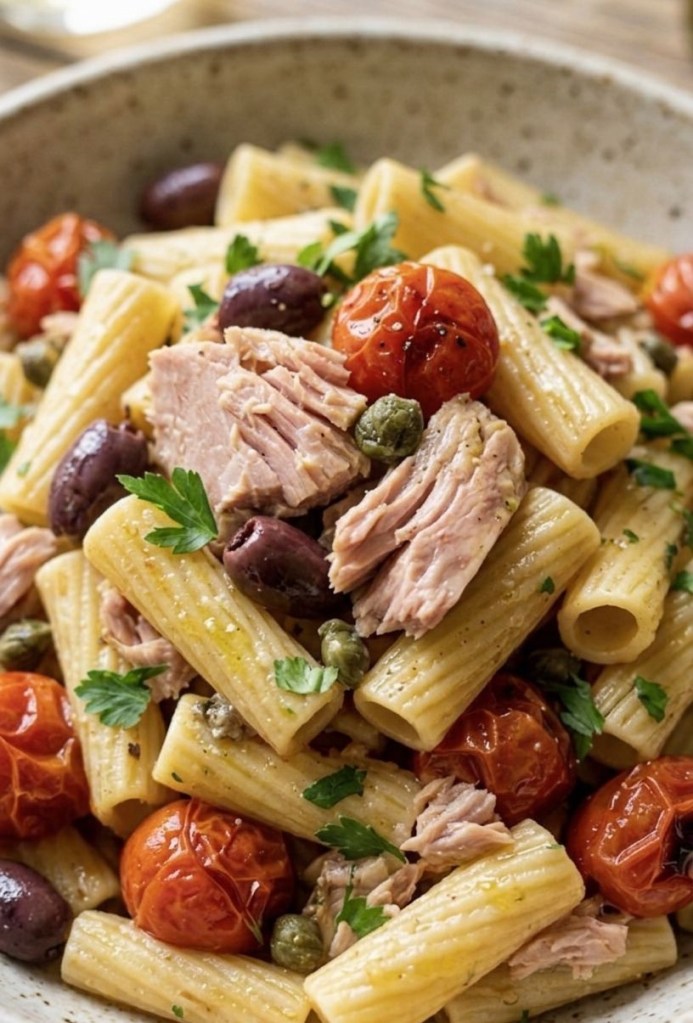
But before you click ‘order,’ let me introduce you to my absolute ultimate midweek lifesaver. This Mediterranean Tuna, Cherry Tomato & Olive Pasta is not just fast (we’re talking 15 minutes, start to finish), but it also tastes incredibly fresh and fancy. It’s the kind of meal that makes you feel like you’ve got your life together, even when the rest of the day was chaos.
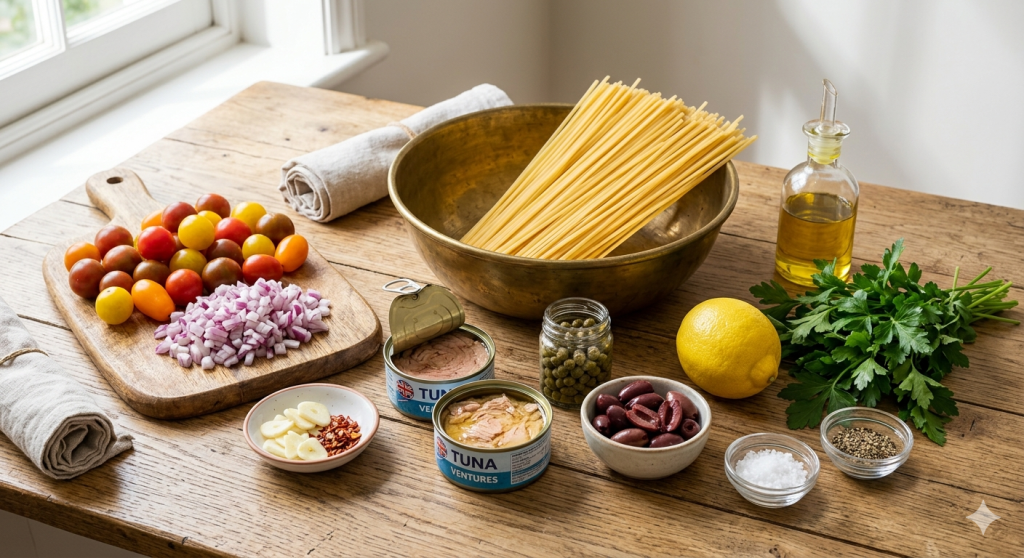
The magic is in the simplicity. Take a look at this gorgeous line-up of ingredients I pulled together on my kitchen It’s mostly pantry staples plus a few fresh bits.
What You’ll Need
300g Linguine (or Rigatoni for a rustic look)
2 tins (approx. 160g each) High-Quality Tuna (specifically in extra virgin olive oil)
250g Cherry Tomatoes, halved
1 small Red Onion, finely diced
2 cloves Garlic, thinly sliced
2 tbsp Capers, rinsed
75g Kalamata Olives, pitted and halved
1 Fresh Lemon (for zest and a squeeze of juice)
Small bunch Fresh Flat-leaf Parsley, chopped
1 tsp Dried Chilli Flakes (optional, for a kick)
Sea salt and cracked black pepper to taste
How to Make It
1 Boil: Cook pasta in well-salted, boiling water until al dente. Reserve a small mug of pasta water before draining.
2 Sauté: Use the olive oil from the tuna tins to coat your pan. Sauté the red onion until soft, then add garlic and chilli flakes.
3 Blister: Toss in the tomatoes and cook until they burst and release their juices.
4 Combine: Add the tuna, capers, and olives. Toss in your cooked pasta and a splash of that reserved pasta water to create a glossy, emulsified sauce.
5 Finish: Stir in the lemon juice, zest, and a handful of fresh parsley. Serve immediately!
The recipe is straightforward, but here’s my number one tip for maximal flavor: Don’t ditch the oil from the tuna tins! Sauté your onion and garlic right in that flavorful oil. It’s a game-changer. Also, never underestimate the power of pasta water—it transforms the simple pan juices into a silky sauce that clings to every strand of linguine.
Give this a try the next time your Wednesday feels like a Friday. It’s fast, it’s vibrant, and it is so satisfying.
Happy cooking!
What other quick pantry-based meals do you rely on when you’re short on time?
We’ve all been there. It’s 9 PM on a rainy Tuesday, the work emails won’t stop pinging, and your brain is screaming for something sweet, warm, and comforting. When life gets a bit too chaotic, some people meditate, others go for a brisk run, and a few light scented candles.
Me? I put on my comfiest trackies, head straight to the kitchen, and grab a jar of hazelnut spread.
What started as a viral TikTok meme—the ultimate “what do we do when we’re stressed?” joke—has officially become my holy grail baking recipe. Let’s be honest: standing over a warm oven and eating gooey chocolate straight from the baking tin might actually be the cheapest form of self-care available.
If you have a jar of Nutella, a couple of eggs, and a scoop of flour in your cupboard, you are exactly 20 minutes away from chocolate heaven. Here is why this recipe works, the science behind it, and how to nail it on your very first try.
The Secret Science: Why 3 Ingredients Actually Work
Usually, baking is a strict science experiment. If you forget the baking powder, mess up the sugar ratio, or use the wrong type of fat, your bake is ruined. You’re usually left hunting through the cupboards for golden syrup, cocoa powder, and blocks of expensive baking chocolate.
This recipe completely throws the traditional rulebook out the window. Why? Because the clever scientists at Ferrero have already done the hard work for you.
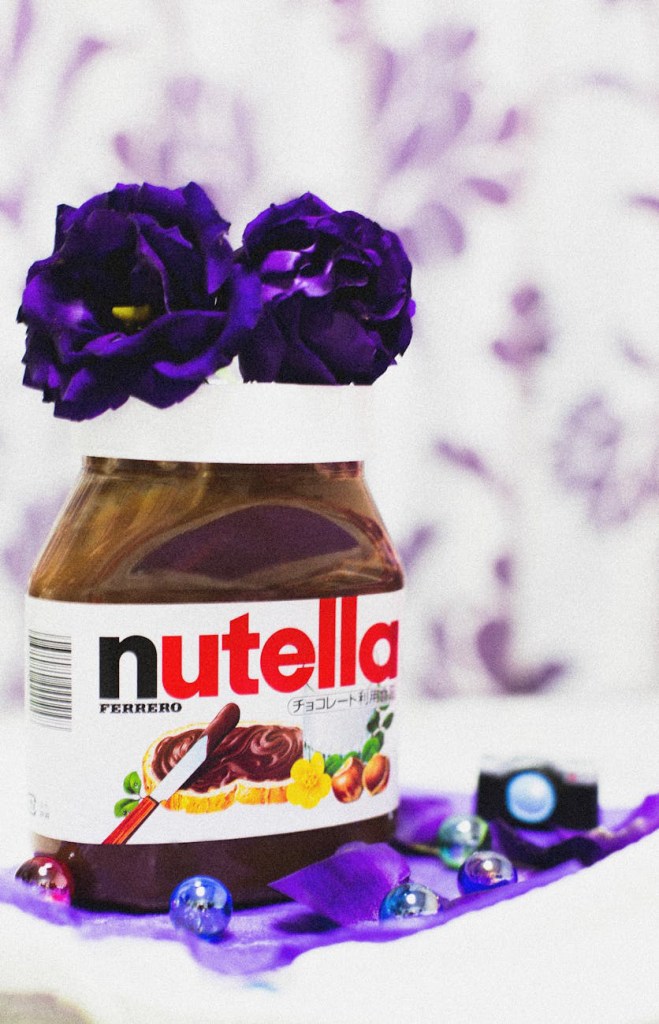
• The Nutella: Think of Nutella not just as a topping, but as your primary baking base. It is already packed with cocoa for flavour, sugar for sweetness, and palm oil/hazelnut fats for moisture. It replaces the butter, sugar, and cocoa powder of a traditional brownie in one single scoop.
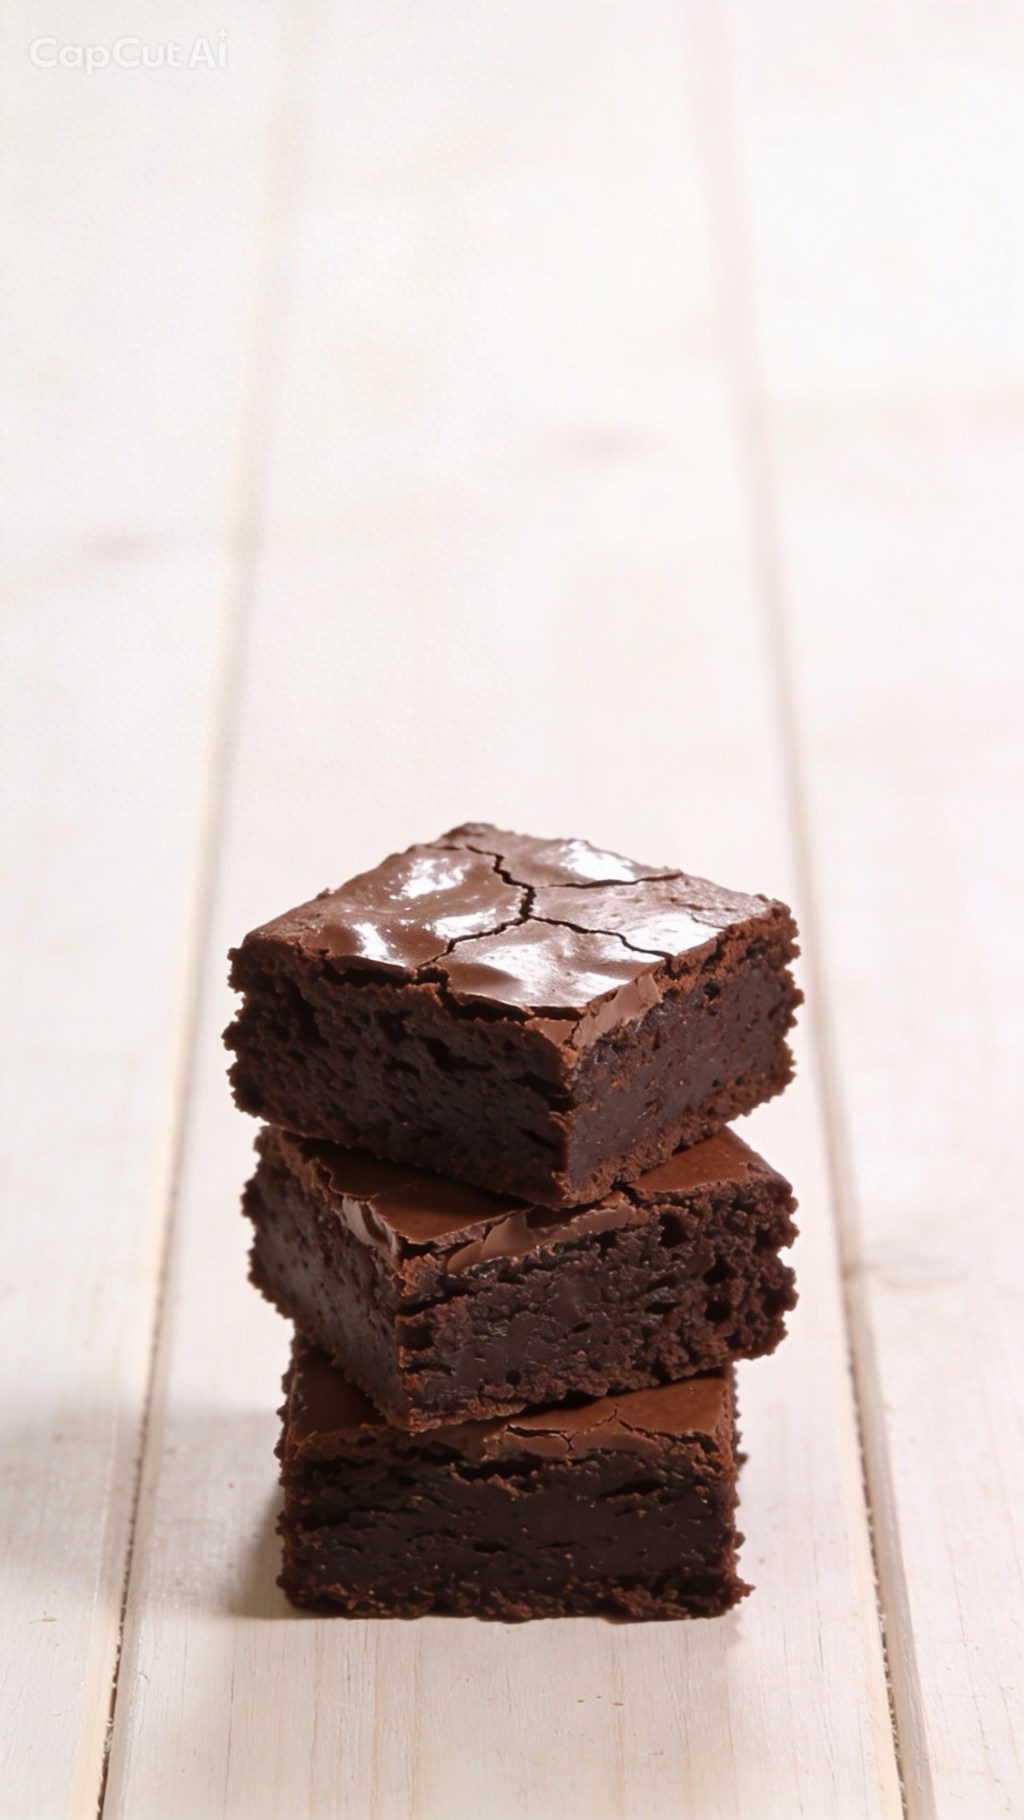
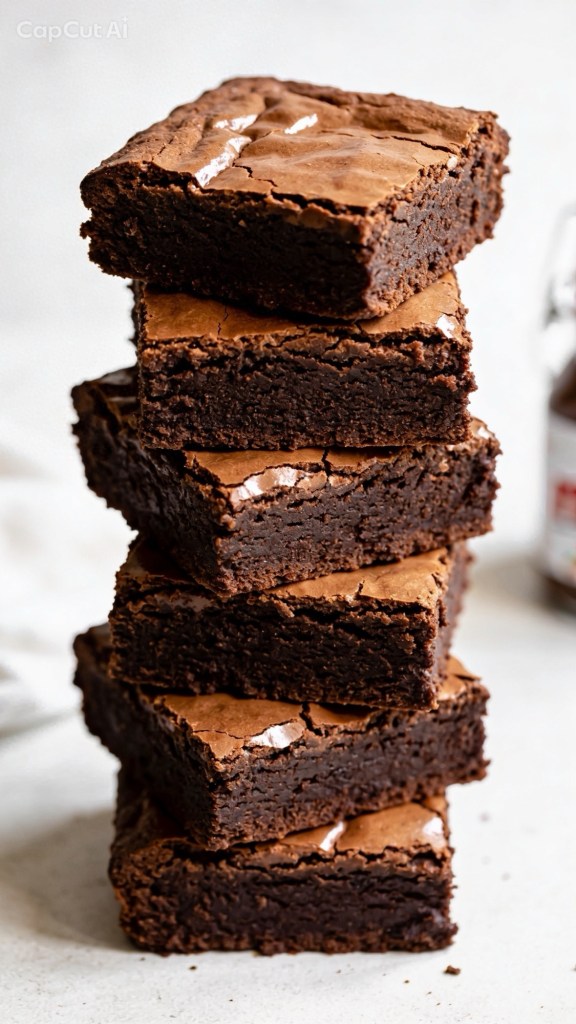
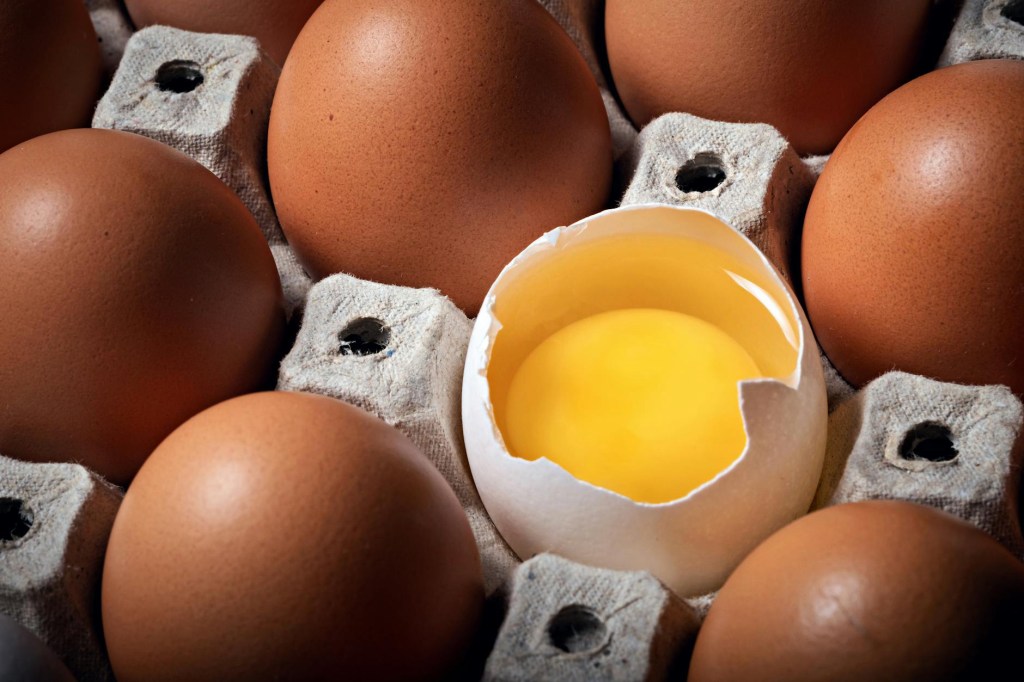
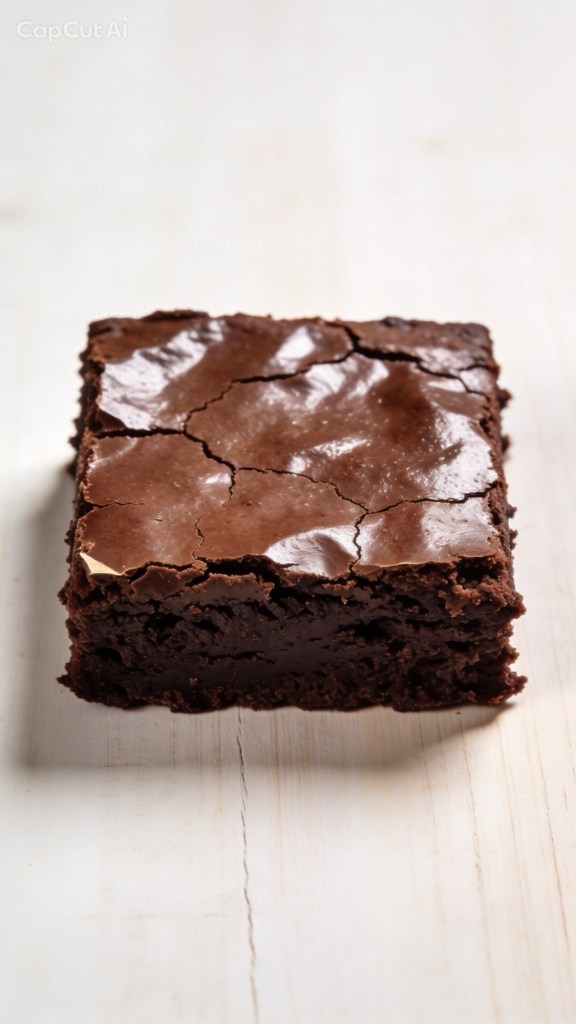
• The Eggs: Eggs are the magicians of this recipe. They provide the structure, the rise, and—most importantly—that highly coveted, shiny, papery crinkle-top that separates a mediocre brownie from an elite one.
• The Plain Flour: A tiny amount of plain flour binds everything together. Because we aren’t using raising agents (like self-raising flour or baking powder), the dense properties of plain flour keep the texture beautifully fudgy rather than cake-like.
No fancy equipment, no waiting for butter to soften on the counter for hours, and practically zero washing up. It is pure kitchen efficiency.
The Recipe: Fudgy Nutella Brownies
Ingredients
• Nutella: 280g (Roughly one standard small jar. Ensure it’s at room temperature so it mixes easily.)
• Eggs: 2 Large (Use free-range, room-temperature eggs for the best rise.)
• Plain Flour: 65g (Standard plain white flour – do not use self-raising!)
Step-by-Step Method
1. Prep Your Station
Before you do anything else, preheat your oven to 180°C (160°C fan/Gas Mark 4). Line a small square baking tin (around 8×8 inches or 20×20 cm) with baking parchment.
Top Tip: Leave a bit of parchment overhang on the sides. This creates “handles” so you can easily lift the brownie block out of the tin later without it breaking apart.
2. Whisk the Base
In a medium-sized mixing bowl, crack in your two large eggs and add the 280g of Nutella. Grab a whisk and go to town. At first, it might look a bit split, lumpy, or strange as the cold eggs hit the thick spread. Keep whisking for about a minute! Suddenly, it will transform into a beautifully smooth, glossy, and thick chocolate batter.
3. Fold, Don’t Stir
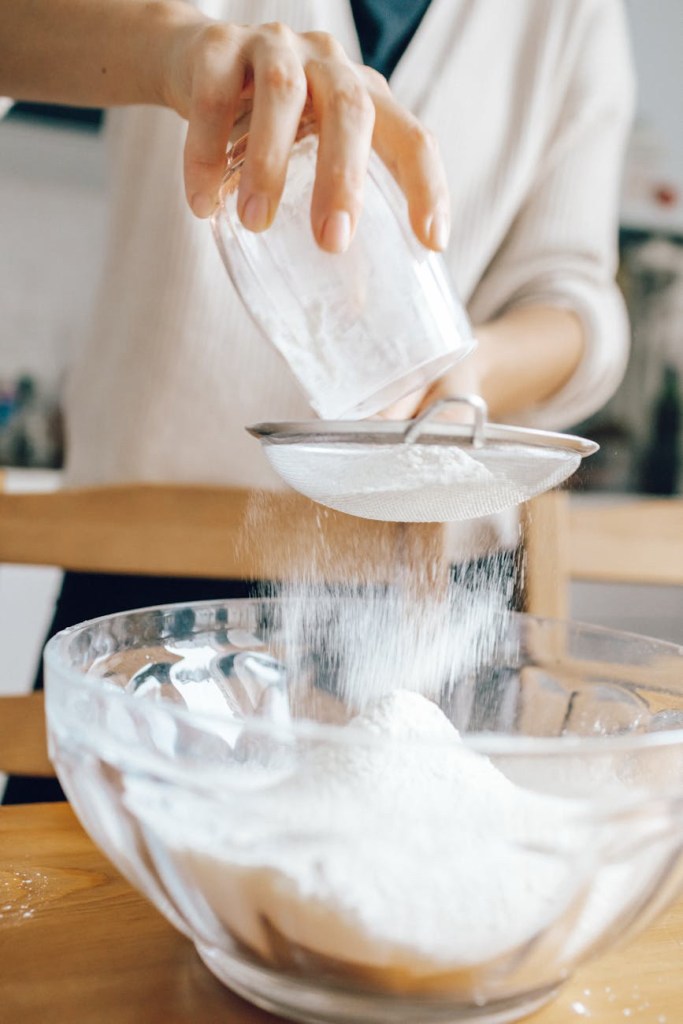
Sift your 65g of plain flour into the bowl. Put the whisk away and grab a silicone spatula or a wooden spoon. Gently fold the flour into the chocolate mixture using a figure-of-eight motion just until the white streaks disappear.
The Golden Rule: Stop mixing the second the flour is incorporated! If you overmix the batter, you will develop the gluten in the flour. This turns your dense, fudgy brownies into a tough, bready cake—and nobody wants a bready brownie.
4. Into the Oven
Pour the batter into your lined tin. It will be quite thick and sticky, so use your spatula to smooth it out into the corners. Pop it into the middle shelf of the oven and bake for 15 to 20 minutes.
The Ultimate Brownie Test: Fudgy vs. Overbaked
How do you know when they are perfectly done?
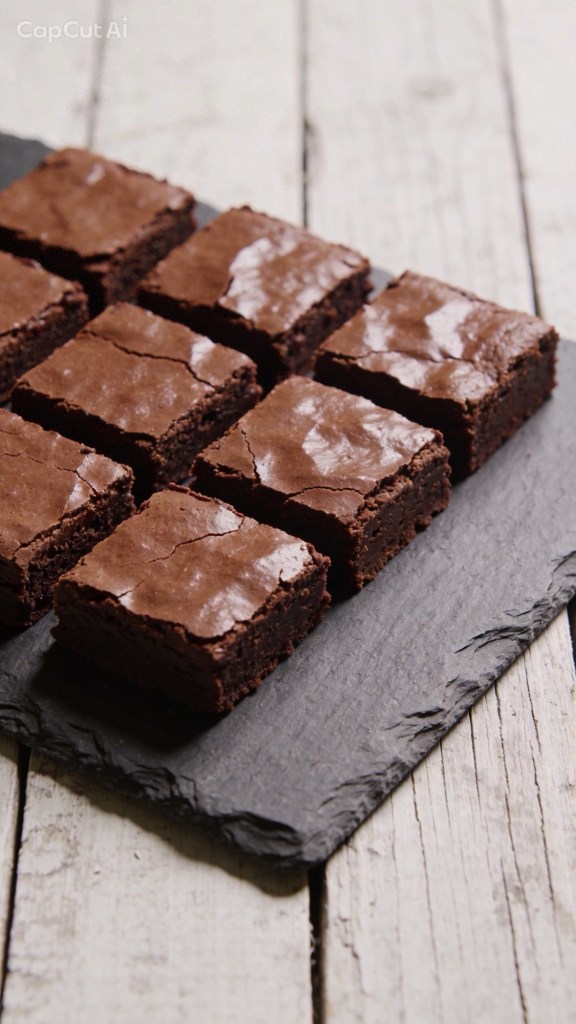
You want the edges to look set and matte, and the top should have that gorgeous, paper-like crinkle. However, if you gently shake the tin, the very centre should still have a tiny bit of a wobble.
If you insert a toothpick or skewer into the centre, it should not come out completely clean. It should have a few moist, sticky crumbs attached to it. If the skewer comes out completely dry, you’ve overbaked them into a cake. Pull them out early—they will continue to firm up as they cool down in the hot tin!
Variations to Try (If You’re Feeling Fancy)
While the 3-ingredient version is perfect on its own, it also acts as a brilliant blank canvas. If you want to level up your bake next time, try folding in these extras right before baking:
• The Sweet & Salty: Add a generous pinch of flaky sea salt (like Maldon) over the top right before it goes in the oven.
• The Crunch: Fold in 50g of chopped, toasted hazelnuts to mimic the inside of a Ferrero Rocher.
• The Ultimate Chocolate Fix: Toss in a handful of white or milk chocolate chips for a bit of texture.
How to Serve
If you possess an incredible amount of self-control, let the brownies cool completely in the tin for about 20–30 minutes, slice them into neat squares, and serve them alongside a scoop of vanilla bean ice cream or a hot cup of tea.
If you’re having one of those weeks? Forget the knife. Grab a spoon, sit yourself down on the kitchen floor, and eat them warm and gooey straight out of the tin. We completely support your journey.
Have you tried the 3-ingredient Nutella brownie trend yet, or are you skeptical that a recipe this simple can actually taste good? Let me know in the comments below if you’re team fudgy or team cakey!
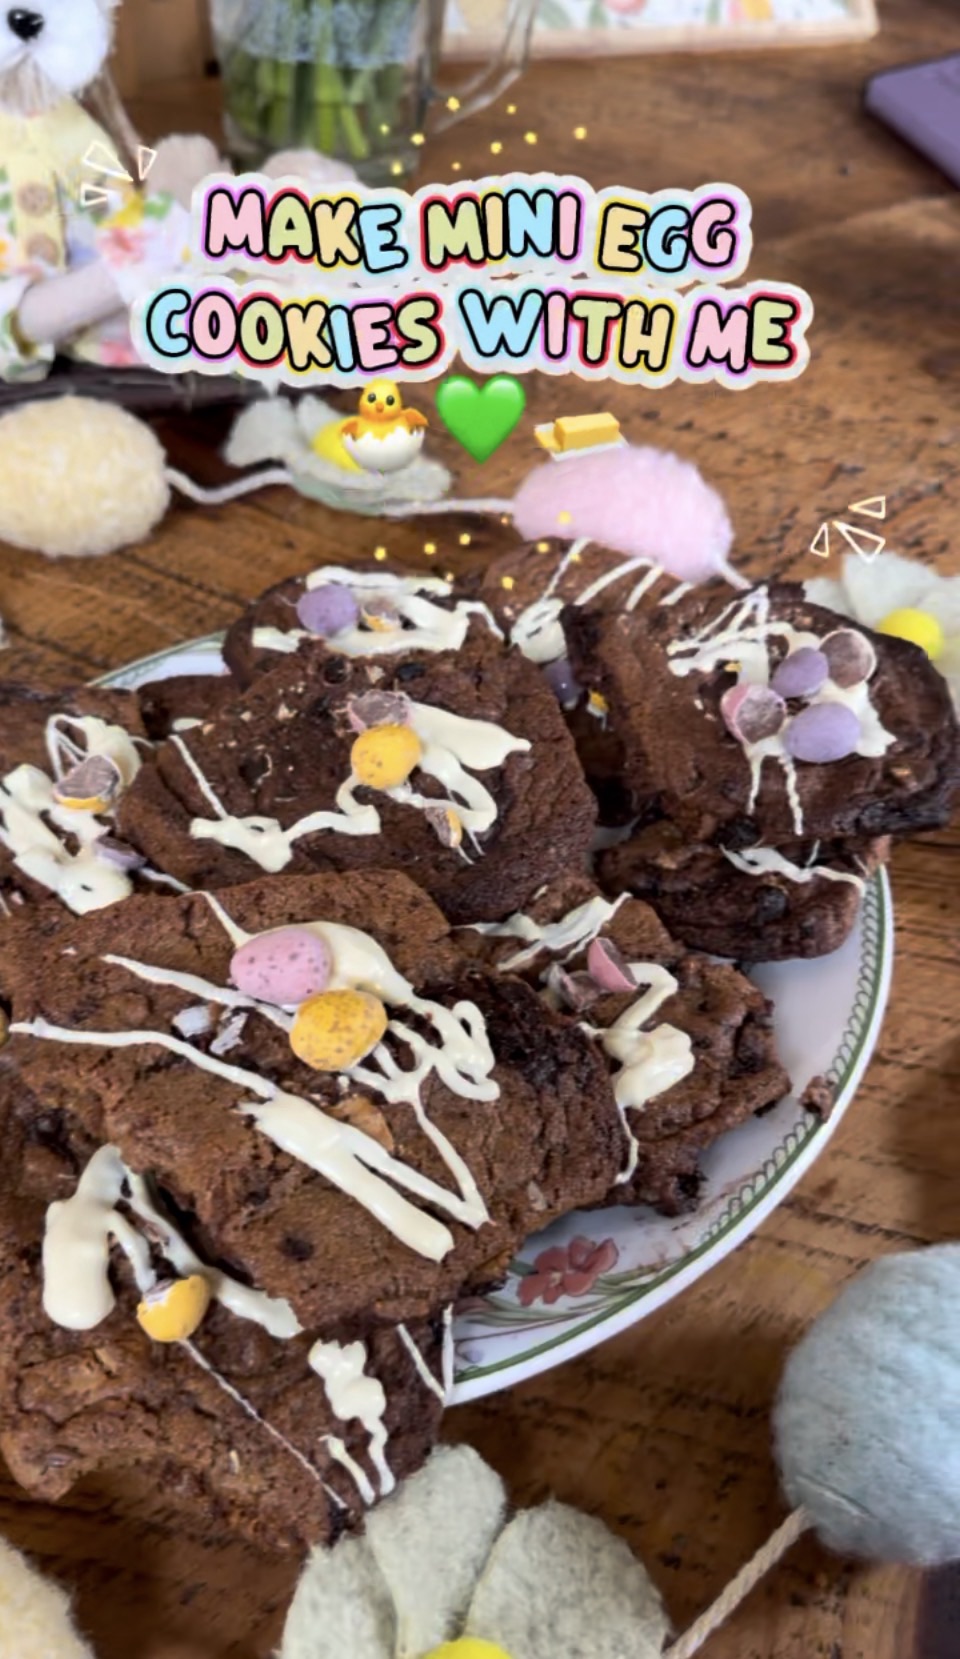
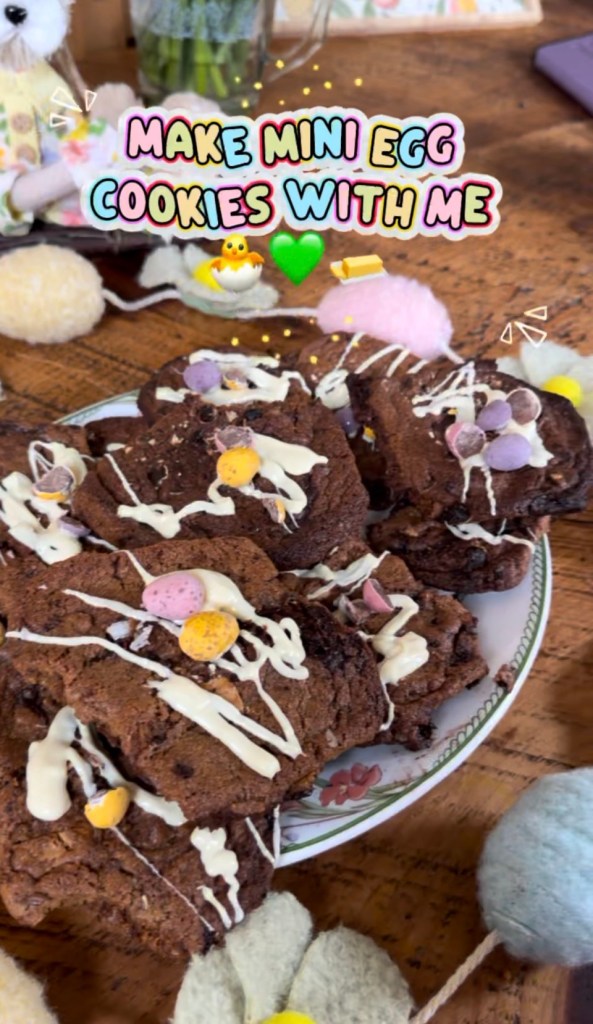
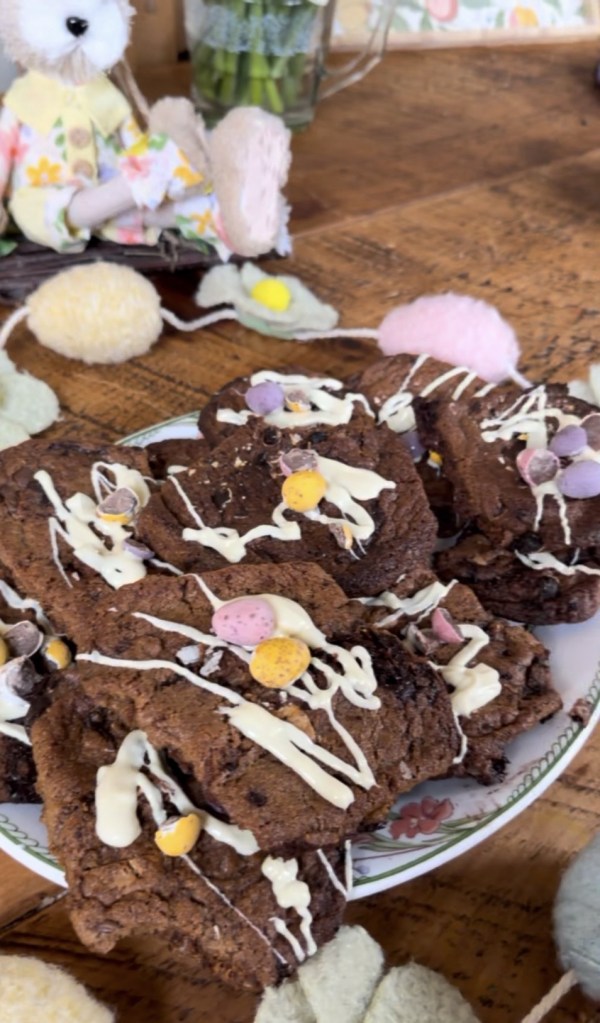
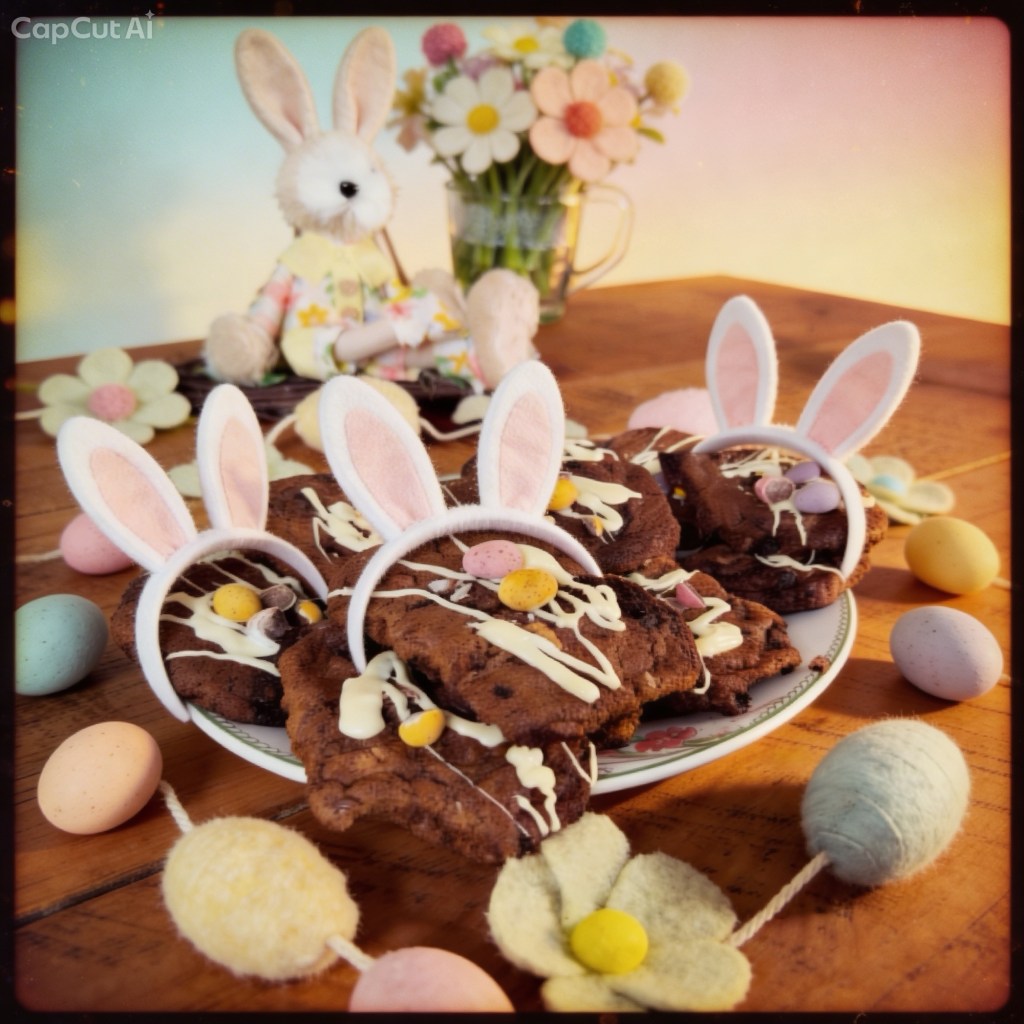
Every Easter, our kitchen starts to smell like pure happiness — that mix of butter, sugar, and melting chocolate means one thing: Mini Egg Cookies are back.This recipe has become a bit of a spring tradition for us. The first batch never makes it to the cooling rack because the moment those cookies come out of the oven, still warm and soft in the middle, we can’t resist breaking one open. The pastel colours of the Mini Eggs peek through the golden dough, and the centres stay deliciously gooey — it’s comfort and nostalgia in every bite.
💕 Why You’ll Love These Cookies They’re simple to make — no fancy mixers, no tricky steps — just classic, homely baking. Yet they look like something from a bakery window. The mix of white and dark chocolate chunks gives a lovely balance of sweet and rich, while the crushed Mini Eggs bring that irresistible Easter crunch and colour. Whether you’re baking with little ones, creating gifts for friends, or just enjoying a quiet weekend bake (our favourite kind of self-care), these cookies are joyful, a little messy, and absolutely delicious.
🧺 Ingredients • 175g softened butter • 200g light brown soft sugar • 100g golden caster sugar • 1 tbsp vanilla extract • 1 large egg • 250g plain flour • ½ tsp bicarbonate of soda • Pinch of sea salt • 50g white chocolate, chopped • 100g dark chocolate, chopped • 100g Mini Eggs, lightly crushed (save a few large pieces for decorating)
🥣 Method
Preheat & prepare: Heat your oven to 190°C (170°C fan) and line two baking trays with parchment. Tip: If your kitchen is cool, leave the butter out a little longer — soft butter makes all the difference for that light, fluffy texture at the start.
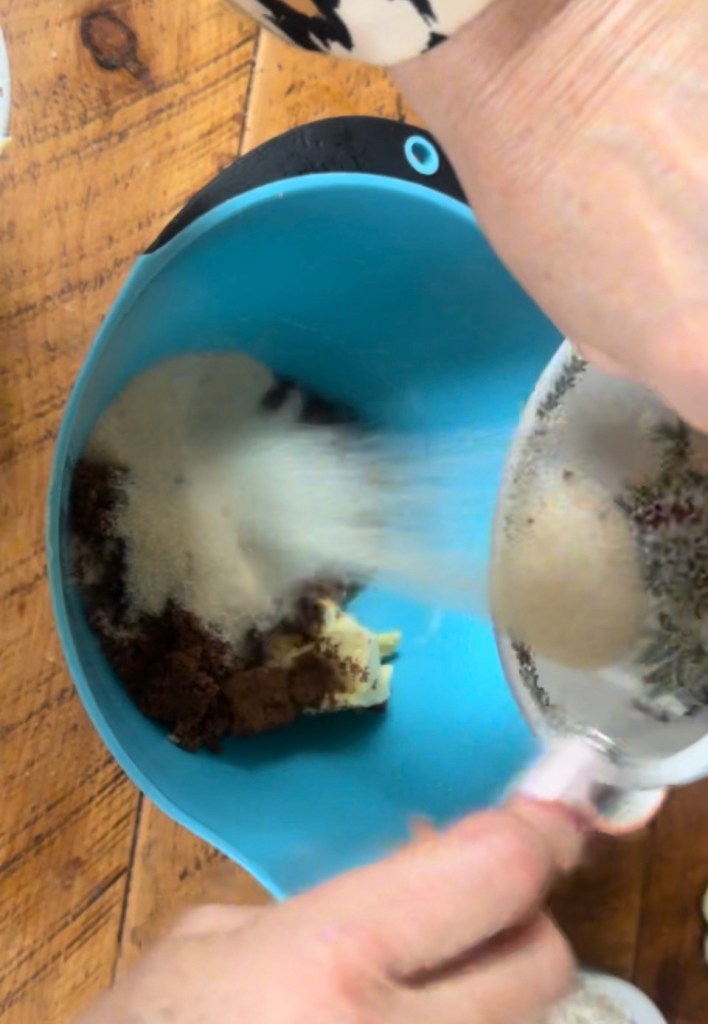
Cream the base: In a large mixing bowl, beat together the butter, both sugars, and vanilla extract until pale and creamy. You can use a hand‑held whisk, but mixing by hand works just as well (and makes your kitchen smell heavenly).
Add the egg: Crack in your egg, then mix again until smooth and glossy.
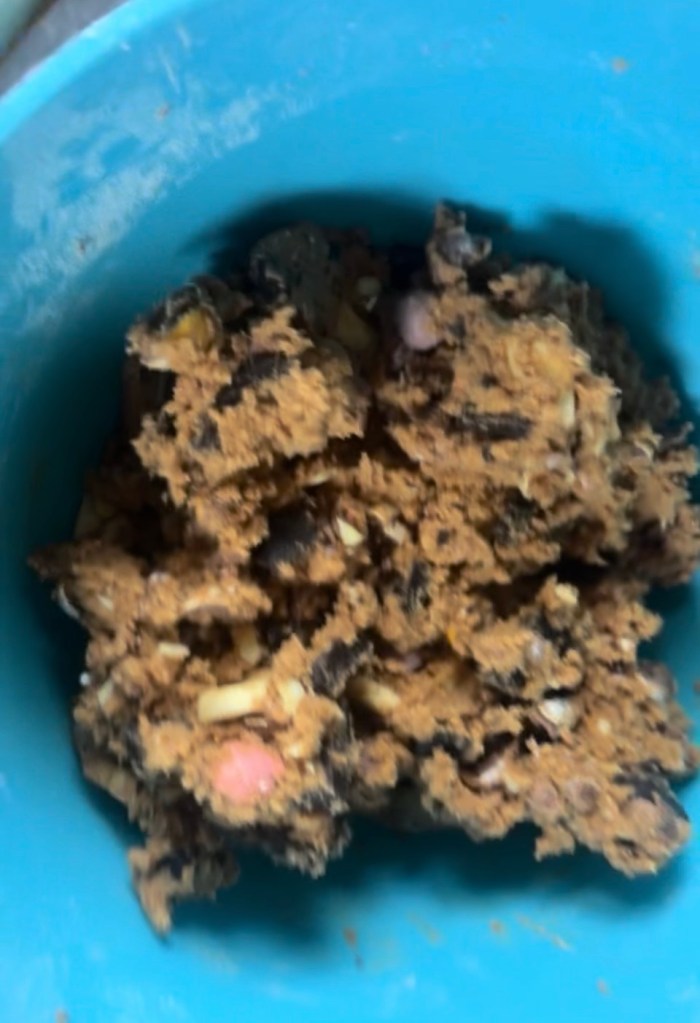
Form the dough: Add the flour, bicarbonate of soda, and a pinch of salt. Fold gently until everything comes together — it should feel thick and a little sticky.
Add the magic: Stir through the white and dark chocolate chunks and about half of your crushed Mini Eggs. Save the bigger, prettier pieces to press on top later — they’ll make the cookies look beautiful when baked.
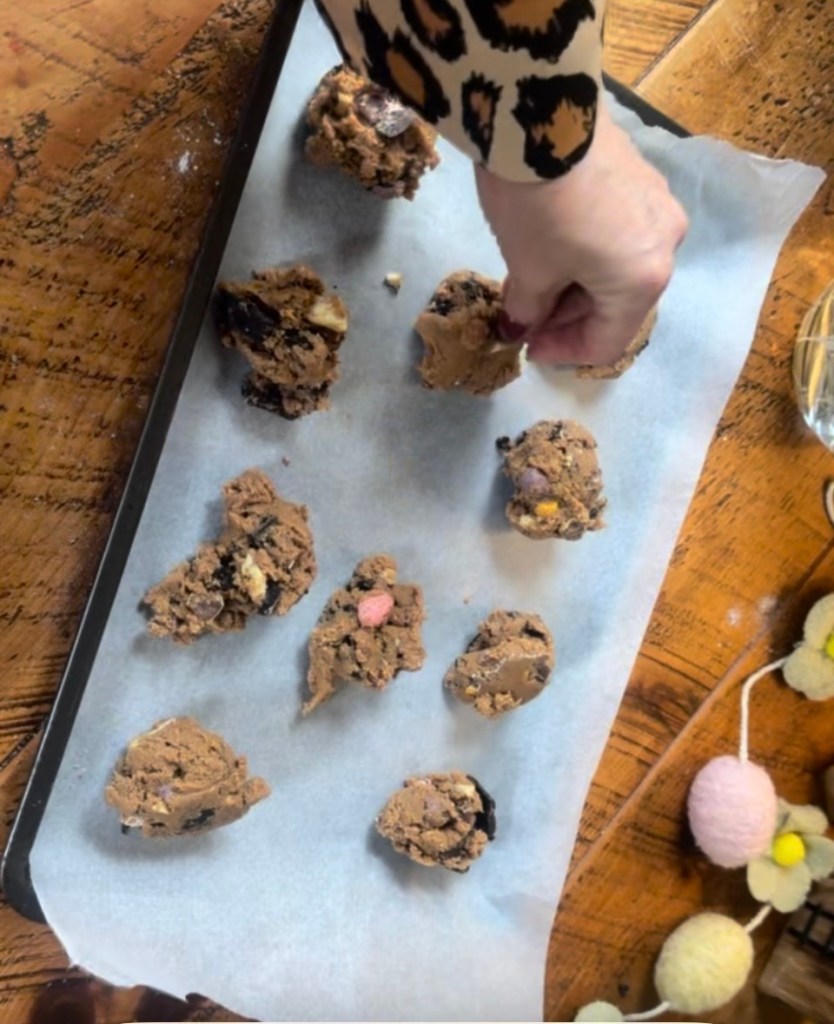
Shape & chill: Scoop out golf ball‑sized mounds of dough and place them on the trays (4–6 per tray so they have room to spread). For that perfect chunky bakery-style cookie, chill the dough for 30 minutes before baking.
Bake to perfection: Bake for 15–18 minutes, swapping trays halfway through. You want the edges golden and just set, but the middles still soft and pale. That’s the secret to the gooey texture.
Cool & serve: Leave the cookies on the tray for 10 minutes to finish setting, then move them to a cooling rack. It’s honestly worth waiting a few minutes before biting in — but if a little melted chocolate ends up on your fingers, that’s part of the fun.
🌷 A Few Baking Notes • If you prefer crispy cookies, add a couple of extra minutes to the baking time. • Freeze‑ahead tip: shape the dough balls, place them on a tray to freeze, then store in a container for up to 3 months. Bake straight from frozen, adding 2–3 minutes to the time. • They make a lovely homemade gift — stack a few, tie them up in a clear bag with ribbon, and add a little Easter tag.
💬 Final Thoughts Sometimes the simplest bakes are the most special. These cookies don’t just taste amazing; they bring everyone into the kitchen — chatting, laughing, stealing bits of dough when they think no one’s looking. So pour yourself a cuppa, pop on a playlist, and bake a tray. When that first batch comes out warm and golden, you’ll understand why these have become our Easter tradition. 🐣💐 Happy baking from our kitchen to yours.