Tag: #creamy

  • Better Than Restaurant Salmon Alfredo (In Just 20 Minutes!) 🤫✨

    Better Than Restaurant Salmon Alfredo (In Just 20 Minutes!) 🤫✨

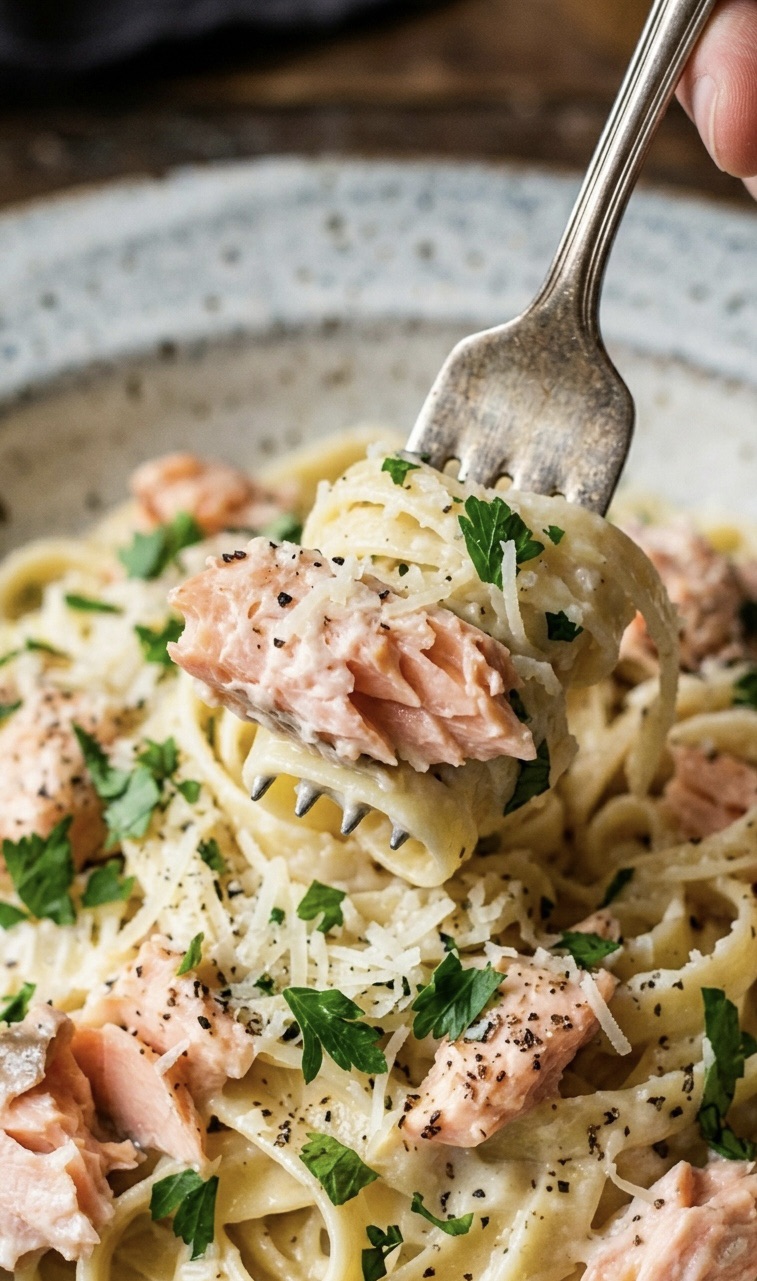
    Want restaurant-quality pasta without leaving the house? This ultra-creamy, foolproof Salmon Alfredo takes just 20 minutes, using fresh salmon baked perfectly in the oven and a rich sauce made on the hob


    Look, we’ve all been there. It’s 6:00 PM on a weekday, you’re completely wiped out, but you’re absolutely craving something fancy and comforting. You could spend a small fortune ordering a lukewarm pasta delivery… or you could make this.

    Honestly, this Creamy Salmon Alfredo is a total game-changer.

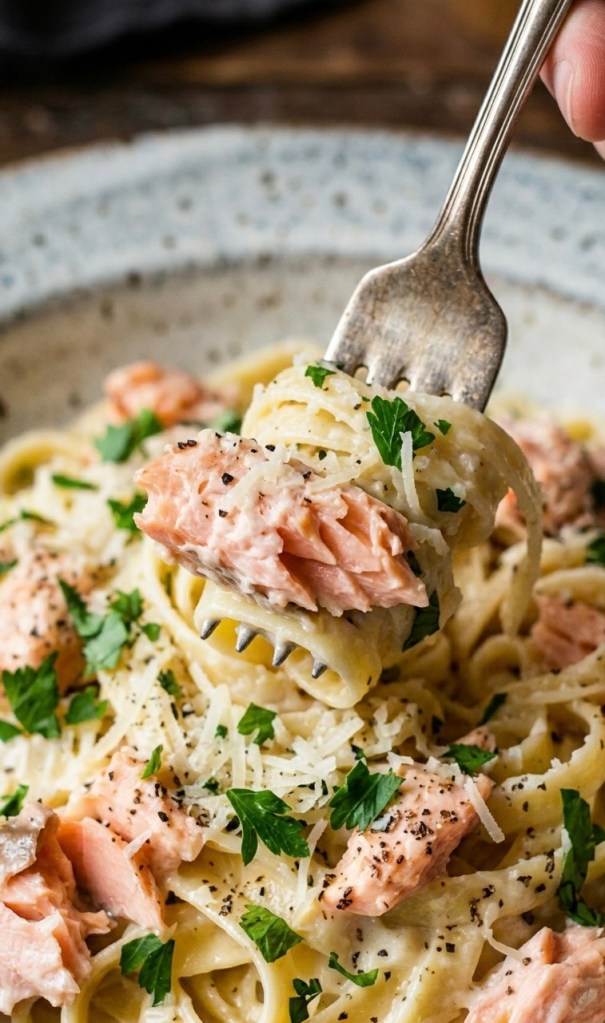
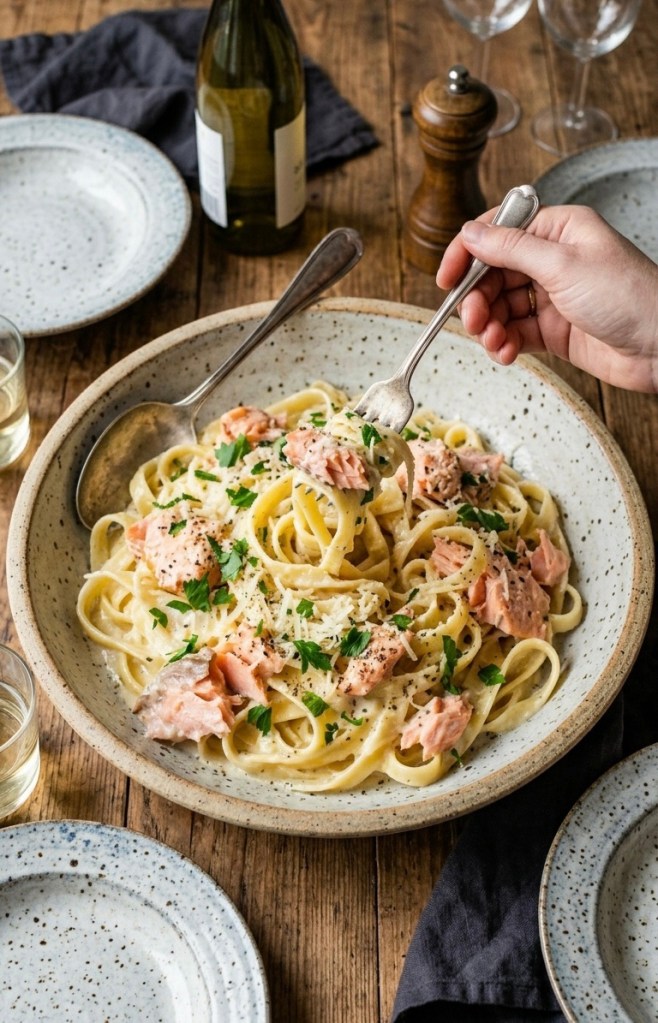
    We are using ordinary fresh salmon fillets for this, baking them to absolute perfection in the oven so they stay incredibly juicy and tender. While the oven does the heavy lifting with the fish, you’ll whip up a velvety, rich Parmesan cream sauce right on the hob. Then, you just flake those beautiful, tender salmon chunks straight into the glossy fettuccine. It is absolute luxury in a bowl.

    Let’s get cooking!


    🔥 Why This Recipe Is A Total Winner

    • Hands-Off Salmon: Baking the salmon in the oven locks in all the moisture and means you don’t have to stand over a spitting pan flipping delicate fish. It’s pretty much impossible to overcook it this way!
    • The “Liquid Gold” Secret: We’re using starchy pasta water on the hob to bind everything together. It turns a basic cream-and-cheese mix into that glossy, silky sauce you usually only get at high-end Italian spots.
    • Super Fast: Because the salmon bakes while your pasta boils, the whole meal comes together in about 20 minutes flat.

    🛒 What You’ll Need

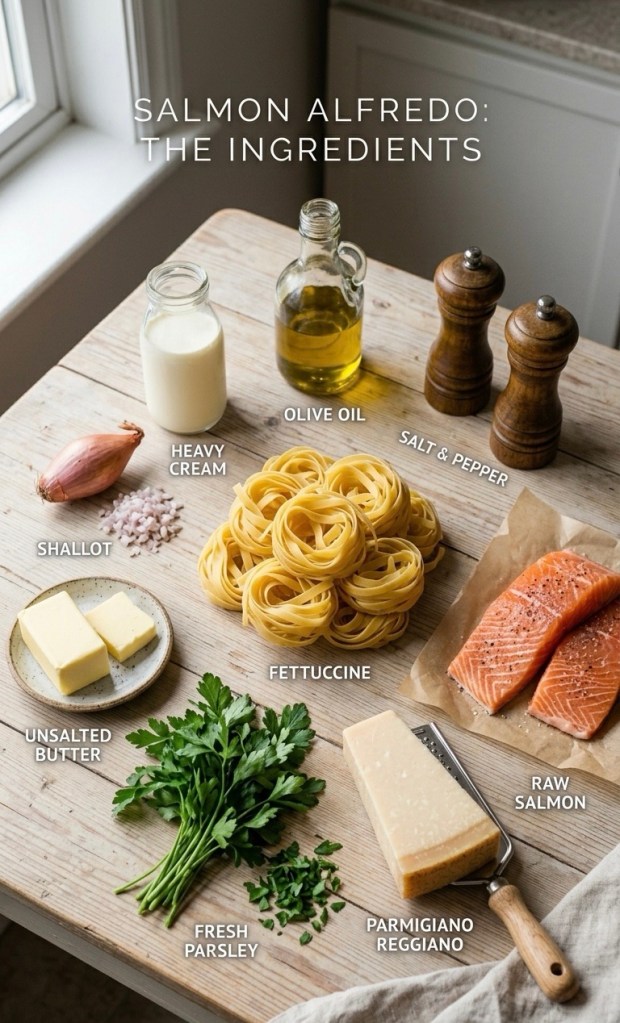
    Here’s your quick shopping list. This recipe makes enough for 2 to 3 very happy people. Ingredient Quantity My Personal Notes Fresh Salmon Fillets 250g Just standard raw fillets (skin-on or skinless is fine) Dried Fettuccine 250g Tagliatelle or linguine work perfectly too Unsalted Butter 50g Use unsalted so your sauce isn’t a total salt bomb Shallot 1 small Chop this up as finely as you can Double Cream 125ml Don’t skimp here—double cream gives it that signature thickness Parmigiano Reggiano 60g Grate it fresh! The pre-packaged powder won’t melt right Salt & Black Pepper To taste A bit for the fish, a bit for the sauce Fresh Parsley A handful Optional, but it makes it look pretty


    👩‍🍳 Let’s Make It!

    1. Bake the Salmon

    Preheat your oven to 200°C (180°C Fan / Gas Mark 6). Line a tray with baking paper, lay your fresh salmon fillets down, and rub the flesh with a tiny bit of oil or butter. Pop a pinch of salt and pepper on top.

    Bake for 12 to 15 minutes until it flakes easily with a fork. Pull it out of the oven, slide the skin off (if it had any), and gently flake the meat into big, rustic chunks. Set them aside for the very end.

    2. Boil Your Pasta on the Hob

    While the salmon is in the oven, get a big pan of salted water to a rolling boil on the hob. Drop in your fettuccine and cook until it’s al dente (cooked through but still has a bit of a bite).

    🛑 DO NOT SKIP THIS: Before you drain the pasta, grab a mug and scoop out 120ml (about ½ cup) of that cloudy pasta water. This is our secret weapon! Now you can drain the rest of the pasta in a colander.

    3. Start the Cream Base

    Melt your 50g of butter in a deep frying pan on the hob over a medium heat. Throw in your chopped shallot and sauté for about 2 minutes until soft and sweet. Pour in the 125ml of double cream and bring it to a quick bubble, then turn the heat straight down to medium-low and let it simmer for 3 minutes to thicken up.

    4. Make It Cheesy

    Take the frying pan completely off the heat source. Stir in your 60g of grated Parmigiano Reggiano, a final ¼ tsp of salt, and a generous grind of black pepper. Keep stirring until the cheese completely melts into a silky, smooth sauce.

    5. Bring It All Together on the Hob

    Toss your drained fettuccine, that 120ml of saved pasta water, and your gorgeous oven-baked salmon chunks right into the sauce. Put the pan back on the hob over a medium heat.

    Toss very gently for 1.5 to 2 minutes so you don’t break up the salmon. You’ll see the magic happen right before your eyes—the starchy water and cream will marry together into a glossy sauce that clings beautifully to every single noodle without pooling at the bottom of the pan.


    💡 Quick Tips for Perfection

    • Seriously, Grate Your Own Cheese: Pre-shredded cheese in packets is coated in starch to stop it clumping, which means it will make your sauce grainy. Grate a block yourself for that ultra-smooth finish.
    • Keep the Salmon Large: When you’re mixing everything at the end, channel your inner chef and toss gently. If you stir too hard, those lovely oven-baked salmon pieces will disintegrate into mush. Bigger chunks mean a much better texture!

    💬 Over To You!

    Are you team parsley or do you like a squeeze of fresh lemon juice on your salmon pasta? Let me know in the comments below if you try this out!

  • The No-Bake Biscoff Cheesecake Everyone Will Ask For

    The No-Bake Biscoff Cheesecake Everyone Will Ask For

    There are some desserts that look like you’ve gone to loads of effort, when really the fridge has done most of the work. This no-bake Biscoff cheesecake is exactly that kind of pudding.

    It’s creamy, rich, caramel-biscuity and just a little bit over the top in the best way. The base is made with crushed Biscoff biscuits and melted butter, the filling is soft and mousse-like with plenty of Biscoff spread, and the top has that glossy melted Biscoff finish that makes it look properly special.
    This is the sort of dessert I’d make the night before people are coming round, then feel very smug about the next day. No oven, no gelatine, no complicated steps. Just mix, chill and decorate.


    Why You’ll Love This Recipe


    This cheesecake is perfect if you want something impressive but easy. It slices beautifully once chilled, it tastes like a caramel biscuit dream, and it’s a lovely make-ahead dessert for birthdays, family meals, Sunday lunch or Christmas buffets.
    It’s also one of those recipes that people always ask about. If you put this on the table, someone will want the recipe before they’ve even finished their slice.

    Ingredients

    For the base
    • 250g Biscoff biscuits
    • 100g unsalted butter, melted

    For the cheesecake filling


    • 500g full-fat cream cheese
    • 300ml double cream
    • 100g icing sugar
    • 1 tsp vanilla extract
    • 200g Biscoff spread


    For the topping

    • 150g Biscoff spread
    • 4 to 6 Biscoff biscuits, crushed
    • Optional: whipped cream, extra biscuits or mini Biscoff biscuits for decorating


    How to Make No-Bake Biscoff Cheesecake


    Start by lining the base of a 20cm springform tin with baking paper. This makes it much easier to remove the cheesecake later.


    Crush the Biscoff biscuits into fine crumbs. You can do this in a food processor, or pop them into a food bag and bash them with a rolling pin.

    Mix the crumbs with the melted butter until they look like wet sand.


    Press the biscuit mixture firmly into the base of the tin. I like to use the end of the rolling pin of the bottom of a glass to really compact it down. This helps the base hold together when you slice it.

    Pop it in the fridge while you make the filling.

    In a large bowl, beat together the cream cheese, icing sugar, vanilla extract and Biscoff spread until smooth.

    Add the double cream and whip until the mixture is thick and holds its shape.


    Spoon the filling over the chilled biscuit base and smooth the top.

    Cover and chill in the fridge for at least 6 hours, but overnight is best if you want neat, clean slices.


    For the topping, gently melt the Biscoff spread in the microwave for around 20 to 30 seconds until it’s pourable.

    Let it cool slightly, then pour it over the cheesecake.

    Sprinkle with crushed Biscoff biscuits and decorate however you like.


    Chill again for 30 minutes before slicing.


    My Best Tips


    Use full-fat cream cheese. The lighter versions can make the cheesecake too soft and it may not set properly.
    Make sure your double cream is cold before whipping. It thickens much better straight from the fridge.

    Don’t rush the chilling time. I know it’s tempting, but this cheesecake really does need time to firm up.


    For neat slices, dip a sharp knife in hot water, wipe it dry, then cut. Repeat between slices if you want it to look really tidy.


    How Long Does It Keep?

    This no-bake Biscoff cheesecake will keep in the fridge for up to 3 days. Keep it covered or in an airtight container so it stays fresh.
    I wouldn’t leave it out at room temperature for too long because of the cream cheese and double cream. Bring it out just before serving, then pop any leftovers back in the fridge.


    Can You Make It Ahead?


    Yes, and I actually recommend it. This cheesecake is best made the night before you need it. The texture firms up beautifully overnight and the flavour seems to get even better.

    You can add the melted Biscoff topping the night before too, or do that part on the day if you want it to look extra glossy and fresh.

    To me, this is the kind of dessert that feels like a proper little treat without needing hours in the kitchen. It’s creamy, cosy, sweet in all the right ways, and always feels a bit special when you bring it to the table. Whether you’re making it for family, friends, or just because you fancy something lovely in the fridge, this no-bake Biscoff cheesecake is one of those recipes you’ll come back to again and again.

    Shopping links

    Biscoff spread

    https://amzn.to/4cKFVta

    Biscoff biscuits

    https://amzn.to/3Peg3wP

    Vanilla essence https://amzn.to/4w1MpeT

    Springform tin

    https://amzn.to/4w7w3l2