Tag: #dessert-ideas

  • Why You’ll Never Buy Store-Bought Ice Cream Again (3 Ingredients!)

    Why You’ll Never Buy Store-Bought Ice Cream Again (3 Ingredients!)

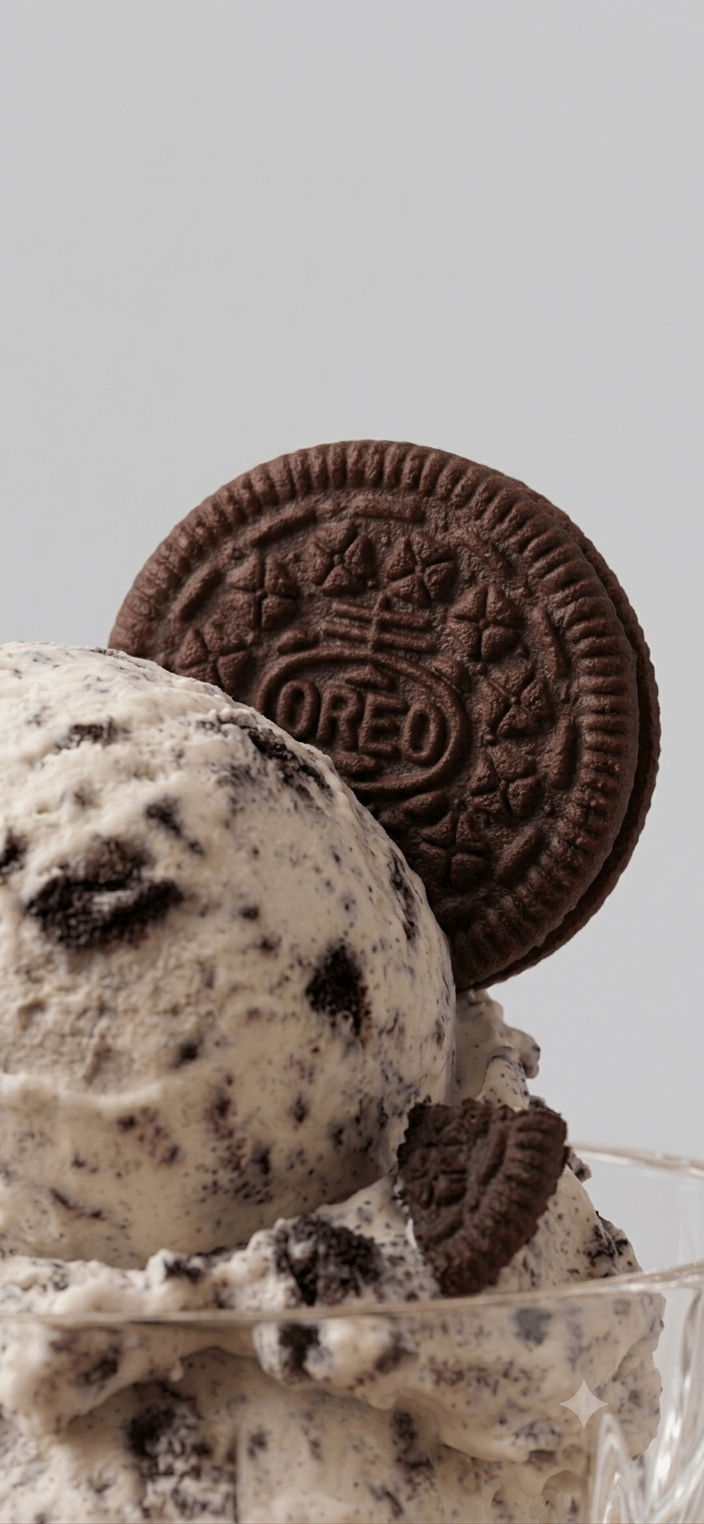
    Let’s be honest—is there anything better than a giant scoop of cookies and cream ice cream on a warm evening? But have you ever looked at the back of a carton at the shops? It’s usually packed with ingredients you can’t even pronounce.

    Well, I’ve got a secret for you. You can make the most velvety, decadent ice cream right in your own kitchen with only three ingredients. No fancy ice cream machine, no complicated techniques, just pure magic.

    Grab your whisk, crush those cookies, and let’s get into it!

    The Ingredients

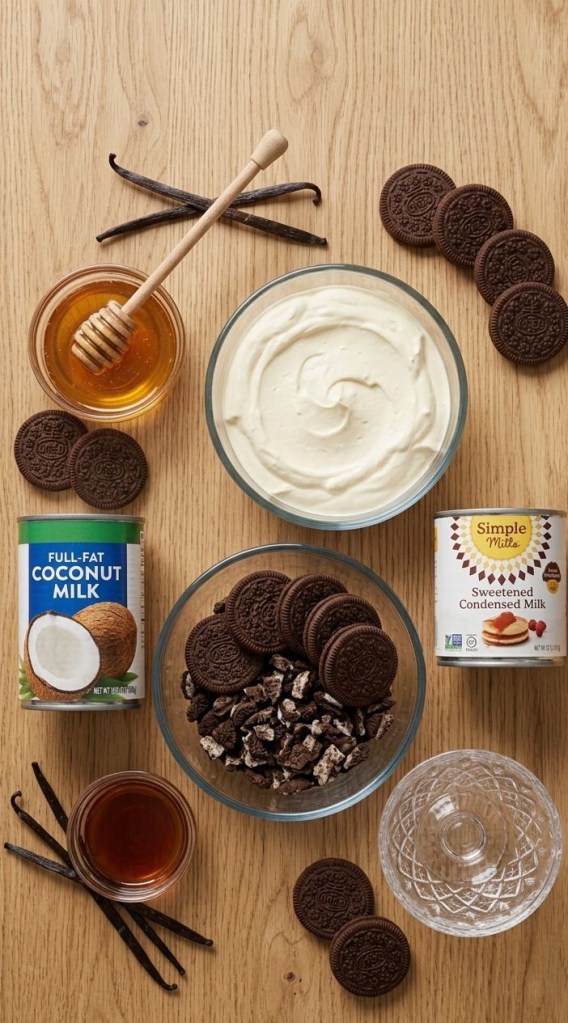
     475ml (2 cups) Double Cream – Cold from the fridge!

     1 tin (approx. 400g) Sweetened Condensed Milk – OR make it from scratch by simmering 1 tin of full-fat coconut milk with 120ml (1/2 cup) honey for 20-30 minutes until thick, then cooling completely.

     1 tbsp Vanilla Extract

     A mountain of crushed cookies – Your favorite chocolate sandwich cookies work best.

    The Method

    1. Whip the Cream: In a stand mixer or with a hand whisk, whip the double cream on high speed until you reach stiff peaks. The cream should stand up firmly on the whisk without drooping.

    2. Combine the Base: Gently fold your chosen sweet base (the condensed milk or your cooled coconut-honey mixture) and the vanilla extract into the whipped cream using a spatula. Be gentle—you want to keep all that beautiful air in the mixture!

    3. Add the Crunch: Fold in your crushed cookies. Don’t be shy—the more, the better.

    4. Freeze: Pour the mixture into a freezer-safe container. Cover it and freeze for several hours, or overnight, until firm.

    5. Serve: When you’re ready, take it out of the freezer for a few minutes to soften slightly, then scoop and enjoy!

    CTA: Seriously, try this out and let me know—what’s the first cookie you’re tossing into the mix? I’m a sucker for a classic dark cocoa biscuit, but I’d love to hear your favorite combos in the comments!

  • Why You Need This White Chocolate & Raspberry Traybake in Your Life

    Why You Need This White Chocolate & Raspberry Traybake in Your Life

    Hello, lovely bakers! Let’s have a proper catch-up. Is there anything better than the smell of something sweet baking in the oven? I’ve been craving something that strikes that perfect balance between indulgent and fresh, and I think I’ve found the answer.

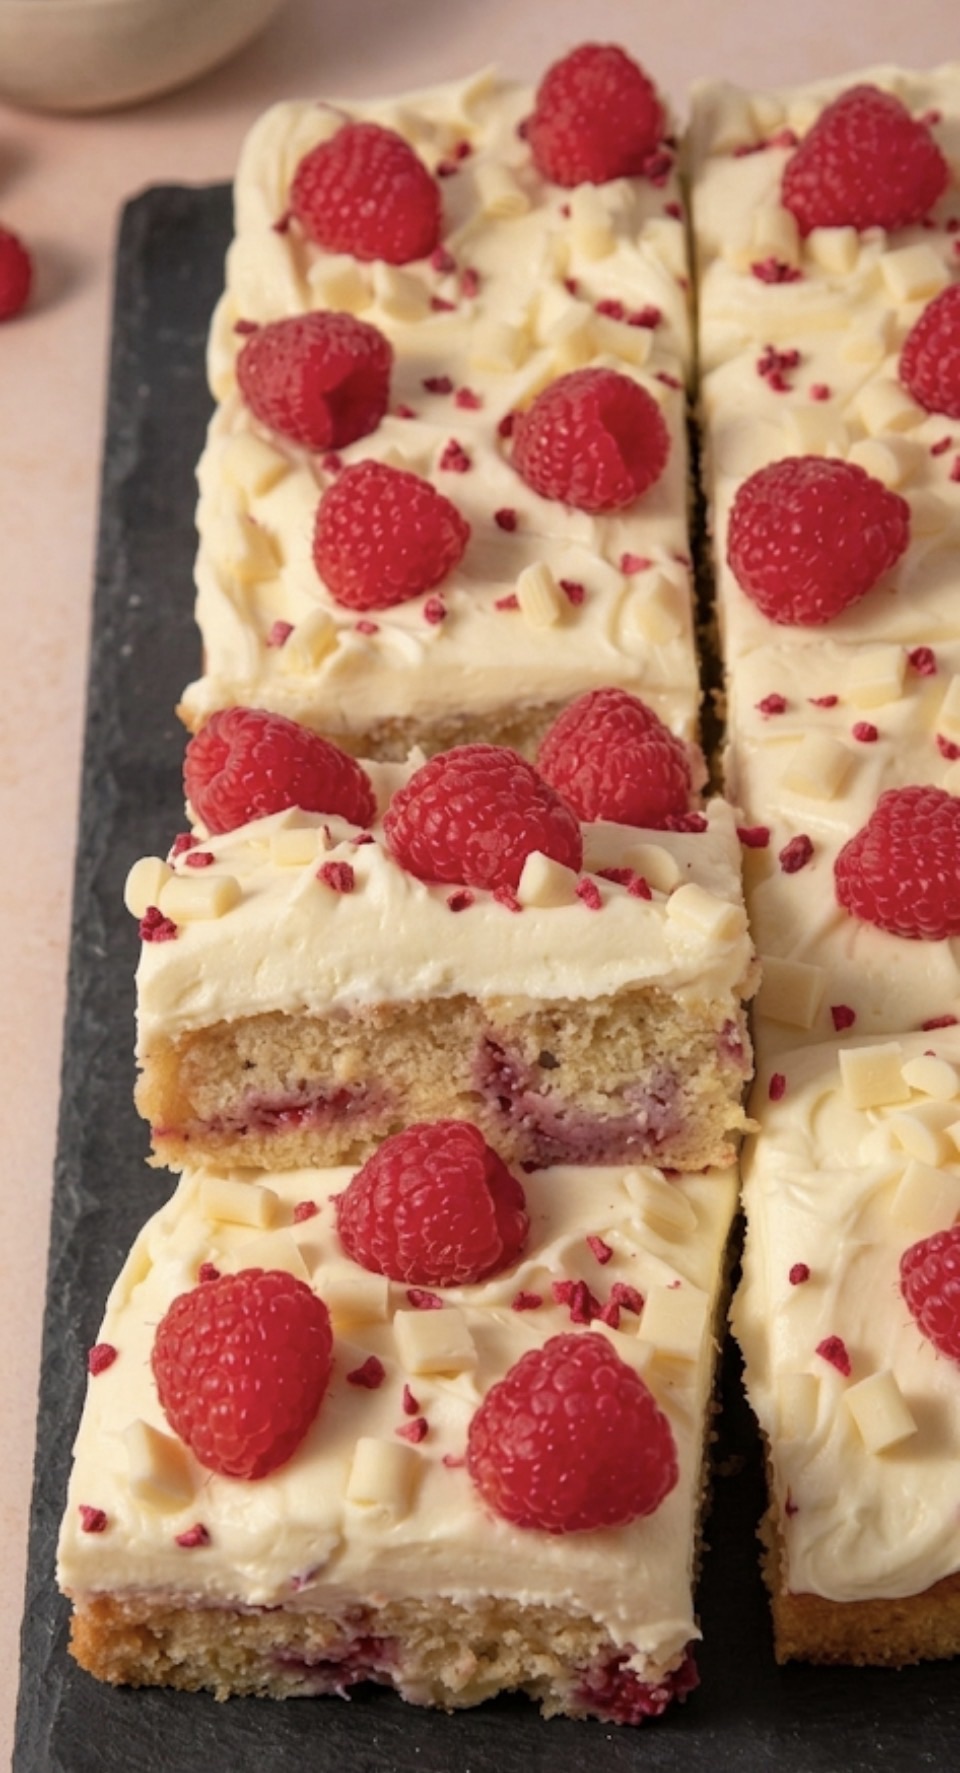
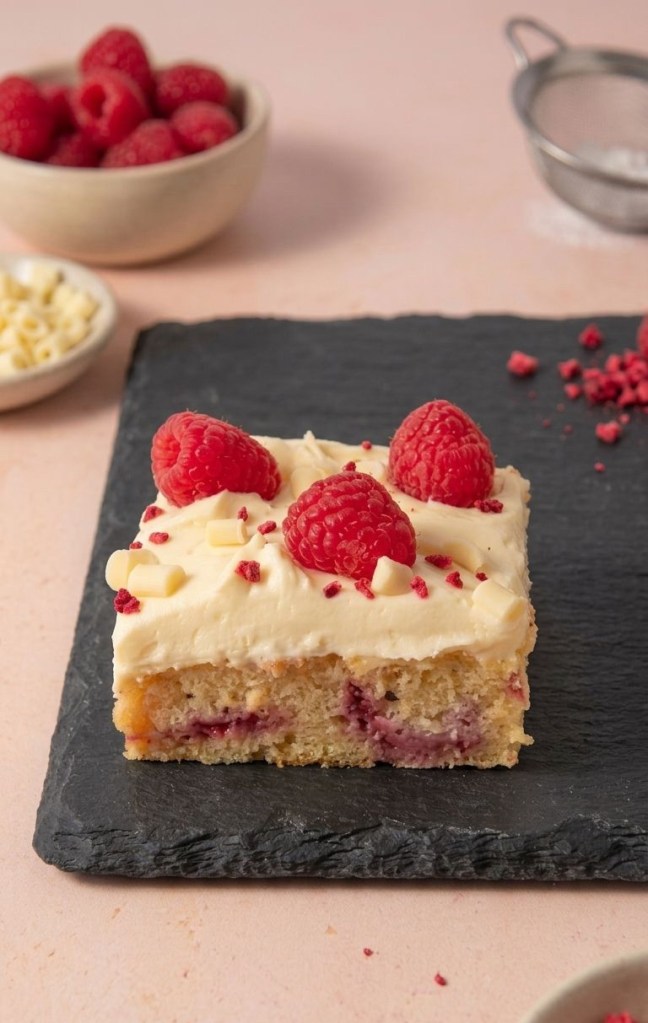
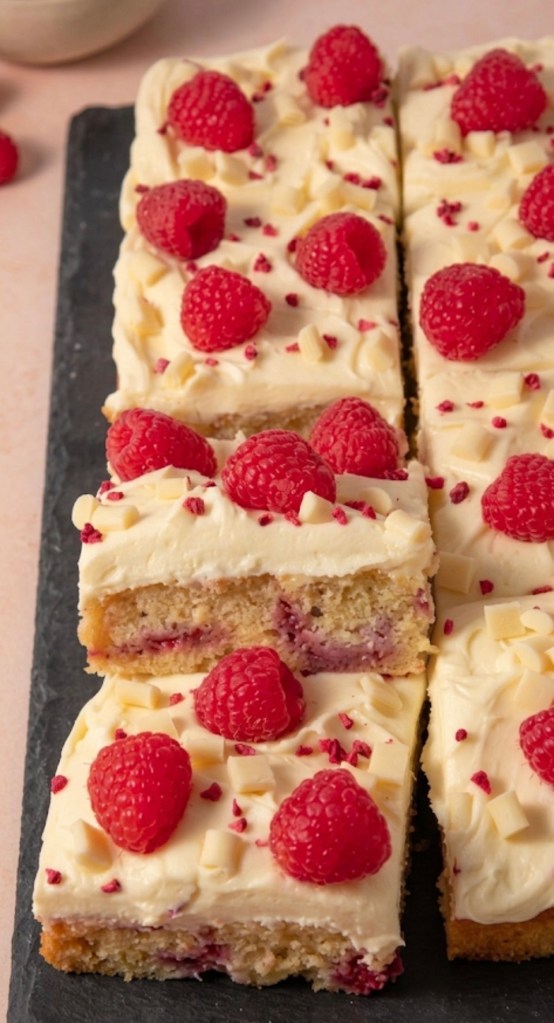
    If you’re looking for a crowd-pleaser that is honestly impossible to mess up, this White Chocolate and Raspberry Traybake is going to become your new best friend. It’s got that soft, buttery sponge we all love, pockets of tart raspberries that burst with flavour, and a silky white chocolate buttercream that brings it all together. It’s perfect for a rainy afternoon with a cuppa, or for bringing into the office when you want to be the favourite person of the day!

    What You’ll Need

    For the Cake:

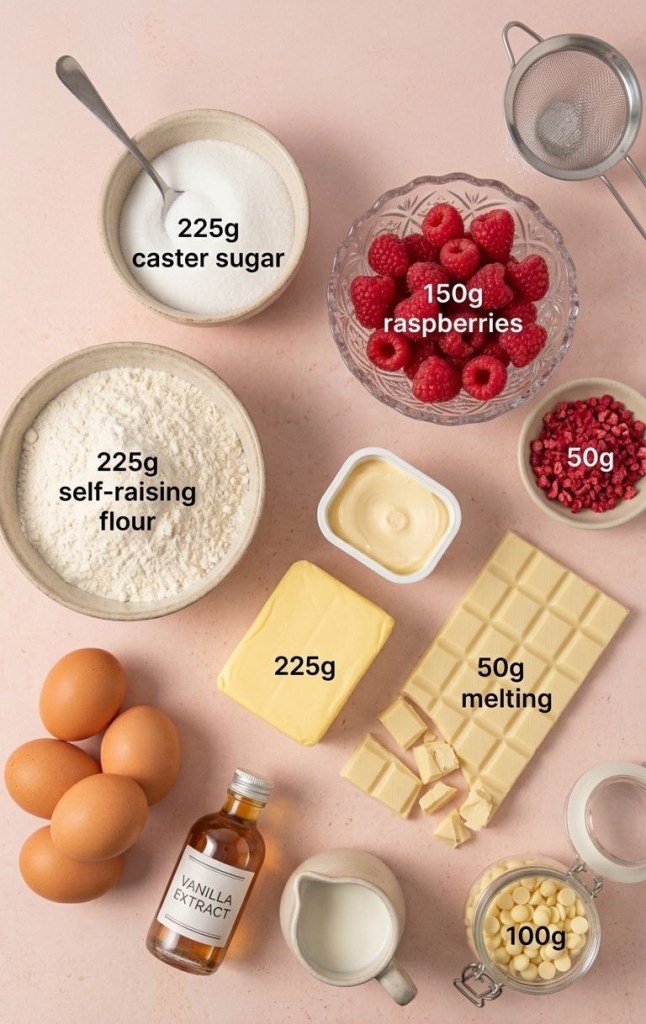
     225g baking spread or butter: Make sure it’s nice and soft so it creams together with the sugar like a dream.

     225g caster sugar: For that fine, even crumb.

     225g self-raising flour: The secret to a nice lift.

     4 large eggs: To bind everything together.

     1 tsp vanilla extract: Because, really, is it even baking without a dash of vanilla?

     2 tbsp milk: Just to loosen the batter slightly.

     150g fresh raspberries: Give these a little light coating in flour before they go in—it stops them from sinking to the bottom!

     100g white chocolate chips: For those lovely little pockets of sweetness.

    For the Buttercream & Topping:

     150g butter: Softened, for the base.

     300g icing sugar: Sift this if you want that super smooth finish.

     50g melted white chocolate: This is the magic ingredient that makes the frosting extra luxurious.

     A splash of milk: Add this slowly until you reach your perfect piping consistency.

     The finishing touches: Fresh raspberries, a scattering of white chocolate chips, and some crushed freeze-dried raspberries for that gorgeous pop of colour.

    The Method (Let’s Get Baking!)

    1. Prep is Key: Get your oven warming up to 160°C Fan / 180°C / Gas Mark 4. Grab your 12″ x 9″ tin and make sure it’s well-lined with baking parchment—it makes washing up so much easier later!

    2. Creaming: In a big mixing bowl, beat your butter and sugar together until the mix looks pale and really fluffy. This usually takes about 2-3 minutes; if you have an electric mixer, let it do the hard work for you.

    3. The Wet Ingredients: Crack in those eggs, add your vanilla and the milk, and give it all a good mix until it’s silky smooth.

    4. Folding: Gently fold in your flour. Once it’s just combined, tip in your flour-dusted raspberries and white chocolate chips. Be gentle here—we want to keep the fruit intact!

    5. Bake: Pour the batter into your tin, level it off, and pop it in the oven for about 25-30 minutes. You’re looking for a lovely golden top and a skewer that comes out clean.

    6. The Frosting: While the cake is cooling, whip your butter until it’s light, then slowly add the icing sugar and milk. Finally, pour in that melted white chocolate. If it feels a bit stiff, just add a tiny splash more milk until it’s smooth enough to spread.

    7. Decorate: Once the cake is completely cool (don’t rush this, or the icing will melt!), spread that beautiful buttercream all over the top. Add your raspberries and chocolate chips, and sprinkle over the freeze-dried raspberries to make it look like a bakery-standard treat.

    Slice it up, put the kettle on, and enjoy every single bite. If you have any left over, just keep it in an airtight container, and it should stay delicious for up to 3 days ..if it lasts that long which I doubt !

    Happy baking, everyone! Let me know in the comments how yours turned out!