Tag: #easter

  • Gooey Easter Mini Creme Egg Brownies

    Gooey Easter Mini Creme Egg Brownies

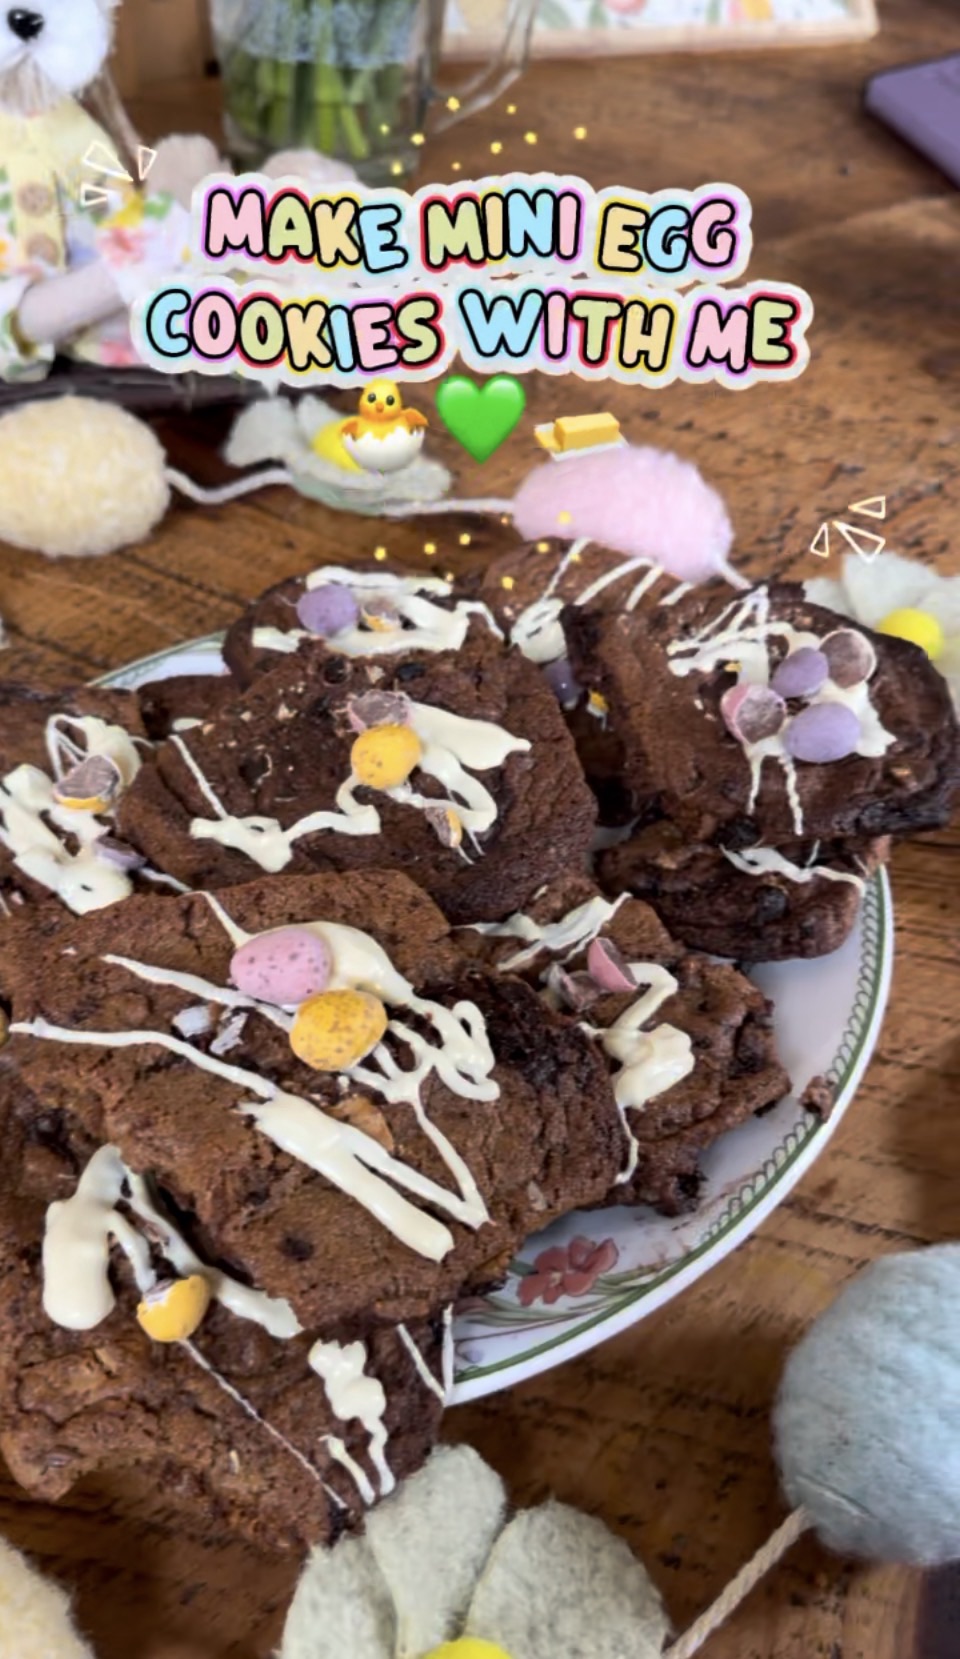
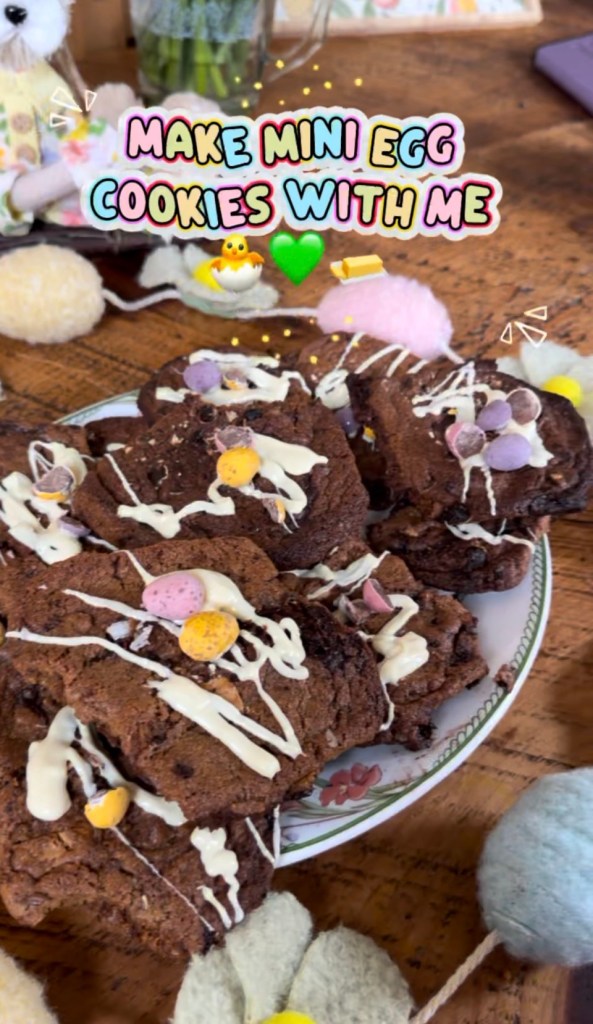
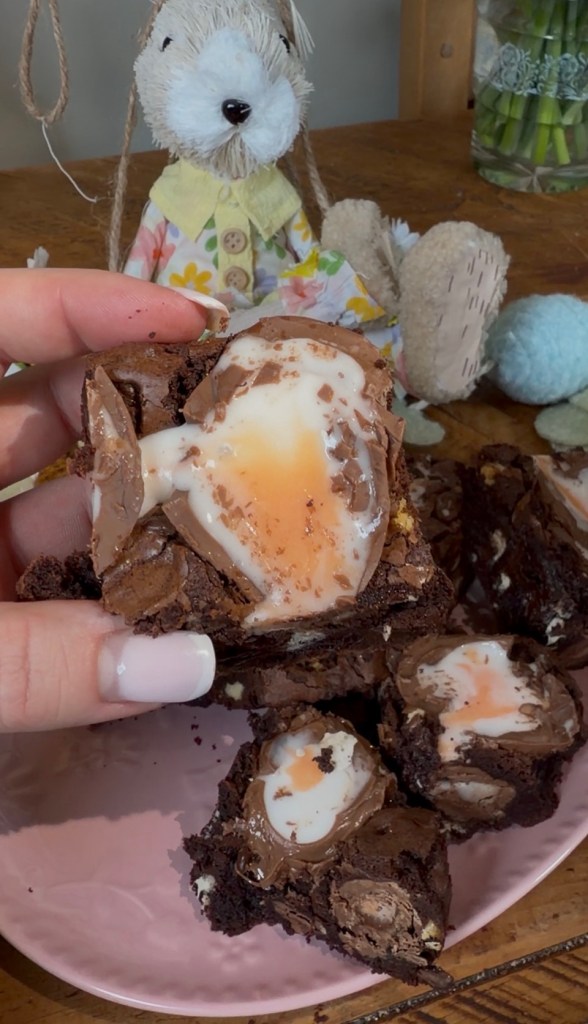
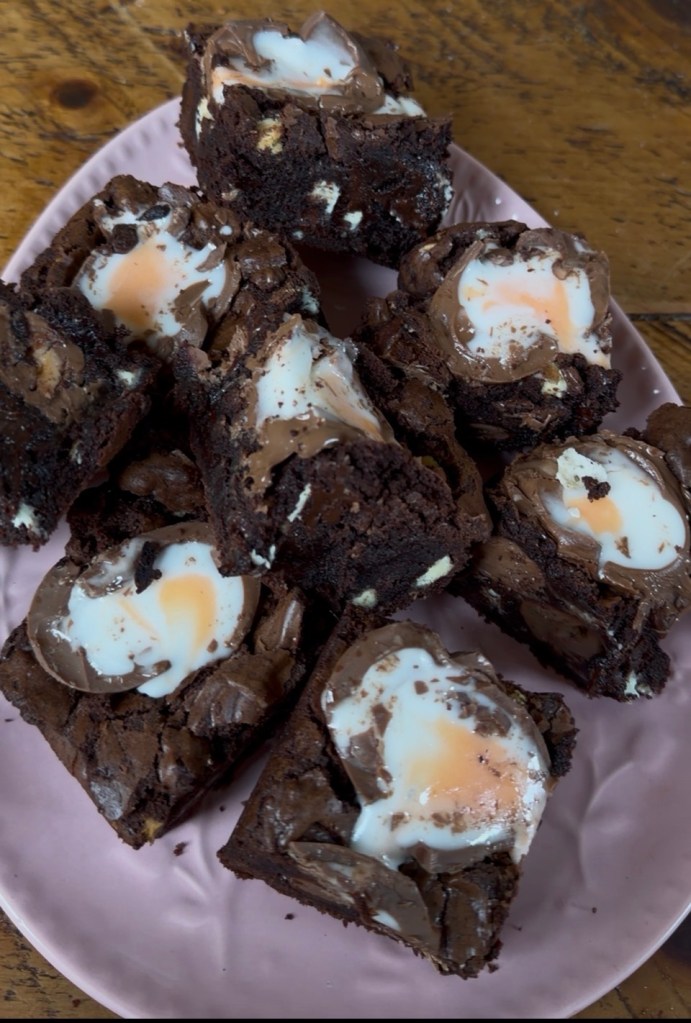
    If there’s one thing I have to bake every Easter, it’s these Gooey Mini Creme Egg Brownies. They’re rich, fudgy, a little bit messy, and absolutely loaded with chocolate – basically everything you want from an Easter treat in one tray.They’re the kind of brownies you pop down on the table and everyone quietly hovers, “just waiting” for you to say it’s okay to dig in. Whether you’re baking for family, friends, or just because you fancied something chocolatey with a cuppa, these are such a simple little joy.
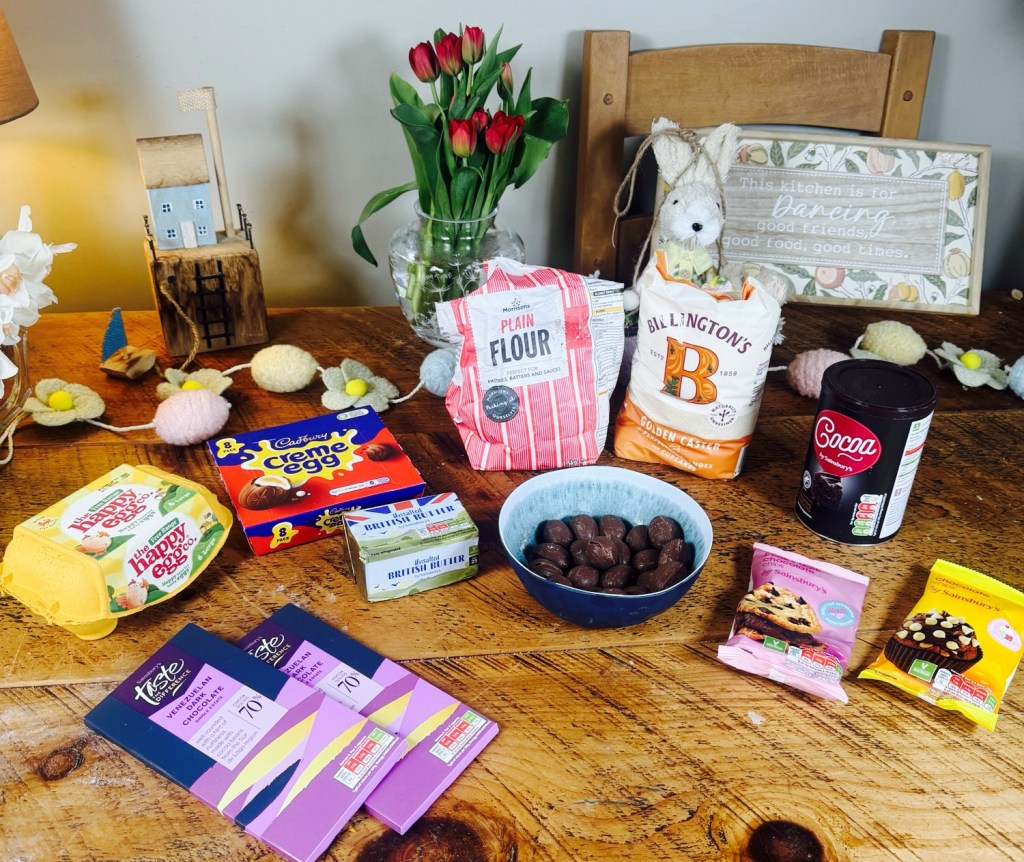
    Ingredients
    You’ll need:
    • 200 g unsalted butter
    • 200 g dark chocolate
    • 3 large eggs
    • 275 g caster sugar
    • 100 g plain flour
    • 50 g cocoa powder
    • 100 g white chocolate chips
    • 100 g milk chocolate chips
    • 3 bags mini Creme Eggs, frozen and unwrapped (foil removed)
    • Extra Creme Eggs (halved) for the top – optional, but very hard to resist
    A quick tip: freezing the mini Creme Eggs first helps them keep that lovely gooey centre instead of disappearing completely into the batter.

    How to Make Them

    1. Get everything ready
      Preheat your oven to 180ºC (160ºC fan).
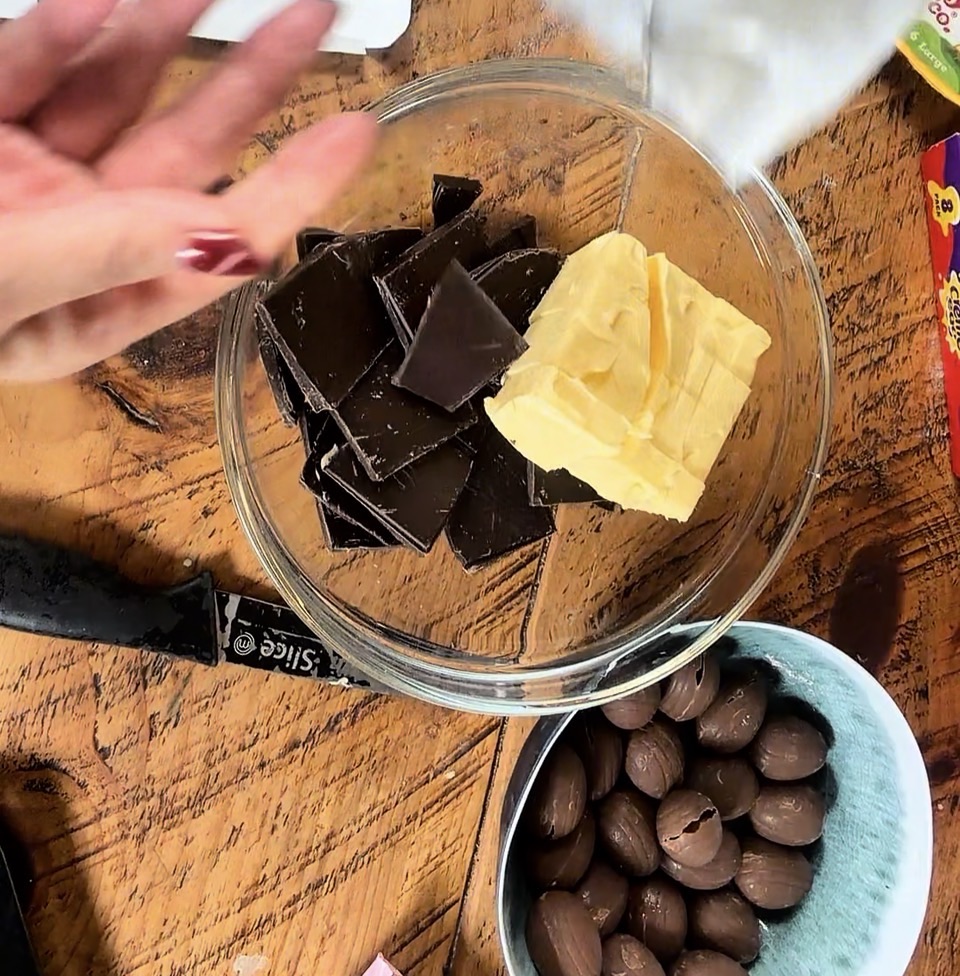
      Line a 9” square baking tin with parchment paper – I like to leave a bit hanging over the edges so you can lift the brownies out easily later.
    2. Melt the butter and chocolate
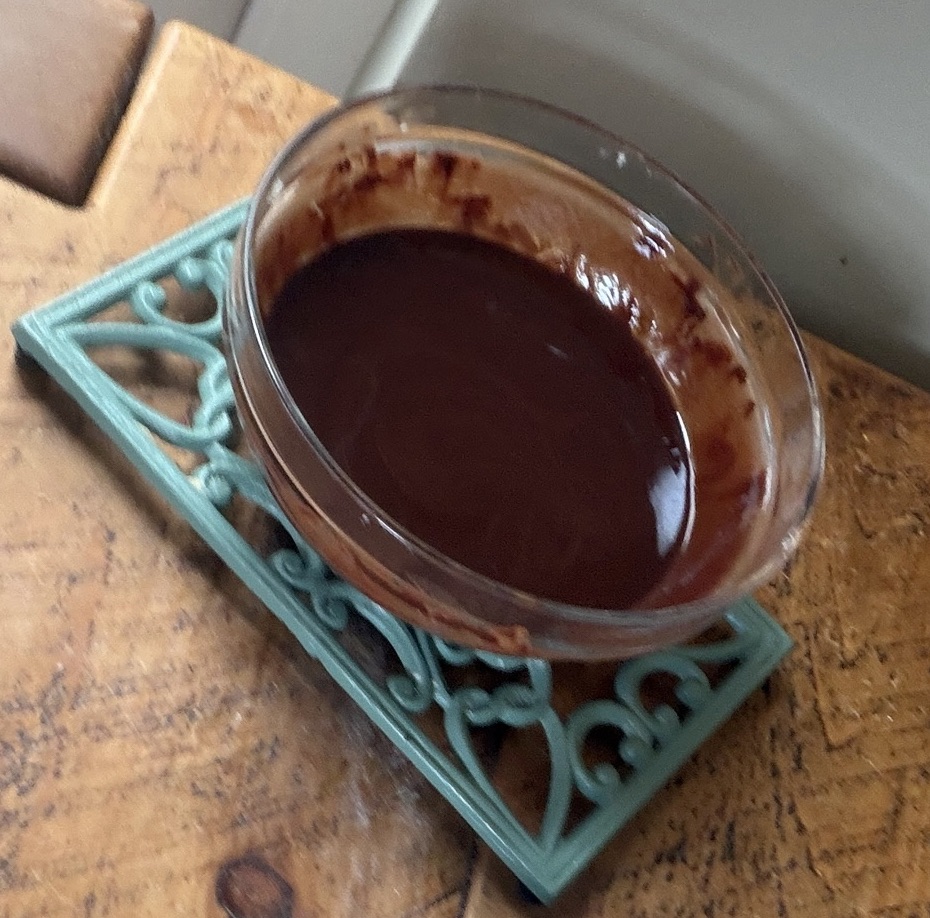
      Pop the butter and dark chocolate into a heatproof bowl.
      Gently melt it over a pan of simmering water, or microwave in short bursts, stirring in between, until it’s smooth and glossy.
      Set it aside to cool down a little – you want it closer to room temperature so it doesn’t cook the eggs.

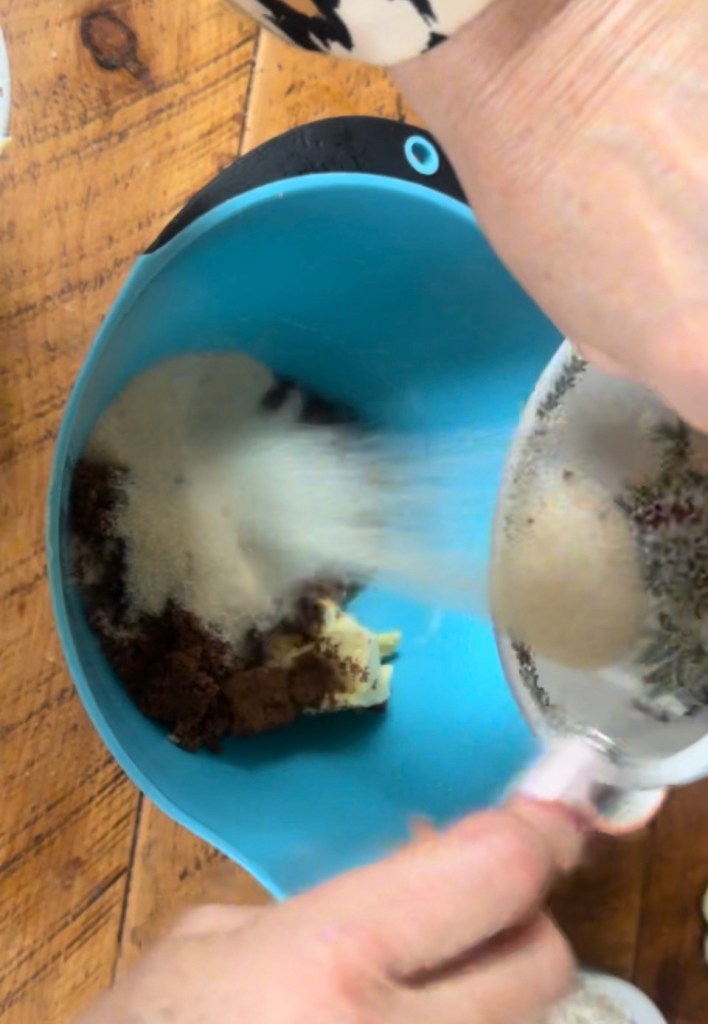
    3. Whisk the eggs and sugar
    In another bowl, whisk the eggs and caster sugar together.
    Keep going for a few minutes until the mixture turns pale, thick and mousse‑like, and almost doubles in volume. This step gives you that lovely shiny top and a gorgeous texture, so it’s worth the extra minute or two.

    4. Bring the two together
    Pour the cooled melted chocolate mixture over the whisked eggs and sugar.
    5. Gently fold everything together with a spatula until it looks smooth and combined. Take your time here – you don’t want to knock out all the air you’ve just whipped in.

    6. Add the dry ingredients
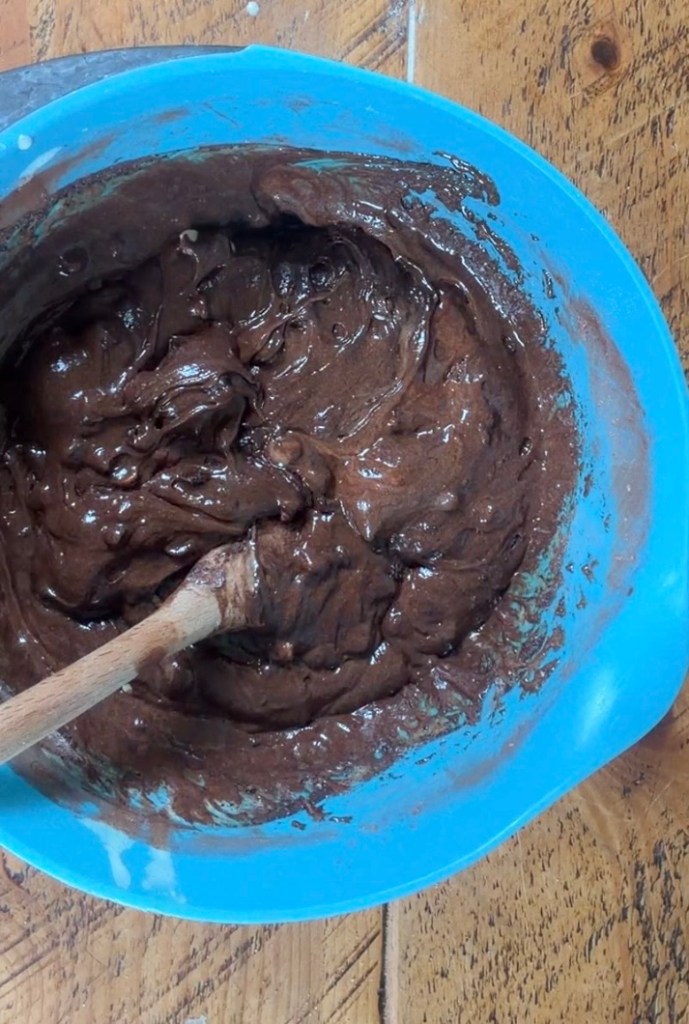
    Sift the plain flour and cocoa powder over the top of the mixture.
    Fold again until you can’t see any streaks of flour. It should look thick, glossy and very tempting already.

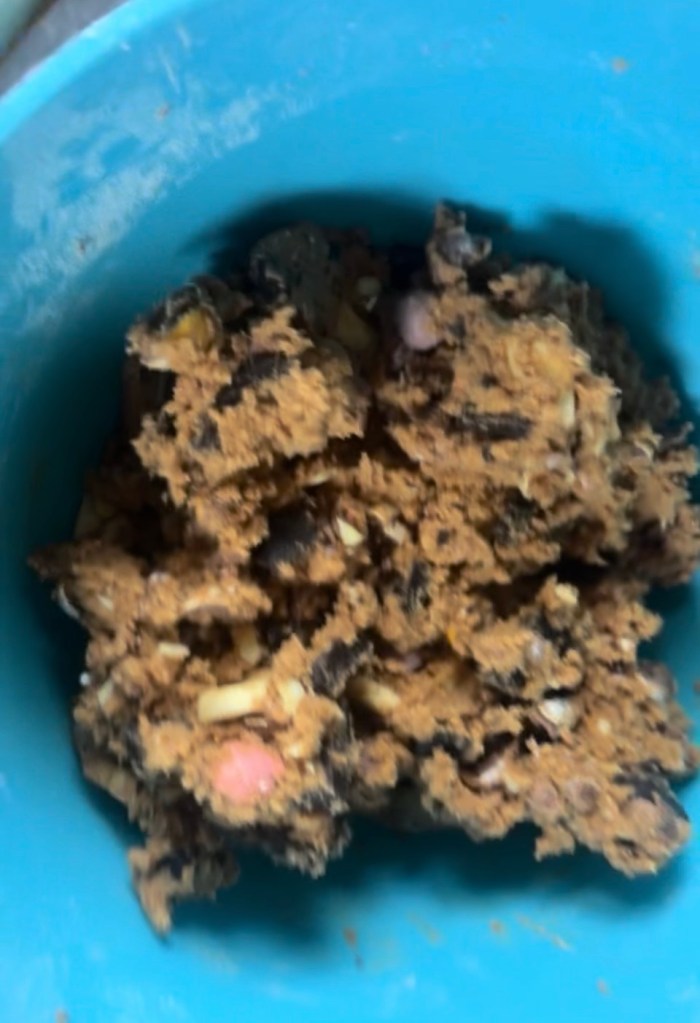
    7. Stir in the chocolate and Creme Eggs
    Now for the fun part.
    Fold through the white chocolate chips, milk chocolate chips and the frozen mini Creme Eggs. You should have a gloriously chunky, chocolate‑packed batter.
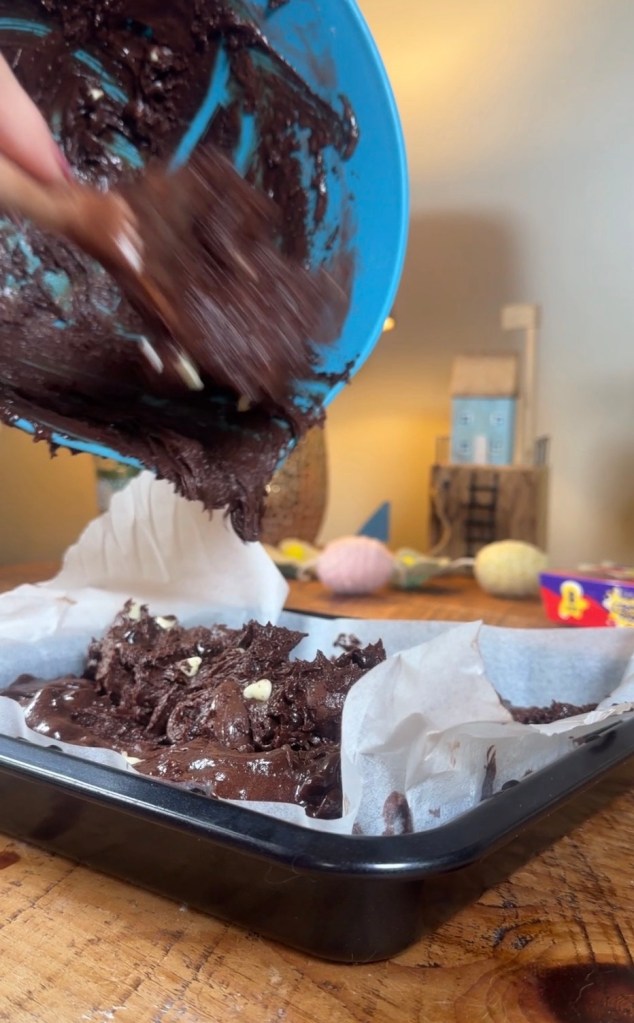
    8. Time to bake
    Pour the batter into your lined tin and level the top.


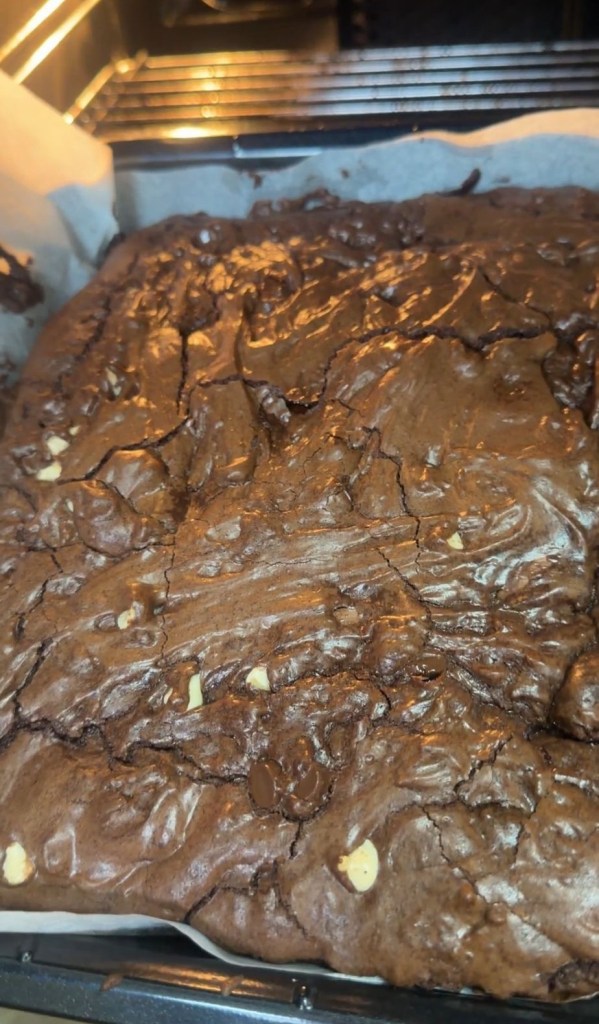
    9. Bake in the preheated oven for around 25–30 minutes.

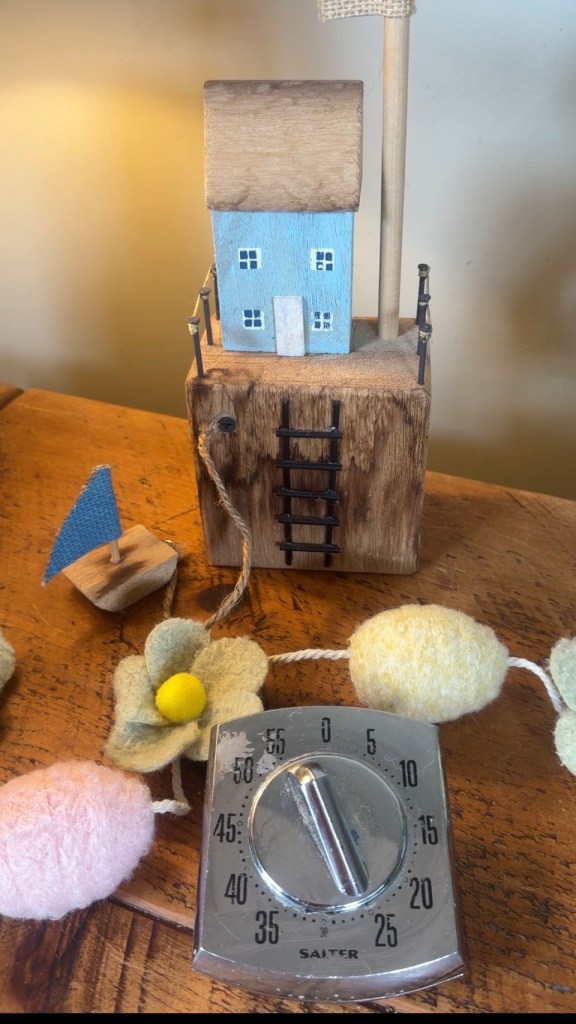
    The edges should look set, but the middle should still have a slight wobble – that’s your fudgy centre in the making.

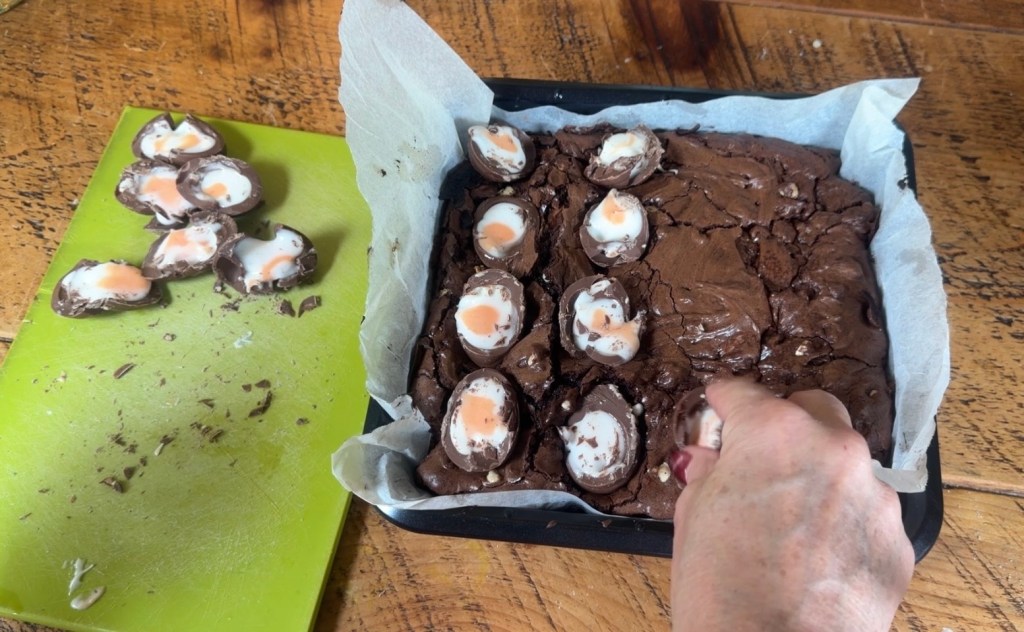
    10. Add the extra Creme Eggs
    When the brownies come out of the oven, gently press the halved Creme Eggs onto the top.
    They’ll soften and sink in slightly, giving you that picture‑perfect, gooey Easter brownie look.

    Let them set (the hardest part!)
    Leave the brownies to cool completely in the tin.


    If you want really neat slices, pop the whole tin into the fridge for a couple of hours so the chocolate can firm up.
    Once chilled, lift them out using the parchment and slice into squares or chunky bars. Serve at room temperature for maximum gooeyness.

    How to Serve
    This is where you can have a bit of fun:
    • Warm a slice gently and add a scoop of vanilla ice cream.
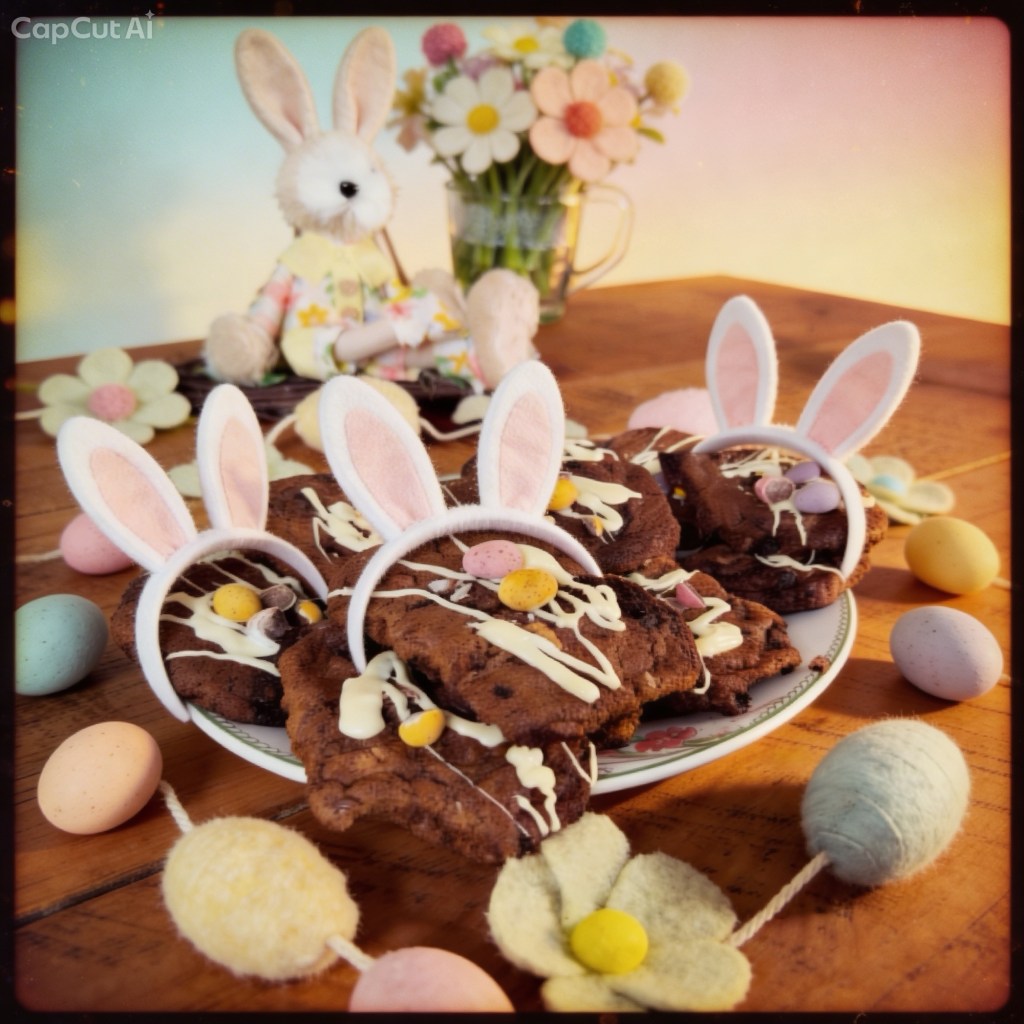
    • Pile them up on a plate or stand as a centrepiece for your Easter table.
    • Wrap a few pieces in parchment and ribbon as a sweet little gift for a neighbour, friend, or family member.
    They’re rich, indulgent, and feel just that little bit special – exactly what an Easter bake should be.

    Storing Your Brownies
    • Keep them in an airtight container at room temperature for up to 3 days.
    • If your kitchen is warm, you can store them in the fridge and bring them out a little before serving.
    • They also freeze really well: wrap slices individually and freeze for up to a month. Perfect for when you fancy a sneaky treat with a cup of tea.

    A Little Easter Tradition
    These brownies are one of those recipes that easily turn into a little ritual – you make them once, someone asks for them again next year, and suddenly they’ve become “your” Easter bake.
    If you do try them, I’d love to know how they went for you – did they make it to the table, or did everyone start picking at the tray while they were still warm?

    Links – small commission paid

    Russell Hobbs hand blender https://amzn.to/41AA0QS

    Tala self raising flour tin https://amzn.to/4s3CeDk

    Tala plain flour tin https://amzn.to/416gWdd

    Tala sugar tin https://amzn.to/4sZMn5r

    Baking tins https://amzn.to/3NLVWFF

    Measuring spoons https://amzn.to/4rWdSex

    Kitchen scales https://amzn.to/4thgZPq

    Wire cooling rack https://amzn.to/4dOxbD9

    trivet/ pan stand https://amzn.to/4tgDfsy

    baking parchment https://amzn.to/4s6Ok

  • 🍪 Soft & Gooey Mini Egg Cookies – Our Favourite Easter Bake 🐣💐

    🍪 Soft & Gooey Mini Egg Cookies – Our Favourite Easter Bake 🐣💐

    Every Easter, our kitchen starts to smell like pure happiness — that mix of butter, sugar, and melting chocolate means one thing: Mini Egg Cookies are back.This recipe has become a bit of a spring tradition for us. The first batch never makes it to the cooling rack because the moment those cookies come out of the oven, still warm and soft in the middle, we can’t resist breaking one open. The pastel colours of the Mini Eggs peek through the golden dough, and the centres stay deliciously gooey — it’s comfort and nostalgia in every bite.

    💕 Why You’ll Love These Cookies
    They’re simple to make — no fancy mixers, no tricky steps — just classic, homely baking. Yet they look like something from a bakery window. The mix of white and dark chocolate chunks gives a lovely balance of sweet and rich, while the crushed Mini Eggs bring that irresistible Easter crunch and colour.
    Whether you’re baking with little ones, creating gifts for friends, or just enjoying a quiet weekend bake (our favourite kind of self-care), these cookies are joyful, a little messy, and absolutely delicious.

    🧺 Ingredients
    • 175g softened butter
    • 200g light brown soft sugar
    • 100g golden caster sugar
    • 1 tbsp vanilla extract
    • 1 large egg
    • 250g plain flour
    • ½ tsp bicarbonate of soda
    • Pinch of sea salt
    • 50g white chocolate, chopped
    • 100g dark chocolate, chopped
    • 100g Mini Eggs, lightly crushed (save a few large pieces for decorating)

    🥣 Method

    • Preheat & prepare: Heat your oven to 190°C (170°C fan) and line two baking trays with parchment.
      Tip: If your kitchen is cool, leave the butter out a little longer — soft butter makes all the difference for that light, fluffy texture at the start.
    • Cream the base: In a large mixing bowl, beat together the butter, both sugars, and vanilla extract until pale and creamy. You can use a hand‑held whisk, but mixing by hand works just as well (and makes your kitchen smell heavenly).
    • Add the egg: Crack in your egg, then mix again until smooth and glossy.
    • Form the dough: Add the flour, bicarbonate of soda, and a pinch of salt. Fold gently until everything comes together — it should feel thick and a little sticky.
    • Add the magic: Stir through the white and dark chocolate chunks and about half of your crushed Mini Eggs. Save the bigger, prettier pieces to press on top later — they’ll make the cookies look beautiful when baked.
    • Shape & chill: Scoop out golf ball‑sized mounds of dough and place them on the trays (4–6 per tray so they have room to spread). For that perfect chunky bakery-style cookie, chill the dough for 30 minutes before baking.
    • Bake to perfection: Bake for 15–18 minutes, swapping trays halfway through. You want the edges golden and just set, but the middles still soft and pale. That’s the secret to the gooey texture.
    • Cool & serve: Leave the cookies on the tray for 10 minutes to finish setting, then move them to a cooling rack. It’s honestly worth waiting a few minutes before biting in — but if a little melted chocolate ends up on your fingers, that’s part of the fun.

    🌷 A Few Baking Notes
    • If you prefer crispy cookies, add a couple of extra minutes to the baking time.
    • Freeze‑ahead tip: shape the dough balls, place them on a tray to freeze, then store in a container for up to 3 months. Bake straight from frozen, adding 2–3 minutes to the time.
    • They make a lovely homemade gift — stack a few, tie them up in a clear bag with ribbon, and add a little Easter tag.

    💬 Final Thoughts
    Sometimes the simplest bakes are the most special. These cookies don’t just taste amazing; they bring everyone into the kitchen — chatting, laughing, stealing bits of dough when they think no one’s looking.
    So pour yourself a cuppa, pop on a playlist, and bake a tray. When that first batch comes out warm and golden, you’ll understand why these have become our Easter tradition.
    🐣💐 Happy baking from our kitchen to yours.

    MiniEggCookies #EasterBakes #HomeBaking #CookieRecipe #SpringTreats #UKBakers #BakingTok #LCLivingKitchen

    Links – small commission paid

    Russell Hobbs hand blenderhttps://amzn.to/41AA0QS

    Tala self raising flour tin https://amzn.to/4s3CeDk

    Tala plain flour tin https://amzn.to/416gWdd

    Tala sugar tin https://amzn.to/4sZMn5r

    Baking tray https://amzn.to/4dRbwu0

    Measuring spoons https://amzn.to/4rWdSex

    Kitchen scales https://amzn.to/4thgZPq

    Wire cooling rack https://amzn.to/4dOxbD9