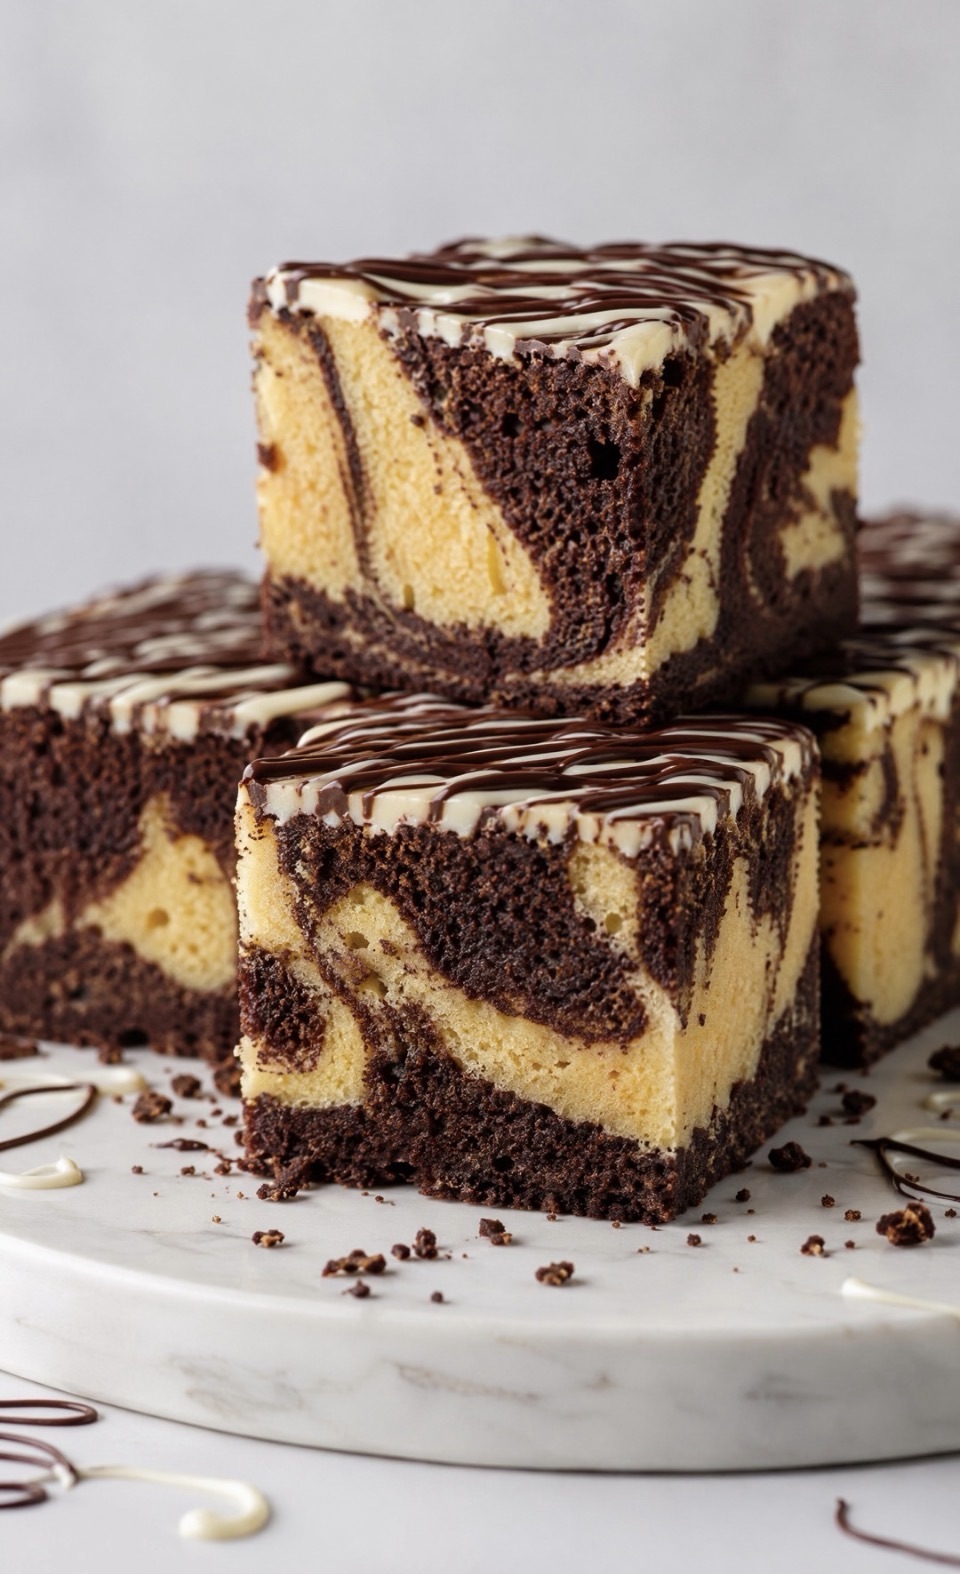
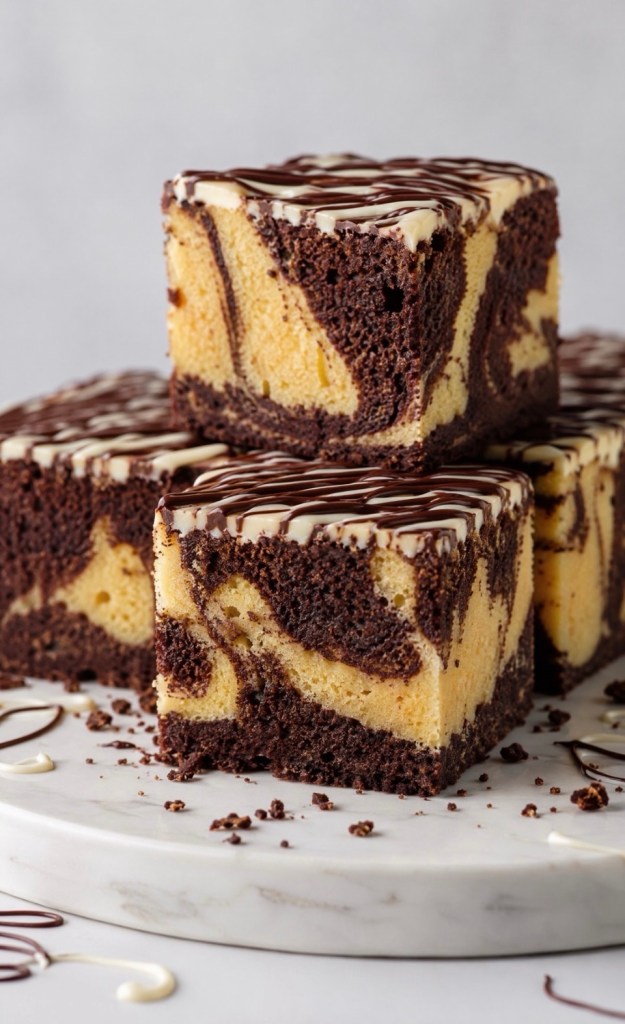
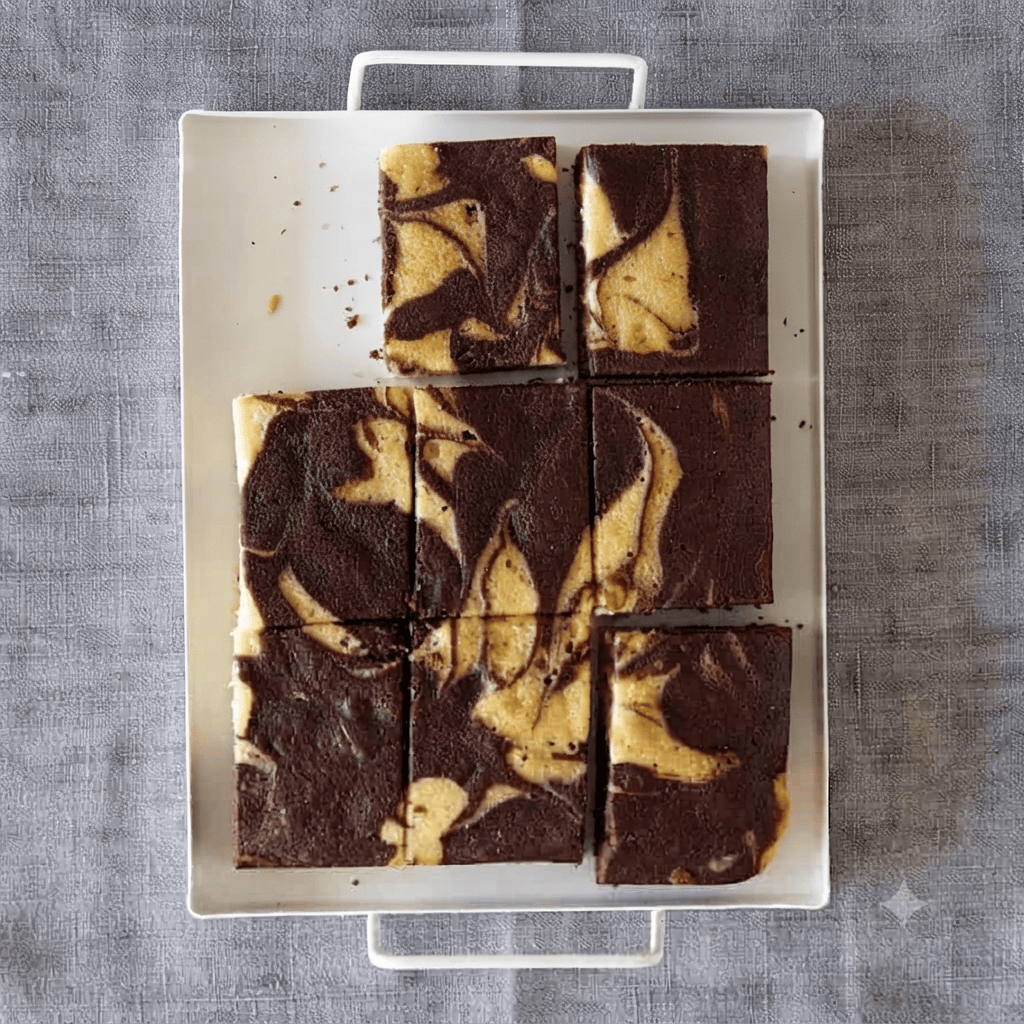
Let’s be real for a second—is there anything better than a slice of cake that looks like you spent hours in the kitchen, but actually came together in a total breeze? I have been obsessed with marble cakes lately. There is just something so satisfying about that swirl of dark, fudgy chocolate batter and light, fluffy vanilla cake.
And because I know we are all busy, I decided to turn this classic into a tray bake. Why? Because it’s easier to slice, easier to share, and—let’s be honest—it’s the perfect thickness for a mid-afternoon treat.
Why You’ll Love This Recipe
This isn’t just any cake. By adding a handful of chocolate chips into the mix and finishing it off with a double-chocolate drizzle, you get a beautiful texture and a serious hit of cocoa goodness in every single bite. It’s simple, it’s reliable, and it’s a total crowd-pleaser.
The Ingredients
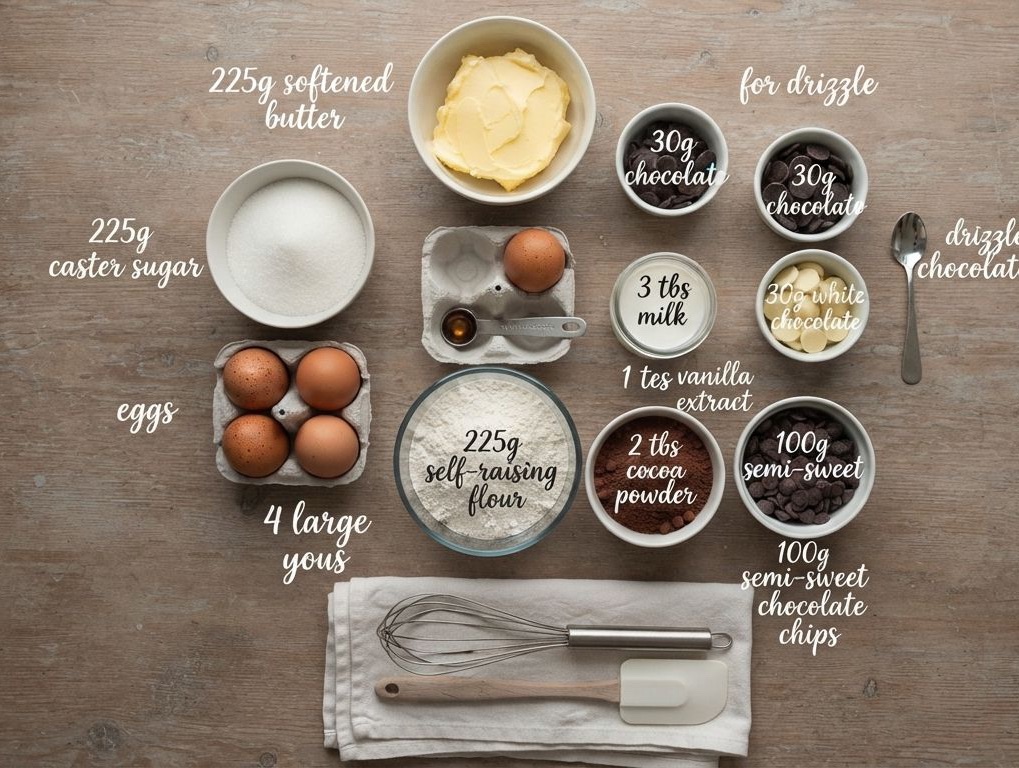
To get that perfect marble effect, here is what you need to have on your counter:
225g Softened Butter: Room temperature is non-negotiable here, people!
225g Caster Sugar
4 Large Eggs
225g Self-raising Flour
3 tbsp Milk
1 tsp Vanilla Extract
2 tbsp Cocoa Powder
100g Semi-sweet Chocolate Chips: Use mini ones if you can find them!
For the Drizzle: 30g Dark Chocolate, 30g White Chocolate
How to Make the Magic Happen
Prep Time: Preheat your oven to 180°C (160°C fan). Grab a 20cm (8-inch) square tin and line it with parchment paper. Trust me, you don’t want to skip this!
Creaming: In a large bowl, beat that butter and sugar until it’s light and fluffy. Add your eggs one by one, giving it a good mix after each one.
The Base: Fold in the flour, milk, and vanilla. Once it’s smooth, divide the batter equally into two bowls.
The Marble: Sift the cocoa powder into one bowl and stir it in. Fold your chocolate chips into the mixtures (I like to split them evenly between both).
The Swirl: Dollop the batters into your tin alternately. Now, take a skewer and gently run it through in a figure-eight pattern. Resist the urge to over-mix! You want distinct swirls, not a muddy brown mess.
Bake & Drizzle: Pop it in the oven for 45–55 minutes. Once it’s cool, melt your dark and white chocolates separately and drizzle them over the top. Wait for them to set, then dive in!
Pro-Tips for Success
Don’t over-bake: Keep an eye on it after 45 minutes. A skewer should come out clean.
Make it pretty: When drizzling the chocolate, move your hand quickly across the tray to get those nice, thin lines.
Tag me in your photos if you make this! I can’t wait to see your swirls.
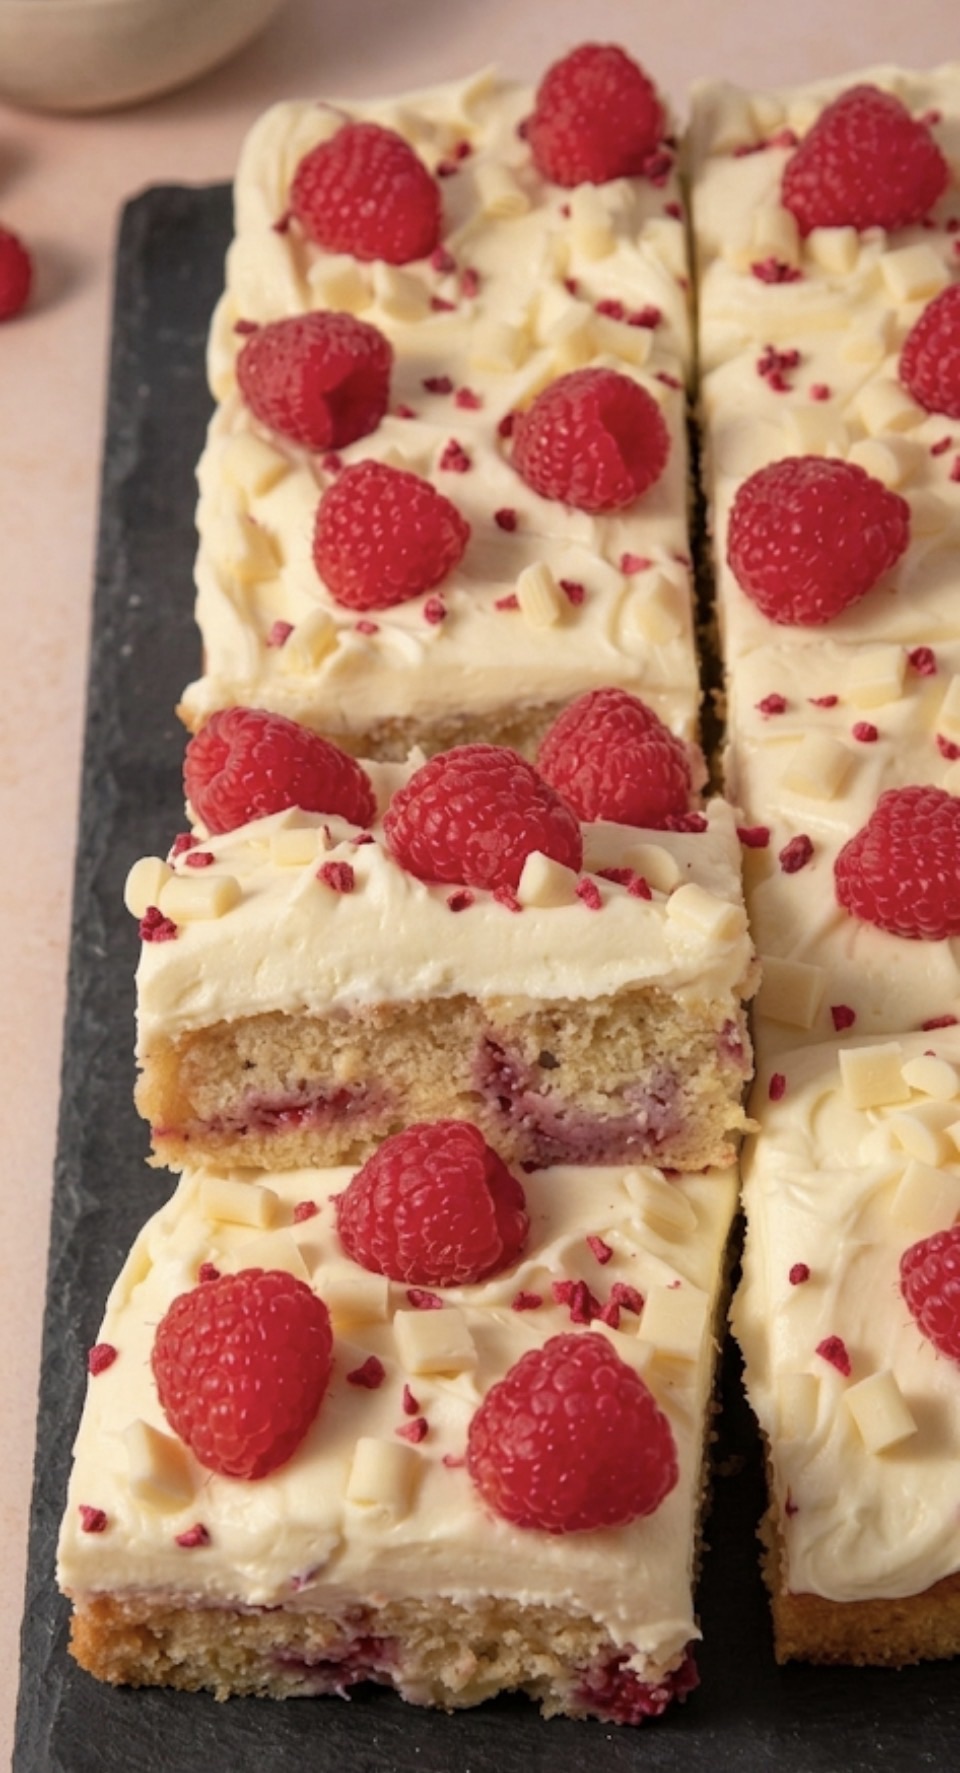
Hello, lovely bakers! Let’s have a proper catch-up. Is there anything better than the smell of something sweet baking in the oven? I’ve been craving something that strikes that perfect balance between indulgent and fresh, and I think I’ve found the answer.
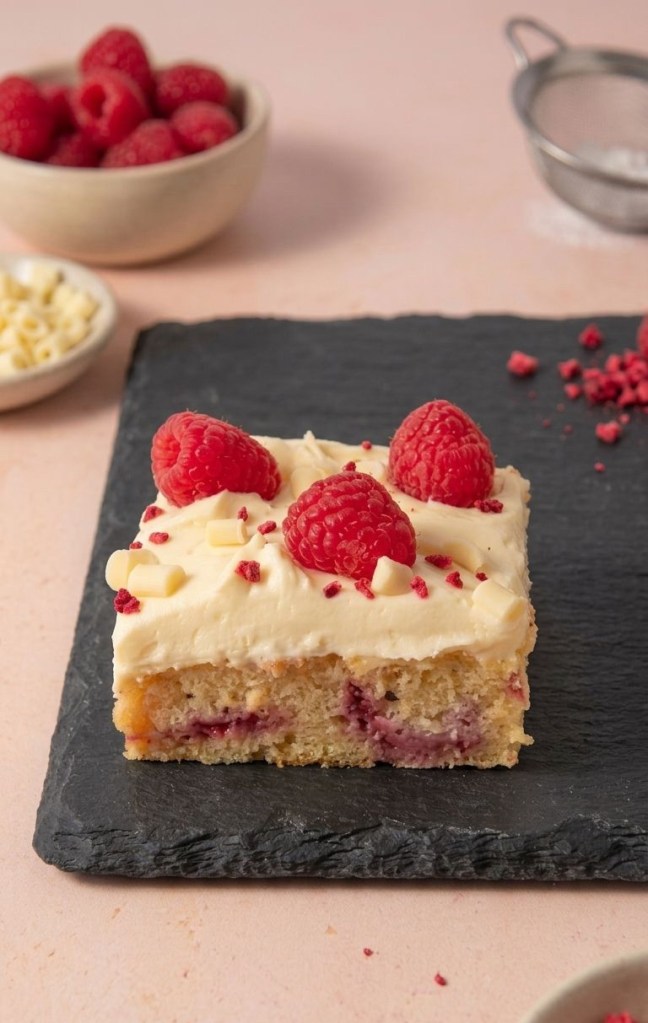
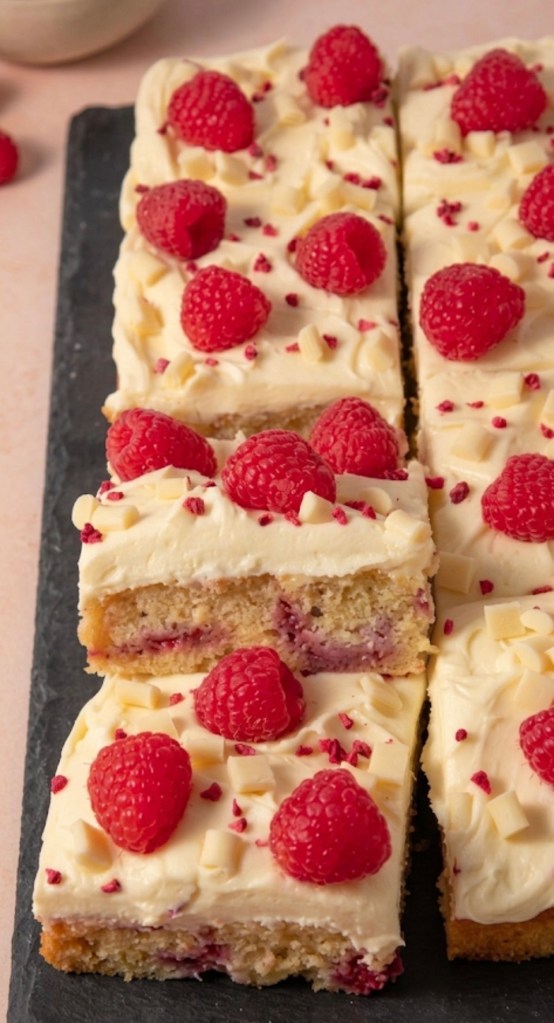
If you’re looking for a crowd-pleaser that is honestly impossible to mess up, this White Chocolate and Raspberry Traybake is going to become your new best friend. It’s got that soft, buttery sponge we all love, pockets of tart raspberries that burst with flavour, and a silky white chocolate buttercream that brings it all together. It’s perfect for a rainy afternoon with a cuppa, or for bringing into the office when you want to be the favourite person of the day!
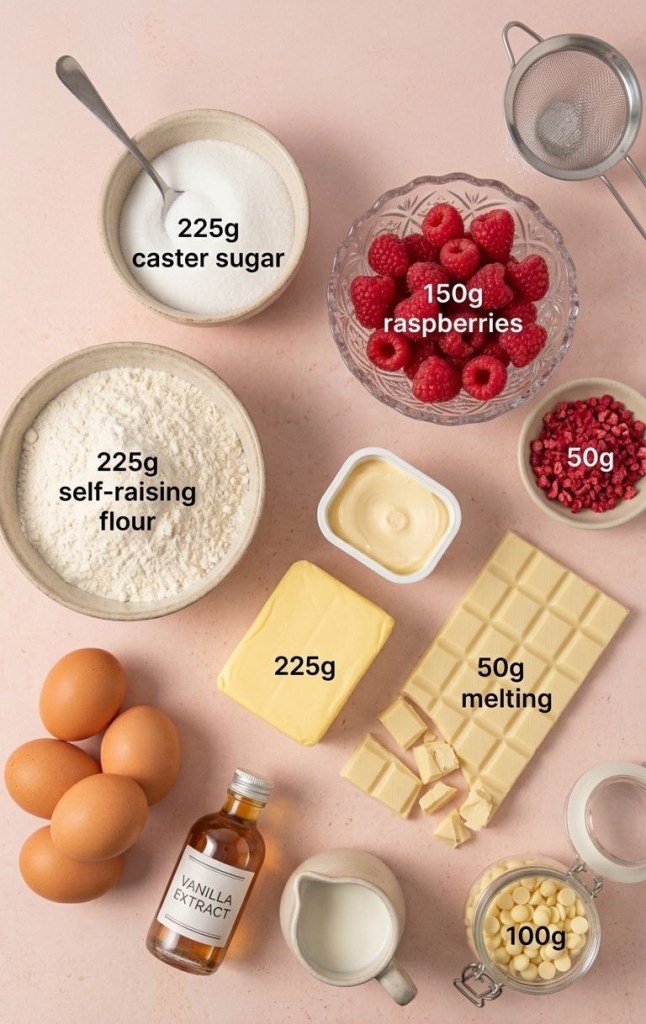
What You’ll Need
For the Cake:
225g baking spread or butter: Make sure it’s nice and soft so it creams together with the sugar like a dream.
225g caster sugar: For that fine, even crumb.
225g self-raising flour: The secret to a nice lift.
4 large eggs: To bind everything together.
1 tsp vanilla extract: Because, really, is it even baking without a dash of vanilla?
2 tbsp milk: Just to loosen the batter slightly.
150g fresh raspberries: Give these a little light coating in flour before they go in—it stops them from sinking to the bottom!
100g white chocolate chips: For those lovely little pockets of sweetness.
For the Buttercream & Topping:
150g butter: Softened, for the base.
300g icing sugar: Sift this if you want that super smooth finish.
50g melted white chocolate: This is the magic ingredient that makes the frosting extra luxurious.
A splash of milk: Add this slowly until you reach your perfect piping consistency.
The finishing touches: Fresh raspberries, a scattering of white chocolate chips, and some crushed freeze-dried raspberries for that gorgeous pop of colour.
The Method (Let’s Get Baking!)
1. Prep is Key: Get your oven warming up to 160°C Fan / 180°C / Gas Mark 4. Grab your 12″ x 9″ tin and make sure it’s well-lined with baking parchment—it makes washing up so much easier later!
2. Creaming: In a big mixing bowl, beat your butter and sugar together until the mix looks pale and really fluffy. This usually takes about 2-3 minutes; if you have an electric mixer, let it do the hard work for you.
3. The Wet Ingredients: Crack in those eggs, add your vanilla and the milk, and give it all a good mix until it’s silky smooth.
4. Folding: Gently fold in your flour. Once it’s just combined, tip in your flour-dusted raspberries and white chocolate chips. Be gentle here—we want to keep the fruit intact!
5. Bake: Pour the batter into your tin, level it off, and pop it in the oven for about 25-30 minutes. You’re looking for a lovely golden top and a skewer that comes out clean.
6. The Frosting: While the cake is cooling, whip your butter until it’s light, then slowly add the icing sugar and milk. Finally, pour in that melted white chocolate. If it feels a bit stiff, just add a tiny splash more milk until it’s smooth enough to spread.
7. Decorate: Once the cake is completely cool (don’t rush this, or the icing will melt!), spread that beautiful buttercream all over the top. Add your raspberries and chocolate chips, and sprinkle over the freeze-dried raspberries to make it look like a bakery-standard treat.
Slice it up, put the kettle on, and enjoy every single bite. If you have any left over, just keep it in an airtight container, and it should stay delicious for up to 3 days ..if it lasts that long which I doubt !
Happy baking, everyone! Let me know in the comments how yours turned out!
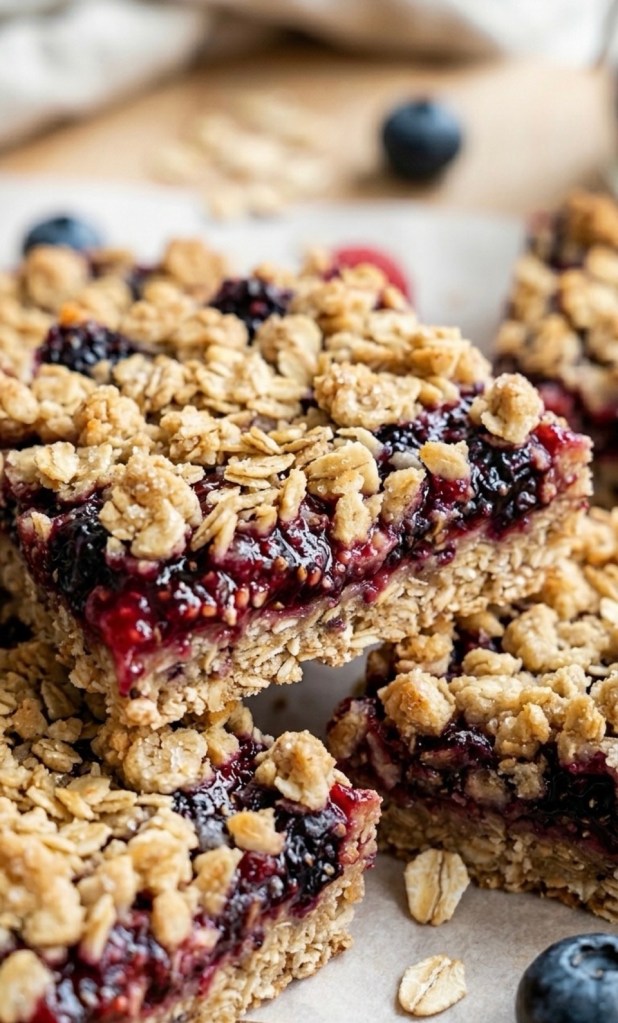
Do you ever get that mid-afternoon sweet tooth where you crave something warm, jammy, and comforting, but you don’t want a massive sugar crash an hour later?
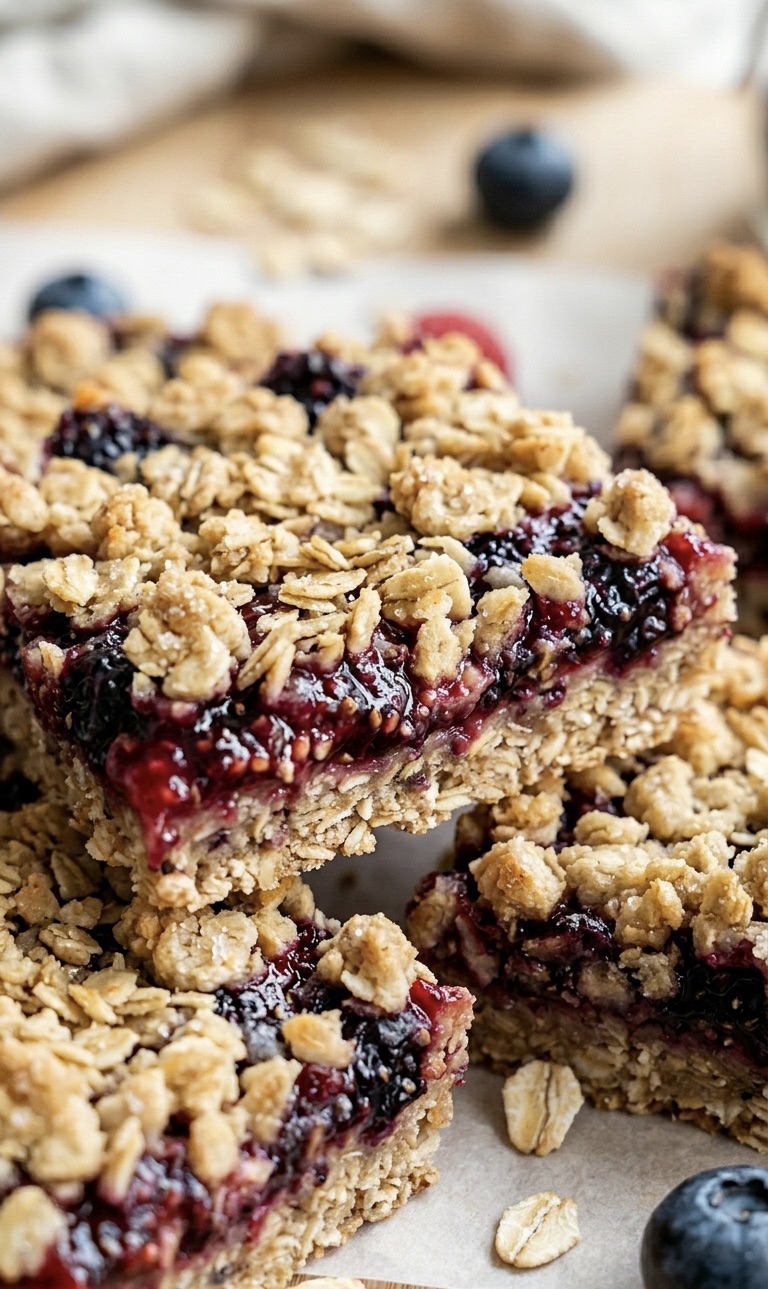
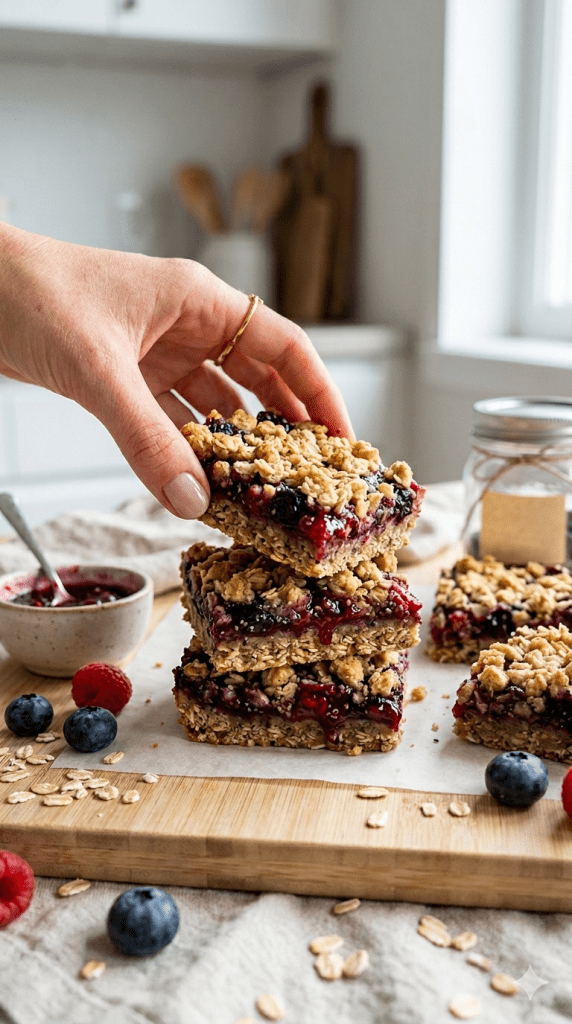
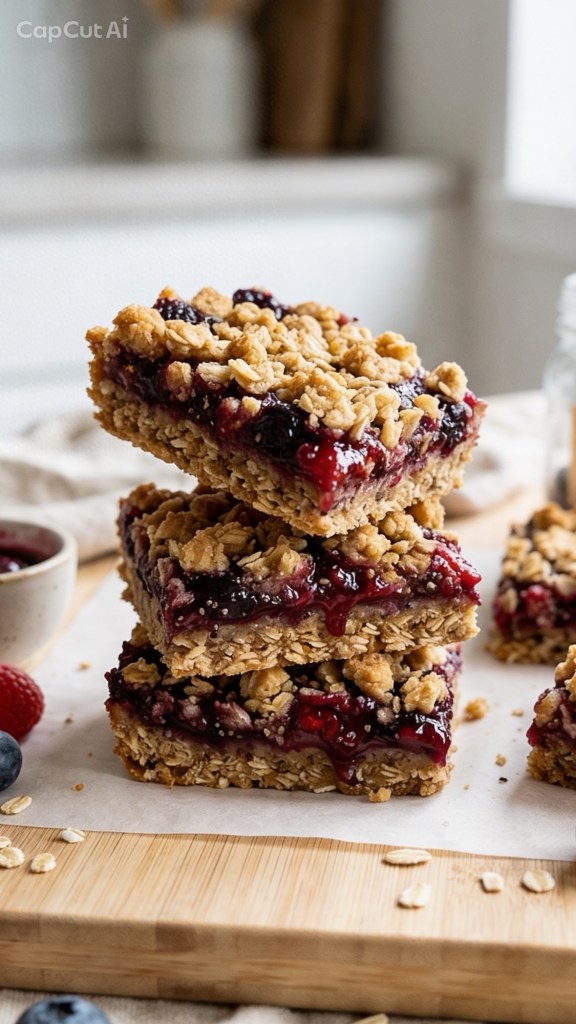
Enter: The Ultimate Healthy Jammy Berry Crumble Bars.
These bars have gone absolutely viral on TikTok for a reason. They taste exactly like a rustic, buttery fruit pie, but they are secretly packed with whole-food ingredients, fiber, and healthy fats. They are naturally sweetened, gluten-free friendly, and require absolutely no refined white sugar or artificial ingredients.
Whether you need an easy meal-prep snack for the week or a crowd-pleasing weekend dessert, this recipe is about to become your new staple.
Why You’ll Love These Healthy Berry Bars
Naturally Sweetened: We swap out cups of refined white sugar for pure maple syrup and the natural sweetness of ripe berries.
The Perfect Texture: You get a crisp, golden oat crust on the bottom, a gooey, jammy fruit center, and a beautiful crunchy crumble on top.
Superfood Packed: Instead of using cornflour or gelatin to set the fruit layer, we use chia seeds. This infuses the bars with healthy plant-based Omega-3 fatty acids and extra fiber.
Meal-Prep Friendly: They slice beautifully and store perfectly in the fridge or freezer for quick, grab-and-go sweet treats throughout the week.
The Secret to Nature’s “Gooey” Jam Filling
Traditional fruit bars rely on store-bought jams that are loaded with refined sugars and preservatives. For this recipe, we make a quick 5-minute stovetop berry chia jam.
As the berries heat up, they burst and release their natural juices. Stirring in a spoonful of chia seeds acts as a natural thickening agent. The seeds absorb the excess moisture, turning the berries into a thick, glossy, guilt-free jam layer that bubbles beautifully in the oven.
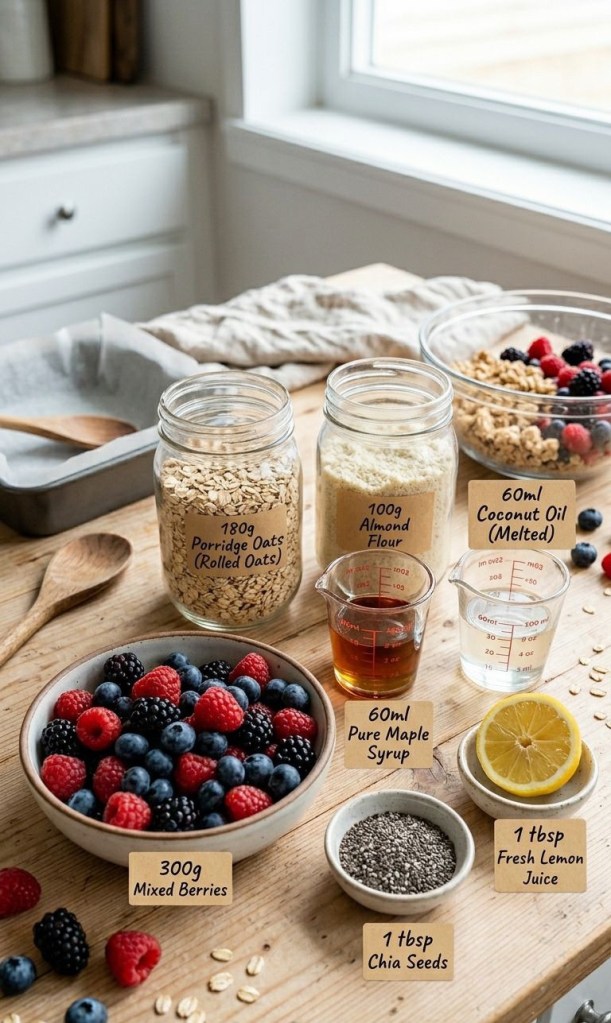
Ingredients You’ll Need
Here is everything you need to pull these healthy crumble bars together.
For the Oat Crust & Crumble Topping:
180g Porridge Oats (Rolled Oats): Provides a hearty, chewy base rich in soluble fiber.
100g Almond Flour: Gives the crust a rich, buttery flavor without needing heaps of actual butter. (You can swap for plain flour or a gluten-free flour blend if preferred).
60ml Pure Maple Syrup: Our natural unrefined sweetener of choice.
60ml Coconut Oil (Melted): Keeps the crust perfectly crisp and adds healthy fats.
For the Jammy Berry Layer:
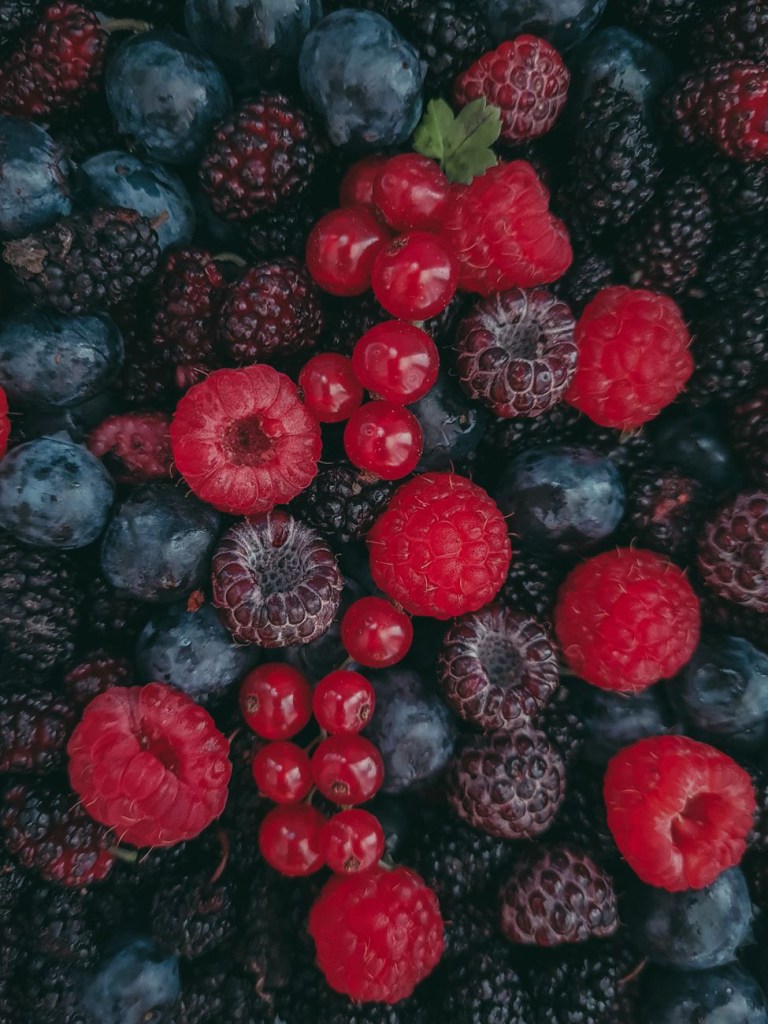
300g Mixed Berries: Fresh or frozen work perfectly! Blueberries, raspberries, or blackberries are amazing here.
1 tbsp Chia Seeds: To naturally thicken the berry filling and add a dose of nutrition.
1 tbsp Fresh Lemon Juice: To brighten up the berry flavors.
Step-by-Step Instructions
Step 1: Prep Your Oven and Tin
Preheat your oven to 180°C (160°C for Fan ovens) or Gas Mark 4. Line a 20cm (8-inch) square baking tin with parchment paper, leaving a little overhang on the sides so you can easily lift the bars out later.
Step 2: Make the Berry Layer
Add your mixed berries and lemon juice to a small saucepan over medium heat. Cook for about 5 minutes, gently pressing down on the berries with a fork as they warm up so they burst and release their juices. Once bubbling, remove from the heat and stir in the chia seeds. Let it sit for 5–10 minutes to thicken into a jam-like consistency.
Step 3: Mix the Crust & Crumble
In a medium mixing bowl, combine the porridge oats, almond flour, melted coconut oil, and maple syrup. Stir thoroughly until a clump-like, crumbly dough forms.
Step 4: Assemble the Bars
Take about two-thirds of your oat mixture and press it firmly and evenly into the bottom of your lined baking tin to form a solid base crust. Next, pour your thickened berry jam over the crust and spread it evenly to the edges. Finally, take the remaining oat mixture and crumble it loosely over the top of the berry layer.
Step 5: Bake to Golden Perfection
Pop the tin into the oven and bake for 25 to 30 minutes, or until the oat crumble on top is beautiful and golden brown, and the berry layer is bubbling up at the edges.
Step 6: The Hardest Part—Let It Cool!
Remove from the oven and let the tin cool completely on a wire rack. Don’t try to slice them while they are hot, or the bars will crumble! Once completely cool, lift them out using the parchment paper handles and slice into 9 large squares or 12 snack-sized bars.
Expert Baking Tips for Success
Let them chill: If you want perfectly clean, sharp cuts, pop the cooled baking tin into the fridge for 30 minutes before slicing.
Mix up the fruit: You can easily swap the berries for chopped peaches, apples, or strawberries depending on what is in season.
Nut-free option: If you can’t have almond flour, you can easily swap it for standard plain flour or oat flour (blitzed oats).
How to Store Your Crumble Bars
In the Fridge: Store your sliced bars in an airtight container lined with a bit of kitchen paper for up to 5 days.
In the Freezer: These bars freeze beautifully! Wrap individual slices in baking paper and store them in a freezer-safe bag for up to 3 months. Just thaw at room temperature for 15 minutes before enjoying.
Did you make this recipe? Tag us in your creations on Instagram or TikTok! Don’t forget to leave a comment below and let us know what your favorite berry combination is!