Tag: Easy Baking

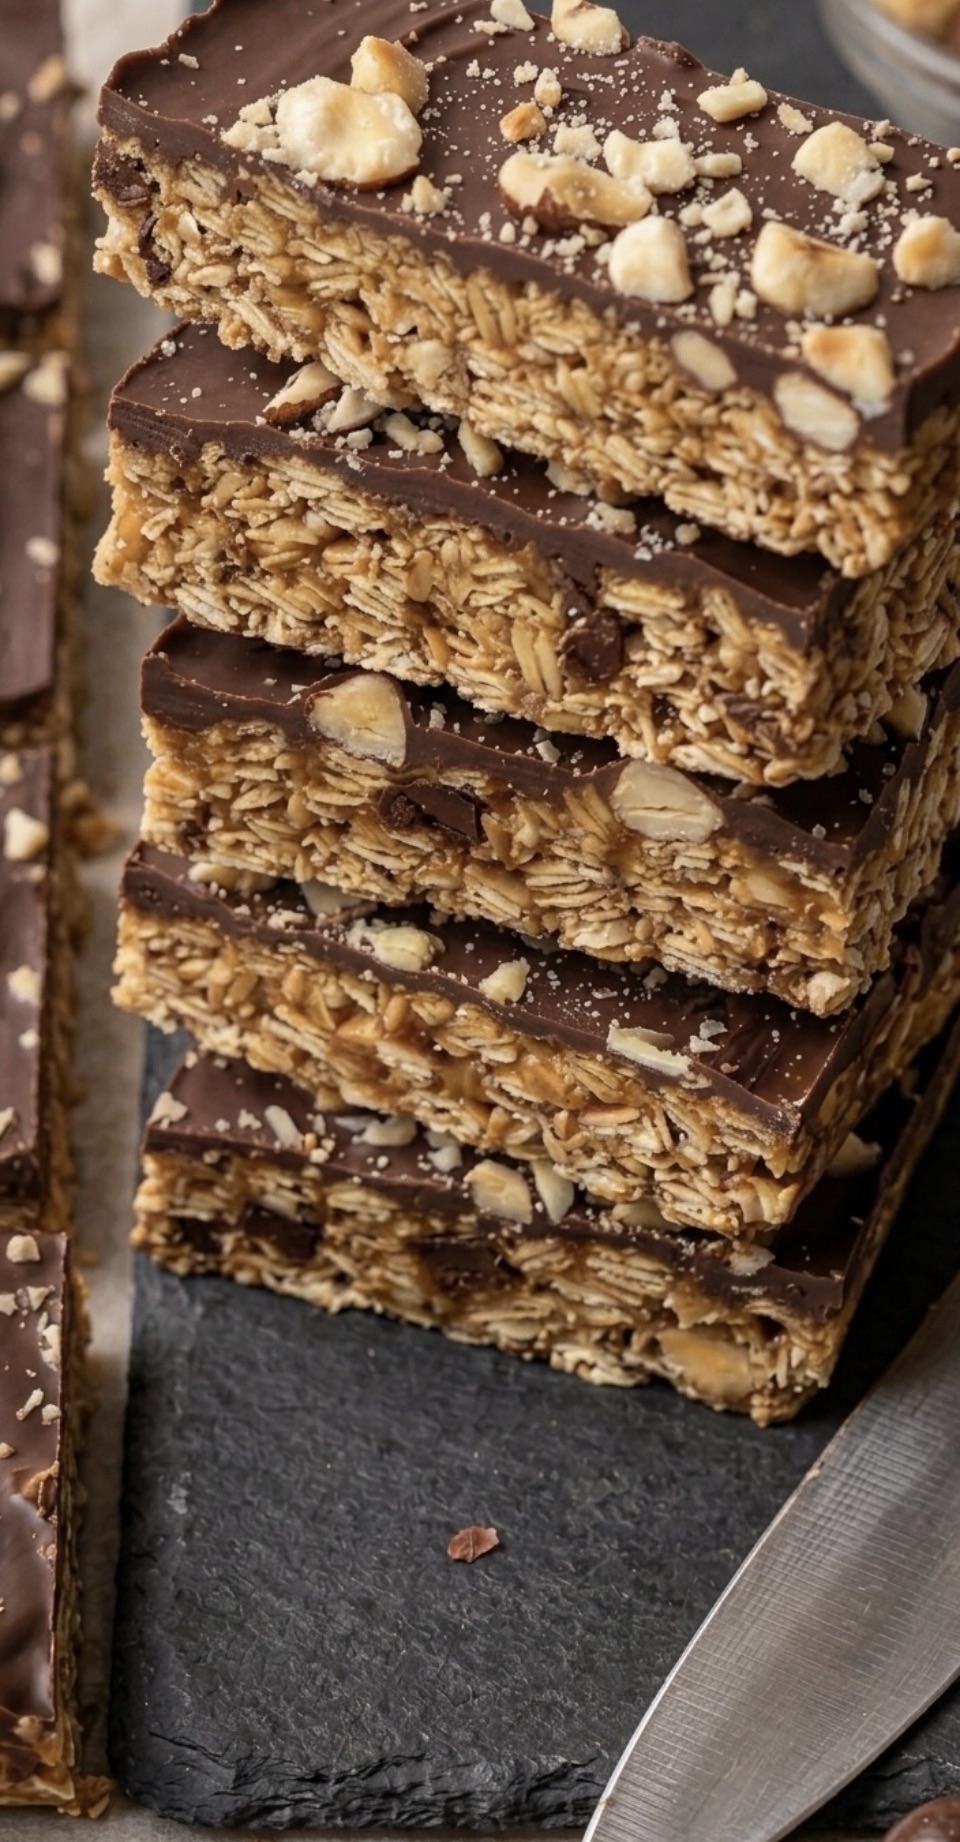
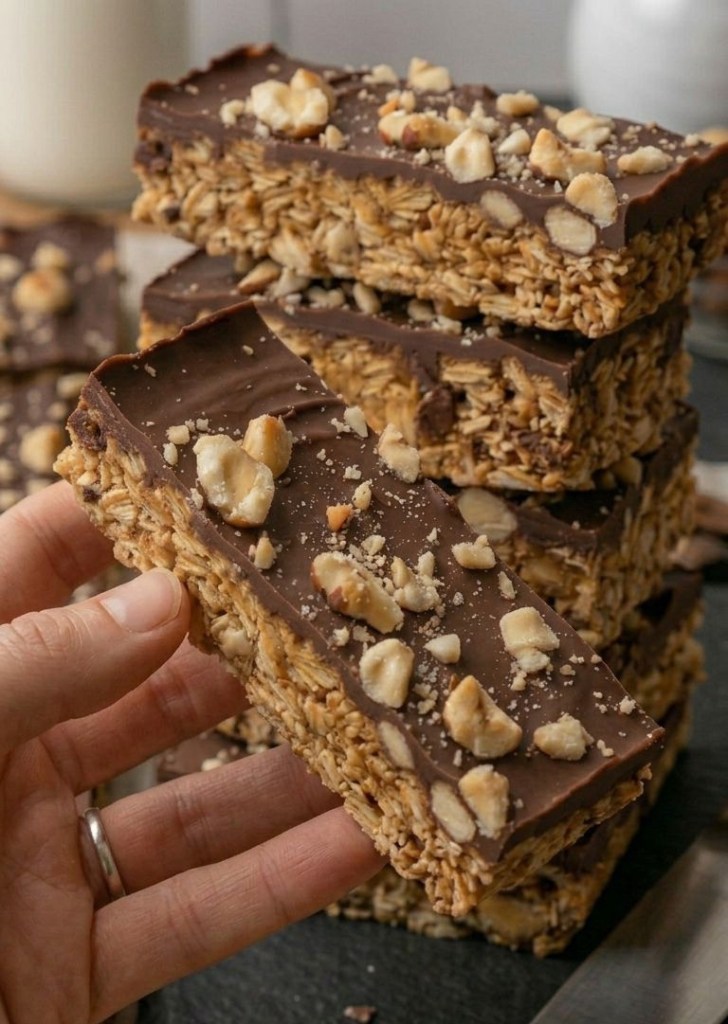
  • The Best 3-Ingredient Chocolate Hazelnut Oat Bars

    The Best 3-Ingredient Chocolate Hazelnut Oat Bars

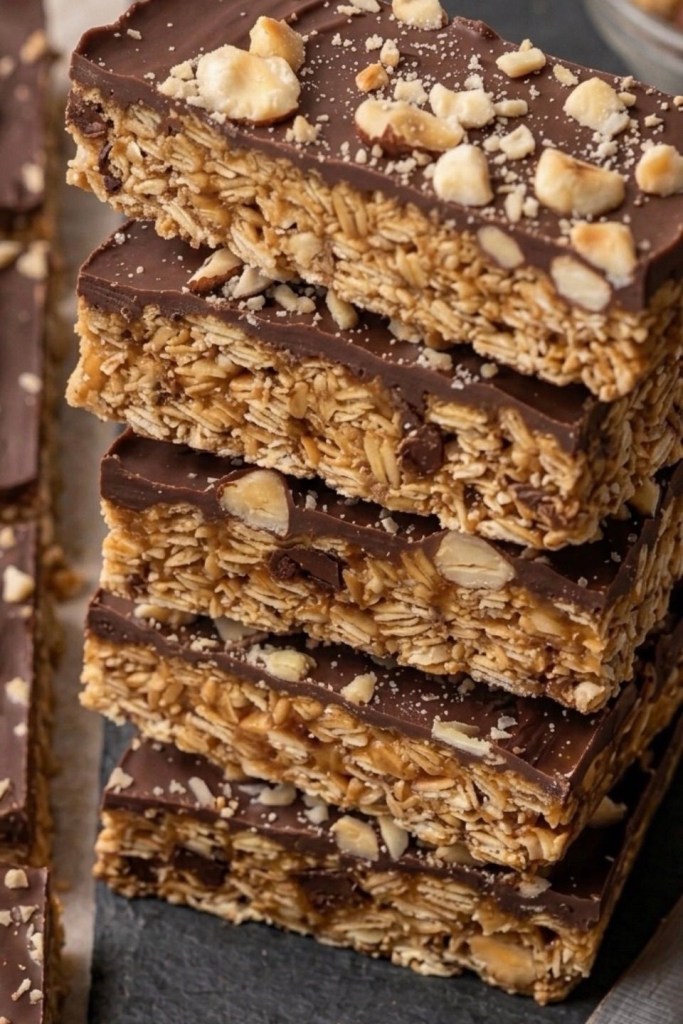
    Forget the expensive, processed cereal bars from the supermarket. If you want a snack that is deeply satisfying, perfectly chewy, and actually good for you, you have come to the right place.

    These chocolate hazelnut oat bars are my go-to for snack prep. They take minutes to pull together, they use simple pantry staples, and—best of all—they taste like a proper treat.

    Why You’ll Love These:

     Minimal Ingredients: Just three core ingredients for the base.

     No-Bake/Quick Prep: Perfect for busy weeks.

     Customisable: Add seeds, extra nuts, or sea salt to suit your taste.

     Healthier Energy: Packed with oats for sustained energy and healthy fats from the peanut butter.

    The Recipe (UK Measurements)

    Ingredients for the Base:

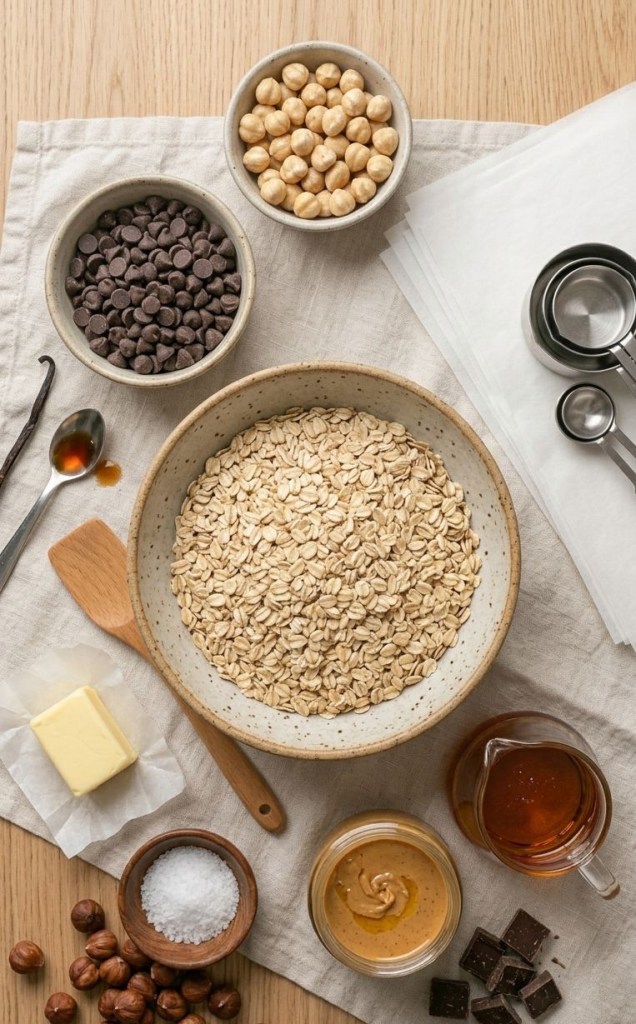
     200g Rolled Oats (use GF-certified if required)

     125g Peanut Butter (smooth or crunchy)

     110g Maple Syrup (or agave nectar/honey)

    For the Topping:

     150g Dark Chocolate (melted)

     50g Blanched Hazelnuts (roughly chopped)

    Method

    1. Prep: Line a 20cm x 20cm square baking tin with parchment paper.

    2. Mix the Binder: In a medium bowl, combine your peanut butter and maple syrup. If it’s a bit stiff, pop it in the microwave for 30 seconds until it’s nice and soft and easy to stir.

    3. Combine: Place your rolled oats into a large mixing bowl. Pour the peanut butter and syrup mixture over the oats and mix well until every oat is evenly coated.

    4. Press: Transfer the mixture into your lined tin. Use the back of a spoon or your hands to press the mixture very firmly into the tin. This is the secret to getting them to stay together!

    5. Set: Place the tin into the freezer for 30 minutes to firm up.

    6. Top: Once firm, pour your melted chocolate over the top and spread it evenly. Sprinkle the chopped hazelnuts over the wet chocolate.

    7. Chill & Slice: Place the tin back in the fridge or freezer until the chocolate has fully set. Once set, lift out of the tin using the parchment paper and slice into oblong bars.

    Tips for Success

     Storage: Keep these in the fridge to ensure they stay perfectly chewy and don’t get too soft. They will last for up to a week in an airtight container.

     Additions: Feel free to stir in chia seeds, sunflower seeds, or a pinch of sea salt to the oat mixture before pressing it into the tin.

    Did you give these a try? Let me know in the comments below how they turned out!

  • Easy No-Bake Peanut Butter & Oat Bars

    Easy No-Bake Peanut Butter & Oat Bars

    Ever have one of those days where you need a snack now, but everything in the cupboard is a bit boring?

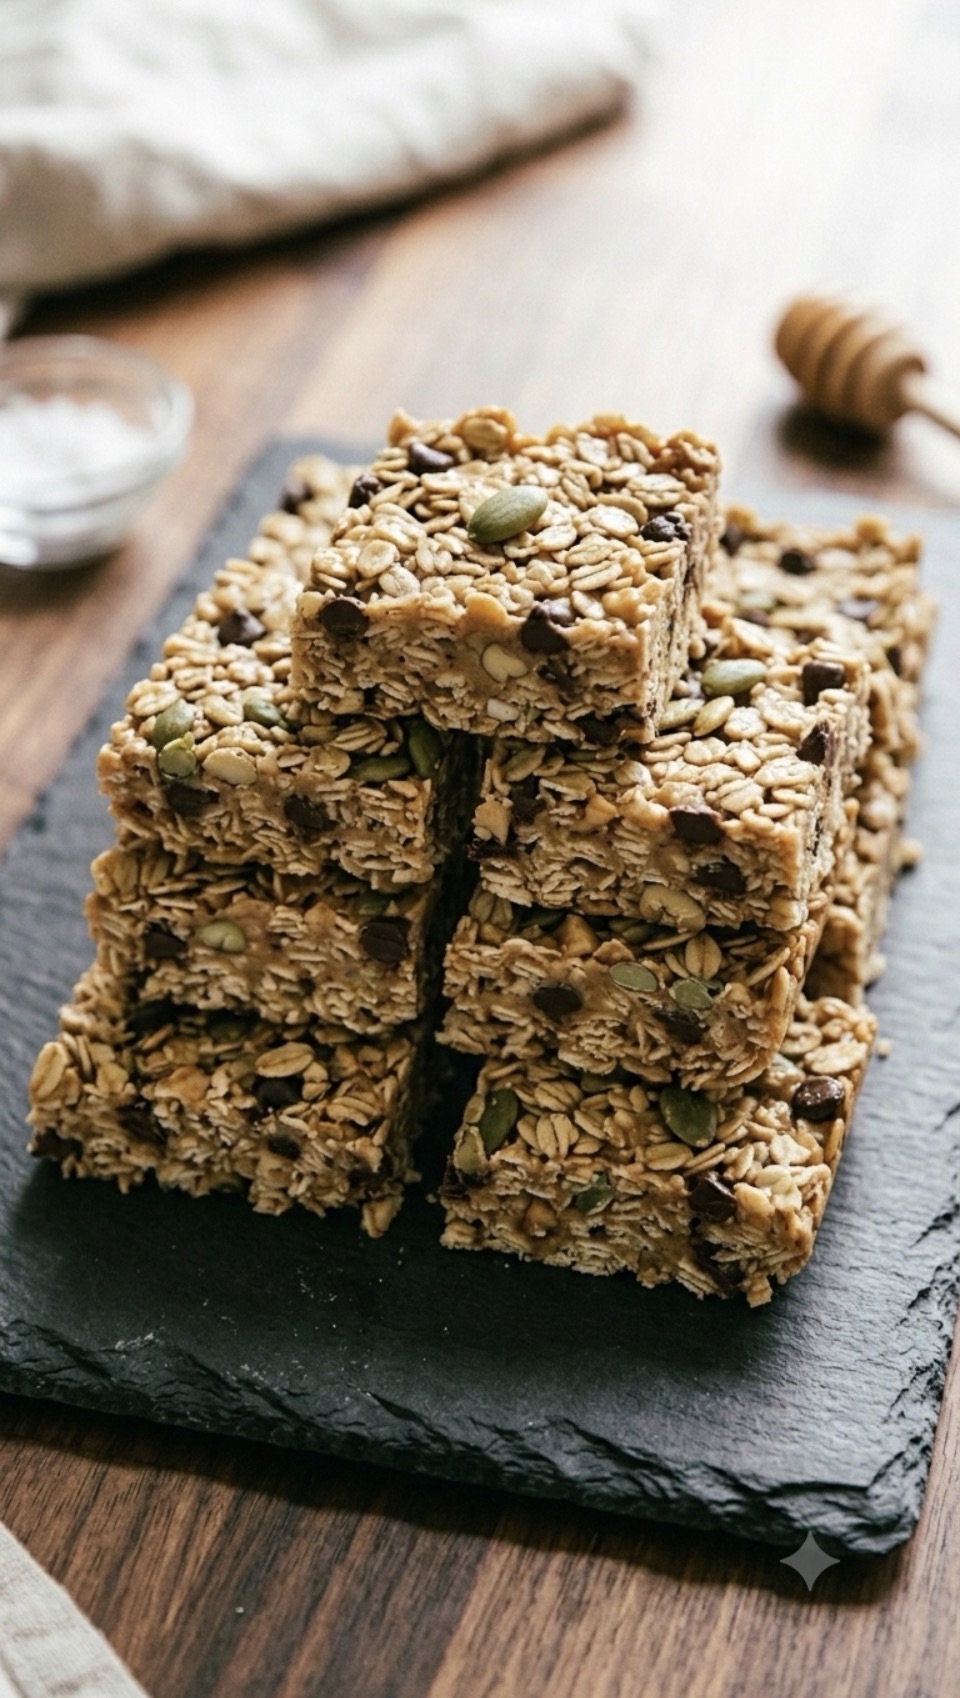
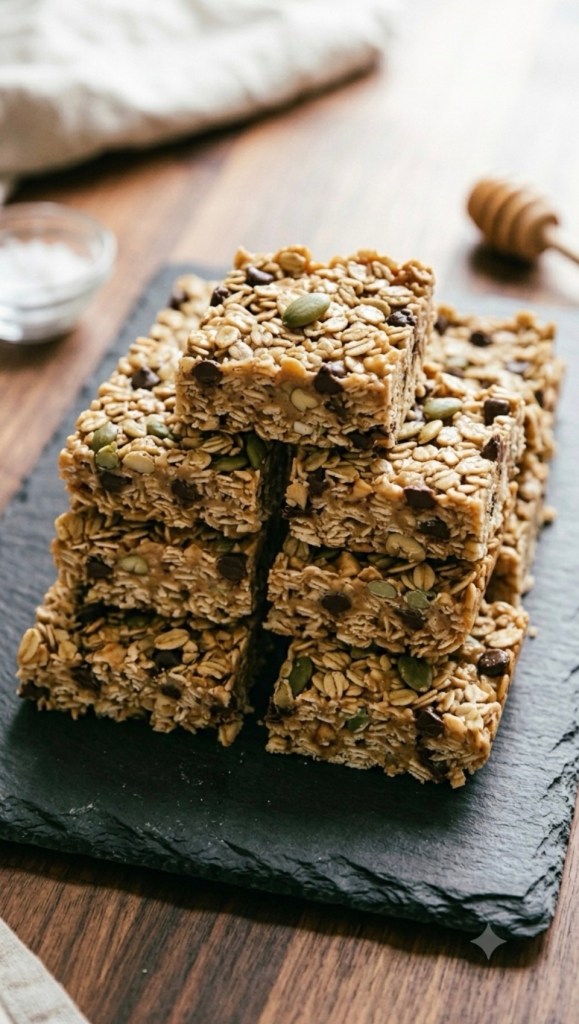
    I have been there so many times. That’s exactly why these No-Bake Peanut Butter and Oat Bars have become a permanent fixture in my kitchen. They are the perfect balance of chewy, salty, and sweet, and honestly? They take almost zero effort to put together.

    Whether you need a quick pre-workout bite, a school lunchbox filler, or just a little something to go with your afternoon tea, these are going to be your new go-to.

    Why You’ll Love These Bars

     No Oven Needed: They come together in one bowl and set in the fridge.

     Customisable: Don’t have peanut butter? Cashew butter works wonders. Want more crunch? Throw in extra pumpkin seeds.

     Better Than Store-Bought: You know exactly what’s in them—simple, wholesome ingredients.

    What You’ll Need

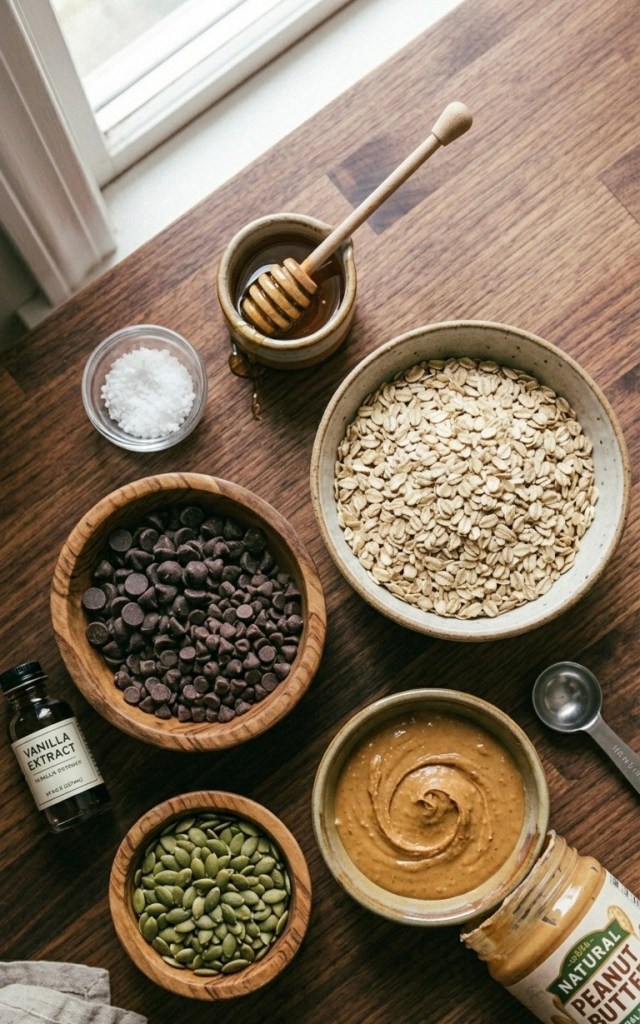
     250g very smooth, creamy natural peanut butter (or cashew butter)

     220g honey

     1 tsp vanilla extract

     Heaping ½ tsp sea salt

     250g whole rolled oats

     60g mini chocolate chips (or chopped chocolate—this is the secret to getting them to hold together!)

     3 tbsp pumpkin seeds

    Method

    1 Prep your tin: Line an 8×8 inch square baking tin with parchment paper. This makes getting the bars out once they’re set much easier.

    2 Mix the base: In a large bowl, stir your peanut butter, honey, vanilla, and sea salt together. Keep stirring until it’s lovely and smooth.

    3 Add the goodness: Tip in your oats, chocolate chips, and pumpkin seeds. It might look a little dry when you first start, but just keep mixing! The oats will absorb that lovely peanut butter mixture and everything will come together.

    4 Press and chill: Tip the mixture into your prepared tin. To get them perfectly flat and compact, place a second piece of parchment paper on top and use the back of a measuring cup to press down firmly. The more you pack it down, the better they stay together.

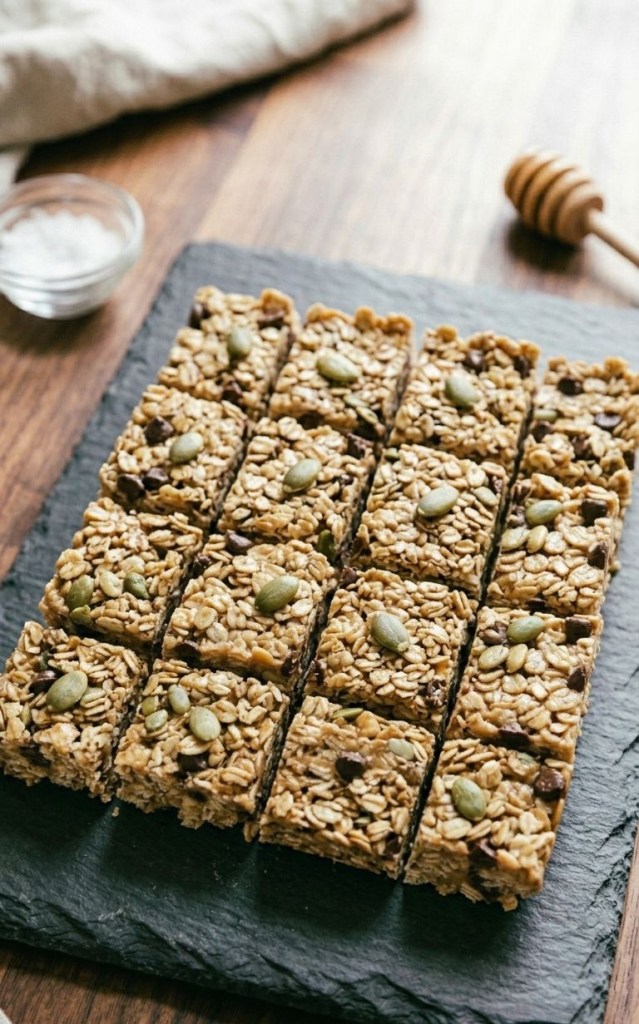
    5 Set: Pop the tin in the fridge for at least 1 hour. Once set, slice them into bars and store them in the fridge to keep them firm.

    Pro-tip: If you can’t find mini chocolate chips, grab a bar of your favourite dark chocolate and chop it into tiny pieces. Small pieces help the bars hold their shape much better than big, chunky chips!

    Let me know in the comments if you give these a try! Are you a peanut butter purist, or are you going to try the cashew version?

  • The Ultimate Single-Serving Sticky Toffee Pudding (Classic British Comfort Food)

    The Ultimate Single-Serving Sticky Toffee Pudding (Classic British Comfort Food)

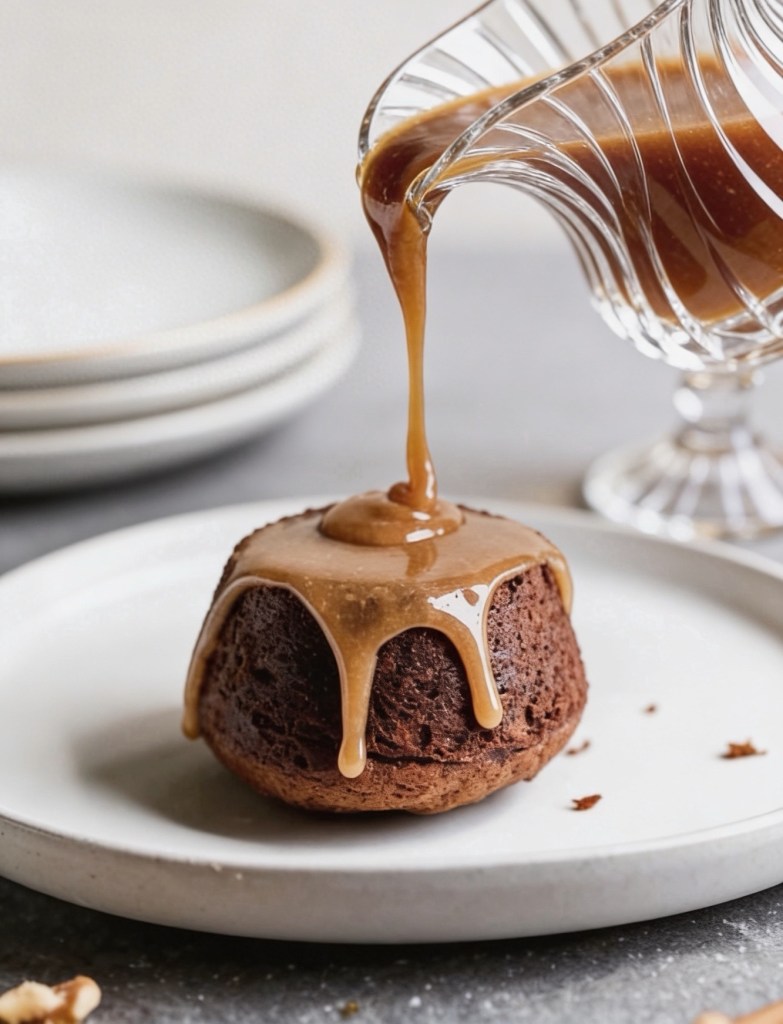
    There is comfort food, and then there is traditional British Sticky Toffee Pudding. If you’ve never had it, imagine a deeply rich, moist sponge cake packed with sweet dates, completely smothered in a warm, velvety, buttery toffee sauce.

    While it’s traditionally baked in one large dish, making these as individual mini cakes (using a standard muffin tin) is a total game-changer. They bake faster, look beautiful on the plate, and ensure everyone gets their own perfect ratio of sponge to sauce.

    Whether you’re looking for the ultimate Sunday roast finale or a viral-worthy dessert to show off on social media, this foolproof recipe delivers every single time.

    What Makes This Sticky Toffee Pudding So Good?

    The secret to the incredibly moist texture of a proper British sticky toffee pudding isn’t just the butter—it’s the dates.

    By soaking Medjool dates in boiling water and blending them directly into the batter, you get a cake that is naturally sweet, intensely rich, and impossible to dry out. Paired with a hint of molasses (or black treacle) and a 10-minute homemade toffee sauce, it’s pure magic.

    The Recipe: Step-by-Step

    Prep time: 15 mins | Cook time: 20 mins | Servings: 12 mini puddings

    Ingredients You’ll Need

    For the Sponge:

    • 225g Medjool dates (pitted)

    • 240ml Boiling water

    • 75g Unsalted butter (room temperature)

    • 145g Light brown soft sugar

    • 2 Large eggs (room temperature)

    • 2 tbsp Molasses or black treacle

    • 2 tsp Vanilla extract

    • 200g Plain flour

    • 1.5 tsp Baking powder

    • 1 tsp Bicarbonate of soda

    • 1/4 tsp Salt

    For the Toffee Sauce:

    • 120ml Double cream (or heavy whipping cream)

    • 115g Unsalted butter

    • 160g Light brown soft sugar

    • A pinch of salt

    • 2 tsp Vanilla extract

    • Chopped walnuts (optional, for garnish)

    Instructions

    Step 1: Prep the Dates

    Preheat your oven to 180°C (160°C fan / Gas Mark 4). Lightly grease a 12-cup muffin tin or individual ramekins. Place your pitted dates into a blender or food processor, pour the 240ml of boiling water over them, and let them sit for 5 minutes to soften.

    Step 2: Make the Batter Base

    In a large bowl, cream together the 75g of butter and 145g of light brown sugar until pale and fluffy. Beat in the eggs one at a time, making sure to mix well after each. Stir in the molasses and vanilla extract.

    Step 3: Combine and Fold

    Sift the flour, baking powder, and salt into your wet mixture and stir until just combined. Next, blitz your soaked dates and water in the food processor until smooth. Stir the bicarbonate of soda into the date puree (it might fizz a little!), then gently fold it into your main cake batter. Take care not to over-mix!

    Step 4: Bake to Perfection

    Divide the batter evenly into your prepared muffin tin. Bake for 18 to 20 minutes. Test the center with a toothpick—it should come out clean or with a few moist crumbs. Tip: Do not overbake, or you’ll lose that signature fudgy texture!

    Step 5: Master the Toffee Sauce

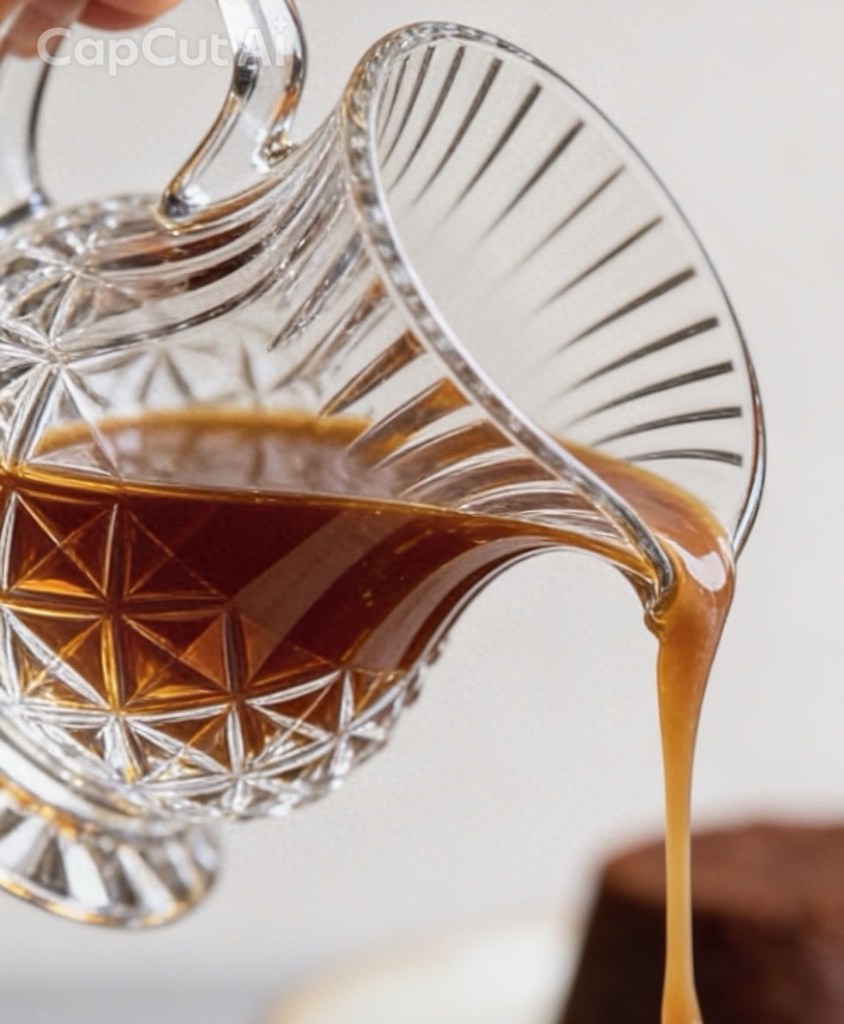
    While the cakes are baking, add the double cream, butter, brown sugar, and salt to a saucepan. Cook over a low heat, stirring constantly, until the sugar completely dissolves and the sauce thickens slightly (about 7–10 minutes). Remove from the heat and stir in the vanilla extract.

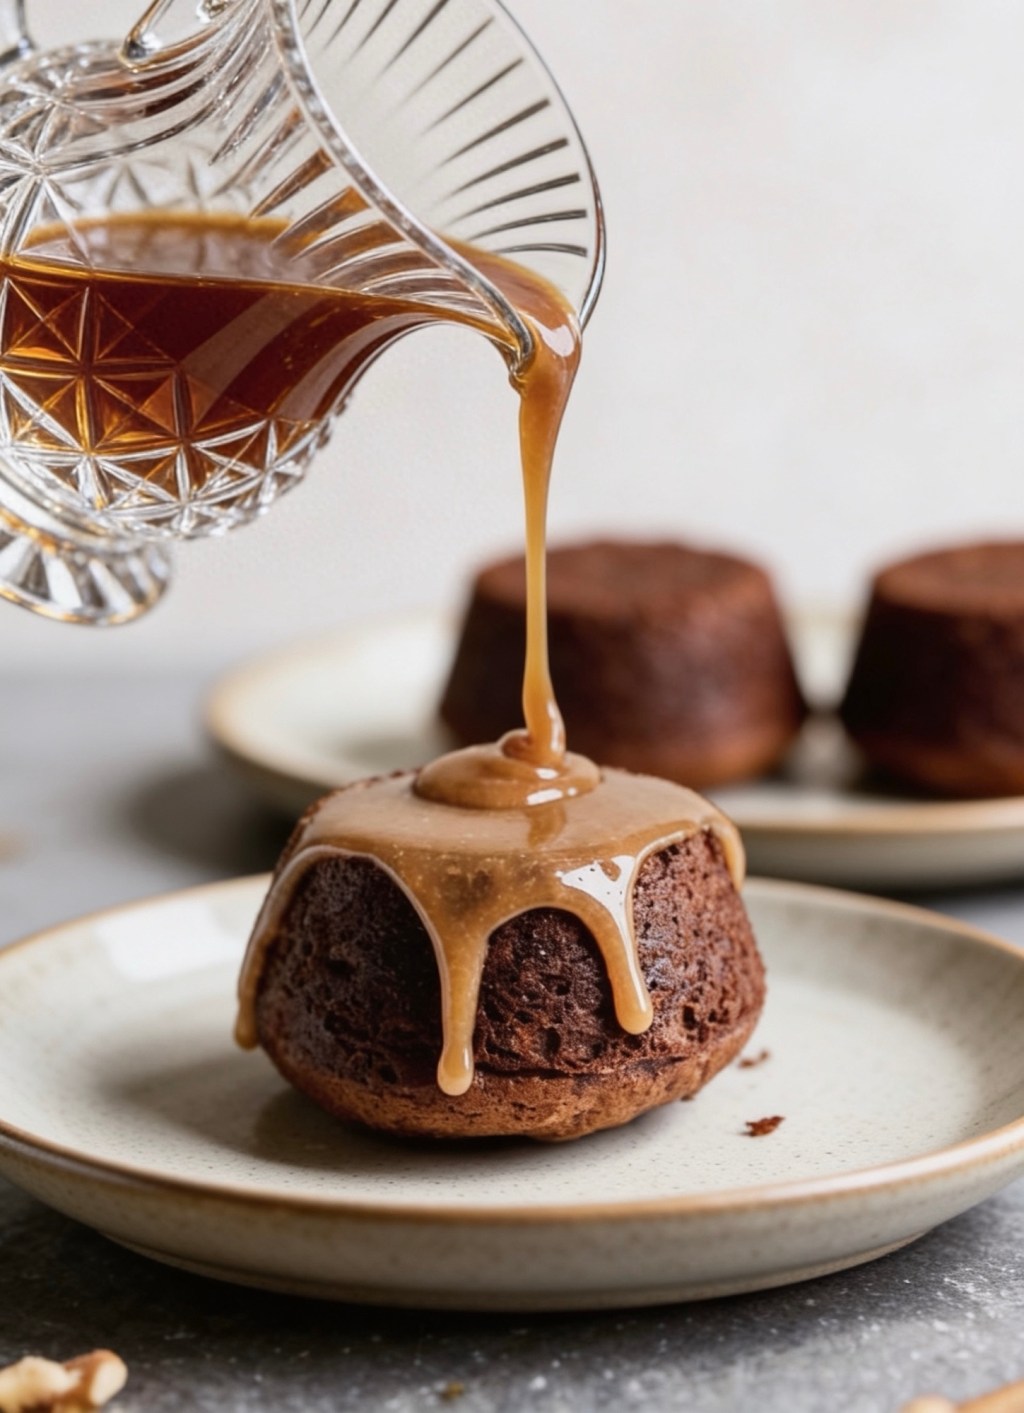
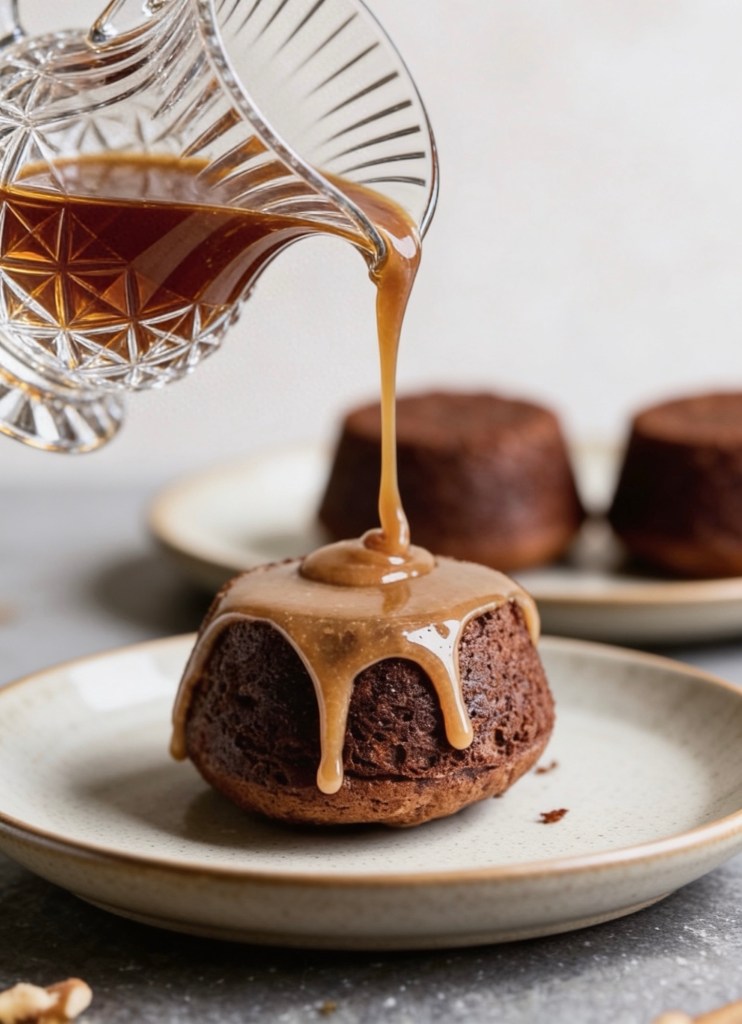
    Pro Tip: For the ultimate flavor explosion, flip the warm cakes upside down onto your serving plate, poke a few holes in the top with a skewer, and pour the warm toffee sauce over immediately. Let it sit for 2 minutes to absorb!

    How to Serve and Store

    Serve these warm, flat-side up, with an extra generous ladle of toffee sauce. Garnish with chopped walnuts if you like a bit of crunch.

    The ultimate debate: Do you serve it with a scoop of cold vanilla ice cream, a drizzle of cold double cream, or warm vanilla custard? (Let me know your team in the comments below!).

    • To Store: Keep the cakes and the sauce in separate airtight containers in the fridge for up to 5 days. Warm the cakes in the microwave for 20 seconds and reheat the sauce on the stove before serving

    Leave a Comment!

    Did you make this recipe? Tag me in your baking videos or leave a comment below to let me know how yours turned out!