Tag: easy dessert recipes

  • Why You’ll Never Buy Store-Bought Ice Cream Again (3 Ingredients!)

    Why You’ll Never Buy Store-Bought Ice Cream Again (3 Ingredients!)

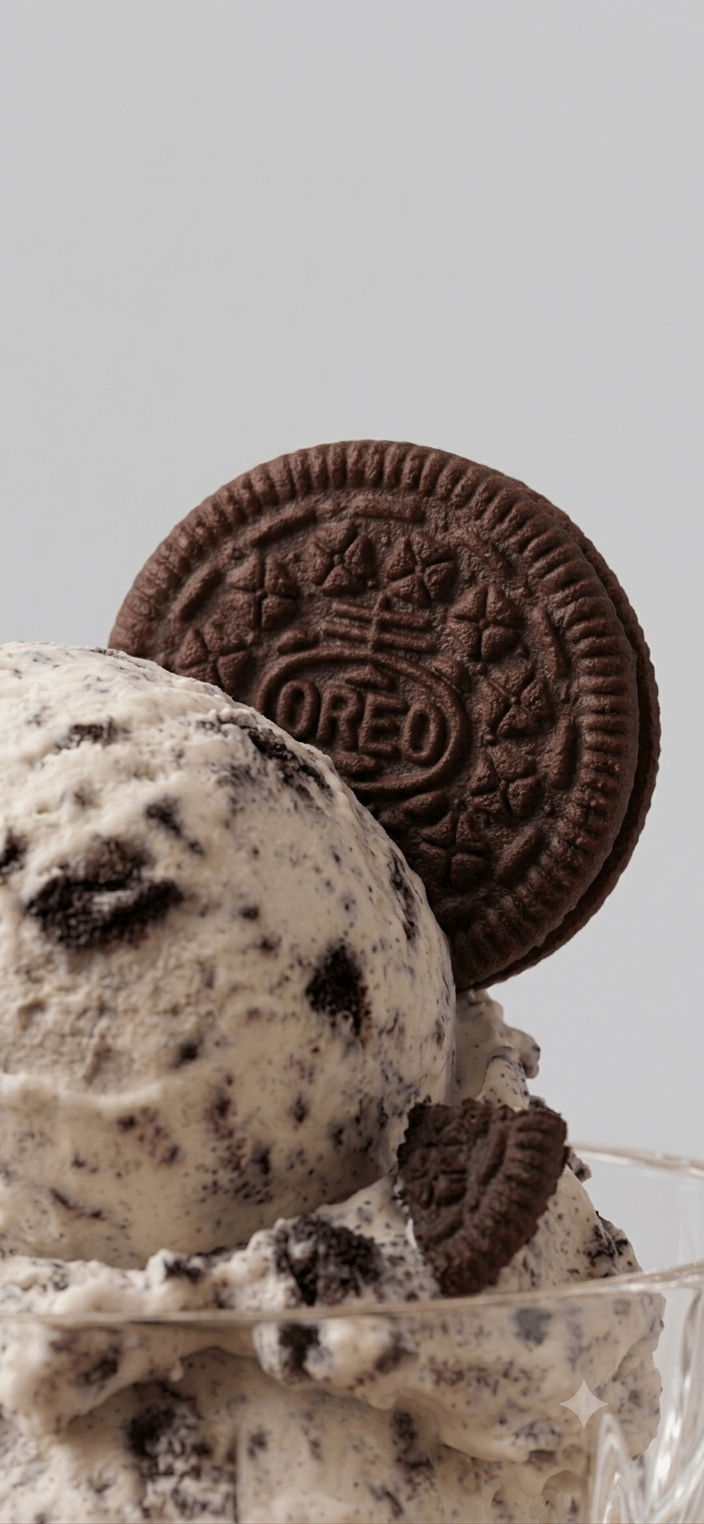
    Let’s be honest—is there anything better than a giant scoop of cookies and cream ice cream on a warm evening? But have you ever looked at the back of a carton at the shops? It’s usually packed with ingredients you can’t even pronounce.
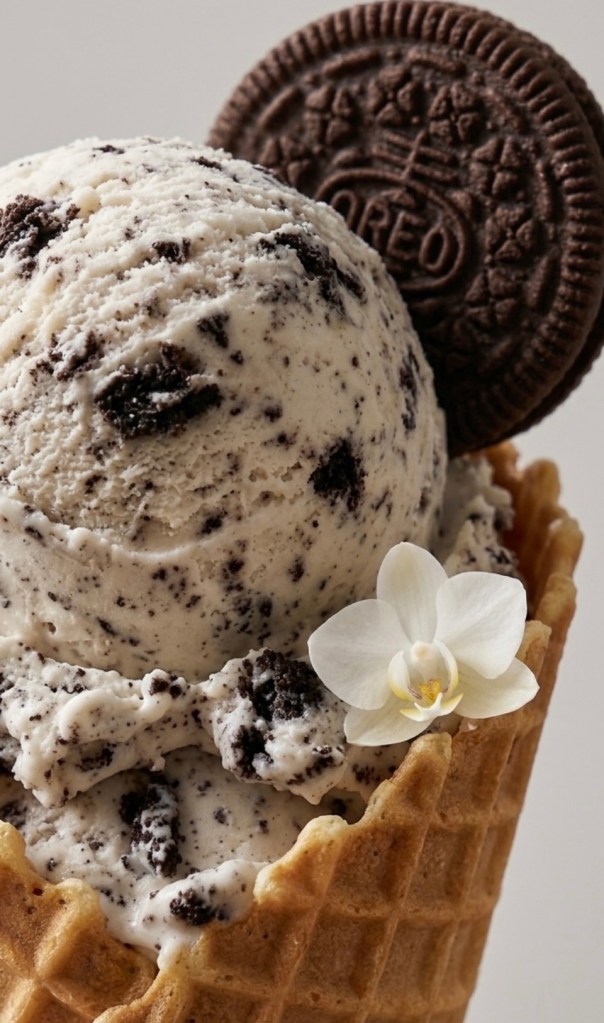
    Well, I’ve got a secret for you. You can make the most velvety, decadent ice cream right in your own kitchen with only three ingredients. No fancy ice cream machine, no complicated techniques, just pure magic.

    Grab your whisk, crush those cookies, and let’s get into it!

    The Ingredients
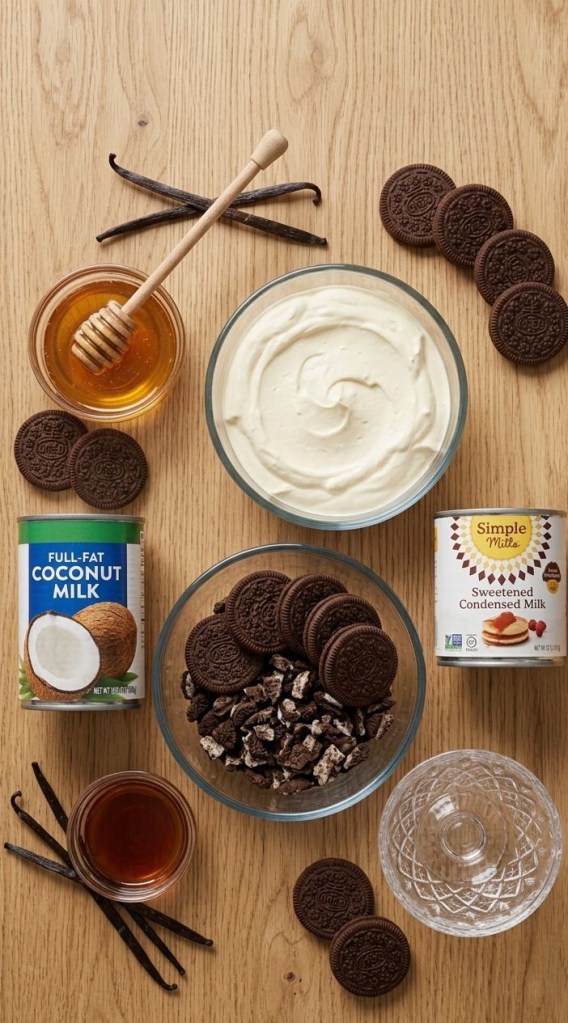
     475ml (2 cups) Double Cream – Cold from the fridge!

     1 tin (approx. 400g) Sweetened Condensed Milk – OR make it from scratch by simmering 1 tin of full-fat coconut milk with 120ml (1/2 cup) honey for 20-30 minutes until thick, then cooling completely.

     1 tbsp Vanilla Extract

     A mountain of crushed cookies – Your favorite chocolate sandwich cookies work best.

    The Method

    1. Whip the Cream: In a stand mixer or with a hand whisk, whip the double cream on high speed until you reach stiff peaks. The cream should stand up firmly on the whisk without drooping.

    2. Combine the Base: Gently fold your chosen sweet base (the condensed milk or your cooled coconut-honey mixture) and the vanilla extract into the whipped cream using a spatula. Be gentle—you want to keep all that beautiful air in the mixture!

    3. Add the Crunch: Fold in your crushed cookies. Don’t be shy—the more, the better.

    4. Freeze: Pour the mixture into a freezer-safe container. Cover it and freeze for several hours, or overnight, until firm.

    5. Serve: When you’re ready, take it out of the freezer for a few minutes to soften slightly, then scoop and enjoy!

    CTA: Seriously, try this out and let me know—what’s the first cookie you’re tossing into the mix? I’m a sucker for a classic dark cocoa biscuit, but I’d love to hear your favorite combos in the comments!
  • How to Make the Ultimate Oreo Milkshake (The Cafe-Style Secret)

    How to Make the Ultimate Oreo Milkshake (The Cafe-Style Secret)

    We have all been there. You get a craving for a thick, indulgent Oreo milkshake, throw a handful of biscuits and some ice cream into a blender, hit go, and… end up with a sad, uniform, grey sludge.

    It tastes okay, but it completely lacks that premium cafe-style texture.

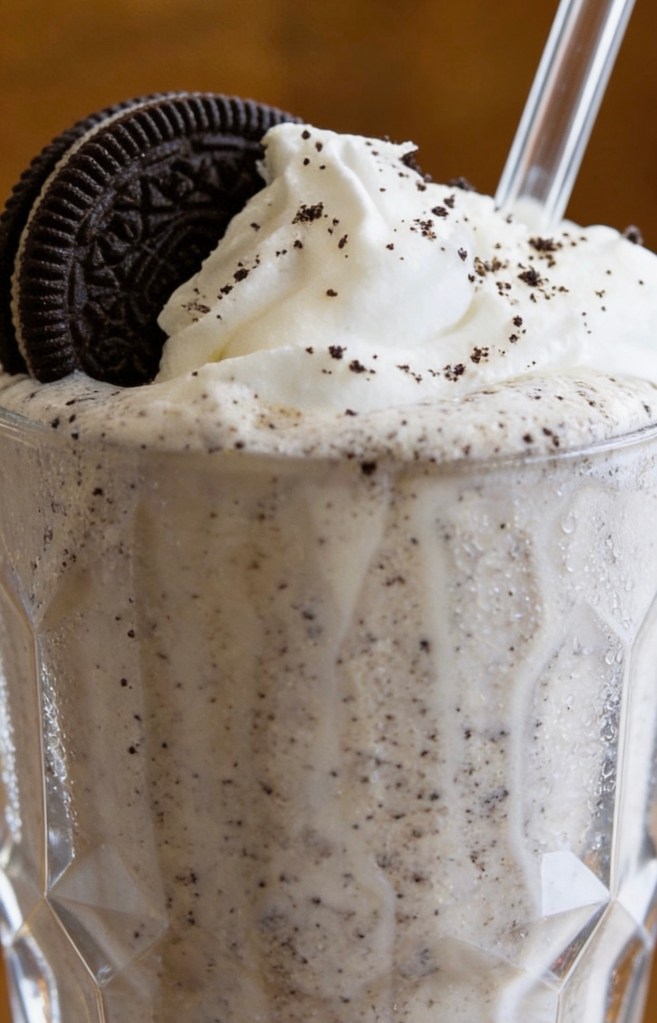
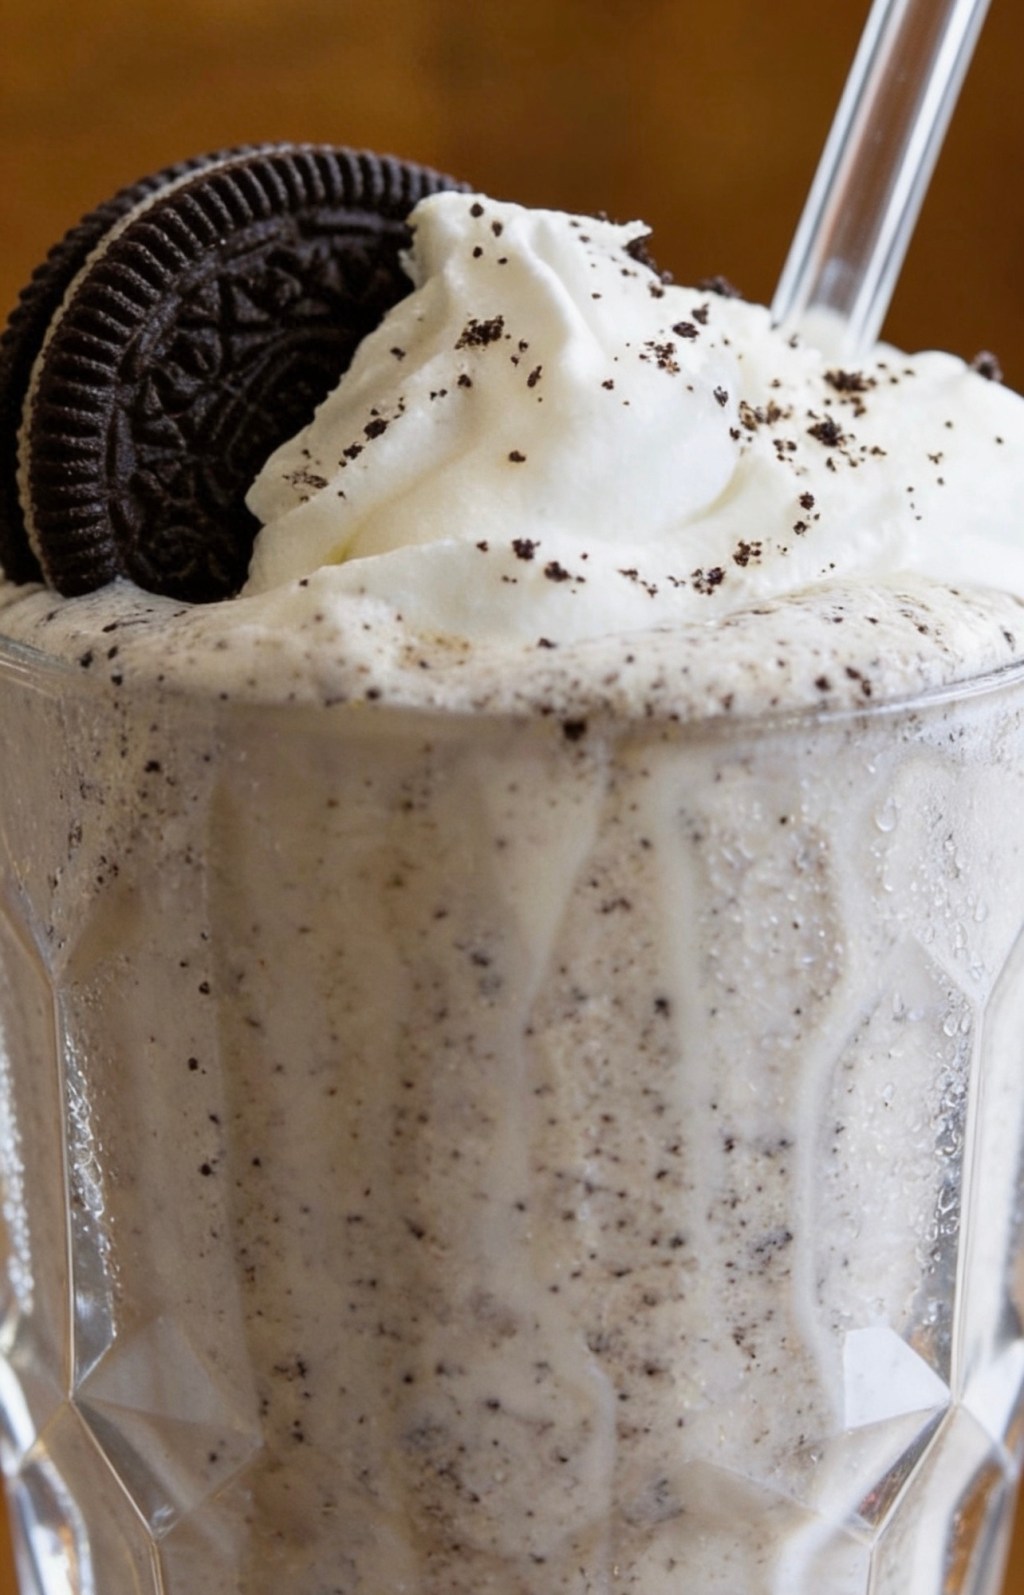
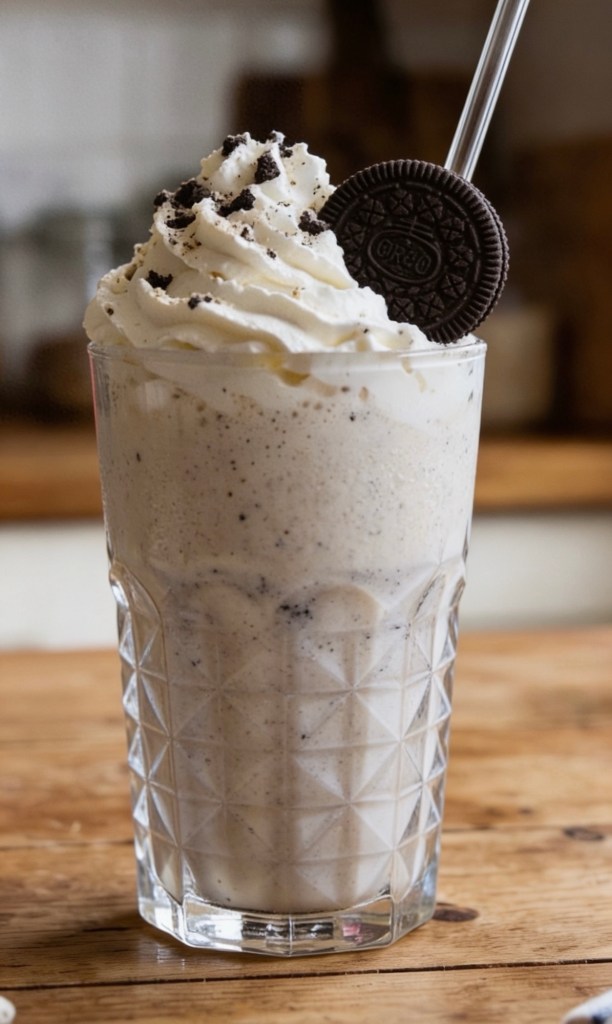
    The secret to a perfect Oreo milkshake isn’t a magical ingredient—it’s all in the timing. If you blend everything together at once, the biscuits pulverize into dust. By changing up your blending order, you get a beautiful, speckled shake with perfect crunchy biscuit bits in every single sip.

    Here is how to make a proper British cafe-standard Oreo milkshake at home in less than five minutes.

    Why This Recipe Works

     The Texture Contrast: Blending the base first keeps the ice cream thick while pulsing the biscuits at the end preserves the crunch.

     No Ice Needed: Adding ice dilutes the rich dairy flavour. We use pure ice cream and full-fat milk for maximum creaminess.

     Chilled Glass Technique: Freezing the glass with chocolate sauce ensures your milkshake stays thick from the first sip to the last.

    Ingredients

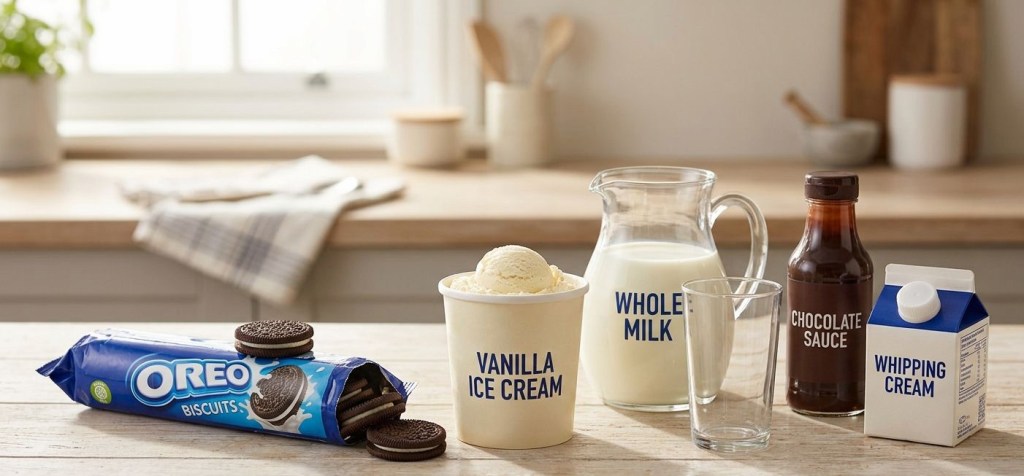
     4 large scoops vanilla ice cream

     120ml whole milk (full-fat milk gives the best texture)

     5 Oreo biscuits (plus 1 or 2 extra for the topping)

     Optional: Whipped cream (or squirty cream) and chocolate dessert sauce for decorating the glass

    Step-by-Step Instructions

    Step 1: Prep Your Glass

    Take your serving glass and drizzle chocolate sauce around the inside walls in a swirl pattern. Pop the glass straight into the freezer while you make the shake. Trust me, a chilled glass is a game-changer for keeping a milkshake thick.

    Step 2: Blend the Creamy Base

    Add the 4 large scoops of vanilla ice cream and 120ml of whole milk to your blender. Whizz on high for about 20 to 30 seconds until the mixture is completely smooth, thick, and uniform.

    Step 3: Add the Oreos and Pulse

    Drop the 5 Oreo biscuits directly into the smooth mixture. Instead of turning the blender back on continuously, use the pulse setting just 4 or 5 times. You want the blades to break the biscuits into small, chewable pieces, not turn them into powder.

    Step 4: Assemble and Serve

    Take your chilled glass out of the freezer. Pour the thick, speckled milkshake straight in. Top with a generous mountain of whipped cream, and crumble your remaining Oreo biscuits over the top. Add a wide straw and enjoy!

    💡 Pro-Tip: The 2-Minute Rule

    If your milkshake feels a bit too thick to drink through a straw, do not add more milk. Adding more milk dilutes the rich creaminess and thins it out permanently. Instead, just leave it on the kitchen side for two minutes. Let the ice cream soften naturally, and it will reach the perfect sippable consistency on its own.

    Variations to Try

     The Peanut Butter Twist: Add one tablespoon of smooth peanut butter into the blender during Step 2 for an incredible sweet-and-salty kick.

     Double Chocolate: Swap out two of the vanilla ice cream scoops for chocolate ice cream to make a decadent ultra-chocolate version.

    Over to you! Do you prefer your milkshakes completely smooth, or are you team chunky? Let me know in the comments below!