Tag: #FoodBlog

  • The Strawberry Shortcake Milkshake You Need in Your Life Right Now

    The Strawberry Shortcake Milkshake You Need in Your Life Right Now

    Sometimes, you don’t just want a dessert—you want an experience. You want that perfect mix of creamy, fruity, and crunchy, all in one glass. If you’ve been scrolling through social media and drooling over those aesthetic, cafe-style drinks, I have some good news: you can make them in your own kitchen, and it’s honestly way easier than it looks!

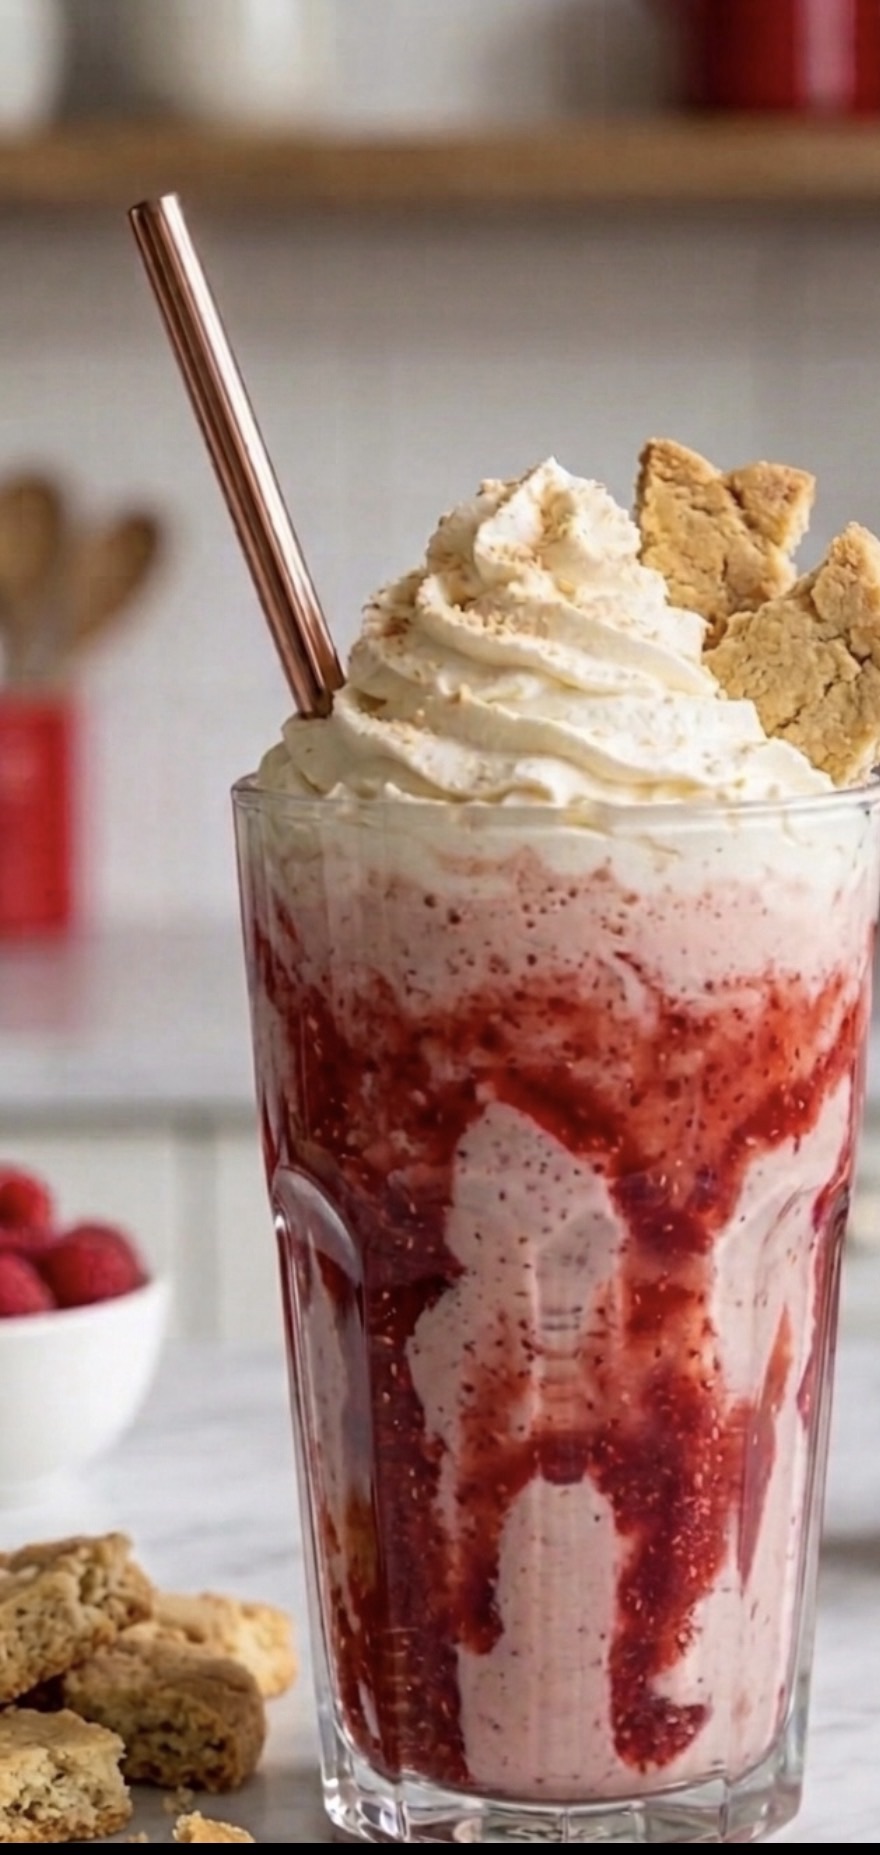
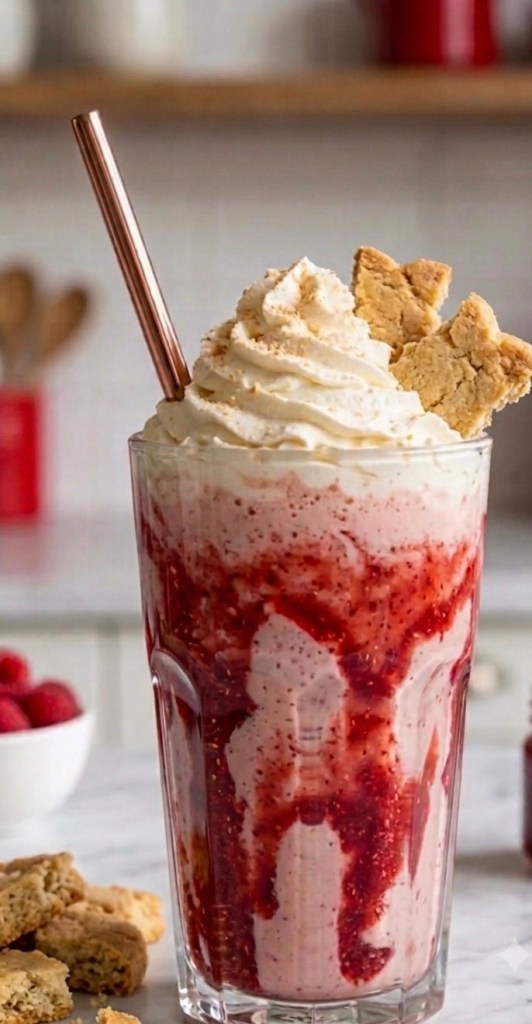
    Today, we are talking about the Strawberry Shortcake Milkshake. It’s nostalgic, it’s refreshing, and it’s basically a handheld dessert party.

    What You’ll Need

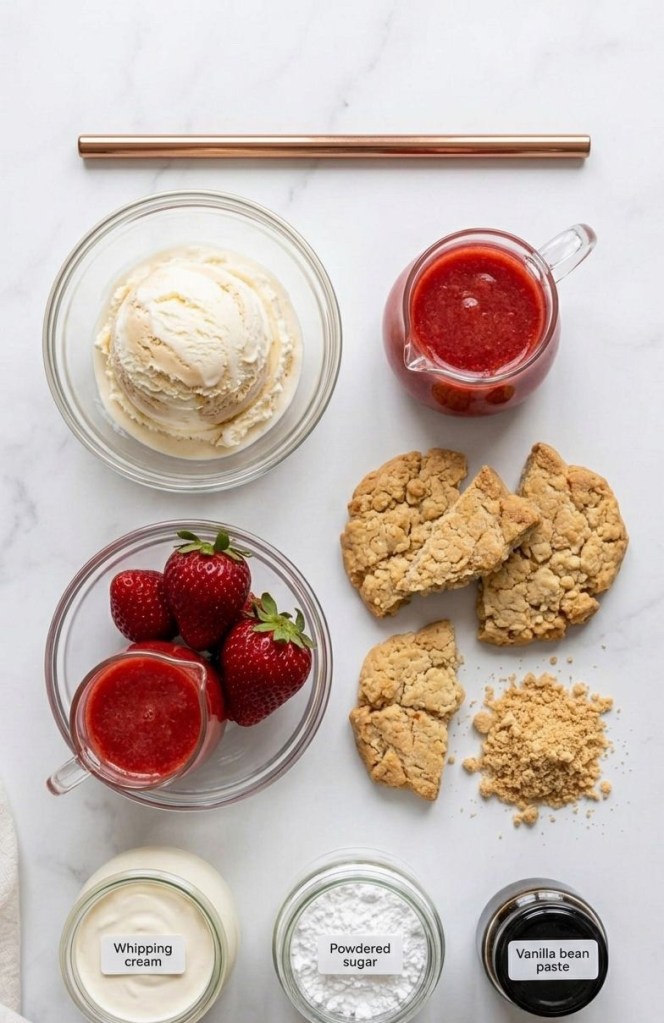
    Before we start blending, let’s get our ingredients sorted. You’ll want:

     Vanilla Bean Ice Cream: The higher quality, the better! It provides that rich, velvety base.

     Fresh Strawberries: These bring that bright, fresh fruit flavour.

     Strawberry Puree: This is the secret to that “cafe-style” look. Drizzle it down the inside of your glass before you pour in the shake.

     Shortbread Biscuits: The “shortcake” element! We’re going to crush these up for that essential buttery crunch.

     Double Cream: Whip this up for that classic, decadent finish.

     A splash of milk: To get the perfect, drinkable consistency.

    The Recipe

    Makes: 1 large serving (or 2 smaller ones)

    Prep time: 10 minutes

    Ingredients:

     350ml premium vanilla bean ice cream

     120g fresh strawberries, hulled and sliced

     60ml whole milk (add a tablespoon at a time until you reach your preferred consistency)

     3 shortbread biscuits (2 to blend, 1 for the garnish)

     2 tbsp strawberry puree (plus more for swirling the glass)

     1 tsp vanilla extract

     Whipped double cream, to serve

    Method:

    1. The Puree Drizzle: Take your strawberry puree and use a spoon to swirl it around the inside walls of your glass. This gives you those gorgeous, professional-looking streaks.

    2. The Blend: Add your ice cream, fresh strawberries, milk, vanilla extract, and two of the crushed shortbread biscuits into your blender. Pulse until it’s thick and creamy, but stop before you pulverise the biscuit bits entirely—you want some texture!

    3. The Pour: Carefully pour your shake into the glass.

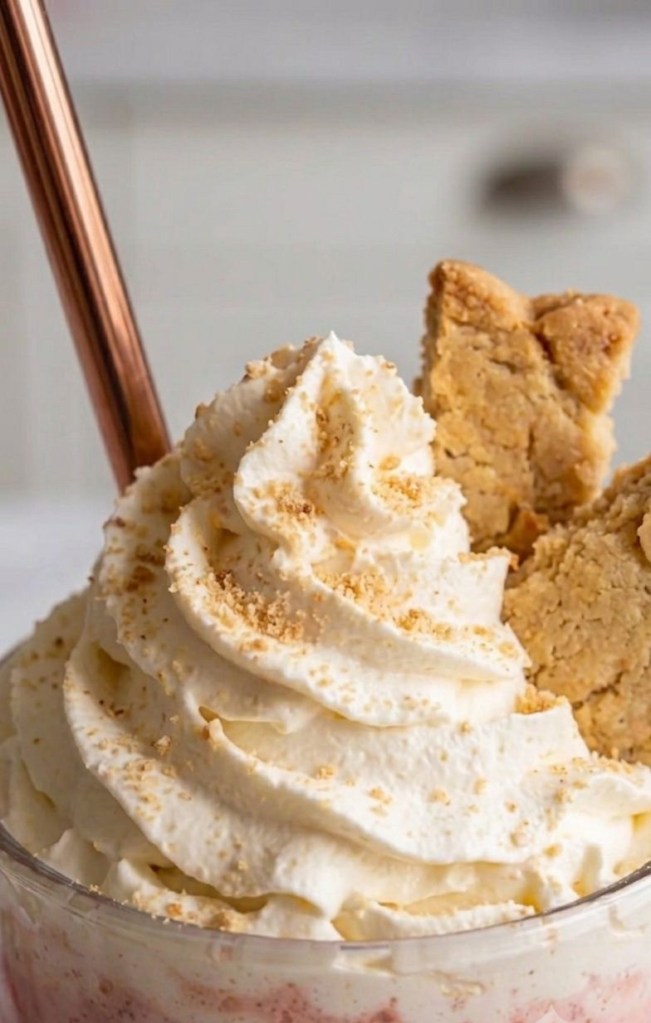
    4. The Garnish: Pipe on a generous swirl of whipped double cream. Finish it off with an extra sprinkle of crushed biscuit and maybe a whole shortbread biscuit tucked into the side.

    5. Enjoy: Grab a straw and dive in immediately. It’s meant to be enjoyed while it’s nice and cold.

    Why You’ll Love It

    It’s the perfect way to cool down on a warm day, but honestly? It’s a year-round treat. Whether you’re hosting a brunch or just having a “treat yourself” kind of night, this milkshake is guaranteed to be a hit.

    Give this recipe a try and let me know in the comments how yours turned out! Do you like yours extra thick, or more on the drinkable side? I’m dying to know!

  • The Red Velvet Renaissance: A Proper British Traybake (With a Secret Science Twist!) 🍰

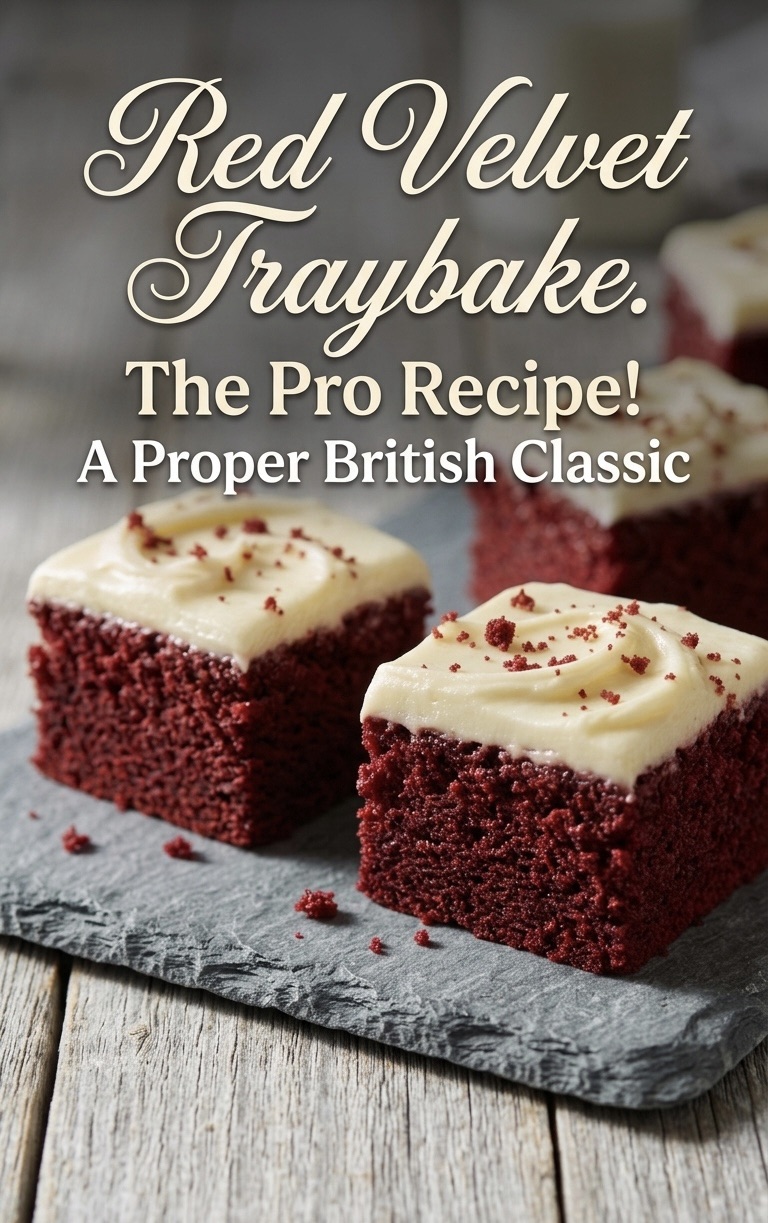
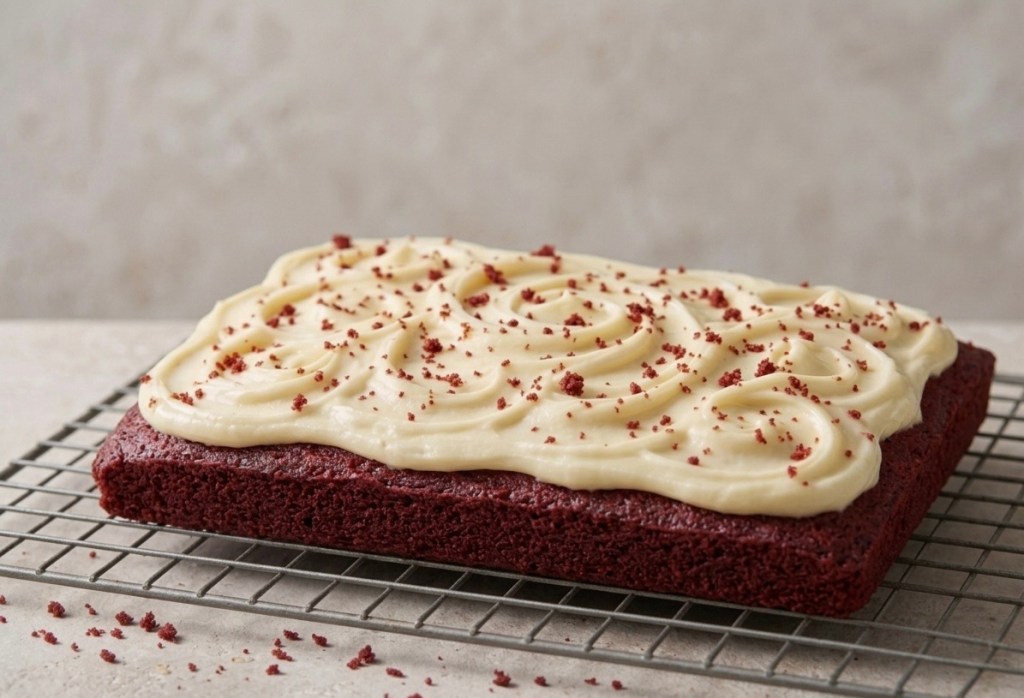
    The Red Velvet Renaissance: A Proper British Traybake (With a Secret Science Twist!) 🍰

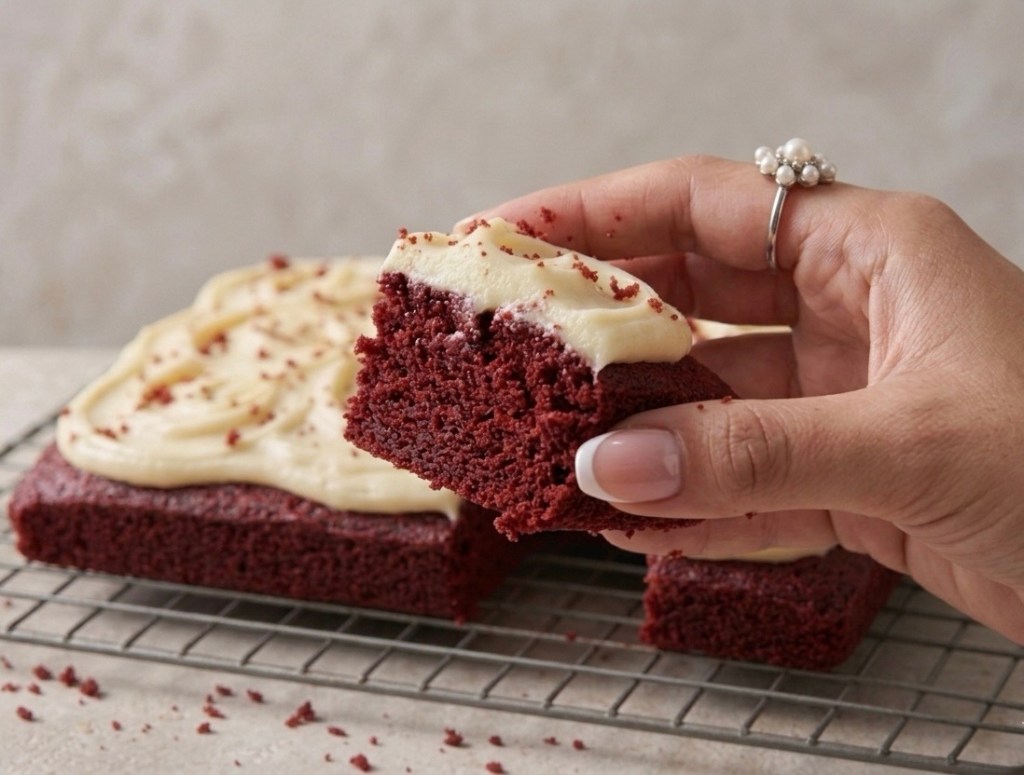
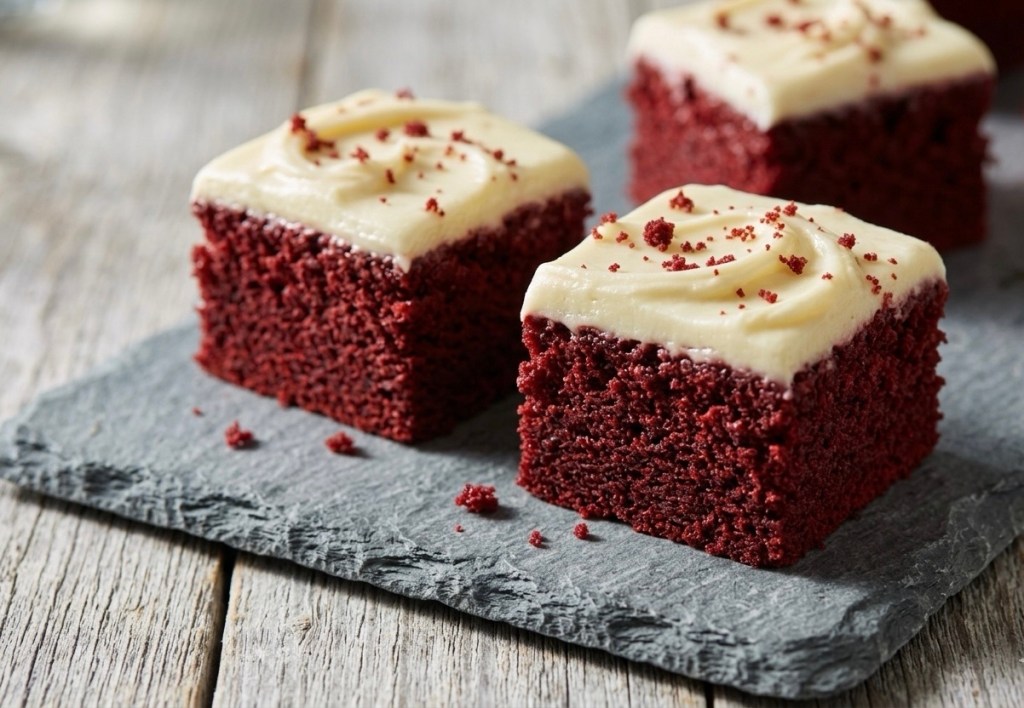
    Let’s be honest—Red Velvet is a cake that often gets a bad reputation. Too many people think it’s just a chocolate cake with a bottle of red dye thrown in. But a proper Red Velvet is a masterpiece of baking chemistry. It’s tangy, incredibly light, and has a unique “velvet” crumb that sets it apart from any other sponge.

    If you’ve struggled with dry cakes or a “muddy” colour in the past, this one-tin traybake is about to change your kitchen game.

    The “Velvet” Secret: Chemistry in a Tin 🧪

    The magic of this recipe lies in the reaction between 1 Tbsp white wine vinegar and 1 tsp bicarbonate of soda. When you mix these right at the end, they fizz up, creating tiny air bubbles that give the sponge its iconic, tight-but-fluffy texture.

    Combined with 200ml of buttermilk, you get a sponge that stays moist for days and has that signature subtle tang that balances the sweetness.

    The Pro-Secret: Sugarflair Velvet Red 🎨

    We’ve all been there—using an entire bottle of supermarket liquid colouring only to end up with a cake that looks maroon or, worse, brown. For this recipe, we are using 1–3 tsp of Sugarflair Velvet Red paste.

    https://amzn.to/4u2kHNt

    Because it’s a concentrated paste, it delivers a deep, dramatic crimson without adding extra liquid to your batter. You can easily find it online, and it is worth every penny for that professional bakery finish.

    The Topping: Cream Cheese Perfection 🥯

    The frosting is the crowning glory. To get it perfect every time:

    • Temperature Matters: Ensure your 100g of butter and 250g of full-fat cream cheese are at room temperature. Cold cheese leads to lumps!

    • The Method: Whisk the butter and 100g of icing sugar until pale and fluffy first. Only then do you fold in the cream cheese. If you over-beat it, the icing can turn runny, so keep it brief!

    The Ingredients

    For the Sponge:

    • 250g unsalted butter, softened

    • 250g caster sugar

    • 4 medium eggs

    • 200ml buttermilk

    • 275g self-raising flour

    • 50g cocoa powder

    • 1–3 tsp Sugarflair Velvet Red paste (available online)

    • 1 Tbsp white wine vinegar

    • 1 tsp bicarbonate of soda

    For the Icing:

    • 100g unsalted butter, softened

    • 100g icing sugar, sifted

    • 250g full-fat cream cheese (room temperature)

    • Red sprinkles (optional)

    Step-by-Step Directions

    1. Prep the Tin: Preheat your oven to 180°C (160°C fan). Grease and line a roughly 20 x 30cm baking tin with baking parchment.

    2. Cream the Base: In a large bowl, whisk the 250g butter and 250g caster sugar until pale and fluffy.

    3. Mix the Wet & Dry: In a jug, whisk the eggs and buttermilk. Sift your 275g self-raising flour and 50g cocoa into a separate bowl.

    4. Combine: Add 1/3 of the egg mix to the butter, then 1/3 of the flour. Repeat until incorporated. Beat in your Sugarflair paste until you hit that gorgeous red shade.

    5. The Fizz: Quickly mix the vinegar and bicarb in a small cup. Pour the fizzing mix into the batter, beat it in quickly, and get it straight into the tin.

    6. Bake: Bake for 45 minutes or until a skewer inserted into the centre comes out clean. Let it cool completely in the tin.

    7. The Frosting: Whisk the 100g butter and 100g icing sugar until light. Gently beat in the 250g cream cheese just until combined.

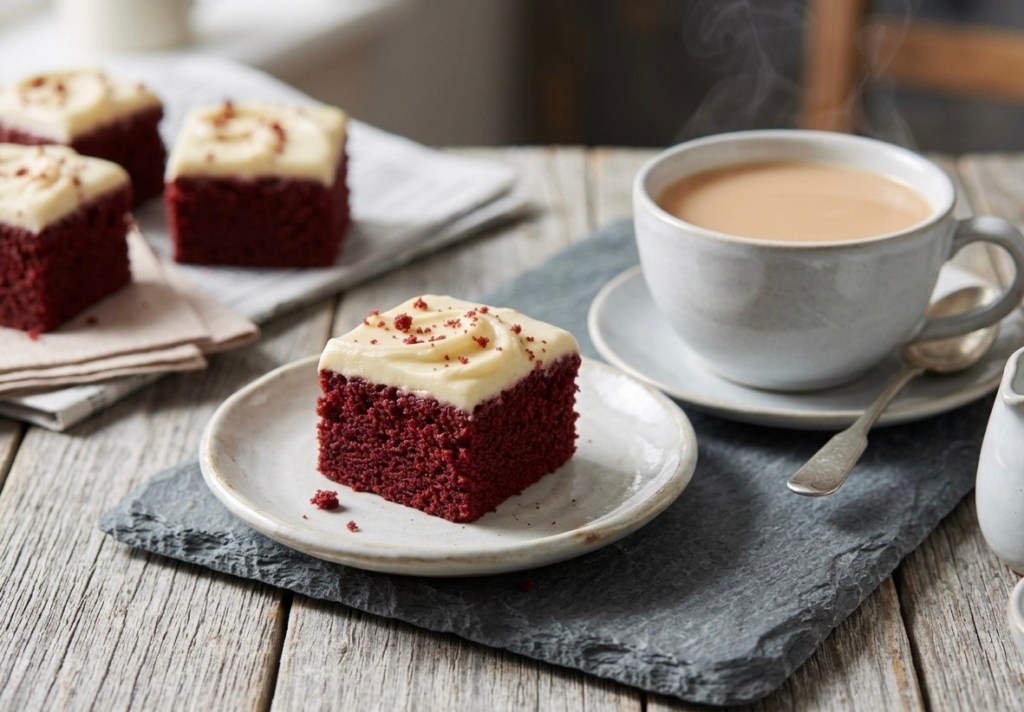
    8. Finish: Spread thick over the cooled sponge, add sprinkles, and cut into 16 generous squares.

    So, there you have it—the only Red Velvet recipe you’ll ever need in your baking arsenal! Honestly, once you’ve seen that vinegar and bicarb work their magic and tasted that silkier-than-silk cream cheese frosting, there’s no going back. It’s the perfect bake for when you want something that looks incredibly impressive but actually lets you keep your cool in the kitchen.

    If you do give it a whirl, please tag me in your photos or leave a comment below—I’d love to see your crimson masterpieces! Now, if you’ll excuse me, I have some “quality control” testing to do with a cuppa and a very large square of cake. Happy baking, everyone! 🍰✨