Tag: #FoodBlogger

  • Stop Scrolling: The “Latte Art” Smoothie That’s Breaking the Internet 🍓🥝

    Stop Scrolling: The “Latte Art” Smoothie That’s Breaking the Internet 🍓🥝

    Let’s be real for a second. We’ve all seen those impossibly perfect coffee shop lattes with the heart designs. They’re gorgeous, they’re fancy, and they’re usually gone in three sips. But what if I told you that you could bring that same high-end café aesthetic to your morning smoothie—without needing a barista diploma?
    If you’ve been looking for that “main character” drink to elevate your breakfast game (or just to get some serious engagement on your grid), you are in the right place.

    Welcome to the “Botanical Bloom” Smoothie. 🌸

    Why This Smoothie is a Game-Changer

    Most smoothies are just… well, brown sludge. Delicious? Sure. Instagram-worthy? Rarely.

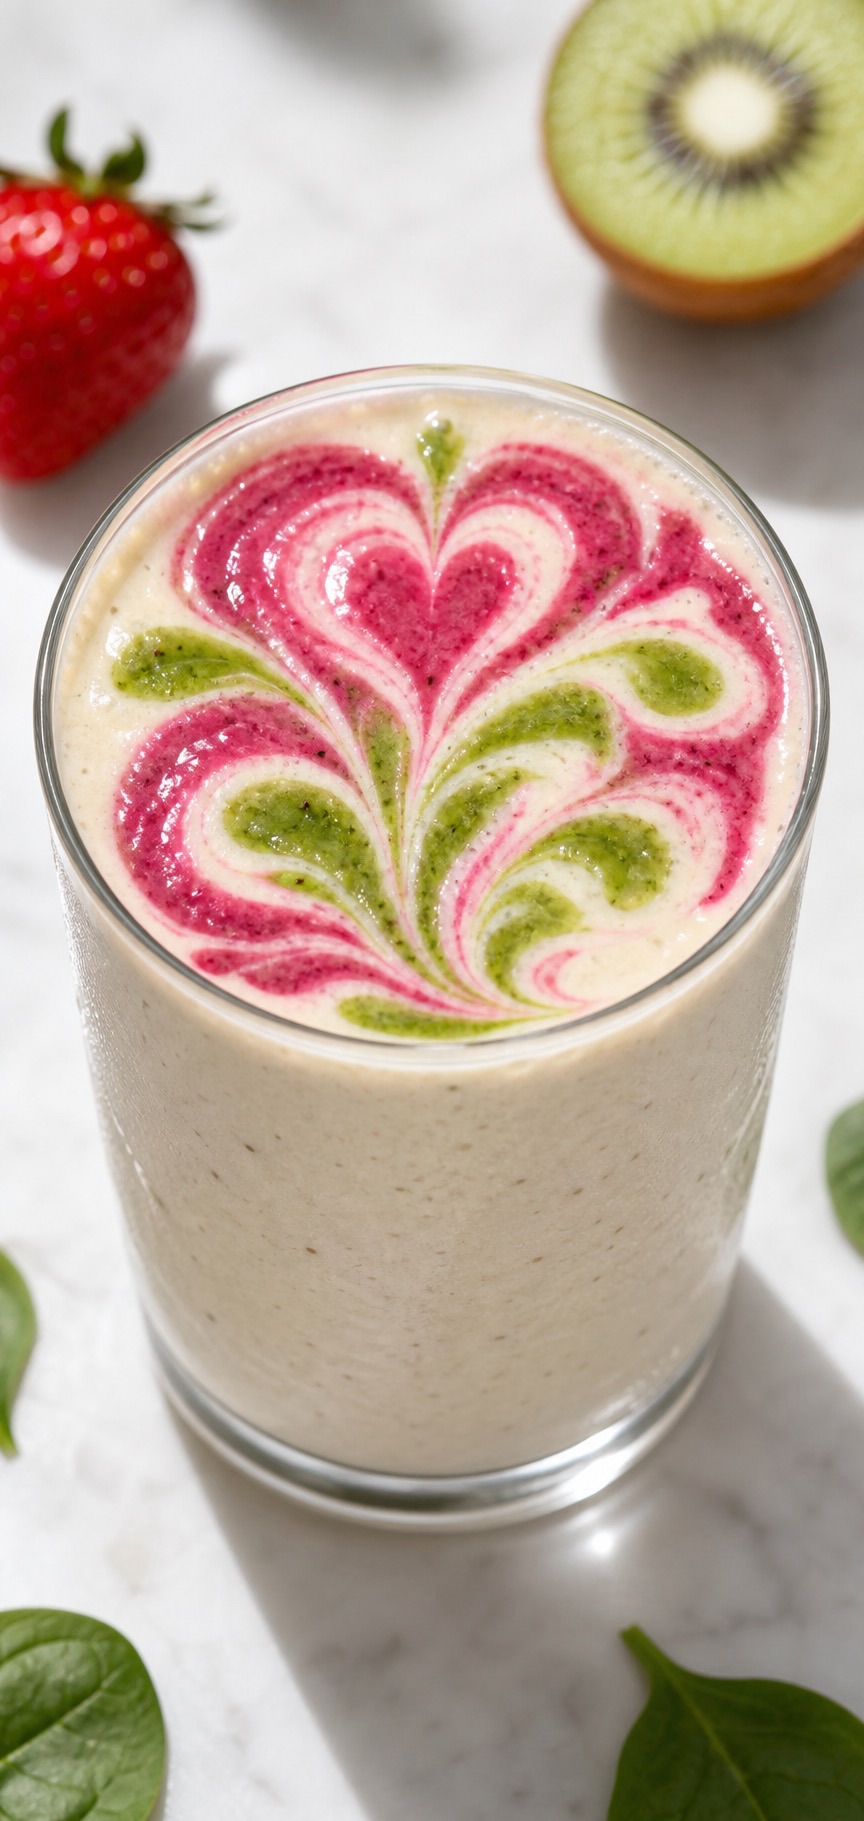
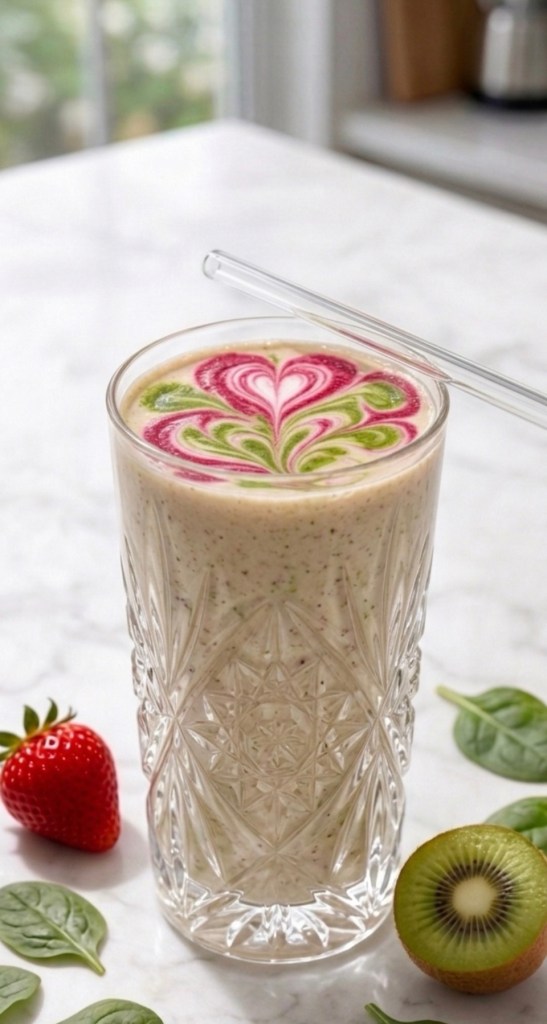
    The secret to this viral look isn’t in the flavor (though, don’t worry, it tastes like a tropical dream); it’s in the surface tension and contrast. By using a thick, creamy base and layering vibrant, natural fruit purees, you can create intricate swirls that look like a professional work of art.

    It’s satisfying, it’s vibrant, and honestly? It’s kind of meditative to make.

    What You’ll Need
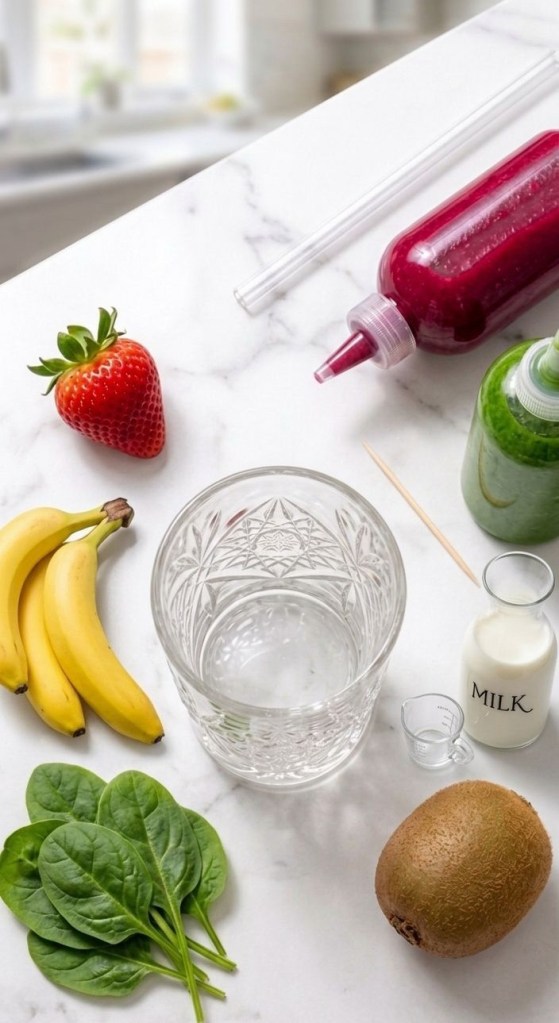
     The Base: 1 frozen banana, ½ cup vanilla Greek yogurt, and a splash of your favorite milk (oat milk is chef’s kiss here).

     The “Ink”: * Pink: A handful of frozen raspberries blended with a tiny bit of water or juice.

     Green: A small handful of spinach and a chunk of kiwi blended until super smooth.

     The Tools: Two squeeze bottles (the real MVP here) and a toothpick or bamboo skewer.

    The “Barista” Method (Step-by-Step)

    1 Prep the Purees: Your “ink” needs to be smooth. If there are chunks, your toothpick will drag them, and the design will look messy. Blend them until they’re liquid gold.

    2 The Base Pour: Blend your base ingredients until thick. Pour into a high-quality, cut-glass tumbler (we want that texture!). Make sure the surface is smooth and flat.

    3 The Dots: Take your squeeze bottles and carefully dot the pink and green purees onto the top of the smoothie. Think of it like making polka dots.

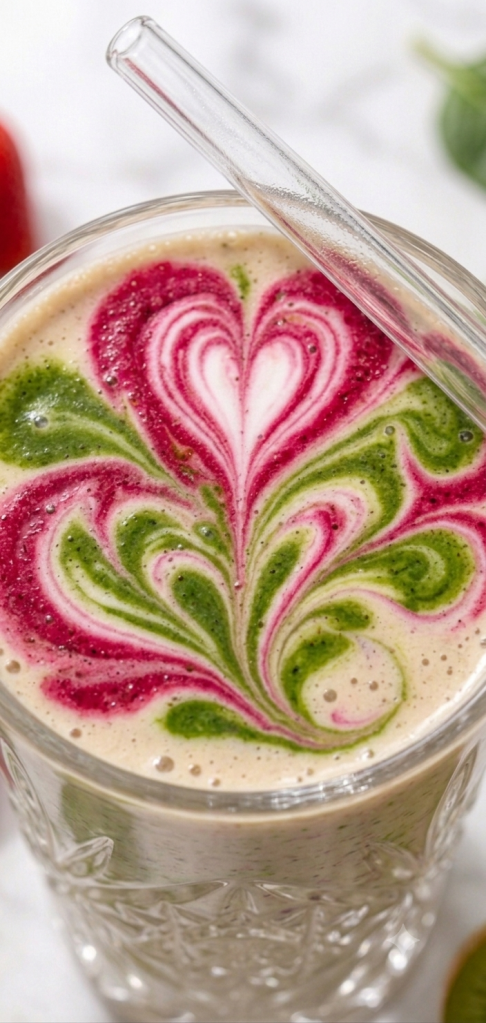
    4 The Magic Drag: This is the part that feels like magic. Take your toothpick and start in the center of a dot. Drag it through the center of the other dots, alternating directions.

     Pro-tip: Don’t overthink it! If you drag through the center of the dots, you’ll get those beautiful heart shapes. If you swirl the outer edges, you get a blooming flower effect.

    5 The Finisher: Add a glass straw, snap your photo (best in natural daylight!), and enjoy your masterpiece.

    Tips for the Perfect “Grid” Shot

     Don’t Wait: This art is time-sensitive! The purees will start to sink if the smoothie base isn’t thick enough. Use frozen fruit to keep everything chilled and stiff.

     Glass Matters: Since the top is the star of the show, a tall, faceted crystal tumbler shows off the elegance of the drink.

     Lighting is Everything: Take this near a window. The contrast between the vibrant fruit colors and the creamy white base looks insane in soft, natural morning light.
    I want to see your creations!

    Are you going to try the “Botanical Bloom” this weekend? If you post it, tag me
  • The Ultimate Black Forest Tray Bake: Rich, Fudgy, and Perfectly Cherry-Topped

    The Ultimate Black Forest Tray Bake: Rich, Fudgy, and Perfectly Cherry-Topped

    There is something undeniably classic about the combination of deep, dark chocolate and sweet, tangy cherries. If you’re looking for a crowd-pleaser that looks as good as it tastes, this Black Forest Tray Bake is exactly what your kitchen needs.

    Whether you are baking for a weekend treat or a special occasion, this recipe delivers on both texture and flavour.

    Why You’ll Love This Bake

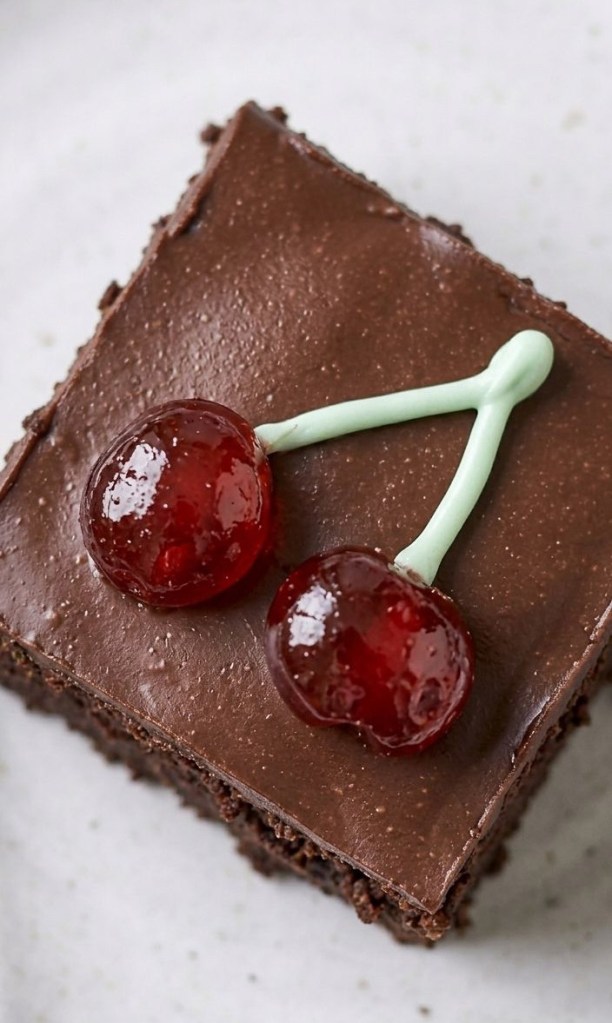
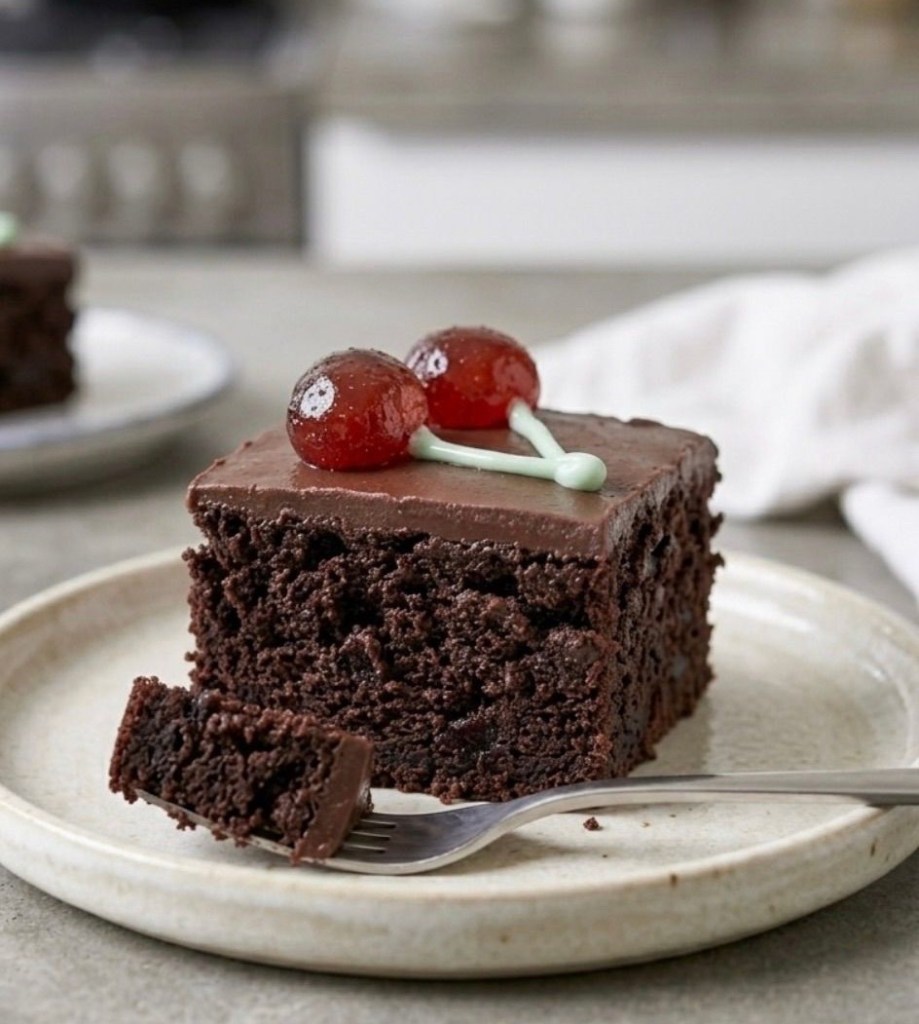
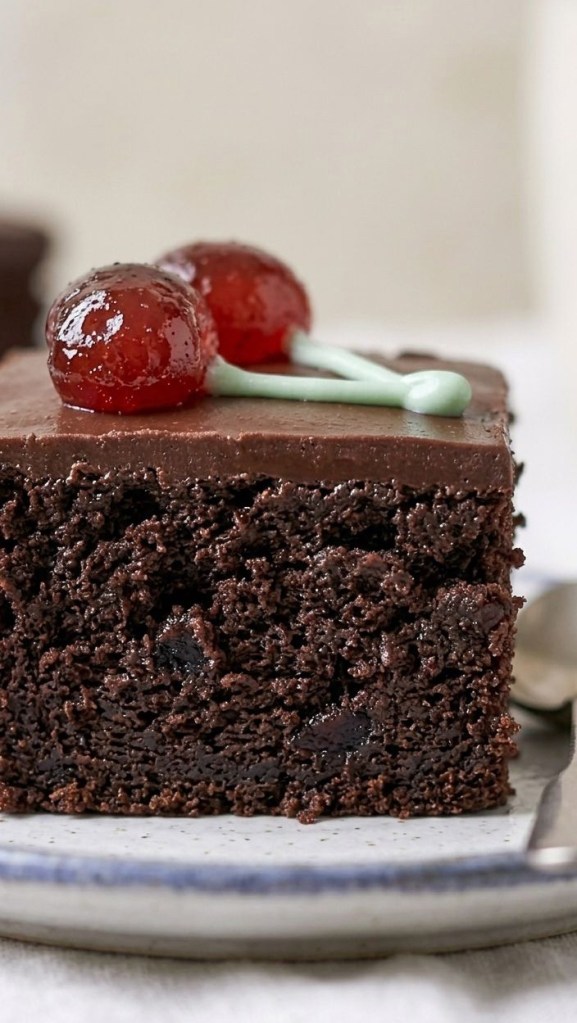
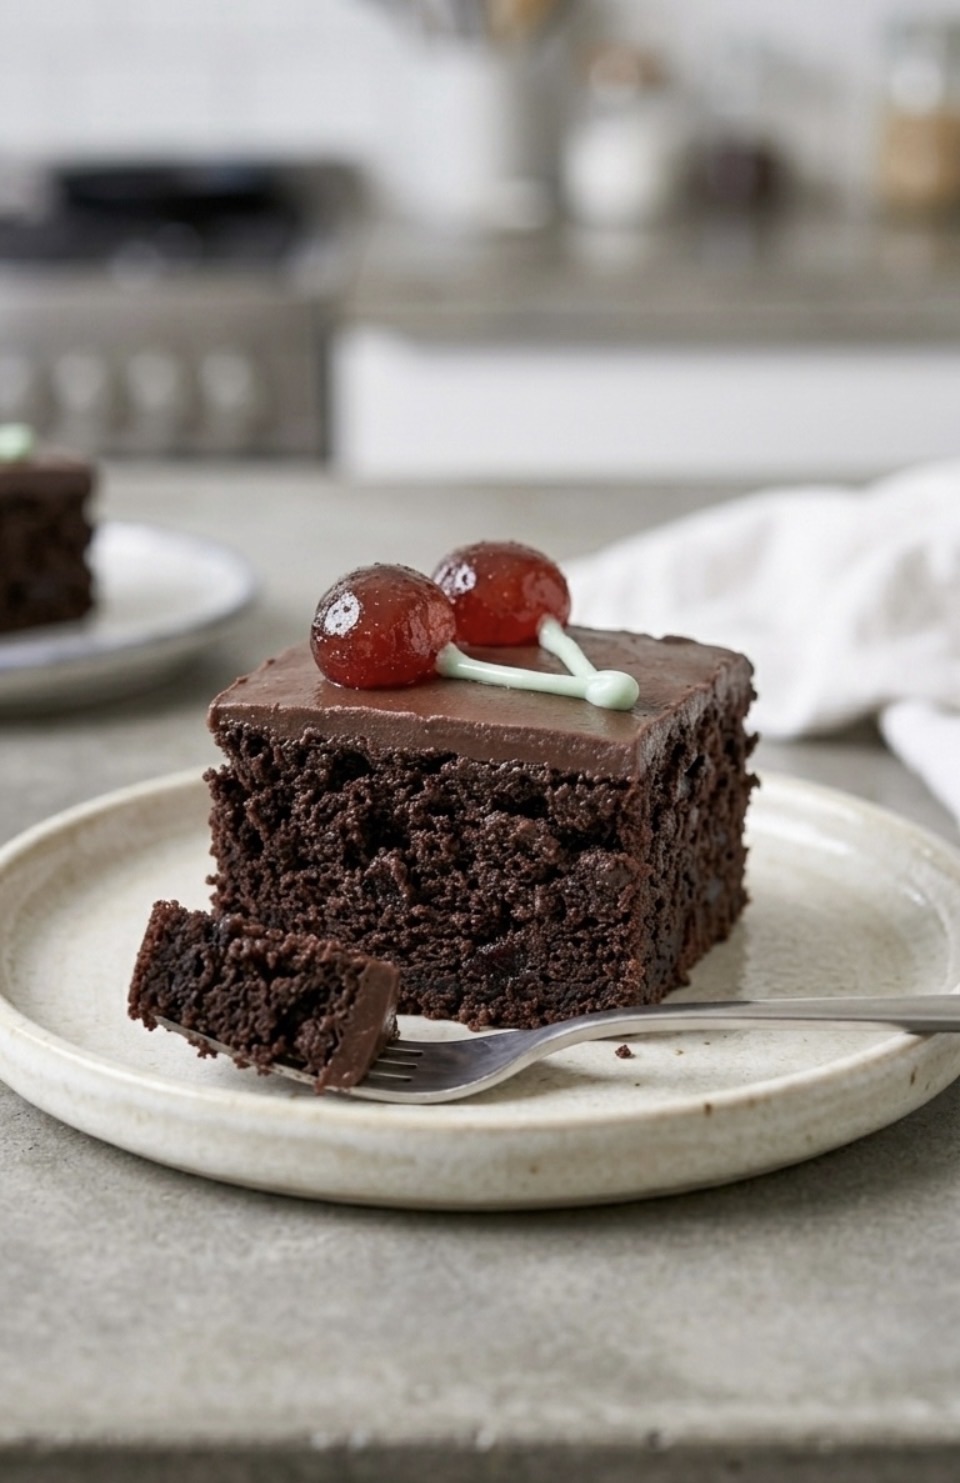
    This isn’t your average brownie. By incorporating dried sour cherries into the batter, you get little pockets of intense flavour in every bite. The addition of instant coffee also helps to deepen the chocolate notes, creating a rich, sophisticated base. Finished with a silky dark chocolate glaze and adorable hand-piped buttercream “stems,” this tray bake is a total showstopper.

    Ingredients

     For the Base:

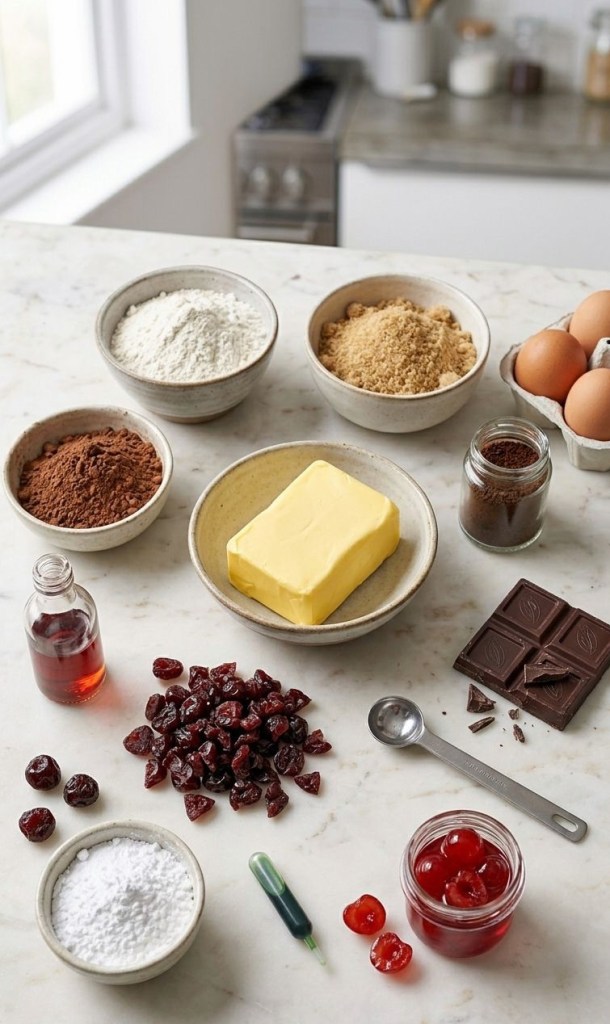
     250g unsalted butter, softened (plus extra for greasing)

     1 tbsp instant coffee powder

     350g light brown soft sugar

     4 medium eggs

     75g cocoa powder

     100g self-raising flour

     1 tsp cherry essence (optional, but recommended for that classic profile)

     100g dried sour cherries, chopped

     For the Topping:

     200g dark chocolate (60% minimum cocoa solids)

     25g unsalted butter, softened

     50g icing sugar

     Green food colouring gel

     20 glacé cherries, halved

    Method

    1. Preparation

    Start by preheating your oven to 180°C/160°C fan/gas 4. Grease a 30 x 20cm cake tin and line it with parchment paper to ensure an easy release later. Mix your instant coffee with 2 tablespoons of boiling water and set it aside to cool.

    2. Mixing the Batter

    Cream the butter and sugar together for about 5 minutes until the mixture is light and fluffy. Add the eggs one at a time, making sure to incorporate them well after each addition. In a separate bowl, whisk together the cocoa powder and flour. Stir the cherry essence and cooled coffee into your butter mixture, then fold in the dry ingredients followed by the chopped dried sour cherries.

    3. The Bake

    Spoon the batter into your prepared tin and level the top with the back of a spoon. Bake in the centre of the oven for 30–35 minutes, or until a skewer inserted into the middle comes out clean. Let it cool completely in the tin before moving on to the topping.

    4. The Finishing Touches

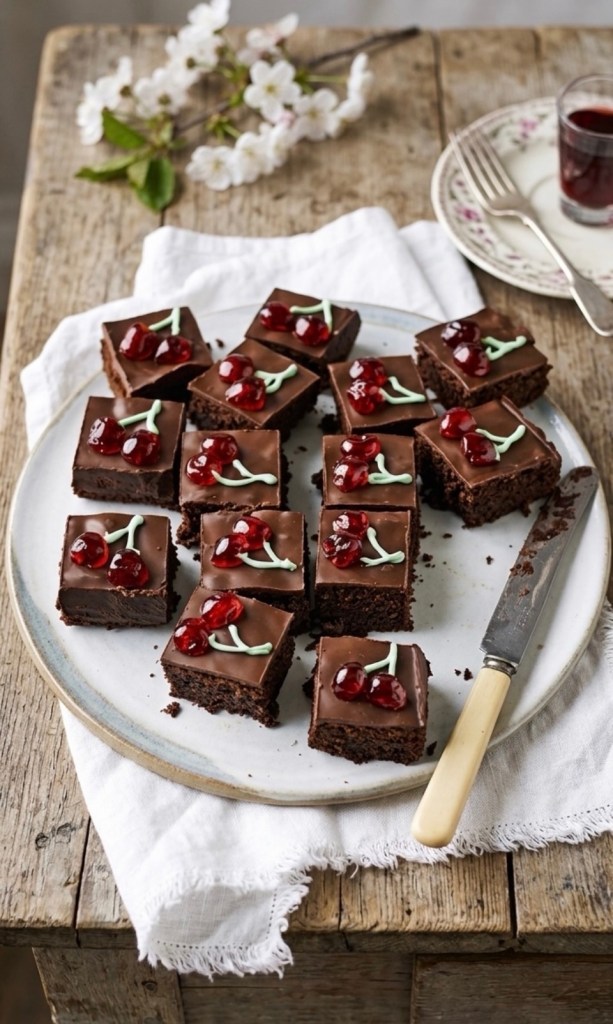
    Melt the dark chocolate (using a microwave or a bain-marie) and spread it in an even layer over the cooled brownies. While the chocolate sets, mix the butter, icing sugar, and a few drops of green food colouring to create your buttercream. Once the chocolate has set, cut the tray into 20 squares. Place two glacé cherry halves on top of each square and use the green buttercream—fitted with a writing tip nozzle—to pipe the cherry stems.

    Have you given this Black Forest Tray Bake a try? I’d love to hear how yours turned out—let me know in the comments below!

    Key ingredient Shopping

    Sour cherries

    https://amzn.to/3PxoG5Z

    Cherry essence

    https://amzn.to/4uFzEW1

    Chocolate

    https://amzn.to/4wZ3TZP

    Cherries

    https://amzn.to/4fR6zT4

    This post may contain affiliate links, which means I may earn a small commission if you purchase through them — at no extra cost to you. As an Amazon Associate, I earn from qualifying purchases