Tag: Healthy Dessert

  • Healthy Hazelnut & Chocolate Bites: The Perfect Guilt-Free Snack

    Healthy Hazelnut & Chocolate Bites: The Perfect Guilt-Free Snack

    Looking for a way to satisfy those mid-afternoon chocolate cravings without reaching for the processed stuff? You are not alone. Many of us want a sweet treat that feels indulgent but keeps our health goals on track.
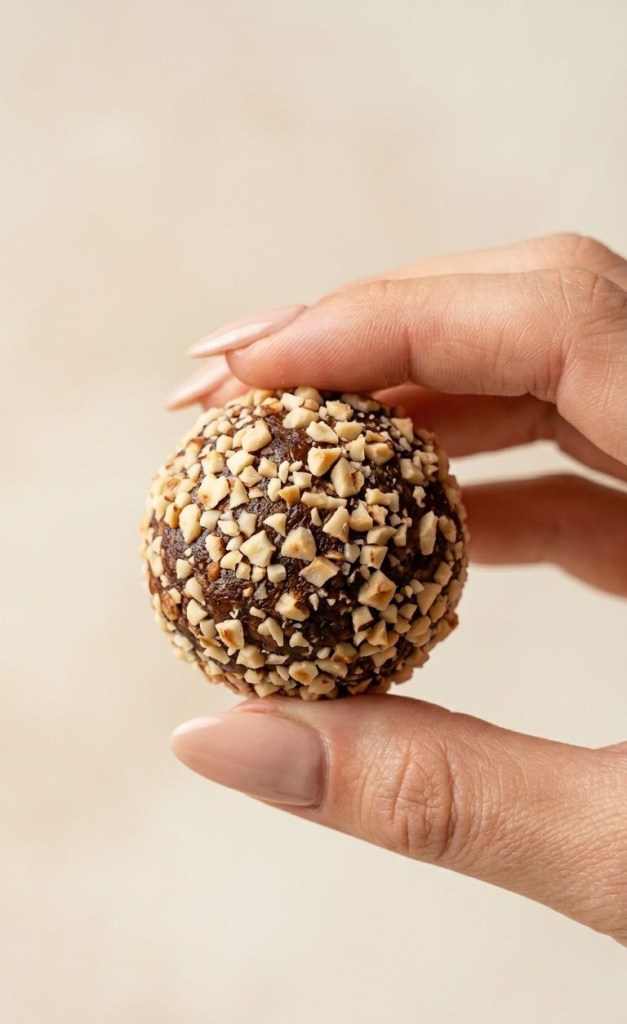
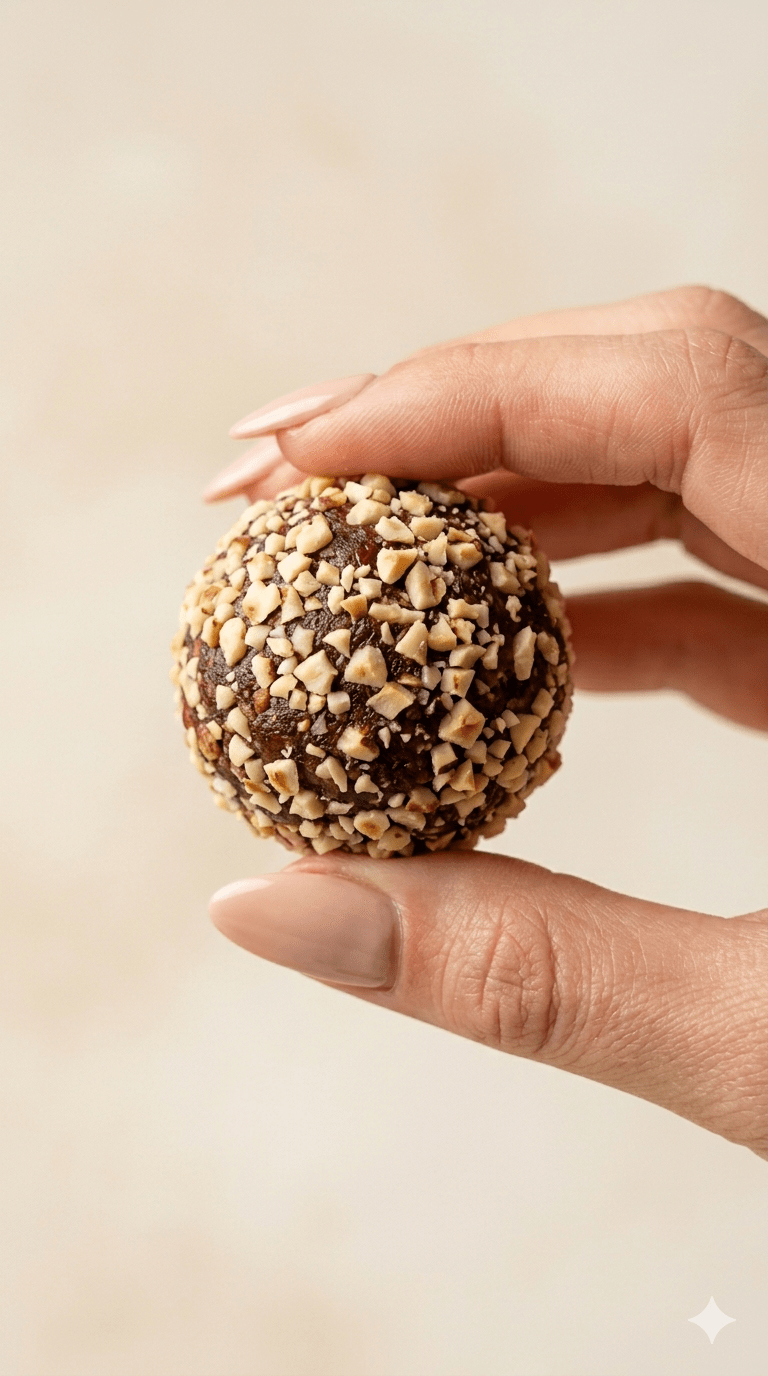
    These homemade, date-based hazelnut bites are the answer. They pack all the rich, nutty flavour of a classic luxury chocolate into a wholesome, plant-based package. Best of all? They are incredibly easy to make and require zero baking.

    Why You Will Love These Bites

     Wholesome Ingredients: They rely on natural sweetness from Medjool dates and heart-healthy fats from hazelnuts.

     Quick & Easy: No oven required—just a food processor and 30 minutes of chill time.

     Versatile: They are vegan, refined-sugar-free, and make the perfect meal-prep snack for a busy week.

    The Ingredients
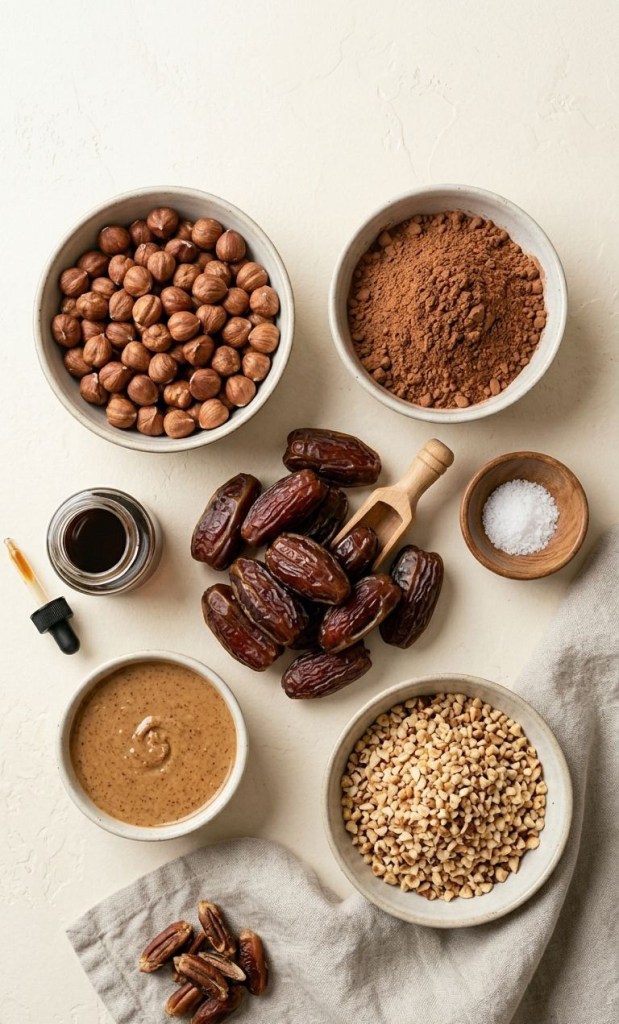
     1 cup whole hazelnuts (roasted, skins removed)

     1 ½ cups Medjool dates (pitted and packed)

     3 tbsp high-quality unsweetened cocoa powder (or raw cacao)

     1 tsp pure vanilla extract

     1 pinch sea salt

     Optional: 1 tbsp hazelnut butter for extra decadence

     For the coating: ½ cup finely chopped roasted hazelnuts

    Simple Method

    1. Prep the Nuts: Place your roasted hazelnuts into a food processor and pulse until they are coarsely chopped. Scoop out about 2–3 tablespoons and set them aside; you will use these for the final coating.

    2. Combine: Add the pitted dates, cocoa powder, vanilla extract, sea salt, and optional hazelnut butter to the processor with the remaining nuts.

    3. Blend: Blitz on high until the mixture forms a thick, sticky dough. If your dates are on the firmer side and it isn’t sticking, add a teaspoon of hot water or melted coconut oil to get it moving.

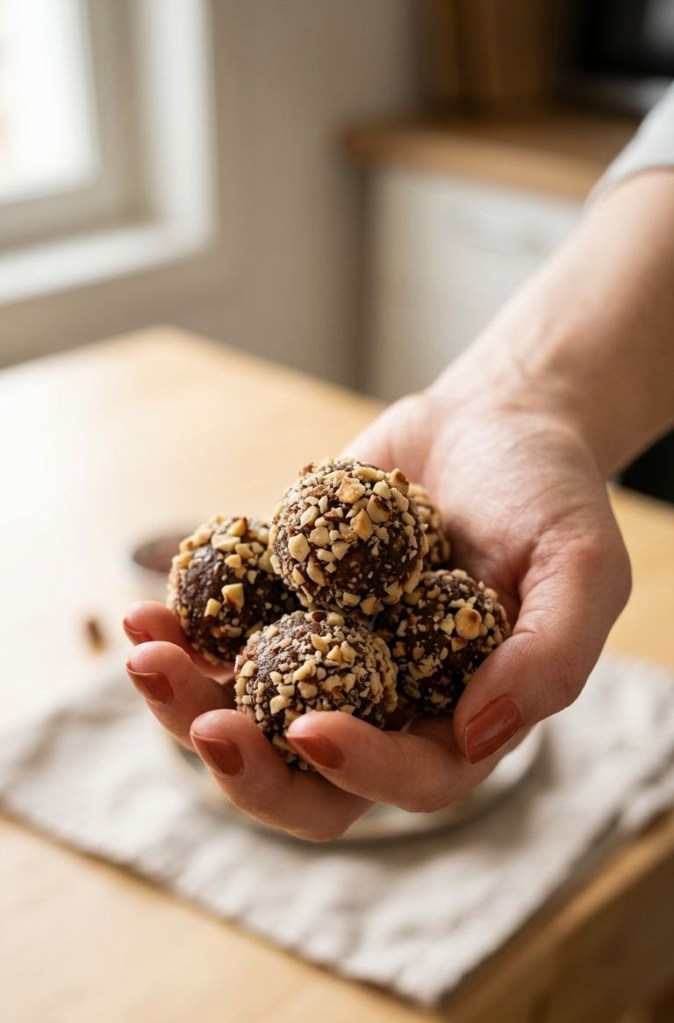
    4. Shape: Take about a tablespoon of the mixture and roll it firmly between your palms to create a ball.

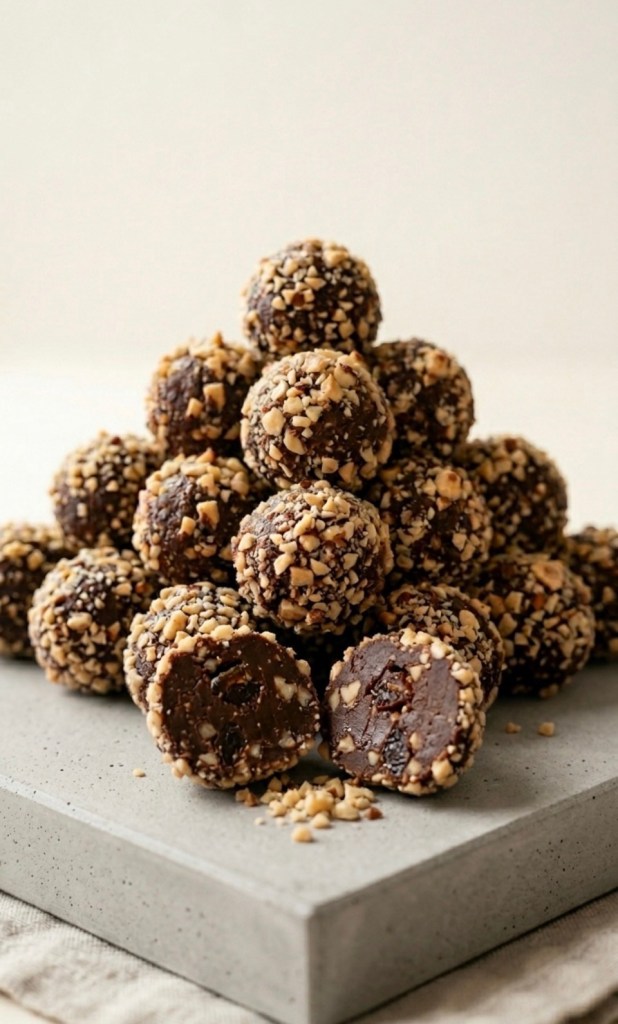
    5. Coat: Roll each ball into the reserved chopped hazelnuts, pressing gently so the nut pieces stick to the outside.

    6. Chill: Place them on a tray lined with parchment paper and pop them in the fridge for at least 30 minutes to firm up.
    Storage Tips

    Keep these bites in an airtight container in your fridge for up to two weeks, or stash them in the freezer for up to two months when you need a quick energy boost.

    Who says you can’t have your chocolate and eat it too? These are made with simple, wholesome ingredients—no refined sugars, just pure hazelnut and cocoa goodness! Perfect for that 3pm slump.
  • Carrot cake smoothie .. yes you read that right !

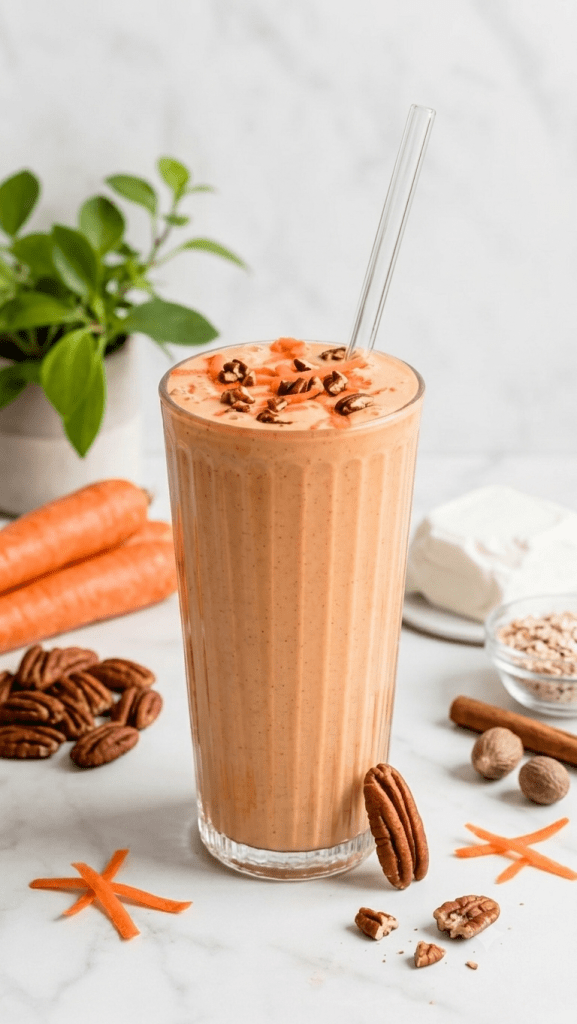
    Carrot cake smoothie .. yes you read that right !

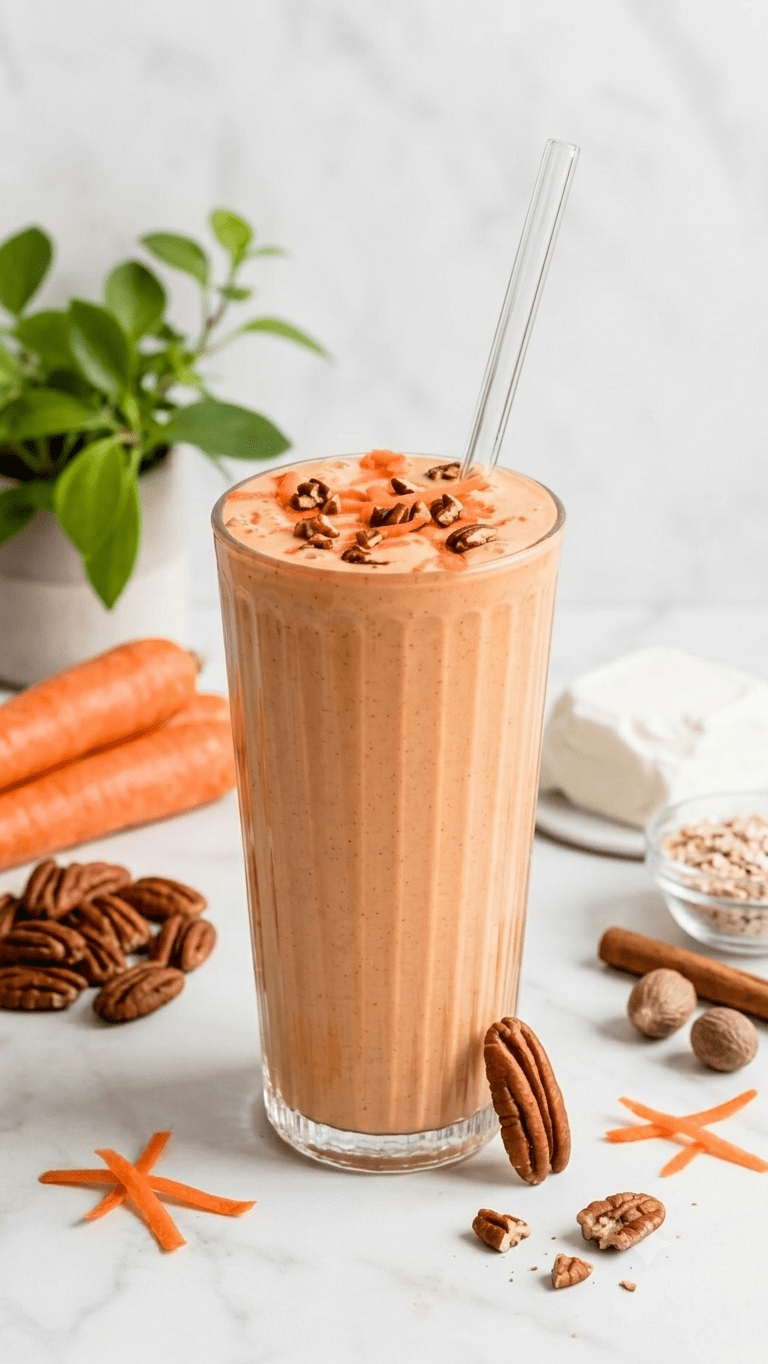
    Stop scrolling—your morning routine just got a major upgrade. This smoothie tastes exactly like a decadent slice of carrot cake, but it’s packed with wholesome ingredients to fuel your day!

    The Recipe (UK Edition)

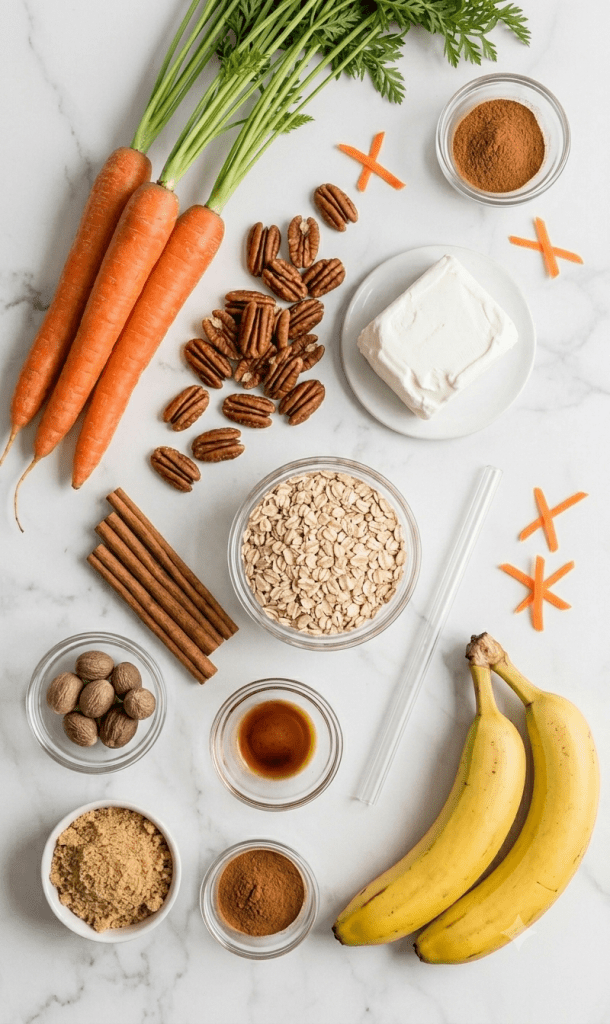
     1 medium carrot, peeled and roughly chopped

     1 frozen medium ripe banana

     75g (approx. ½ cup) frozen pineapple chunks

     180ml (¾ cup) light coconut milk (or any milk of your choice)

     60g (¼ cup) plain Greek yogurt

     20g (¼ cup) gluten-free oats

     1 tbsp pecan or almond butter

     1 tsp vanilla extract

     ½ tsp ground cinnamon

     Pinch of ground nutmeg

    Method

    1. Add the chopped carrot, frozen banana, pineapple, milk, yogurt, oats, nut butter, vanilla, cinnamon, and nutmeg into a high-speed blender.

    2. Blend on high until completely smooth and creamy. If it’s too thick, add a splash more milk.

    3. Pour into your favourite glass.

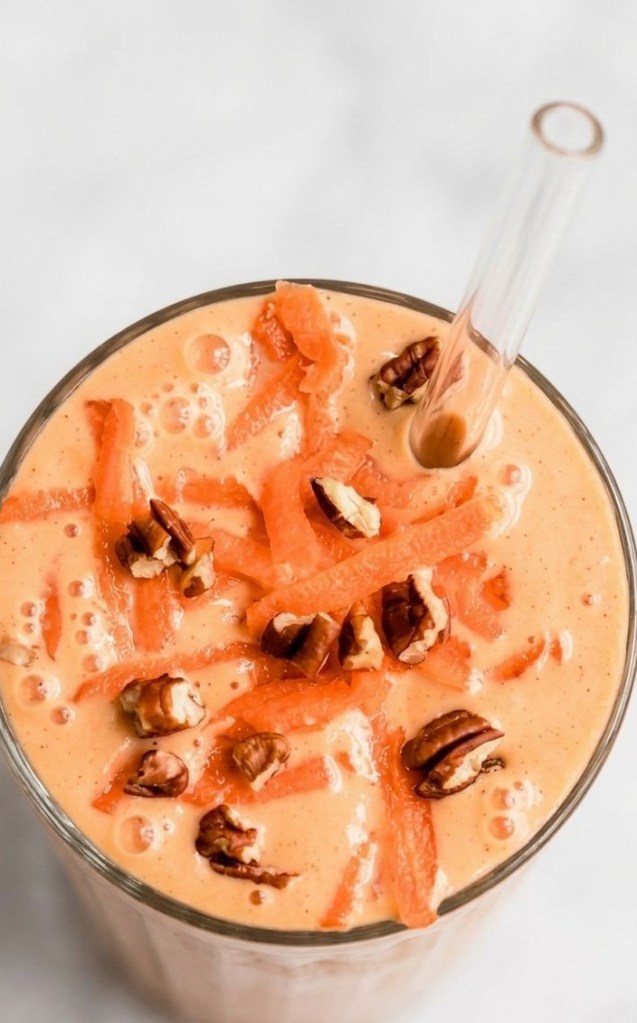
    4. Top with a little extra grated carrot and crushed pecans for that signature carrot cake crunch!

    5. Enjoy with a glass straw.

    Protein Boost: Make It Your Own

    This base recipe provides roughly 10g of protein. If you need an extra energy kick for a post-workout breakfast or a busy morning, try these easy additions:

     Protein Powder: Add one scoop of your favourite vanilla or unflavoured protein powder for an instant +20–25g protein boost.

     Seed Power: Add 1 tablespoon of hemp seeds or chia seeds for an extra 3–5g of plant-based protein and healthy fats.

     Yogurt Upgrade: Increase your Greek yogurt to 125g (½ cup) to add another 5g of protein.

     High-Protein Milk: Swap the coconut milk for a pea-protein or soy-based milk.

    CTA: Did you try this recipe? Let me know in the comments—are you a team “smoothie bowl” or “smoothie in a glass” person? Don’t forget to save this post for your next breakfast meal prep!

  • The Ultimate Black Forest Greek Yoghurt Ice Cream (No-Churn & High Protein)

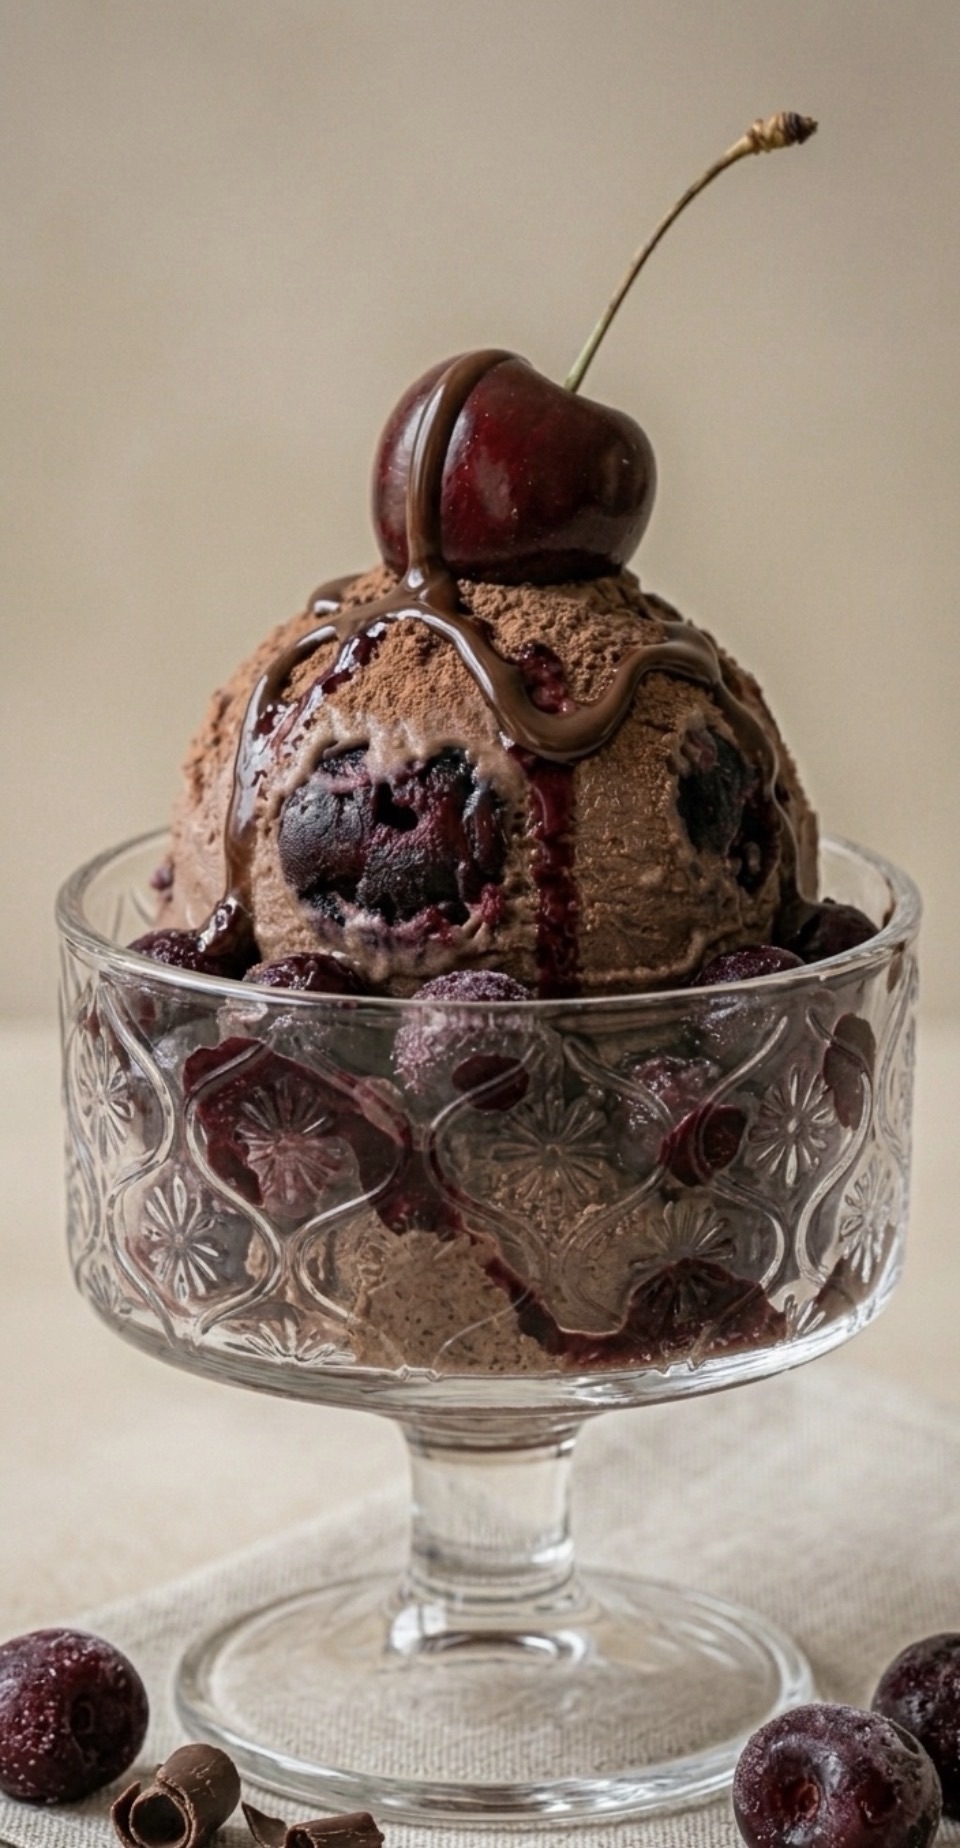
    The Ultimate Black Forest Greek Yoghurt Ice Cream (No-Churn & High Protein)

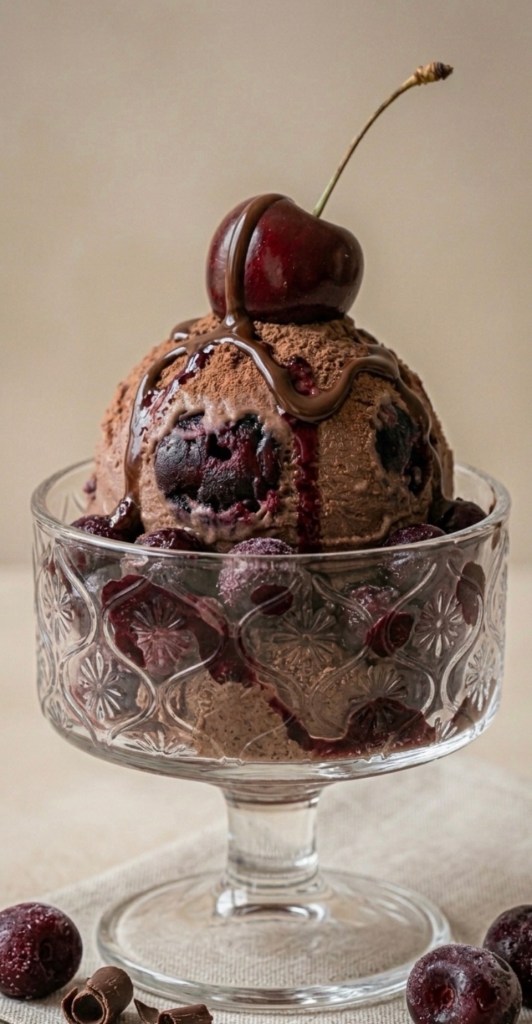
    Stop scrolling! 🛑 If you’re looking for a dessert that is creamy, indulgent, and actually good for you, this is it. This Black Forest Greek Yoghurt Ice Cream is my new obsession—it’s rich, deep in cocoa flavour, and packed with nearly 12g of protein per serving. The best part? You don’t need a fancy ice cream maker to achieve that perfect scoop.

    Why you’ll love it:

     High Protein: Powered by the goodness of Greek yoghurt, making this a much more satisfying treat than standard ice cream.

     No-Churn Simplicity: You can achieve a professional, velvety result using only a bowl and a freezer.

     Texture Perfection: Using full-fat yoghurt combined with the silky sweetness of condensed milk ensures it stays scoopable rather than turning into an icy block.

    Ingredients

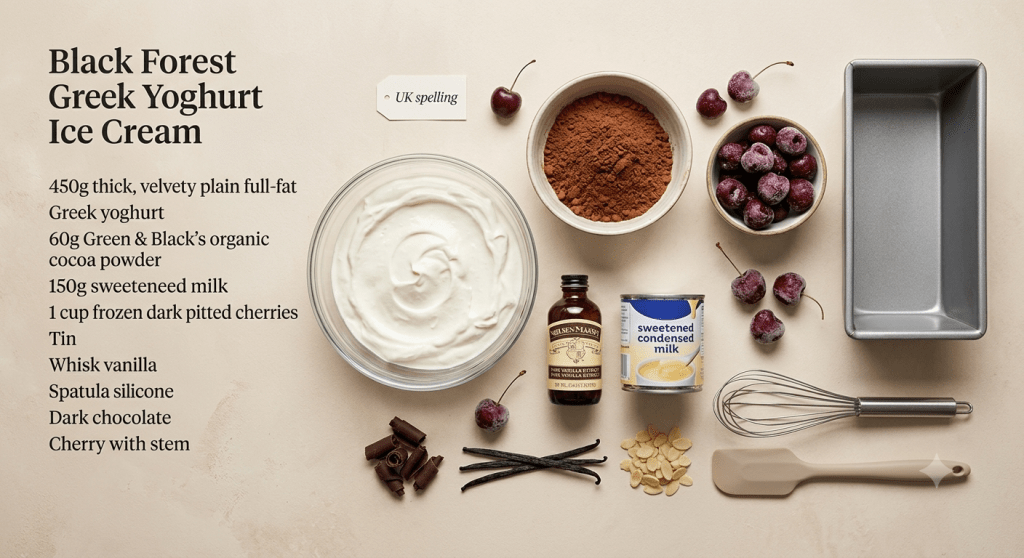
     450g full-fat Greek yoghurt (Fage 5% is my recommendation for the creamiest result).

     60g high-quality Dutch-processed cocoa powder (look for brands like Green & Black’s for that intense, premium flavour).

     150g sweetened condensed milk.

     1 tsp pure vanilla extract.

     1 cup frozen dark cherries (pitted).

     Optional: Dark chocolate shavings or a drizzle of melted chocolate for the top.

    Instructions

    1 Whisk the Base: In a large mixing bowl, combine the Greek yoghurt, cocoa powder, condensed milk, and vanilla extract. Whisk vigorously until the mixture is perfectly smooth, glossy, and uniform in colour.

    2 Add the Cherries: Gently fold in your frozen dark cherries. If you want a more integrated fruit flavour, you can roughly chop a few of the cherries before adding them.

    3 Transfer: Pour the mixture into a metal loaf tin or a shallow, airtight container. Use a spatula to smooth the top, ensuring it is level.

    4 The Deep Freeze: Place it in the freezer for at least 6 hours, though leaving it overnight provides the best results.

    5 Serve: Pro-tip: For the perfect scoop, let the tin sit on the counter for about 10 minutes before serving. This allows the temperature to mellow, unlocking the rich chocolate flavour and creaminess. Serve in a beautiful glass bowl and top with a fresh cherry!

    Alternative Flavour Pairings

    If you want to experiment beyond the classic Black Forest theme, you can keep this same reliable base (yoghurt, cocoa, and condensed milk) and simply swap the cherries for one of these delicious flavour profiles:

     Raspberry Truffle: Swap the cherries for frozen raspberries. To elevate the flavour, fold in a handful of white chocolate chips to create a beautiful contrast with the dark, tart berries.

     Salted Peanut Butter: Omit the cherries. Swirl in two tablespoons of smooth peanut butter and a pinch of flaky sea salt before freezing for a sophisticated sweet-and-salty flavour.

     Mocha Espresso: Mix 1–2 teaspoons of high-quality instant espresso powder into your yoghurt base before adding the cocoa. It intensifies the chocolate notes and adds a complex, coffee-forward flavour.

     Mint Chocolate Chip: Omit the cherries. Add 1/2 teaspoon of high-grade peppermint extract and a generous handful of dark chocolate chips. The cool flavour of the mint cuts through the richness of the yoghurt perfectly.

     Caramelised Banana: Swap the cherries for mashed frozen bananas and drizzle a little salted caramel sauce through the mixture right before it hits the freezer for a decadent, fruity flavour.

    Which flavour combo are you going to try next? Let me know in the comments below! 👇