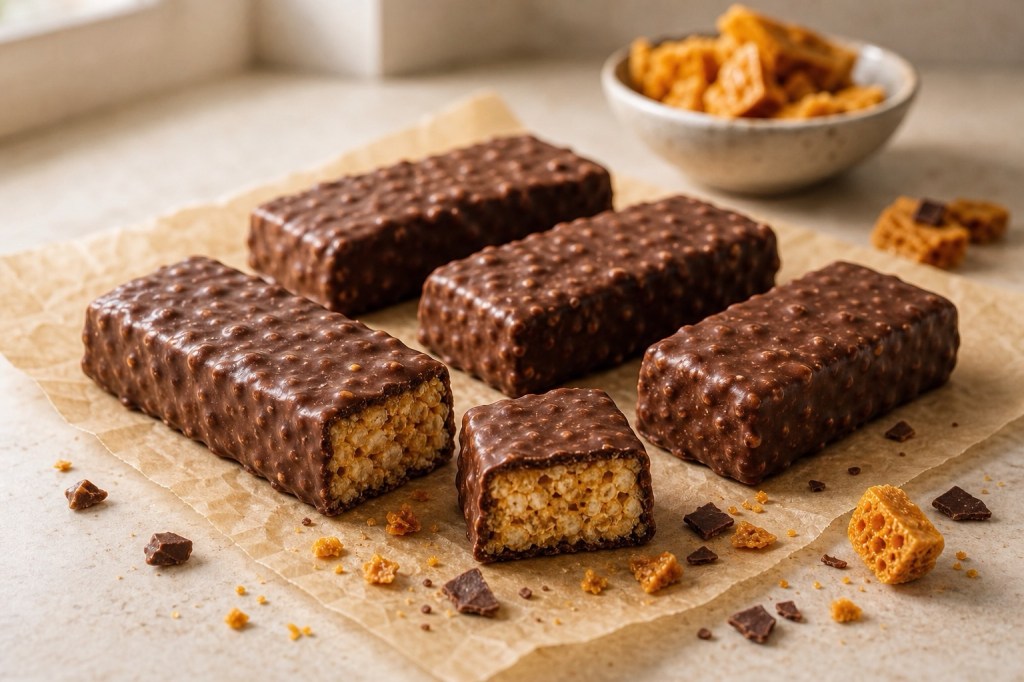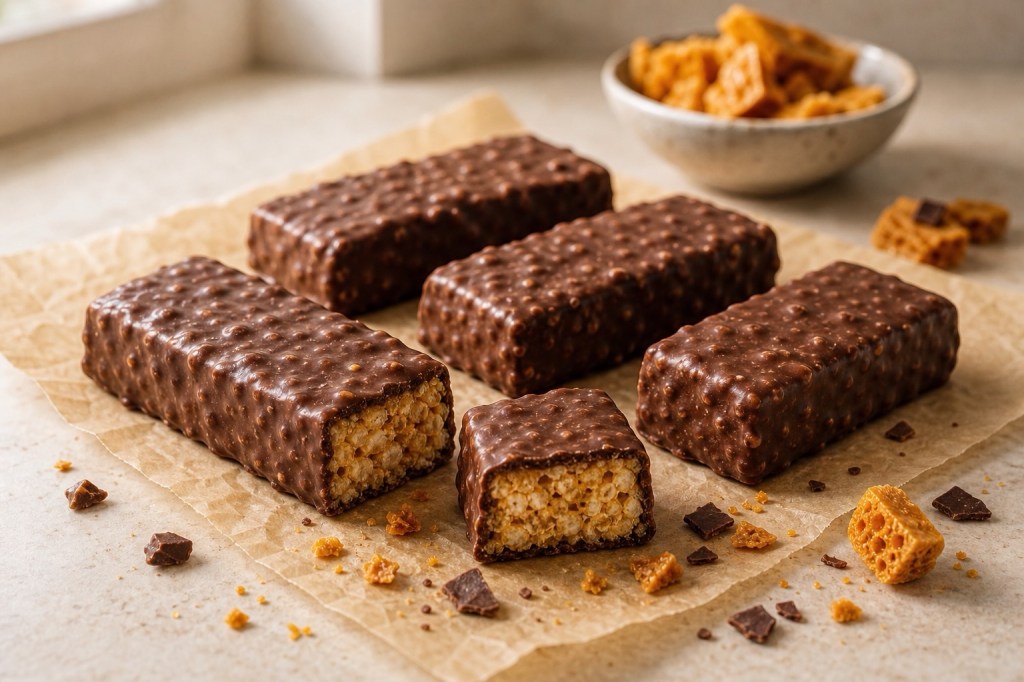
If you love the light, crispy crunch of a Crunchie bar but also want something you can make ahead for those mid-afternoon sweet cravings, these homemade protein bars are for you.
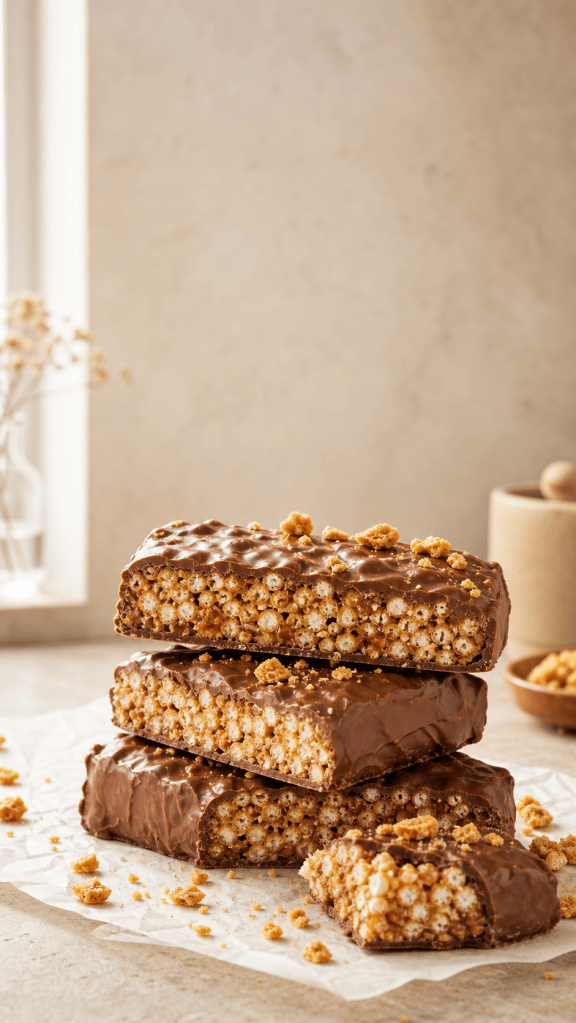
They’re chocolatey, crunchy, quick to throw together, and don’t require any baking. Think crisp puffed rice, a lightly sweet nut-butter filling, a thick chocolate top, and little pieces of honeycomb for that unmistakable golden crunch. They feel like a proper treat—but they are also great for popping in the fridge ready for snack time.
I love making a batch at the start of the week because they take hardly any effort, slice into neat little bars, and honestly disappear much faster than planned.
Why you’ll love these bars
• No oven needed
• Ready with a short chill in the fridge
• Crispy rather than soft and date-heavy
• Easy to adapt with your favourite protein powder
• Perfect for sweet snack prep
• That chocolate-and-honeycomb combination is always a winner
They are not intended to be an exact replica of a Crunchie bar—more a homemade, protein-packed snack inspired by those chocolatey honeycomb flavours.
Ingredients
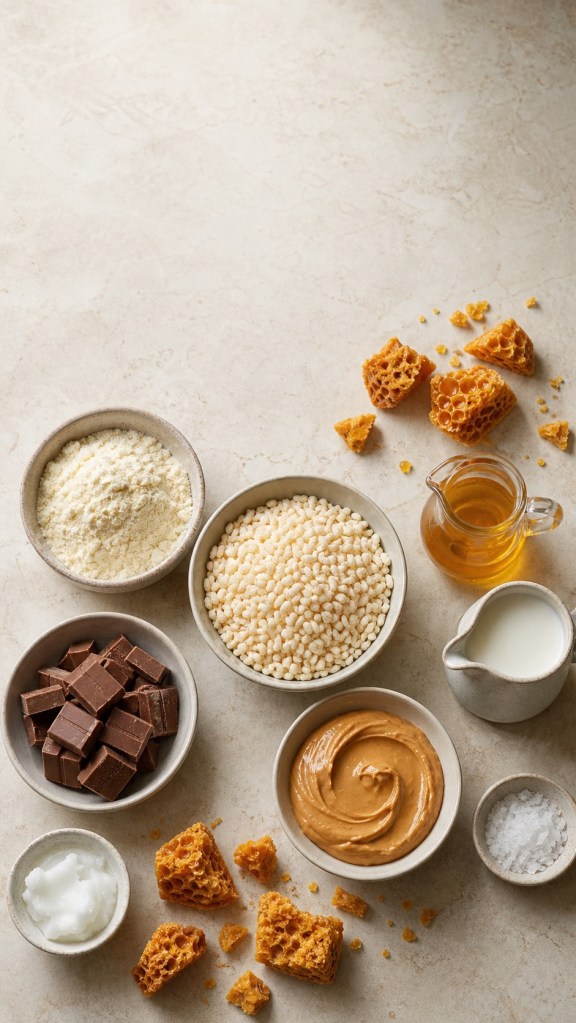
For around 8 bars, you’ll need:
• 100g vanilla protein powder
• 80g puffed rice cereal or Rice Krispies
• 60g smooth peanut butter or cashew butter
• 60ml honey or golden syrup
• 2 tablespoons milk, only if needed
• A pinch of salt
• 100g milk or dark chocolate
• 1 teaspoon coconut oil, optional
• A small handful of honeycomb pieces, crushed
How to make Crunchie-inspired protein bars
- Line a small loaf tin or lunchbox-style container with baking paper. Leave some overhang at the sides so the slab is easy to lift out later.
- Add the protein powder, puffed rice and a small pinch of salt to a mixing bowl. Give it a quick stir.
- Put the peanut butter and honey or golden syrup into a small saucepan. Warm gently over a low heat until smooth, glossy and easy to pour. You do not need it bubbling—just warm enough to combine.
- Pour the warm peanut-butter mixture into the dry ingredients and stir well. It should begin to clump together. If it seems too dry, add milk a teaspoon at a time until you can press the mixture together.
- Tip the mixture into your lined tin and press it down firmly. The firmer you pack it, the less likely your bars are to crumble when sliced. Chill in the fridge for around 30 minutes.
- Melt the chocolate in short bursts in the microwave, stirring between each one. Mix through the coconut oil if using—this just makes the chocolate a little easier to slice once set.
- Spread the chocolate over the chilled base, then immediately scatter over the crushed honeycomb pieces.
- Return to the fridge until the chocolate has fully set. Lift out, slice into 8 bars, and try not to eat half of them while taking photos.
A few helpful tips
Use the right protein powder
Vanilla whey protein usually creates the best flavour and texture here. Some vegan protein powders can be more absorbent, so you may need a little more milk or honey to help the mixture bind.
Press the base firmly
This is the key step. I use the back of a spoon, then place a piece of baking paper on top and press down with my hands. It makes all the difference when you want those clean, satisfying slices.
Cut with a warm knife
For neater bars, leave them at room temperature for 5–10 minutes before slicing. Run a sharp knife under hot water, dry it, then cut through the chocolate in one confident motion.
Make them your own
You can easily tweak these depending on what you have in the cupboard:
• Use almond butter instead of peanut butter.
• Swap some of the puffed rice for crushed cornflakes.
• Add a little vanilla extract to the base.
• Use white chocolate for a sweeter bar.
• Skip the honeycomb and add a small pinch of flaky sea salt instead.
• Add a scoop of collagen or a little extra protein powder, but be prepared to add more liquid so the mixture still holds together.
Storage
Keep the bars in an airtight container in the fridge for up to 5 days. They are nicest eaten straight from the fridge, when the chocolate is snappy and the puffed-rice centre still has plenty of crunch.
You can also freeze them in a container with baking paper between the layers. Let one sit out for around 10 minutes before eating.
The perfect sweet snack prep
These are ideal for anyone who gets that “I need chocolate immediately” feeling around 3pm. They are quick enough to make on a Sunday afternoon, but feel far more exciting than grabbing a random snack from the cupboard.
If you make them, let me know whether you went for milk or dark chocolate—and don’t forget to tag me if you share them on TikTok or Instagram.