Tag: #HealthyEating

  • Fuel Your Day: The Ultimate High-Protein Burrito Bowl for a Balanced Lifestyle

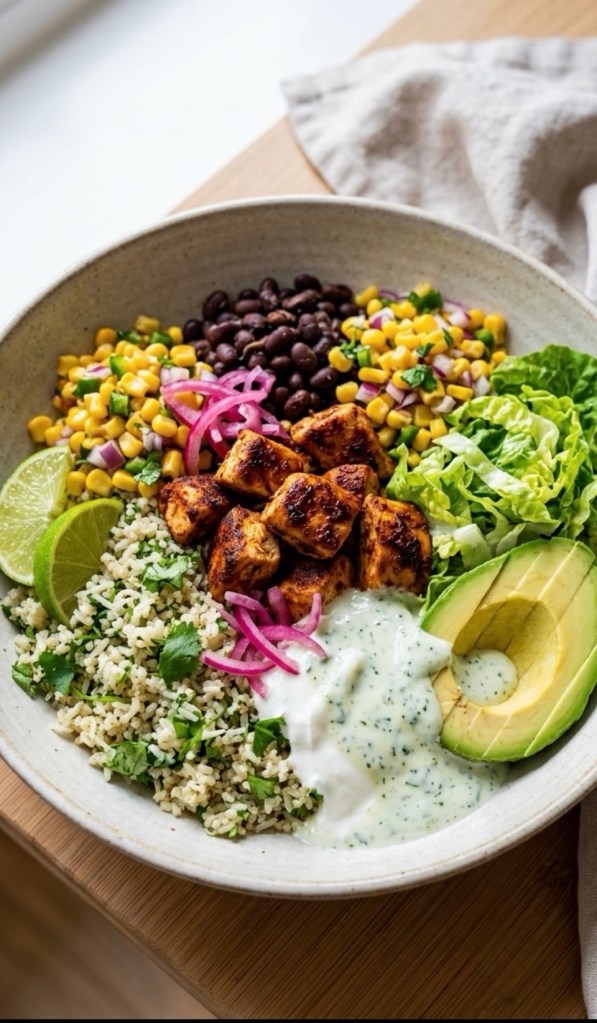
    Fuel Your Day: The Ultimate High-Protein Burrito Bowl for a Balanced Lifestyle

    In a world of quick fixes and ultra-processed convenience, finding a meal that truly respects your body—and your schedule—can feel like a challenge. The truth is, eating well doesn’t have to be complicated or time-consuming.

    Enter the High-Protein Burrito Bowl.

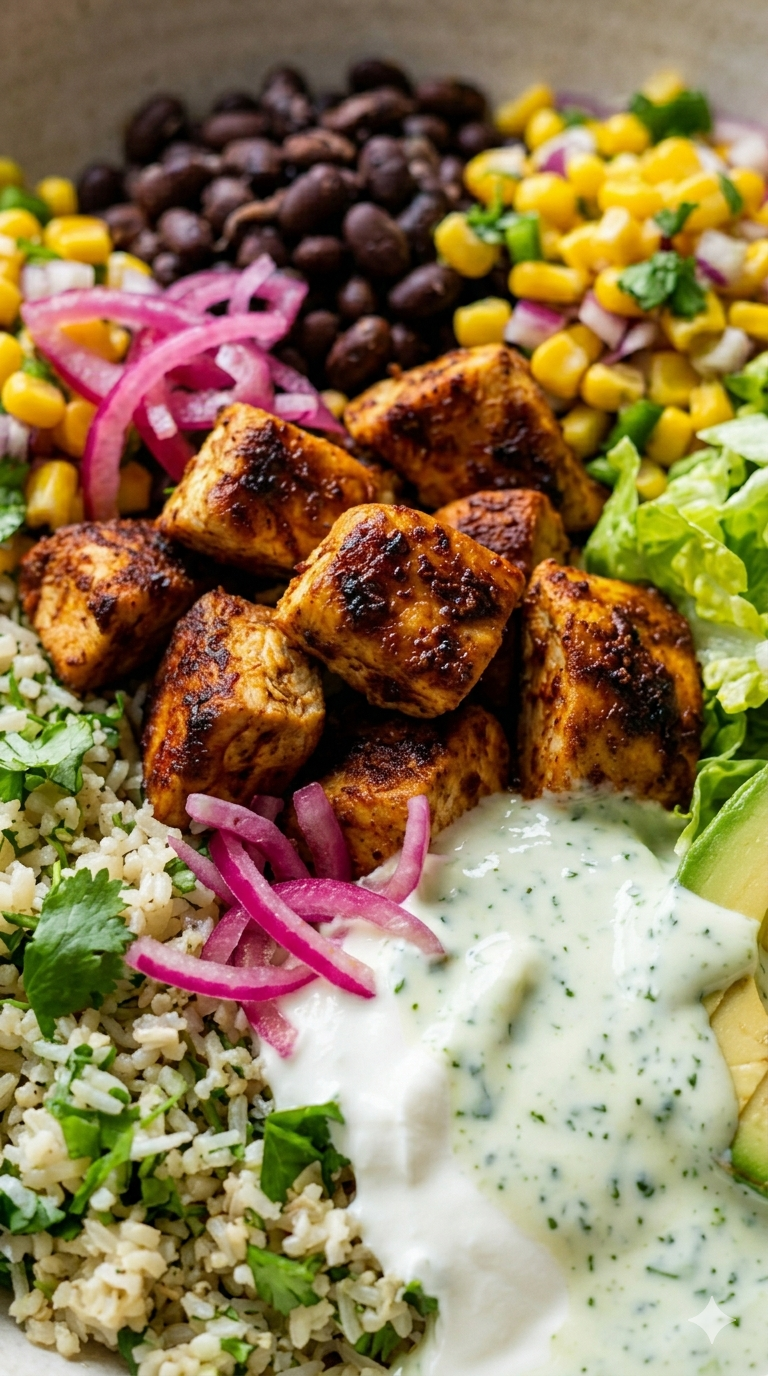
    This isn’t just another meal; it’s a nutritional powerhouse designed to keep you feeling full, focused, and energized. By swapping traditional heavy sauces for Greek yogurt and refined grains for nutrient-dense quinoa, we’ve created a bowl that balances macro-nutrients while celebrating fresh, vibrant flavours.
    Why This Bowl is a Lifestyle Winner

     Sustained Energy: By combining complex carbohydrates (quinoa), lean protein (chicken), and healthy fats (avocado), this meal provides a slow-release of energy, preventing the dreaded mid-afternoon sugar crash.
     Gut-Friendly Nutrition: Using Greek yogurt as a base adds a dose of probiotics, while the fibre in the black beans and quinoa supports healthy digestion.

     Mindful Preparation: The simple act of chopping fresh coriander, dicing red onion, and slicing lime is a form of kitchen mindfulness. Cooking at home is one of the most effective ways to take control of your well-being.

     Protein Stacking: With approximately 60g of protein per serving, this bowl is an excellent tool for muscle recovery and metabolic support, whether you’re heading to the gym or just tackling a busy day.

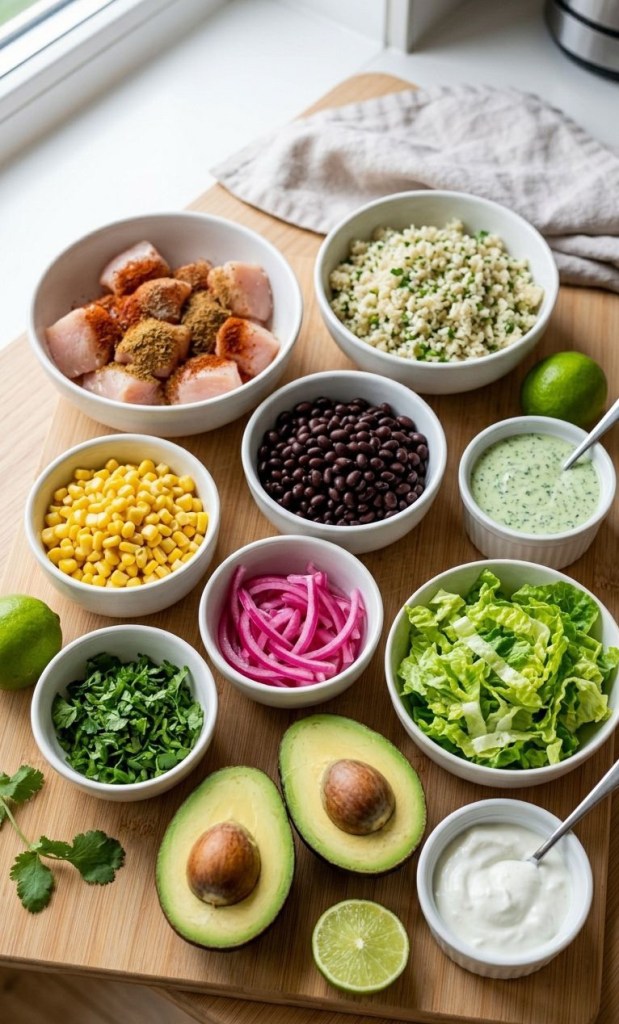
    The Nutritional Blueprint (Serves 2)

     400g Free-range chicken breast, cubed (a clean, lean protein source)

     200g Cooked quinoa (a complete plant protein, rich in magnesium and iron)

     400g Black beans, rinsed and drained (high in plant-based protein and fibre)

     100g Sweetcorn (for natural sweetness and antioxidants)

     1 Large ripe avocado (a fantastic source of monounsaturated fats for heart health)

     100g 0% Fat Greek yogurt (a creamy, protein-packed alternative to sour cream)

     Fresh coriander, red onion, and lime (for vitamins, brightness, and natural detoxifying properties)

     The Spice Blend: 1 tsp cumin, 1 tsp smoked paprika, 1 tsp chili powder, 1/2 tsp garlic powder, sea salt, and black pepper.

    Method: The Path to the Perfect Bowl

    1 Marinate with Intention: In a glass bowl, combine the cubed chicken breast with the spices, a drizzle of extra virgin olive oil, and a squeeze of lime. Let it sit for 5–10 minutes. This ensures the spices penetrate the meat, creating a deeper flavour profile without needing extra salt or sugar.

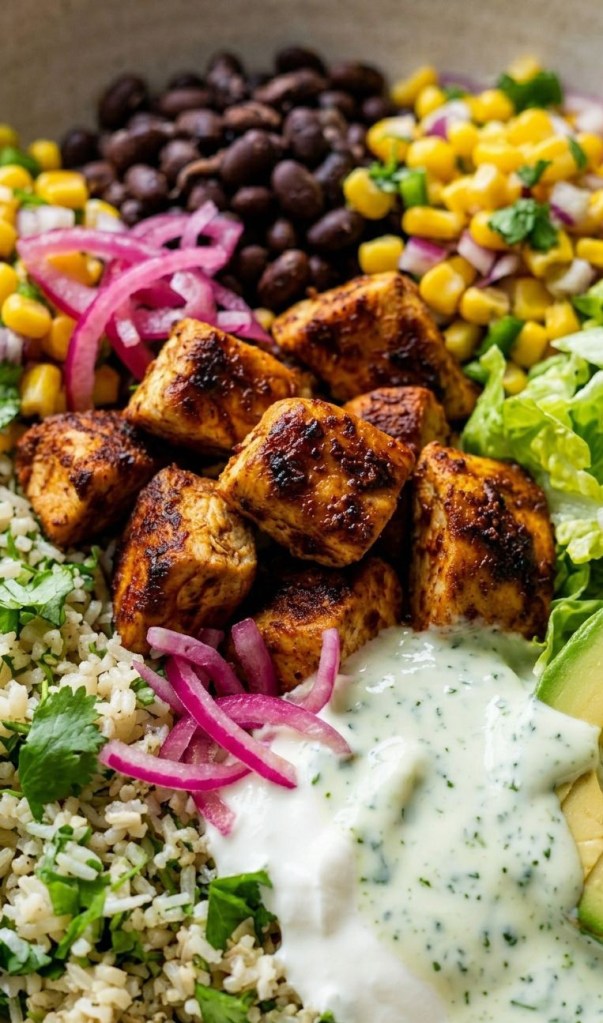
    2 Sear for Texture: Heat a non-stick pan over medium-high heat. Add the chicken, allowing it to develop a golden-brown sear. This crust adds a delicious texture that makes the bowl feel like a treat rather than just “diet food.”

    3 Elevate the Base: While the chicken is cooking, fluff your pre-cooked quinoa with a fork. Fold in a generous handful of freshly chopped coriander and a hearty squeeze of lime juice. This “zesty base” provides the essential brightness that brings all the other flavours together.

    4 Artful Assembly: Start with the quinoa base. Add the black beans and sweetcorn in vibrant sections. Place your chicken in the center. Add a handful of fresh, leafy greens or baby spinach for added micronutrients.

    5 The Finishing Touch: Layer on your avocado slices. Add a dollop of Greek yogurt as a creamy contrast to the spices. For that extra touch of brightness, top with thin slivers of red onion and an extra squeeze of fresh lime juice.

    Making It Your Own

    A healthy lifestyle is built on flexibility. If you’re short on time, this bowl is excellent for “component meal prep”—cook the quinoa and chicken on Sunday, and assemble fresh each day. If you prefer a plant-forward day, swap the chicken for roasted chickpeas or grilled tofu.

    The most important part of this recipe? Enjoying it. Take a moment to sit down, step away from your screens, and appreciate the fuel you’ve created for your body.

    What’s your favourite way to keep your meal prep exciting? Share your tips in the comments below—I’m always looking for new ways to elevate my healthy kitchen routine!

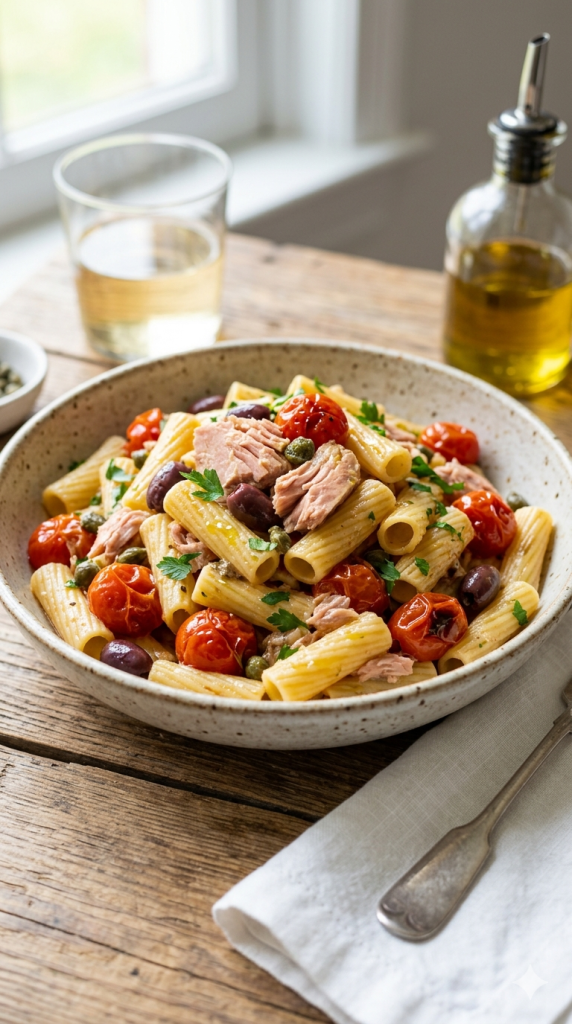
  • Midweek Lifesaver: The 15-Minute Mediterranean Tuna, Cherry Tomato & Olive Pasta

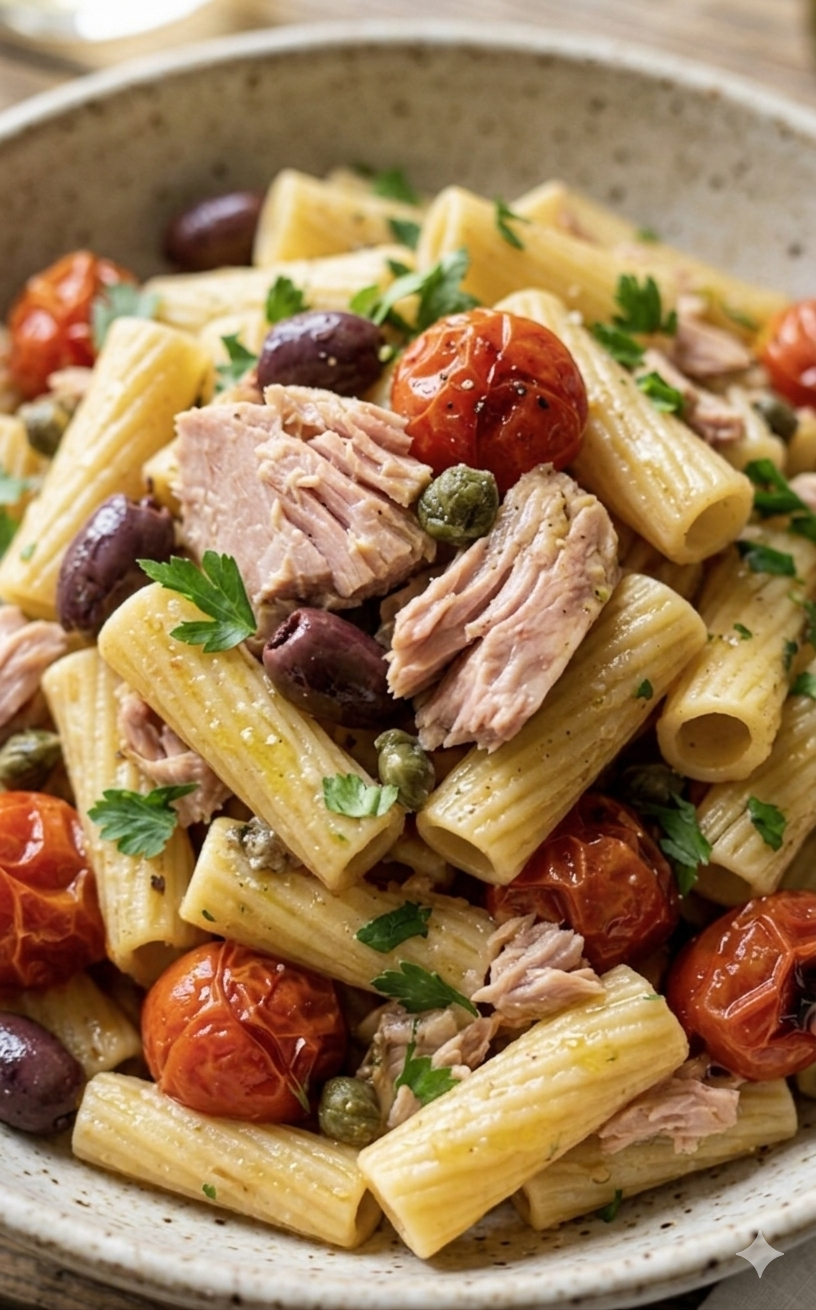
    Midweek Lifesaver: The 15-Minute Mediterranean Tuna, Cherry Tomato & Olive Pasta

    Hi everyone!

    Let’s talk about those days. You know the ones: work ran late, you forgot to defrost anything, and the temptation to just scroll through a delivery app is strong. We’ve all been there.

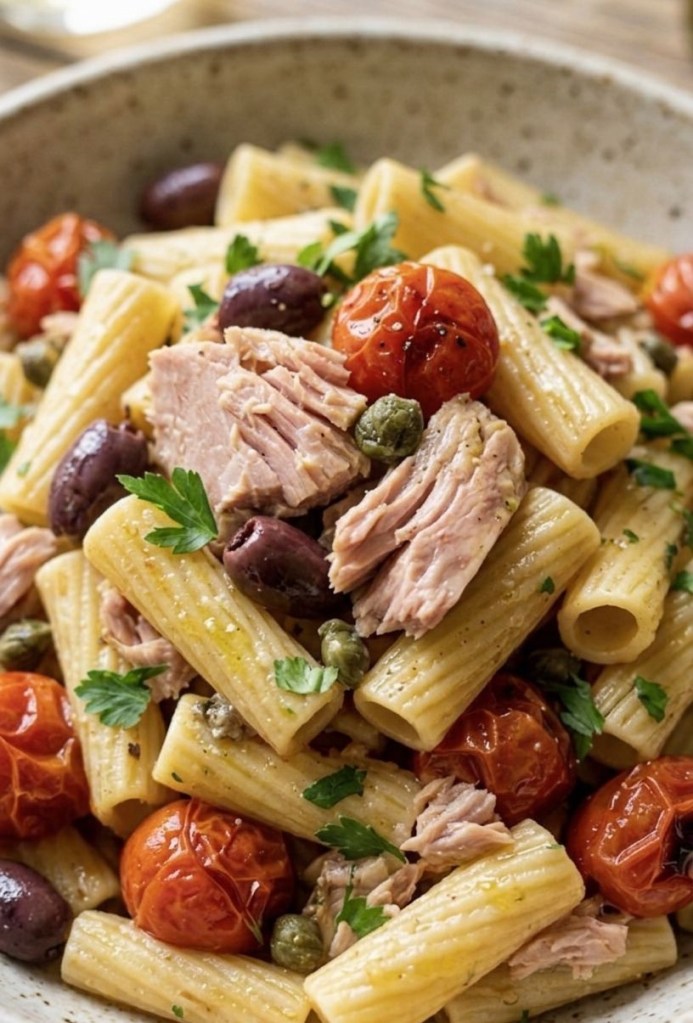
    But before you click ‘order,’ let me introduce you to my absolute ultimate midweek lifesaver. This Mediterranean Tuna, Cherry Tomato & Olive Pasta is not just fast (we’re talking 15 minutes, start to finish), but it also tastes incredibly fresh and fancy. It’s the kind of meal that makes you feel like you’ve got your life together, even when the rest of the day was chaos.

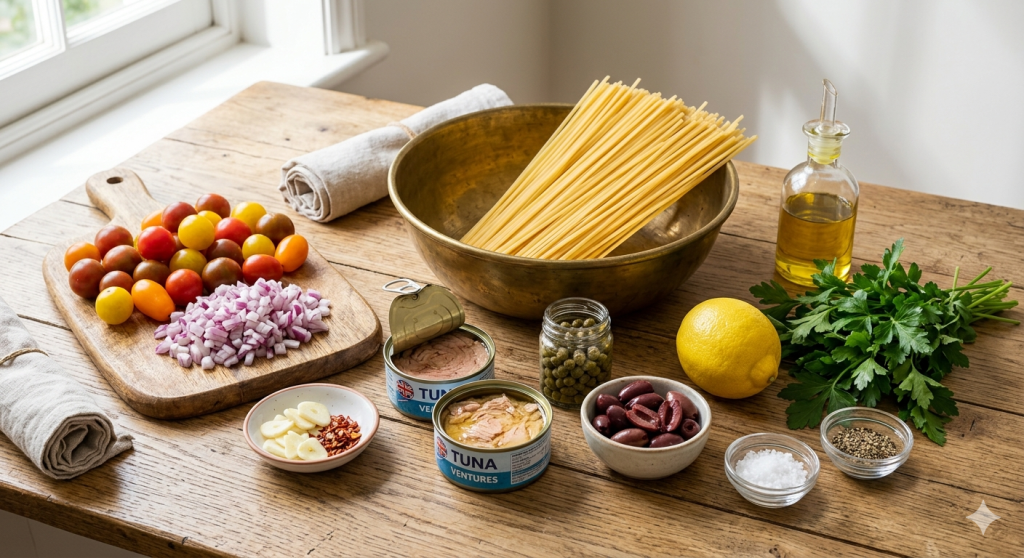
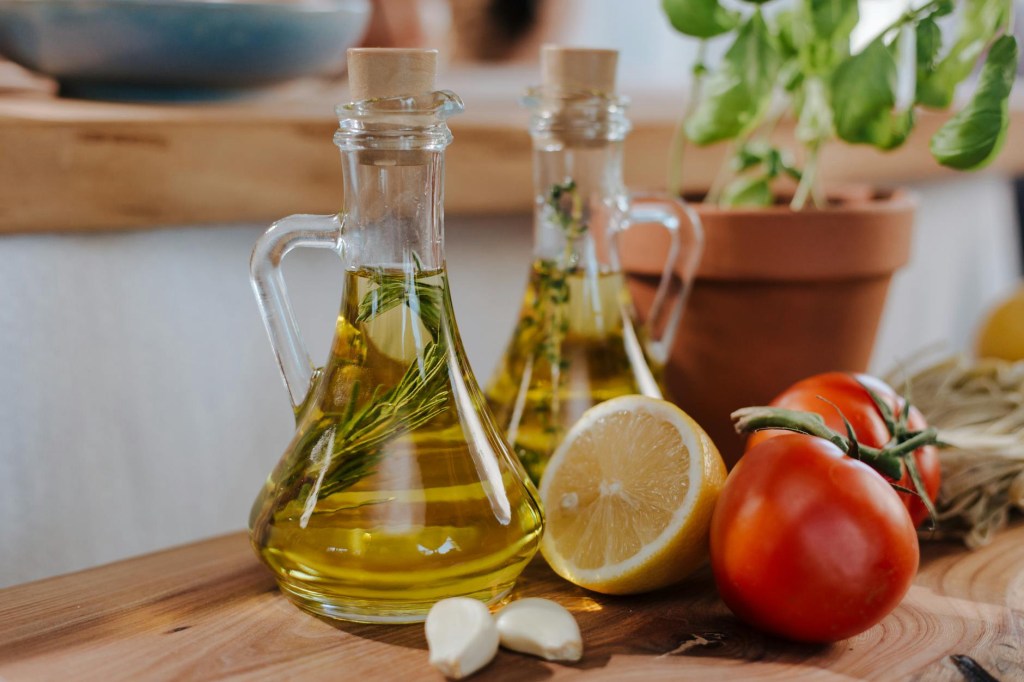
    The magic is in the simplicity. Take a look at this gorgeous line-up of ingredients I pulled together on my kitchen It’s mostly pantry staples plus a few fresh bits.

    What You’ll Need

     300g Linguine (or Rigatoni for a rustic look)

     2 tins (approx. 160g each) High-Quality Tuna (specifically in extra virgin olive oil)

     250g Cherry Tomatoes, halved

     1 small Red Onion, finely diced

     2 cloves Garlic, thinly sliced

     2 tbsp Capers, rinsed

     75g Kalamata Olives, pitted and halved

     1 Fresh Lemon (for zest and a squeeze of juice)

     Small bunch Fresh Flat-leaf Parsley, chopped

     1 tsp Dried Chilli Flakes (optional, for a kick)

     Sea salt and cracked black pepper to taste

    How to Make It

    1 Boil: Cook pasta in well-salted, boiling water until al dente. Reserve a small mug of pasta water before draining.

    2 Sauté: Use the olive oil from the tuna tins to coat your pan. Sauté the red onion until soft, then add garlic and chilli flakes.

    3 Blister: Toss in the tomatoes and cook until they burst and release their juices.

    4 Combine: Add the tuna, capers, and olives. Toss in your cooked pasta and a splash of that reserved pasta water to create a glossy, emulsified sauce.

    5 Finish: Stir in the lemon juice, zest, and a handful of fresh parsley. Serve immediately!

    The recipe is straightforward, but here’s my number one tip for maximal flavor: Don’t ditch the oil from the tuna tins! Sauté your onion and garlic right in that flavorful oil. It’s a game-changer. Also, never underestimate the power of pasta water—it transforms the simple pan juices into a silky sauce that clings to every strand of linguine.

    Give this a try the next time your Wednesday feels like a Friday. It’s fast, it’s vibrant, and it is so satisfying.

    Happy cooking!

    What other quick pantry-based meals do you rely on when you’re short on time?

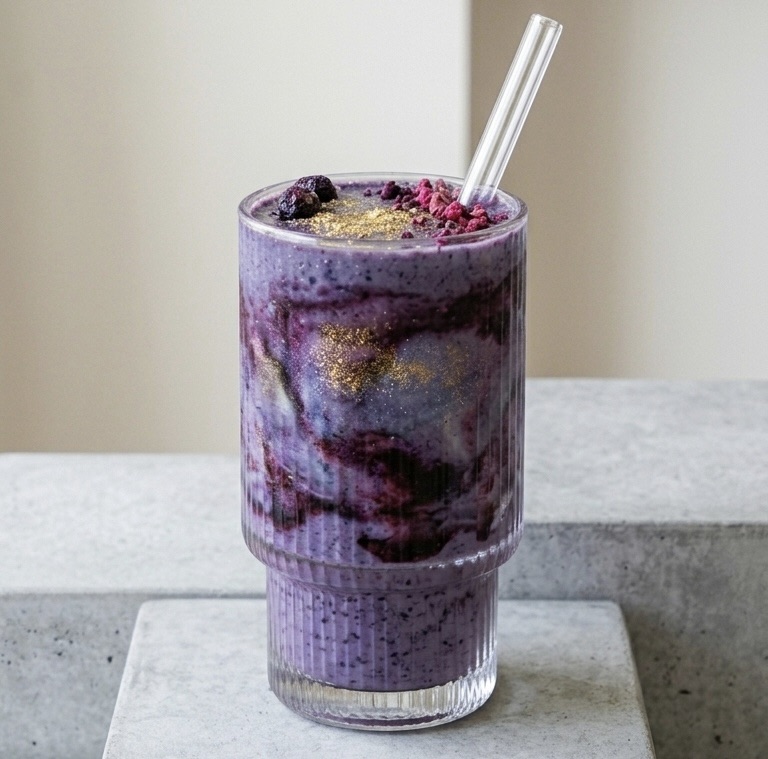
  • The Galaxy Dust Smoothie: A Cosmic Breakfast Experience

    The Galaxy Dust Smoothie: A Cosmic Breakfast Experience

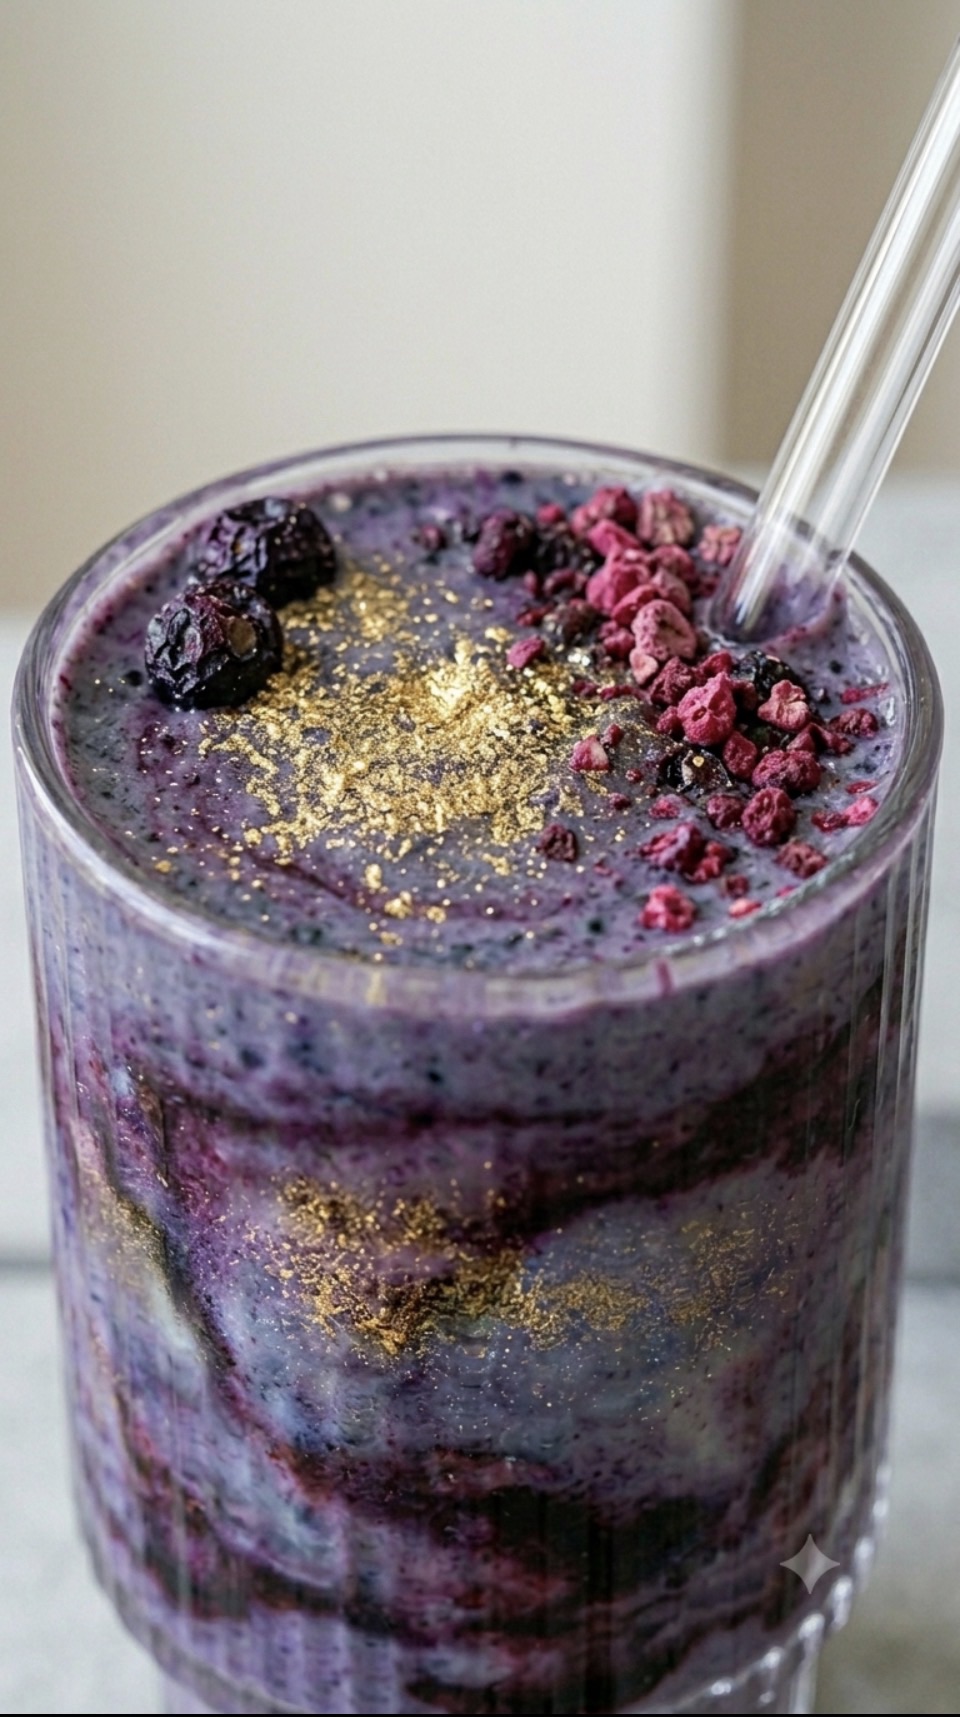
    If you’ve been looking for a way to turn your morning breakfast into a work of art, look no further. The Galaxy Dust Smoothie is the latest trend taking over social media feeds, and for good reason—it’s vibrant, moody, and absolutely delicious.

    Forget about boring breakfasts. This smoothie isn’t just a meal; it’s a cosmic experience in a glass.

    Why This Smoothie is Out of This World

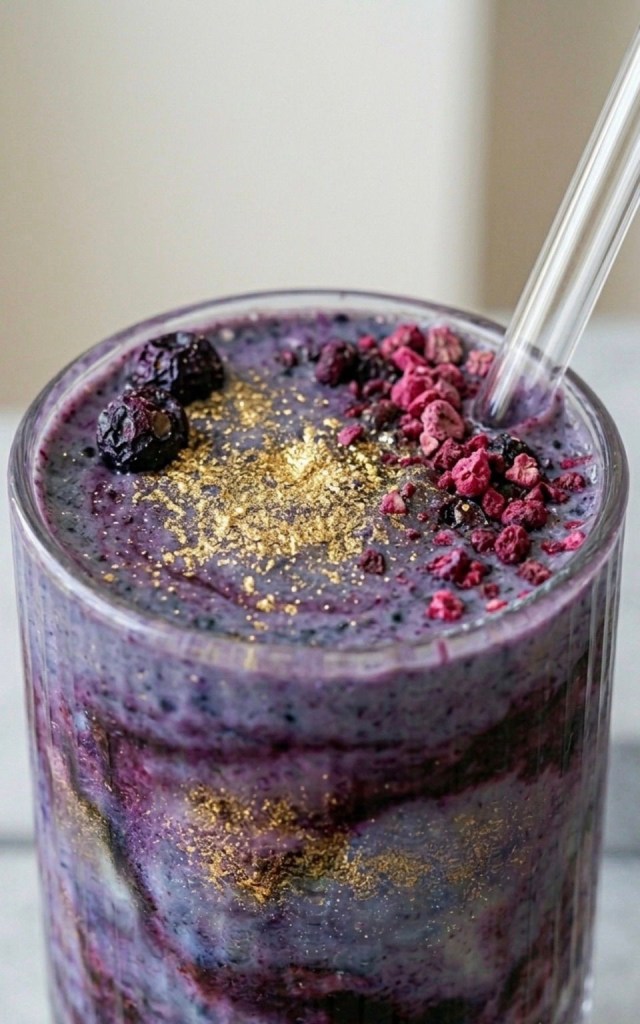
     The Visuals: Using deep-hued berries and a sprinkle of edible gold, this smoothie mimics the look of a nebula.

     The Texture: It’s rich, thick, and velvety—perfect for sipping through a glass straw.

     The Ingredients: Packed with antioxidant-rich blueberries and blackberries, it’s as nourishing as it is pretty.

    The Recipe

    Prep time: 5 minutes | Servings: 1

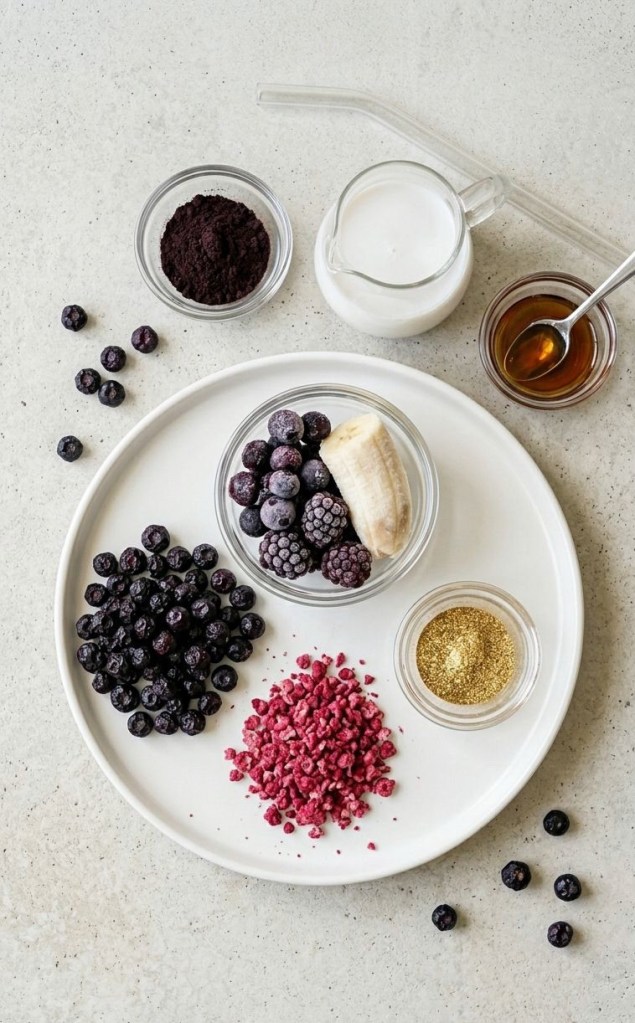
    Ingredients

     1 cup Frozen wild blueberries

     ½ cup Frozen blackberries

     ½ Frozen banana

     120ml Coconut milk or almond milk (adjust for your preferred thickness)

     1 tsp Açai powder (optional, for extra depth)

     1 tsp Maple syrup (to taste)

     The “Galaxy” Finish: A pinch of food-grade edible gold luster dust and a handful of crushed freeze-dried raspberries.

    Method

    1 Chill Your Glass: For the best presentation, pop your ribbed glass in the freezer for about 10 minutes before you start.

    2 The Blend: Combine your frozen fruit, banana, milk, açai powder, and maple syrup in a high-speed blender. Blend until you achieve a thick, sorbet-like consistency. Pro-tip: Start with a little less liquid—you want this thick!

    3 Create the Nebula: Pour the deep purple mixture into your chilled glass. Use a straw to gently swirl and ripple the mixture against the sides of the glass to create those stunning “nebula” effects.

    4 Add the Stars: Flick a pinch of food-grade gold luster dust over the surface and sprinkle with crushed freeze-dried raspberries to act as your “supernova” fragments.

    5 Serve: Add your favorite glass straw and enjoy immediately!

    Pro-Tips for the Best Photos

     Lighting Matters: Galaxy smoothies look most dramatic in cooler, slightly dimmer natural light. Avoid harsh direct sun if you want to capture those deep, rich purple tones.

     Slow-Motion Pour: If you’re filming this, a slow-motion pour is essential. It highlights the velvety texture of the smoothie.

     Get Close: A tight close-up shot will capture the shimmer of the gold dust and the contrast of the raspberries better than a wide shot.

    Did you try this cosmic creation? I’d love to see how your galaxy turned out! Tag me in your photos and let me know if you managed to capture the perfect swirl on your first try. Happy blending!

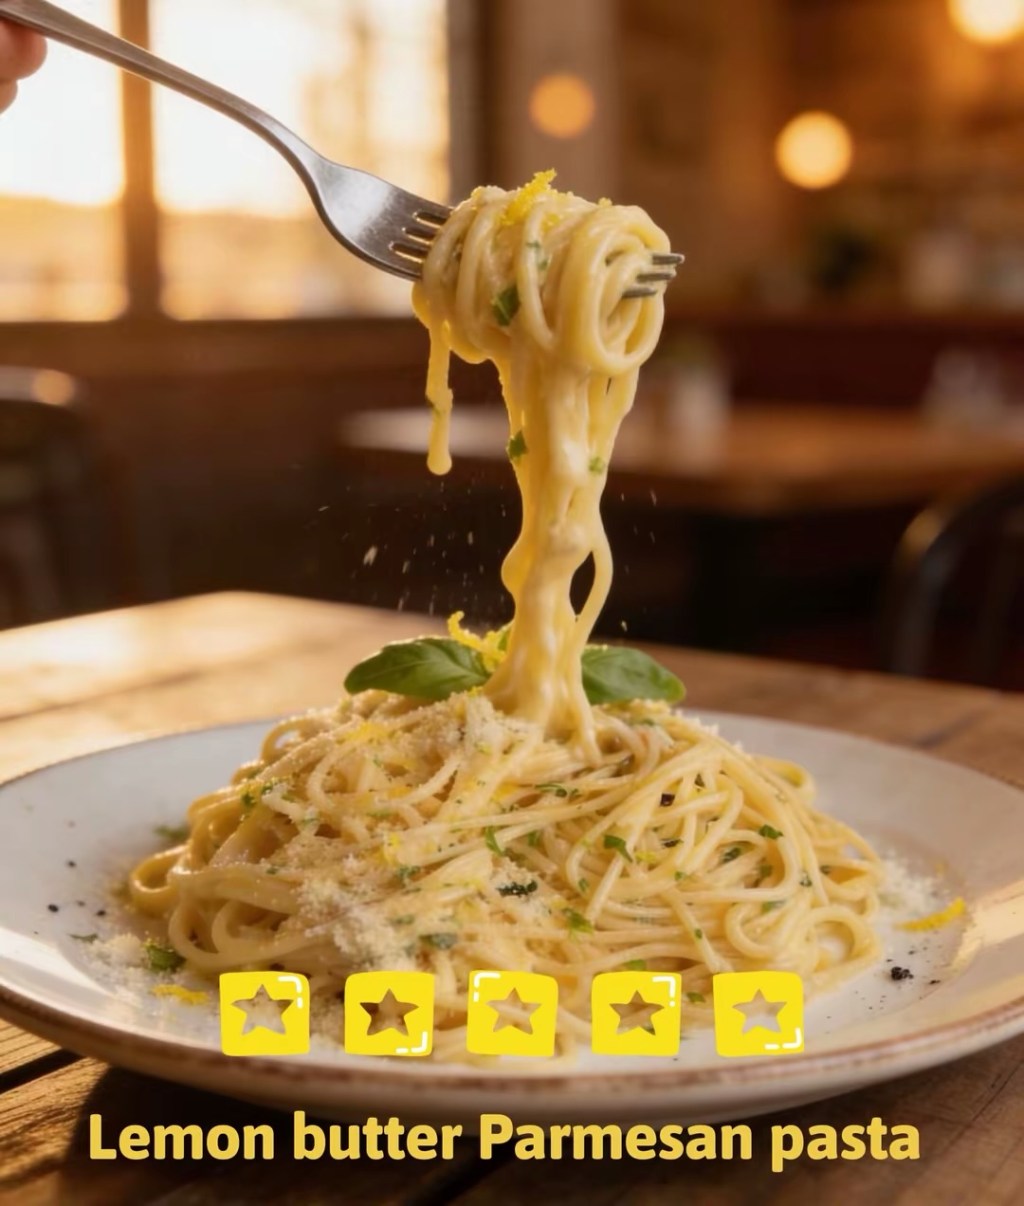
  • Lemon Butter Parmesan Pasta For Tea Tonight

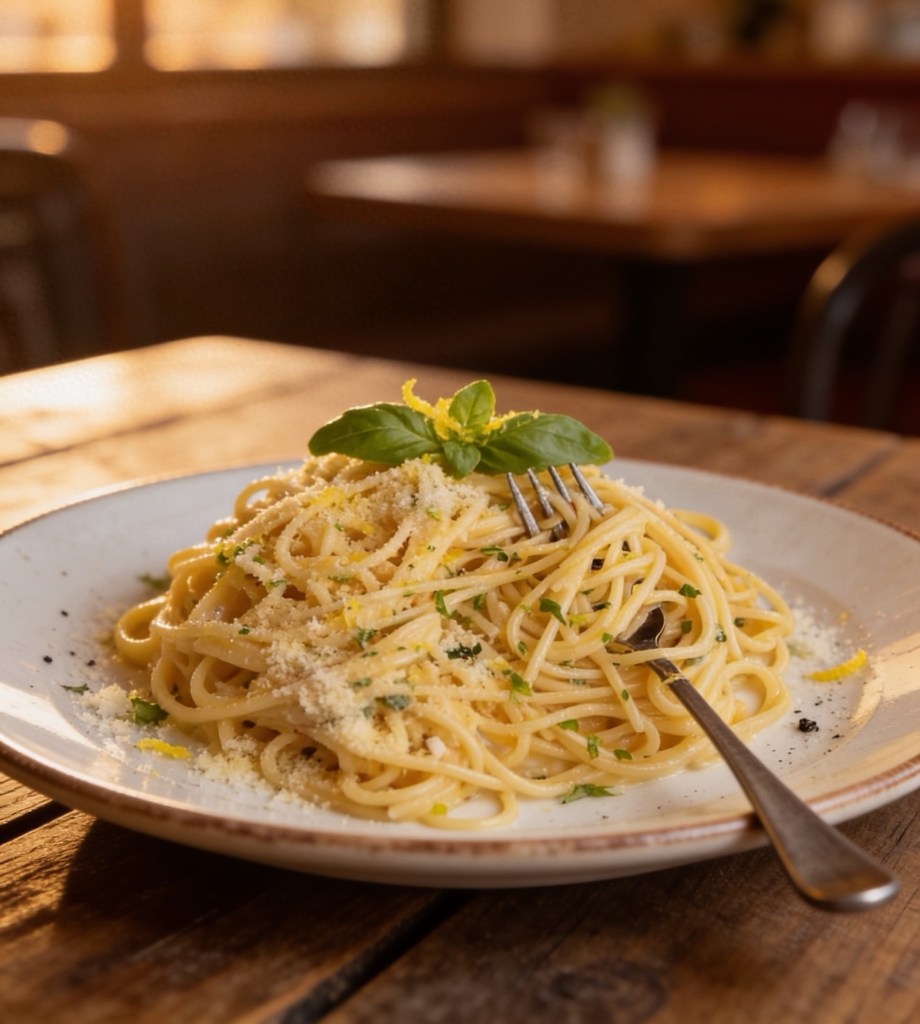
    Lemon Butter Parmesan Pasta For Tea Tonight


    Some nights you just want something quick, comforting and a bit special without spending ages in the kitchen. That’s cwhere this lemon butter parmesan pasta comes in. It’s bright, buttery, garlicky and on the table in about 15 minutes, so it’s perfect for busy weeknights or those evenings when you can’t be bothered but still fancy a nice tea.
    It’s made with simple cupboard and fridge bits – pasta, butter, garlic, lemon and parmesan – but it feels like a proper “restaurant at home” dinner. You can keep it exactly as it is for a meat‑free meal, or add cooked chicken, prawns or a handful of peas if you want to bulk it out a bit more.

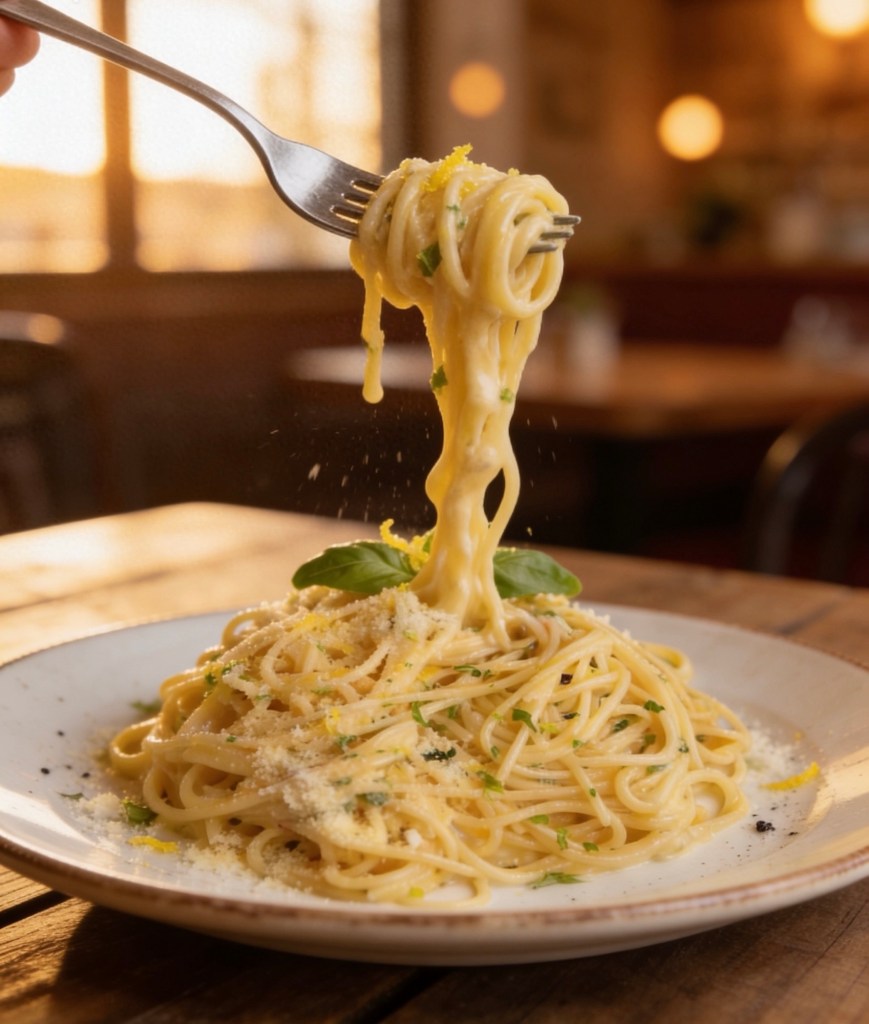
    If you’ve seen lemon pasta all over TikTok and wondered if it’s actually worth trying, this is a really easy place to start. Everything happens in one pan plus your pasta pot, and a bit of that starchy pasta water helps create the silkiest, glossiest sauce without needing loads of cream.

    Ingredients
    Serves 2–3
    • 200 g pasta (spaghetti, tagliatelle or any long pasta)
    • 2 tbsp butter
    • 1 tbsp olive oil
    • 3 garlic cloves, finely chopped or crushed
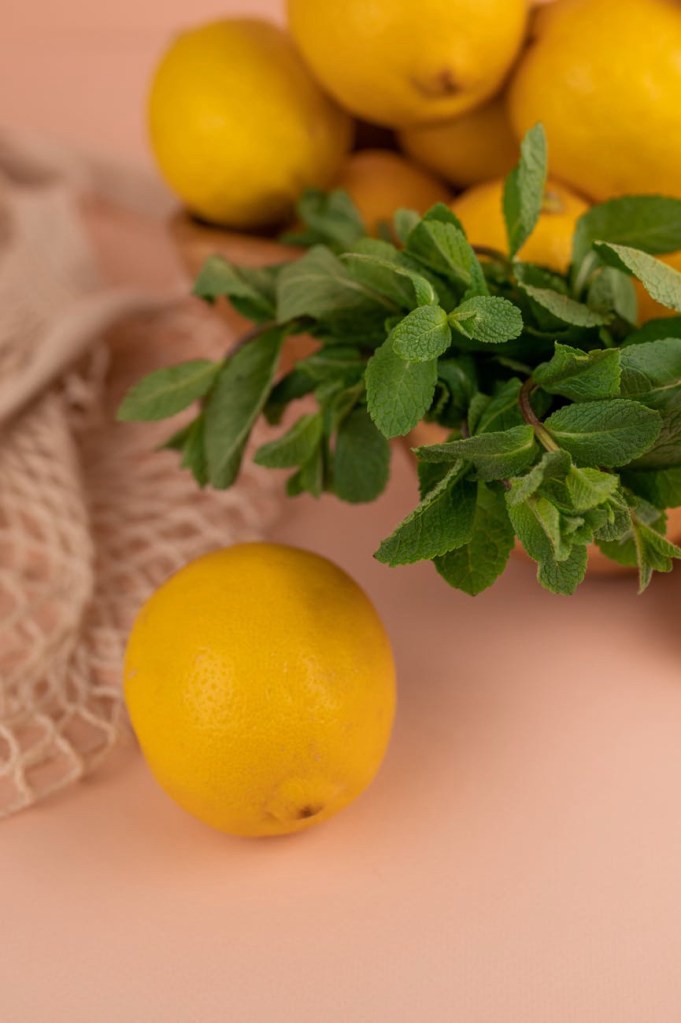
    • Zest of 1 lemon
    • Juice of 1/2–1 lemon (to taste)
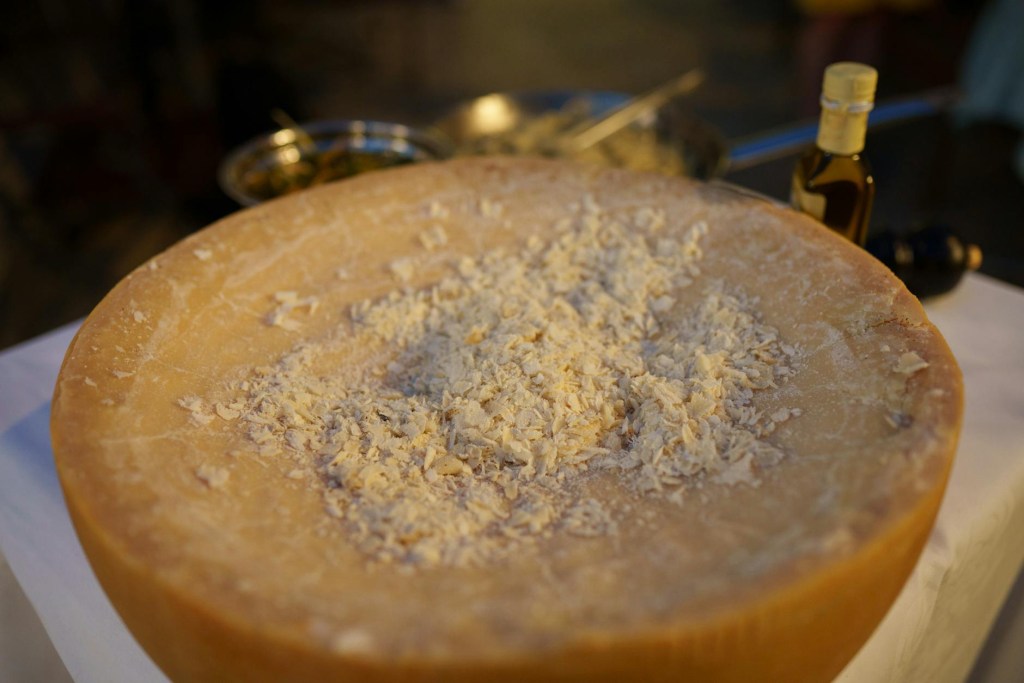
    • 30–40 g grated Parmesan or Grana Padano
    • Salt and black pepper
    • A ladle of pasta water (from the pan)

    • Fresh basil or parsley to serve (optional)

    Method

    1. Cook the pasta
      Bring a large pan of salted water to the boil and cook the pasta according to the packet instructions until al dente. Before you drain it, scoop out a mugful of the starchy pasta water and set it aside.
    2. Start the sauce
      While the pasta cooks, add the butter and olive oil to a large frying pan or shallow casserole over a low–medium heat. Let the butter melt gently into the oil.
    3. Add garlic and lemon zest
      Stir in the chopped garlic and cook for about a minute until fragrant. You want it soft and smelling amazing rather than browned or crispy. Add the lemon zest and stir it through the butter mixture.
    4. Bring the pasta and sauce together
      Add the drained pasta straight into the pan with the lemon butter and garlic. Pour in a small splash of the pasta water and toss everything together so the pasta is nicely coated.
    5. Add cheese off the heat
      Take the pan off the heat, then sprinkle over the grated Parmesan. Toss well so the cheese melts into the lemony butter and pasta water, turning into a silky, glossy sauce. Add extra splashes of pasta water as needed until it looks creamy and coats the pasta nicely.
    6. Season and adjust the lemon
      Squeeze in the juice of half a lemon, give it a taste and add more lemon if you like it extra zingy. Season with a good twist of black pepper and a little salt if it needs it (remember the Parmesan is already salty).
    1. Finish and serve

    Finish with a handful of chopped basil or parsley and a bit more Parmesan on top. Serve straight away while it’s hot and glossy.

    Tips and Variations
    • Make it extra creamy: Stir in a spoonful of cream cheese or mascarpone with the Parmesan if you want a richer sauce.
    • Add protein: Toss through some cooked chicken, prawns or crispy bacon at the end to make it more filling.
    • Keep it budget‑friendly: Swap Parmesan for a basic hard cheese and use whatever pasta you have in the cupboard – it will still work.

    • For garlic lovers: Add an extra clove or two of garlic or a pinch of garlic granules at the end for more punch.

    How to Serve
    This lemon butter parmesan pasta is lovely on its own in a big bowl, but it also works really well with a simple green salad or some garlic bread on the side. It’s the kind of easy, cosy meal you can throw together after a long day, but it still feels like a bit of a treat.
    If you do make it, let me know how you get on and what you’d rate it out of 10 – especially if you’ve spotted it on my TikTok and come over here for the full recipe.

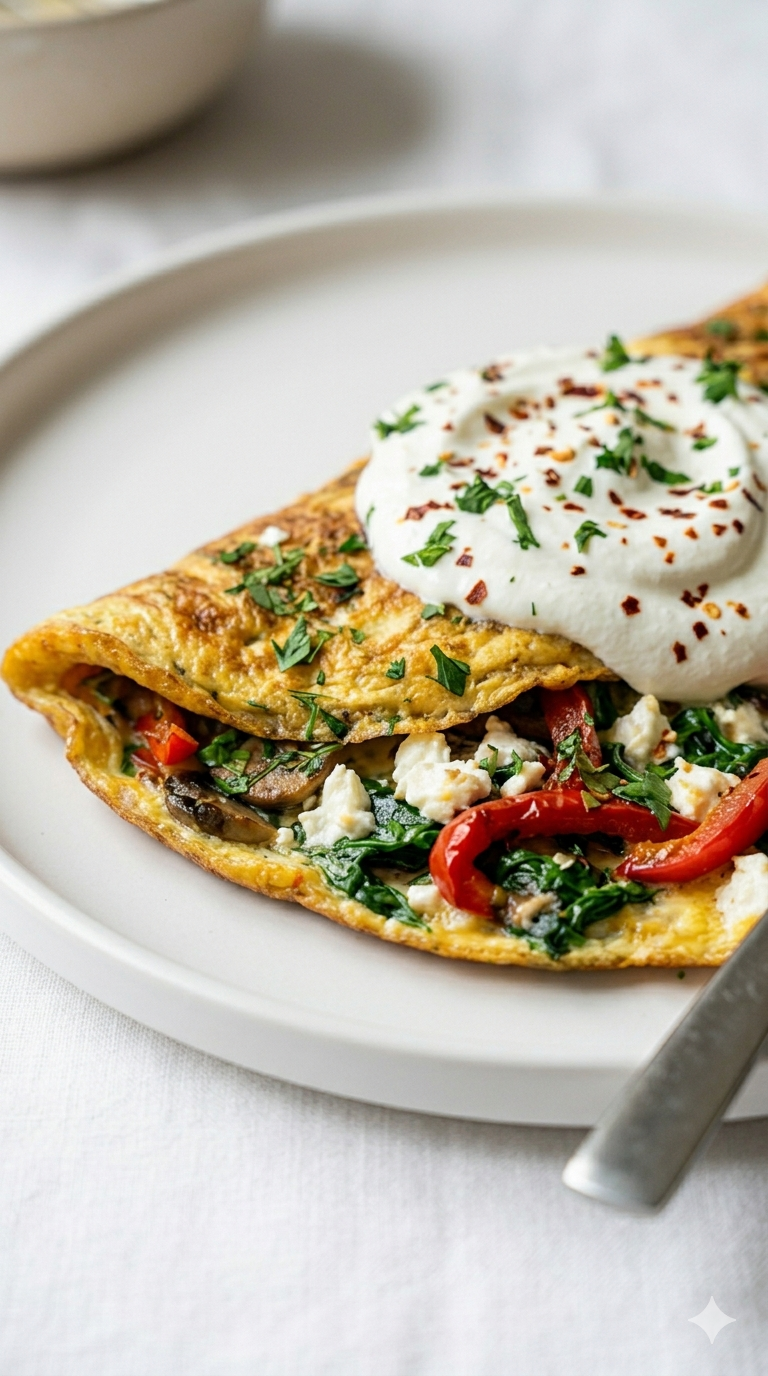
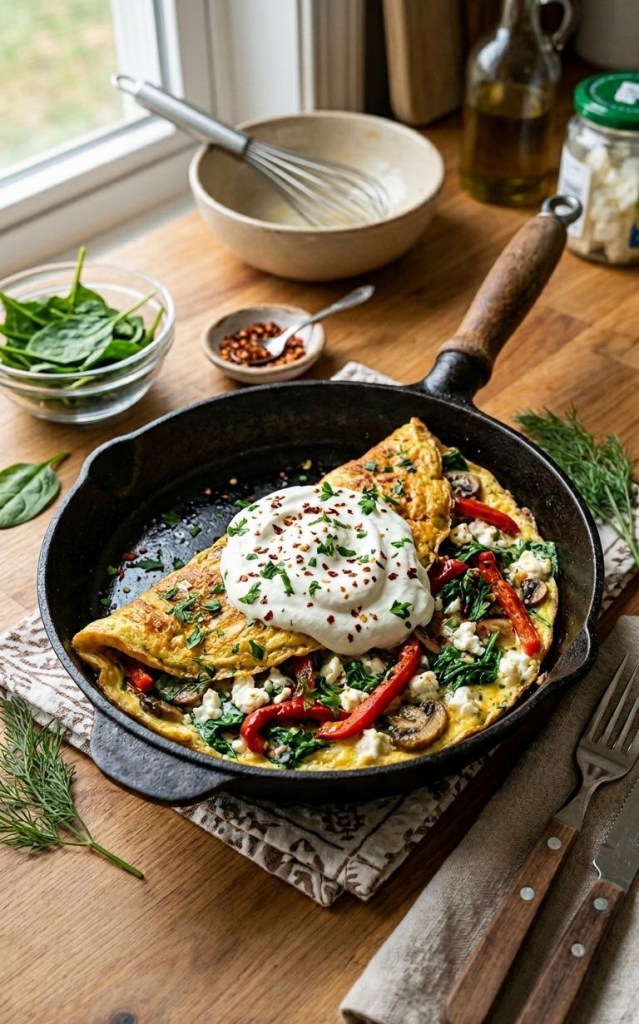
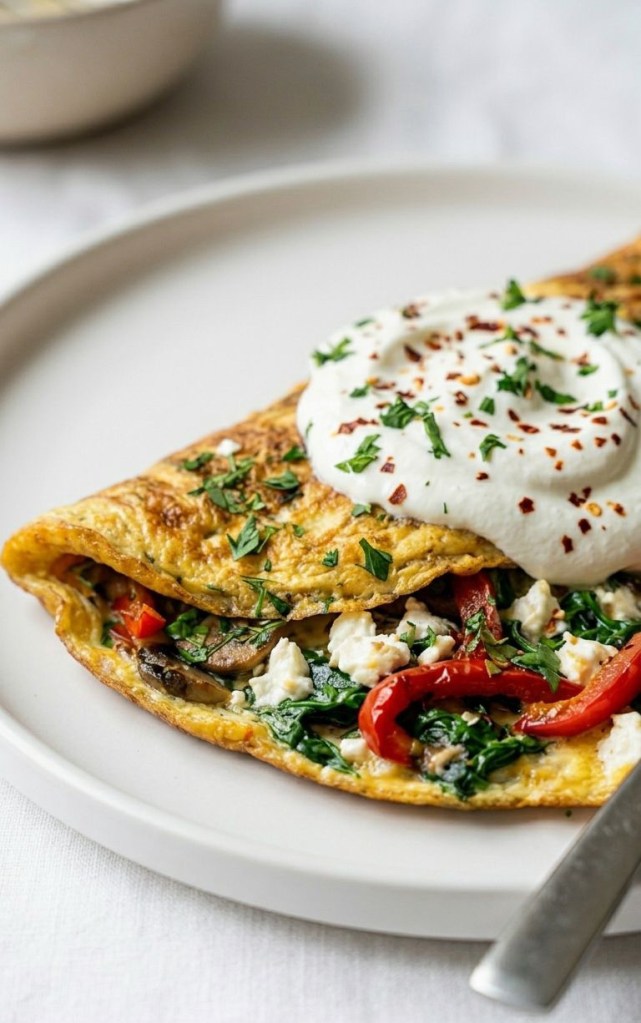
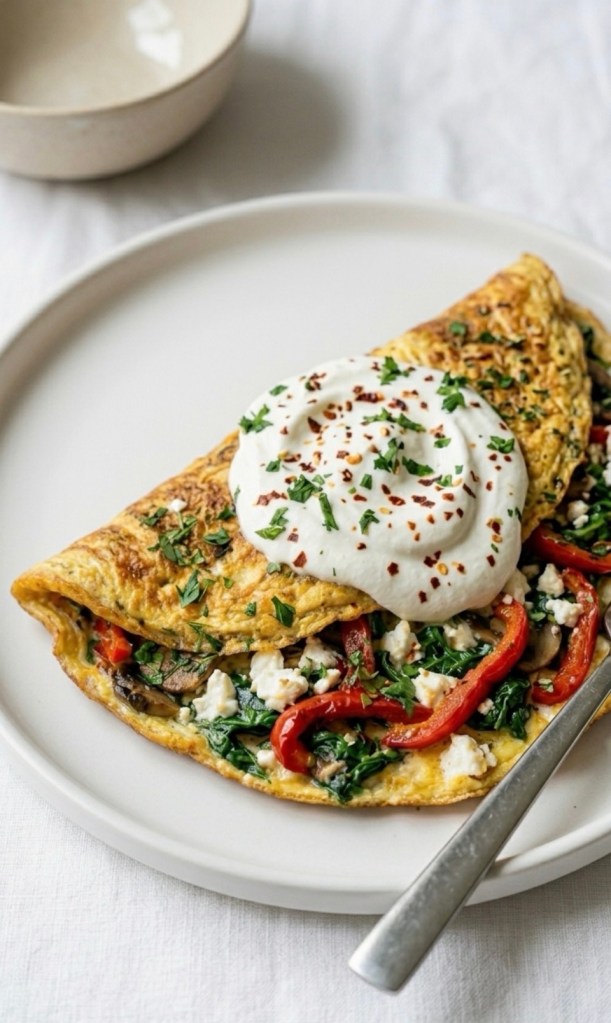
  • The Mediterranean Omelette: Your New High-Protein Brunch Favourite

    The Mediterranean Omelette: Your New High-Protein Brunch Favourite

    Are you tired of the same old morning routine? If you’re looking to level up your breakfast game with something that feels like a café-style treat but is incredibly easy to make at home, you have come to the right place.

    Today, we are talking about the Mediterranean Omelette with Whipped Greek Yogurt. It’s light, vibrant, and packed with enough protein to keep you satisfied all morning long.

    Why You Need This in Your Life

    Beyond the incredible flavour combination, this dish is a nutritional powerhouse. Thanks to the combination of eggs, creamy Greek yogurt, and tangy feta, each serving packs a serious punch—coming in at approximately 30g–35g of protein per portion. It’s the perfect way to hit your macros without sacrificing flavour.

    The Recipe

    Serves 1

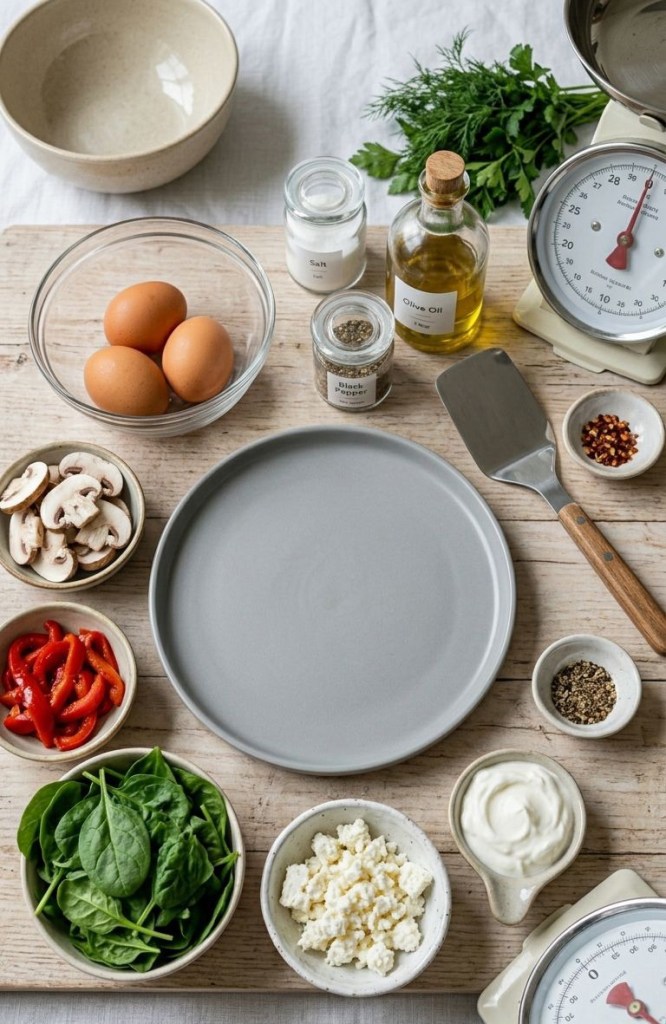
    Ingredients

     3 large eggs

     1 tbsp olive oil (for frying)

     A handful of fresh spinach

     50g roasted red peppers, sliced

     50g chestnut mushrooms, sliced

     30g feta cheese, crumbled

     2 tbsp thick Greek yogurt (for the topping)

     A handful of fresh herbs (dill or parsley work beautifully)

     A pinch of chilli flakes

     Salt and black pepper to taste

    Instructions

    1 Whisk: In a small bowl, whisk your eggs with a pinch of salt and pepper until smooth.

    2 Sauté: Heat the olive oil in a non-stick pan over medium heat. Add the mushrooms and roasted peppers, cooking until they start to soften. Toss in the spinach and cook until just wilted.

    3 Cook: Pour the whisked eggs into the pan over the vegetables. Let them set slightly.

    4 Add the Feta: Once the edges start to set, sprinkle the crumbled feta over one half of the omelette.

    5 Fold & Serve: Gently fold the omelette over. Slide it onto your plate, top it with a generous dollop of cold, whipped Greek yogurt, fresh herbs, and a final dusting of chilli flakes for a little kick.

    Pro-Tips for Success

     Don’t overcook the eggs: For the best texture, remove the pan from the heat while the top still looks slightly moist. The residual heat will finish the cooking process.

     The Yogurt Trick: Use full-fat Greek yogurt for the creamiest topping. The cold, creamy yogurt against the warm, savoury omelette is a complete game-changer!

    Have you tried adding Greek yogurt to your eggs before? Let me know in the comments below—I’d love to hear how you customise your brunch!

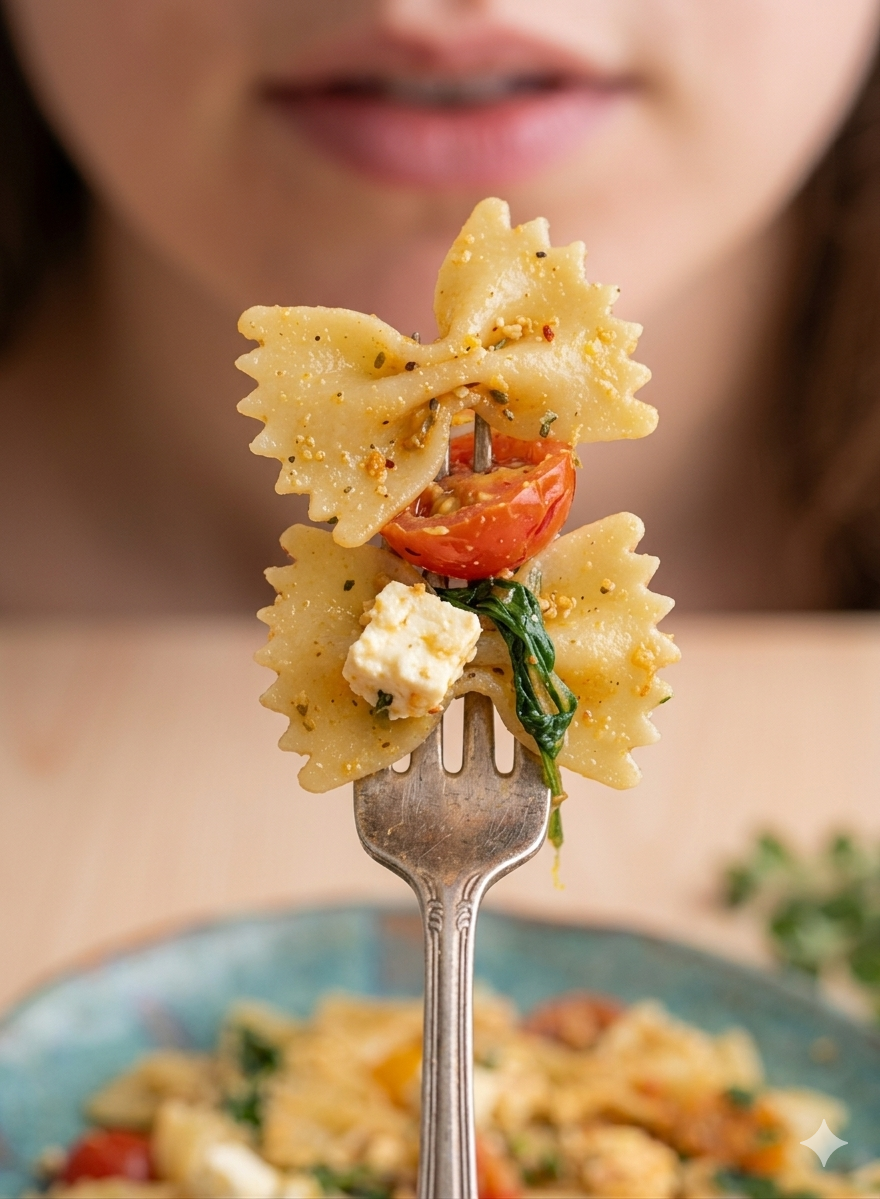
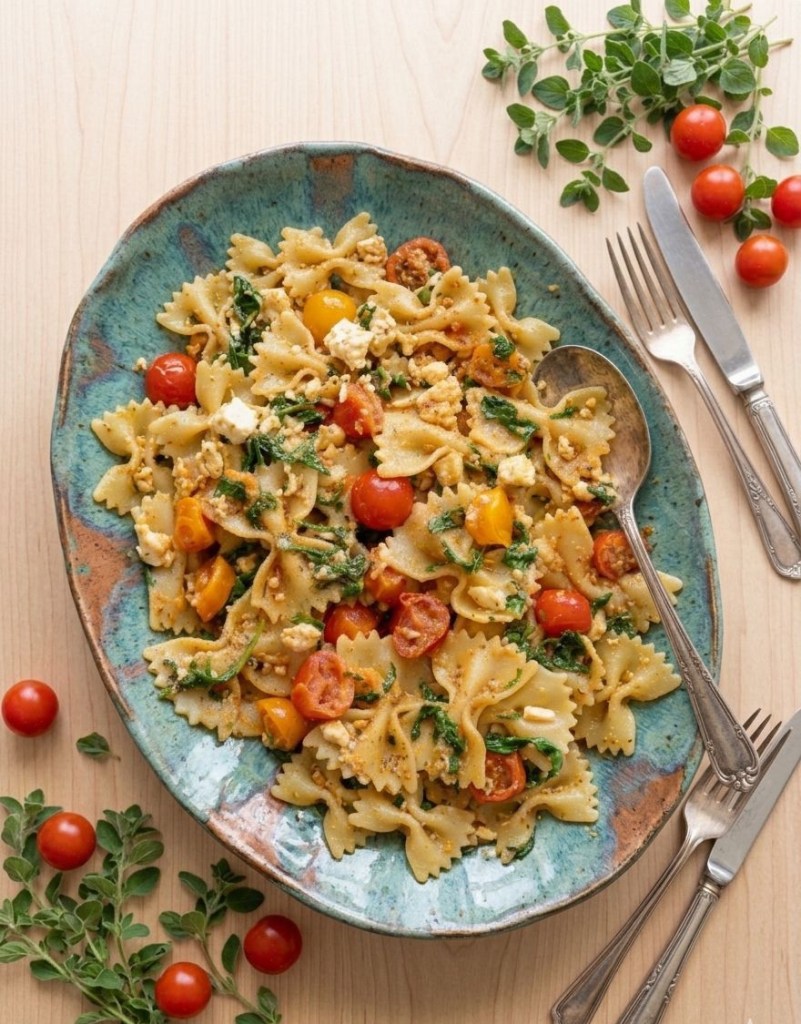
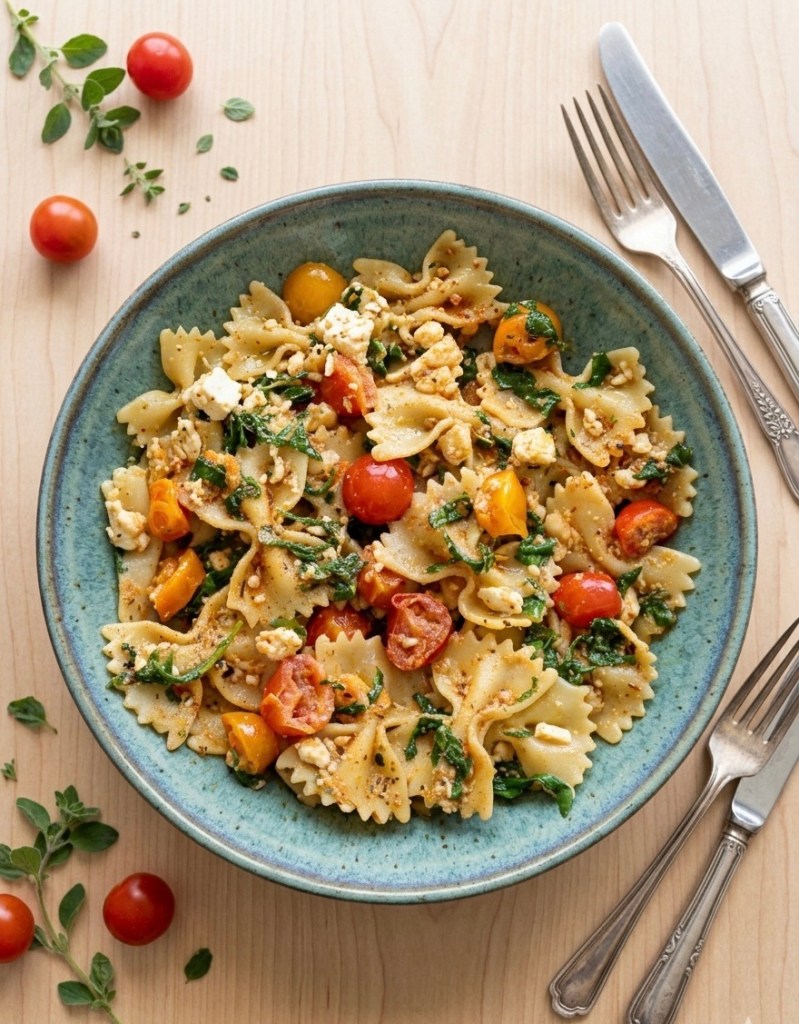
  • Midweek Lifesaver: Mediterranean Feta & Tomato Pasta 🍝

    Midweek Lifesaver: Mediterranean Feta & Tomato Pasta 🍝

    Let’s be real—by the time Wednesday rolls around, the last thing anyone wants to do is spend an hour hovering over a hot stove. If you’re looking for a dinner that feels like a holiday in Greece but takes less time than a quick trip to the shops, you’ve hit the jackpot.

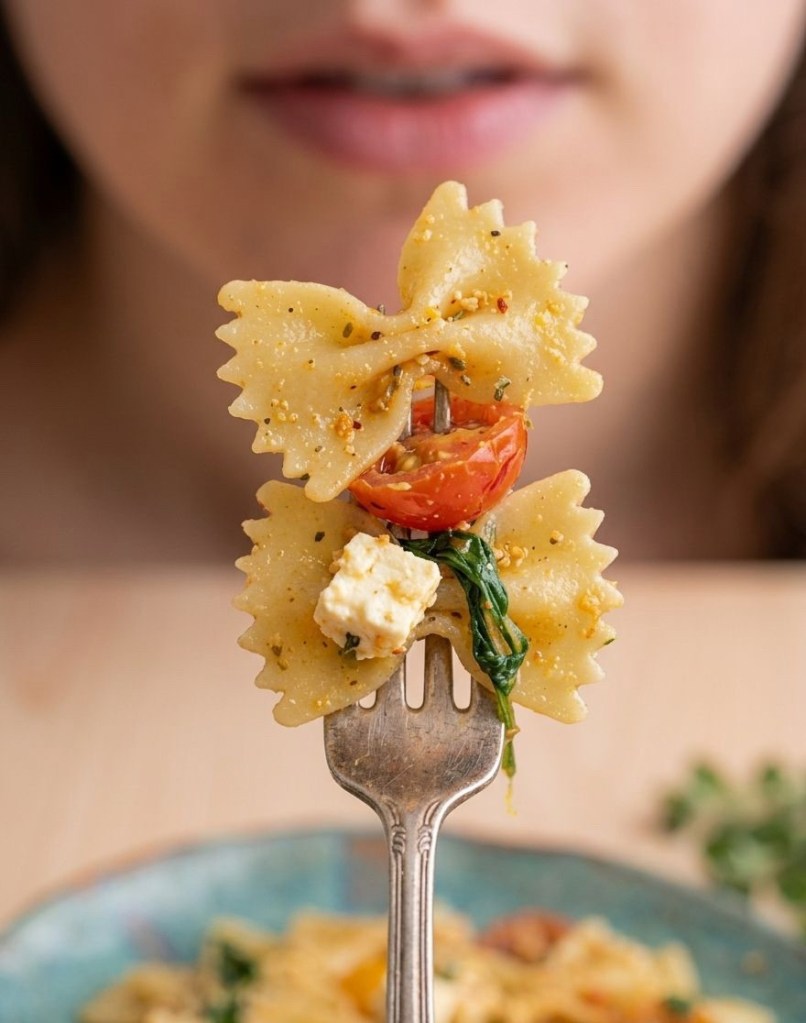
    This Mediterranean Pasta is my absolute go-to. It’s vibrant, zesty, and uses those gorgeous Mediterranean diet staples we all love. Best of all? It’s a “one-pan wonder” (mostly!) that’s ready in 30 minutes flat.

    🛒 The Shopping List

    Here’s what you’ll need to grab from the cupboard or the local market:

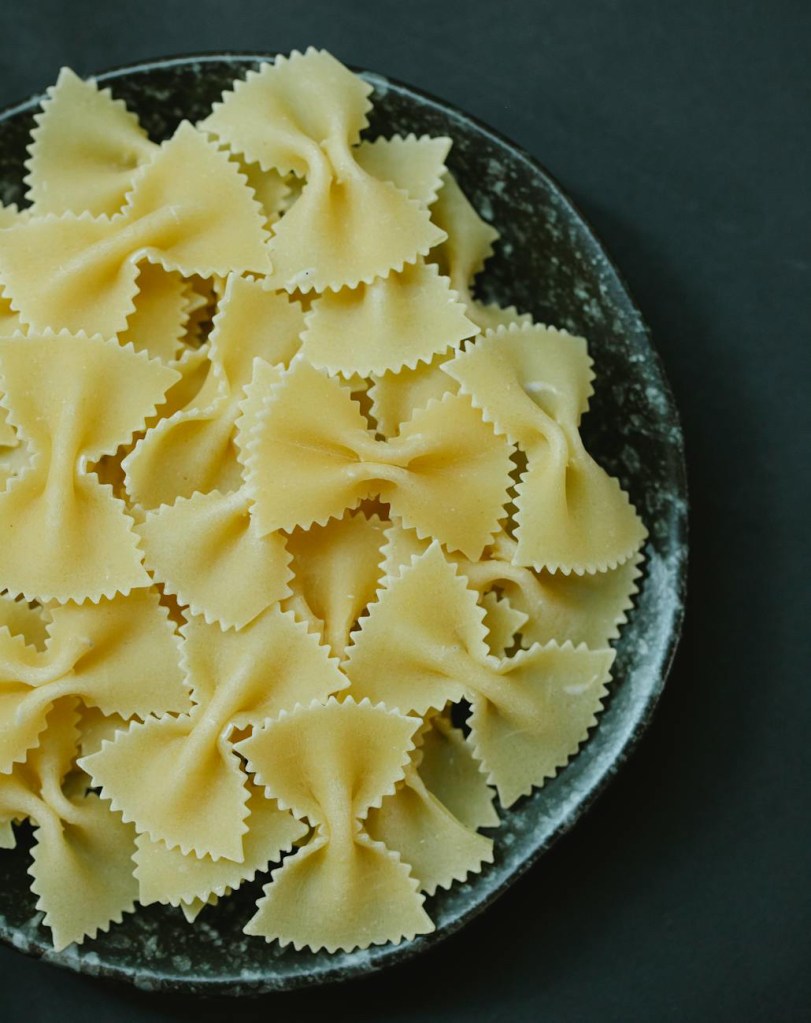
    • The Pasta: I’m a fan of farfalle (the little bows), but any short-cut pasta works perfectly. Think penne, fusilli, or rigatoni—basically anything that’s good at catching the sauce.

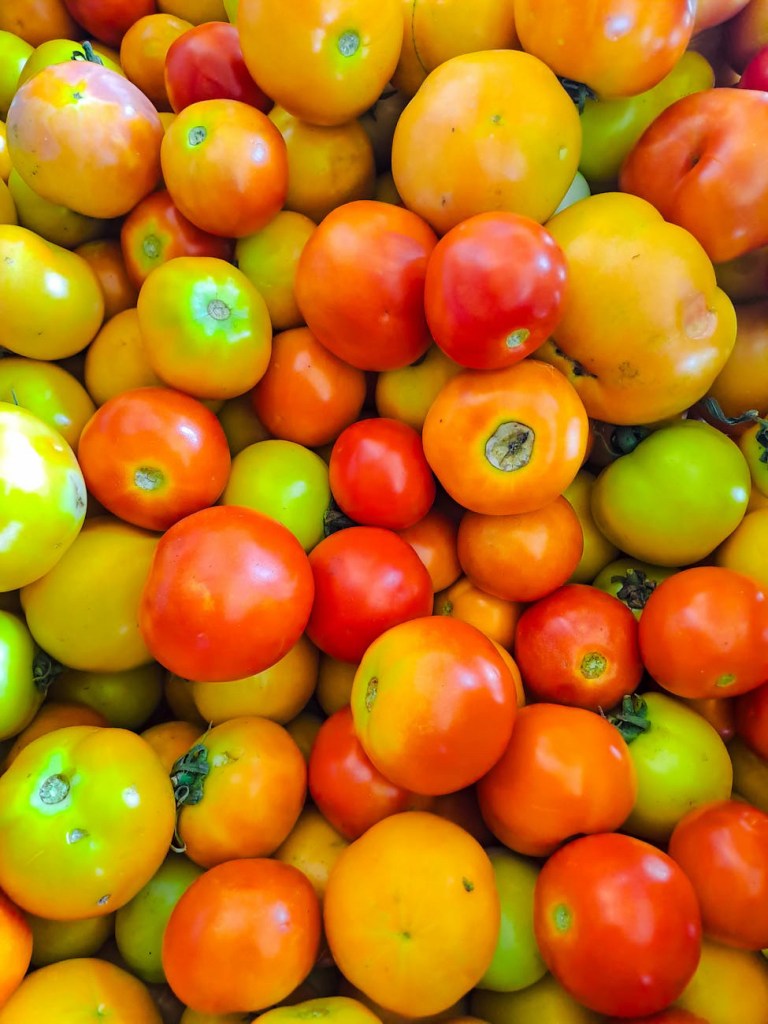
    • The Veg: Get yourself some cherry or grape tomatoes. If you can find a mix of red and yellow, it looks stunning.

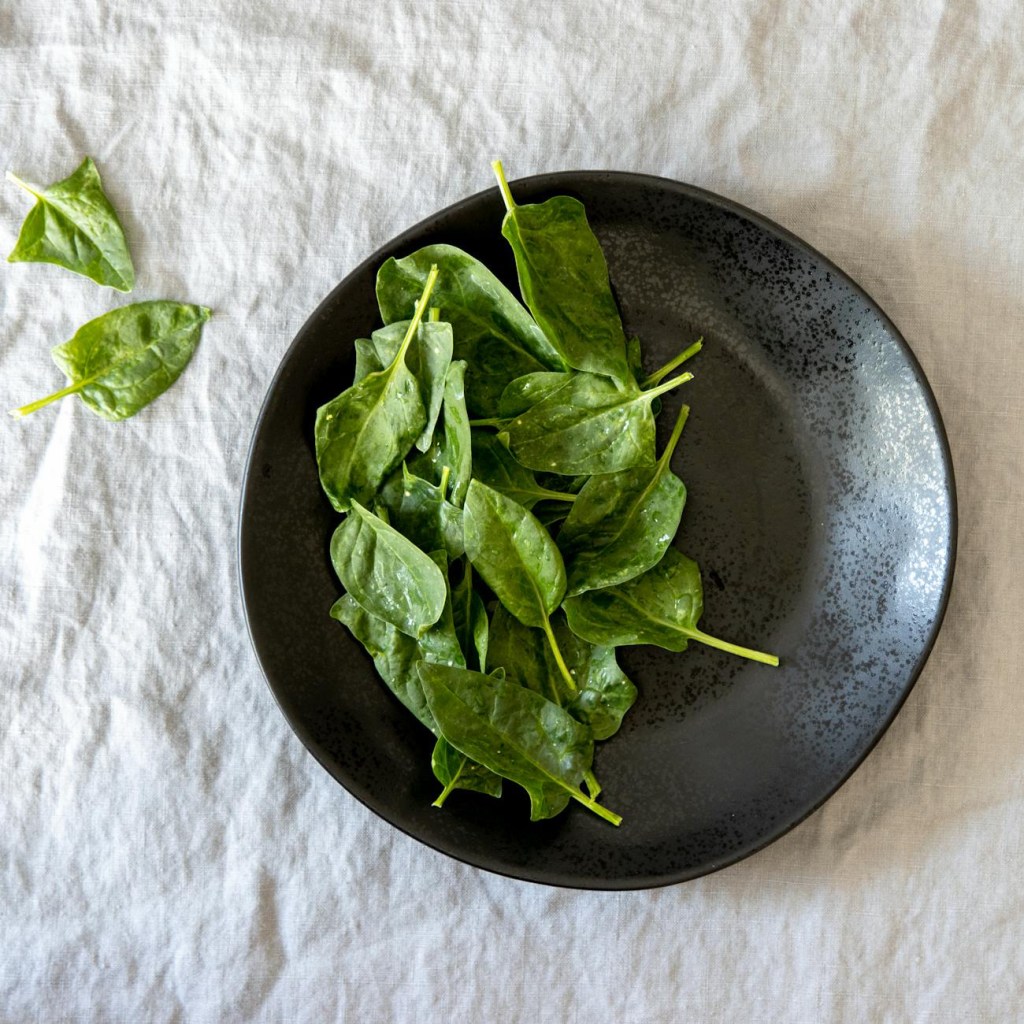
    • The Greens: A big bag of fresh spinach. If you’ve only got frozen, just make sure to thaw it and squeeze out the water first.

    • The Flavour Makers: Plenty of fresh garlic (don’t be shy!), olive oil, and a cheeky squeeze of lemon.

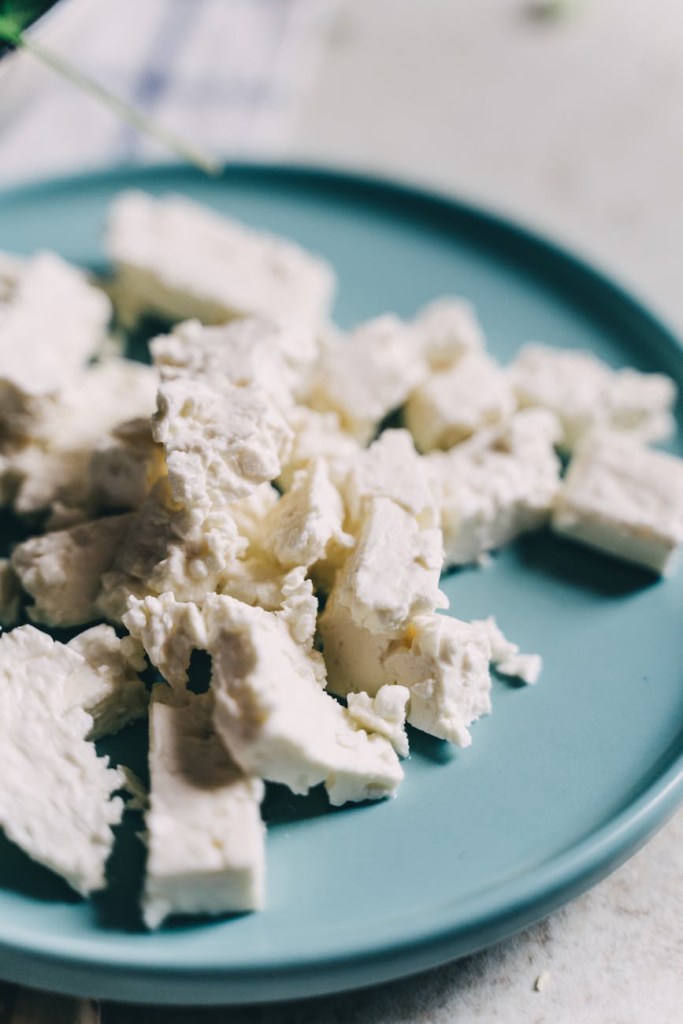
    • The Cheese: Feta is the star here. You can buy the block and crumble it yourself or grab a pack of ready-crumbled to save time.

    • The Spice Rack: Grab your Italian seasoning, some paprika for a bit of warmth, and plenty of sea salt and cracked black pepper.

    👩‍🍳 How to Whip It Up

    1. Get the water on: Boil a large pot of salted water and cook your pasta until al dente.

    2. Sizzle the tomatoes: While the pasta bubbles away, grab a large frying pan or skillet. Toss in your halved tomatoes, minced garlic, a glug of olive oil, paprika, salt, and your dried herbs. Cook on a medium heat for about 2 minutes until the tomatoes start to soften and get juicy.

    3. Wilting time: Throw in the spinach. Stir it around until it wilts into that lovely garlic-tomato base.

    4. The Feta finish: Stir in your crumbled feta and let it get just a little bit melty.

    5. The Big Mix: Toss in your drained pasta and the lemon juice. Give it a good stir for a minute to get everything coated. If it looks a bit dry, add an extra drizzle of olive oil.

    Top Tip: This is a fantastic “make-ahead” meal. It keeps beautifully in the fridge for lunch the next day, and you can even freeze it!

    Whether you’re dodging the temptation of a takeaway or just need a win after a hectic shift, this Mediterranean pasta is the ultimate shortcut to a proper meal. It’s vibrant, zesty, and—best of all—gets you from “starving” to “serving” in the time it takes to boil a kettle. Give it a go tonight, enjoy the fact that there’s barely any washing up, and let that hit of lemon and garlic do the heavy lifting. Happy cooking!

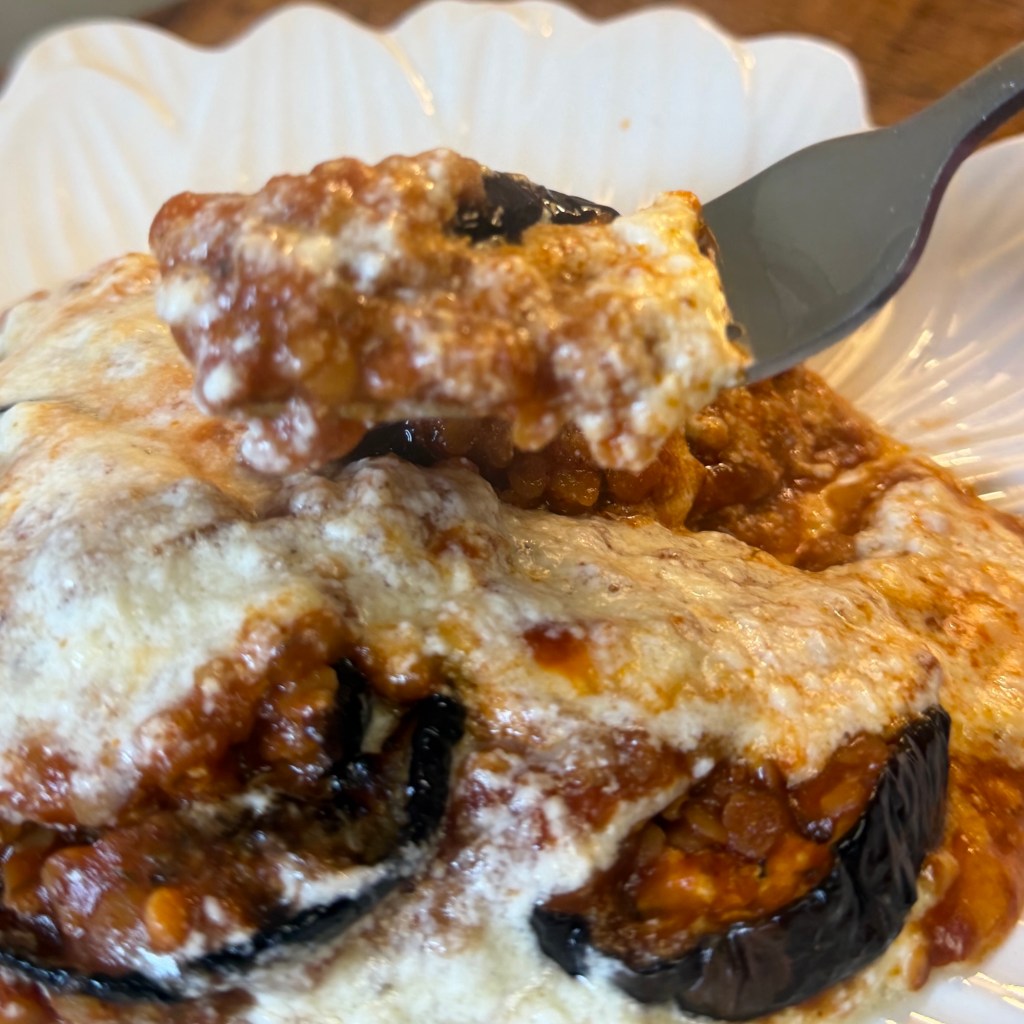
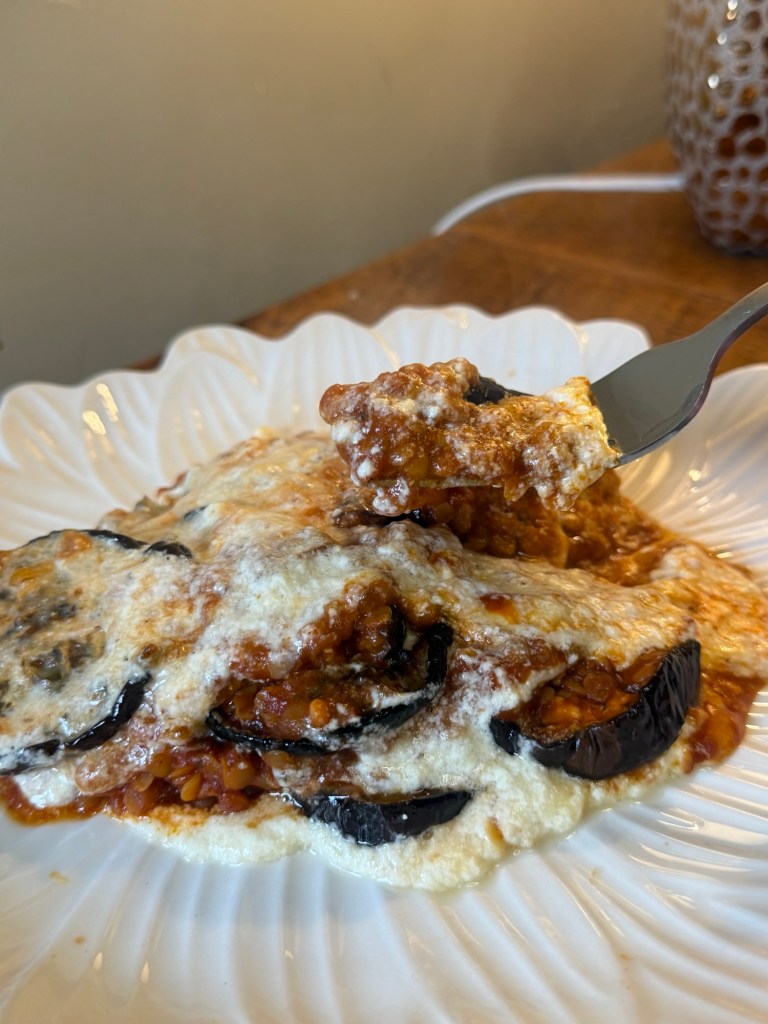
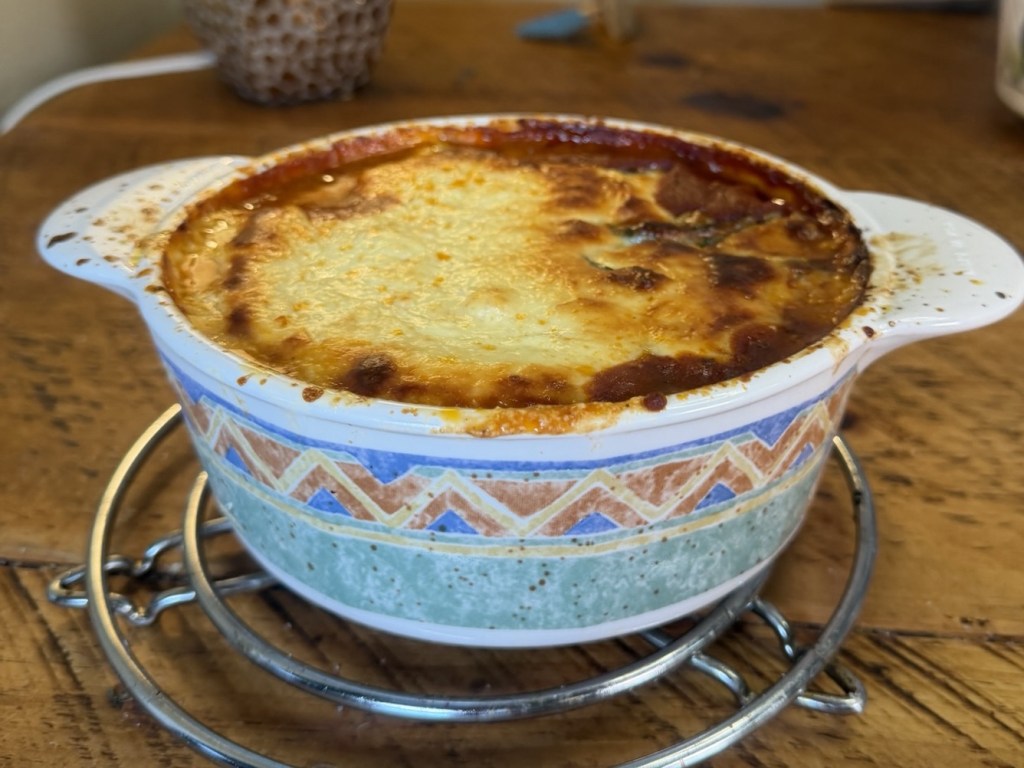
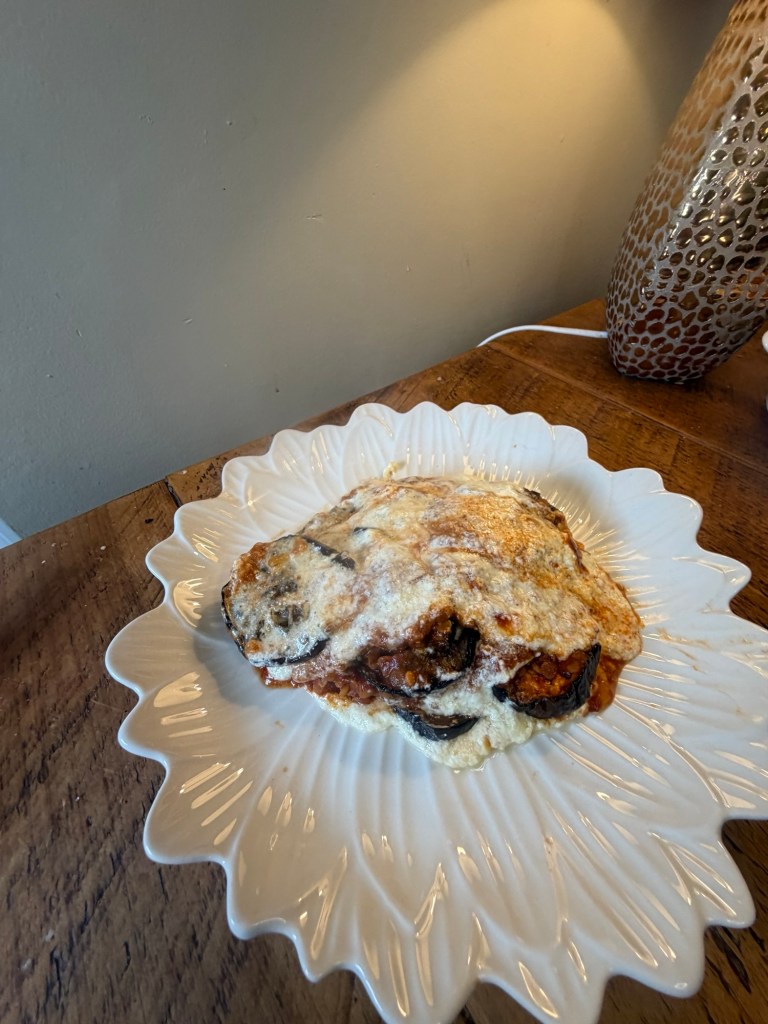
  • Easy Peasy Red Lentil and aubergine  Moussaka (Feeds 4)

    Easy Peasy Red Lentil and aubergine Moussaka (Feeds 4)


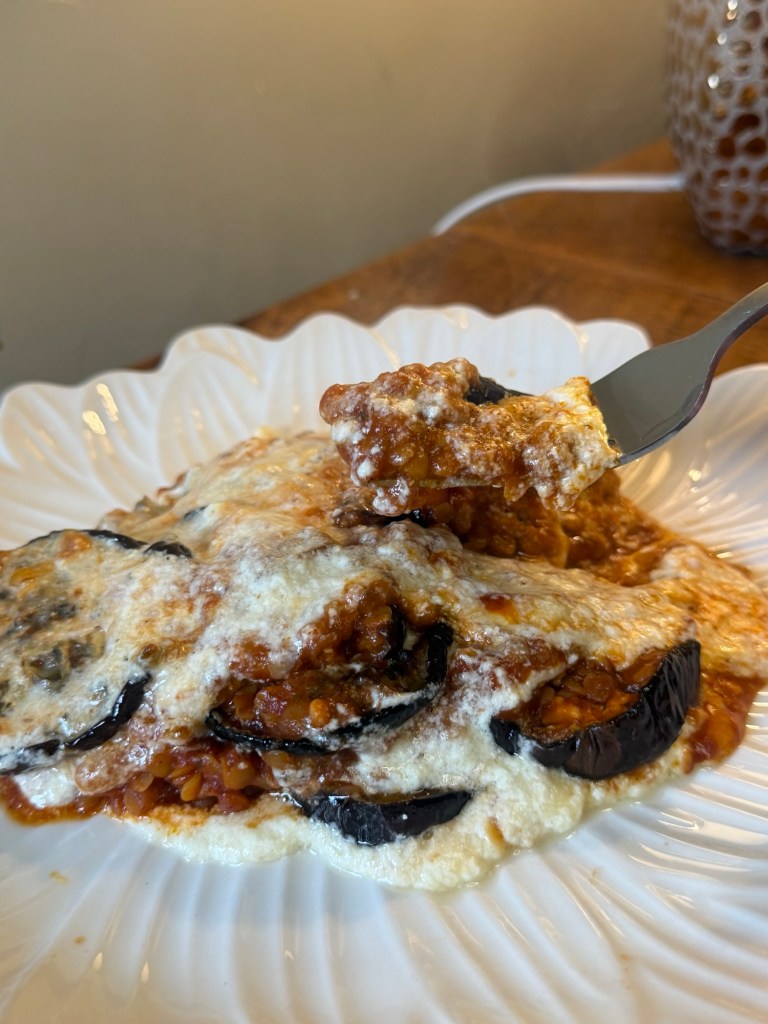
    If you love proper comfort food but don’t want to faff around with loads of ingredients, this Easy Red Lentil Moussaka is for you. It’s rich, cosy, uses simple store‑cupboard bits, and still feels a bit “special” when it comes out of the oven. Think soft layers of aubergine, a gently spiced red lentil base, and a creamy, golden top – but all very doable on a weeknight.
    Below is everything you need: ingredients, method, and a few little tips so it comes out perfect first time.

    Ingredients (serves 4)
    For the aubergine
    • 2 large aubergines, sliced into 1 cm rounds
    • 2 tbsp olive oil (for brushing)
    • Salt and pepper
    For the lentil layer
    • 2 tbsp olive oil
    • 4 garlic cloves, finely grated or crushed
    • 2 tsp dried oregano
    • 2 tsp ground cinnamon
    • 150 g dried red split lentils, rinsed
    • 2 tsp Worcestershire sauce (or a vegan alternative)
    • 20 g vegetable stock paste or 2 vegetable stock cubes
    • 2 × 400 g tins chopped tomatoes
    • 2 tsp sugar
    • 150 ml water – more if lentils look dry
    • Salt and pepper, to taste

    Method

    Get the aubergine going
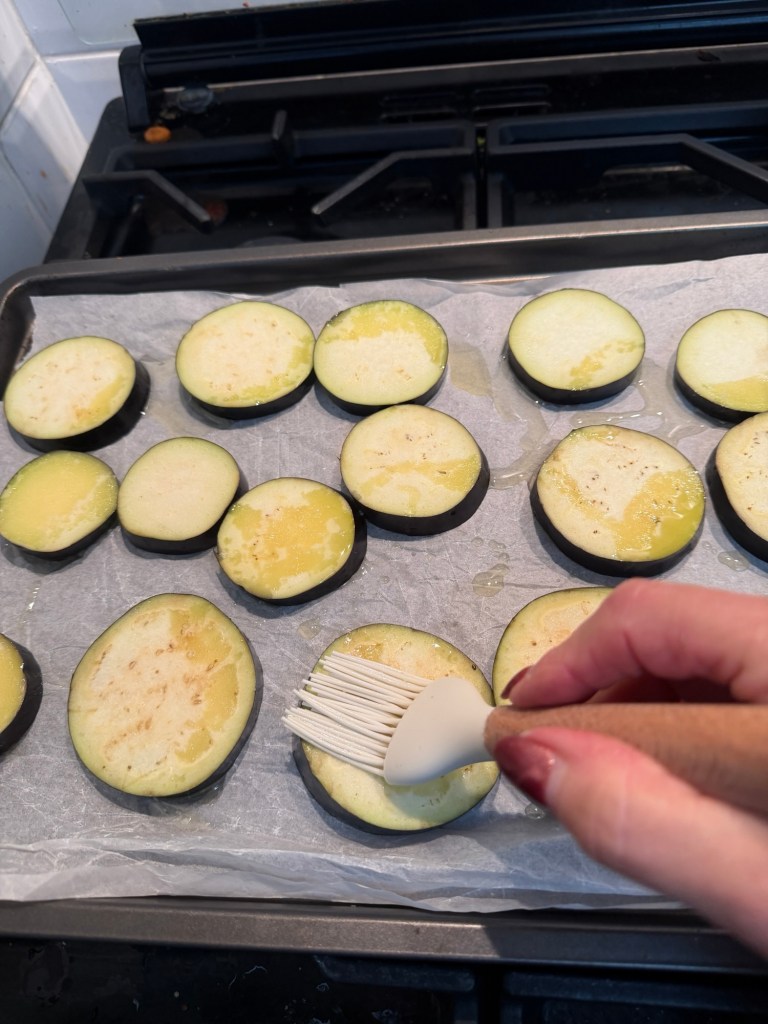
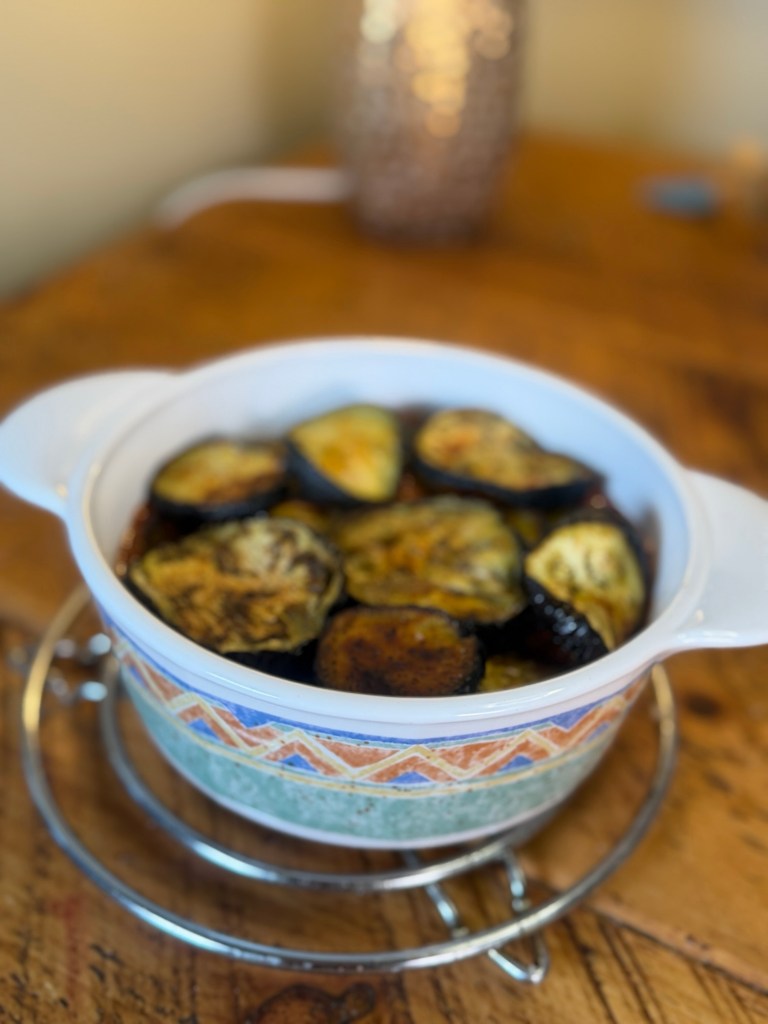
    Preheat your oven to 220°C / 200°C fan / gas 7. Line one or two baking trays with baking paper if you want easier washing up. Lay the aubergine slices out in a single layer, brush (or drizzle and rub) with olive oil on both sides, and season with salt and pepper.
    Roast for about 20–25 minutes, turning halfway, until the slices are soft, lightly golden and just starting to catch at the edges. You want them cooked through because they won’t get much more time in the oven later.

    Start the lentil base
    While the aubergine is roasting, heat 2 tbsp olive oil in a large pan over medium–high heat. Add the dried oregano, ground cinnamon and about half of your garlic. Cook for around 1 minute, stirring, just until everything smells fragrant – you don’t want the garlic to brown.
    This little step – toasting the herbs and spices – makes the whole dish taste warmer and more “slow‑cooked” than it really is.

    Add lentils and liquids
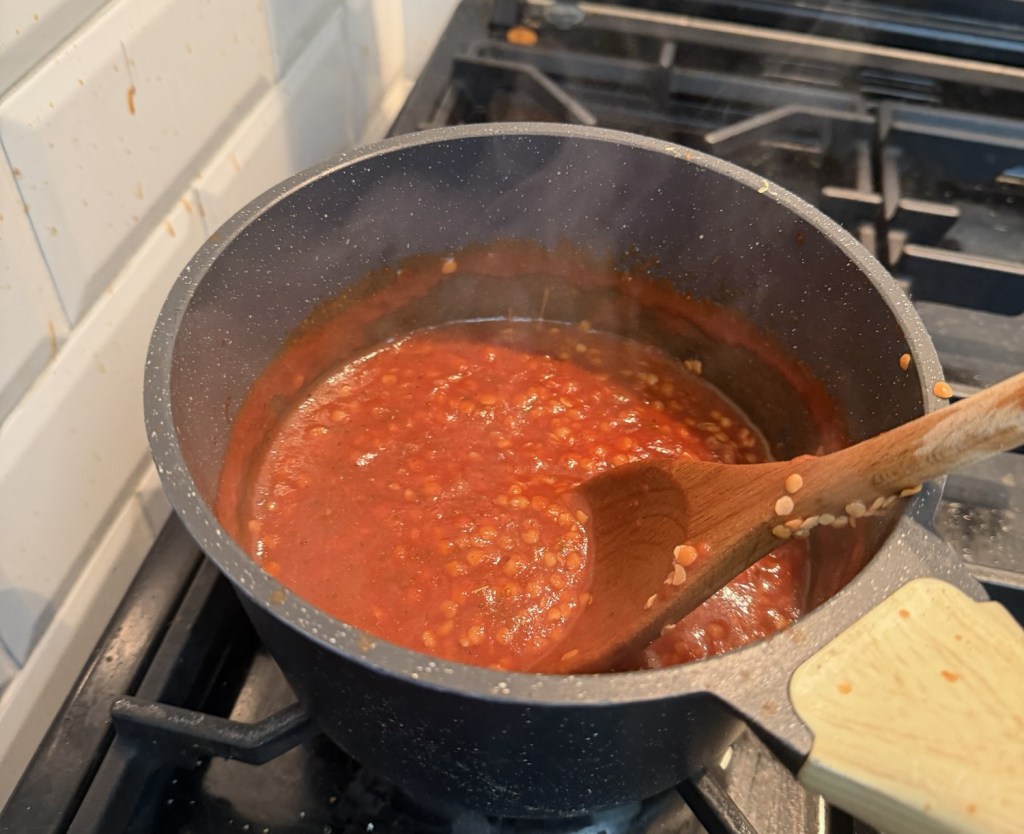
    Tip in the rinsed red lentils, Worcestershire sauce, stock paste or cubes, chopped tomatoes, sugar and the water. Give it all a good stir, scraping up anything that’s stuck to the bottom of the pan.
    Bring it up to the boil, then turn the heat down so it’s gently simmering. Leave it to bubble away for about 20–25 minutes, stirring occasionally. Red lentils break down and thicken as they cook; you’re aiming for a thick, spoonable sauce – not soupy, not dry.
    If it starts to look too thick before the lentils are soft, add a splash more water. If it’s still a bit runny at the end, just let it simmer with the lid off for a few extra minutes.

    Season properly
    When the lentils are soft and the sauce is nice and thick, stir in the remaining garlic and season really well with salt and pepper. Taste it – this is your moment to get the flavour right. The lentils should taste rich, tomatoey and slightly warm from the cinnamon, not flat or bland.
    Turn off the heat and set aside for a moment while you sort the topping.

    Mix the creamy topping
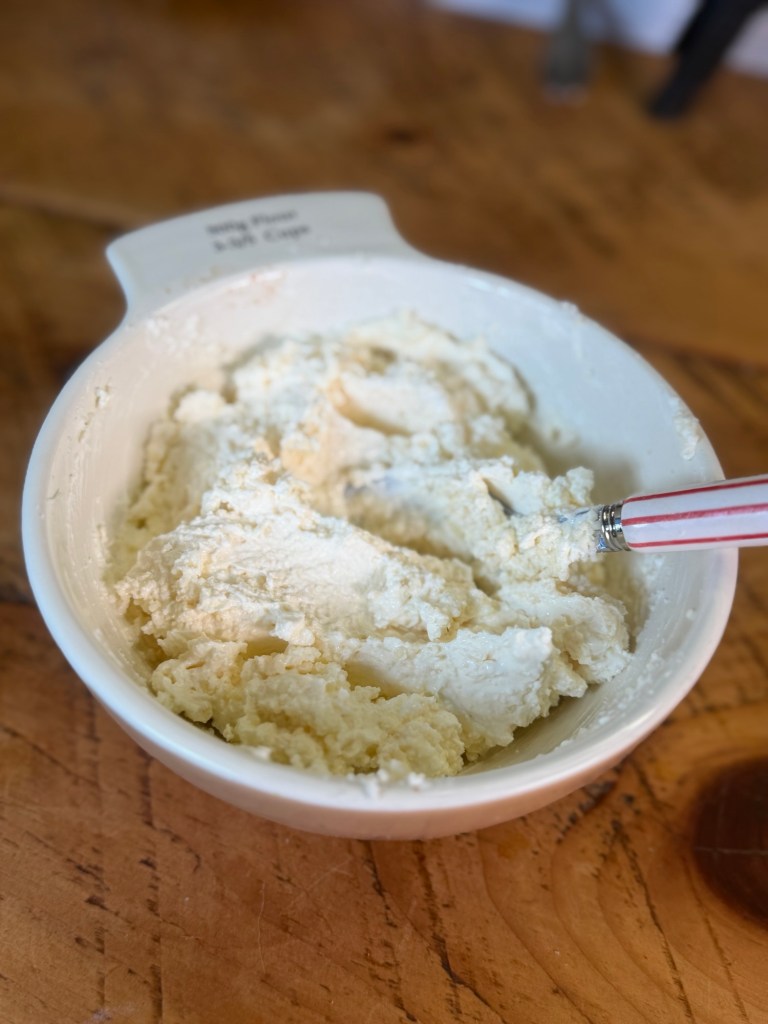
    In a small bowl, stir together the crème fraîche and most of the grated cheese, keeping a little cheese back for sprinkling on top. Add a good grind of black pepper. You don’t need to overthink this – just mix until it’s smooth and combined.
    If you prefer a slightly looser topping, you can add a tablespoon or two of water or milk to loosen it slightly.

    Build your moussaka
    Tip the lentil mixture into a medium–large ovenproof dish and spread it out evenly. You want a reasonably thick layer, not too shallow.
    Lay the roasted aubergine slices over the lentils in a single layer, overlapping them slightly like roof tiles.

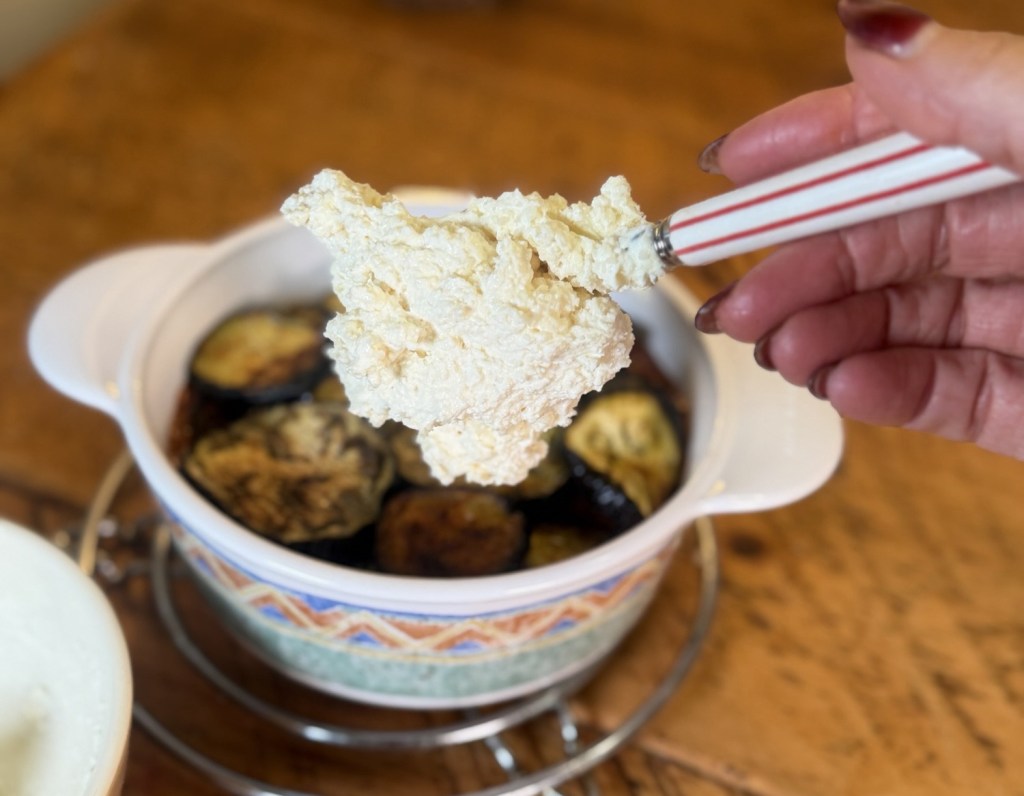
    Spoon the crème fraîche and cheese mixture over the top and gently spread it right to the edges. Sprinkle over the remaining cheese.

    You should now have three layers: lentils, aubergine, creamy top.

    Bake until golden
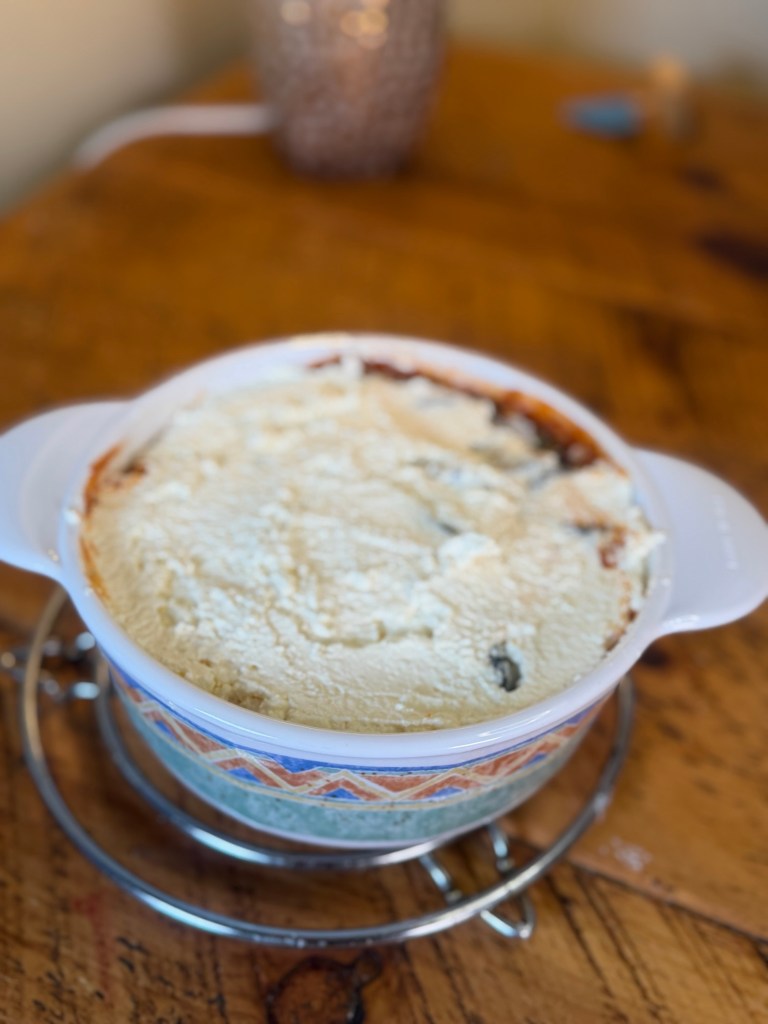
    Pop the dish under a hot grill or back into the oven (still at 220°C / 200°C fan) for about 5–8 minutes, just until the top is bubbling and golden in patches.

    Keep an eye on it – it can go from perfect to very dark quite quickly.

    Once it looks lovely and golden, take it out and let it sit for 5–10 minutes. This resting time helps it firm up so it’s easier to scoop or slice.

    Optional: quick garlic bread
    If you’re making the garlic bread, you can do this while the moussaka is having its little rest.

    Mix the grated garlic with olive oil and a pinch of oregano or za’atar. Spread the mixture onto your ciabatta slices. Grill or bake for a few minutes until crisp and lightly golden at the edges. Serve on the side to mop up all the lentil sauce.

    Little tips and swaps
    • Want it lighter? Use half crème fraîche and half fat‑free Greek yoghurt, or swap entirely to a thick yoghurt if you don’t mind a slightly tangier top.
    • Make it vegan: Use a plant‑based yoghurt instead of crème fraîche, a vegan cheese, and a vegan Worcestershire or a splash of soy sauce.
    • Spice it up: Add a pinch of chilli flakes when you add the cinnamon if you like a bit of warmth.
    • Prep‑ahead friendly: You can assemble the whole thing earlier in the day, keep it in the fridge, then bake until hot and golden when you’re ready to eat. Just give it a few extra minutes in the oven if it’s going in cold.

    This dish really feels like “home” to me – simple ingredients, nothing fancy, but so much love in the layers. I love that you can make it on a normal weeknight and it still feels like a little moment of care, whether you’re cooking just for yourself or feeding a full table. If you do make it, I hope it becomes one of those recipes you come back to on the days you need something warm, comforting and uncomplicated – the kind of meal that quietly looks after you while you get on with life.