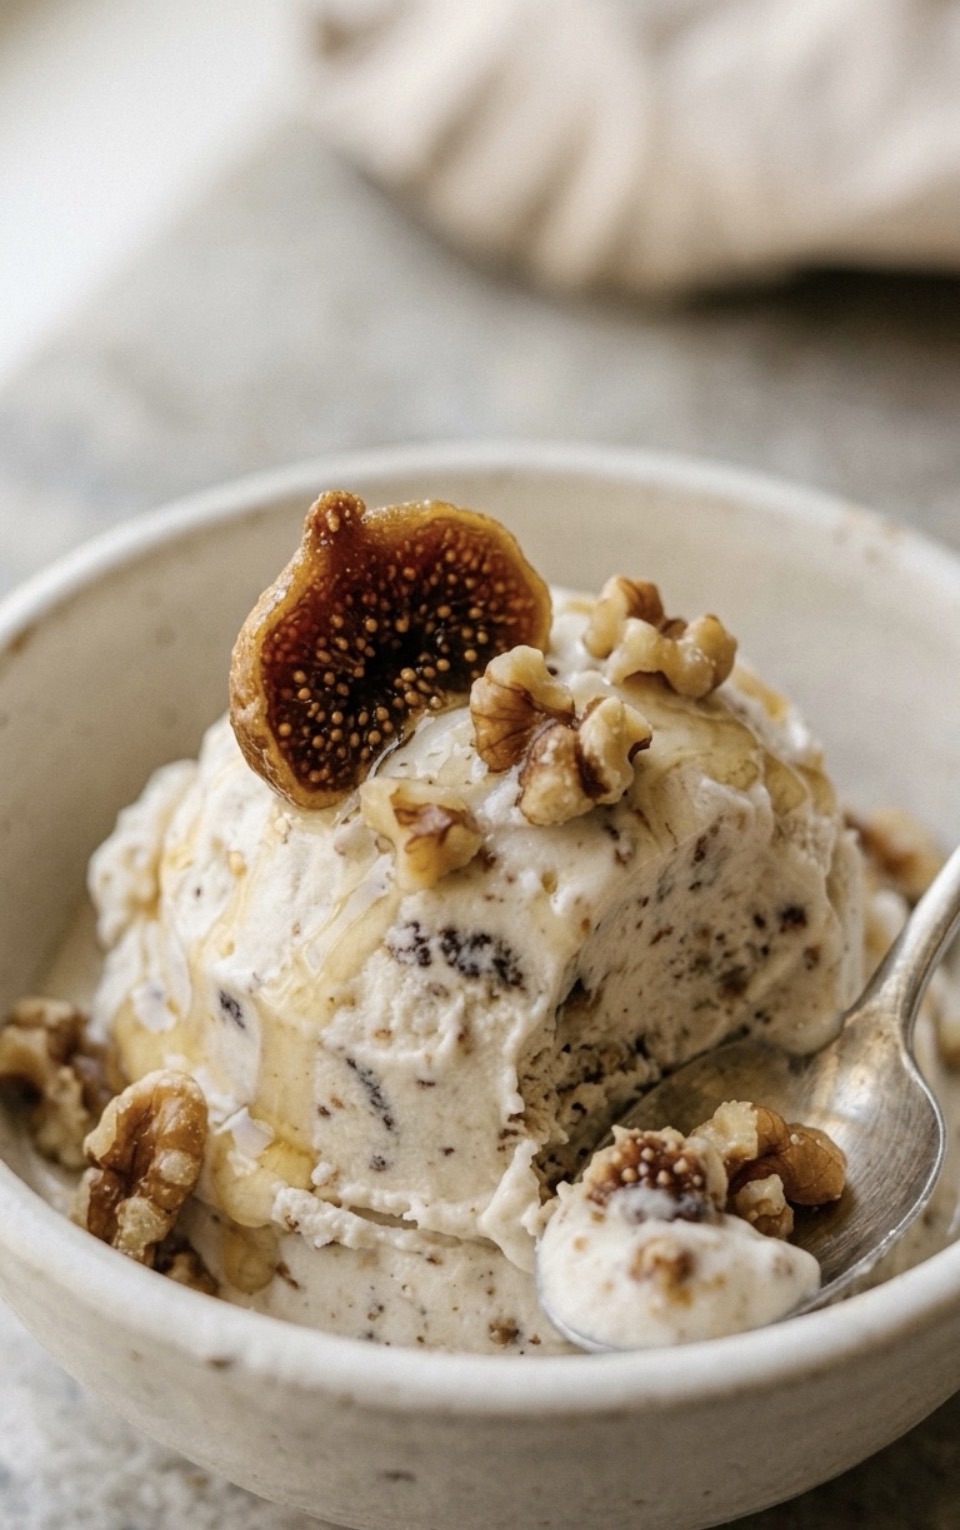
This frozen dessert is the perfect bridge between a quick snack and a sophisticated, naturally sweetened treat. By balancing the deep, molasses-like sweetness of dried figs with the tangy sharpness of high-quality Greek-style yogurt, you create a complex flavour profile that feels far more indulgent than the ingredient list suggests.
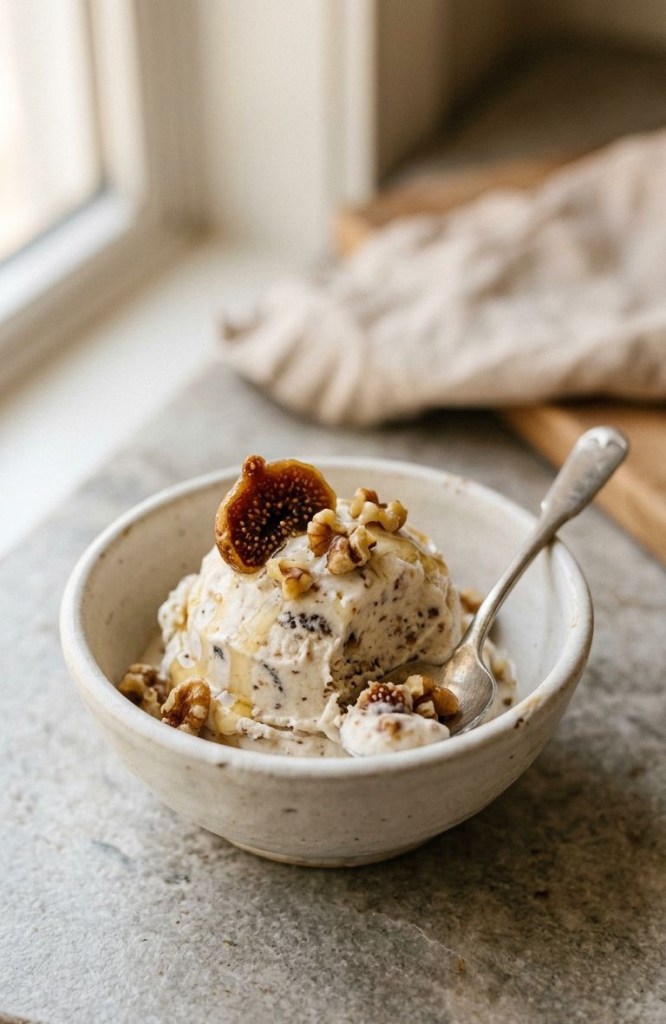
Why This Recipe Works
The secret lies in the rehydration process. Dried figs have a tough, chewy exterior and dense seeds. By soaking them, you not only soften the flesh to ensure a smooth, velvelty blend but also release their natural sugars, which helps create a more consistent texture once frozen.
Ingredients
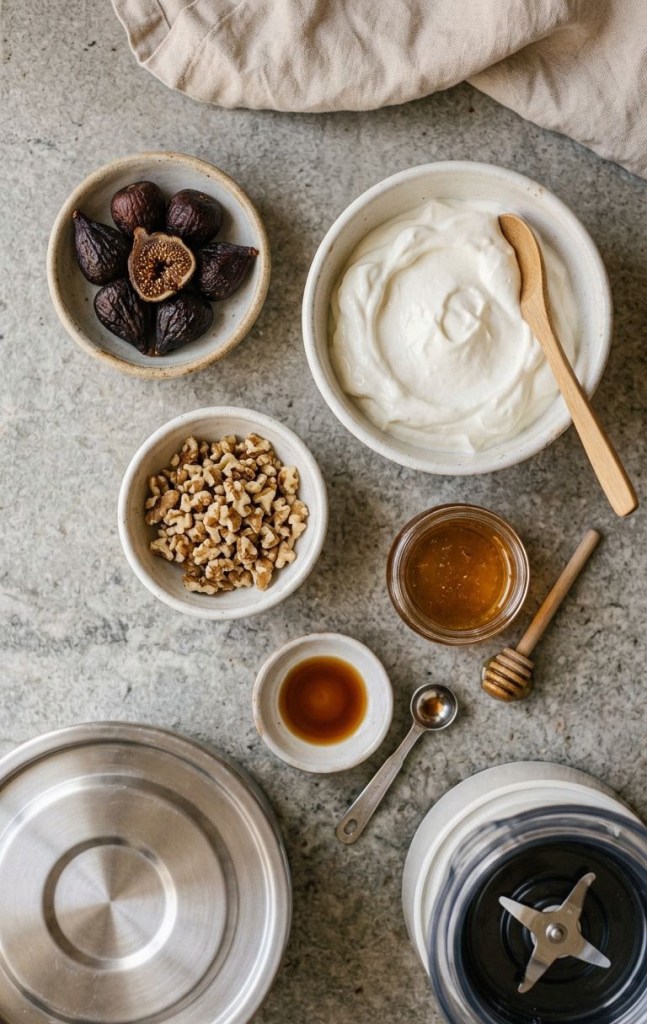
- 6 dried figs: Look for soft, organic Turkish or Mission figs if possible.
- 250g Greek-style yogurt: Choose full-fat or 5% fat for a creamier result; the higher protein and fat content prevent icy crystals from forming.
- 30g walnuts: Walnuts provide a necessary textural contrast. They are rich in omega-3 fatty acids, which complement the earthiness of the figs.
- 2 tbsp runny honey: Acacia or wildflower honey works best for its clean, floral finish.
- 1 tsp high-quality vanilla extract: A small amount of real vanilla helps bridge the gap between the fruit and the dairy.
Step-by-Step Method
- The Soak: Submerge your figs in a bowl of hot (not boiling) water. Let them steep for 15–20 minutes. Drain thoroughly—excess water here will make your final product icy rather than creamy.
- The Blitz: Combine the softened figs (remove any hard stems first), yogurt, honey, and vanilla in a high-speed blender. Process until the mixture is uniform and the figs are completely incorporated into the dairy base.
- Textural Addition: Roughly chop the walnuts by hand rather than blending them. This keeps the pieces substantial. Fold them into the mixture manually to ensure an even distribution.
- The Freeze: Pour the mixture into a shallow, stainless steel or glass freezer-safe container. Freezing in a shallow dish increases the surface area, allowing for a faster and more even freeze.
- The Essential Stir: After 2 hours in the freezer, use a fork to vigorously break up the ice crystals forming along the edges. Stir thoroughly and level the top. Repeat this once more if time allows for a superior, smoother finish.
- Resting: Before serving, remove the container from the freezer and leave it at room temperature for 5 to 7 minutes. This allows the honey and fats to soften slightly, making it scoopable and highlighting the flavours.
Pro-Tips for Success:
- Toast Your Nuts: For a deeper flavour, lightly dry-toast the walnuts in a pan over medium heat for 3 minutes before chopping. Allow them to cool completely before folding into the yogurt.
- Spice it up: Add 1/4 tsp of ground cinnamon or a pinch of cardamom to the blender for a warm, autumnal twist.
- Storage: If you plan to store this for more than 24 hours, place a layer of baking paper directly onto the surface of the mixture to prevent ice crystals from developing on top.
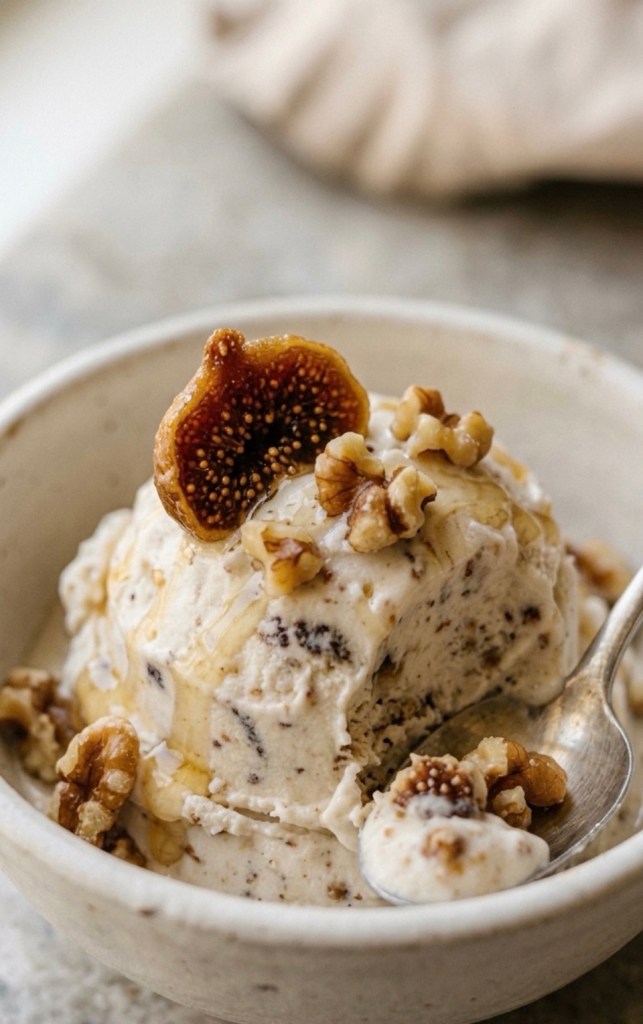
This recipe is a masterclass in using simple, whole-food ingredients to create a sophisticated dessert. Whether enjoyed as a post-workout protein snack or a light evening treat, it delivers on both texture and taste.