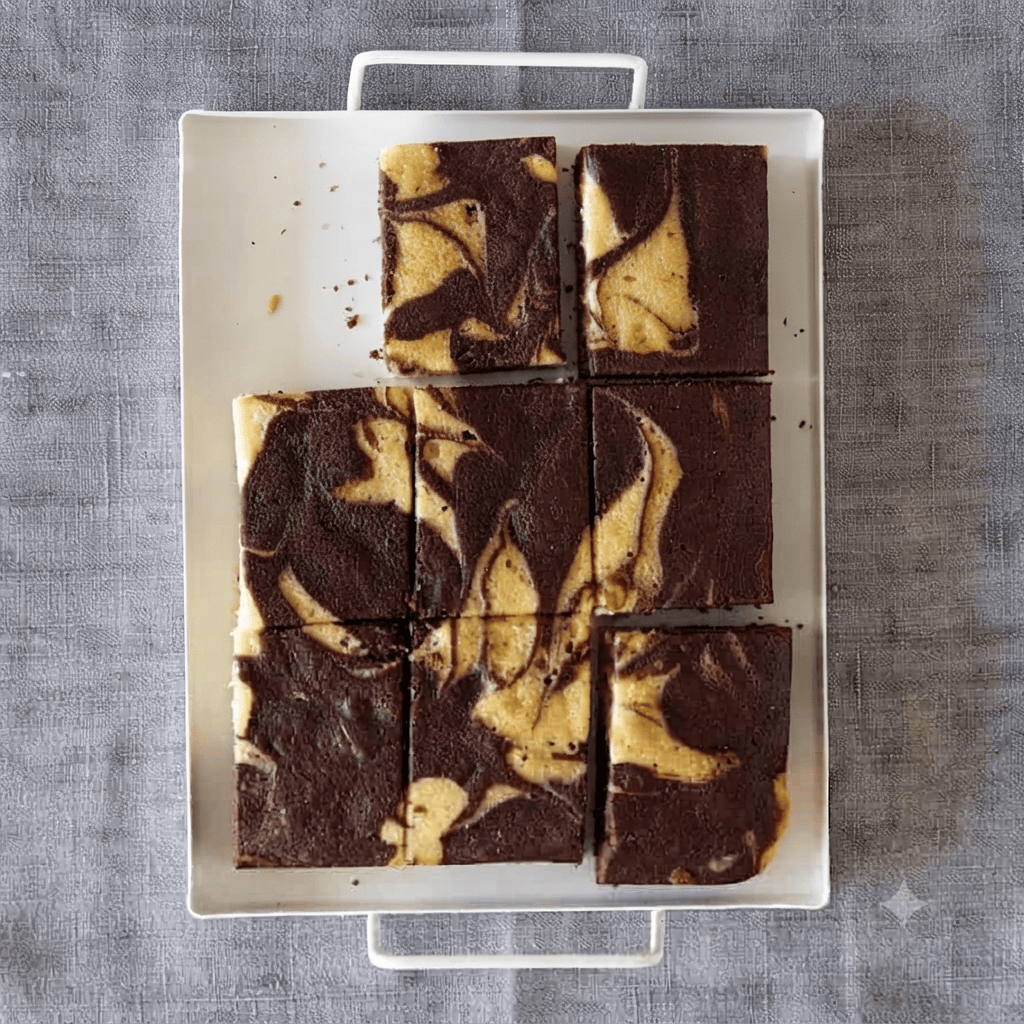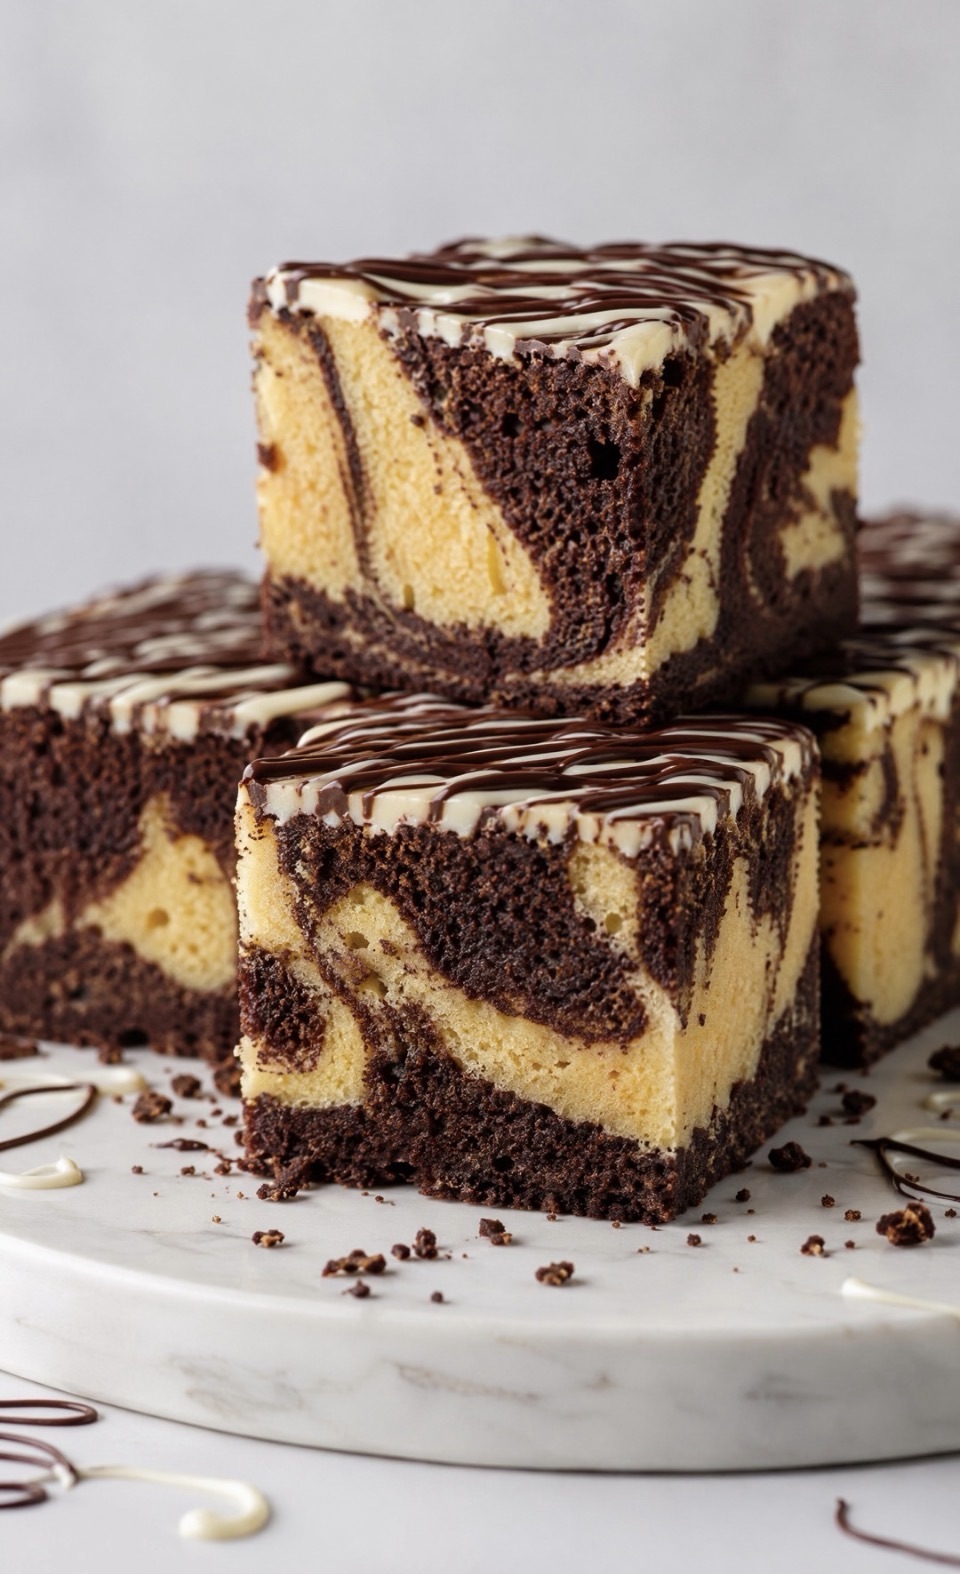
Let’s be real for a second—is there anything better than a slice of cake that looks like you spent hours in the kitchen, but actually came together in a total breeze? I have been obsessed with marble cakes lately. There is just something so satisfying about that swirl of dark, fudgy chocolate batter and light, fluffy vanilla cake.
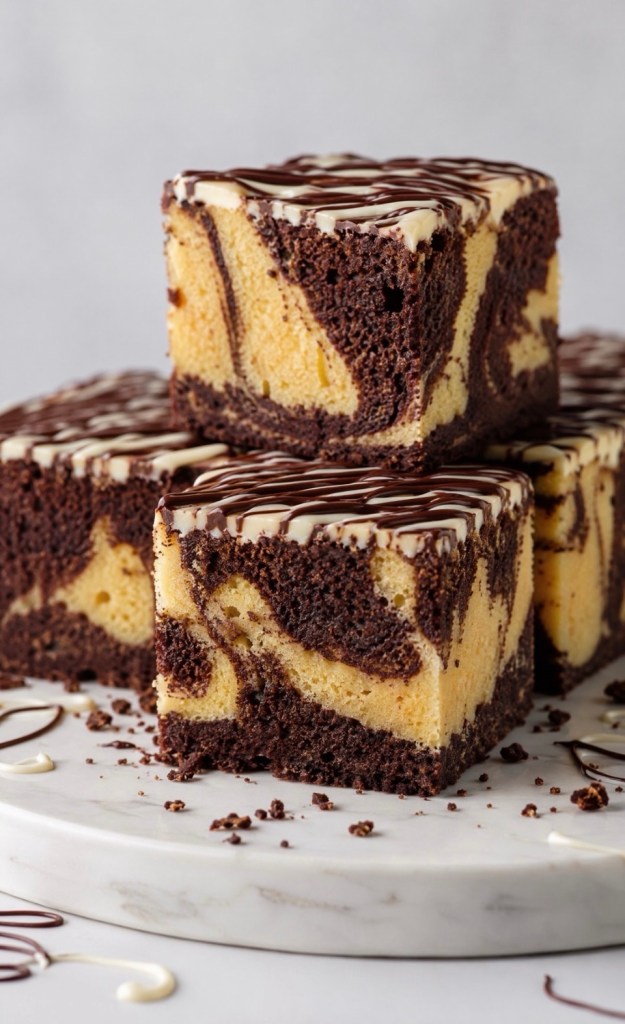
And because I know we are all busy, I decided to turn this classic into a tray bake. Why? Because it’s easier to slice, easier to share, and—let’s be honest—it’s the perfect thickness for a mid-afternoon treat.
Why You’ll Love This Recipe
This isn’t just any cake. By adding a handful of chocolate chips into the mix and finishing it off with a double-chocolate drizzle, you get a beautiful texture and a serious hit of cocoa goodness in every single bite. It’s simple, it’s reliable, and it’s a total crowd-pleaser.
The Ingredients
To get that perfect marble effect, here is what you need to have on your counter:
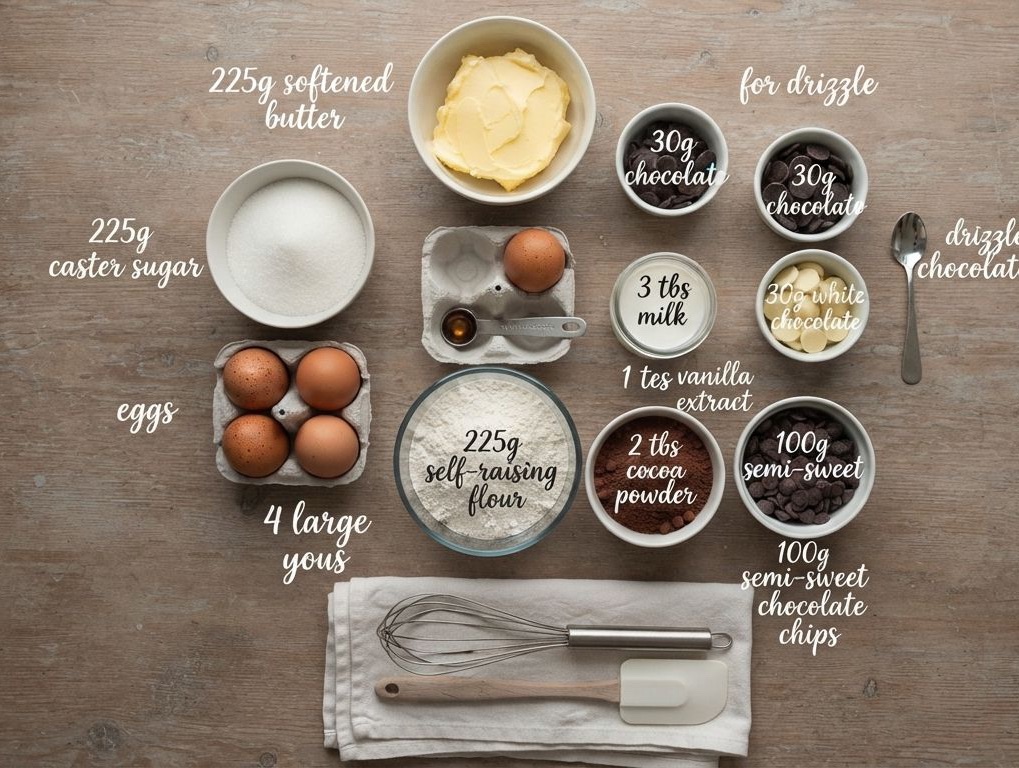
- 225g Softened Butter: Room temperature is non-negotiable here, people!
- 225g Caster Sugar
- 4 Large Eggs
- 225g Self-raising Flour
- 3 tbsp Milk
- 1 tsp Vanilla Extract
- 2 tbsp Cocoa Powder
- 100g Semi-sweet Chocolate Chips: Use mini ones if you can find them!
- For the Drizzle: 30g Dark Chocolate, 30g White Chocolate
How to Make the Magic Happen
- Prep Time: Preheat your oven to 180°C (160°C fan). Grab a 20cm (8-inch) square tin and line it with parchment paper. Trust me, you don’t want to skip this!
- Creaming: In a large bowl, beat that butter and sugar until it’s light and fluffy. Add your eggs one by one, giving it a good mix after each one.
- The Base: Fold in the flour, milk, and vanilla. Once it’s smooth, divide the batter equally into two bowls.
- The Marble: Sift the cocoa powder into one bowl and stir it in. Fold your chocolate chips into the mixtures (I like to split them evenly between both).
- The Swirl: Dollop the batters into your tin alternately. Now, take a skewer and gently run it through in a figure-eight pattern. Resist the urge to over-mix! You want distinct swirls, not a muddy brown mess.
- Bake & Drizzle: Pop it in the oven for 45–55 minutes. Once it’s cool, melt your dark and white chocolates separately and drizzle them over the top. Wait for them to set, then dive in!
Pro-Tips for Success
- Don’t over-bake: Keep an eye on it after 45 minutes. A skewer should come out clean.
- Make it pretty: When drizzling the chocolate, move your hand quickly across the tray to get those nice, thin lines.
Tag me in your photos if you make this! I can’t wait to see your swirls.