Introduction
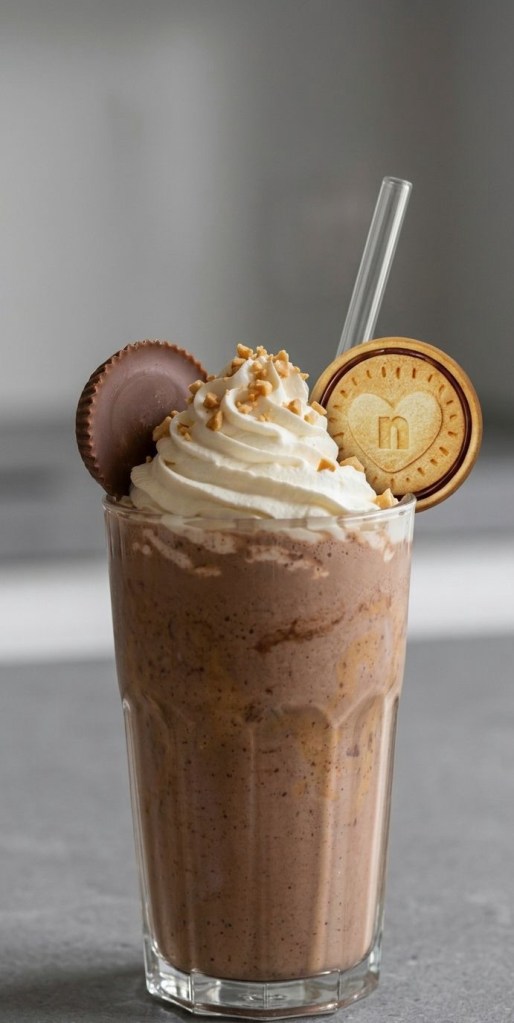
You know those recipe ideas that pop into your head and you instantly know they’re trouble? This Reese’s & Nutella Love‑Child Milkshake is exactly that. It’s thick, over‑the‑top, and tastes like someone blended a jar of Nutella with a bag of peanut butter cups and thought, “Yeah, that seems reasonable.”
I was playing around with milkshake ideas one night and kept thinking how good a proper Reese’s‑style flavour would be with Nutella’s hazelnut chocolate vibe. So instead of choosing between them… I didn’t. I combined them into one ridiculous, dessert‑in‑a‑glass situation that honestly should probably come with a warning label.
If you’re a peanut butter lover and a Nutella addict, this is your sign to grab your blender, because you’re about to meet your new favourite “I deserve this” treat.
Why you’ll love this shake
There are a million milkshakes on the internet, so why this one?
• It tastes like a Reese’s and a jar of Nutella had a love child.
• It’s ready in about 5 minutes – no faff, no fancy equipment.
• You can make it super thick and spoonable, or looser and sippable.
• It’s easy to dress up for TikTok/Instagram with a biscuit or peanut butter cup on top.
This is not a sensible, “light” drink. This is a full‑on, “I’ve had a long day and I want something outrageous” milkshake. And honestly, we all need one of those recipes in our back pocket.
Ingredients
For one generous, café‑style milkshake (or two smaller ones if you’re feeling kind):
• 3 big scoops vanilla ice cream
• 100 ml whole milk (use less for extra thick, more for sippable)
• 3 tablespoons Nutella
• 3 tablespoons smooth peanut butter
• Optional toppings:
• Whipped cream
• Extra Nutella for drizzling
• Crushed salted peanuts
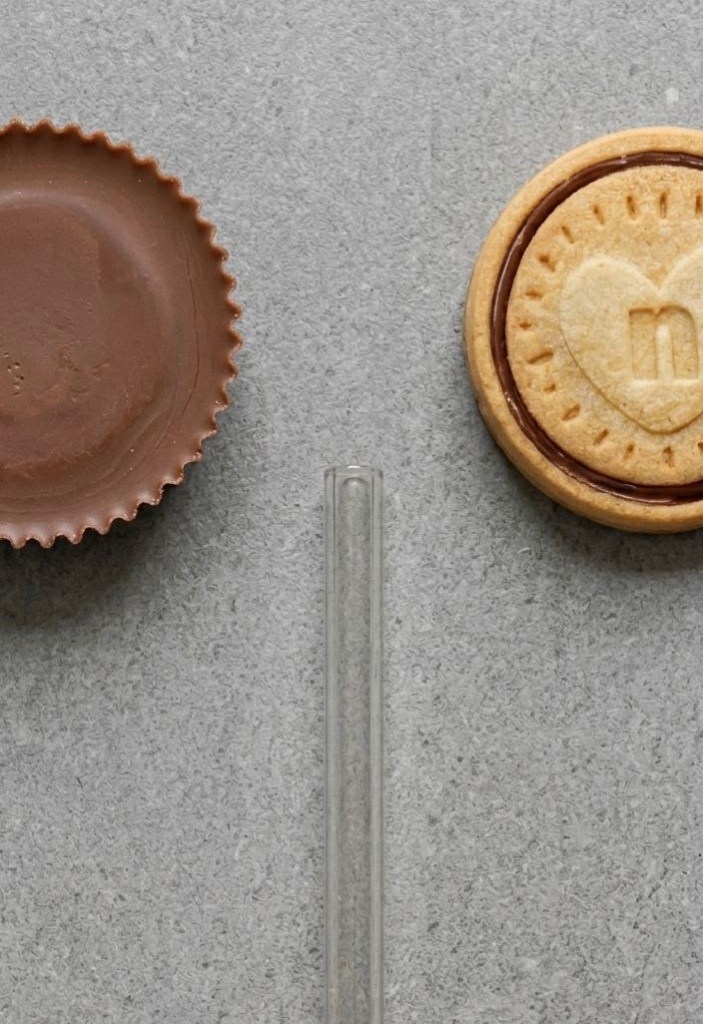
• A Nutella biscuit or peanut butter cup to sit on top
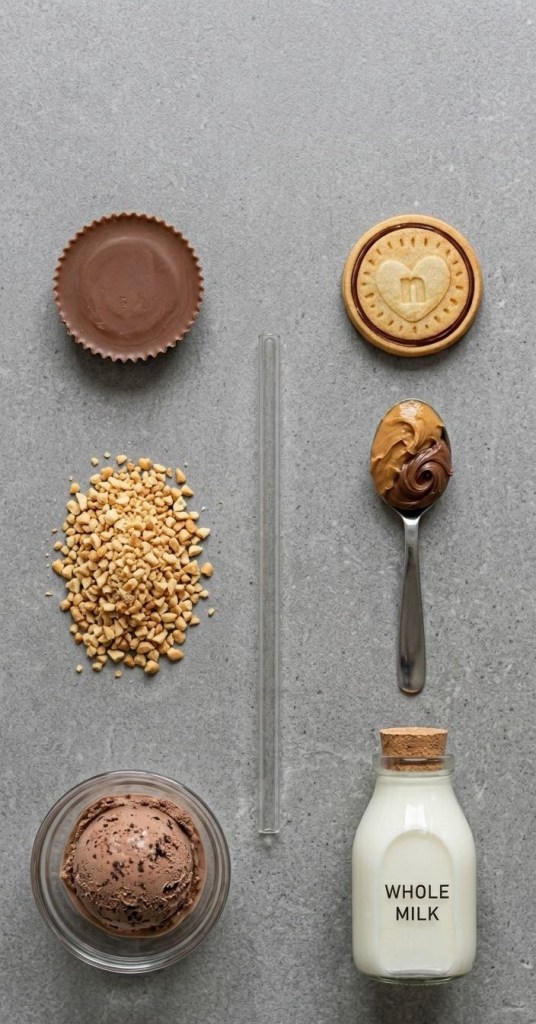
You don’t need anything fancy here. Regular supermarket ice cream works perfectly, and any smooth peanut butter you like will do the job. If you only have semi‑skimmed milk, that’s fine too – whole milk just makes it a bit richer and creamier.
Step‑by‑step method
Let’s walk it through like we’re in the kitchen together.
- Start with the base
Add your 3 big scoops of vanilla ice cream to the blender jug. You want proper scoops, not shy little teaspoons – this is the body of the milkshake and what makes it thick and indulgent.
Pour in around 100 ml of cold milk. If you already know you like a very thick shake, start with slightly less and you can always add a splash more later. - In goes the Nutella and peanut butter
Now for the fun part. Spoon in 3 tablespoons of Nutella and 3 tablespoons of smooth peanut butter.
You don’t need to be too precious about exact measurements here – if the spoon is heaping, I support that decision. The balance of three and three gives you a lovely mix where the peanut butter brings that salty, nutty hit and the Nutella adds chocolate and hazelnut without taking over. - Blend until thick and creamy
Pop the lid on and blend until everything is smooth, thick and glossy.
If the mixture is struggling to move, stop, add a tiny splash more milk, and blend again. The aim is a shake that pours, but slowly, like melted ice cream. You want that satisfying, heavy glug when you tip the jug. - Dress the glass (optional but very fun)
If you’re in the mood to be extra – and honestly, if you’ve got this far, you probably are – decorate your glass.
• Take a teaspoon of Nutella and smear or drizzle it around the inside of the glass.
• You can also dip the rim in Nutella and then into some crushed peanuts or biscuit crumbs to get that “viral milkshake bar” look.
It takes an extra minute but makes it look like you’ve ordered it from a dessert café. - Pour and top
Pour your shake into the prepared glass.
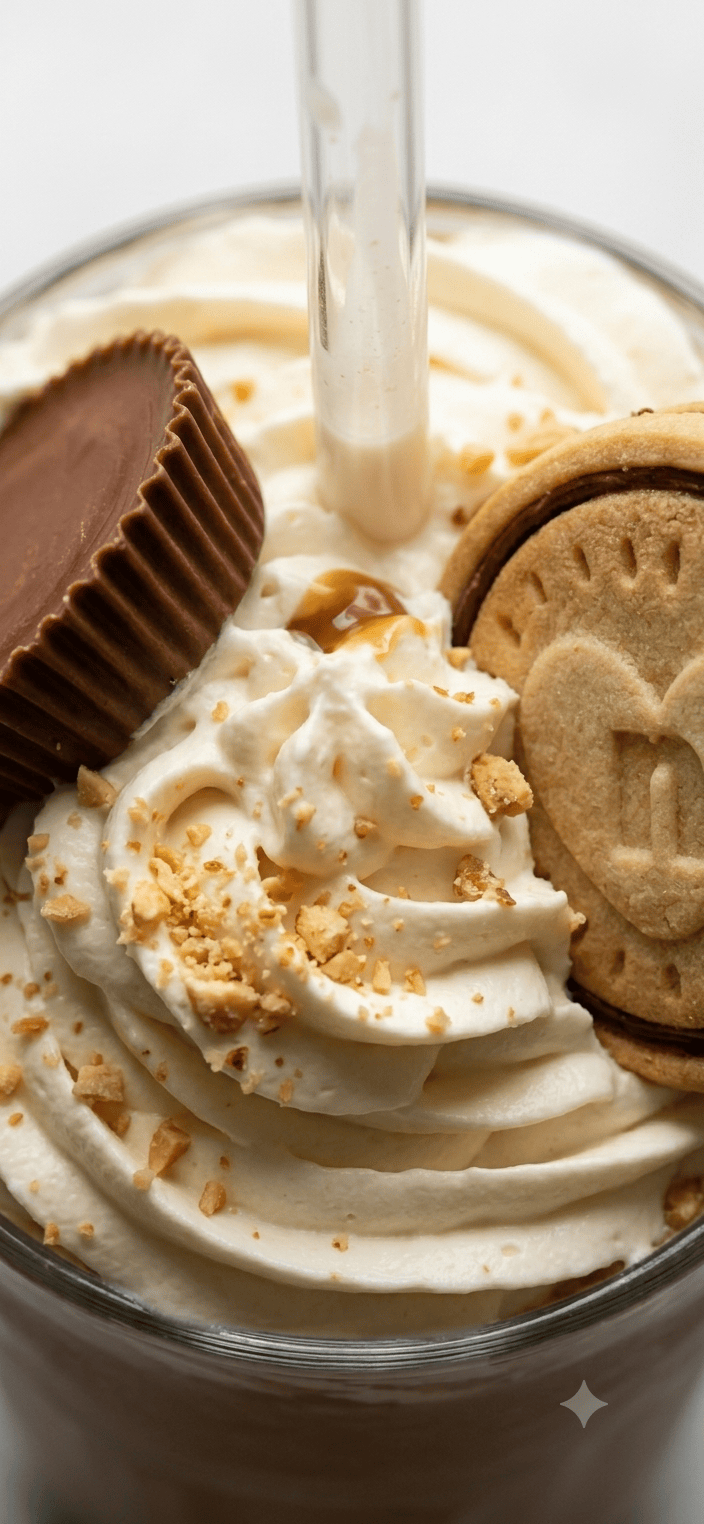
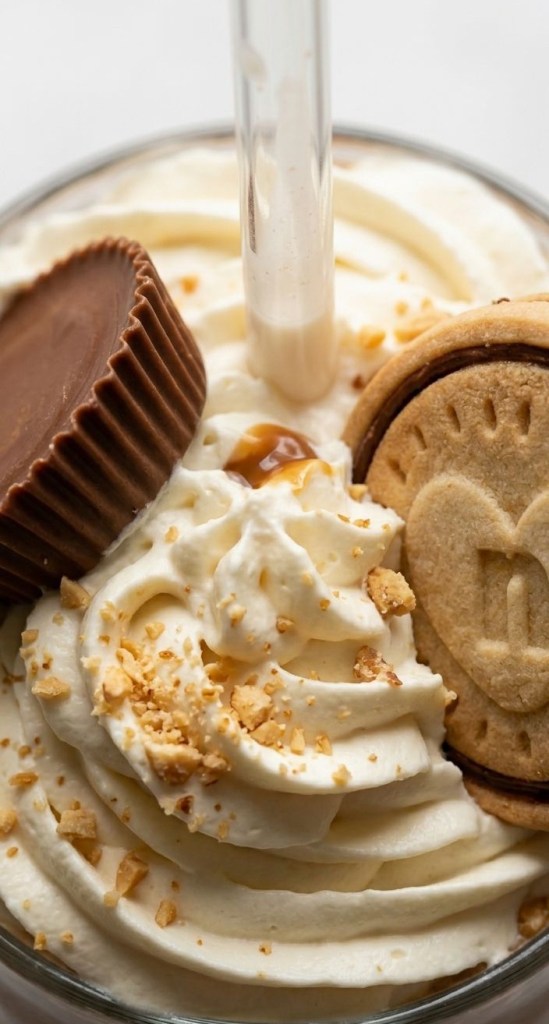
Top with a big swirl of whipped cream, then drizzle over a little more Nutella. Finish with:
• A sprinkle of crushed salted peanuts for crunch, and
• A Nutella biscuit or peanut butter cup pushed gently into the whipped cream so it sits proudly on top.
It should look like pure chaos in the best possible way.
You can also make a slightly smaller version and serve it in a clear glass jar with a striped straw for maximum aesthetic.
Variations you can try
Once you’ve nailed the original, it’s fun to play around with it:
• Extra Reese’s – Blend in a chopped peanut butter cup and keep another one whole for the top.
• Oreo twist – Add 2 Oreo biscuits to the blender for a cookies‑and‑cream, chocolate‑peanut mash‑up.
• Salted version – Sprinkle a tiny pinch of flaky sea salt on top to sharpen the flavours.
• Lighter(ish) version – Use slightly less ice cream and top up with more milk, or swap some ice cream for frozen banana (it changes the taste a bit but still works).
This is the kind of recipe that’s hard to “ruin” – it’s more about adjusting it to your perfect level of thickness and sweetness.
Serving suggestions
Honestly, this shake is a whole dessert on its own, but if you’re going all out, you could:
• Serve it with a bowl of salty crisps on the side (the salty‑sweet combo is unreal).
• Pair it with a movie night, game night, or “treat yourself” evening.
• Make mini versions in small glasses if you’re hosting friends – it’s rich, so a little actually does go a long way.
Just don’t ask about calories. This is a feelings drink, not a fitness drink.
Final thoughts
If you’ve ever found yourself eating Nutella straight from the jar with a spoon or sneaking “just one more” peanut butter cup, this Reese’s & Nutella Love‑Child Milkshake is going to be dangerously on brand for you.
It’s indulgent, a bit dramatic, and absolutely not something you drink every day – but when you do make it, you’ll be thinking about it for weeks. If you give it a go, let me know how you topped yours and whether you’re Team Extra Nutella or Team Extra Peanut Butter.