Tag: no bake recipes

  • Creamy Raspberry & Lemon No-Bake Cheesecake Jars

    Creamy Raspberry & Lemon No-Bake Cheesecake Jars

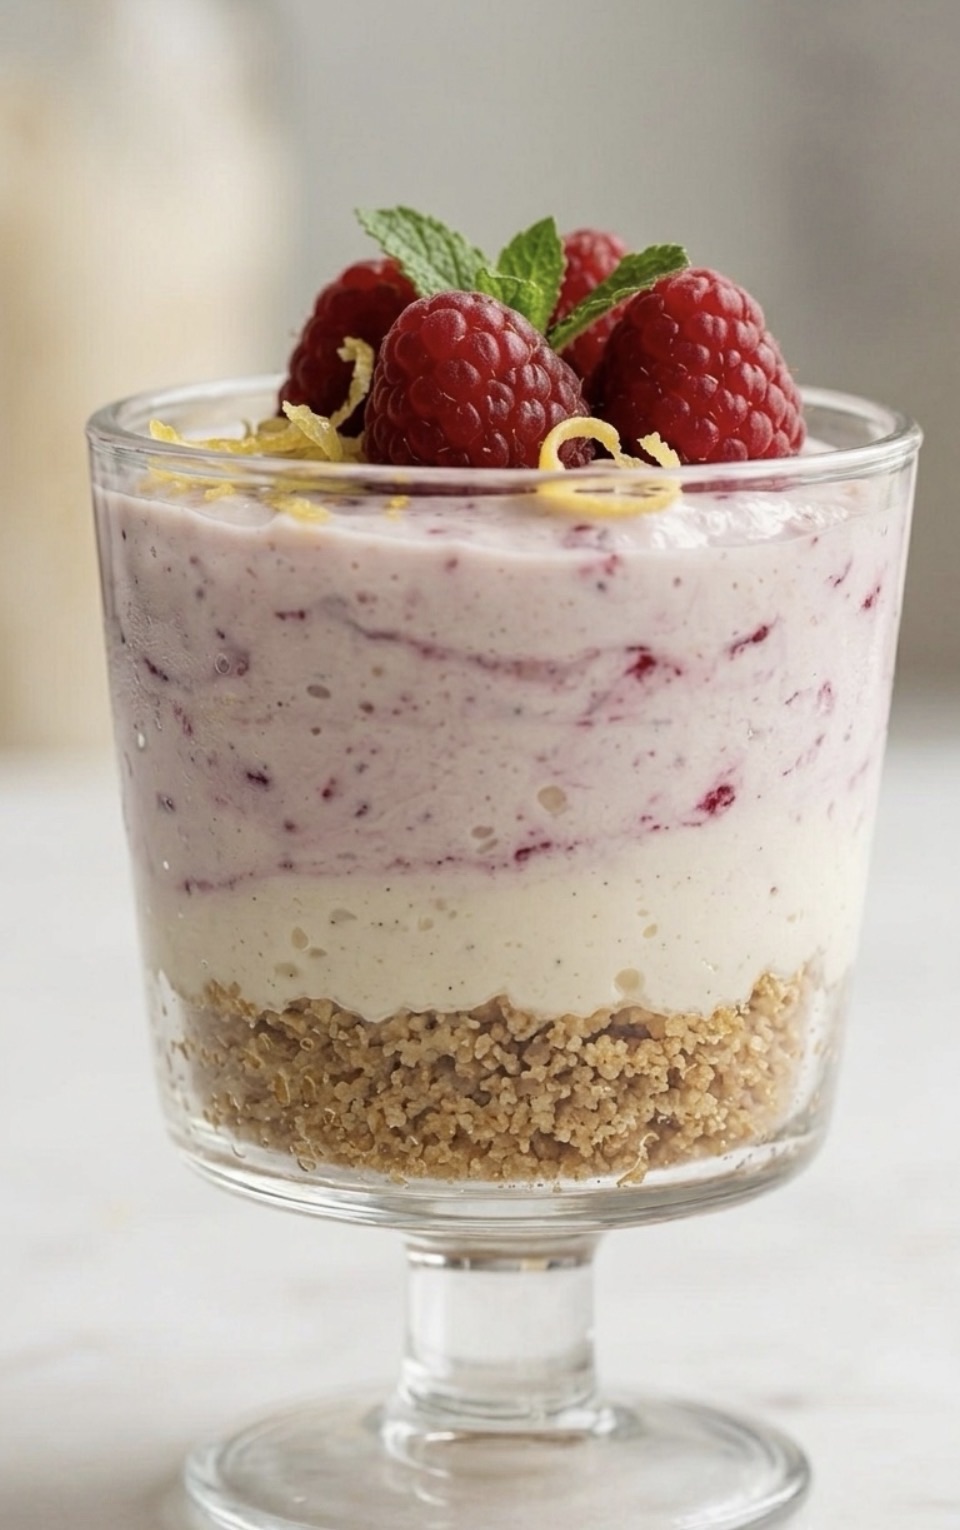
    There is something undeniably satisfying about a dessert that looks sophisticated but comes together in minutes. Whether you are meal-prepping healthy treats for the week or need a quick crowd-pleaser for a dinner party, these No-Bake Raspberry & Lemon Cheesecake Jars are the answer.
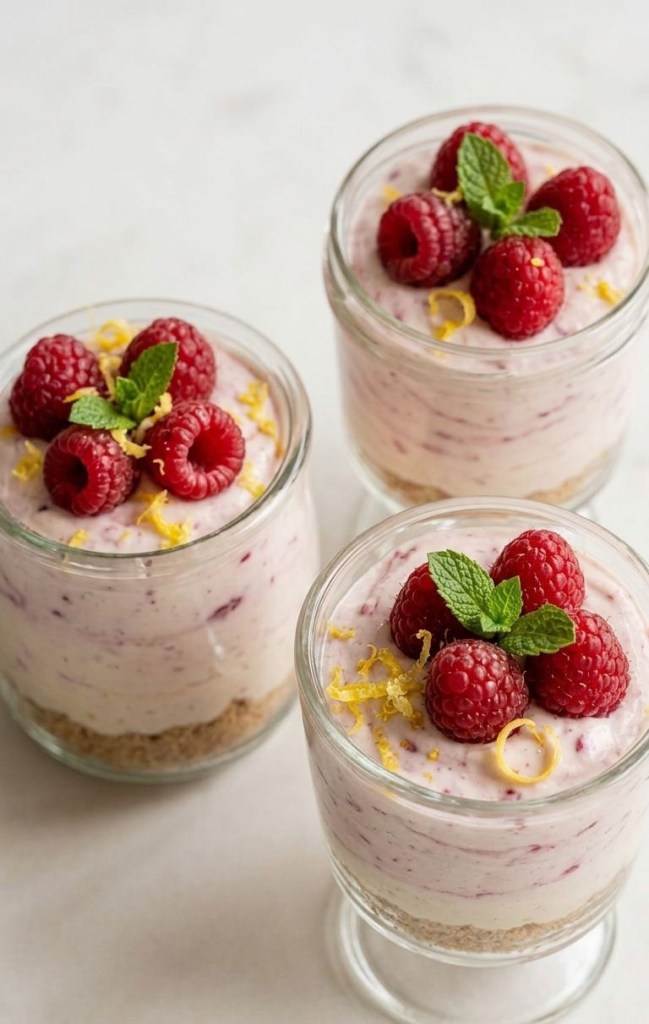
    Combining the tang of Greek yogurt with the creamy texture of cottage cheese, this dessert provides a protein boost while satisfying your sweet tooth. Best of all, it requires zero time in the oven.

    Why You’ll Love This Recipe

     Minimal Effort: No baking, no fuss, just fresh ingredients.

     Protein-Packed: By using cottage cheese and Greek yogurt, you get a much more satisfying treat than standard heavy-cream desserts.

     Perfectly Portionable: The individual jars make them easy to grab on the go or store in the fridge.

     Customizable: You can swap the berries for blueberries or even add a drizzle of melted dark chocolate.

    The Recipe

    Prep time: 10 minutes | Servings: 3

    Ingredients
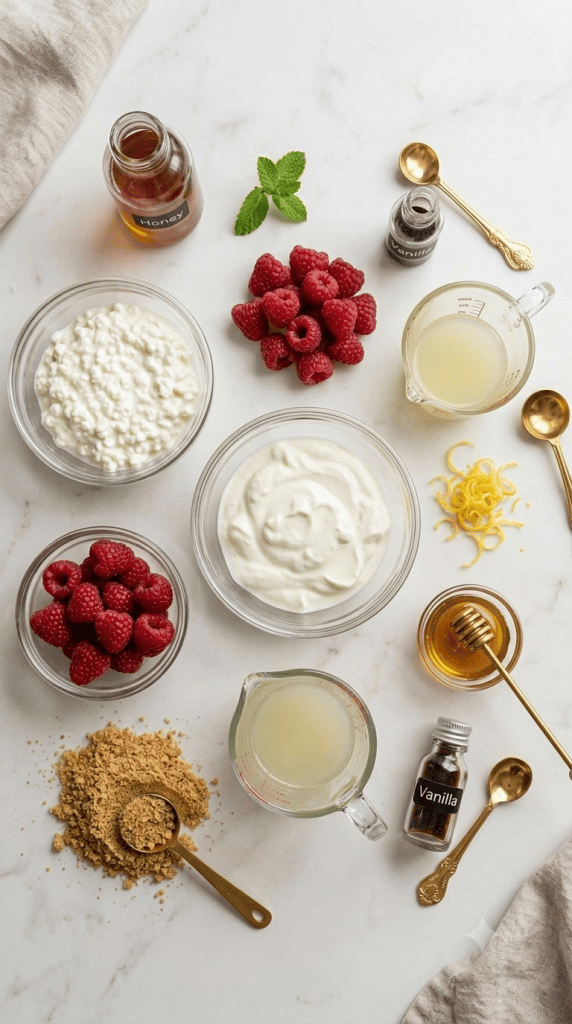
     1 cup (100g) Digestive biscuits or graham crackers (crushed)

     1 cup (225g) Cottage cheese

     1/2 cup (120g) Greek yogurt

     1 cup (125g) Fresh raspberries

     2 tbsp Honey (or maple syrup)

     1 tbsp Lemon juice

     1 tsp Vanilla extract

     Optional: Lemon zest and mint leaves for garnish

    Instructions

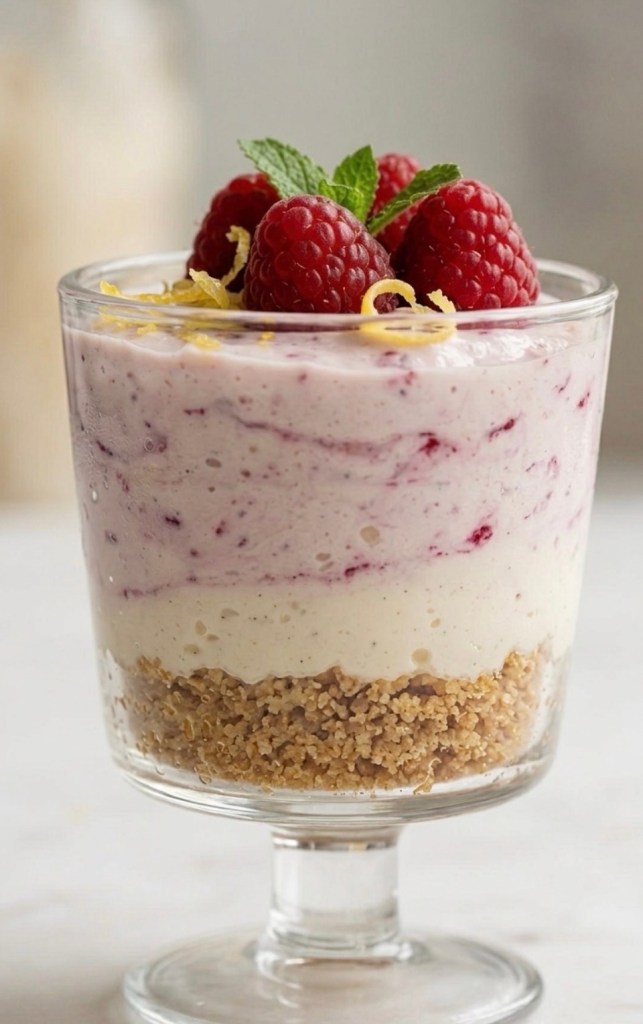
    1. Prepare the Base: Divide your crushed biscuits equally among three jars. Press them down gently with a spoon to create a compact, even layer.

    2. Blend the Cream: In a food processor or high-speed blender, combine the cottage cheese, Greek yogurt, honey, lemon juice, and vanilla extract. Blitz until the mixture is completely smooth and creamy.

    3. Add the Fruit: Gently fold in half of your fresh raspberries. If you prefer a marbled look, pulse the blender just two or three times rather than fully blending them.

    4. Assemble: Spoon or pipe the cheesecake mixture over the biscuit bases.

    5. Garnish: Top with the remaining fresh raspberries, a sprinkle of lemon zest, and a small mint leaf.

    6. Set: You can enjoy these immediately, but they taste even better after chilling in the fridge for 30 minutes!
    Nutritional Information

    Per serving (makes 3)

    📊 Macros

     Calories: 215 kcal

     Protein: 14g

     Carbohydrates: 32g

     Fat: 3g

    Tips for Success

     Smooth Texture: If you don’t like the texture of cottage cheese curds, blending it thoroughly is key. It will transform into a silky cream that rivals mascarpone.

     Keep it Crunchy: If you plan to store these for more than a day, add the biscuit base right before serving to ensure it stays crunchy rather than getting soggy from the moisture in the cream.

     Zest is Best: Don’t skip the lemon zest! It adds a bright, fresh aroma that ties the lemon and berries together perfectly.

    Have you tried this recipe? Tag us in your photos or let us know in the comments how you customized your jars!
  • Easy No-Bake Peanut Butter & Oat Bars

    Easy No-Bake Peanut Butter & Oat Bars

    Ever have one of those days where you need a snack now, but everything in the cupboard is a bit boring?

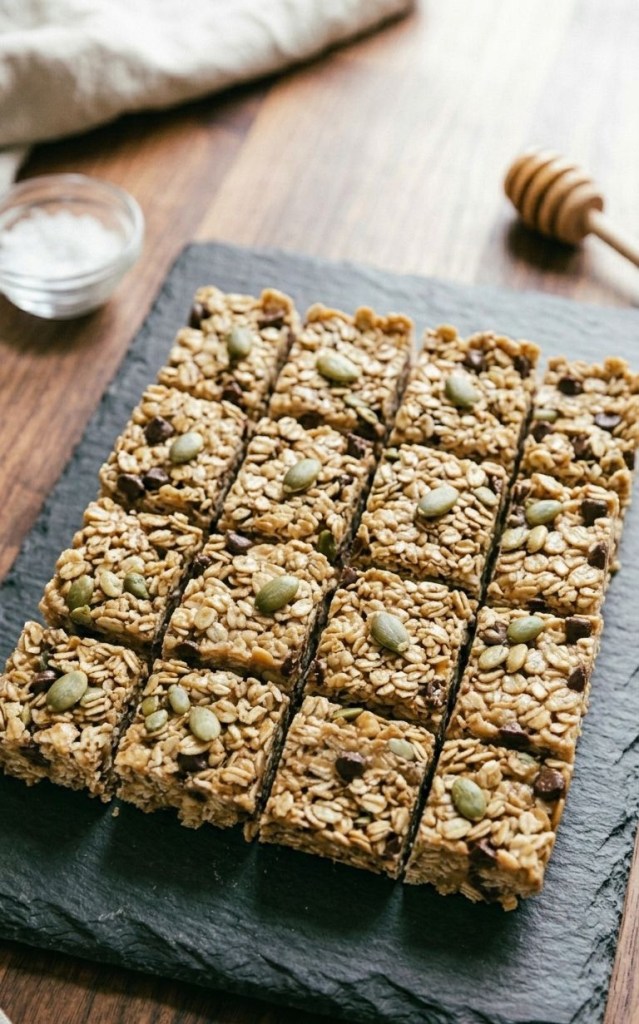
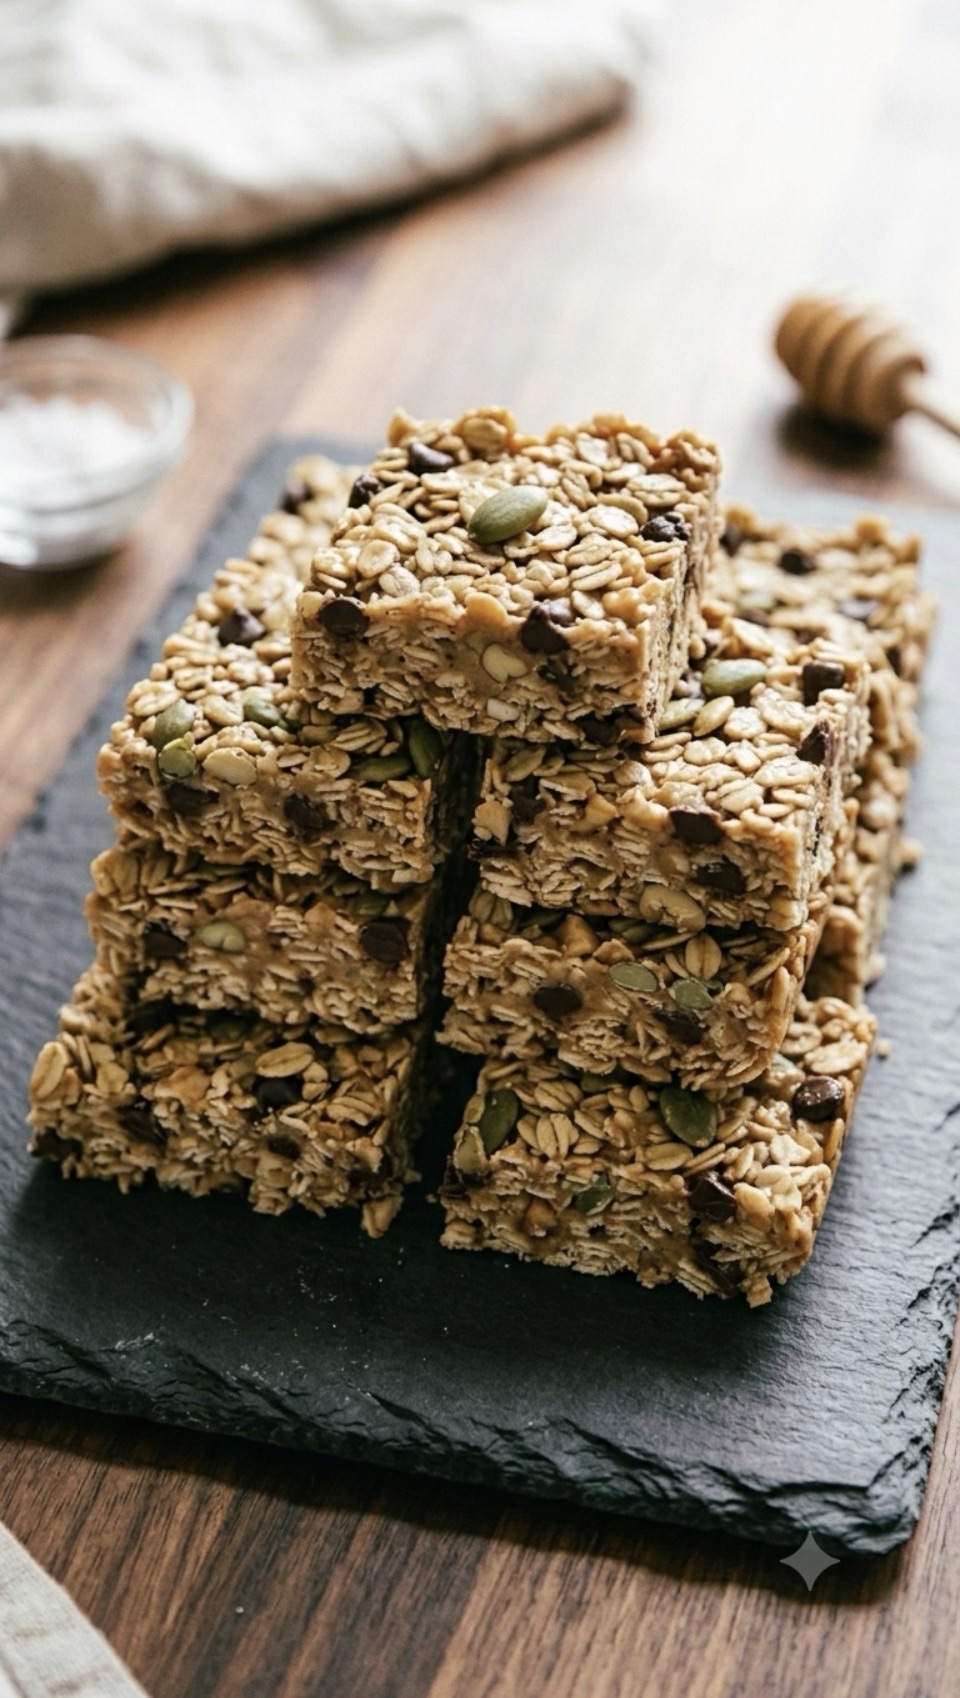
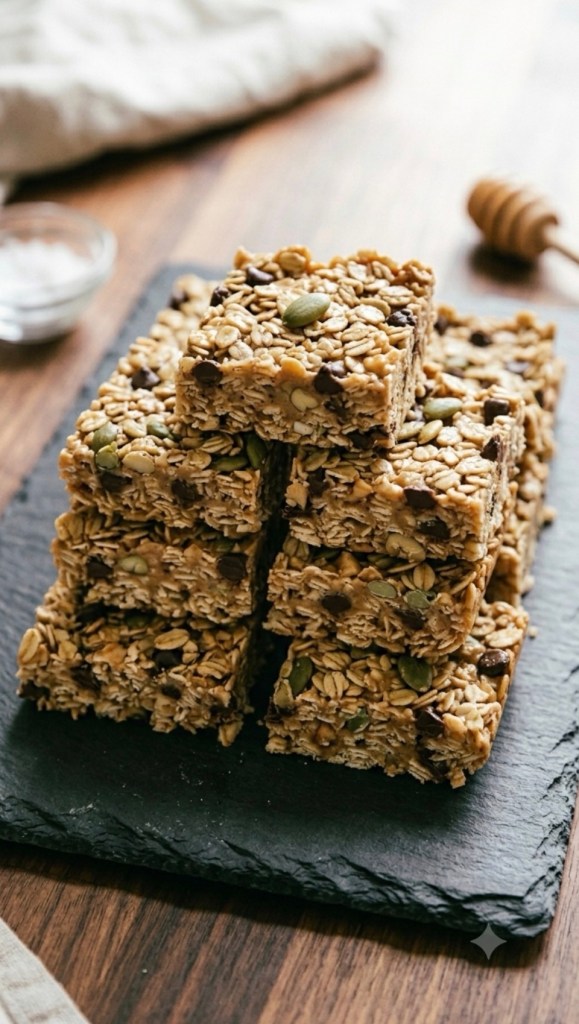
    I have been there so many times. That’s exactly why these No-Bake Peanut Butter and Oat Bars have become a permanent fixture in my kitchen. They are the perfect balance of chewy, salty, and sweet, and honestly? They take almost zero effort to put together.

    Whether you need a quick pre-workout bite, a school lunchbox filler, or just a little something to go with your afternoon tea, these are going to be your new go-to.

    Why You’ll Love These Bars

     No Oven Needed: They come together in one bowl and set in the fridge.

     Customisable: Don’t have peanut butter? Cashew butter works wonders. Want more crunch? Throw in extra pumpkin seeds.

     Better Than Store-Bought: You know exactly what’s in them—simple, wholesome ingredients.

    What You’ll Need

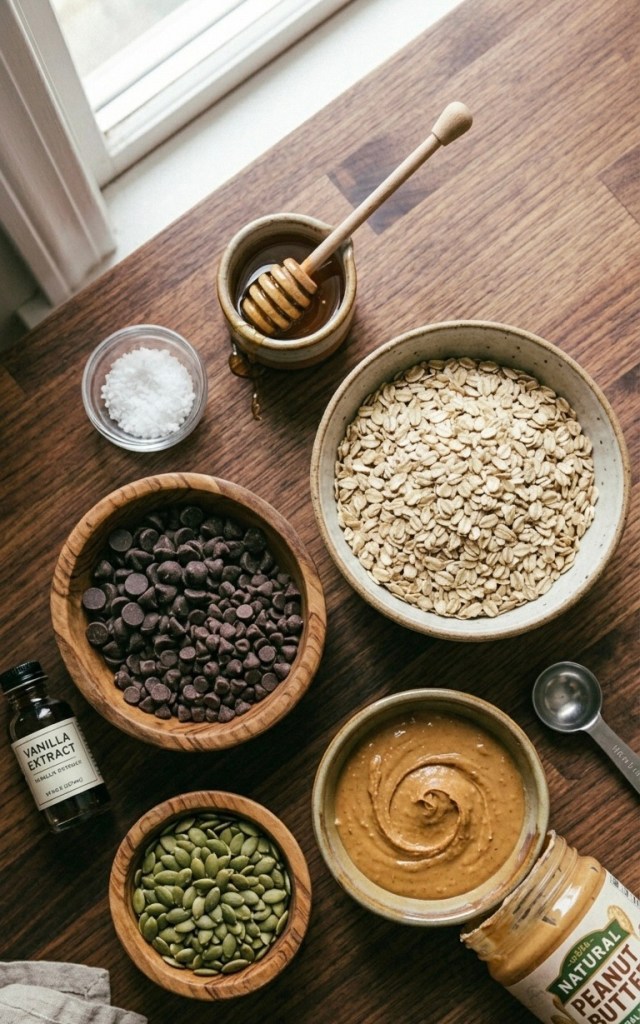
     250g very smooth, creamy natural peanut butter (or cashew butter)

     220g honey

     1 tsp vanilla extract

     Heaping ½ tsp sea salt

     250g whole rolled oats

     60g mini chocolate chips (or chopped chocolate—this is the secret to getting them to hold together!)

     3 tbsp pumpkin seeds

    Method

    1 Prep your tin: Line an 8×8 inch square baking tin with parchment paper. This makes getting the bars out once they’re set much easier.

    2 Mix the base: In a large bowl, stir your peanut butter, honey, vanilla, and sea salt together. Keep stirring until it’s lovely and smooth.

    3 Add the goodness: Tip in your oats, chocolate chips, and pumpkin seeds. It might look a little dry when you first start, but just keep mixing! The oats will absorb that lovely peanut butter mixture and everything will come together.

    4 Press and chill: Tip the mixture into your prepared tin. To get them perfectly flat and compact, place a second piece of parchment paper on top and use the back of a measuring cup to press down firmly. The more you pack it down, the better they stay together.

    5 Set: Pop the tin in the fridge for at least 1 hour. Once set, slice them into bars and store them in the fridge to keep them firm.

    Pro-tip: If you can’t find mini chocolate chips, grab a bar of your favourite dark chocolate and chop it into tiny pieces. Small pieces help the bars hold their shape much better than big, chunky chips!

    Let me know in the comments if you give these a try! Are you a peanut butter purist, or are you going to try the cashew version?