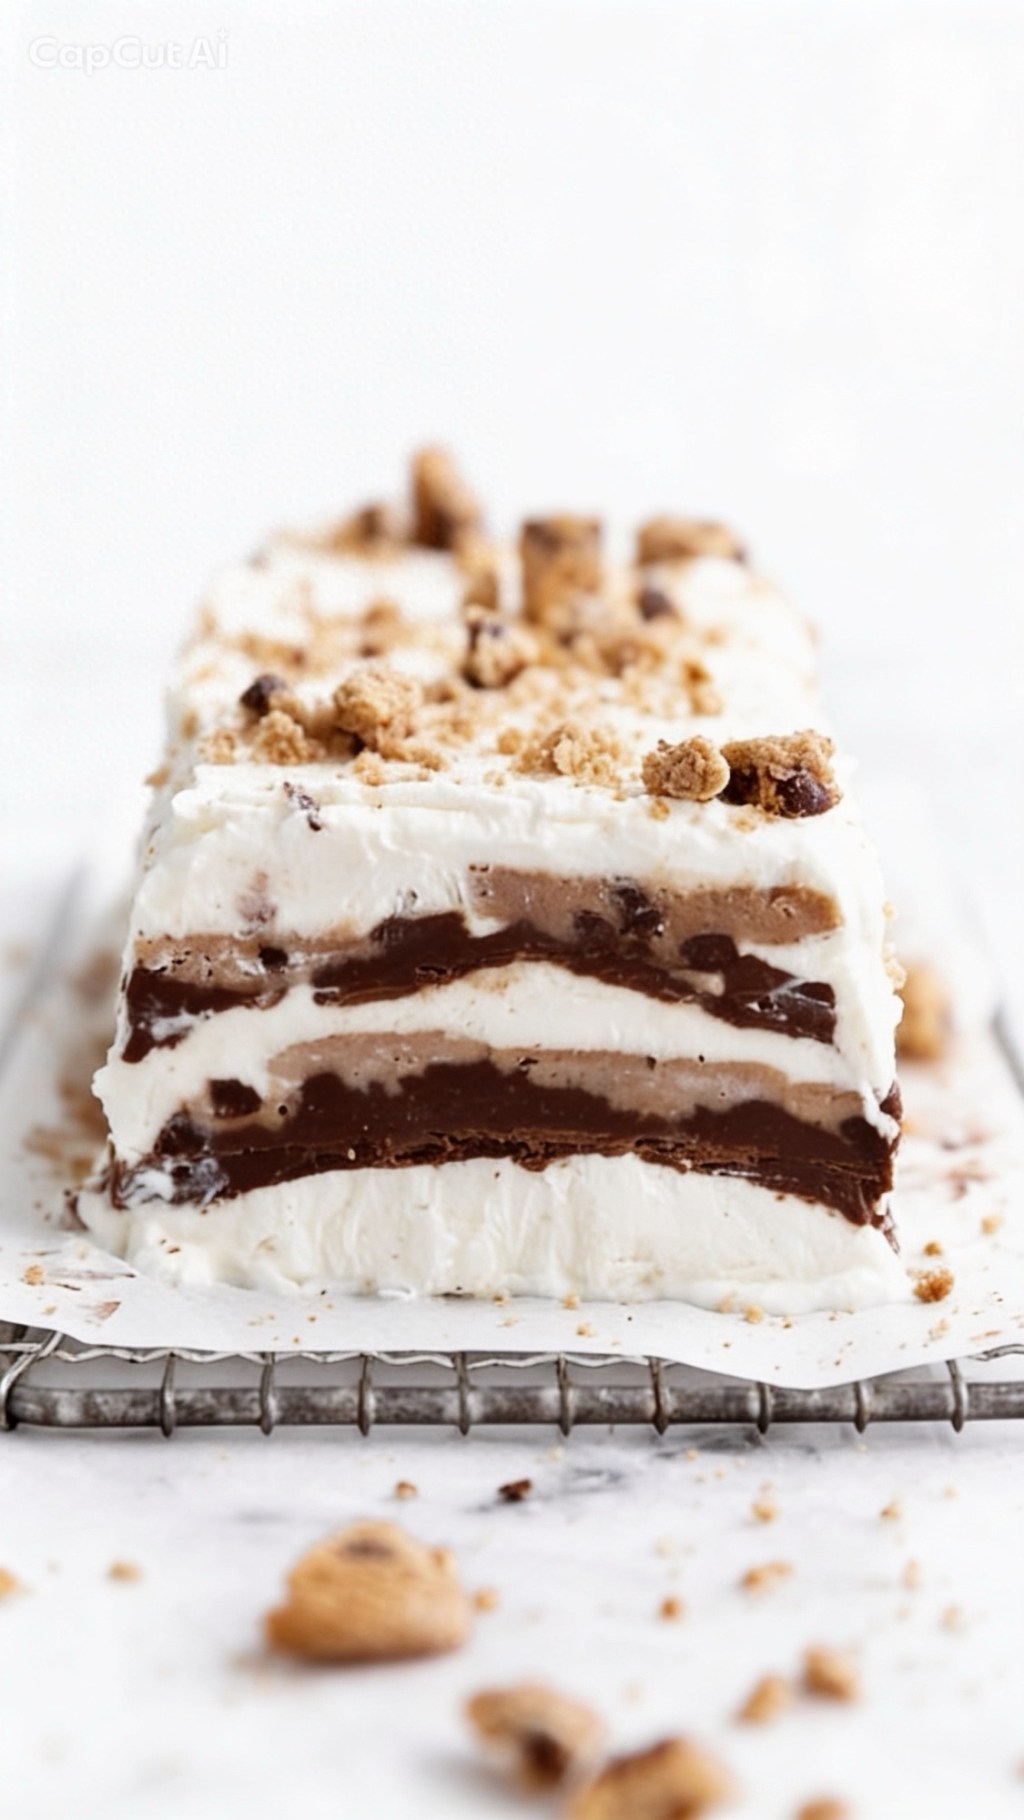
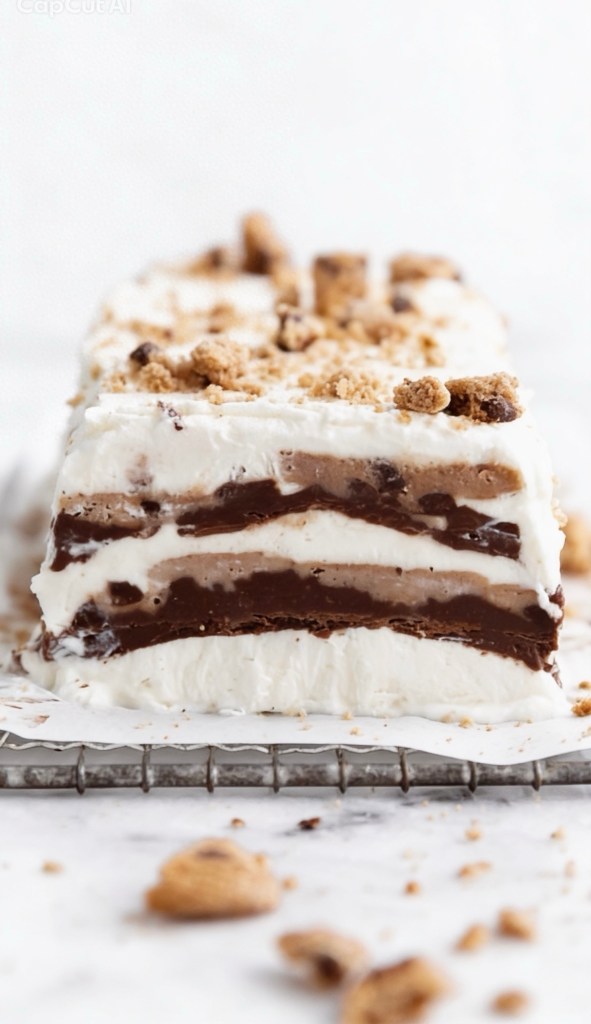
No baking, no fuss, just pure chocolate-hazelnut bliss. This No-Bake Nutella Icebox Cake is the ultimate “lazy-day” dessert that looks like a high-end patisserie masterpiece but takes barely any effort to throw together!
Description:
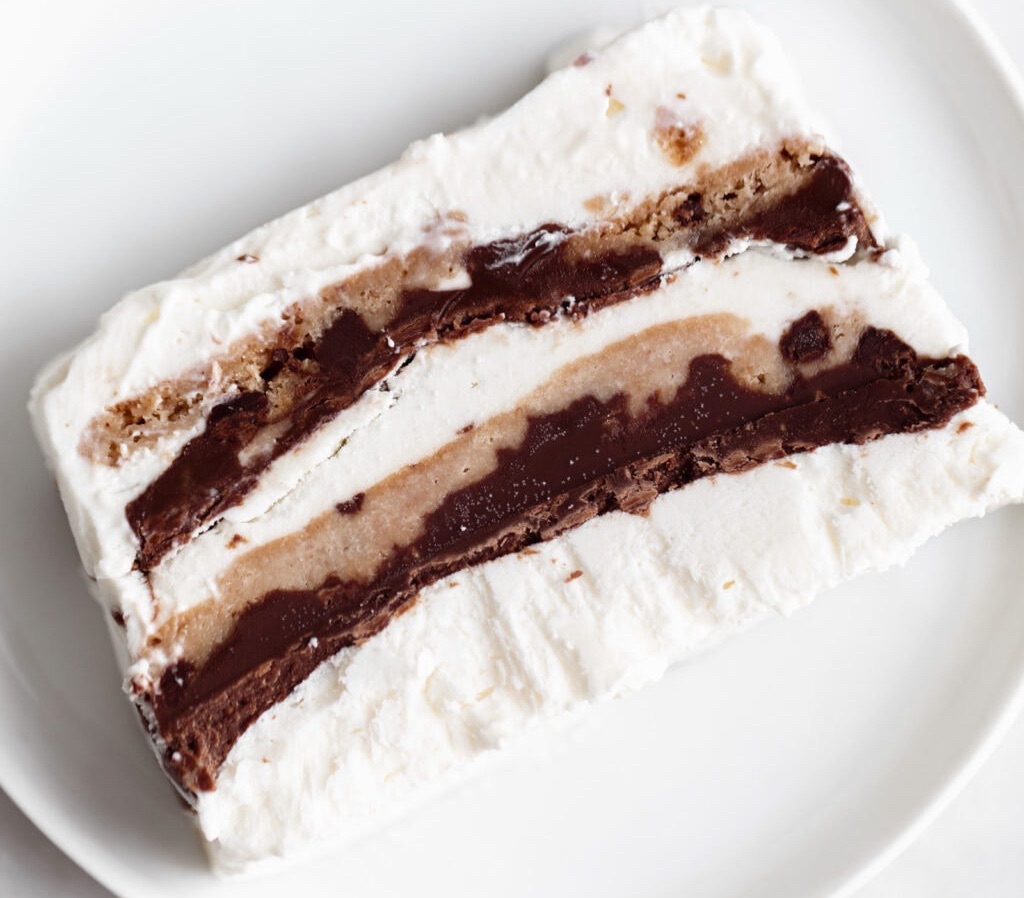
Imagine layers of pillowy, vanilla-flecked double cream, milk-dunked crunchy chocolate chip cookies, and rich, velvety ribbons of Nutella, all frozen into a sliceable, decadent showstopper. Because the cookies absorb the milk and cream, they soften into a gorgeous, cake-like texture while staying wonderfully decadent. It’s the perfect crowd-pleaser for BBQs, Sunday roasts, or whenever those midnight chocolate cravings hit.
Ingredients
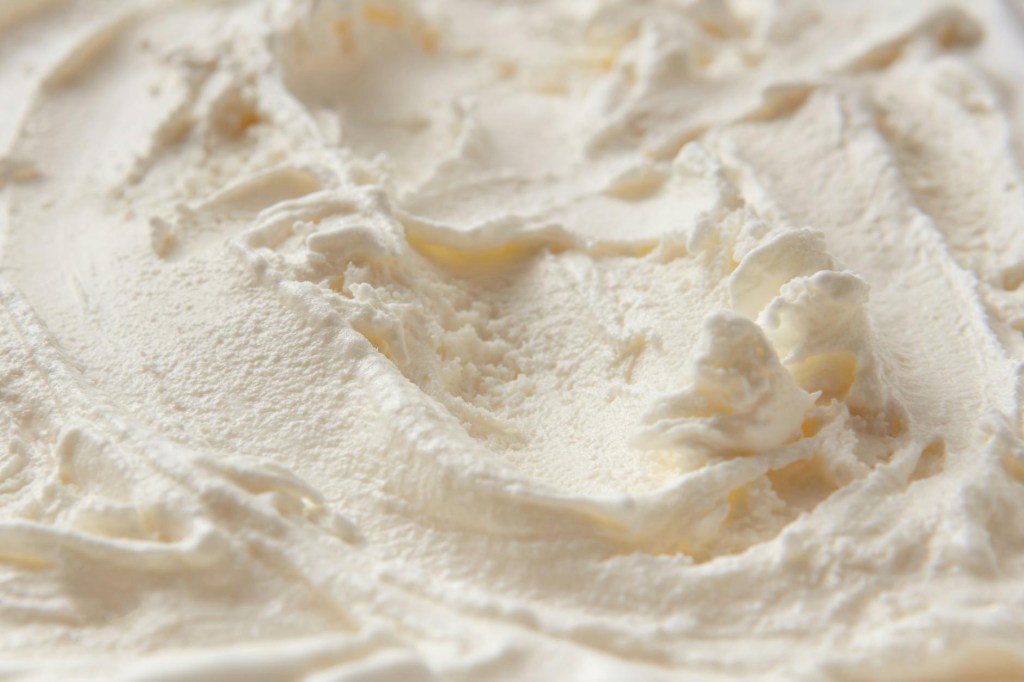
475ml double cream
1 tsp vanilla extract
30g icing sugar
A pinch of salt
120ml milk (for dunking)
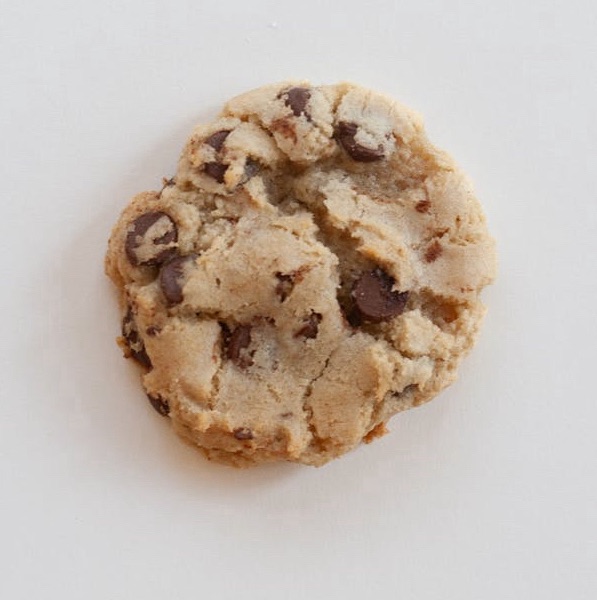
33 crunchy chocolate chip cookies (such as Maryland cookies or supermarket bakery cookies)
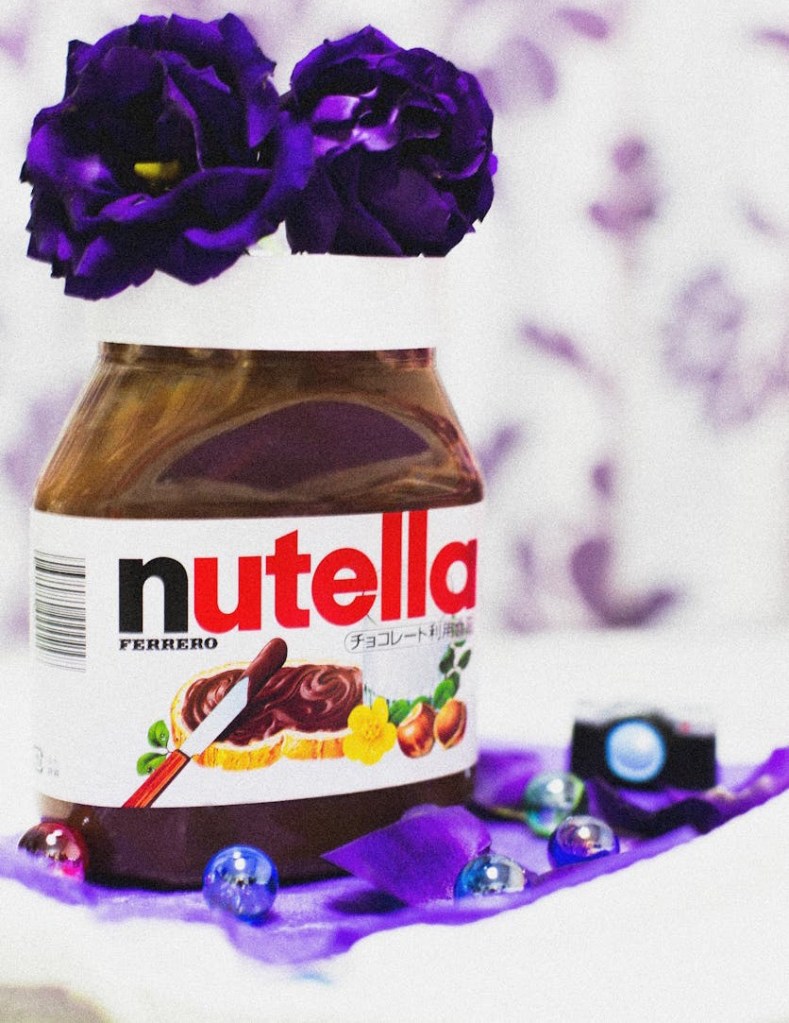
300g Nutella spread (roughly three-quarters of a standard 350g jar)
Method
1 Prep the tin: Line the inside of a standard 2lb loaf tin with cling film, leaving plenty of overhang on all sides so you can easily lift the cake out later.
2 Whip the cream: In a stand mixer fitted with a whisk attachment (or using an electric hand whisk), beat the double cream until soft peaks form. Add the icing sugar, vanilla extract, and a pinch of salt, then whisk until just combined and holds its shape. Set aside.
3 Start layering: Spoon a layer of the whipped cream into the bottom of the lined tin and smooth it out.
4 The cookie layer: Briefly dip your chocolate chip cookies into the milk (just a quick dunk so they don’t go soggy!), then arrange them in an even layer over the cream. Break a few cookies into smaller pieces to completely fill in any awkward gaps.
5 The Nutella swirl: Drizzle a few heaping tablespoons of Nutella over the cookies. Use a palette knife or the back of a spoon to gently spread it into an even layer.
6 Repeat: Keep repeating these layers until your loaf tin is completely full, ensuring you finish with a final layer of whipped cream. (Feel free to measure with your heart here—if you want more Nutella or extra cream, go for it!).
7 Freeze to set: Fold the overhanging cling film over the top to cover it securely and place it in the freezer to set for at least 3 hours (or overnight).
8 Turn out and serve: When you’re ready to serve, lift the cake out of the loaf tin using the cling film handles. Invert the cake onto a serving dish and gently peel away the film.
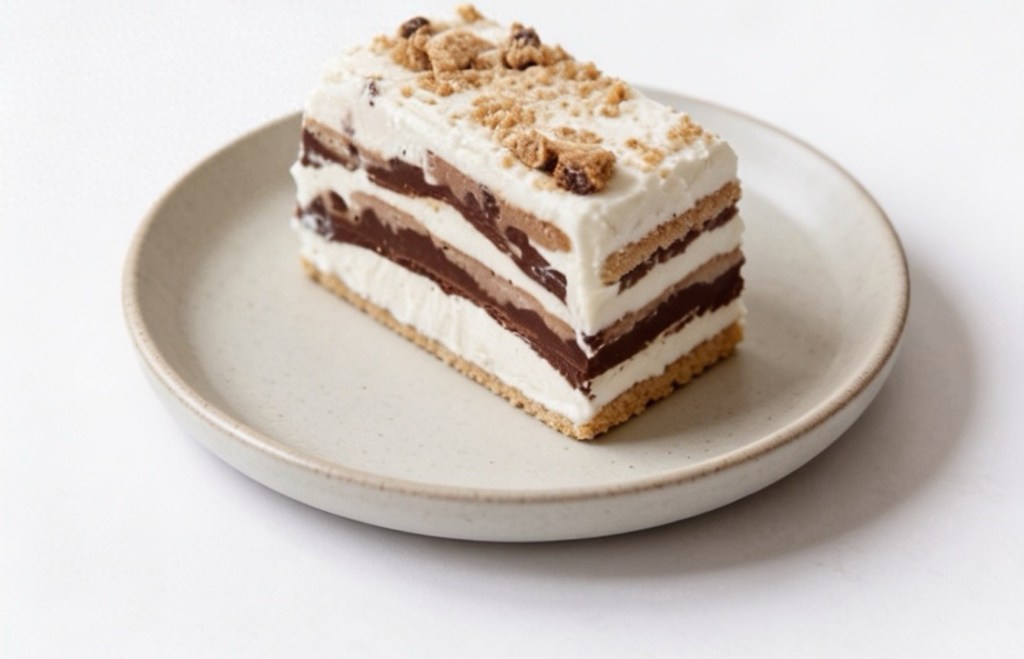
💡 Top Tip: Garnish the top with extra crumbled chocolate chip cookies. Use a sharp knife dipped in hot water to get those perfectly clean, beautiful slices. Enjoy!
Save this recipe for your next weekend treat! Are you team extra Nutella or team extra cream? Let me know in the comments below! 👇