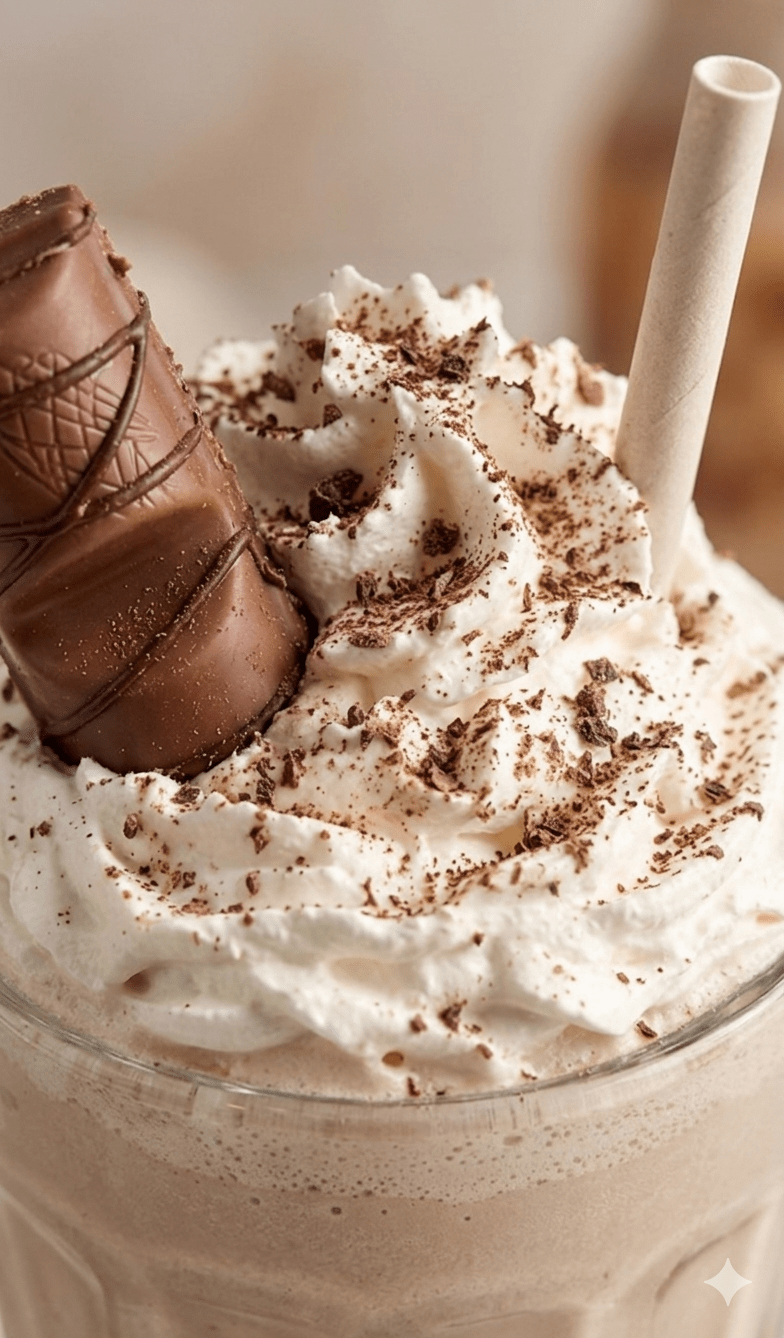
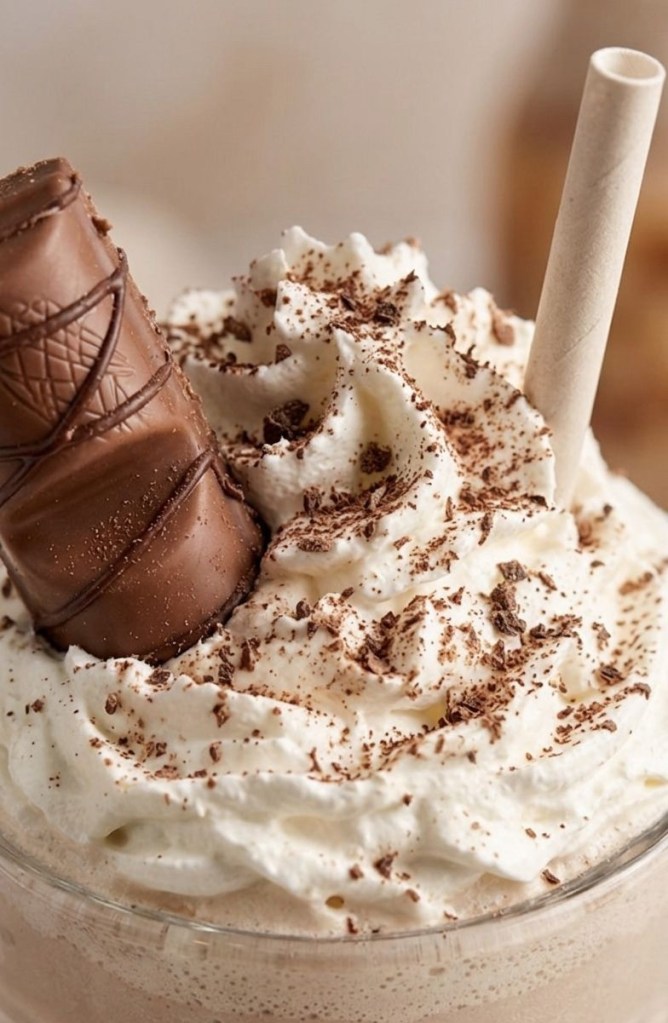
Okay, let’s be real for a second—is there anything better than a Kinder Bueno? That hazelnutty, creamy, crispy perfection is basically a food group in my house. So, naturally, I decided to turn it into the ultimate milkshake, and wow… I think I’ve peaked.
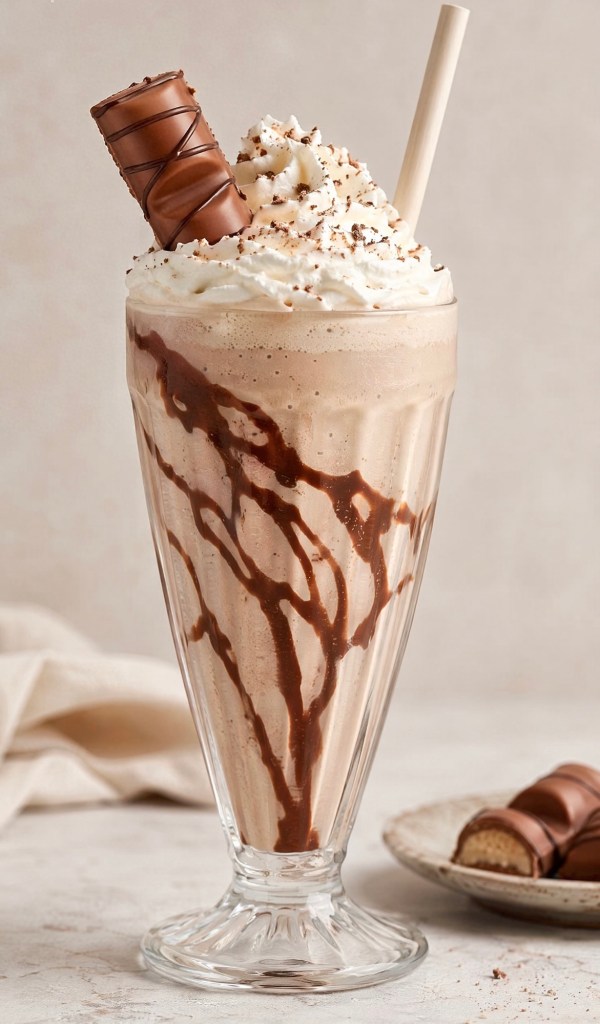
Seriously, this isn’t just a drink; it’s a whole experience. It’s super creamy, packed with that iconic hazelnut flavor, and looks like something straight out of a fancy cafe.
Why You’ll Be Obsessed
If you’re having a bad day, this is your fix. If you’re having a good day, this is your celebration. It’s got everything:
The Secret Weapon: A big spoonful of Nutella, which makes the hazelnut flavor absolutely pop.
Texture Heaven: Smooth vanilla ice cream blended with those signature crispy wafers.
The “Extra” Factor: A mountain of whipped cream and a chocolate syrup drizzle that looks professional (even if it took two seconds to do).
Let’s Make It!
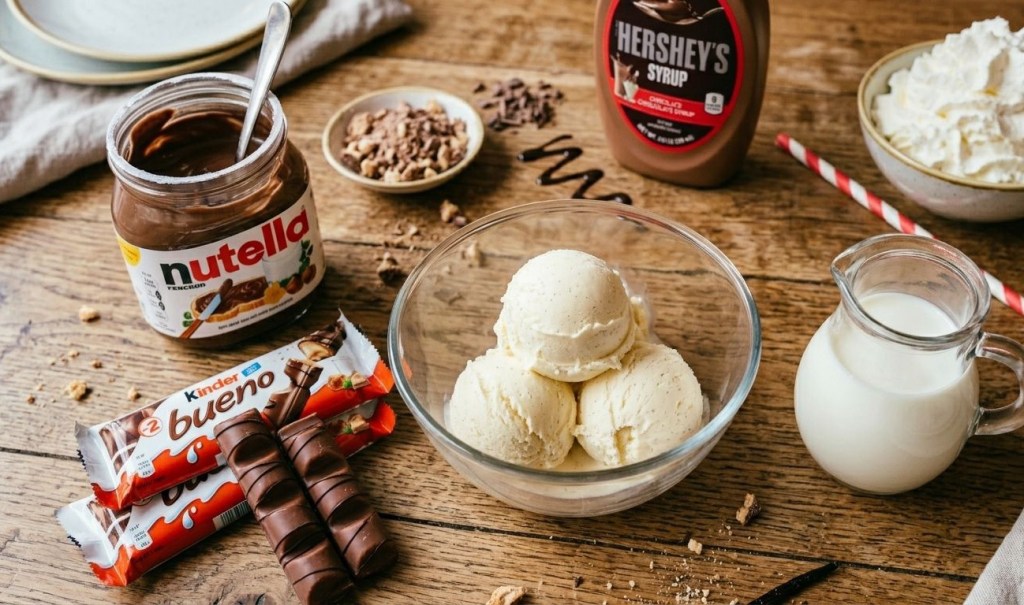
You don’t need to be a barista to nail this. Just grab these:
3 scoops of your favorite vanilla ice cream
2 bars of Kinder Bueno
1 big tablespoon of Nutella
1/2 cup of milk (add more if you like it thinner)
Chocolate syrup and whipped cream for the finishing touches!
How to do it:
Drizzle some syrup down the inside of your glass—it makes it look so fancy! Toss the ice cream, Kinder Bueno, Nutella, and milk into the blender, and whirl it until it’s smooth. Pour it into your glass, pile on that whipped cream, and top it with an extra piece of Kinder Bueno. Boom. Done.
Trust me, you have to try this. And when you do, tag me in your photos—I want to see your creations!
So, are you team “drink it all” or “let’s share”? Let me know in the comments! 👇
We’ve all been there. It’s 9 PM on a rainy Tuesday, the work emails won’t stop pinging, and your brain is screaming for something sweet, warm, and comforting. When life gets a bit too chaotic, some people meditate, others go for a brisk run, and a few light scented candles.
Me? I put on my comfiest trackies, head straight to the kitchen, and grab a jar of hazelnut spread.
What started as a viral TikTok meme—the ultimate “what do we do when we’re stressed?” joke—has officially become my holy grail baking recipe. Let’s be honest: standing over a warm oven and eating gooey chocolate straight from the baking tin might actually be the cheapest form of self-care available.
If you have a jar of Nutella, a couple of eggs, and a scoop of flour in your cupboard, you are exactly 20 minutes away from chocolate heaven. Here is why this recipe works, the science behind it, and how to nail it on your very first try.
The Secret Science: Why 3 Ingredients Actually Work
Usually, baking is a strict science experiment. If you forget the baking powder, mess up the sugar ratio, or use the wrong type of fat, your bake is ruined. You’re usually left hunting through the cupboards for golden syrup, cocoa powder, and blocks of expensive baking chocolate.
This recipe completely throws the traditional rulebook out the window. Why? Because the clever scientists at Ferrero have already done the hard work for you.
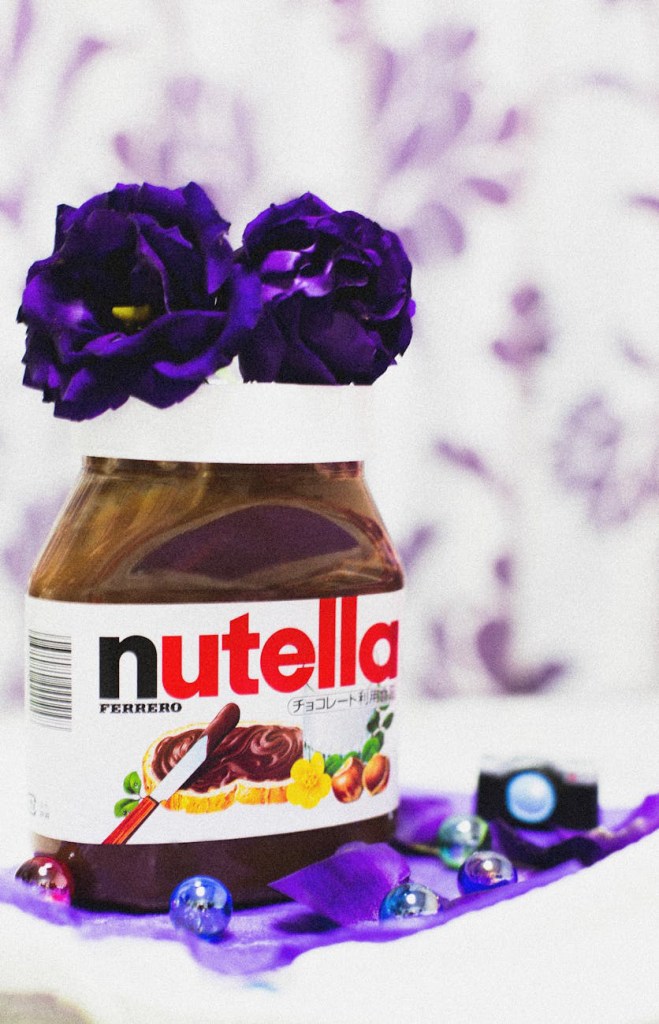
• The Nutella: Think of Nutella not just as a topping, but as your primary baking base. It is already packed with cocoa for flavour, sugar for sweetness, and palm oil/hazelnut fats for moisture. It replaces the butter, sugar, and cocoa powder of a traditional brownie in one single scoop.
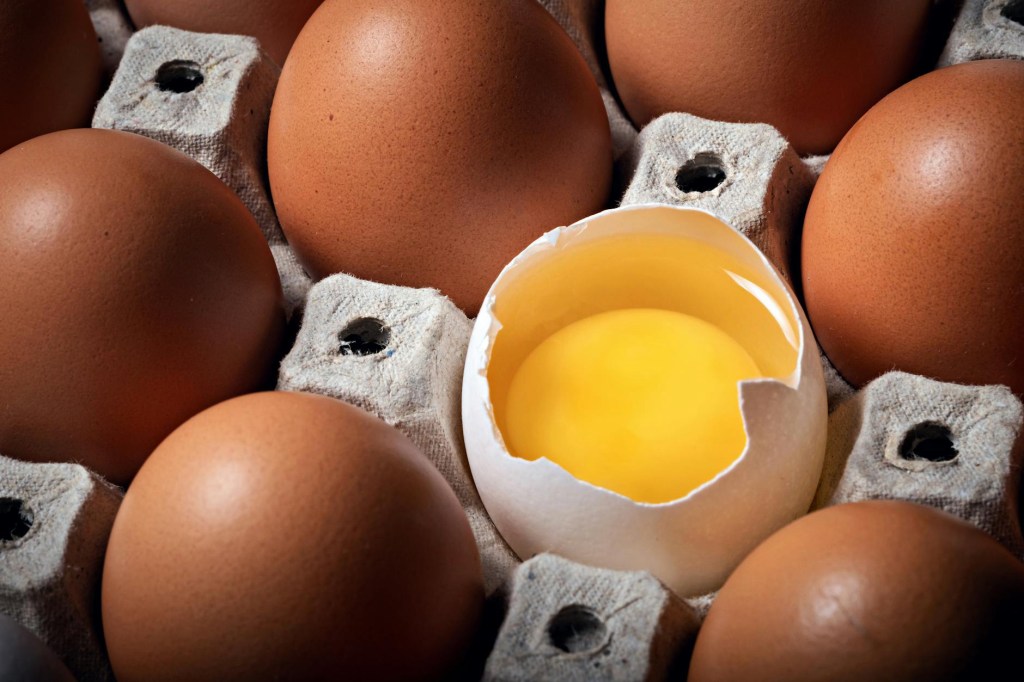
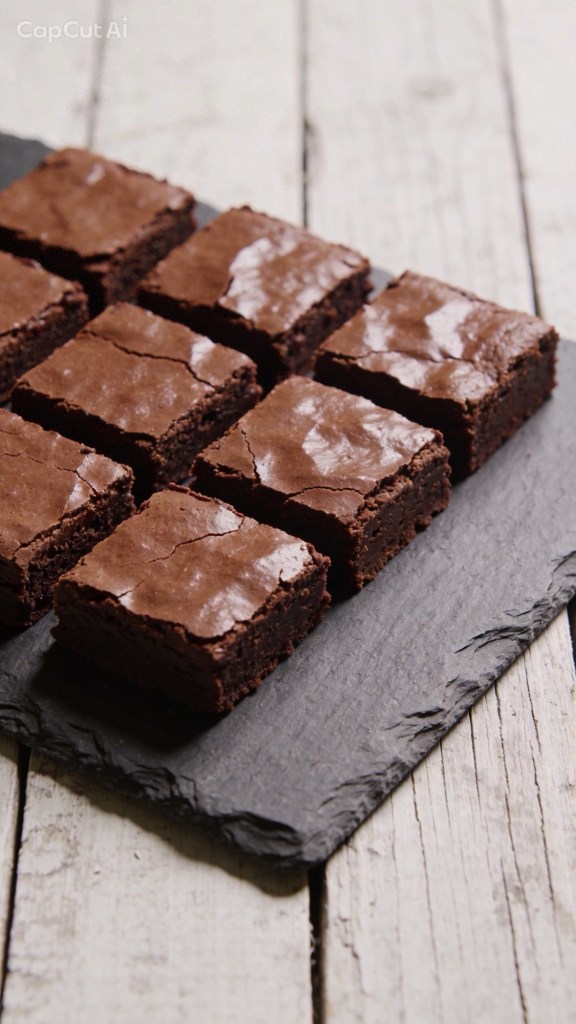
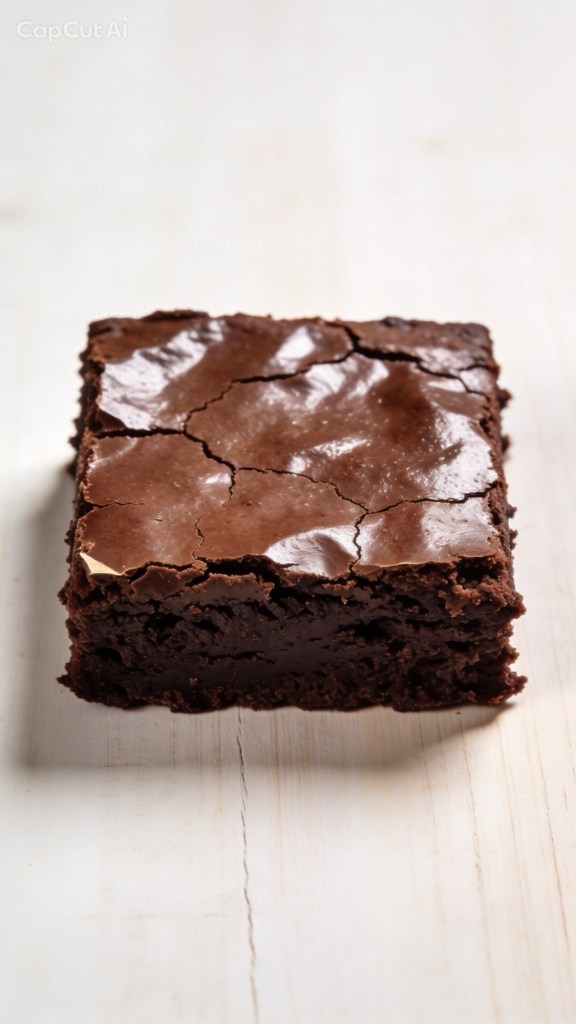
• The Eggs: Eggs are the magicians of this recipe. They provide the structure, the rise, and—most importantly—that highly coveted, shiny, papery crinkle-top that separates a mediocre brownie from an elite one.
• The Plain Flour: A tiny amount of plain flour binds everything together. Because we aren’t using raising agents (like self-raising flour or baking powder), the dense properties of plain flour keep the texture beautifully fudgy rather than cake-like.
No fancy equipment, no waiting for butter to soften on the counter for hours, and practically zero washing up. It is pure kitchen efficiency.
The Recipe: Fudgy Nutella Brownies
Ingredients
• Nutella: 280g (Roughly one standard small jar. Ensure it’s at room temperature so it mixes easily.)
• Eggs: 2 Large (Use free-range, room-temperature eggs for the best rise.)
• Plain Flour: 65g (Standard plain white flour – do not use self-raising!)
Step-by-Step Method
1. Prep Your Station
Before you do anything else, preheat your oven to 180°C (160°C fan/Gas Mark 4). Line a small square baking tin (around 8×8 inches or 20×20 cm) with baking parchment.
Top Tip: Leave a bit of parchment overhang on the sides. This creates “handles” so you can easily lift the brownie block out of the tin later without it breaking apart.
2. Whisk the Base
In a medium-sized mixing bowl, crack in your two large eggs and add the 280g of Nutella. Grab a whisk and go to town. At first, it might look a bit split, lumpy, or strange as the cold eggs hit the thick spread. Keep whisking for about a minute! Suddenly, it will transform into a beautifully smooth, glossy, and thick chocolate batter.
3. Fold, Don’t Stir
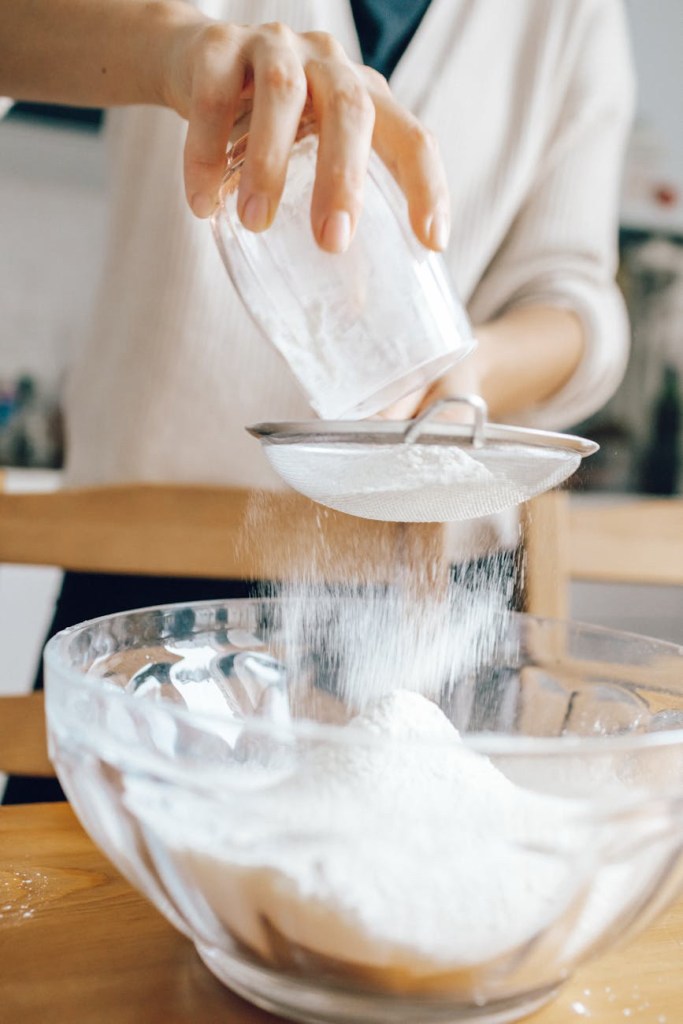
Sift your 65g of plain flour into the bowl. Put the whisk away and grab a silicone spatula or a wooden spoon. Gently fold the flour into the chocolate mixture using a figure-of-eight motion just until the white streaks disappear.
The Golden Rule: Stop mixing the second the flour is incorporated! If you overmix the batter, you will develop the gluten in the flour. This turns your dense, fudgy brownies into a tough, bready cake—and nobody wants a bready brownie.
4. Into the Oven
Pour the batter into your lined tin. It will be quite thick and sticky, so use your spatula to smooth it out into the corners. Pop it into the middle shelf of the oven and bake for 15 to 20 minutes.
The Ultimate Brownie Test: Fudgy vs. Overbaked
How do you know when they are perfectly done?
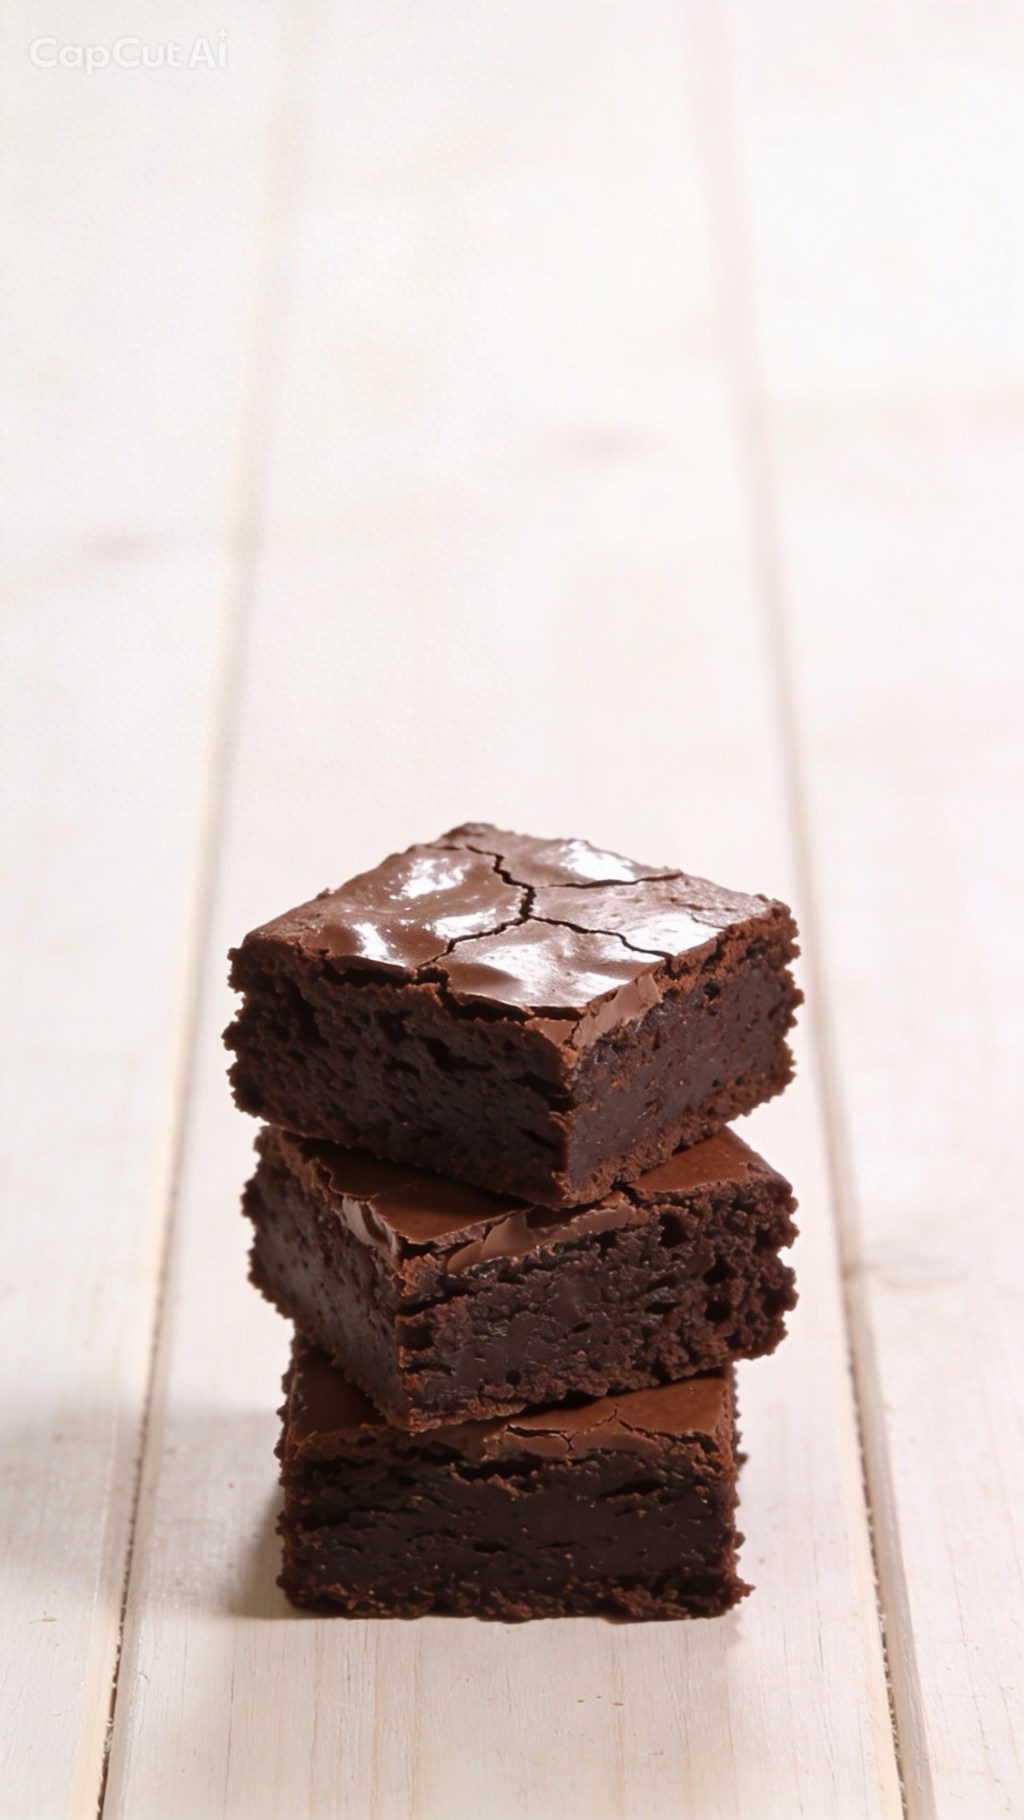
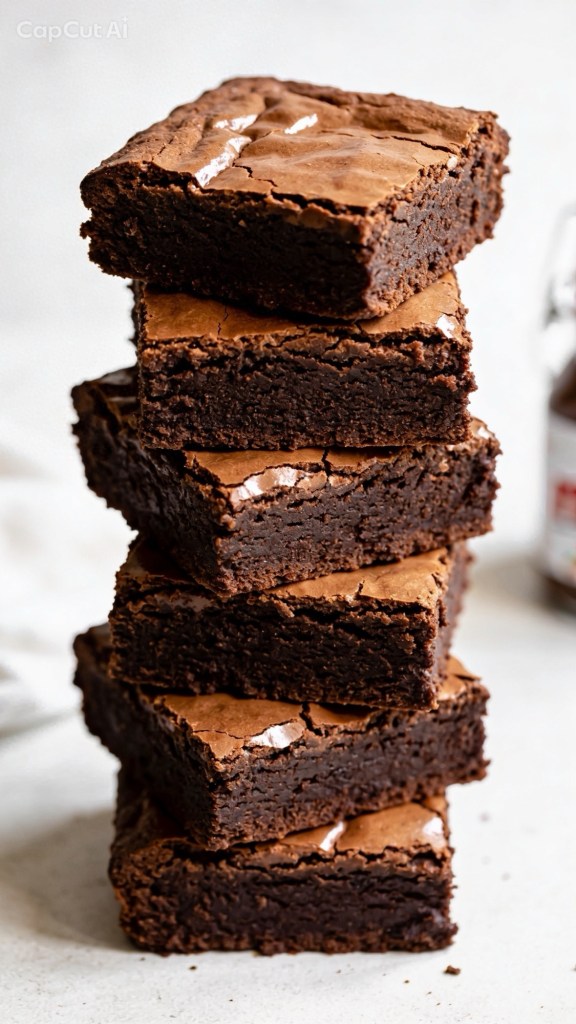
You want the edges to look set and matte, and the top should have that gorgeous, paper-like crinkle. However, if you gently shake the tin, the very centre should still have a tiny bit of a wobble.
If you insert a toothpick or skewer into the centre, it should not come out completely clean. It should have a few moist, sticky crumbs attached to it. If the skewer comes out completely dry, you’ve overbaked them into a cake. Pull them out early—they will continue to firm up as they cool down in the hot tin!
Variations to Try (If You’re Feeling Fancy)
While the 3-ingredient version is perfect on its own, it also acts as a brilliant blank canvas. If you want to level up your bake next time, try folding in these extras right before baking:
• The Sweet & Salty: Add a generous pinch of flaky sea salt (like Maldon) over the top right before it goes in the oven.
• The Crunch: Fold in 50g of chopped, toasted hazelnuts to mimic the inside of a Ferrero Rocher.
• The Ultimate Chocolate Fix: Toss in a handful of white or milk chocolate chips for a bit of texture.
How to Serve
If you possess an incredible amount of self-control, let the brownies cool completely in the tin for about 20–30 minutes, slice them into neat squares, and serve them alongside a scoop of vanilla bean ice cream or a hot cup of tea.
If you’re having one of those weeks? Forget the knife. Grab a spoon, sit yourself down on the kitchen floor, and eat them warm and gooey straight out of the tin. We completely support your journey.
Have you tried the 3-ingredient Nutella brownie trend yet, or are you skeptical that a recipe this simple can actually taste good? Let me know in the comments below if you’re team fudgy or team cakey!
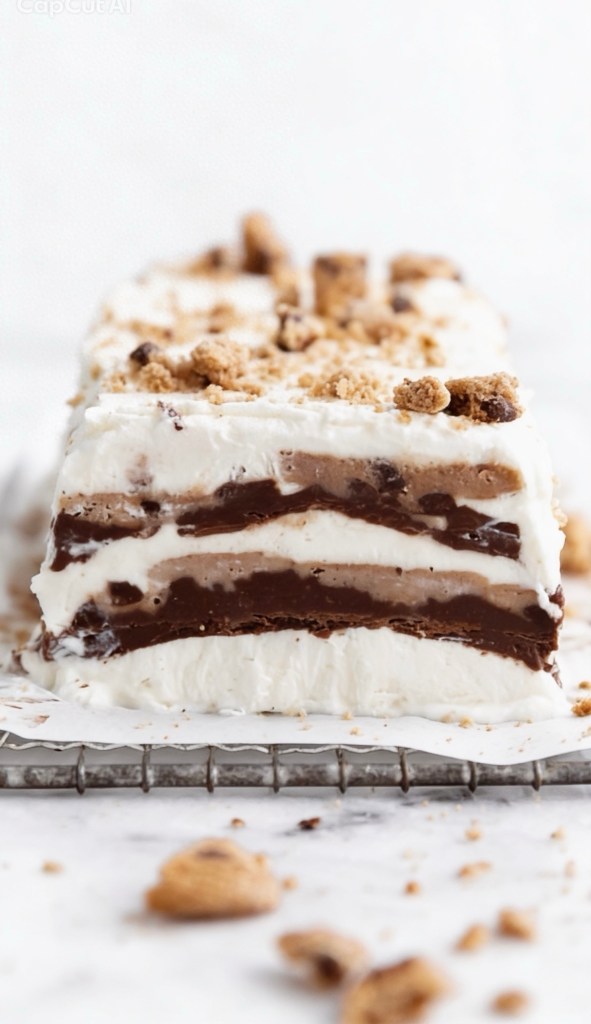
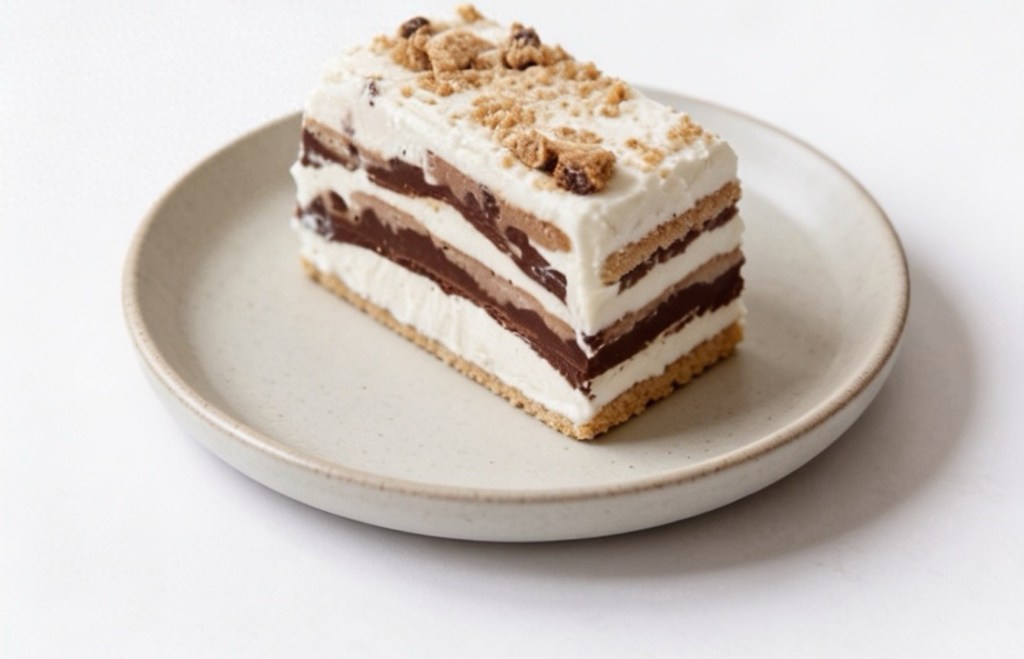
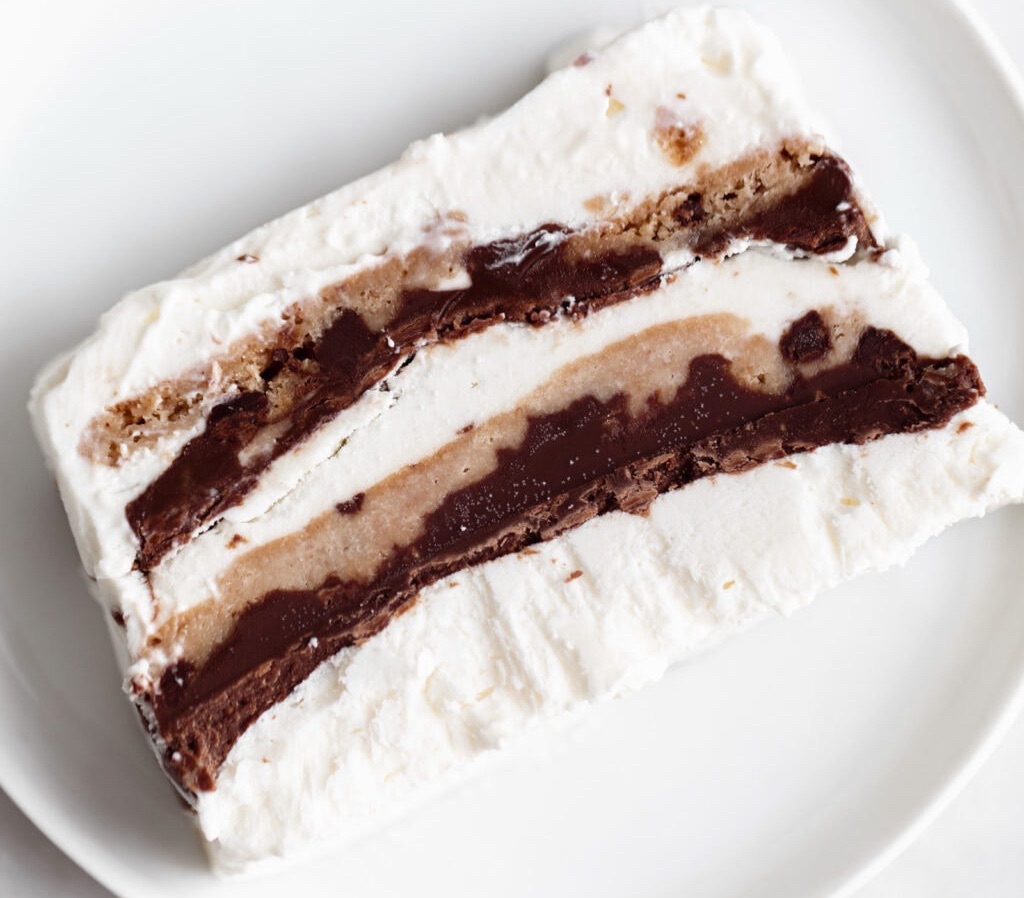
No baking, no fuss, just pure chocolate-hazelnut bliss. This No-Bake Nutella Icebox Cake is the ultimate “lazy-day” dessert that looks like a high-end patisserie masterpiece but takes barely any effort to throw together!
Description:
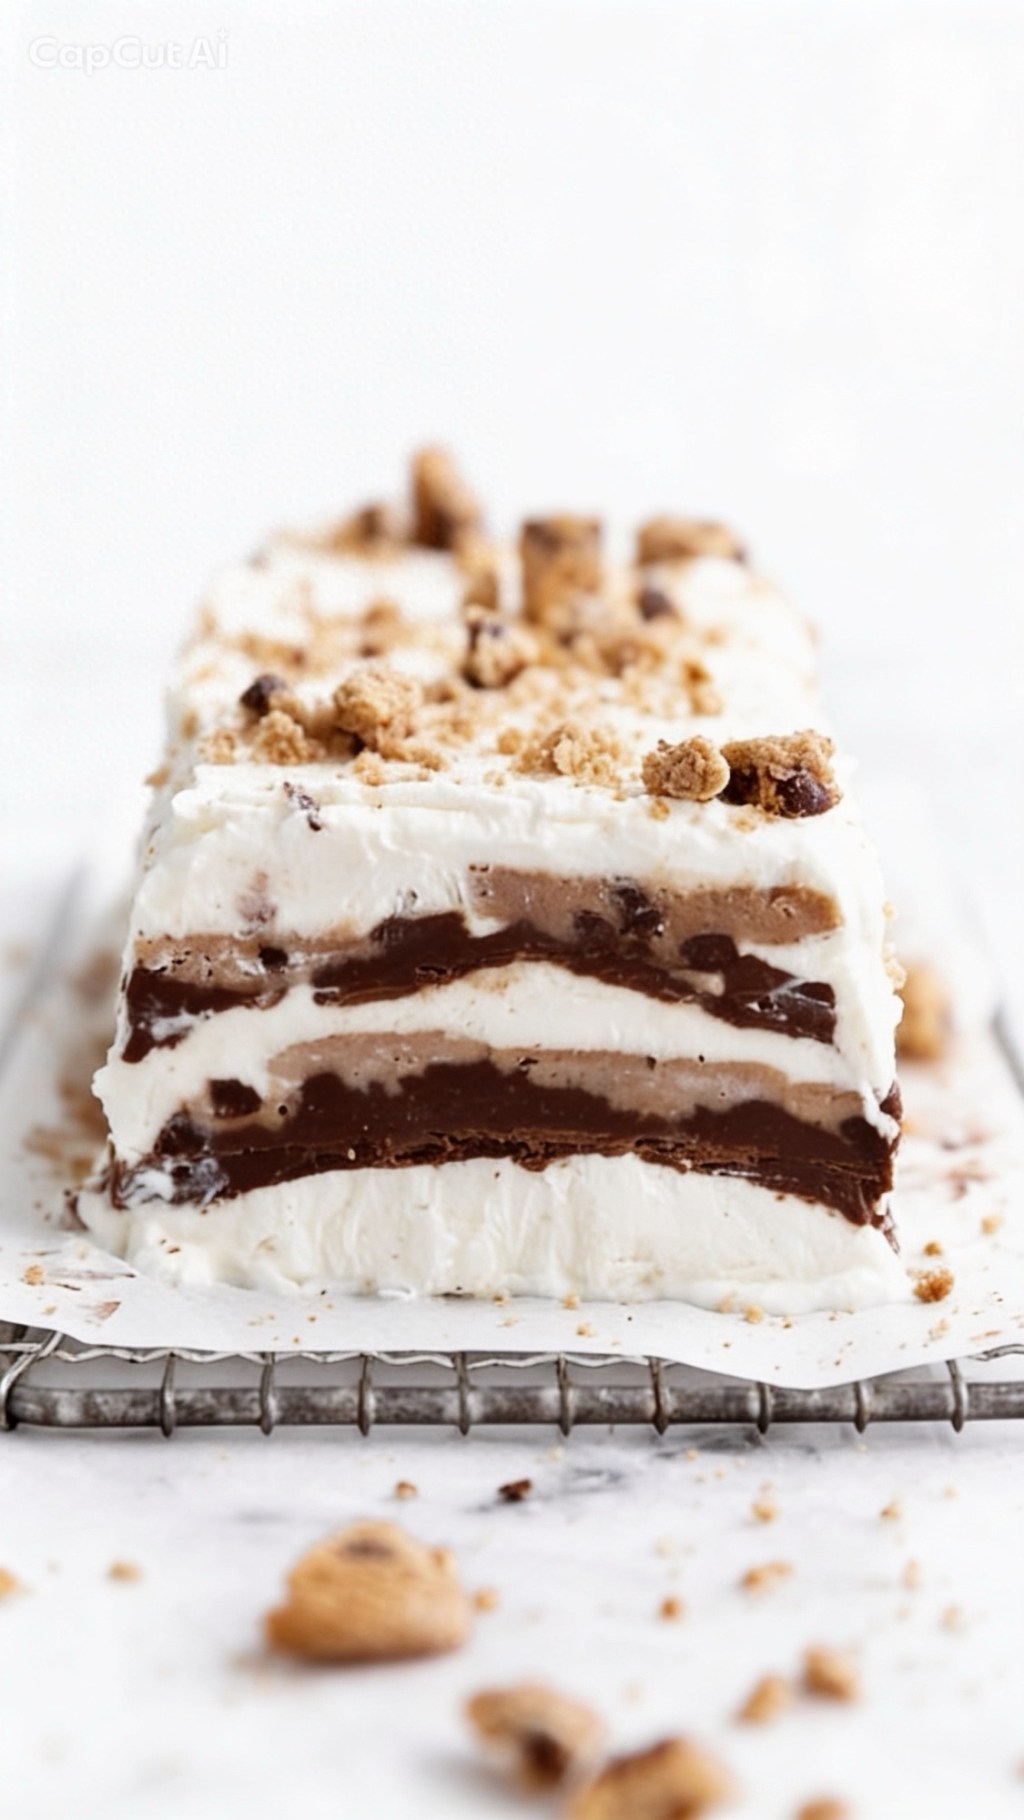
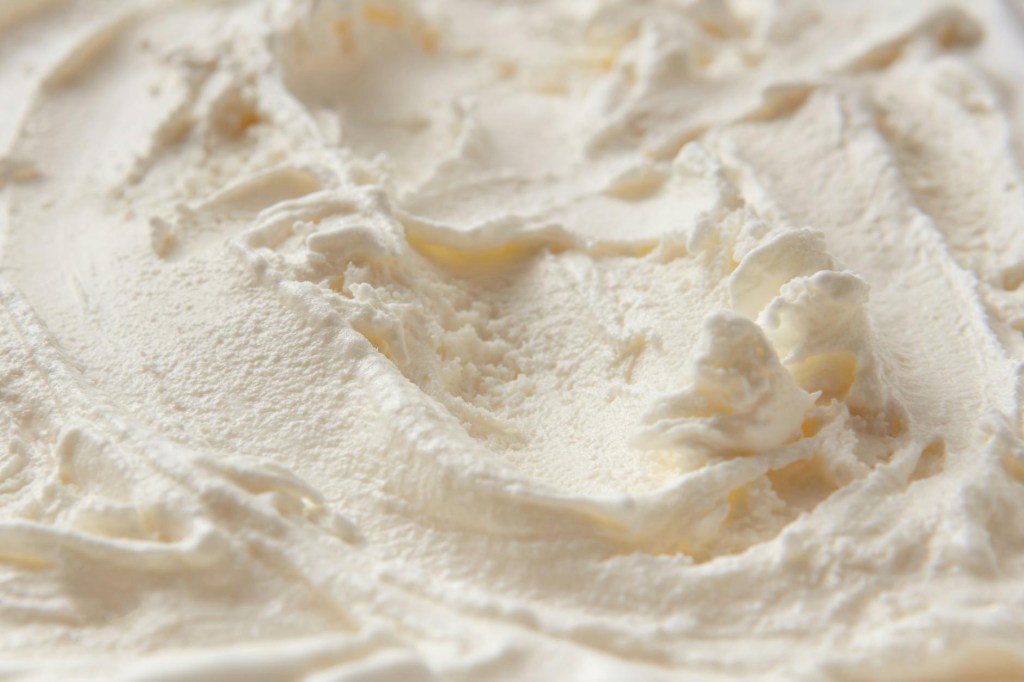
Imagine layers of pillowy, vanilla-flecked double cream, milk-dunked crunchy chocolate chip cookies, and rich, velvety ribbons of Nutella, all frozen into a sliceable, decadent showstopper. Because the cookies absorb the milk and cream, they soften into a gorgeous, cake-like texture while staying wonderfully decadent. It’s the perfect crowd-pleaser for BBQs, Sunday roasts, or whenever those midnight chocolate cravings hit.
Ingredients
475ml double cream
1 tsp vanilla extract
30g icing sugar
A pinch of salt
120ml milk (for dunking)
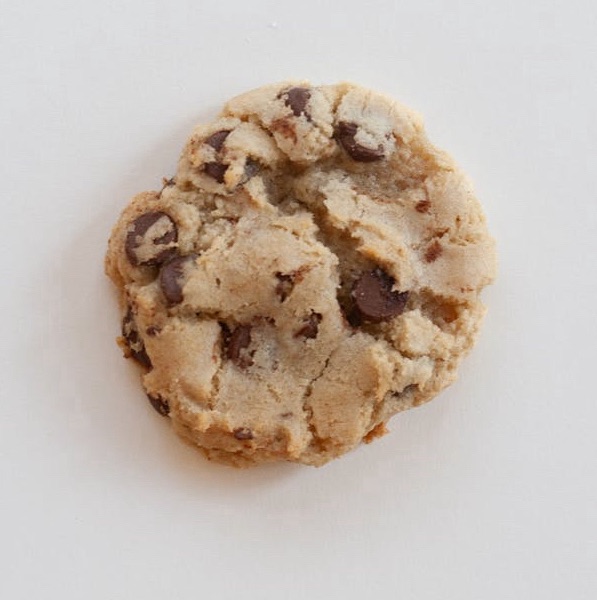
33 crunchy chocolate chip cookies (such as Maryland cookies or supermarket bakery cookies)
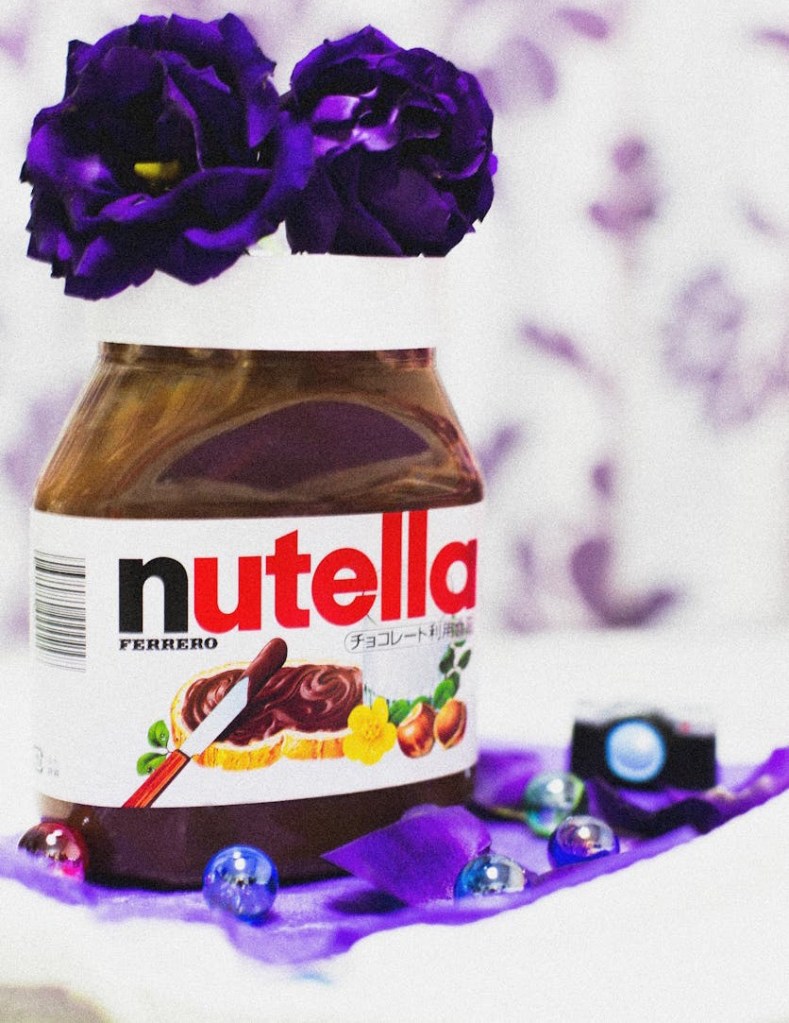
300g Nutella spread (roughly three-quarters of a standard 350g jar)
Method
1 Prep the tin: Line the inside of a standard 2lb loaf tin with cling film, leaving plenty of overhang on all sides so you can easily lift the cake out later.
2 Whip the cream: In a stand mixer fitted with a whisk attachment (or using an electric hand whisk), beat the double cream until soft peaks form. Add the icing sugar, vanilla extract, and a pinch of salt, then whisk until just combined and holds its shape. Set aside.
3 Start layering: Spoon a layer of the whipped cream into the bottom of the lined tin and smooth it out.
4 The cookie layer: Briefly dip your chocolate chip cookies into the milk (just a quick dunk so they don’t go soggy!), then arrange them in an even layer over the cream. Break a few cookies into smaller pieces to completely fill in any awkward gaps.
5 The Nutella swirl: Drizzle a few heaping tablespoons of Nutella over the cookies. Use a palette knife or the back of a spoon to gently spread it into an even layer.
6 Repeat: Keep repeating these layers until your loaf tin is completely full, ensuring you finish with a final layer of whipped cream. (Feel free to measure with your heart here—if you want more Nutella or extra cream, go for it!).
7 Freeze to set: Fold the overhanging cling film over the top to cover it securely and place it in the freezer to set for at least 3 hours (or overnight).
8 Turn out and serve: When you’re ready to serve, lift the cake out of the loaf tin using the cling film handles. Invert the cake onto a serving dish and gently peel away the film.
💡 Top Tip: Garnish the top with extra crumbled chocolate chip cookies. Use a sharp knife dipped in hot water to get those perfectly clean, beautiful slices. Enjoy!
Save this recipe for your next weekend treat! Are you team extra Nutella or team extra cream? Let me know in the comments below! 👇
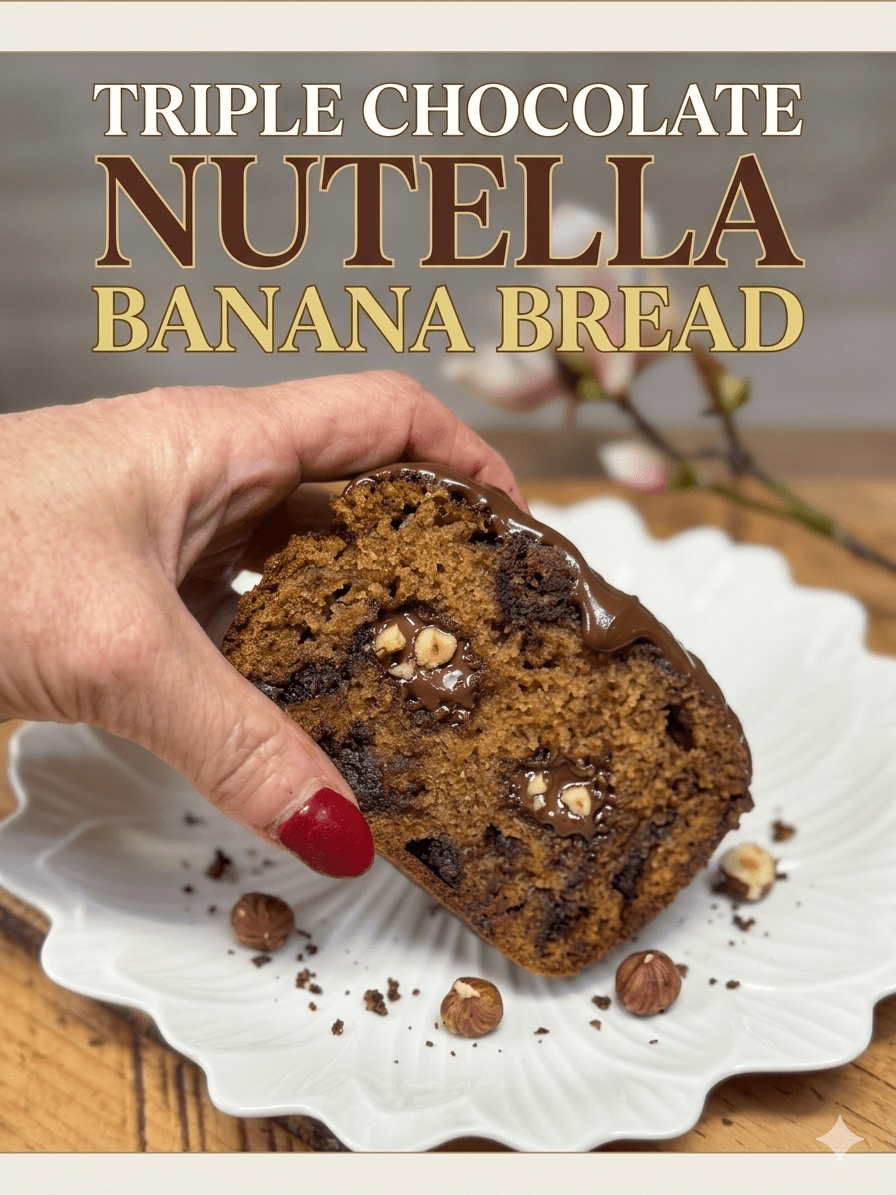
There are some bakes that feel less like recipes and more like little love letters to your past self, and this banana, Nutella and triple‑chocolate loaf is absolutely one of them.
It started, as these things so often do, with a bowl of sad, freckled bananas on the counter giving me the side‑eye. You know the ones: too far gone for toast, too soft for slicing, but absolutely perfect for baking. So into the bowl they went, all mashed up with melted butter, soft brown sugar and a bit of caster sugar until everything turned into that gorgeous, glossy, caramel‑smelling batter. I make banana bread every week for my dad as it’s his favourite but I thought I’d give him a bit of variation. And then I got a bit carried away. First came the Nutella. Now, Nutella is a bit of a… contraband item in this house. When the girls were younger, it was more or less banned – not because of the sugar, but because they had an absolutely terrible habit of leaving sticky Nutella spoons all over the kitchen. Honestly, I’d find them on the worktops, next to the sink, abandoned on plates – little chocolatey crime scenes everywhere. For my own sanity, the jar quietly disappeared for a few years. This time, I had to smuggle it back in like some sort of undercover snack dealer. Jar tucked discreetly into the shopping, no announcements made, straight into the cupboard before anyone could clock it and start reliving their spoon‑licking glory days.
Once I’d recovered from my secret mission, it was time to turn those bananas into something special.
Ingredients
For one standard 2lb loaf tin: • 100 g soft light brown sugar • 50 g caster sugar • 115 g unsalted butter, melted and slightly cooled • 2 medium eggs • 1 teaspoon vanilla extract • 350–375 g mashed very ripe bananas (about 4–5 medium bananas) • 250 g plain flour • 1 teaspoon fine salt • 1 teaspoon bicarbonate of soda • 120 g Nutella (or chocolate hazelnut spread), gently warmed so it’s pourable • 100 g white chocolate chunks
. 100g of dark chocolate chunks
Method
Prep the tin and oven • Heat the oven to 180°C (160°C fan). • Grease and line a 2lb loaf tin with baking paper, letting the paper overhang slightly so you can lift the loaf out later. • Set aside while you get on with the wet ingredients.
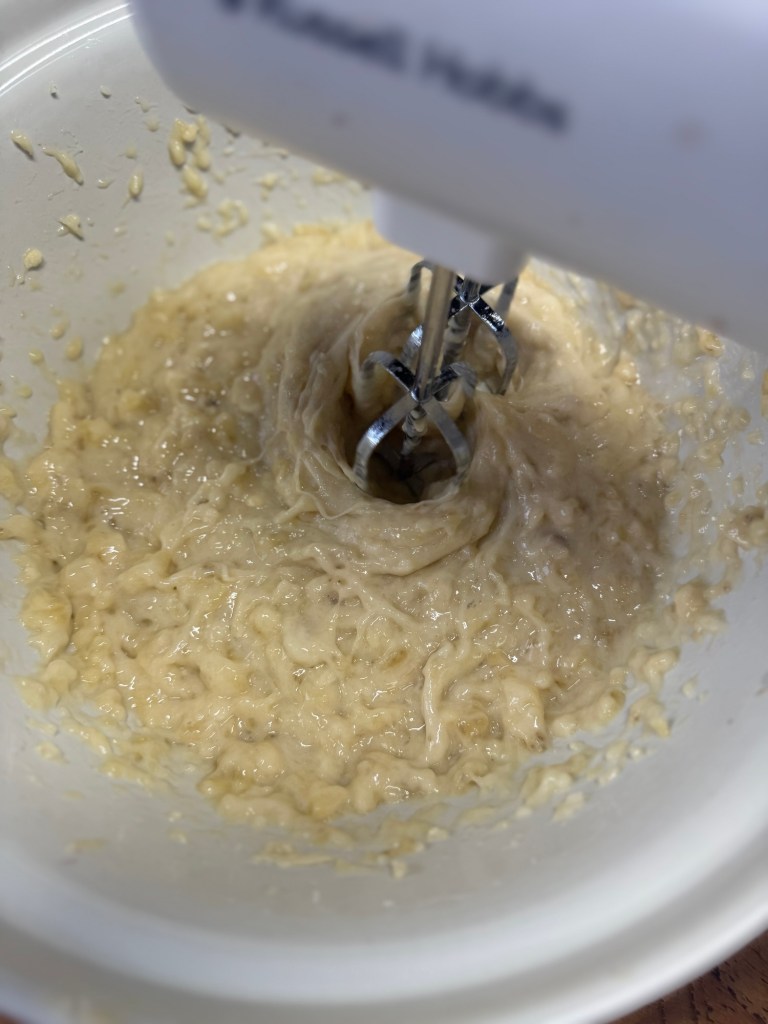
Make the banana mixture • In a large mixing bowl, whisk the bananas until they are soft
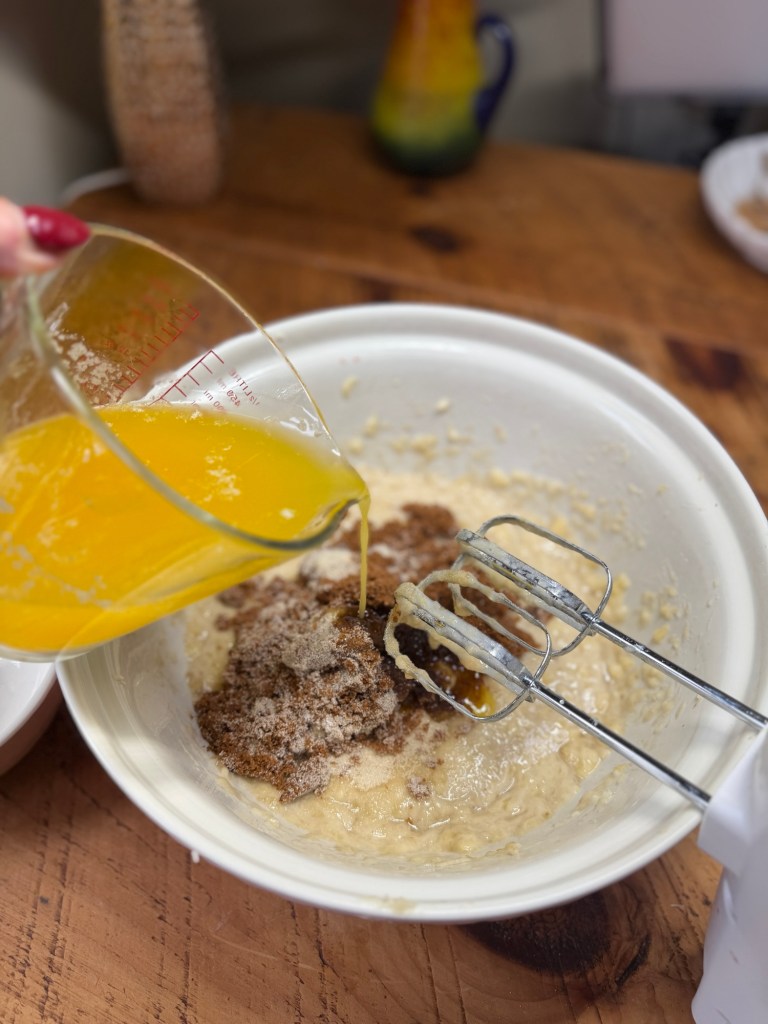
then add the melted, slightly cooled butter with the soft brown sugar and caster sugar until well combined and a bit glossy.
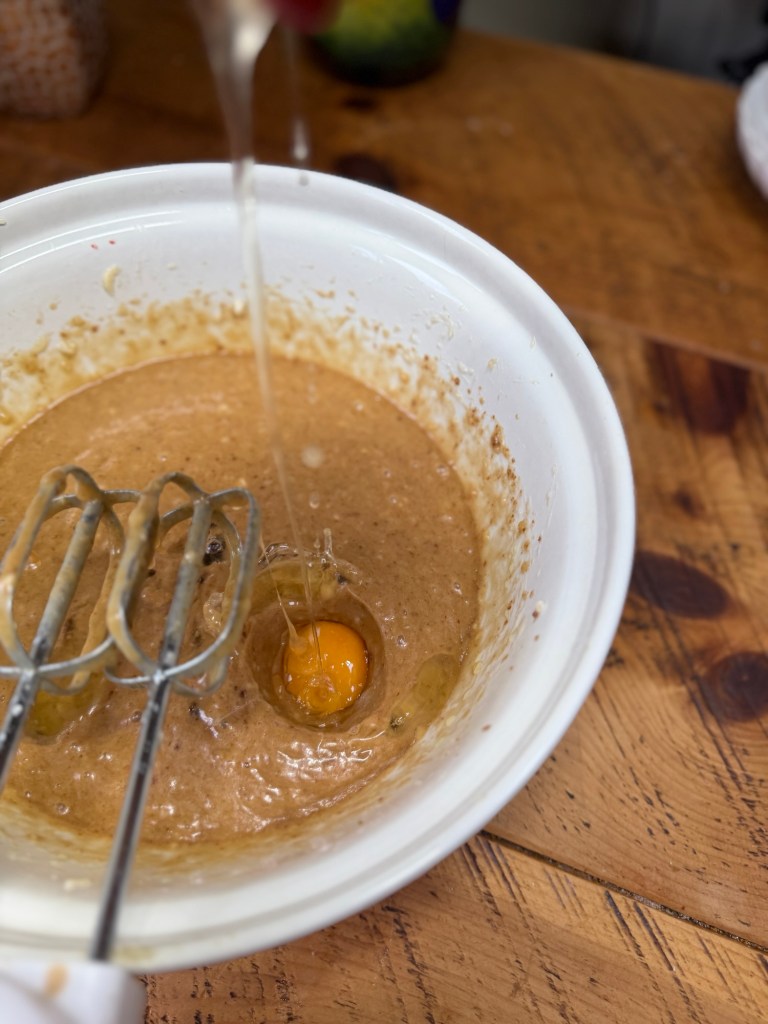
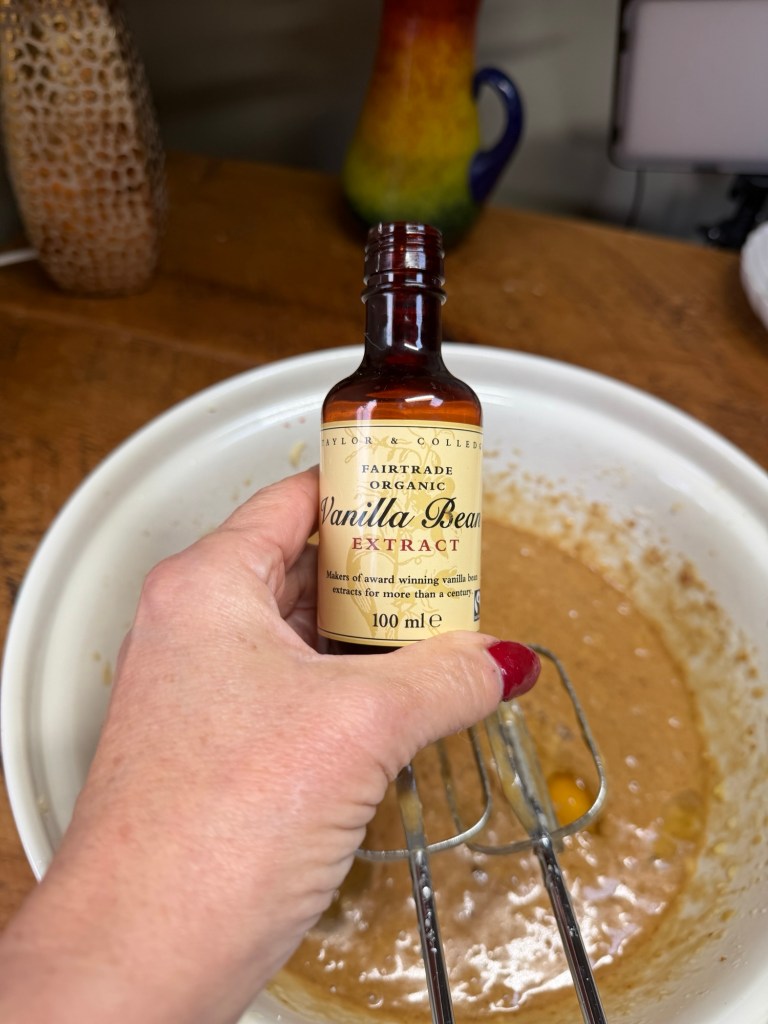
• Add the eggs and vanilla extract, whisking until the mixture looks smooth and a little lighter.
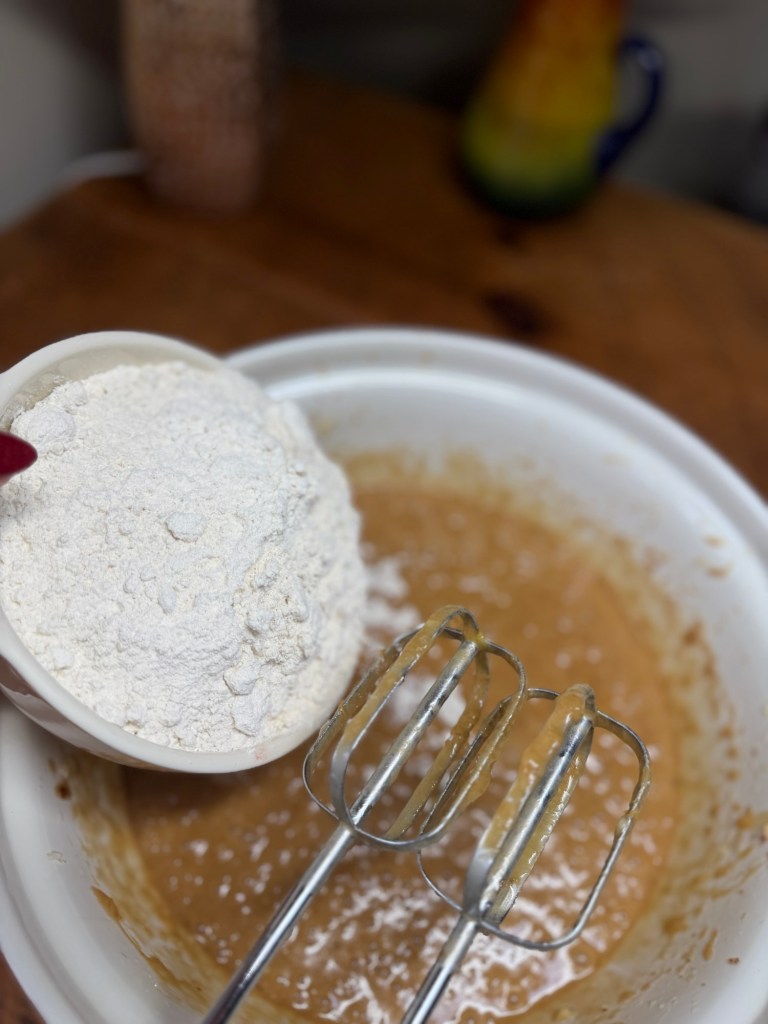
Add the dry ingredients – plain flour, salt and bicarbonate of soda very ripe bananas and stir them into the bowl until everything is well combined.
Fold in the dry ingredients until you can’t see any streaks of dry flour. Try not to overmix so you keep the loaf nice and soft.
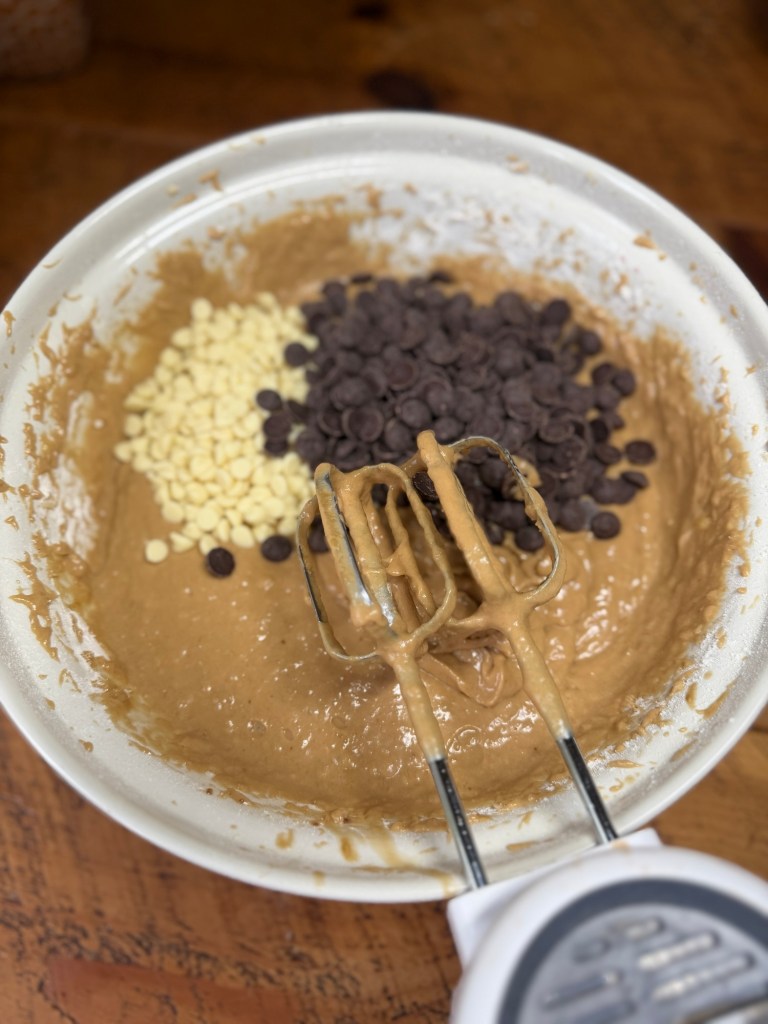
Add the chocolate chunks • Sprinkle in the white chocolate chunks and dark chocolate chunks.
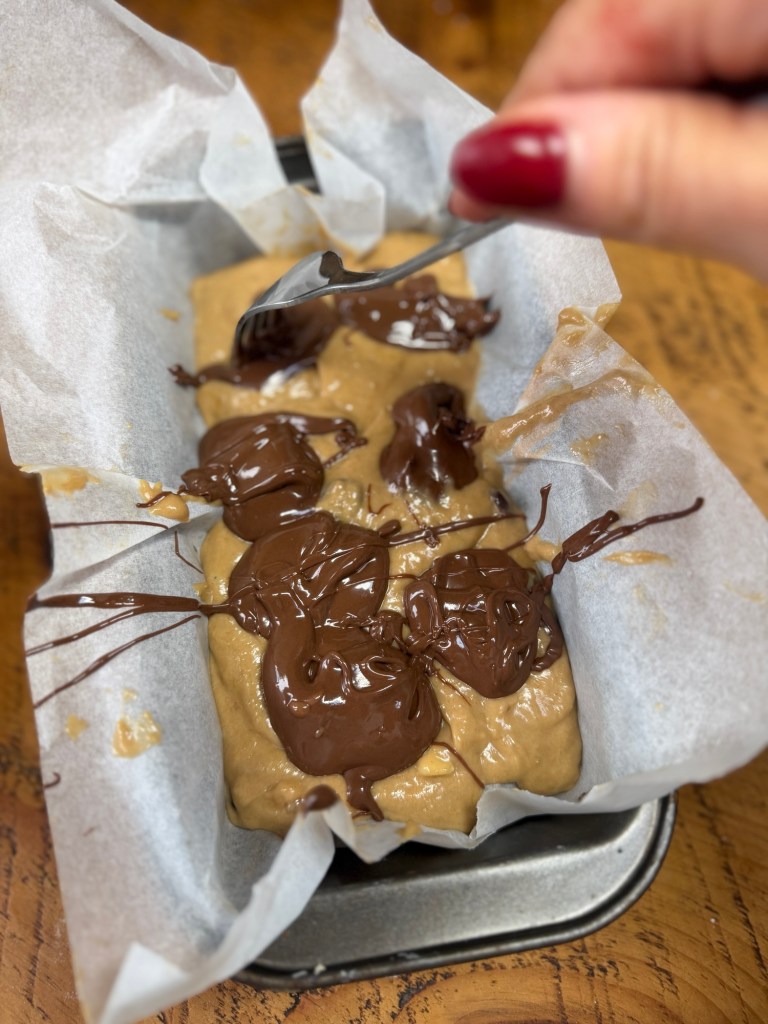
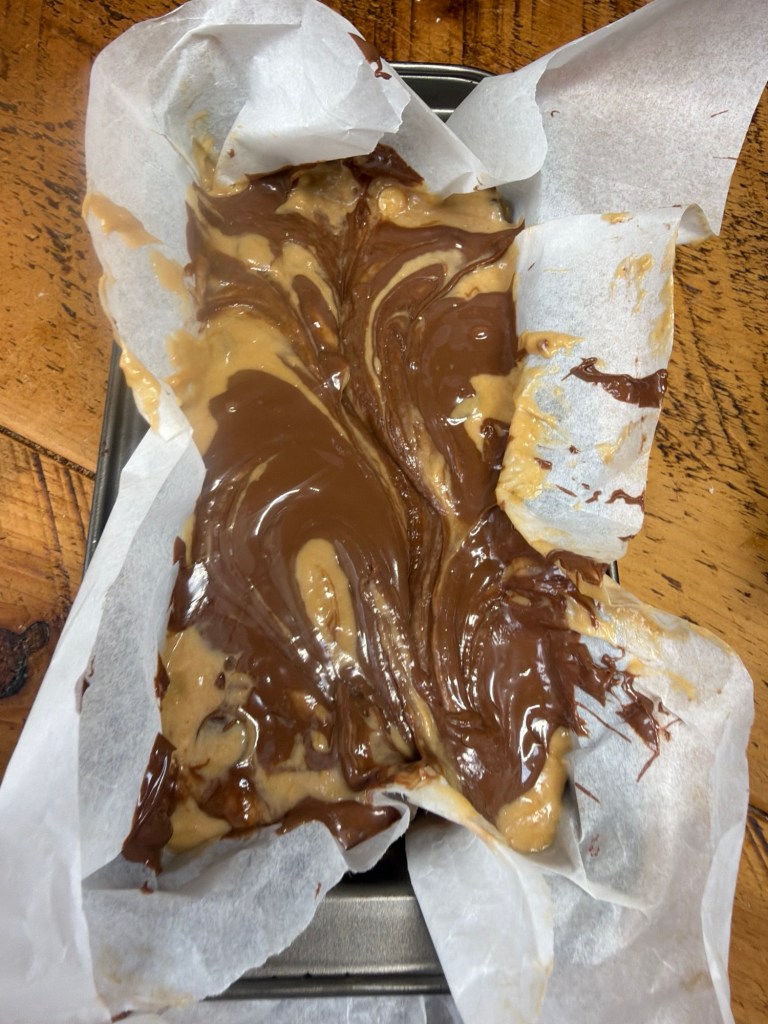
• Fold them through the batter so they’re evenly distributed, ready to melt into little pockets of joy as the loaf bakes • Pour the banana batter into your prepared loaf tin and smooth the top. • Warm the Nutella very gently (a few seconds in the microwave or sit the jar in a bowl of hot water) so it loosens and becomes pourable.
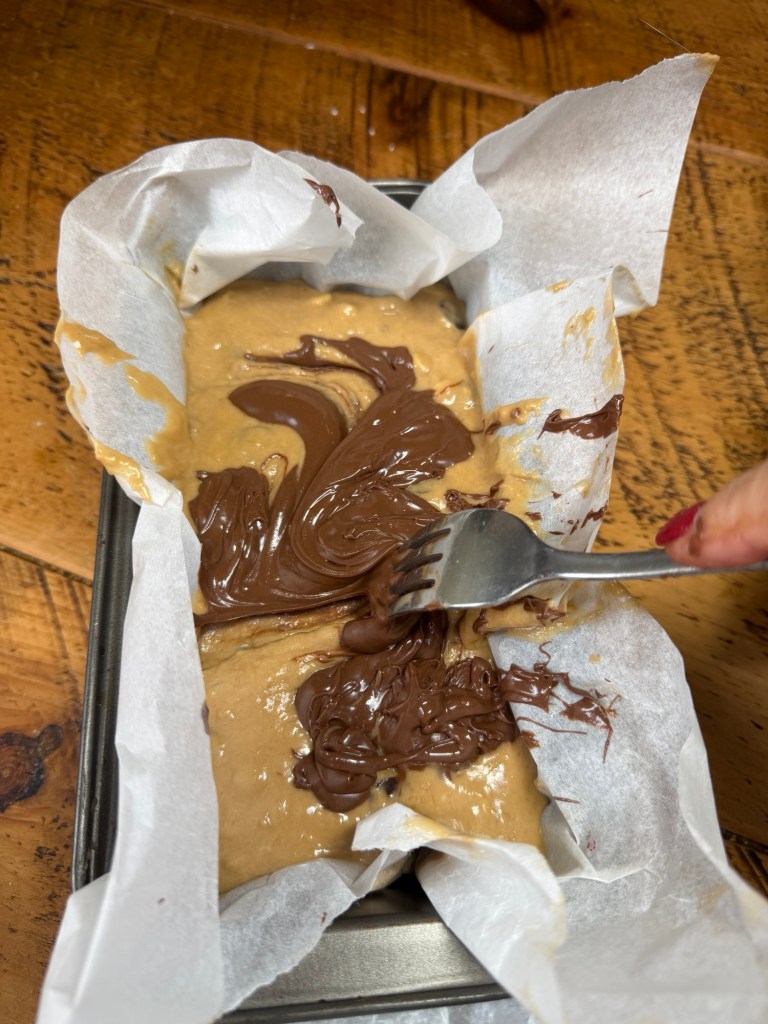
• Dollop or drizzle the Nutella over the top of the batter, then use a knife or skewer to swirl it through, creating ribbons of hazelnut chocolate.
No need for perfection here – messy swirls taste just as good.
Bake • Pop the tin into the oven and bake for about 55–65 minutes, or until the loaf is risen, golden, and a skewer inserted into the centre comes out mostly clean, with just a few moist crumbs (avoid a big melted chocolate pocket when you test). • If the top is browning too quickly, loosely cover with foil for the last 10–15 minutes.
Cool (as much as you can bear) • Leave the loaf to cool in the tin for about 15 minutes, then lift it out onto a wire rack.
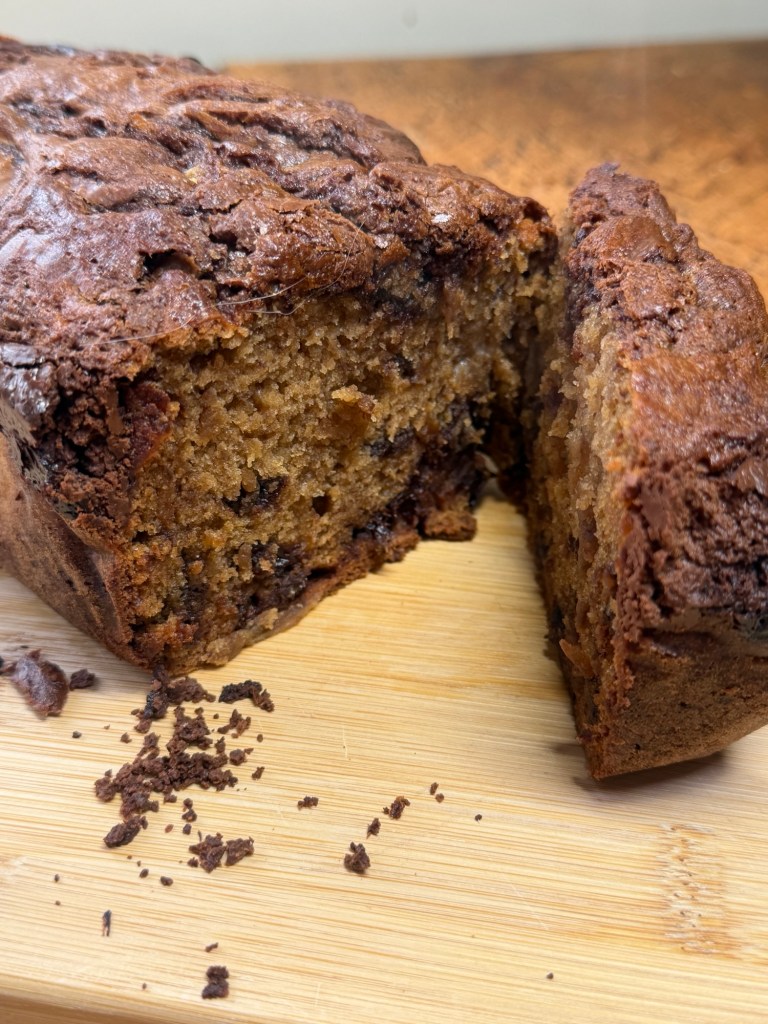
• You can let it cool completely… or do what we do and cut the first slices while it’s still just warm, when the chocolate is soft and the Nutella ripples are extra gooey.
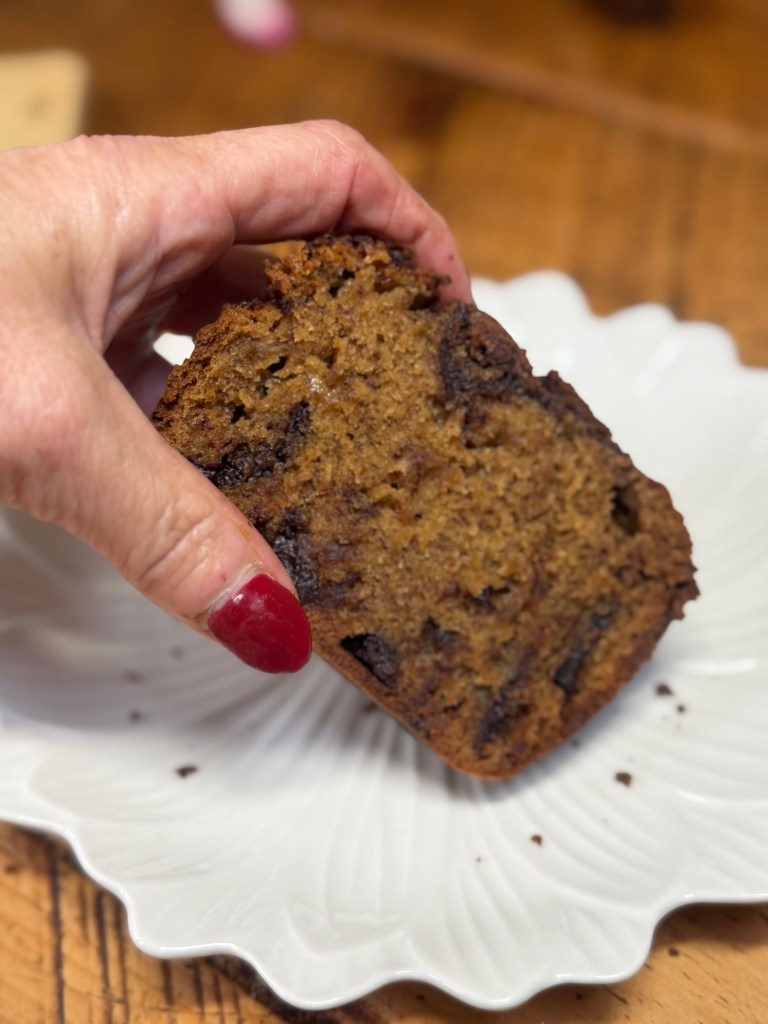
Every slice is a little bit of everything: soft, banana‑rich crumb, sweet white chocolate, deep dark chocolate and those cheeky streaks of Nutella that still feel ever so slightly naughty after its years-long ban. The funniest part is serving it now. No banned jars, no drama, no trail of sticky spoons (yet!) – just the girls eyeing up the tin and asking, “Is there Nutella in this?” with that look that tells me they know exactly what I’ve smuggled back into the house. Have you tried this recipe or any other suggestions for different types of banana bread ? Let me know in the comments.