Tag: quick desserts

  • The Easiest Chocolate Banana Muffins You’ll Ever Bake! 🍫🍌

    The Easiest Chocolate Banana Muffins You’ll Ever Bake! 🍫🍌

    If you’re anything like me, you’ve got those two sad, overripe bananas sitting on the counter right now, just begging to be turned into something delicious. Forget the standard banana bread—today we are leveling up!

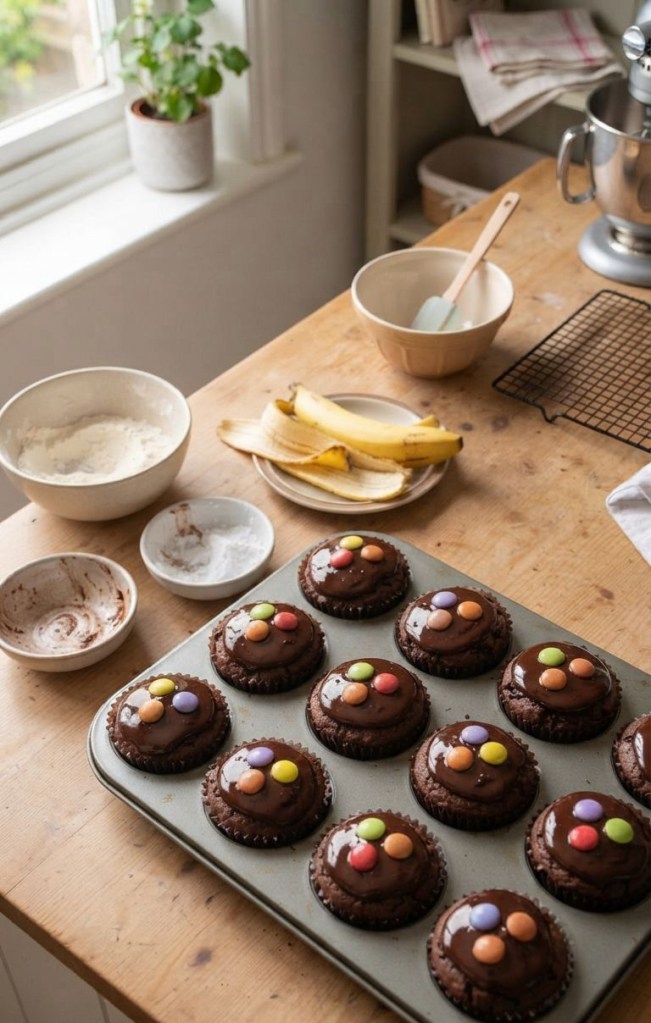
    These Chocolate Banana Smarties Muffins are my new go-to. They are incredibly moist, intensely chocolatey, and that pop of color from the Smarties makes them look like they came straight out of a bakery window. Plus, they come together so fast, you’ll have a fresh batch ready for your afternoon coffee in no time.

    Let’s get baking!

    What You’ll Need

    This recipe is simple, straightforward, and uses ingredients you probably already have in your pantry.

    The Ingredients:
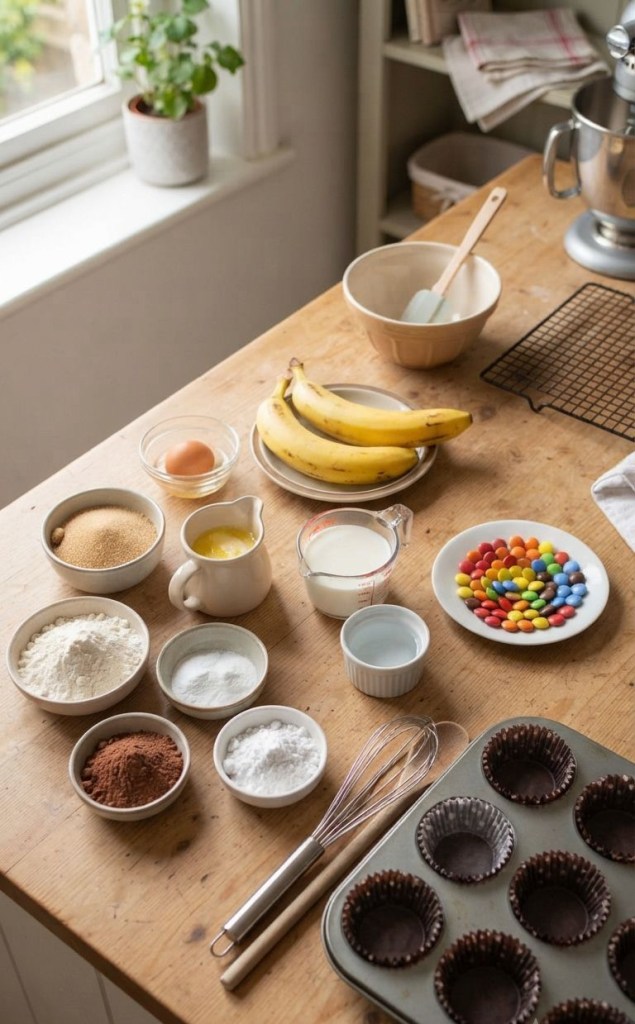
     For the Muffins:

     2 Bananas (the riper, the better!)

     1 Large Egg

     100g Light Brown Soft Sugar

     55g Butter, melted (because butter just tastes better!)

     65ml Skimmed Milk

     200g Plain Flour

     1 Tsp Baking Powder

     1 Tsp Bicarbonate of Soda

     30g Cocoa Powder

     For the Fun Stuff:

     3 ½ Tbsp Icing Sugar

     1 Tsp Cocoa Powder (for the glaze)

     ½ Tbsp Water

     36 Smarties (that’s 3 per muffin!)

    How to Make Them

    1. Prep is Key: Start by pre-heating your oven to 160°C (fan setting) and line a 12-hole cupcake tin with your favorite paper cases.

    2. Dry Mix: In a large mixing bowl, grab a whisk and stir together your plain flour, light brown soft sugar, cocoa powder, baking powder, and bicarbonate of soda. Give it a good mix to make sure there are no cocoa lumps.

    3. The Banana Magic: In a second bowl, mash those bananas until they’re nice and smooth. Pour in your melted butter and stir. Then, crack in the egg and add the milk, mixing until everything is well combined.

    4. The Big Mix: Pour your wet banana mixture into the dry ingredients. Whisk it all together until you have a smooth, glorious chocolate muffin batter.

    5. Bake: Divide that batter evenly between your 12 paper cases. Pop them into the oven for 20-25 minutes. You’ll know they are done when they have risen beautifully and a cocktail stick inserted into the center comes out clean.

    6. Cooling: Resist the urge to dive in immediately! Move them to a wire rack and let them cool fully.

    7. The Finishing Touch: Whisk your icing sugar, the extra teaspoon of cocoa powder, and the water together until you have a smooth, glossy paste. Drizzle it over the cooled muffins, and finally, press 3 Smarties onto the top of each one.
    Why You’ll Love Them

    These muffins are the perfect balance of fruity sweetness and rich cocoa. The butter adds a lovely depth of flavor that you just don’t get with spread, and the Smarties add that perfect little crunch in every bite.

    They are fantastic for lunchboxes, a cheeky treat at work, or just for enjoying on a lazy Sunday morning. Give them a try and let me know in the comments how they turned out for you!

    Happy baking,
  • Creamy Raspberry & Lemon No-Bake Cheesecake Jars

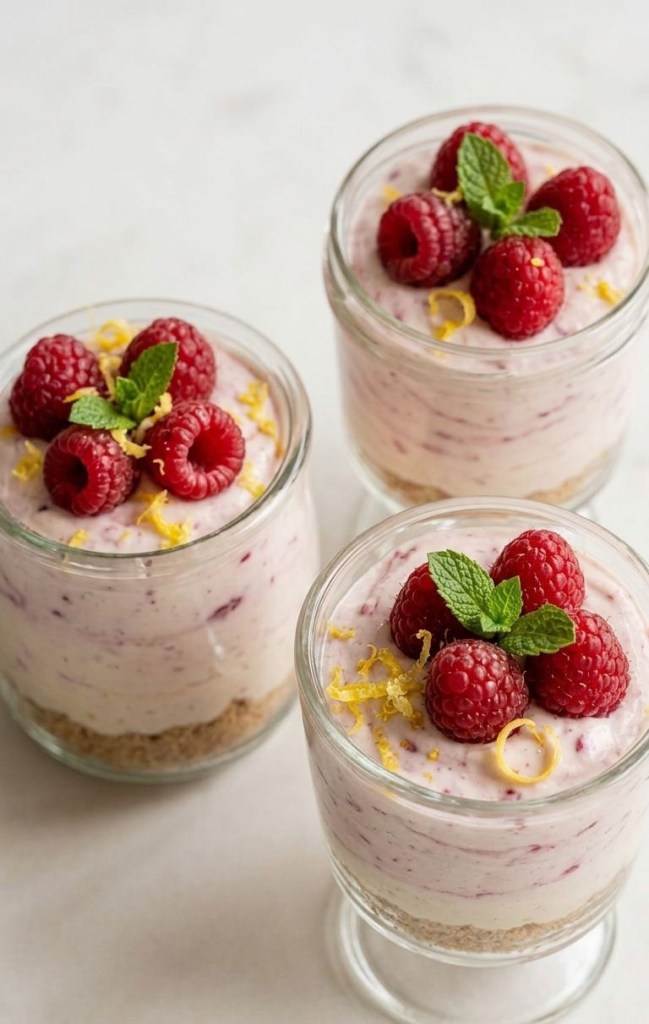
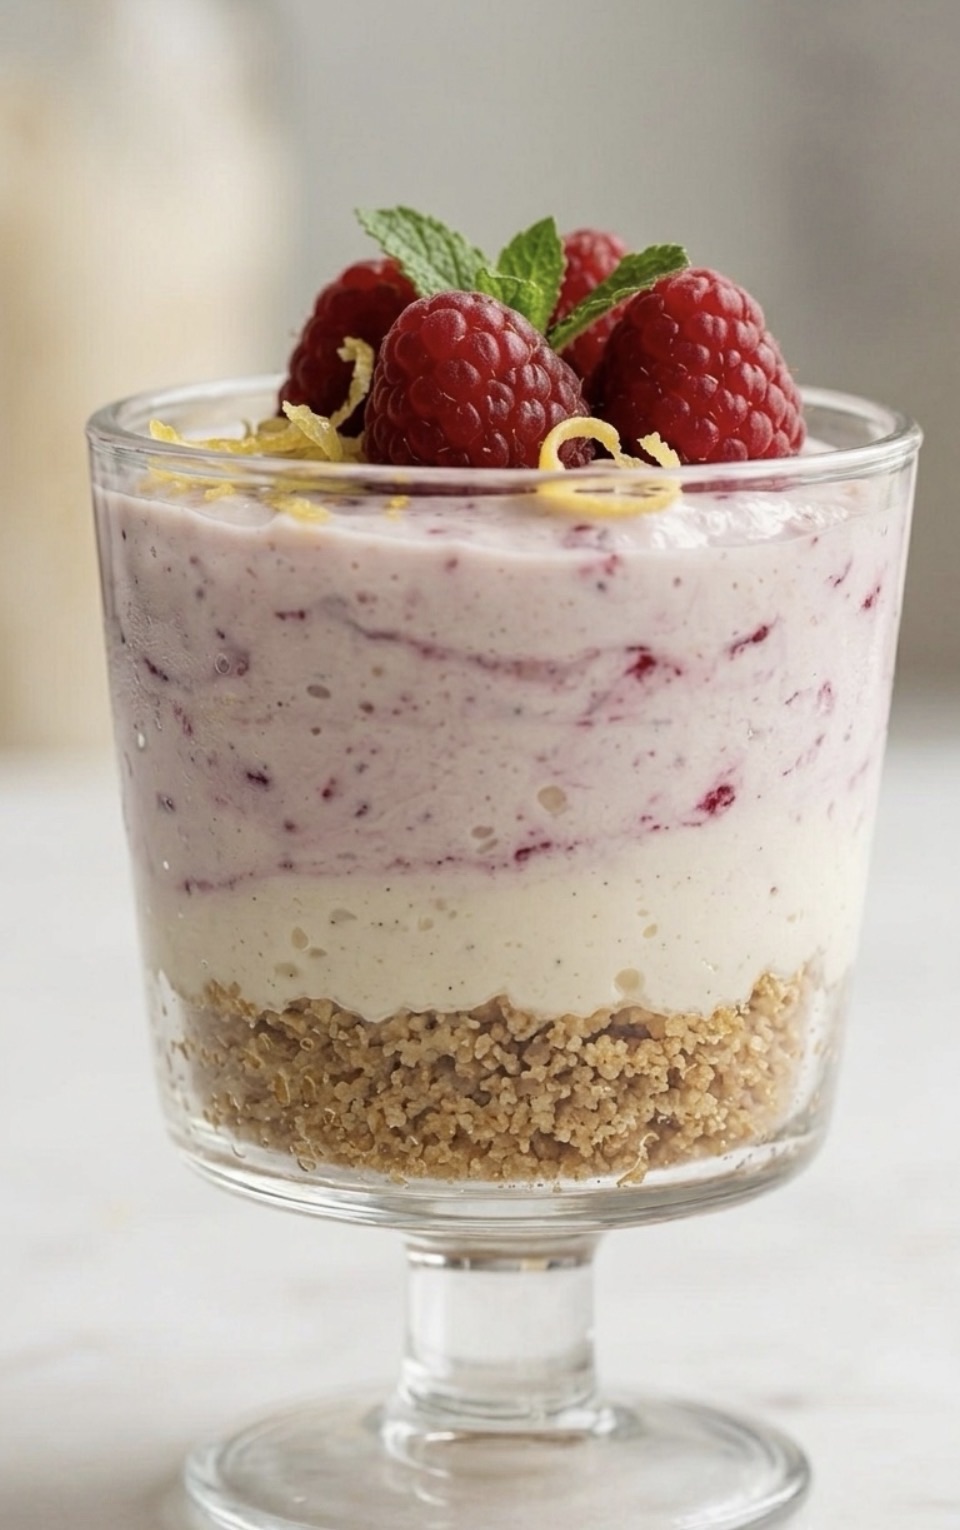
    Creamy Raspberry & Lemon No-Bake Cheesecake Jars

    There is something undeniably satisfying about a dessert that looks sophisticated but comes together in minutes. Whether you are meal-prepping healthy treats for the week or need a quick crowd-pleaser for a dinner party, these No-Bake Raspberry & Lemon Cheesecake Jars are the answer.

    Combining the tang of Greek yogurt with the creamy texture of cottage cheese, this dessert provides a protein boost while satisfying your sweet tooth. Best of all, it requires zero time in the oven.

    Why You’ll Love This Recipe

     Minimal Effort: No baking, no fuss, just fresh ingredients.

     Protein-Packed: By using cottage cheese and Greek yogurt, you get a much more satisfying treat than standard heavy-cream desserts.

     Perfectly Portionable: The individual jars make them easy to grab on the go or store in the fridge.

     Customizable: You can swap the berries for blueberries or even add a drizzle of melted dark chocolate.

    The Recipe

    Prep time: 10 minutes | Servings: 3

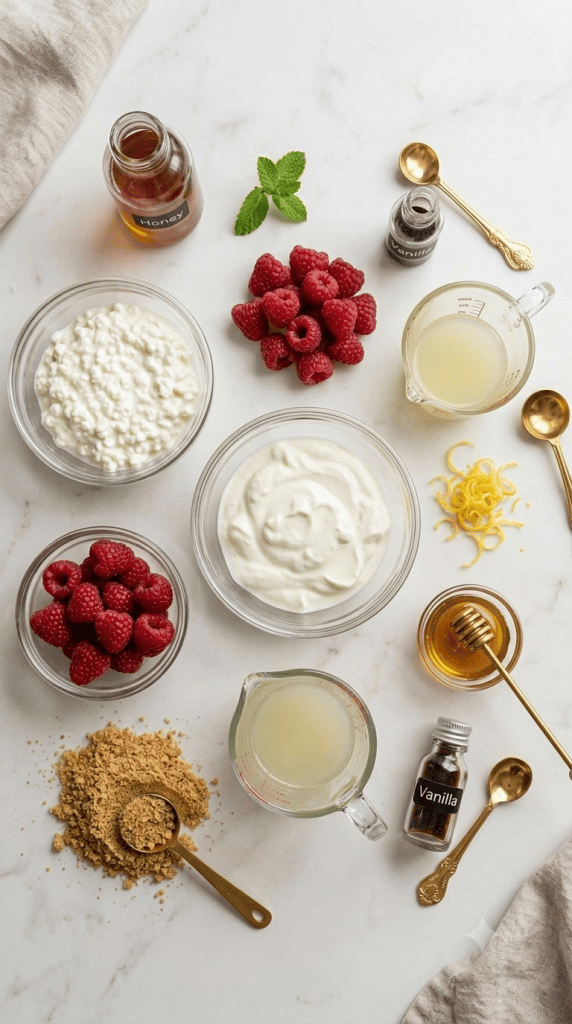
    Ingredients

     1 cup (100g) Digestive biscuits or graham crackers (crushed)

     1 cup (225g) Cottage cheese

     1/2 cup (120g) Greek yogurt

     1 cup (125g) Fresh raspberries

     2 tbsp Honey (or maple syrup)

     1 tbsp Lemon juice

     1 tsp Vanilla extract

     Optional: Lemon zest and mint leaves for garnish

    Instructions

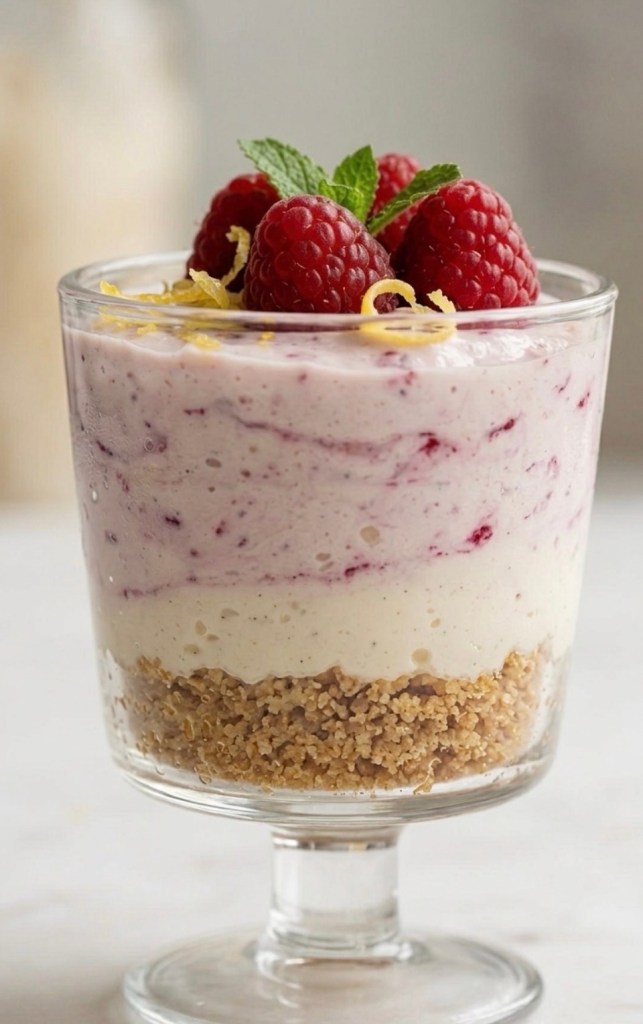
    1. Prepare the Base: Divide your crushed biscuits equally among three jars. Press them down gently with a spoon to create a compact, even layer.

    2. Blend the Cream: In a food processor or high-speed blender, combine the cottage cheese, Greek yogurt, honey, lemon juice, and vanilla extract. Blitz until the mixture is completely smooth and creamy.

    3. Add the Fruit: Gently fold in half of your fresh raspberries. If you prefer a marbled look, pulse the blender just two or three times rather than fully blending them.

    4. Assemble: Spoon or pipe the cheesecake mixture over the biscuit bases.

    5. Garnish: Top with the remaining fresh raspberries, a sprinkle of lemon zest, and a small mint leaf.

    6. Set: You can enjoy these immediately, but they taste even better after chilling in the fridge for 30 minutes!

    Nutritional Information

    Per serving (makes 3)

    📊 Macros

     Calories: 215 kcal

     Protein: 14g

     Carbohydrates: 32g

     Fat: 3g

    Tips for Success

     Smooth Texture: If you don’t like the texture of cottage cheese curds, blending it thoroughly is key. It will transform into a silky cream that rivals mascarpone.

     Keep it Crunchy: If you plan to store these for more than a day, add the biscuit base right before serving to ensure it stays crunchy rather than getting soggy from the moisture in the cream.

     Zest is Best: Don’t skip the lemon zest! It adds a bright, fresh aroma that ties the lemon and berries together perfectly.

    Have you tried this recipe? Tag us in your photos or let us know in the comments how you customized your jars!

  • Why You’ll Never Buy Store-Bought Ice Cream Again (3 Ingredients!)

    Why You’ll Never Buy Store-Bought Ice Cream Again (3 Ingredients!)

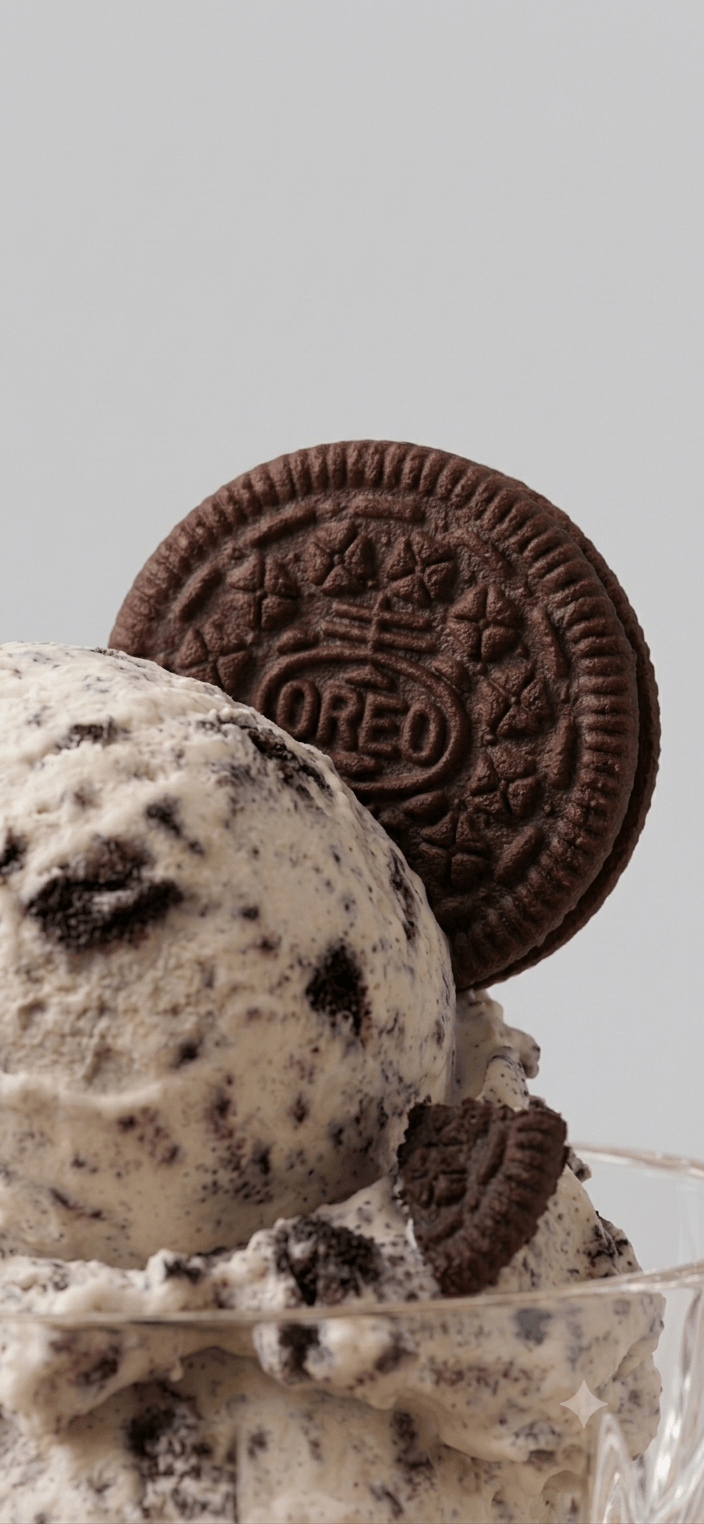
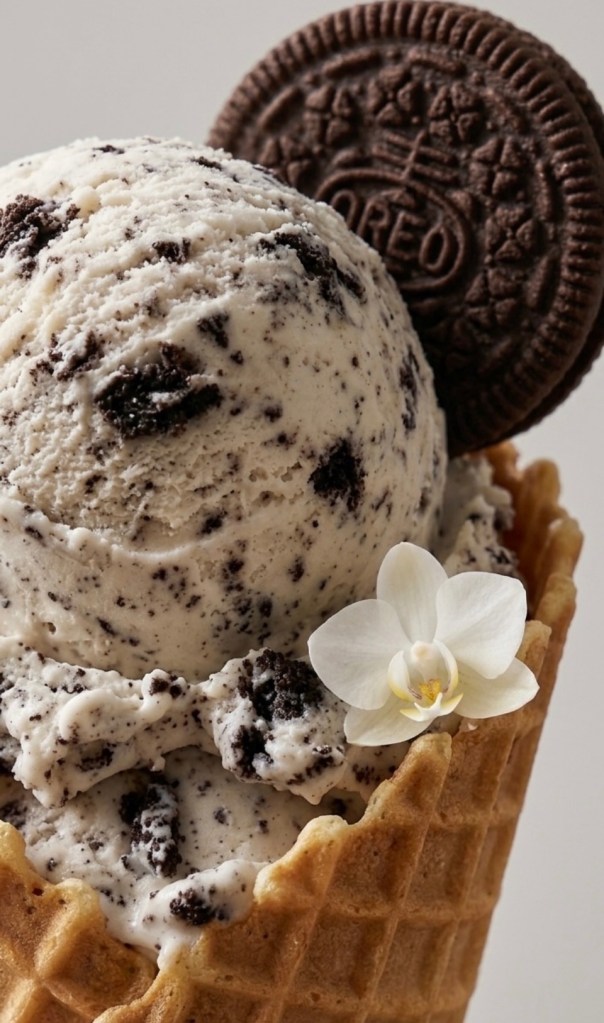
    Let’s be honest—is there anything better than a giant scoop of cookies and cream ice cream on a warm evening? But have you ever looked at the back of a carton at the shops? It’s usually packed with ingredients you can’t even pronounce.

    Well, I’ve got a secret for you. You can make the most velvety, decadent ice cream right in your own kitchen with only three ingredients. No fancy ice cream machine, no complicated techniques, just pure magic.

    Grab your whisk, crush those cookies, and let’s get into it!

    The Ingredients

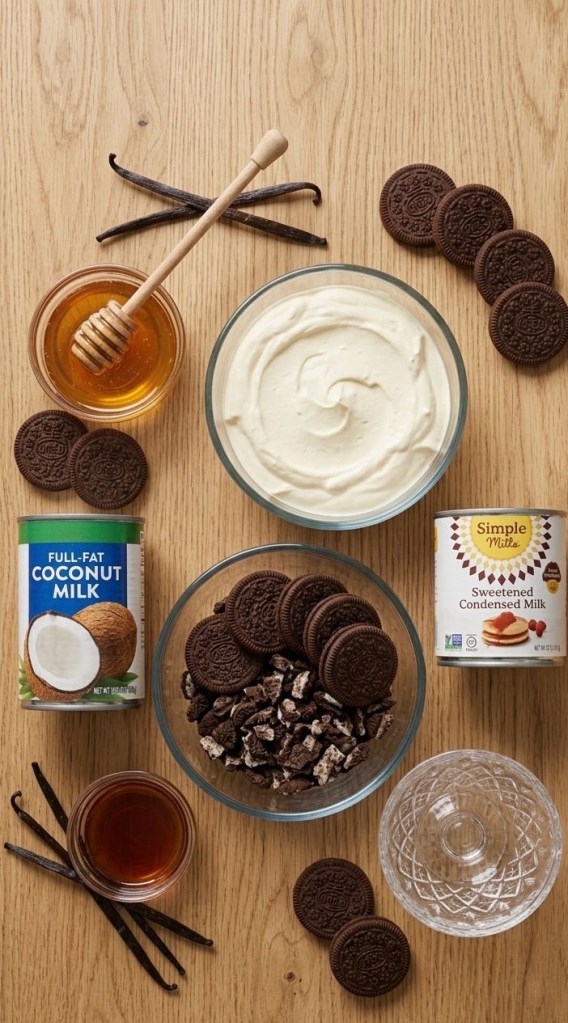
     475ml (2 cups) Double Cream – Cold from the fridge!

     1 tin (approx. 400g) Sweetened Condensed Milk – OR make it from scratch by simmering 1 tin of full-fat coconut milk with 120ml (1/2 cup) honey for 20-30 minutes until thick, then cooling completely.

     1 tbsp Vanilla Extract

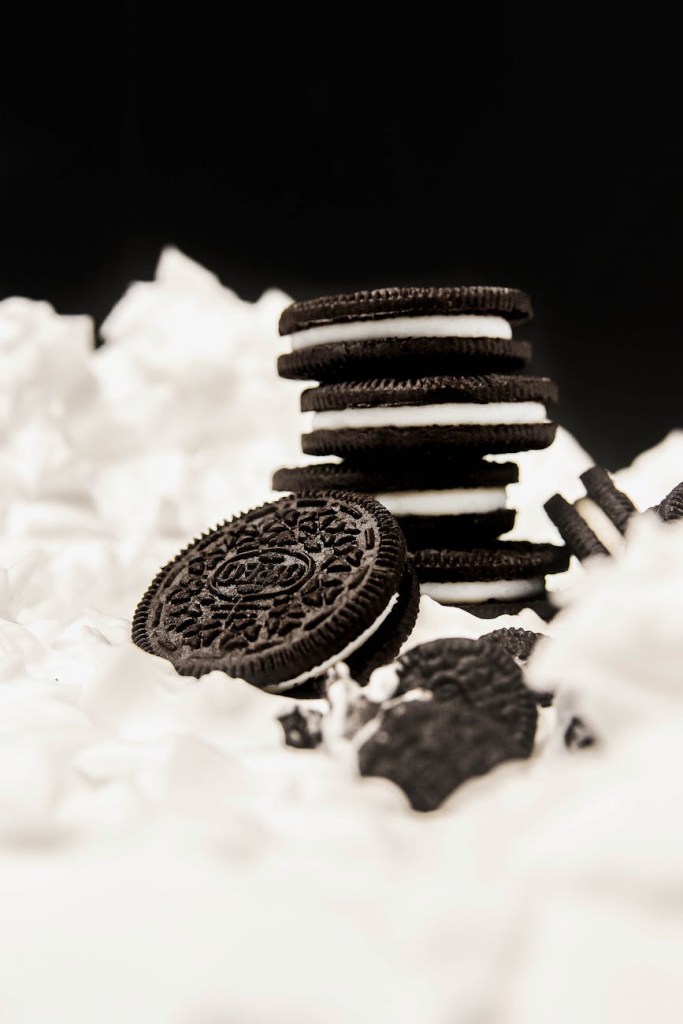
     A mountain of crushed cookies – Your favorite chocolate sandwich cookies work best.

    The Method

    1. Whip the Cream: In a stand mixer or with a hand whisk, whip the double cream on high speed until you reach stiff peaks. The cream should stand up firmly on the whisk without drooping.

    2. Combine the Base: Gently fold your chosen sweet base (the condensed milk or your cooled coconut-honey mixture) and the vanilla extract into the whipped cream using a spatula. Be gentle—you want to keep all that beautiful air in the mixture!

    3. Add the Crunch: Fold in your crushed cookies. Don’t be shy—the more, the better.

    4. Freeze: Pour the mixture into a freezer-safe container. Cover it and freeze for several hours, or overnight, until firm.

    5. Serve: When you’re ready, take it out of the freezer for a few minutes to soften slightly, then scoop and enjoy!

    CTA: Seriously, try this out and let me know—what’s the first cookie you’re tossing into the mix? I’m a sucker for a classic dark cocoa biscuit, but I’d love to hear your favorite combos in the comments!

  • How to Make the Ultimate Oreo Milkshake (The Cafe-Style Secret)

    How to Make the Ultimate Oreo Milkshake (The Cafe-Style Secret)

    We have all been there. You get a craving for a thick, indulgent Oreo milkshake, throw a handful of biscuits and some ice cream into a blender, hit go, and… end up with a sad, uniform, grey sludge.

    It tastes okay, but it completely lacks that premium cafe-style texture.

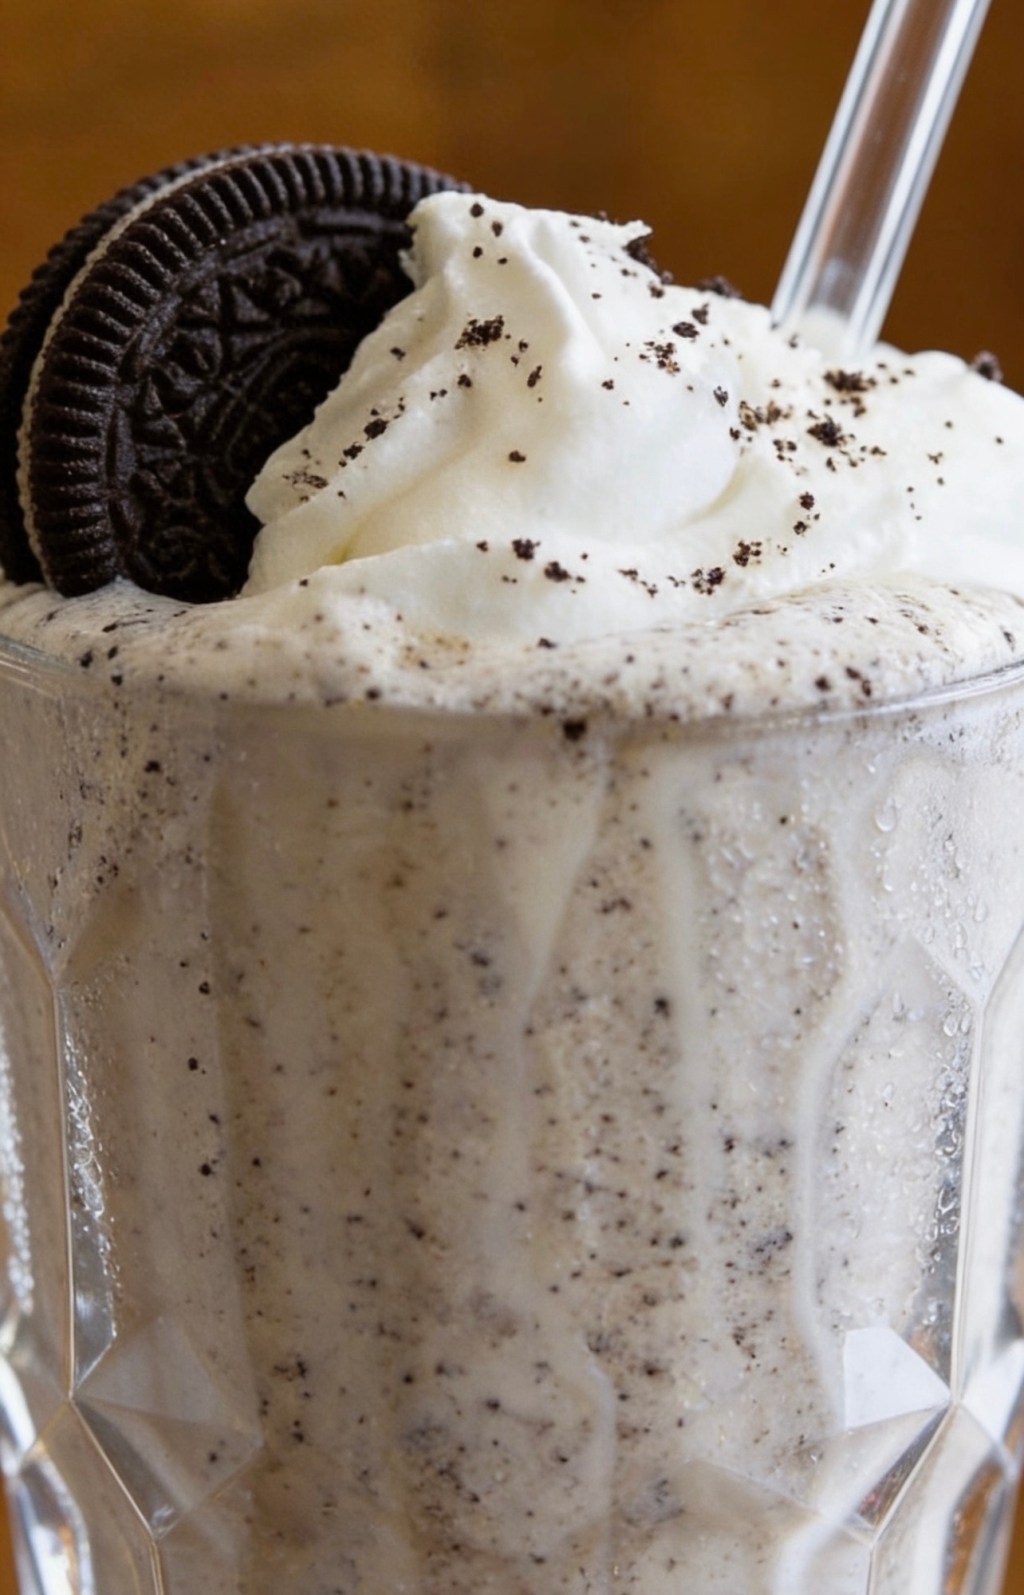
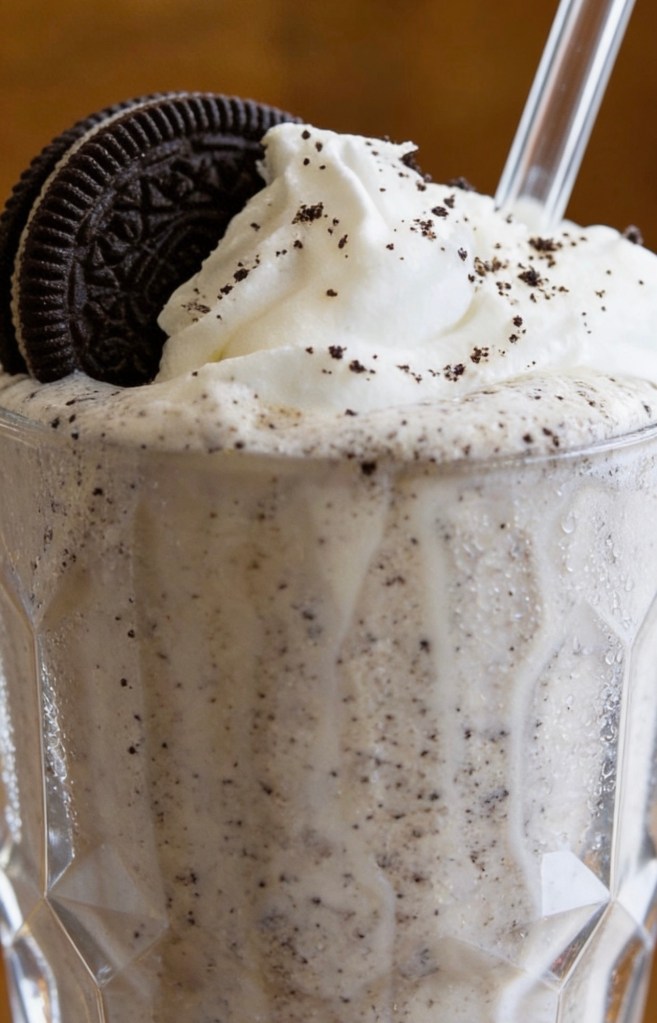
    The secret to a perfect Oreo milkshake isn’t a magical ingredient—it’s all in the timing. If you blend everything together at once, the biscuits pulverize into dust. By changing up your blending order, you get a beautiful, speckled shake with perfect crunchy biscuit bits in every single sip.

    Here is how to make a proper British cafe-standard Oreo milkshake at home in less than five minutes.

    Why This Recipe Works

     The Texture Contrast: Blending the base first keeps the ice cream thick while pulsing the biscuits at the end preserves the crunch.

     No Ice Needed: Adding ice dilutes the rich dairy flavour. We use pure ice cream and full-fat milk for maximum creaminess.

     Chilled Glass Technique: Freezing the glass with chocolate sauce ensures your milkshake stays thick from the first sip to the last.

    Ingredients

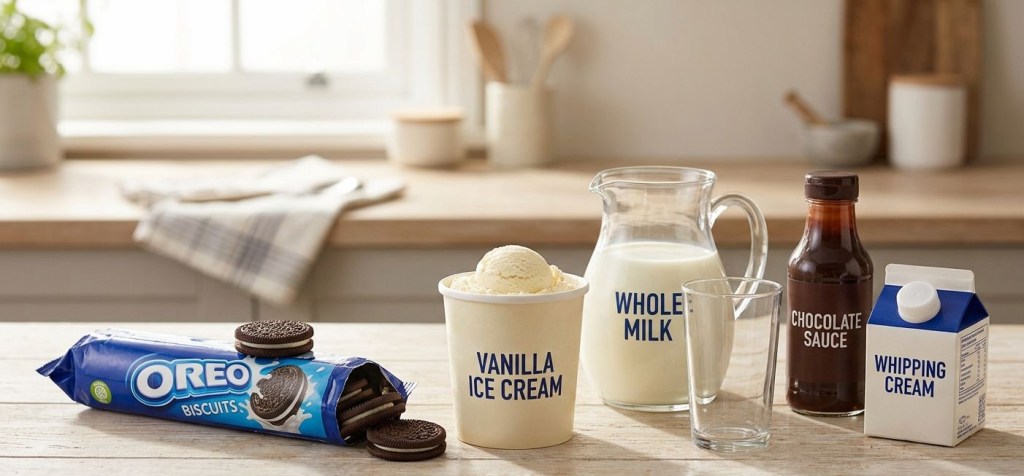
     4 large scoops vanilla ice cream

     120ml whole milk (full-fat milk gives the best texture)

     5 Oreo biscuits (plus 1 or 2 extra for the topping)

     Optional: Whipped cream (or squirty cream) and chocolate dessert sauce for decorating the glass

    Step-by-Step Instructions

    Step 1: Prep Your Glass

    Take your serving glass and drizzle chocolate sauce around the inside walls in a swirl pattern. Pop the glass straight into the freezer while you make the shake. Trust me, a chilled glass is a game-changer for keeping a milkshake thick.

    Step 2: Blend the Creamy Base

    Add the 4 large scoops of vanilla ice cream and 120ml of whole milk to your blender. Whizz on high for about 20 to 30 seconds until the mixture is completely smooth, thick, and uniform.

    Step 3: Add the Oreos and Pulse

    Drop the 5 Oreo biscuits directly into the smooth mixture. Instead of turning the blender back on continuously, use the pulse setting just 4 or 5 times. You want the blades to break the biscuits into small, chewable pieces, not turn them into powder.

    Step 4: Assemble and Serve

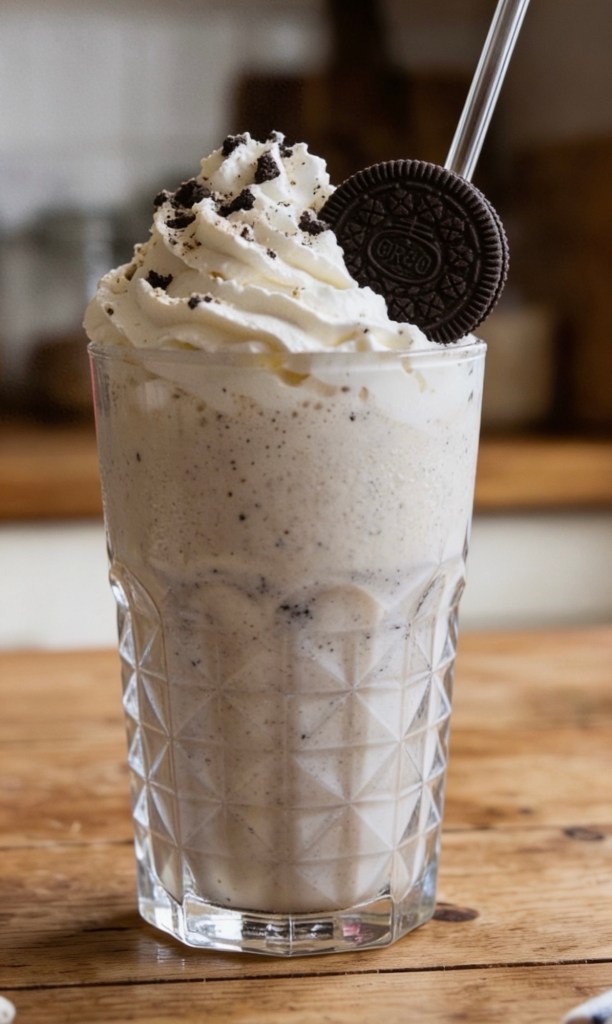
    Take your chilled glass out of the freezer. Pour the thick, speckled milkshake straight in. Top with a generous mountain of whipped cream, and crumble your remaining Oreo biscuits over the top. Add a wide straw and enjoy!

    💡 Pro-Tip: The 2-Minute Rule

    If your milkshake feels a bit too thick to drink through a straw, do not add more milk. Adding more milk dilutes the rich creaminess and thins it out permanently. Instead, just leave it on the kitchen side for two minutes. Let the ice cream soften naturally, and it will reach the perfect sippable consistency on its own.

    Variations to Try

     The Peanut Butter Twist: Add one tablespoon of smooth peanut butter into the blender during Step 2 for an incredible sweet-and-salty kick.

     Double Chocolate: Swap out two of the vanilla ice cream scoops for chocolate ice cream to make a decadent ultra-chocolate version.

    Over to you! Do you prefer your milkshakes completely smooth, or are you team chunky? Let me know in the comments below!