Tag: #recipes

  • The Strawberry Shortcake Milkshake You Need in Your Life Right Now

    The Strawberry Shortcake Milkshake You Need in Your Life Right Now

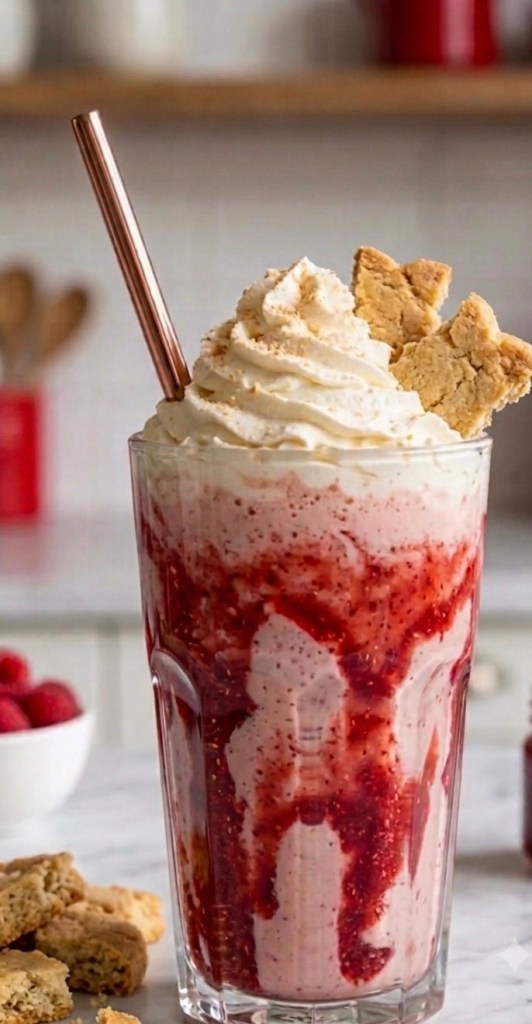
    Sometimes, you don’t just want a dessert—you want an experience. You want that perfect mix of creamy, fruity, and crunchy, all in one glass. If you’ve been scrolling through social media and drooling over those aesthetic, cafe-style drinks, I have some good news: you can make them in your own kitchen, and it’s honestly way easier than it looks!

    Today, we are talking about the Strawberry Shortcake Milkshake. It’s nostalgic, it’s refreshing, and it’s basically a handheld dessert party.

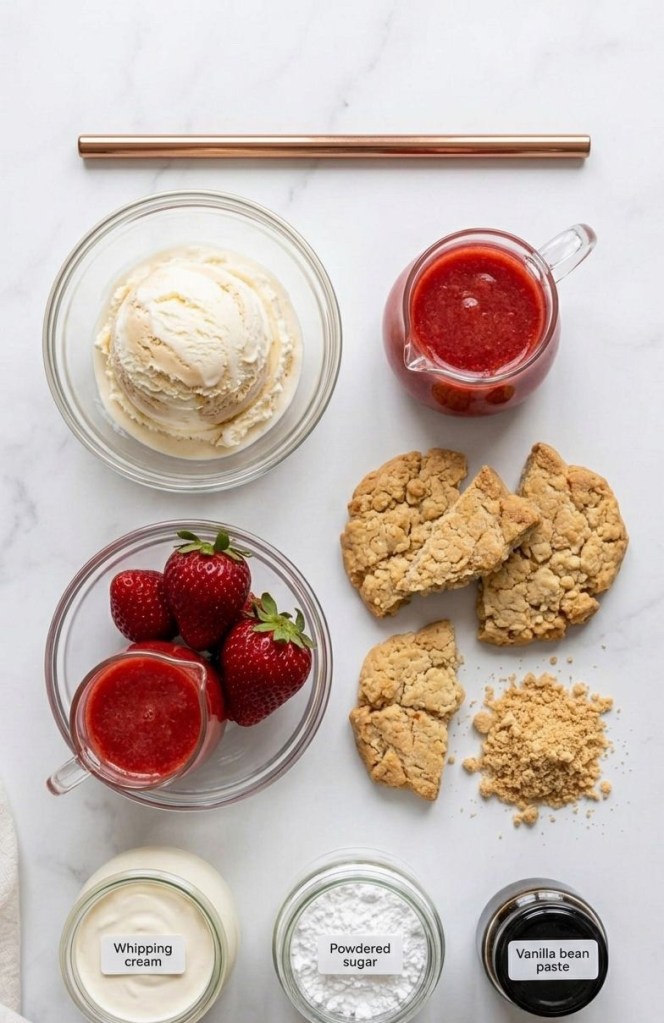
    What You’ll Need

    Before we start blending, let’s get our ingredients sorted. You’ll want:

     Vanilla Bean Ice Cream: The higher quality, the better! It provides that rich, velvety base.

     Fresh Strawberries: These bring that bright, fresh fruit flavour.

     Strawberry Puree: This is the secret to that “cafe-style” look. Drizzle it down the inside of your glass before you pour in the shake.

     Shortbread Biscuits: The “shortcake” element! We’re going to crush these up for that essential buttery crunch.

     Double Cream: Whip this up for that classic, decadent finish.

     A splash of milk: To get the perfect, drinkable consistency.

    The Recipe

    Makes: 1 large serving (or 2 smaller ones)

    Prep time: 10 minutes

    Ingredients:

     350ml premium vanilla bean ice cream

     120g fresh strawberries, hulled and sliced

     60ml whole milk (add a tablespoon at a time until you reach your preferred consistency)

     3 shortbread biscuits (2 to blend, 1 for the garnish)

     2 tbsp strawberry puree (plus more for swirling the glass)

     1 tsp vanilla extract

     Whipped double cream, to serve

    Method:

    1. The Puree Drizzle: Take your strawberry puree and use a spoon to swirl it around the inside walls of your glass. This gives you those gorgeous, professional-looking streaks.

    2. The Blend: Add your ice cream, fresh strawberries, milk, vanilla extract, and two of the crushed shortbread biscuits into your blender. Pulse until it’s thick and creamy, but stop before you pulverise the biscuit bits entirely—you want some texture!

    3. The Pour: Carefully pour your shake into the glass.

    4. The Garnish: Pipe on a generous swirl of whipped double cream. Finish it off with an extra sprinkle of crushed biscuit and maybe a whole shortbread biscuit tucked into the side.

    5. Enjoy: Grab a straw and dive in immediately. It’s meant to be enjoyed while it’s nice and cold.

    Why You’ll Love It

    It’s the perfect way to cool down on a warm day, but honestly? It’s a year-round treat. Whether you’re hosting a brunch or just having a “treat yourself” kind of night, this milkshake is guaranteed to be a hit.

    Give this recipe a try and let me know in the comments how yours turned out! Do you like yours extra thick, or more on the drinkable side? I’m dying to know!

  • Matthew McConaughey’s Viral Tuna Salad Recipe (Tried and Tested!)

    Matthew McConaughey’s Viral Tuna Salad Recipe (Tried and Tested!)

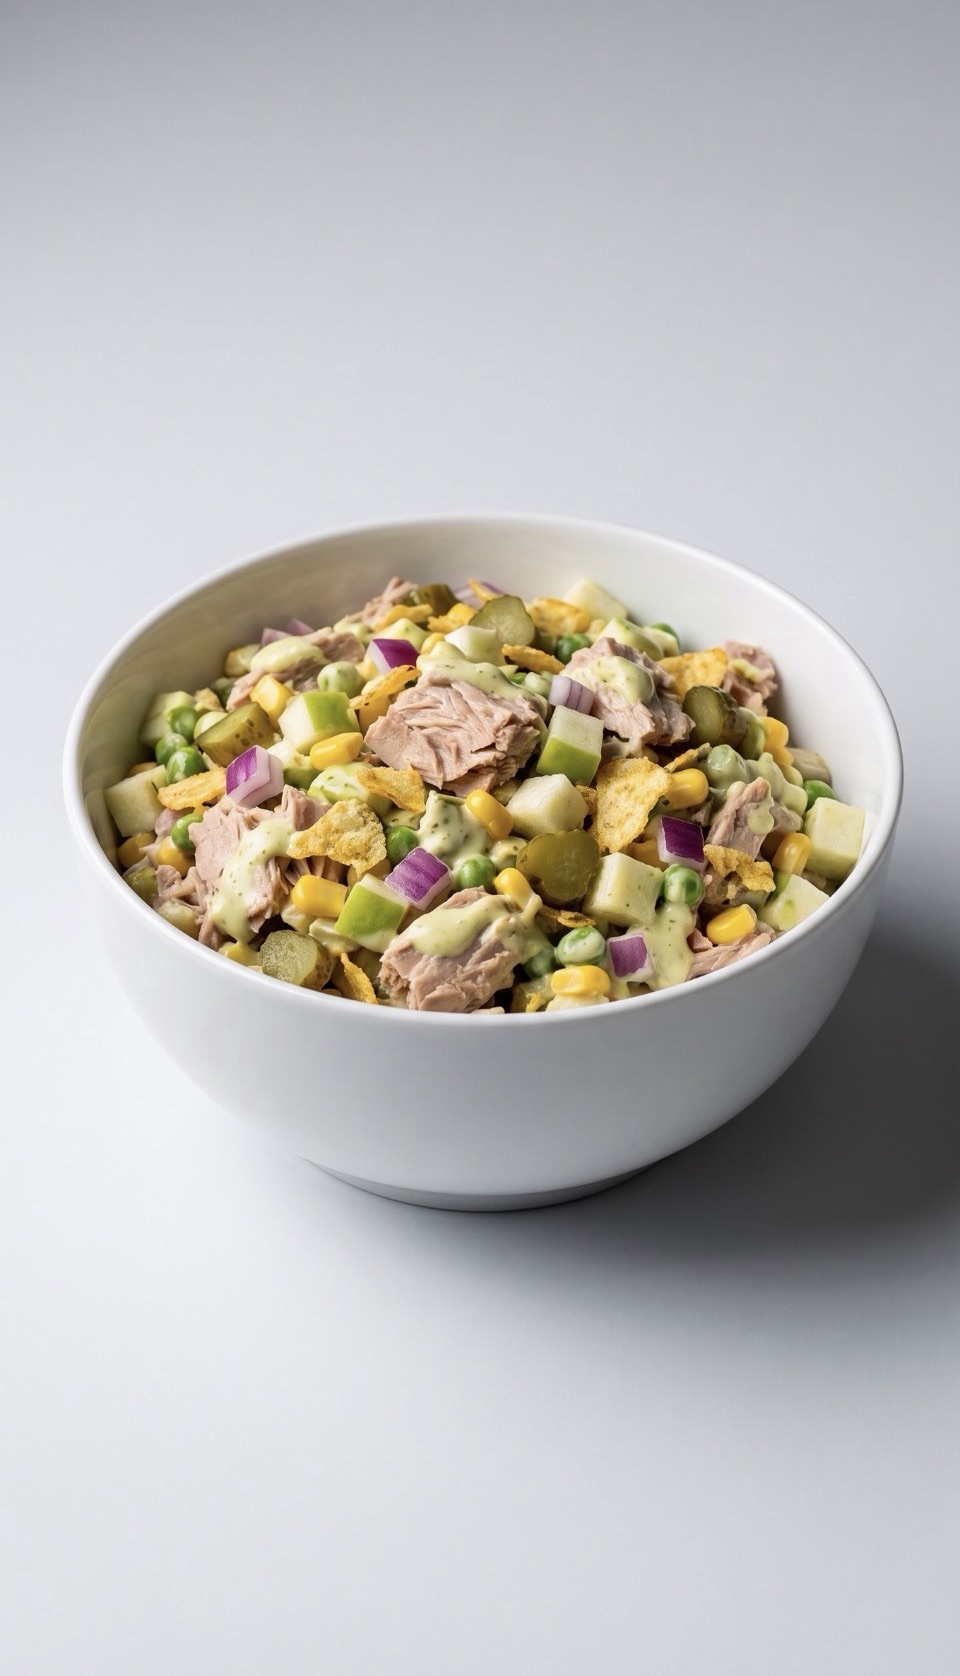
    If you’ve been anywhere near TikTok or Instagram lately, you’ve probably seen it: Matthew McConaughey’s now-famous “clean out the fridge” tuna salad. He first talked about it on the 2 Bears, 1 Cave podcast, describing a Sunday family staple loaded with wasabi, apple, corn, peas and crispy jalapeño chips — and the internet has not stopped talking about it since


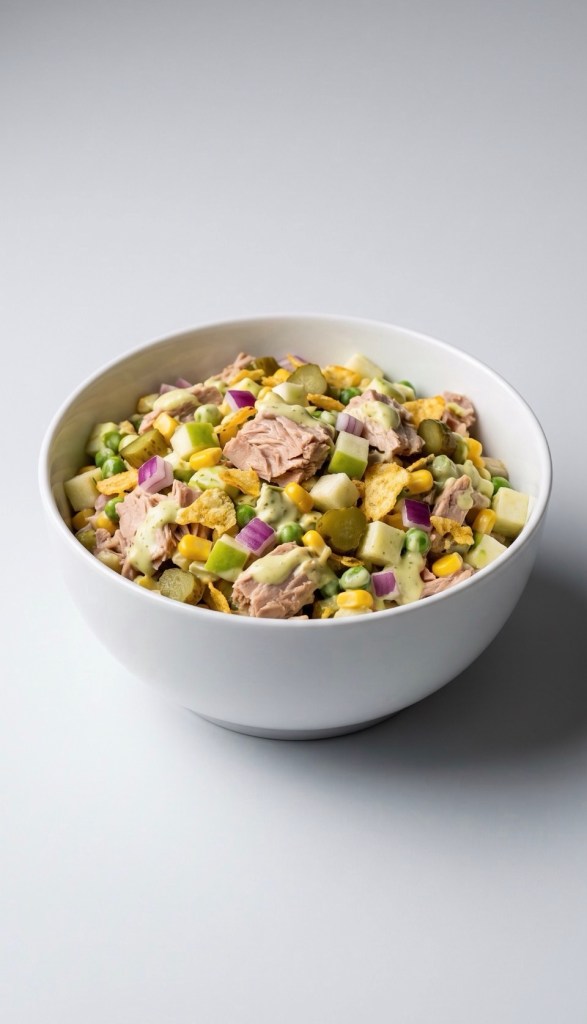
    I had to try it for myself, and honestly? It shouldn’t work — but it really, really does. The wasabi mayo gives it a gentle kick, the apple and corn add sweetness, and those crushed jalapeño chips fold in the crunch a normal tuna salad is missing. This is now firmly in my regular lunch rotation.
    Why This Recipe Works
    McConaughey calls this his “clean out the fridge” salad, and that’s really the beauty of it — it’s endlessly adaptable. Add more or less of anything depending on what you’ve got and how you like it . A few reasons this combination just clicks:
    • Wasabi mayo adds a subtle heat that builds rather than overwhelms.
    • Apple and corn bring natural sweetness that balances the vinegar and pickles.
    • Crispy jalapeño chips replace the usual celery crunch with something far more interesting.
    • A touch of agave or honey rounds everything out.
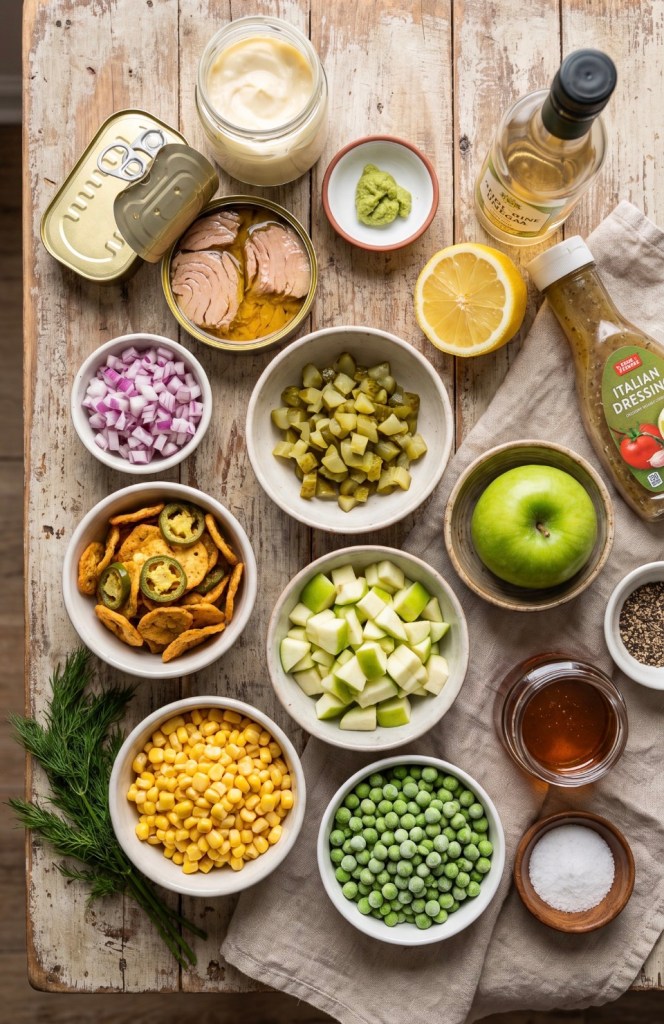
    Ingredients
    Makes about 4 servings
    For the dressing
    • Mayonnaise — 1/2 cup (115g)
    • Wasabi paste — 2 tsp (10g)
    • White wine vinegar — 2 tsp (10ml)
    • Lemon juice — 1 tbsp (15ml)
    • Italian dressing — 2 tsp (10ml)
    For the salad
    • Tuna in olive oil, drained — 10 oz (280g)
    • Red onion, finely chopped — 3 tbsp (30g)
    • Dill pickles, finely chopped — 3 tbsp (30g)
    • Crispy jalapeño chips — 1/3 cup (15g)
    • Apple, chopped — 1/4 cup (35g)
    • Sweetcorn kernels — 1/2 cup (75g)
    • Frozen peas — 1/2 cup (65g)
    • Agave syrup or honey — a touch, about 1 tbsp (15ml)
    Method

    1. Make the dressing. In a medium bowl, whisk together the mayonnaise, wasabi paste, white wine vinegar, lemon juice, and Italian dressing until smooth.
    2. Add the crunch and sweetness. Stir in the red onion, dill pickles, jalapeño chips, apple, corn, and peas until everything is coated in the dressing.
    3. Fold in the tuna. Gently fold the drained tuna through the mixture, taking care not to break it up too much. Add a touch more mayonnaise if you like it creamier.
    4. Chill (if you can wait). McConaughey recommends letting it sit in the fridge overnight — he says the flavours “coagulate” and it tastes even better the next day (City Cast Austin). That said, it’s completely delicious eaten straight away too.
      How to Serve It
      This tuna salad is endlessly versatile:
      • Piled onto a sandwich with good bread
      • Scooped into butter lettuce cups for a lighter lunch
      • Served with crackers or pita chips for dipping
      • Straight out of the bowl, no shame
      Recipe Notes and Tips
      • No measurements are set in stone. McConaughey never gave exact quantities — every published version (including this one) is an estimate, so taste as you go and adjust the wasabi, vinegar, and sweetness to your liking.
      • Use good quality tuna. Since tuna is the base of the whole dish, it’s worth using a nicer tin packed in olive oil rather than water.
      • Keep the jalapeño chips crunchy. If you’re not eating the salad right away, hold back the chips and stir them in just before serving so they stay crispy.
      • Storage. Keeps well in the fridge for up to 3–4 days in an airtight container.
      Frequently Asked Questions
      Does this tuna salad really have wasabi in it?
      Yes — it’s mixed into the mayonnaise for a subtle kick rather than a strong wasabi flavour. Start with less if you’re unsure and add more to taste.
      Can I make it without mayonnaise?
      Some versions swap the mayonnaise for Greek yoghurt for a lighter, higher-protein take, keeping the rest of the recipe the same.
      What’s the best tuna to use?
      Good quality canned tuna packed in olive oil, well drained, works best for flavour and texture.
      Why does McConaughey call it a “clean out the fridge” salad?
      Because the exact ingredients and quantities are flexible — it started as a way to use up whatever was left in the fridge on a Sunday.
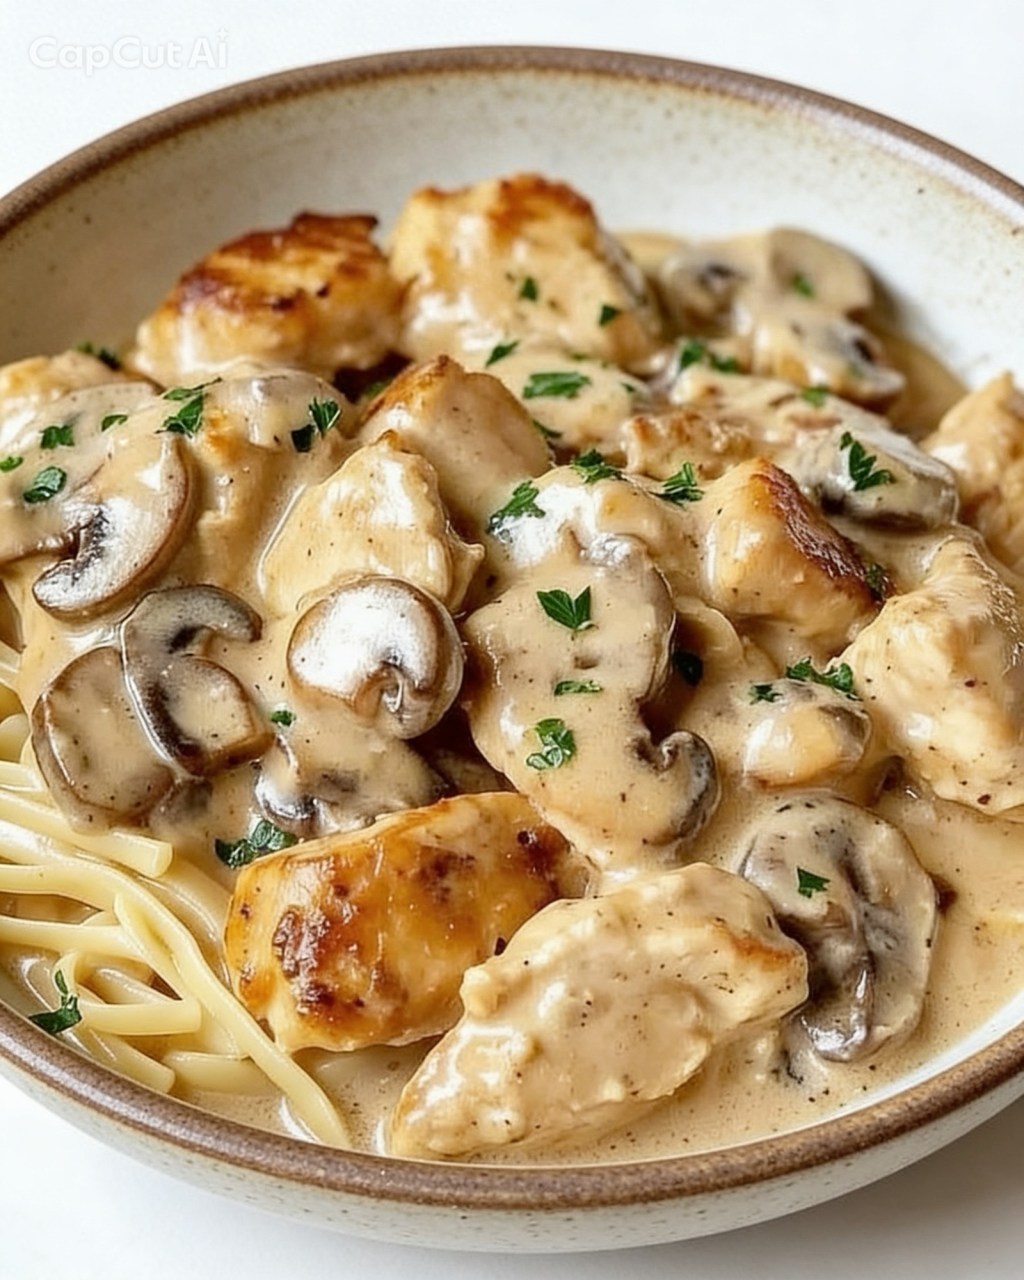
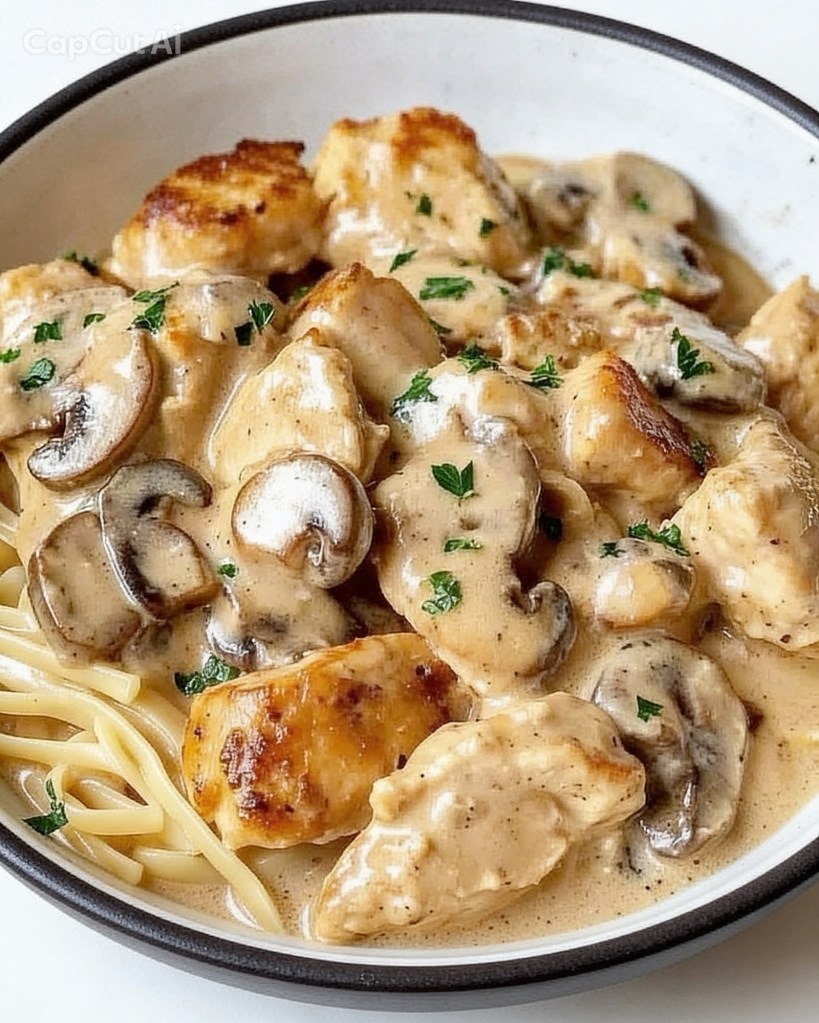
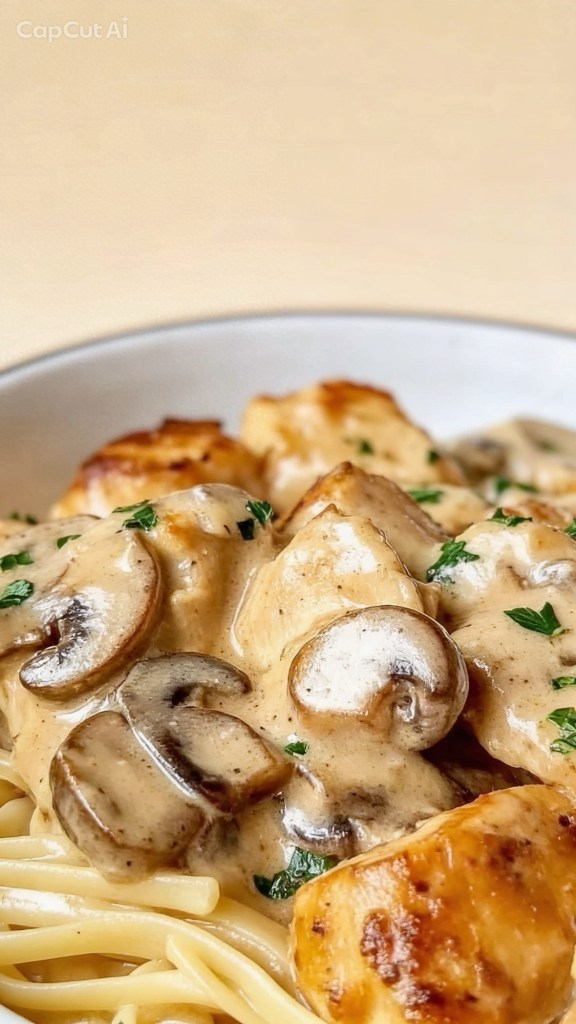
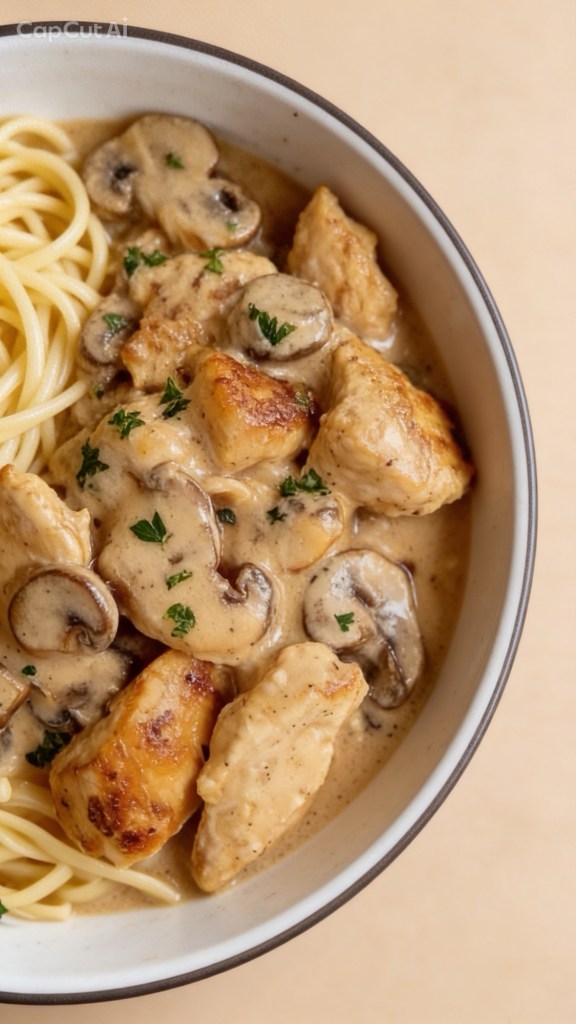
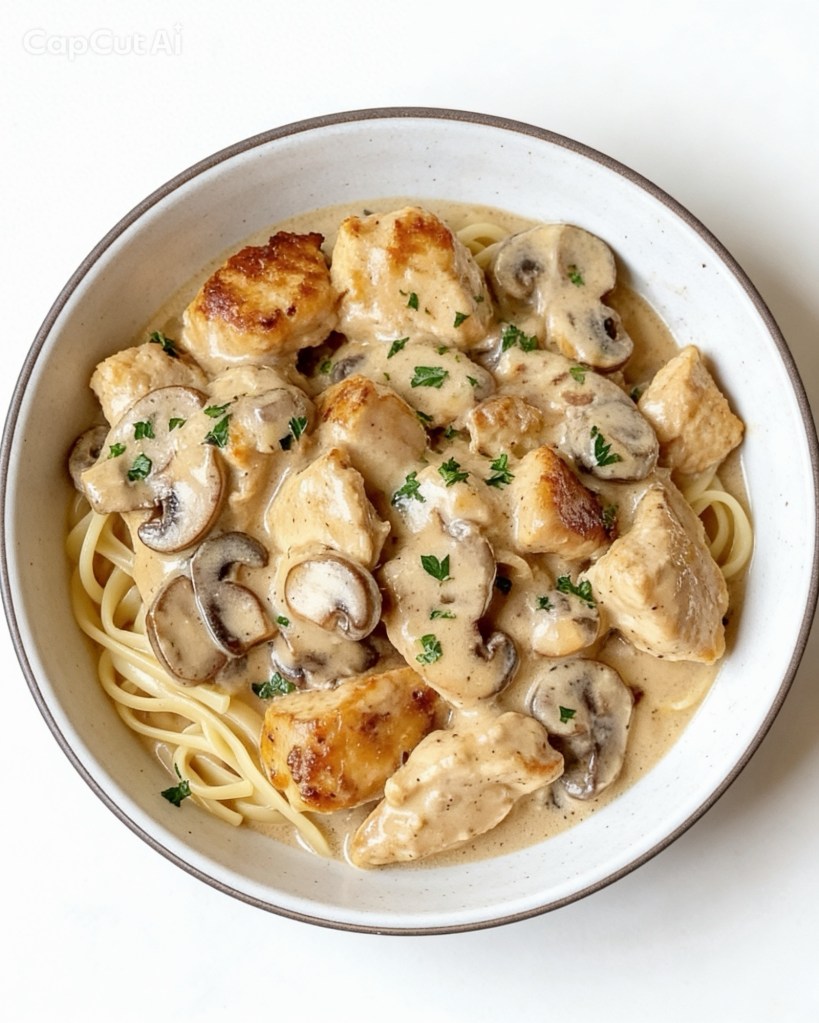
  • The Ultimate 30-Minute Creamy Chicken & Mushroom Stroganoff (Your New Weeknight Best Friend)

    The Ultimate 30-Minute Creamy Chicken & Mushroom Stroganoff (Your New Weeknight Best Friend)

    Let’s be completely real for a second: weeknights can be absolute chaos. By the time 6 PM rolls around, the last thing anyone wants to do is spend hours standing over a hot stove or chopping a million different ingredients.

    But at the same time, a sad piece of toast or another takeaway order just isn’t going to cut it.

    Enter this Creamy Chicken and Mushroom Stroganoff. It is pure comfort food in a pan, it takes exactly 30 minutes from start to finish, and it tastes like you’ve been letting it simmer all afternoon.

    The Great Cream Debate: Double Cream vs. Sour Cream

    Before we get into the kitchen, we need to have a quick chat about the dairy.

    In the UK, a lot of us grew up eating stroganoff made with heavy double cream. It’s rich, it’s luxurious, and it rarely splits when you heat it up.

    However, if you want a truly authentic, traditional Eastern European flavour, swap out that double cream for sour cream. The natural tang of sour cream cuts through the richness of the chicken and mushrooms beautifully, creating a much brighter, complex sauce.

    Top Tip for using Sour Cream: Sour cream has a lower fat content than double cream, which means it can curdle if it gets too hot. To avoid this, turn the heat right down to a low simmer before stirring it in, and never let the sauce boil once it’s added!

    The Ingredients You’ll Need

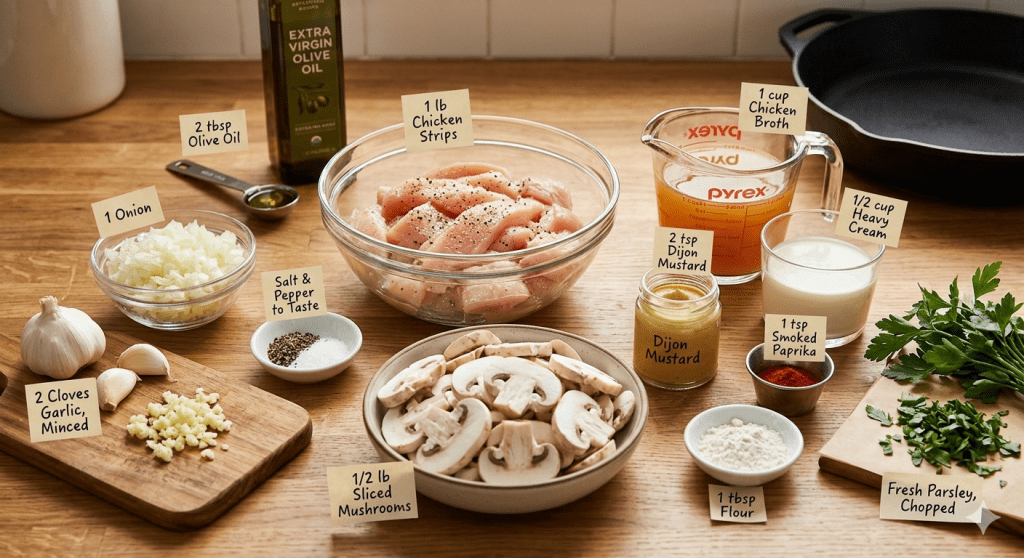
    Here is your shopping list for 4 generous servings. We are keeping it simple with standard UK supermarket staples:

     450g Chicken Breast: Cut into bite-sized strips. (You can use chicken thighs if you prefer a juicier meat!)

     2 tbsp Olive Oil: Divided, for frying.

     1 Onion: Finely chopped.

     2 Garlic Cloves: Minced.

     250g Mushrooms: Sliced. Chestnut mushrooms work brilliantly here for extra flavour.

     1 tbsp Plain Flour: This is our secret weapon to thicken the sauce perfectly.

     240ml Chicken Stock: Made with a high-quality stock cube or pot.

     120ml Double Cream: (Or sour cream, if you’re going for that authentic tang!)

     2 tsp Dijon Mustard: Don’t skip this—it gives the sauce its signature kick.

     1 tsp Smoked Paprika: For warmth and a gorgeous golden hue.

     Salt and Pepper: To taste.

     Fresh Parsley: Roughly chopped, to make it look pretty at the end.

    Step-by-Step Method

    This recipe moves quickly once it starts, so it’s a good idea to have all your ingredients chopped and ready to go before you turn on the hob.

    Step 1: Sear the Chicken (5-7 mins)

    Heat 1 tablespoon of olive oil in a large frying pan over a medium-high heat. Toss in your chicken strips, season generously with salt and pepper, and fry until they are golden brown on all sides. Don’t worry if they aren’t cooked 100% the way through yet—they will finish cooking in the sauce later. Remove them from the pan and set aside on a plate.

    Step 2: Sauté the Veggies (9 mins)

    Turn the heat down to medium and add the remaining tablespoon of olive oil to the same pan. Throw in the chopped onion and sauté for about 4 minutes until soft and translucent. Next, add the garlic and your sliced mushrooms. Cook for another 5 minutes until the mushrooms have released their moisture and turned a lovely deep brown.

    Step 3: Build the Sauce Base (1-2 mins)

    Sprinkle the plain flour directly over the mushroom and onion mixture. Stir it constantly for about a minute to cook out the raw flour taste. Now, slowly pour in the chicken stock a little bit at a time, whisking or stirring continuously. You’ll see the liquid bubble up and transform into a smooth, thick gravy.

    Step 4: Simmer and Meld (5-7 mins)

    Turn the heat down to a gentle simmer. Stir in your double cream (or sour cream), Dijon mustard, and smoked paprika until the sauce is completely uniform. Slide the cooked chicken and any resting juices back into the pan. Let everything bubble away gently for 5 to 7 minutes until the chicken is tender and cooked through, and the sauce is thick enough to coat the back of a spoon.

    What to Serve with Chicken Stroganoff

    Honestly, you can’t go wrong here, but depending on your mood, here are the three best vessels for soaking up that incredible sauce:

    1 A Bed of Egg Noodles or Tagliatelle: The classic choice. The wide pasta shapes catch the mushroom pieces perfectly.

    2 Fluffy White Rice: Great for an easy weeknight option, as the rice absorbs the cream sauce like a sponge.

    3 A Massive Scoop of Buttery Mashed Potato: If you want ultimate comfort food, this is the winner.

    Got leftovers? Keep them in an airtight container in the fridge for up to 3 days. Just reheat gently on the hob, adding a splash of milk or stock if the sauce has thickened up too much in the fridge.

  • The Viral “Princess-Approved” Salad: Does it Live Up to the Hype?

    The Viral “Princess-Approved” Salad: Does it Live Up to the Hype?

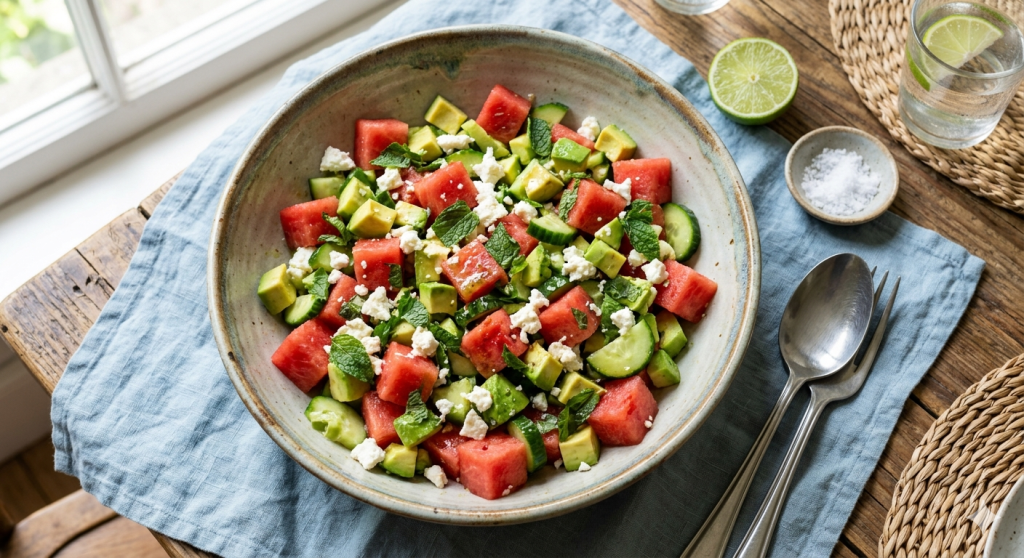
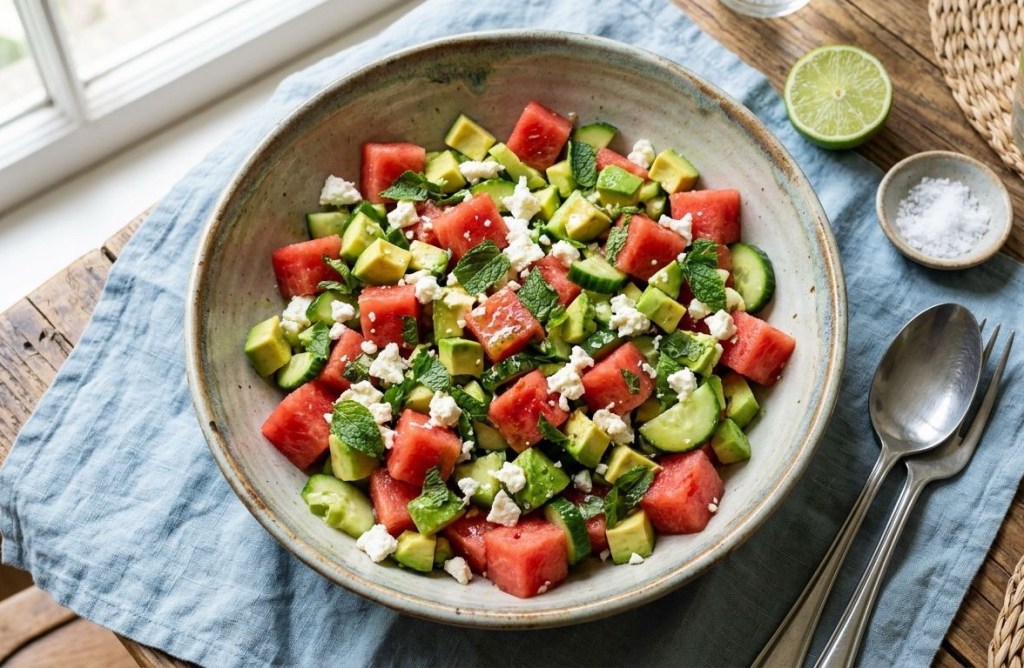
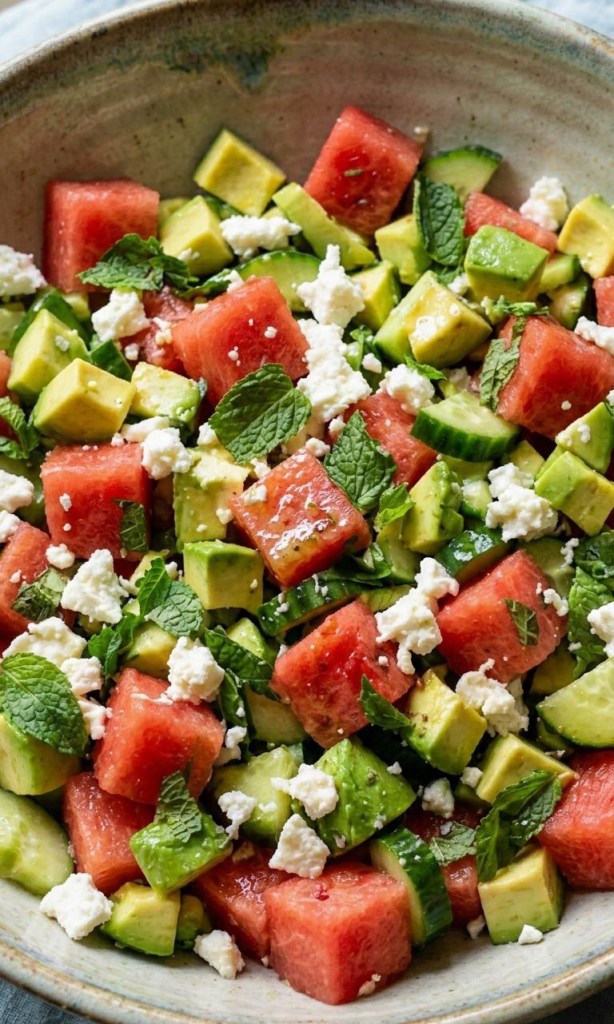
    If you’ve been scrolling through social media lately, you’ve likely seen the vibrant, refreshing Watermelon, Avocado, and Feta Salad taking over everyone’s feeds. Often dubbed the “Kate Middleton Salad,” this dish has become the ultimate symbol of a chic, healthy summer lunch. But is it actually worth the hype? I decided to put it to the test.

    Why This Salad Works

    The beauty of this recipe lies in the contrast. You get the cooling, sweet hydration of the watermelon paired with the salty tang of the feta and the rich, creamy texture of avocado. It is simple, fast, and feels like a meal fit for royalty.

    The Recipe (Metric Measurements)

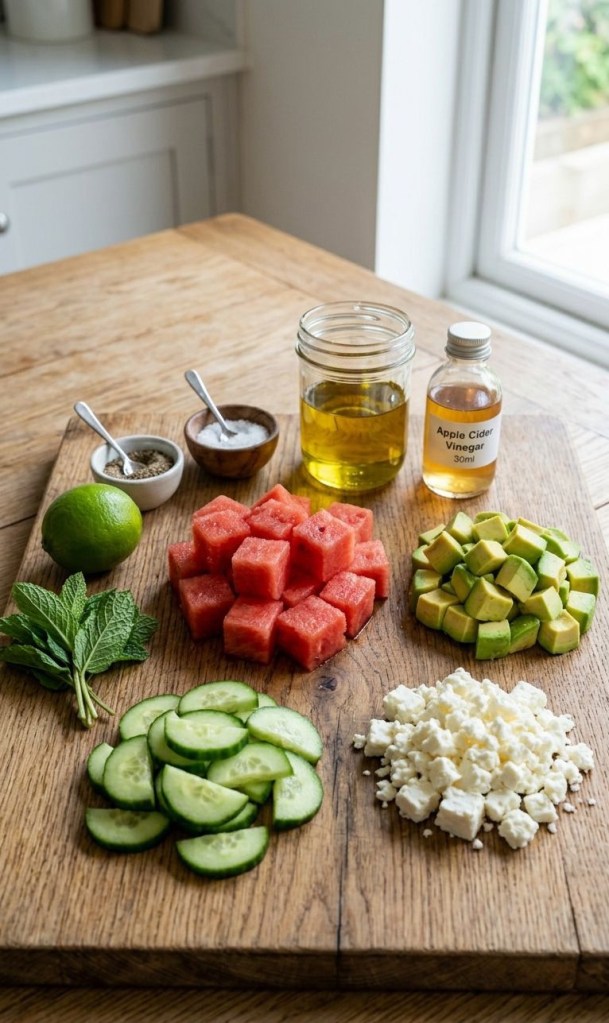
    Ingredients

     500g–600g cubed watermelon

     1 English cucumber, chopped

     1 avocado, diced

     75g–100g crumbled feta cheese

     Small bunch of fresh mint, roughly chopped

    For the Dressing

     60ml extra virgin olive oil

     Juice of 1 lime

     30ml apple cider vinegar

     Salt & pepper to taste

    Instructions

    1 Prep: Place the watermelon, cucumber, avocado, feta, and mint into a large mixing bowl.

    2 Whisk: In a small jar or bowl, whisk together the olive oil, lime juice, apple cider vinegar, salt, and pepper until emulsified.

    3 Toss & Serve: Pour the dressing over your salad. Toss everything together very gently so you don’t mash the avocado. Serve immediately while cold.

    Final Verdict

    Whether or not this was truly served at Kensington Palace, it is undoubtedly a winner for warm weather. It’s light, vibrant, and packed with flavor. If you’re looking for a quick lunch that doesn’t require turning on the oven, this is the one.

    Have you tried this viral salad yet? Let me know in the comments if it’s a staple in your summer rotation!