Have you ever wondered what your morning routine is missing? If you’re looking for that perfect balance of health and flavor, I have the answer.
This is my secret to glowing skin and all-day energy. 🥬✨
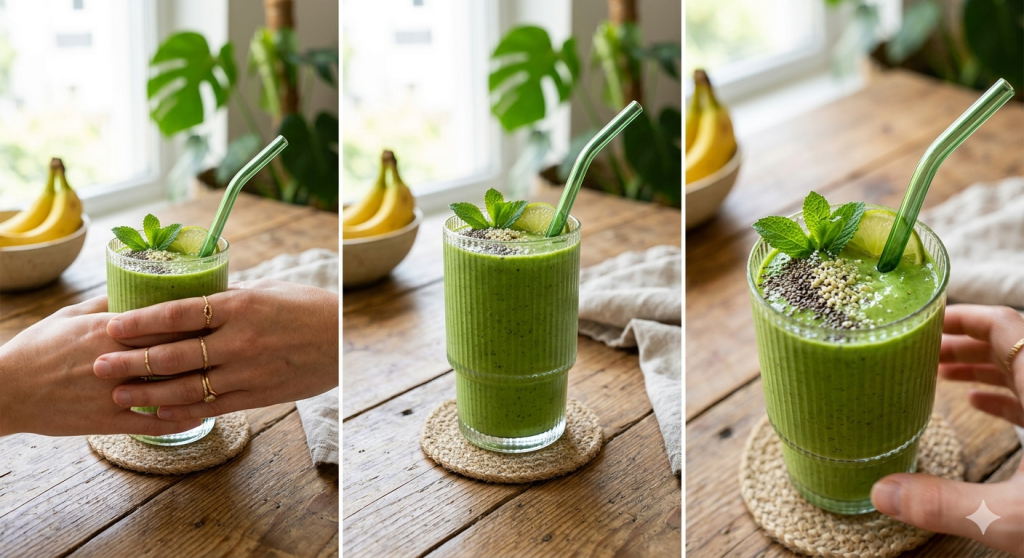
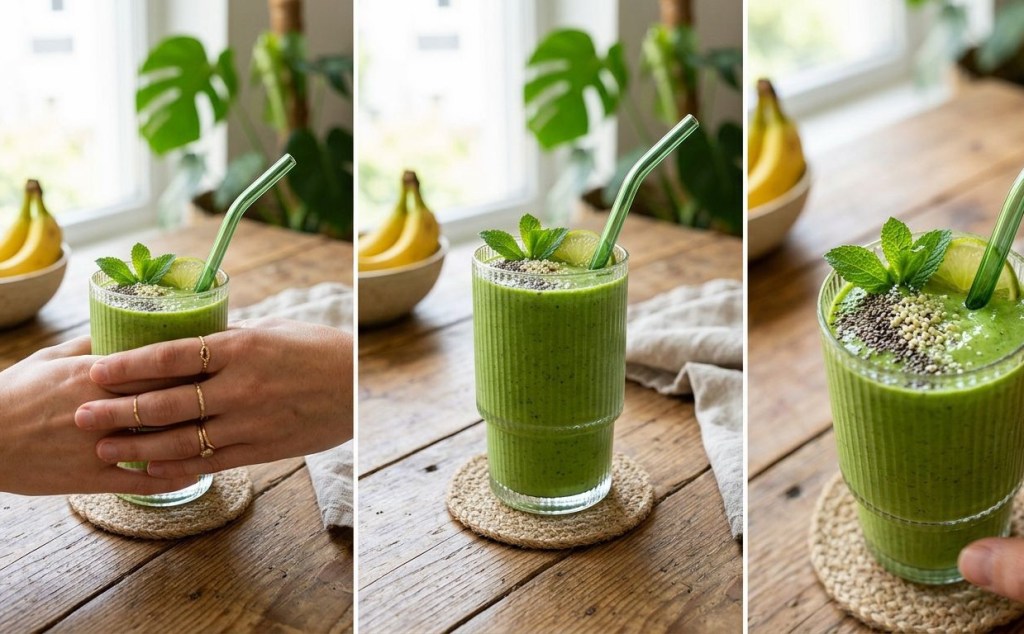
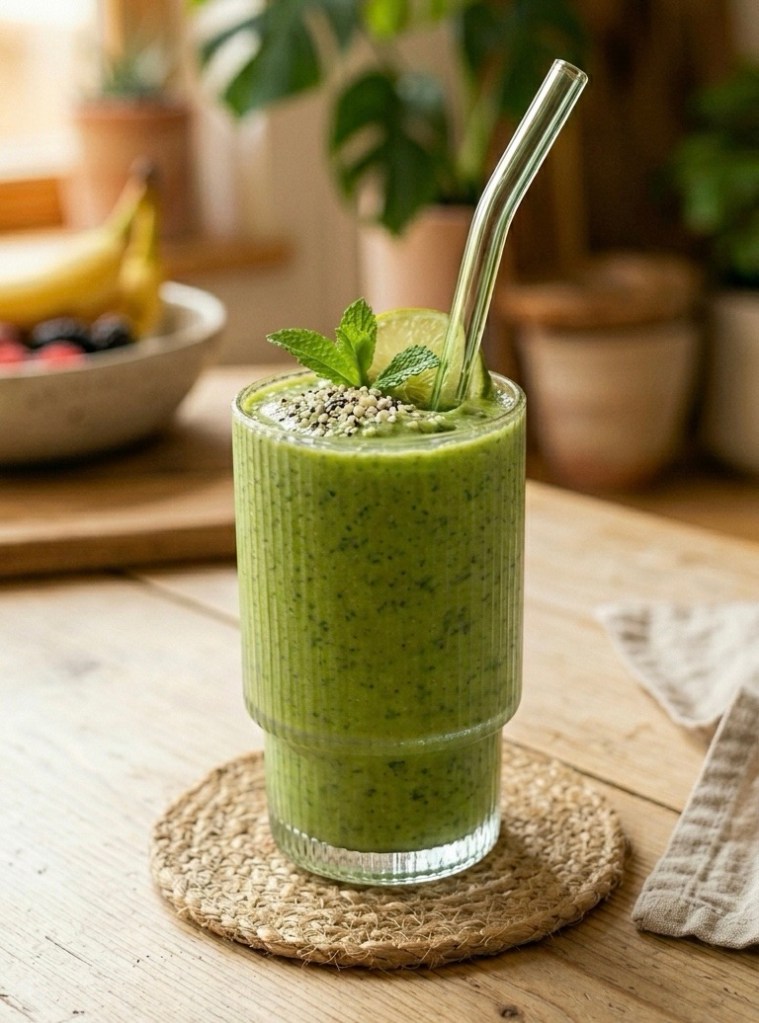
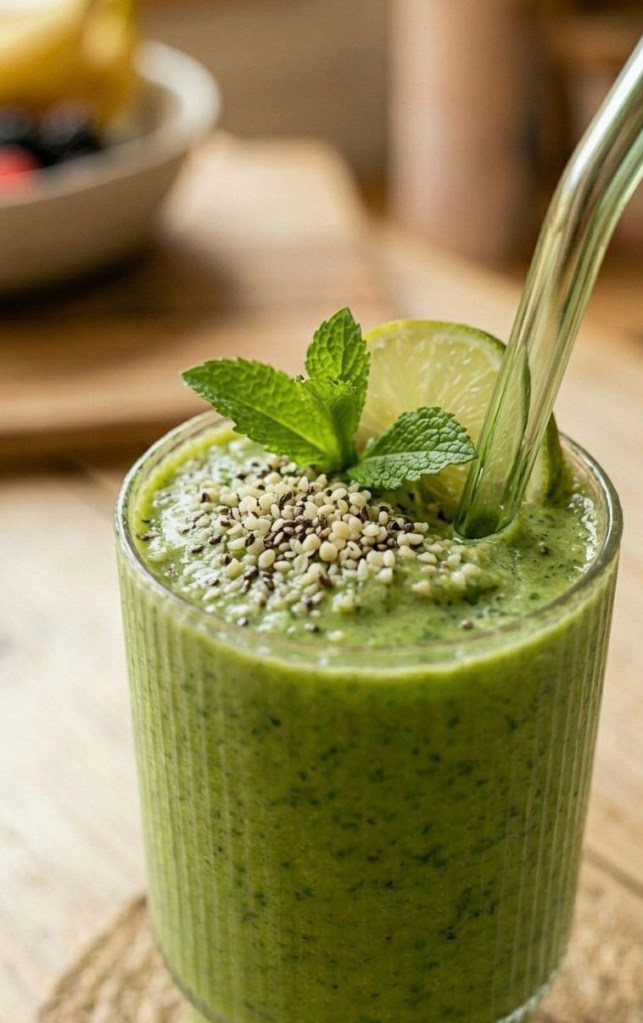
The Green Goblin Smoothie is my go-to recipe when I need a fresh start. It’s incredibly nutrient-dense, perfectly creamy, and tastes so good you’ll forget you’re drinking your greens. Whether you are prepping for a busy day or just want to treat your body to something nourishing, this is the drink for you.
The Recipe
Green Goblin Smoothie 👹🍃
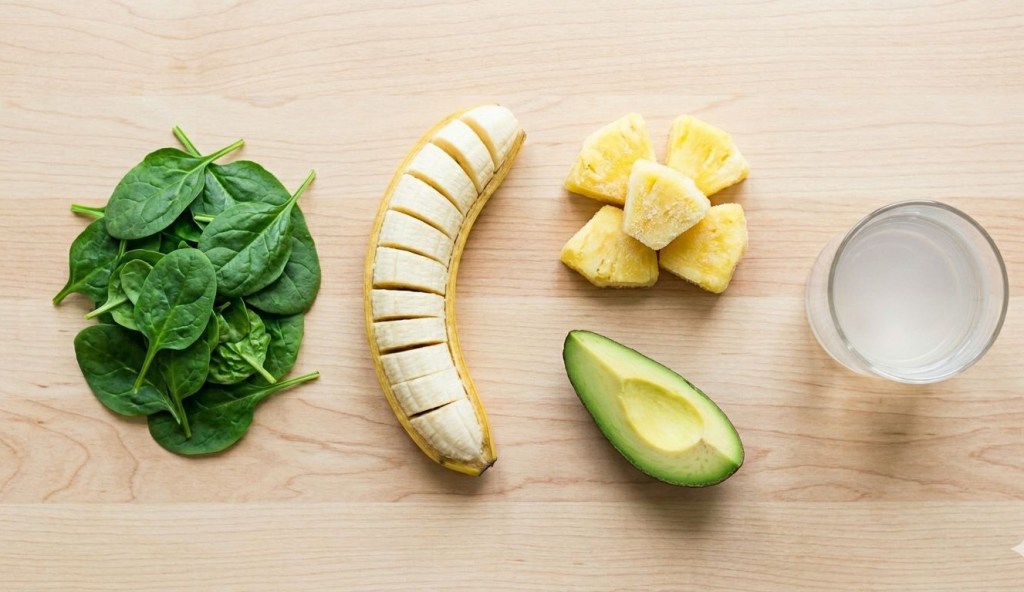
1 cup fresh spinach
1/2 frozen banana
1/2 cup frozen pineapple or mango
1/4 avocado (the secret to the creamy texture!)
1 cup coconut water (or almond milk)
Optional: A squeeze of lime and a dash of hemp seeds/chia on top!
Instructions:
1 Add your liquid base to the blender first.
2 Add the spinach and blend briefly to ensure there are no leafy bits.
3 Add the banana, frozen fruit, and avocado.
4 Blend until ultra-smooth.
5 Pour into your favorite aesthetic glass and enjoy immediately! 🧊
Why You’ll Love It
Beyond the vibrant color that looks amazing on camera, this smoothie is packed with healthy fats from the avocado to keep you full, while the fruit provides a natural, refreshing sweetness. It is the ultimate “that girl” morning staple.
Tag your smoothie bestie who needs to try this. 👇
What is your favorite go-to ingredient to add to your morning smoothies to give them an extra nutrient boost?
I use a nutribullet for my smoothies. They make light work of Ice and don’t burn out like normal blenders . You can buy here
This post may contain affiliate links, which means I may earn a small commission if you purchase through them — at no extra cost to you. As an Amazon Associate, I earn from qualifying purchases
If you’re anything like me, your mornings are a frantic dash between finding your keys, answering emails, and trying to look presentable before your first meeting. Breakfast often ends up being an afterthought—or worse, a sad slice of toast on the go.
But what if I told you that you could have a café-quality, nutrient-packed breakfast in exactly two minutes?
Meet the Berry Swirl Smoothie. It’s creamy, vibrant, and looks so good you’ll want to post it on your story immediately. Plus, it uses simple ingredients you likely already have in your kitchen.
Why You’ll Love It
It’s Fast: It takes about 120 seconds to blend and pour.
It’s Aesthetic: That layered look? It’s not just for professional food bloggers—it’s actually incredibly easy to achieve.
It’s Good for You: It’s a perfect balance of fruit, protein, and natural sweetness to fuel your morning.
What You’ll Need
Head to your local supermarket and grab these bits:
For the Berry Base:
150g frozen mixed berries
60ml semi-skimmed milk
A small drizzle of honey
For the Cream Layer:
120g frozen banana chunks
60ml semi-skimmed milk
A drop of vanilla essence (optional, but highly recommended!)
The Method
1 Blend the Berries: Combine your frozen berries, milk, and honey in your blender. Blitz until smooth. Pour this mixture into your favourite tall glass—the ribbed ones look amazing on camera!
2 Make the Cream: Give your blender a quick rinse (no need to be perfect!), then add the frozen banana, remaining milk, and vanilla essence. Blend until it’s thick, creamy, and mousse-like.
3 The Swirl: Carefully pour the cream layer over the berry layer. Take a long spoon and gently drag it through the middle to create that beautiful “marble” effect.
4 Top it Off: Garnish with a few fresh berries and a sprig of mint for that professional finish. Use a glass straw to keep the look clean and sustainable.
Ready to elevate your breakfast?
This smoothie is my go-to when I need to feel like I’ve got my life together, even on a Monday morning. It’s light, refreshing, and tastes like an absolute treat.
Have you tried making a layered smoothie before? Or do you have a go-to secret ingredient that makes your morning shake extra special? Let me know in the comments below!
Enjoyed this post? Don’t forget to share it with a friend who’s always rushing their breakfast!
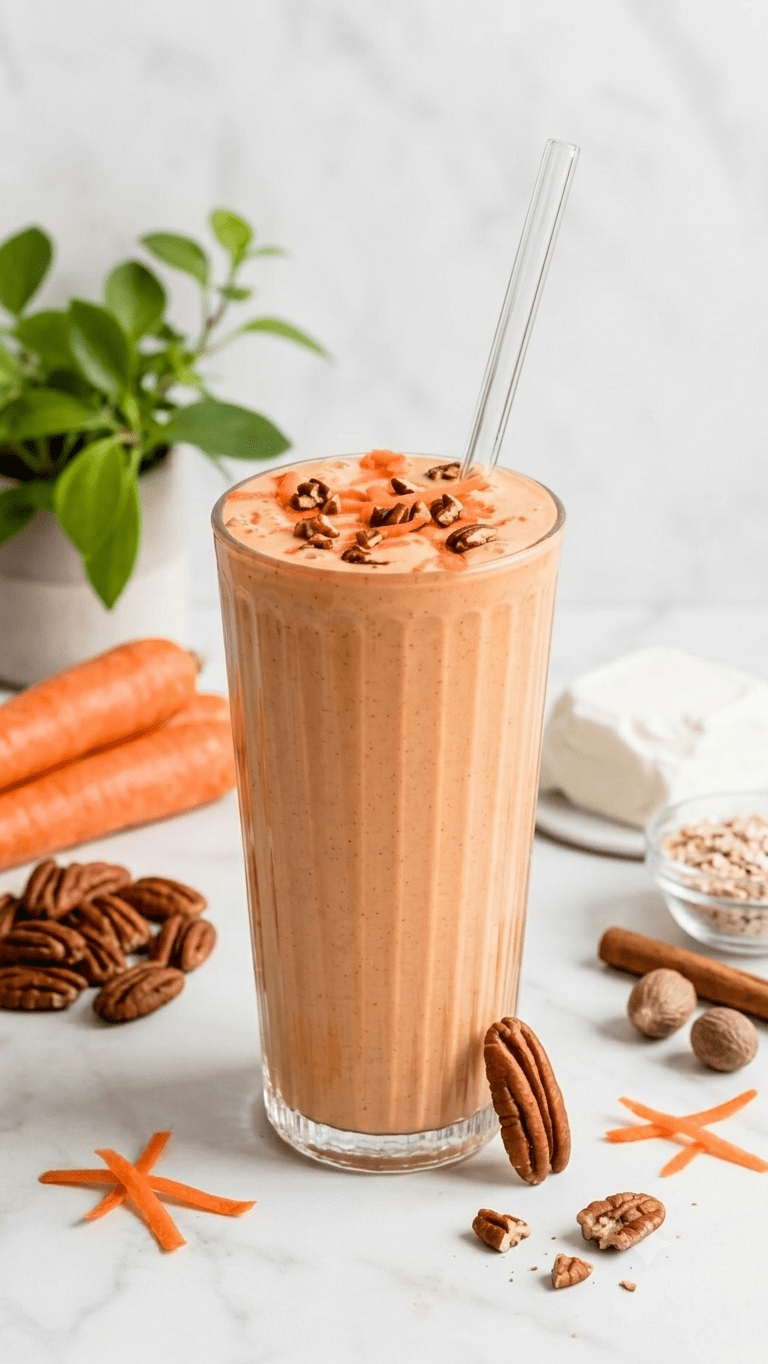
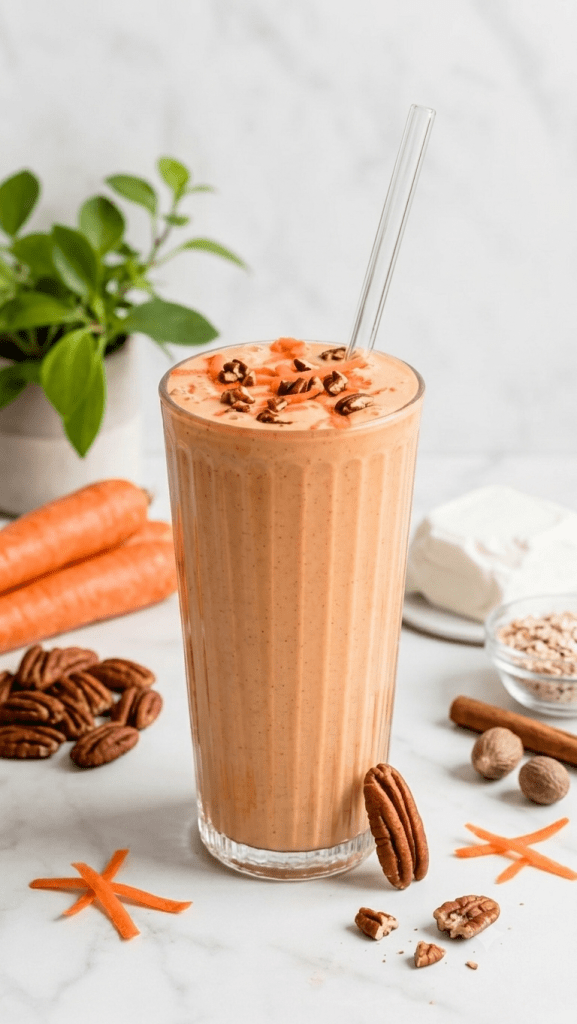
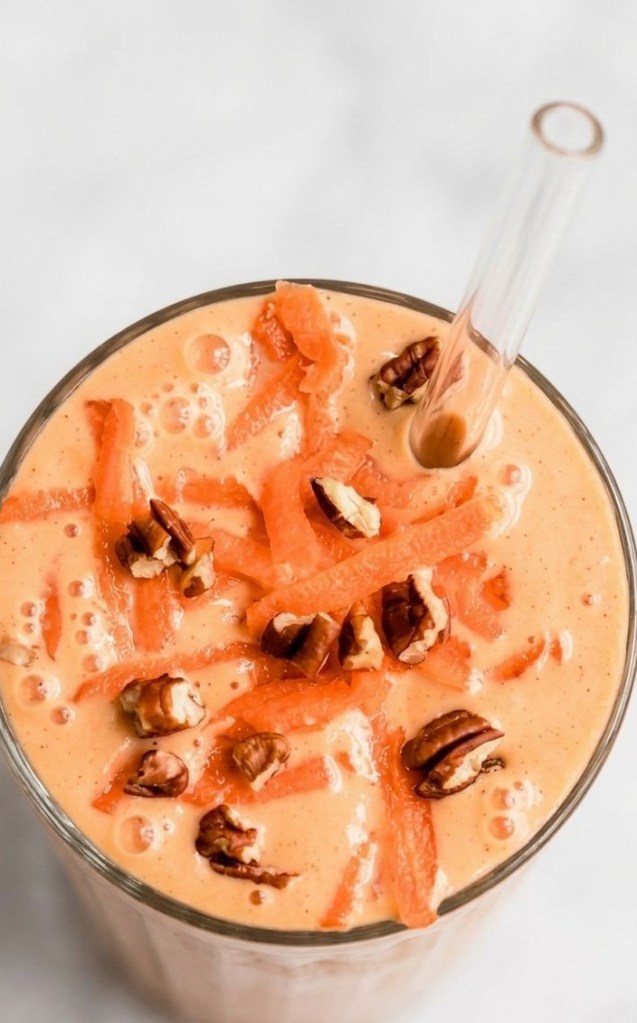
Stop scrolling—your morning routine just got a major upgrade. This smoothie tastes exactly like a decadent slice of carrot cake, but it’s packed with wholesome ingredients to fuel your day!
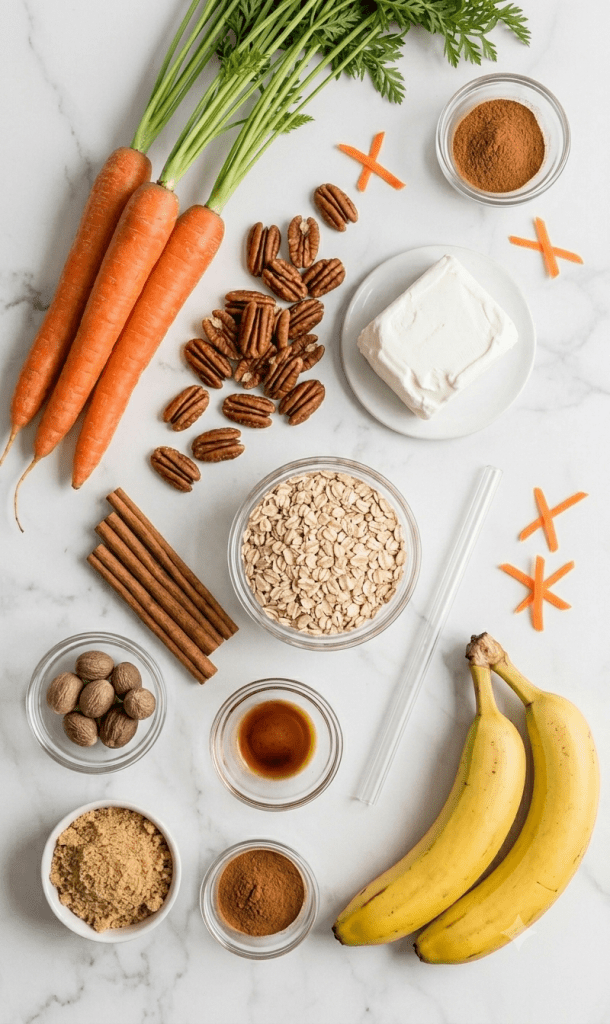
The Recipe (UK Edition)
1 medium carrot, peeled and roughly chopped
1 frozen medium ripe banana
75g (approx. ½ cup) frozen pineapple chunks
180ml (¾ cup) light coconut milk (or any milk of your choice)
60g (¼ cup) plain Greek yogurt
20g (¼ cup) gluten-free oats
1 tbsp pecan or almond butter
1 tsp vanilla extract
½ tsp ground cinnamon
Pinch of ground nutmeg
Method
1. Add the chopped carrot, frozen banana, pineapple, milk, yogurt, oats, nut butter, vanilla, cinnamon, and nutmeg into a high-speed blender.
2. Blend on high until completely smooth and creamy. If it’s too thick, add a splash more milk.
3. Pour into your favourite glass.
4. Top with a little extra grated carrot and crushed pecans for that signature carrot cake crunch!
5. Enjoy with a glass straw.
Protein Boost: Make It Your Own
This base recipe provides roughly 10g of protein. If you need an extra energy kick for a post-workout breakfast or a busy morning, try these easy additions:
Protein Powder: Add one scoop of your favourite vanilla or unflavoured protein powder for an instant +20–25g protein boost.
Seed Power: Add 1 tablespoon of hemp seeds or chia seeds for an extra 3–5g of plant-based protein and healthy fats.
Yogurt Upgrade: Increase your Greek yogurt to 125g (½ cup) to add another 5g of protein.
High-Protein Milk: Swap the coconut milk for a pea-protein or soy-based milk.
CTA: Did you try this recipe? Let me know in the comments—are you a team “smoothie bowl” or “smoothie in a glass” person? Don’t forget to save this post for your next breakfast meal prep!
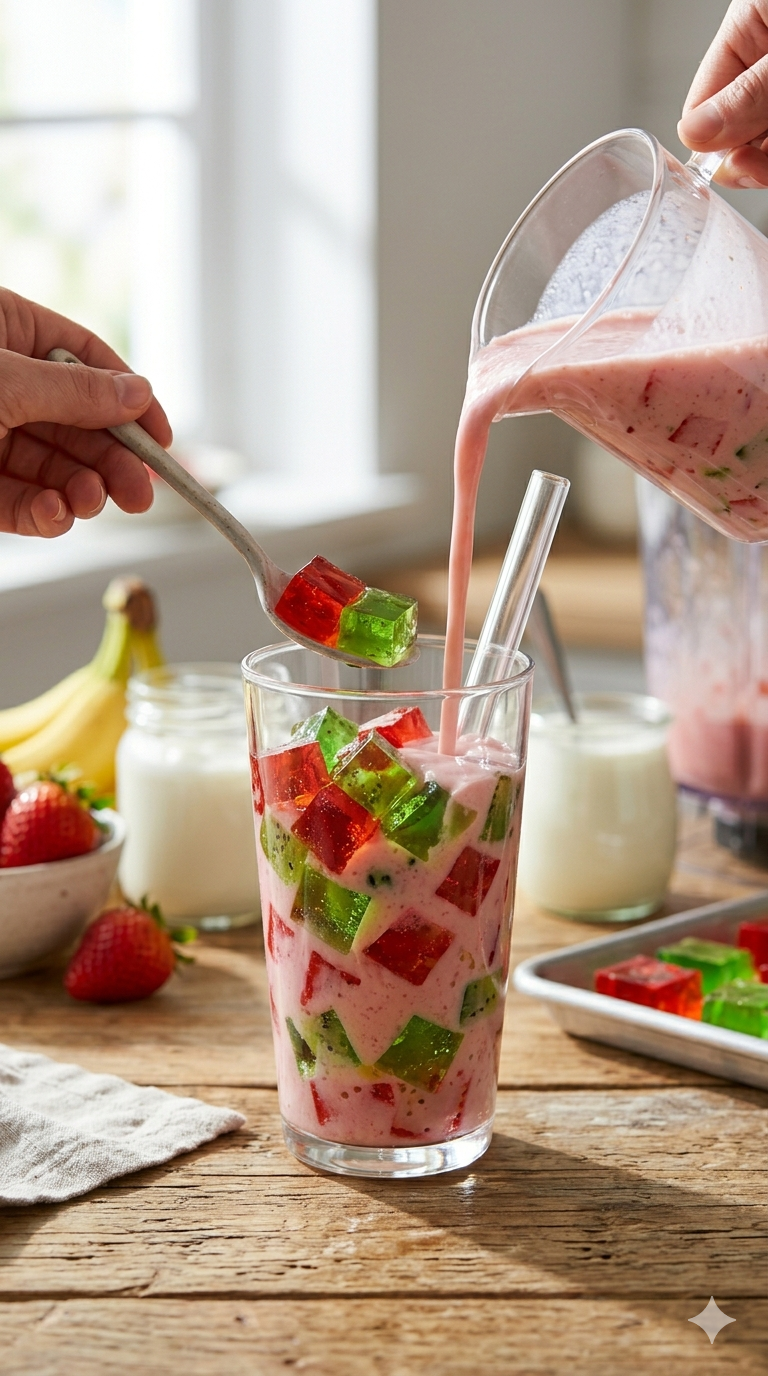
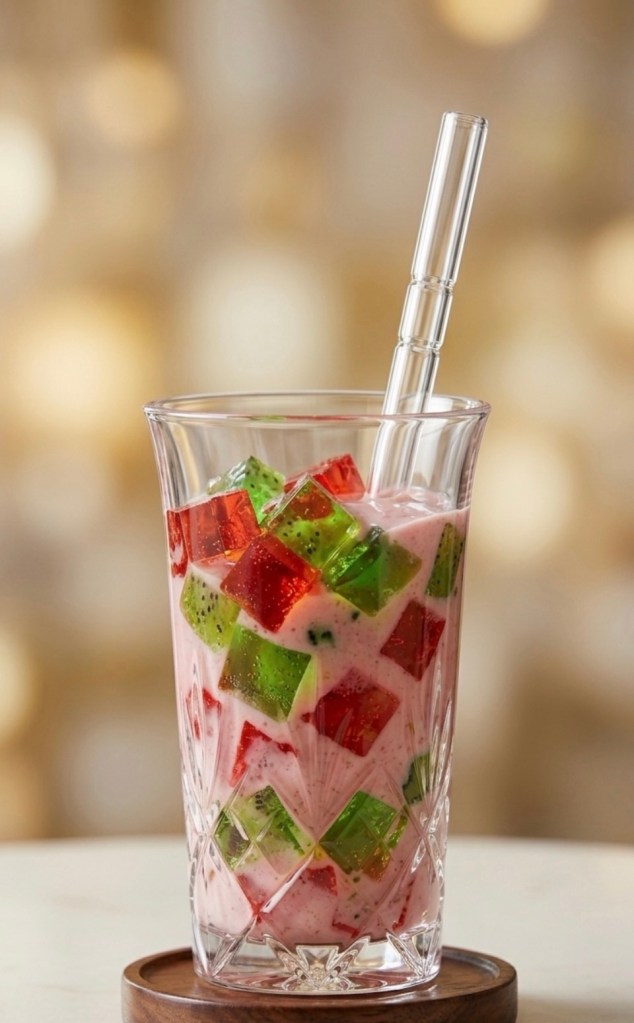
Looking for the next viral drink to level up your snack game? If you love smoothies but want something a little more fun and textured, the Jelly Gem Smoothie is exactly what you need. This drink combines a creamy, fruity base with chewy, jewel-toned jelly cubes, making it as beautiful to look at as it is delicious to drink.
Whether you’re hosting a brunch or just want to treat yourself to an afternoon pick-me-up, this recipe is guaranteed to impress.
What You’ll Need
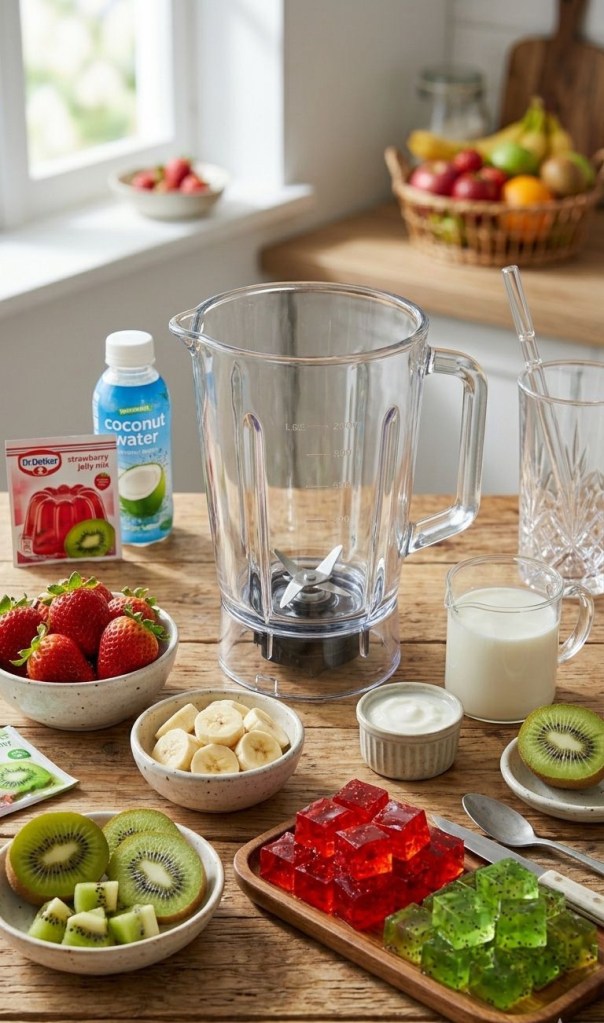
To get that perfect “gemstone” look and the right texture, here is what you should have on hand:
Jelly Mix: Two flavours of your choice (strawberry and kiwi work perfectly for the classic red-and-green “gem” look).
Fruit Base: 125g of fresh strawberries (or mango).
Creaminess: 1/2 of a banana and an optional spoonful of yogurt.
Liquid: 250ml–350ml of your preferred milk.
How to Make It
Step 1: Create the “Gems”
Start by preparing your jelly according to the packet instructions, but use 10–15% less water than the box recommends. This ensures your cubes are nice and firm, so they don’t dissolve into your smoothie. Pour the liquid into shallow trays and let them set fully in the fridge before cutting them into small, bite-sized cubes.
Step 2: Blend the Base
In a blender, combine your fruit, banana, milk, and optional yogurt. Blend until smooth. You want the consistency to be thin and sippable—think more of a nectar or light milkshake—so that it flows easily around the jelly cubes once you assemble the drink.
Step 3: Assemble Your Drink
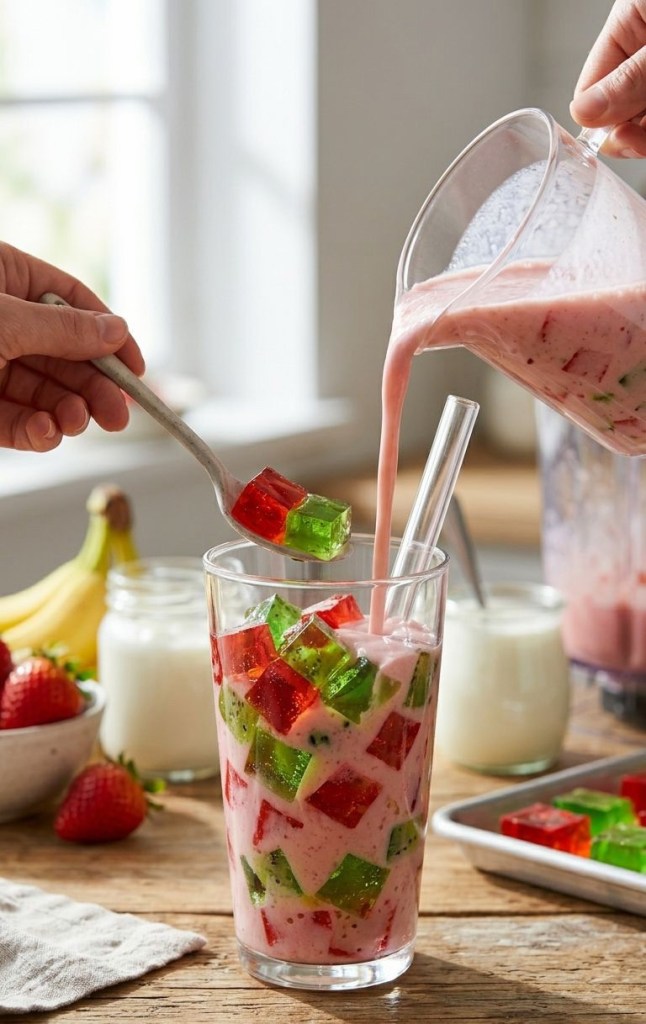
Fill a clear glass about halfway with your mixed jelly cubes. If you like your drinks extra cold, add a few ice cubes at this stage. Slowly pour your smoothie base over the jelly, allowing the cubes to become suspended in the liquid for that beautiful gemstone effect.
Pro Tip: For the ultimate café-style finish, top your drink with a little bit of frothed milk and a tiny drizzle of fruit jam or puree.
Final Touches
Because this drink features jelly chunks, don’t forget to serve it with a wide-gauge straw (like a boba straw) so you can enjoy the “gems” with every sip!
Are you going to give this a try? Let me know in the comments which jelly flavours you’d choose for your own version of the Jelly Gem Smoothie!
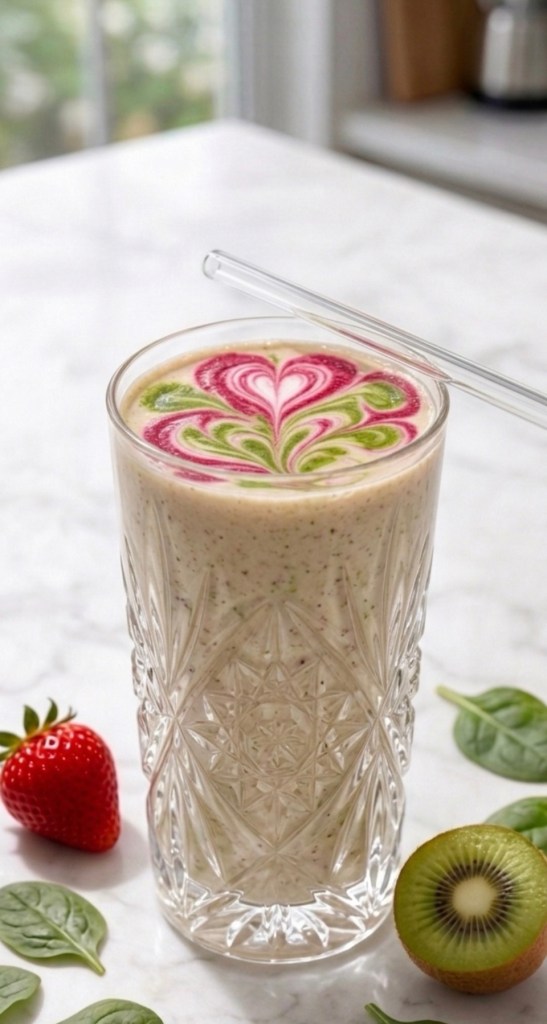
Let’s be real for a second. We’ve all seen those impossibly perfect coffee shop lattes with the heart designs. They’re gorgeous, they’re fancy, and they’re usually gone in three sips. But what if I told you that you could bring that same high-end café aesthetic to your morning smoothie—without needing a barista diploma?
If you’ve been looking for that “main character” drink to elevate your breakfast game (or just to get some serious engagement on your grid), you are in the right place.
Welcome to the “Botanical Bloom” Smoothie. 🌸
Why This Smoothie is a Game-Changer
Most smoothies are just… well, brown sludge. Delicious? Sure. Instagram-worthy? Rarely.
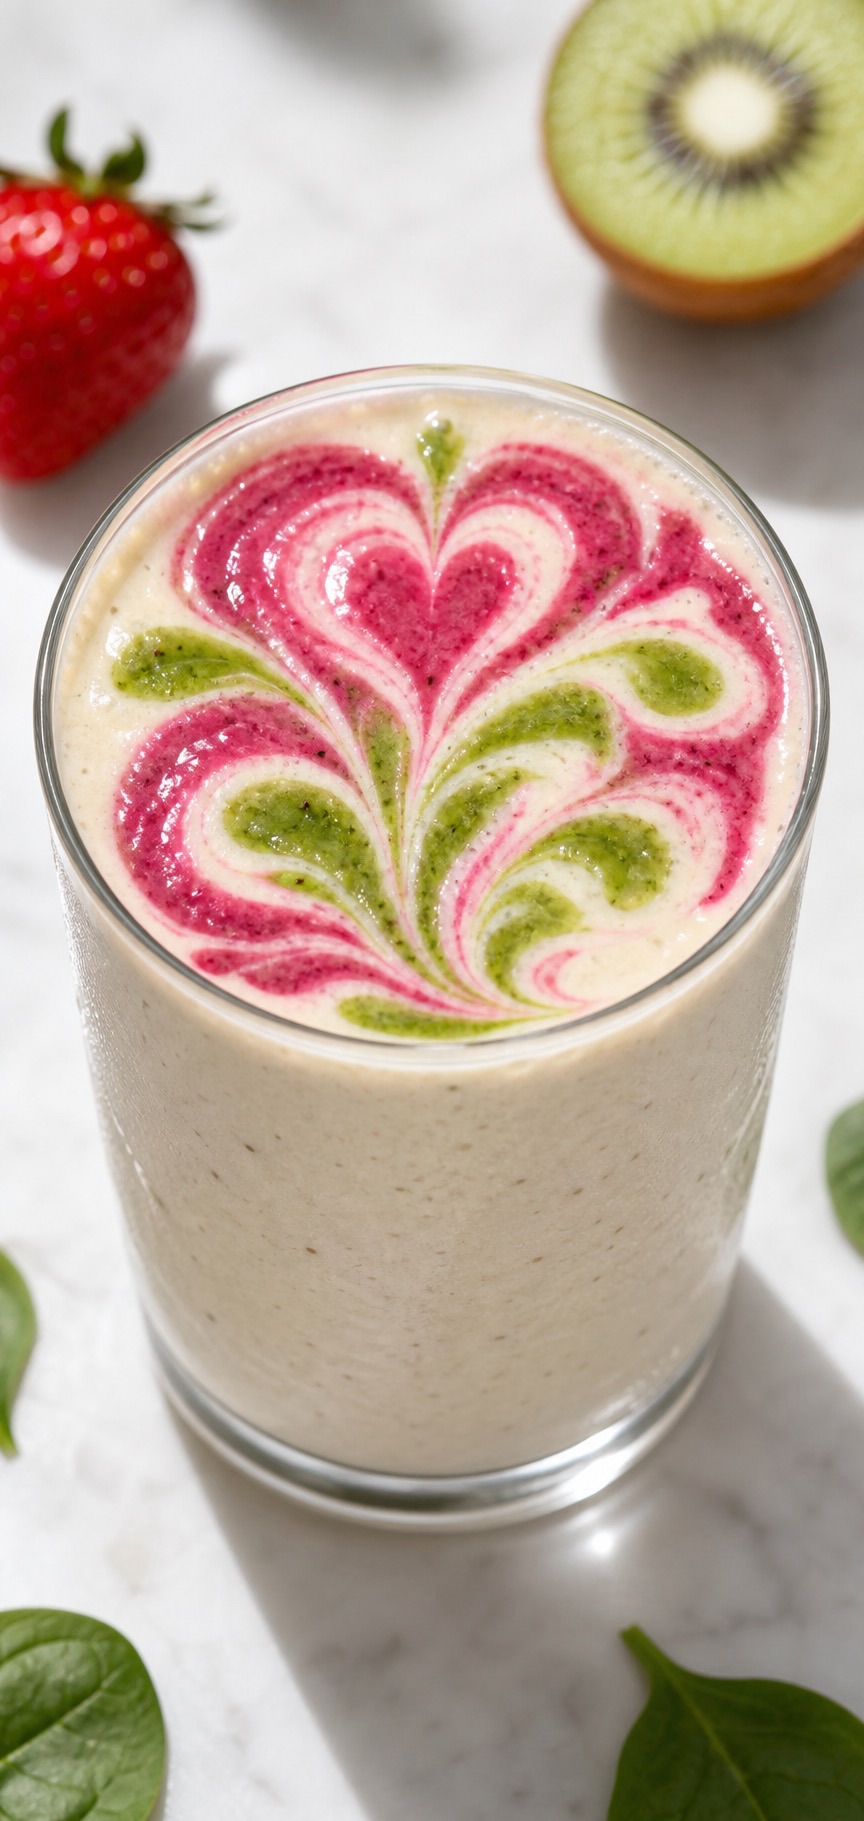
The secret to this viral look isn’t in the flavor (though, don’t worry, it tastes like a tropical dream); it’s in the surface tension and contrast. By using a thick, creamy base and layering vibrant, natural fruit purees, you can create intricate swirls that look like a professional work of art.
It’s satisfying, it’s vibrant, and honestly? It’s kind of meditative to make.
What You’ll Need
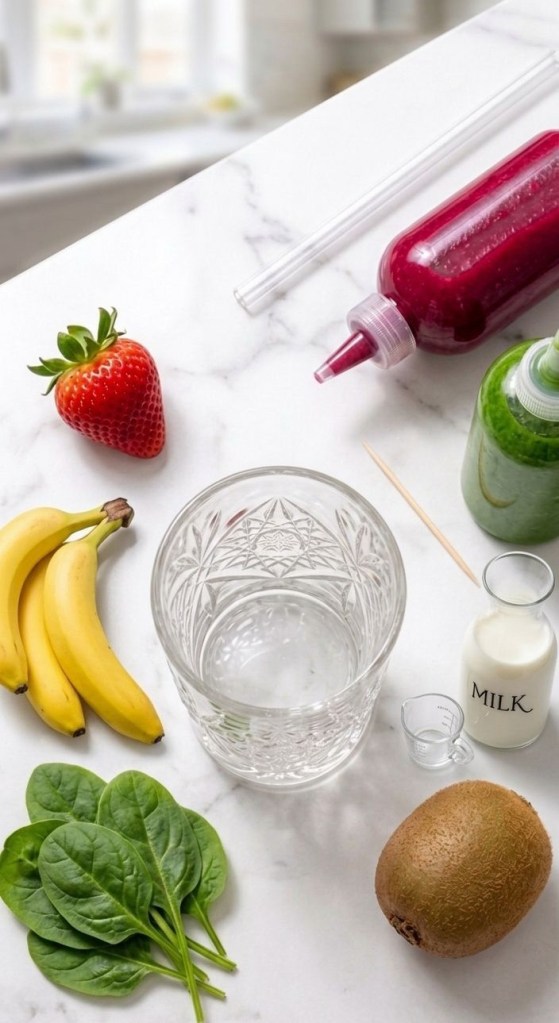
The Base: 1 frozen banana, ½ cup vanilla Greek yogurt, and a splash of your favorite milk (oat milk is chef’s kiss here).
The “Ink”: * Pink: A handful of frozen raspberries blended with a tiny bit of water or juice.
Green: A small handful of spinach and a chunk of kiwi blended until super smooth.
The Tools: Two squeeze bottles (the real MVP here) and a toothpick or bamboo skewer.
The “Barista” Method (Step-by-Step)
1 Prep the Purees: Your “ink” needs to be smooth. If there are chunks, your toothpick will drag them, and the design will look messy. Blend them until they’re liquid gold.
2 The Base Pour: Blend your base ingredients until thick. Pour into a high-quality, cut-glass tumbler (we want that texture!). Make sure the surface is smooth and flat.
3 The Dots: Take your squeeze bottles and carefully dot the pink and green purees onto the top of the smoothie. Think of it like making polka dots.
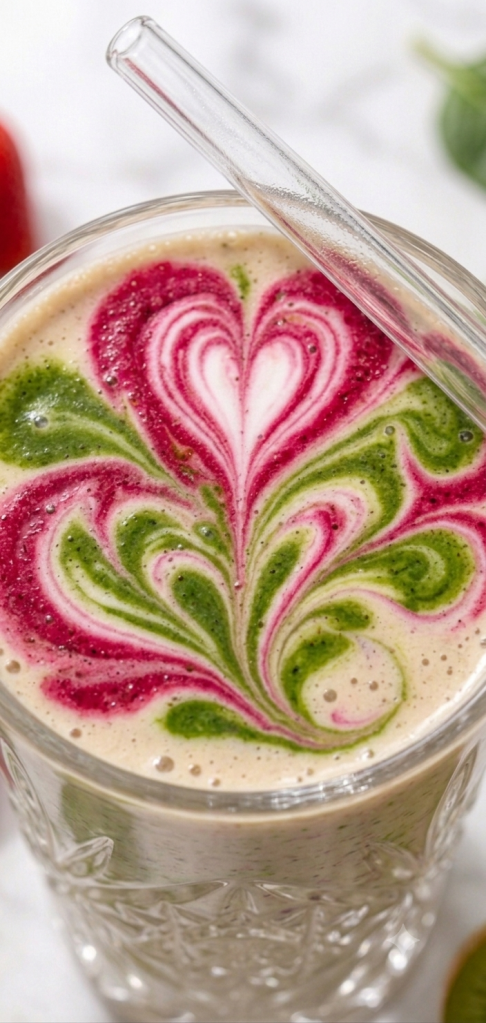
4 The Magic Drag: This is the part that feels like magic. Take your toothpick and start in the center of a dot. Drag it through the center of the other dots, alternating directions.
Pro-tip: Don’t overthink it! If you drag through the center of the dots, you’ll get those beautiful heart shapes. If you swirl the outer edges, you get a blooming flower effect.
5 The Finisher: Add a glass straw, snap your photo (best in natural daylight!), and enjoy your masterpiece.
Tips for the Perfect “Grid” Shot
Don’t Wait: This art is time-sensitive! The purees will start to sink if the smoothie base isn’t thick enough. Use frozen fruit to keep everything chilled and stiff.
Glass Matters: Since the top is the star of the show, a tall, faceted crystal tumbler shows off the elegance of the drink.
Lighting is Everything: Take this near a window. The contrast between the vibrant fruit colors and the creamy white base looks insane in soft, natural morning light.
I want to see your creations!
Are you going to try the “Botanical Bloom” this weekend? If you post it, tag me
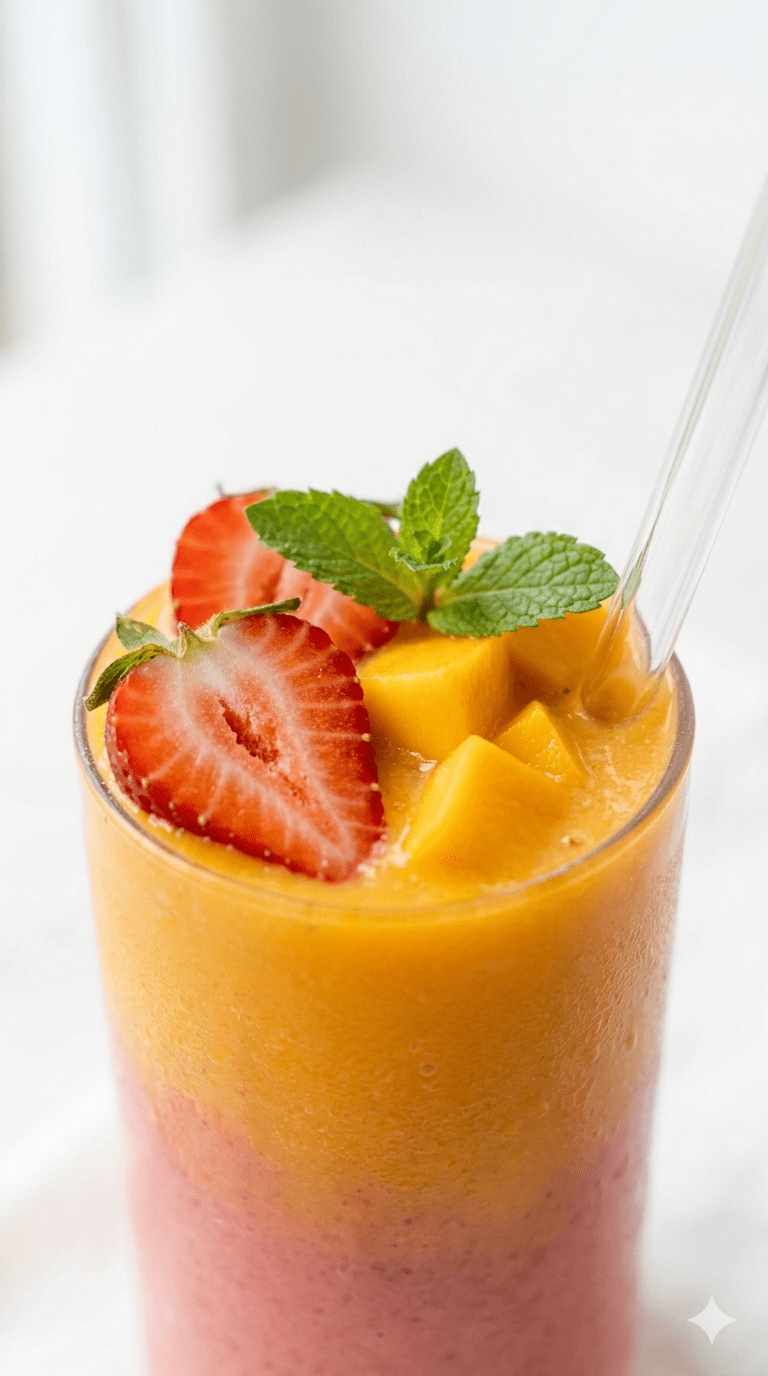
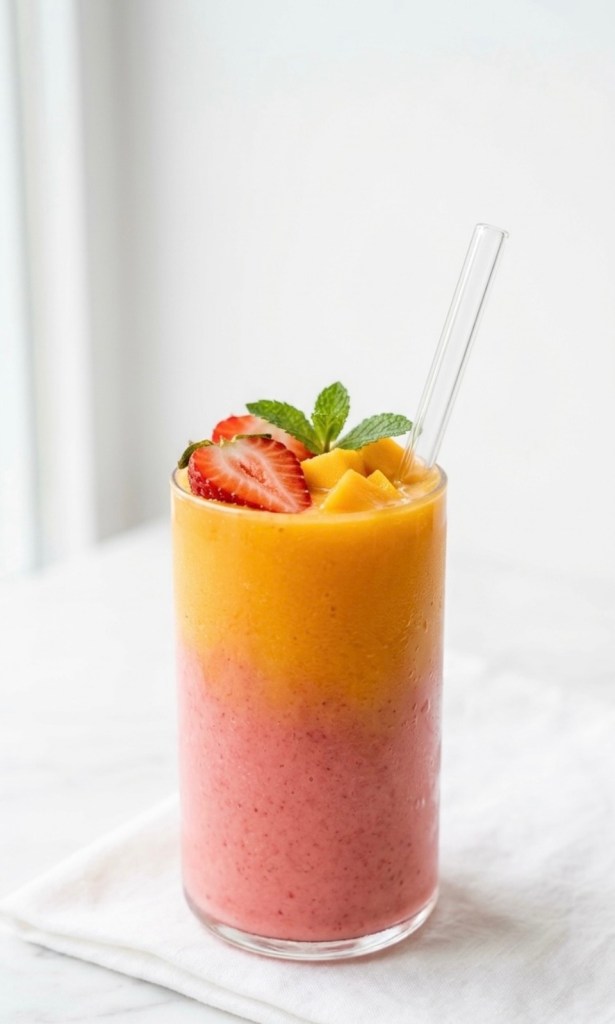
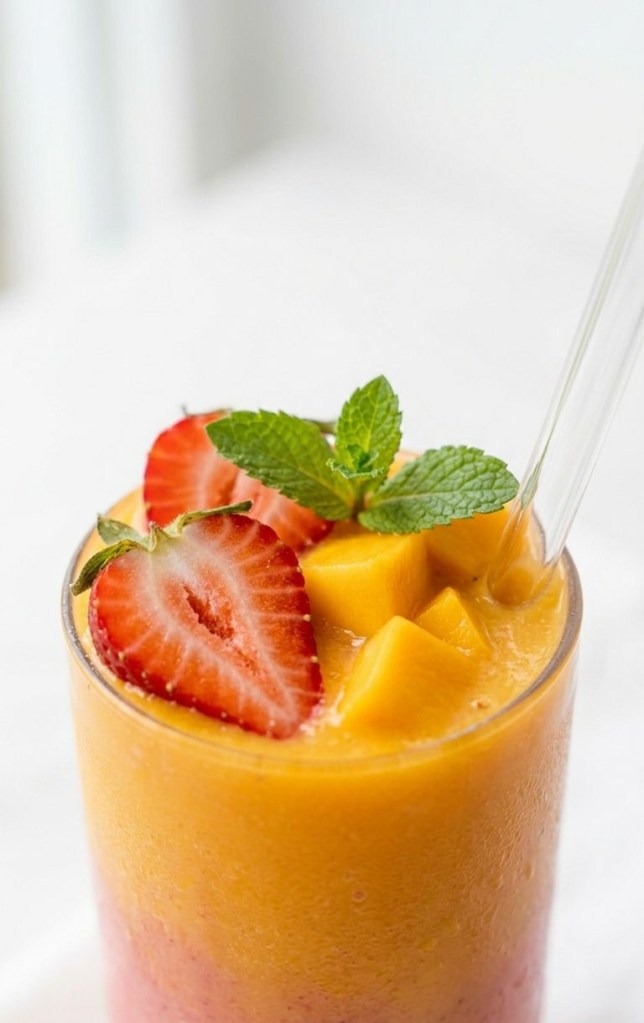
There’s nothing quite like a refreshing, vibrant smoothie to kickstart your morning or brighten up your afternoon. This Two-Layer Strawberry Mango Smoothie is not only stunning to look at (hello, instant mood booster!) but it’s also packed with tropical flavors and healthy ingredients.
By blending the strawberry base and the mango top separately, you create a beautiful “sunset” effect in your glass. It looks gourmet but takes just minutes to make.
Here is how to bring this refreshing taste of summer to your kitchen, complete with easy UK measurements.
🍓 The Sunset Layer Smoothie Recipe
Prep time: 5 minutes
Servings: 1 large smoothie
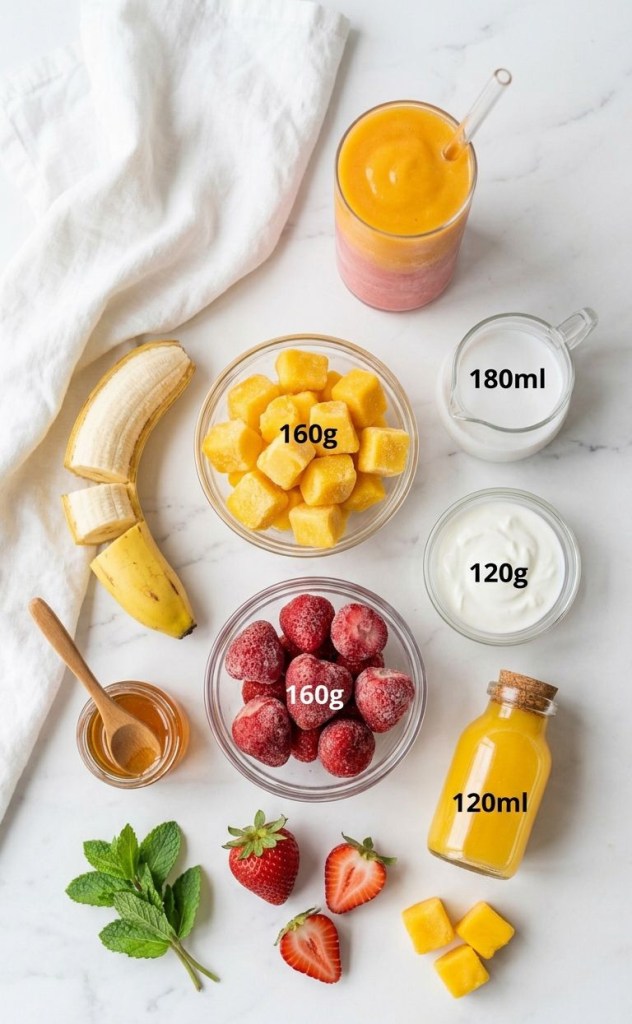
Ingredients
This smoothie is all about simple, fresh ingredients. I recommend using frozen fruit to get that thick, creamy texture without needing ice.
For the Bottom Layer (Strawberry Pink Base):
160g frozen strawberries
½ frozen banana (peel before freezing for best results!)
180ml unsweetened coconut milk (or any milk of your choice)
1 tbsp honey or maple syrup (optional, for sweetness)
For the Top Layer (Mango Gold Top):
160g frozen mango chunks
120ml fresh orange juice
120g Greek yogurt (or a dairy-free alternative)
Optional Garnishes (for that finishing touch):
Fresh mint sprig
Fresh strawberry halves
Fresh mango cubes
Instructions
Step 1: Blend the Base
Start with your pink strawberry layer. Add all the ingredients (frozen strawberries, banana, coconut milk, and sweetener) to your blender. Blend on high until completely smooth and thick.
Step 2: Pour the First Layer
Pour the strawberry mixture into the bottom of your serving glass, filling it about halfway. If your smoothie is thick enough, it will hold the next layer perfectly.
Step 3: Blend the Top Layer
Give your blender jug a quick rinse. Add all the mango gold layer ingredients (frozen mango, orange juice, and Greek yogurt) to the blender. Blend until smooth and creamy.
Step 4: Create the Sunset Effect
Slowly and gently pour the mango mixture over the strawberry layer. The two colors should stay mostly separate, creating that beautiful gradient.
Step 5: Garnish and Enjoy!
Finish your creation with a sprig of fresh mint, some sliced strawberries, and mango cubes. Insert a reusable straw and enjoy your homemade tropical sunset!
💡 Recipe Tips
Go Frozen: Using frozen fruit is key to getting that thick, slushy, cafe-style texture without watering down the flavor with ice.
Layering Secret: If you find your layers are mixing too much, your smoothie mixtures might be too thin. Try using slightly less liquid next time, or pop the first layer in the freezer for 5 minutes before adding the second.
Boost It: Feel free to add a scoop of protein powder, chia seeds, or flax seeds to either layer for an extra nutritional boost!
Did you make this recipe? I’d love to see your sunset layers! Tag me in your photos on Inst
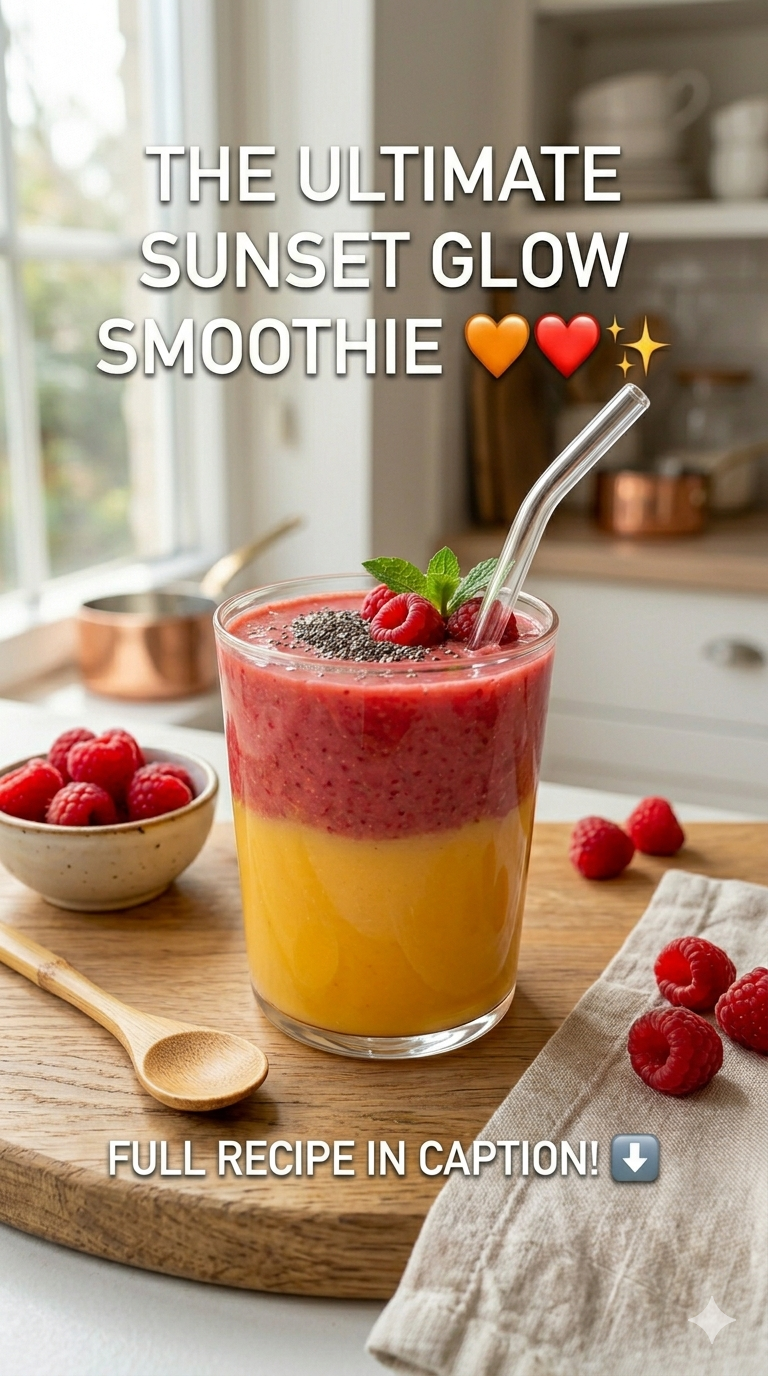
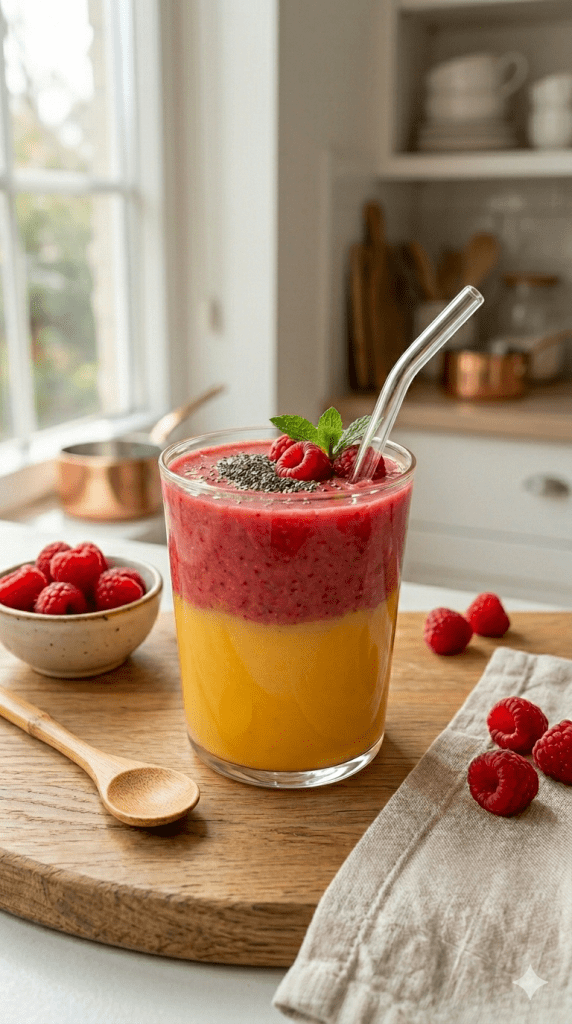
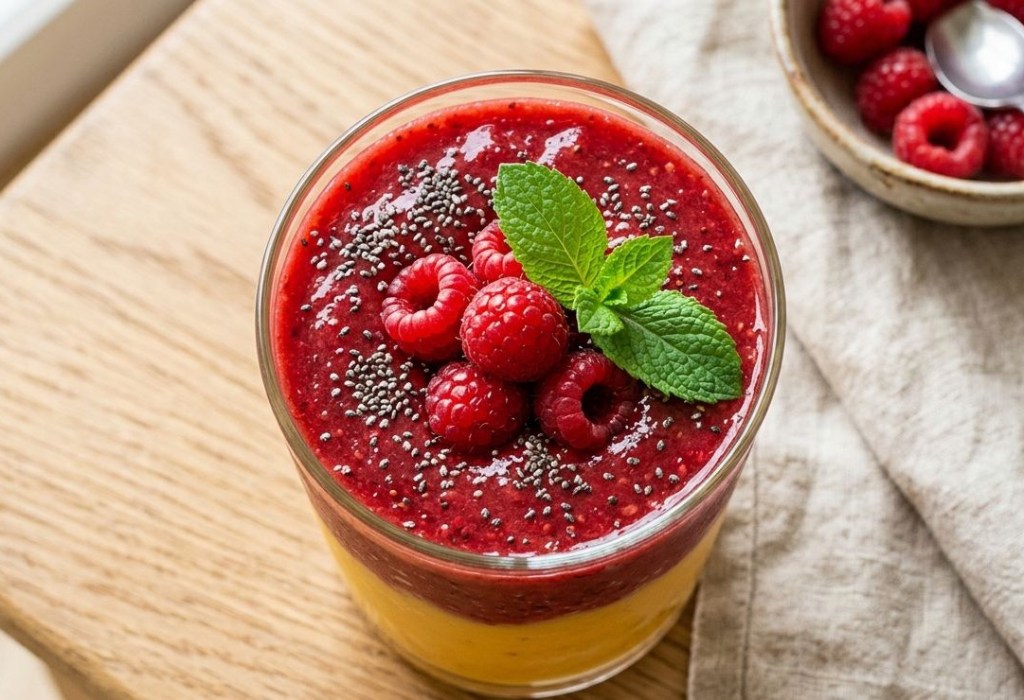
Want a breakfast that looks like a masterpiece and tastes like a tropical holiday? The Sunset Glow Smoothie is your new go-to. This stunning, two-layered creation uses vibrant mango and berries to create a gradient effect that’s perfect for your morning fuel or an impressive brunch item.
The best part? This isn’t just an aesthetic ‘gram-worthy drink. The bottom layer is a pure burst of sunshine mango, and the top layer provides a sweet, zesty berry kick.
We’ve designed this specific recipe using precise UK metric measurements for a perfect, easy-to-follow result every time.
The Recipe: Step-by-Step
This smoothie is all about the layers, so you will need to blend them separately for the best effect.
Prep Time: 5 Minutes
Makes: 1 Large Smoothie (or 2 small ones for sharing)
Step 1: The Base Layer (The Sunset)
Ingredients:
250ml Frozen Mango Chunks (roughly 1 large cup-full)
125ml Coconut Milk (or any plant-based milk)
A healthy squeeze of Lime Juice (optional, but adds a brilliant zest)
Instructions:
1 Place the frozen mango and coconut milk into your blender.
2 If using, squeeze in your lime juice.
3 Blend on high until smooth. You want this layer to be quite thick, so it can support the next layer. If it’s too thin, add a couple of extra mango chunks.
4 Pour this mixture into your glass, filling it just over halfway. Use a spoon to level and smooth the top surface against the glass. Rinse the blender jug quickly.
Step 2: The Glow Layer (The Berry)
Ingredients:
125ml Frozen Strawberries (roughly 1/2 a standard cup)
125ml Frozen Raspberries (roughly 1/2 a standard cup)
125ml Coconut Milk
1 tsp Honey or Agave Nectar
Instructions:
1 Combine the frozen strawberries, raspberries, coconut milk, and sweetener in your clean blender.
2 Blend on high until smooth. This layer should be thick but slightly softer than the base.
Step 3: To Finish (The Assembly)
Ingredients for Garnish:
1 tablespoon Chia Seeds
A few fresh Raspberries
A sprig of fresh Mint
Assembly Instructions:
1 Here is the trick for the perfect layer: Use a clean, large spoon. Hold the spoon, curved side up, directly over the base layer.
2 Slowly pour the berry mixture onto the back of the spoon, letting it gently diffuse onto the mango layer rather than crashing down. This ensures the layers remain distinct.
3 Fill to the top of the glass.
4 Finish by sprinkling the chia seeds, arranging your fresh raspberries, and placing your mint sprig on top for a professional look. Enjoy your Glow!
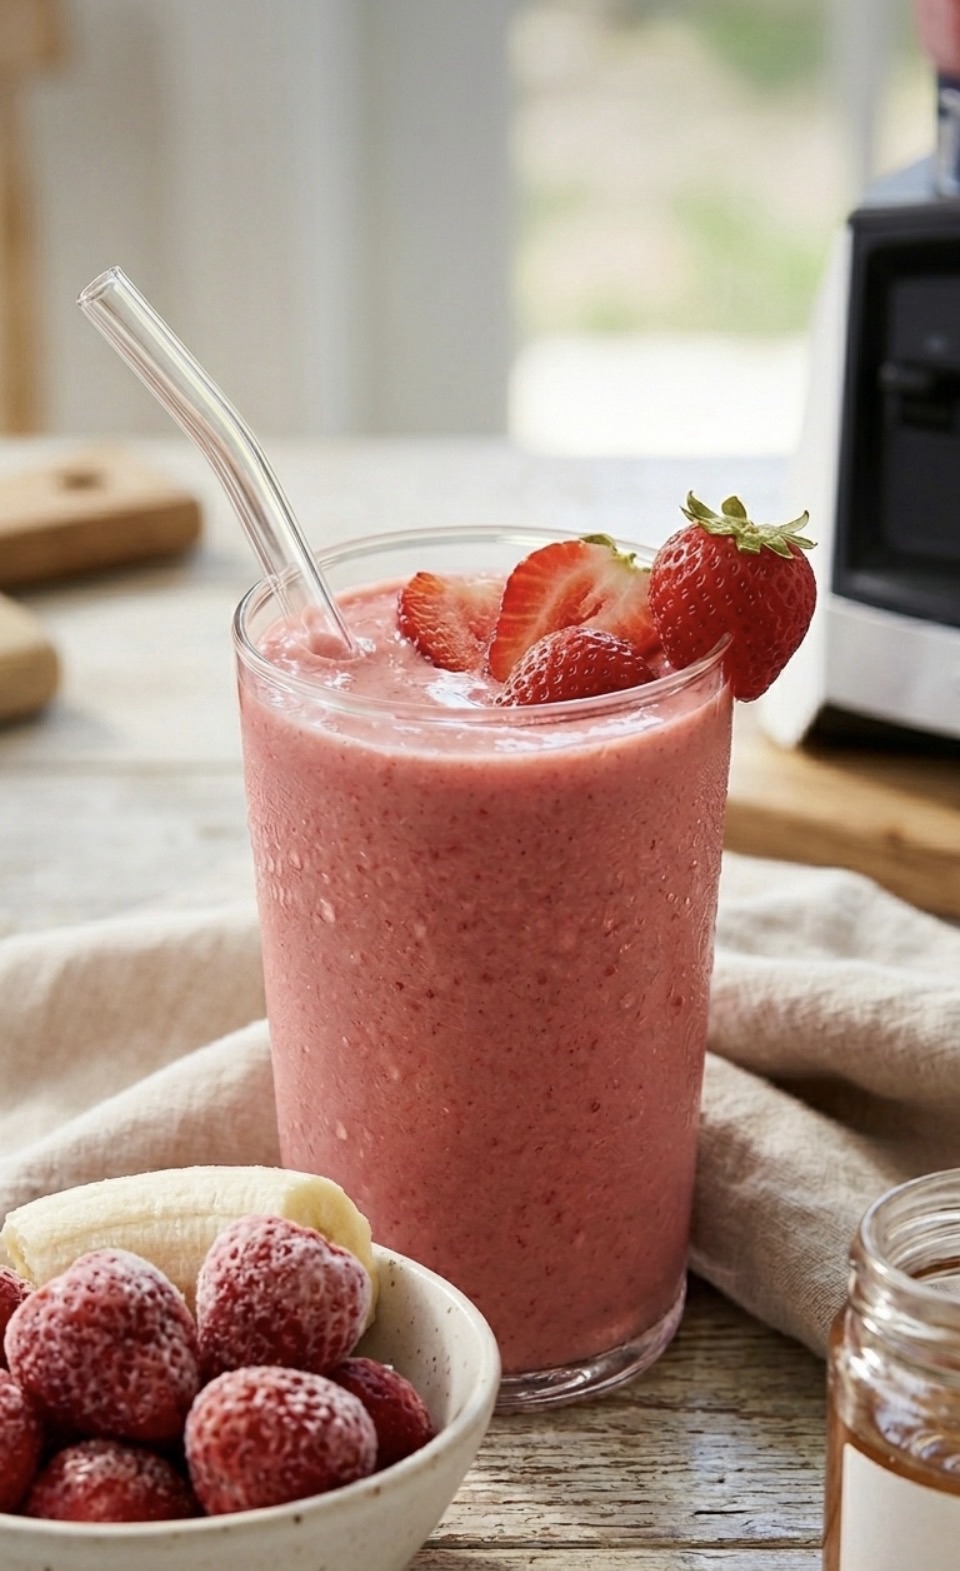
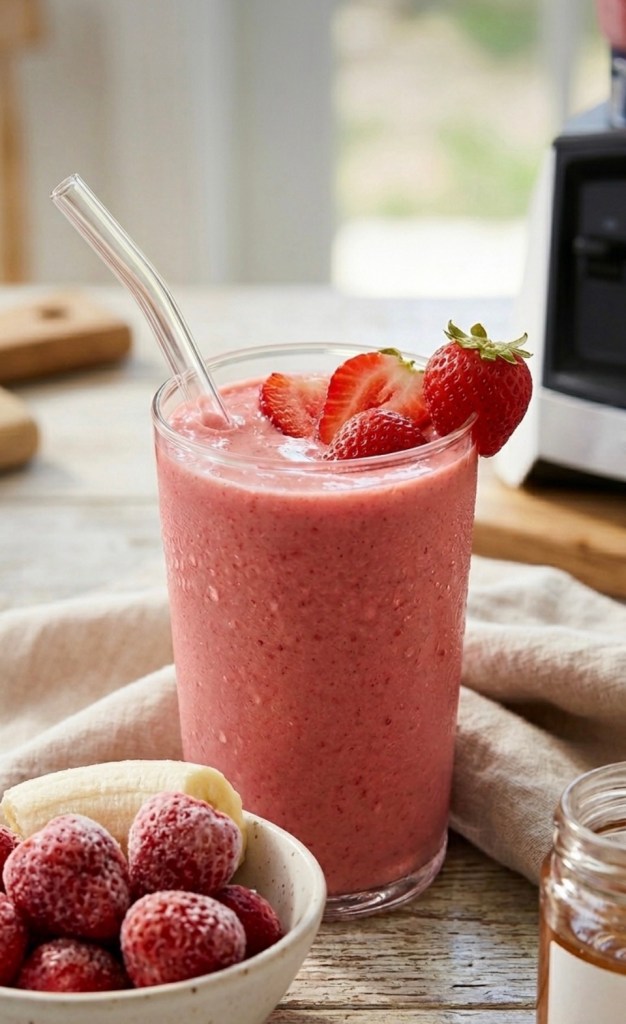
If you’ve been scrolling through your feed lately, you’ve probably seen a dozen different ways to make a fruit smoothie. But let’s be honest—half the time, they either turn out too icy, too watery, or just plain bland.
That stops today. This ultra-creamy strawberry smoothie tastes less like health food and more like a decadent milkshake, but it’s packed with clean ingredients to fuel your morning.
The secret? A tiny splash of fresh lemon juice. It sounds simple, but it completely cuts through the richness and makes the strawberry flavor absolutely explode.
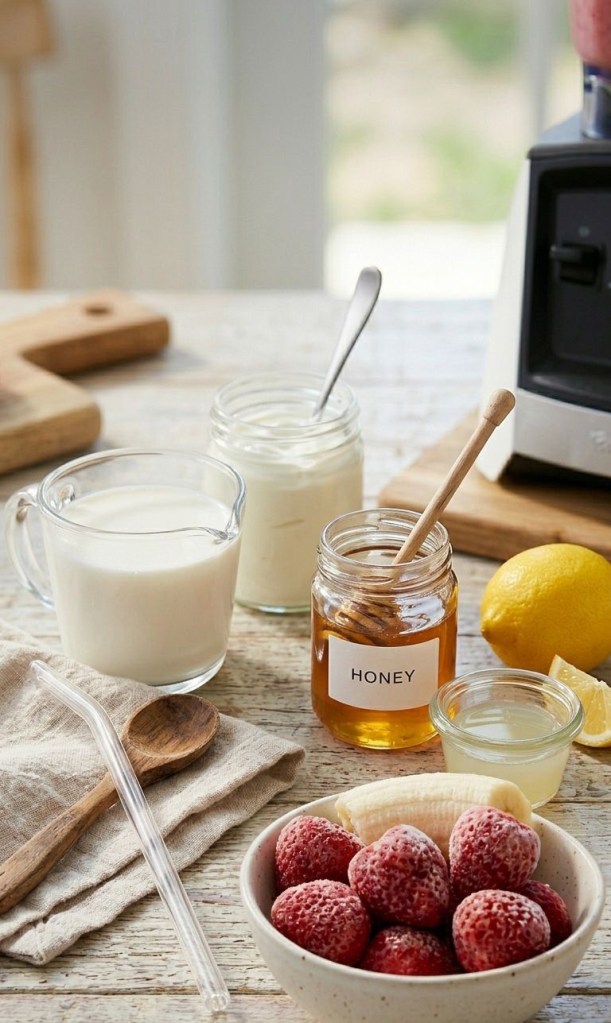
🛒 The Ingredient Breakdown
Here is everything you need to grab from your kitchen:
Frozen Strawberries (2 cups): Essential for keeping the smoothie thick and frosty without needing to add ice (which just dilutes the flavor).
Greek Yogurt (½ cup): Go for whole milk Greek yogurt if you want maximum creaminess and a solid protein boost.
Frozen Banana (½): Just half a banana adds the perfect natural sweetness and velvet texture without overpowering the strawberry flavor.
Honey or Maple Syrup (1 tbsp): For a touch of natural, unrefined sweetness.
Fresh Lemon Juice (1 tsp): The game-changer. Don’t skip it!
🥛 The Great Milk Debate: Which One is Best?
The beauty of this recipe is its flexibility. Depending on what you pour into your blender, you can completely customize the vibe of your breakfast:
Whole Milk: The undisputed champion for the richest, most milkshake-like texture.
Oat Milk: The absolute best plant-based option. It has a naturally thick consistency and a slight sweetness that pairs perfectly with berries.
Almond Milk: Your go-to if you want to keep things light, crisp, and low-calorie.
🌪️ How to Make It
1 Layer the Blender: Put your liquid in first (this helps the blades spin smoothly), followed by the yogurt, honey, lemon juice, and finally the frozen fruit.
2 Blend on High: Whirl it all together until completely smooth. If it’s looking a little too thick to move, don’t panic—just add an extra splash of milk a tablespoon at a time.
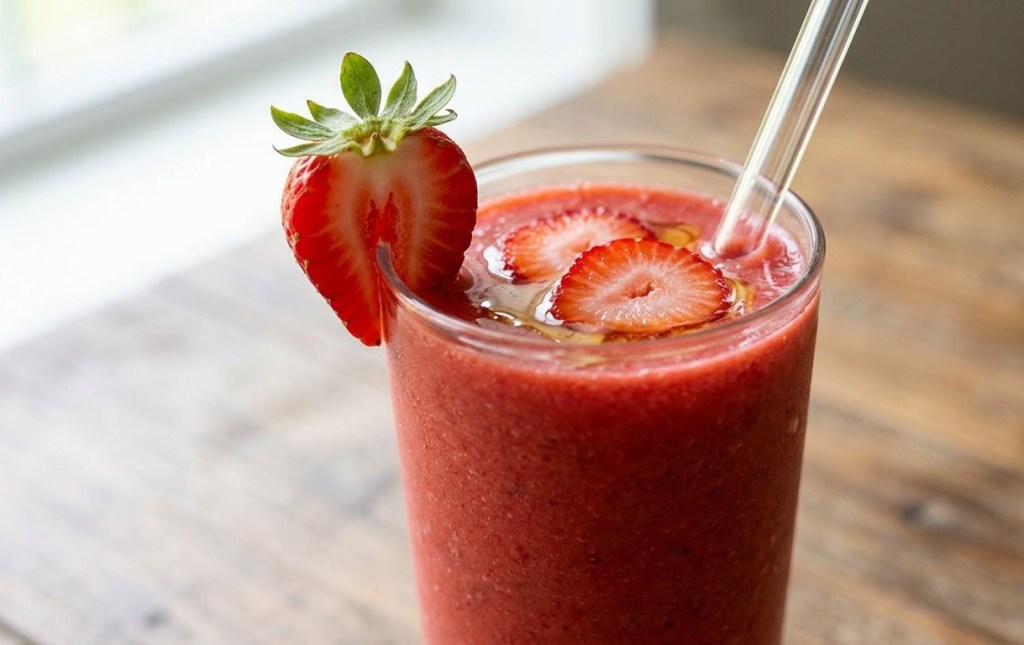
3 Garnish and Serve: Pour it into a tall glass, pop in a reusable glass straw, and top with a few fresh strawberry slices if you’re feeling fancy.
📝 Prep Ahead: Meal Prep Smoothie Packs
Love this recipe but short on time in the morning? You can prep your ingredients ahead of time!
Method:
1 Grab a reusable silicone freezer bag or a heavy-duty freezer Ziploc.
2 Place the frozen strawberries and frozen banana (the core frozen components) directly in the bag.
3 Add the optional honey if you prefer it pre-frozen (though it blends fine fresh).
4 Squeeze out as much air as possible, seal, and store in the freezer.
5 In the morning: Grab your pre-packed bag, dump it into the blender, add the milk, Greek yogurt, and the key teaspoon of fresh lemon juice. Blend and go!
This saves valuable minutes and ensures you have a thick, cold base every time.
📊 Nutritional Breakdown (Estimated, per serving)
This breakdown assumes you are using whole milk Greek yogurt and whole dairy milk, and that the recipe makes one large or two moderate-sized servings.
Calories: ~350 – 450 kcal
Protein: ~18g – 22g (great for muscle recovery)
Carbohydrates: ~45g – 55g
Total Fat: ~10g – 14g (from the whole dairy and yogurt)
Sugars: ~30g – 35g (mostly natural from fruit, plus 1 tbsp honey)
Dietary Fiber: ~6g – 8g (keeps you full longer)
Vitamin C: High (from strawberries and lemon)
Calcium: Good source (from milk and yogurt)
✨ Final Thoughts
Whether you’re blending this up for a quick weekday breakfast or treating yourself on a lazy Sunday morning, this creamy strawberry smoothie is bound to become a permanent staple in your routine. It’s fast, incredibly satisfying, and that simple lemon juice trick will make you feel like an absolute blending genius. Give it a try, experiment with your favorite milk combo, and leave a comment below to let me know how yours turned out. Happy blending!
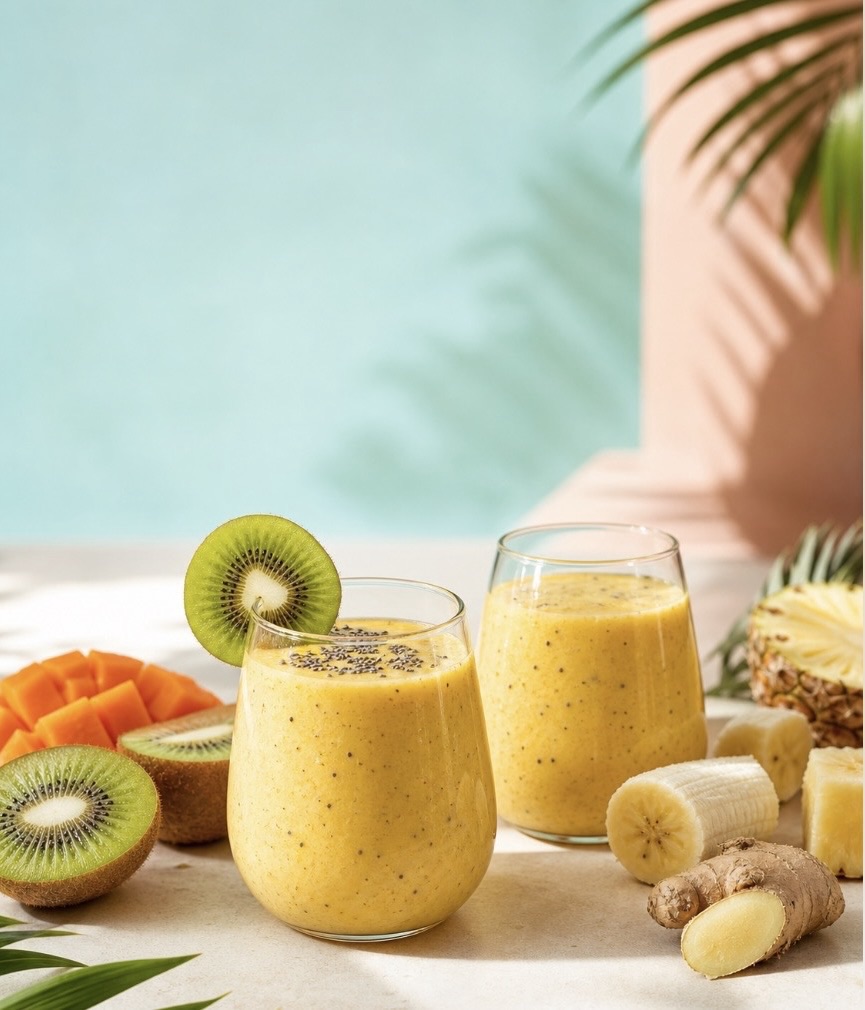
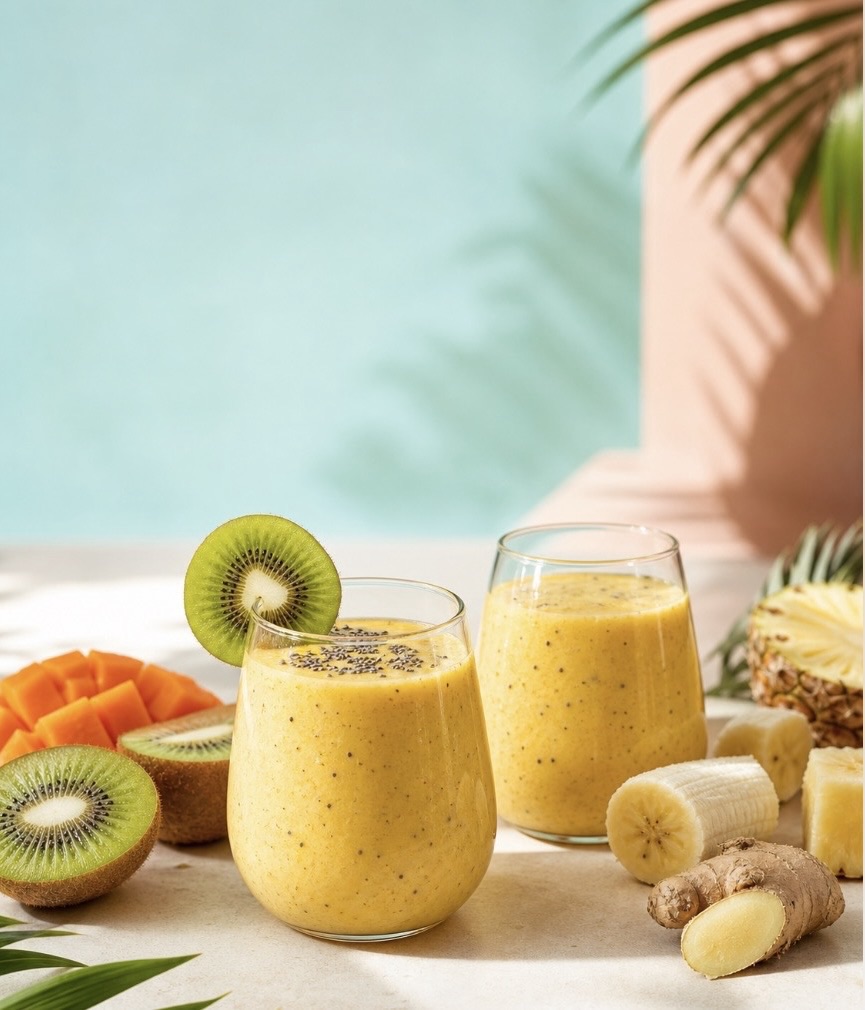
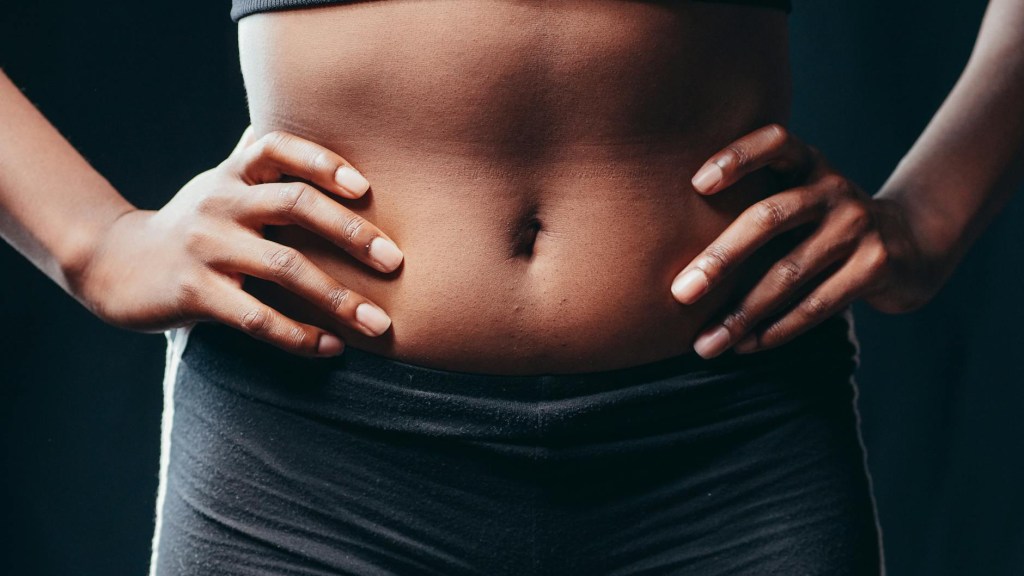
If you ever feel like your stomach blows up like a balloon after meals, you’re not alone. Many of us struggle with that heavy, over‑full feeling, especially after eating quickly, eating out, or during certain times of the month. Instead of reaching for expensive “debloat” supplements, this simple tropical smoothie uses everyday ingredients that may help soothe bloating while tasting like a beach holiday in a glass.
This Tropical Debloat Smoothie is packed with fiber‑rich fruits, live cultures and a touch of ginger heat. It’s gentle enough for everyday sipping but powerful enough to become your new go‑to on “why am I so bloated again?” days.
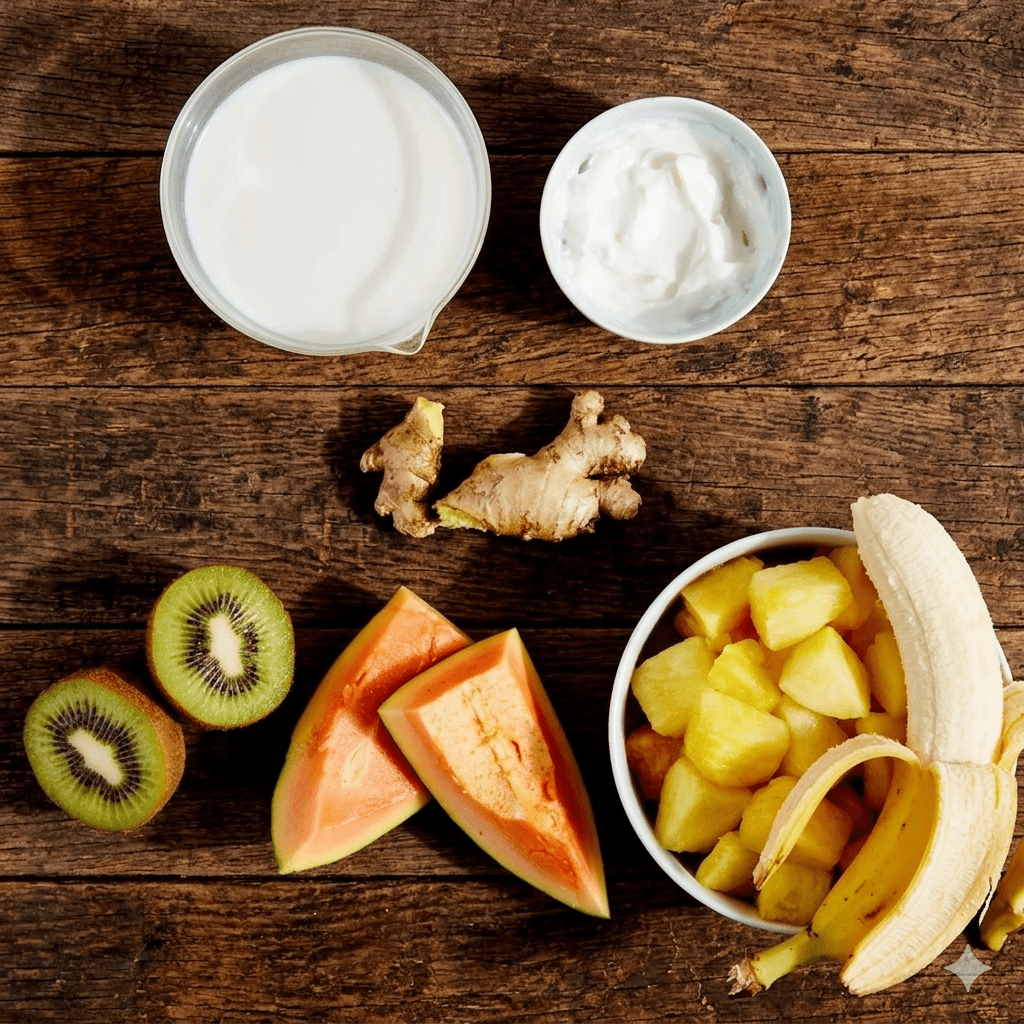
Why These Ingredients Can Help with Bloating Each ingredient in this smoothie earns its place in the blender: • Kiwi – Naturally high in fiber and an enzyme called actinidin, kiwi can support digestion and help things move more comfortably through your system. • Papaya – Contains the enzyme papain, which can help break down proteins and may ease that heavy, “brick in the stomach” feeling. • Pineapple – Another enzyme‑rich fruit, pineapple contains bromelain, often used to support digestion and reduce puffiness. • Banana – Provides soluble fiber and potassium, which can help with fluid balance and reduce the feeling of water retention. • Yogurt – Whole‑milk plain yogurt adds creaminess and beneficial bacteria that can support a happier gut. • Ginger – A classic choice for nausea and bloating; ginger may help calm the digestive system and reduce gas.
Put them together and you get a creamy, tropical‑tasting smoothie that feels more like a treat than a “remedy.”
Tropical Debloat Smoothie Recipe This recipe makes 2 servings – perfect for sharing, or for you now and you later. Ingredients • 1 medium frozen peeled banana, sliced (about 1 cup) • 1 cup seeded, peeled and chopped fresh papaya • 1 cup frozen pineapple chunks • ¾ cup unsweetened almond milk • ¼ cup whole‑milk plain yogurt • 1 small kiwi, peeled and chopped (¼ cup), plus extra for garnish • ½ teaspoon freshly grated ginger
Method
Prep your ingredients If your banana isn’t already frozen, peel, slice and freeze it ahead of time for the best creamy texture. Peel and chop the papaya and kiwi, and measure out the pineapple, almond milk and yogurt.
Add everything to the blender Add the sliced banana, papaya, pineapple, almond milk, yogurt, chopped kiwi and grated ginger to your blender jug.
Blend until silky smooth Start on a low speed, then gradually increase to high. Blend for 1–2 minutes, or until the mixture is completely smooth and creamy. Use a tamper if your blender has one to help everything combine.
Serve and garnish Pour into 2 glasses. Garnish with extra kiwi slices on the rim or a few small cubes of pineapple or papaya on top if you’re feeling fancy.
Sip slowly
Enjoy your smoothie slowly rather than chugging it in one go – that can help reduce extra air intake, which also contributes to bloating.
When to Drink This Smoothie You can enjoy this Tropical Debloat Smoothie whenever you like, but there are a few moments when it can feel especially helpful: • As a light breakfast after a heavier dinner the night before • Mid‑afternoon when your jeans suddenly feel tighter • As a gentle, soothing option when your digestion feels “off” • Around your period, when water retention and bloating tend to spike
If you’re sensitive to large amounts of fruit sugar, you can start with a smaller serving and see how your body feels.
Tips & Variations You can easily tweak this smoothie to suit your preferences: • Make it dairy‑free – Swap the yogurt for a dairy‑free alternative or extra almond milk. • Add protein – Add a scoop of protein powder or a spoonful of nut butter to make it more filling as a breakfast. • Extra fiber – Add a spoonful of chia seeds or ground flaxseed if your gut tolerates them well.
• Adjust sweetness – If you prefer it sweeter, add a date or a small drizzle of honey; if it’s too sweet, increase the yogurt slightly.
Final Thoughts Bloating can be uncomfortable and frustrating, but small daily habits can make a big difference. This Tropical Debloat Smoothie is a simple, delicious way to support your digestion with whole foods – no harsh detoxes, no complicated ingredients. If you try this recipe, let me know how it works for you and whether you notice a difference in how your tummy feels over a week or two of regular use.