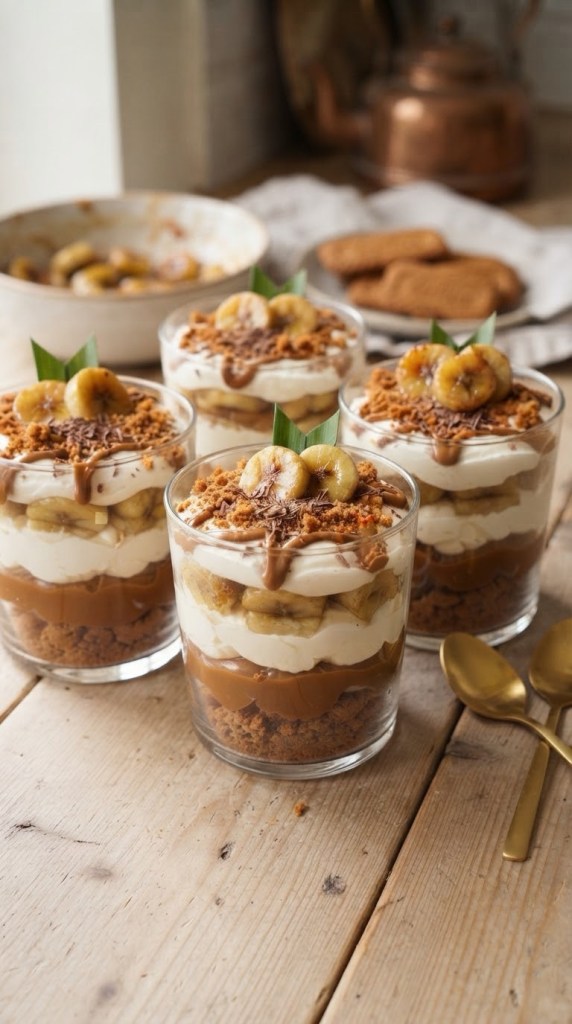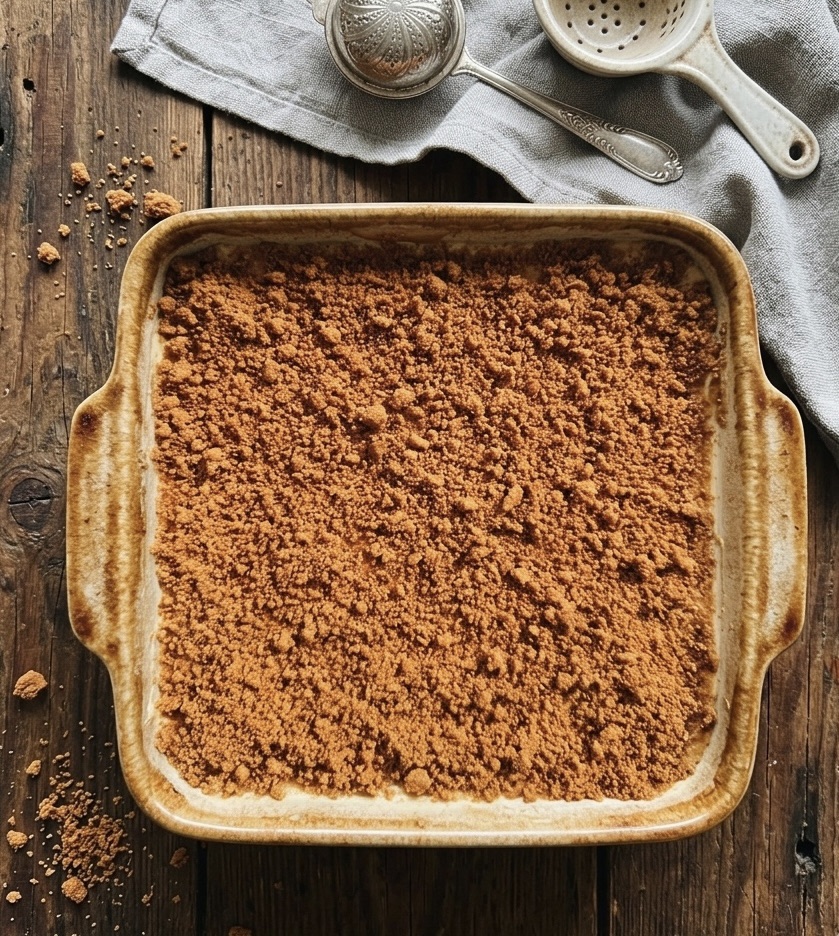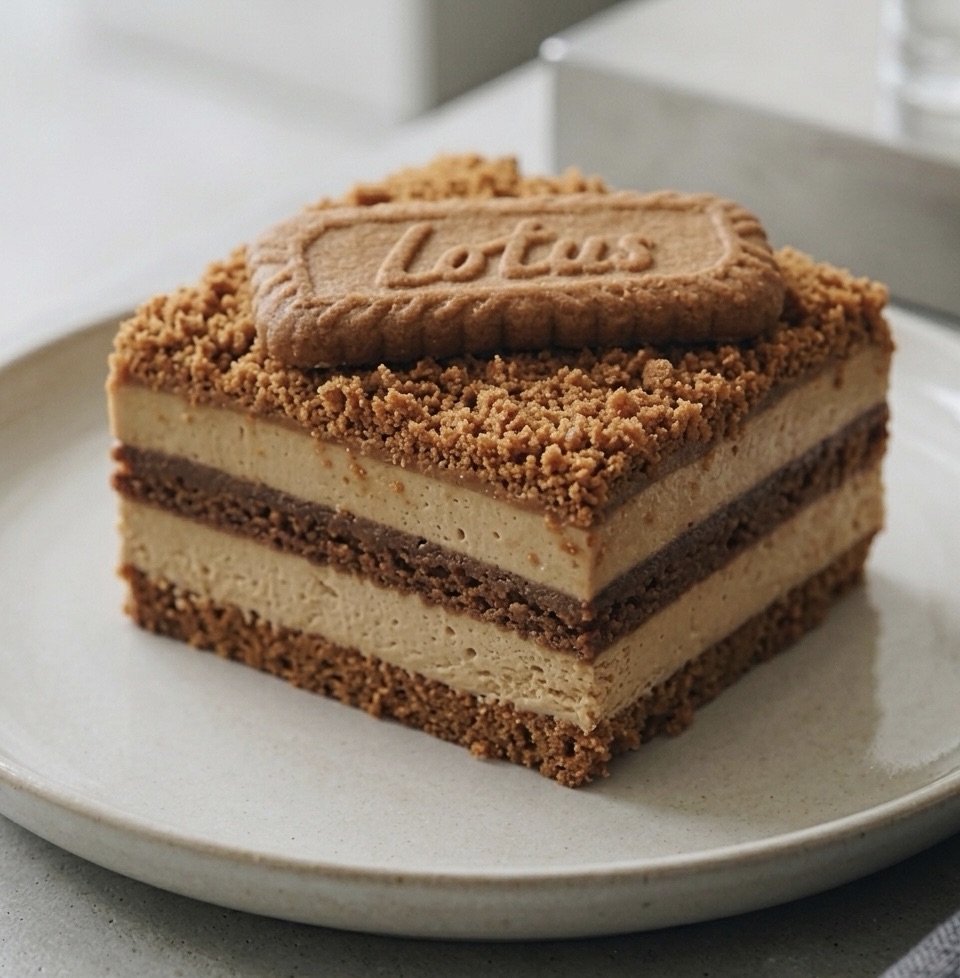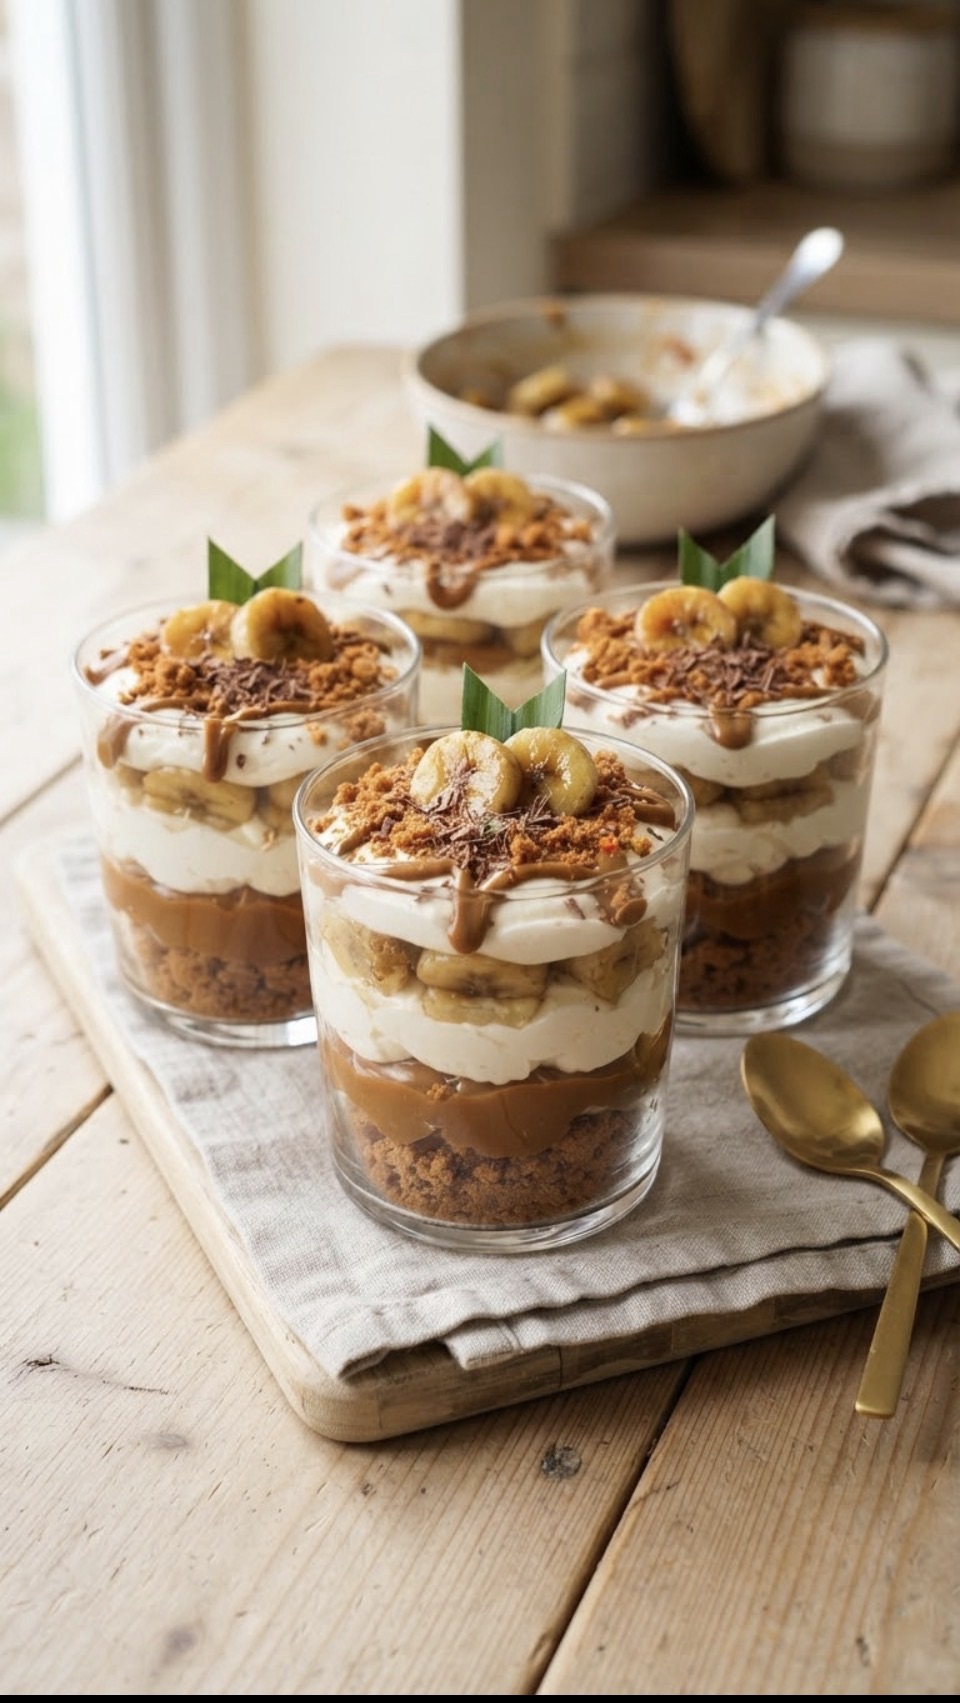
If you love banoffee pie, Biscoff biscuits and creamy no-bake desserts, these Biscoff Banoffee Trifle Pots are for you. They are rich, layered and completely delicious, with buttery Biscoff biscuit crumb, sticky caramelised bananas, smooth mascarpone cream, dulce de leche and a final drizzle of melted Biscoff spread.
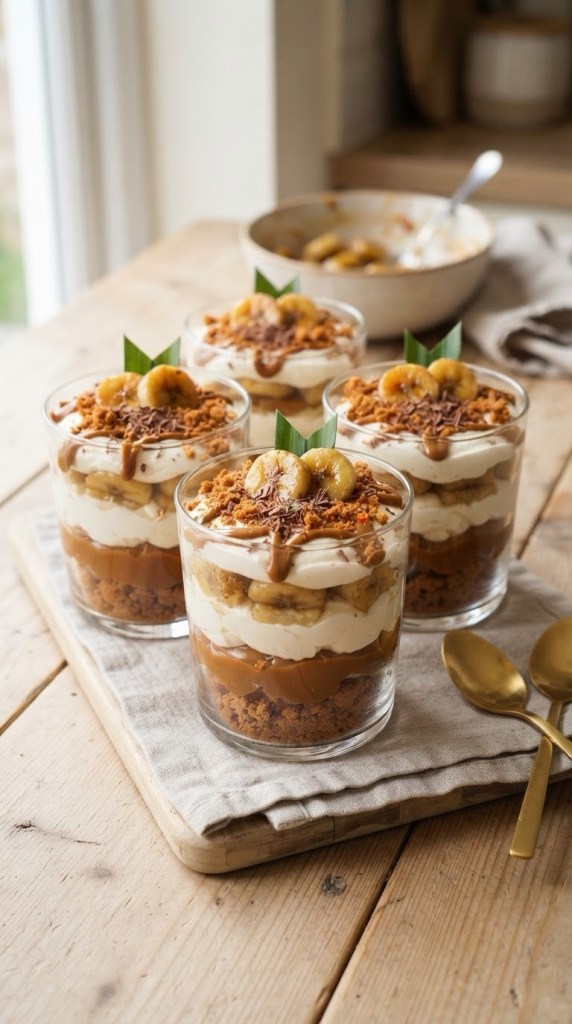
They look like something you would order in a restaurant, but they are surprisingly simple to make at home. The best part is that there is no oven required, making them ideal for a last-minute dinner-party pudding, a cosy weekend dessert or a sweet treat to prepare ahead of time.
Serve them in clear glasses so all of those gorgeous layers are visible. A little grated dark chocolate on top gives a lovely contrast to the sweet caramel and spiced biscuit flavour.
Why you’ll love this recipe
• A no-bake dessert that looks properly impressive.
• Uses easy-to-find supermarket ingredients.
• Combines classic banoffee flavours with the caramelised spice of Lotus Biscoff.
• Can be made in advance and chilled until you are ready to serve.
• Perfect for individual portions, dinner parties, date nights or an indulgent Friday-night pudding.
Banoffee desserts traditionally bring together a biscuit base, bananas, caramel and cream, while Biscoff adds a buttery, gently spiced caramel note that works beautifully with all of those flavours
Ingredients
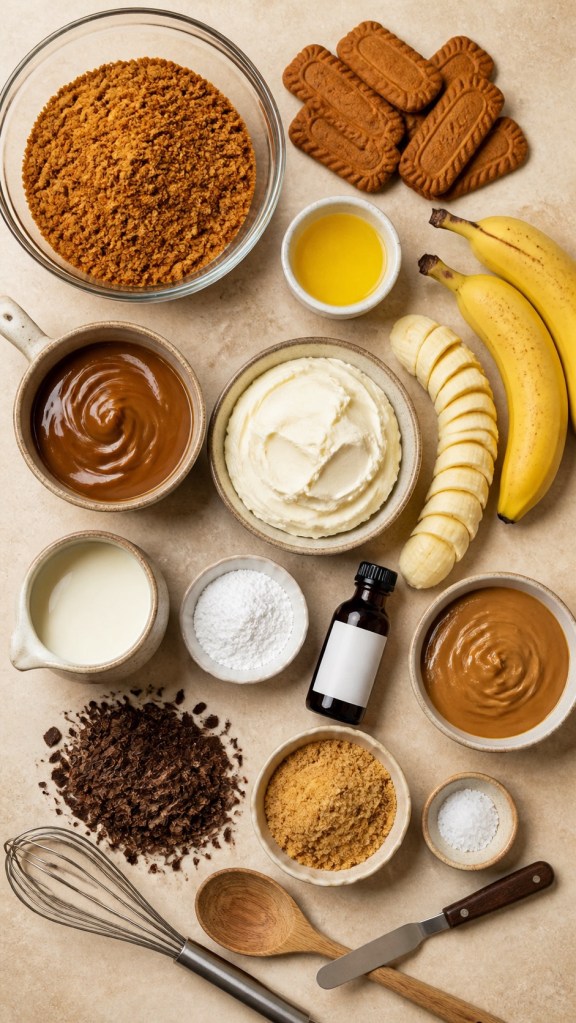
For the Biscoff biscuit crumb
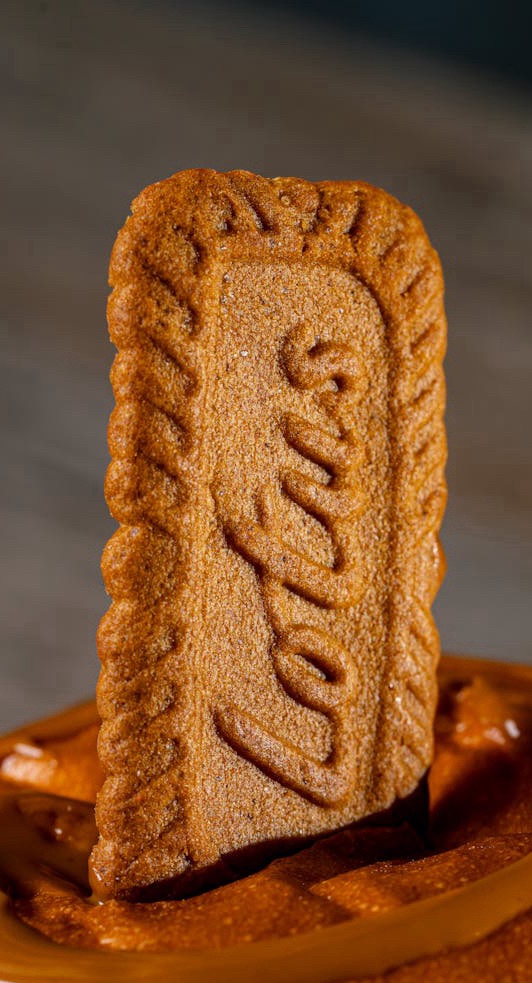
• 200g Lotus Biscoff biscuits
• 75g unsalted butter, melted
• Small pinch of sea salt, optional
For the caramelised bananas
• 2 ripe but firm bananas
• 1 tbsp unsalted butter
• 2 tbsp light brown sugar
For the mascarpone cream
• 250g mascarpone
• 200ml double cream
• 2 tbsp icing sugar
• 1 tsp vanilla extract
To layer and decorate
• 150g dulce de leche or Carnation Caramel
• 75g Biscoff spread, gently melted
• 40g dark chocolate, grated or shaved
• Extra crushed Biscoff biscuits
• Optional: a little extra banana for decorating
Equipment
• 4 clear dessert glasses or jars
• Mixing bowl
• Electric hand whisk or stand mixer
• Small frying pan
• Rolling pin or food processor
• Piping bag, optional
How to make Biscoff Banoffee Trifle Pots
Step 1: Make the Biscoff biscuit crumb
Place the Biscoff biscuits in a food processor and pulse until you have a mixture of fine crumbs and a few larger pieces. Alternatively, put the biscuits in a sealed food bag and bash with a rolling pin.
Pour in the melted butter, add a small pinch of sea salt if using, and stir until the biscuit crumbs are evenly coated. Set aside while you prepare the other layers.
Step 2: Caramelise the bananas
Slice the bananas into thick coins. Melt the butter in a frying pan over a medium heat, then add the light brown sugar. Stir for around 30 seconds until it starts to bubble.
Add the banana slices in a single layer and cook for 1–2 minutes on each side. You want them lightly golden and coated in caramel, but still holding their shape. Remove from the pan and leave to cool completely.
Try not to use overly soft bananas, as they can break down too much in the pan. Firm-ripe bananas will give you the best neat layers.
Step 3: Whip the mascarpone cream
Add the mascarpone, double cream, icing sugar and vanilla extract to a large mixing bowl. Whisk until the mixture is thick, smooth and holds its shape.
Be careful not to overwhip it. Stop as soon as the cream is pipeable or spoonable, as mascarpone can split if whisked for too long.
Step 4: Assemble the dessert pots
Spoon a layer of the Biscoff biscuit crumb into the bottom of each glass. Add a spoonful of dulce de leche or caramel, then a layer of mascarpone cream and a few caramelised banana slices.
Repeat the layers until the glasses are full. For the prettiest finish, pipe the final mascarpone layer in a swirl rather than spooning it in.
Step 5: Decorate and chill
Gently melt the Biscoff spread in the microwave for 10–15 seconds until pourable. Drizzle it over the top of each dessert pot.
Finish with crushed Biscoff biscuits, grated dark chocolate and a banana slice if you like. Chill for at least 1 hour before serving so the layers firm up and the flavours develop.
Top tips for the best dessert pots
Use firm-ripe bananas
Bananas should be yellow and sweet but not overly soft. If they are very ripe, they can become mushy as they cook in the caramel.
Cool the bananas completely
Warm bananas can soften the mascarpone layer and make the pots look messy. Let them cool fully before assembling.
Don’t overwhip mascarpone
Whisk only until thick and smooth. If you take it too far, the mixture can become grainy or split.
Assemble shortly before serving
These pots are best eaten on the day they are made. The banana will gradually soften and darken, even when coated in caramel. You can prepare the biscuit crumb, caramel bananas and mascarpone cream in advance, then layer everything closer to serving time.
Make them look extra special
Use clear tumblers, vintage sundae glasses or small glass jars to show off every layer. A slow drizzle of warm Biscoff spread down the inside of the glass before filling also gives them that bakery-style look.
Serving suggestions
These Biscoff Banoffee Trifle Pots are very rich, so smaller glasses work well if serving them after a big meal. They are lovely with:
• A cup of coffee or espresso.
• An extra spoonful of warm caramel sauce.
• A scoop of vanilla ice cream on the side.
• Fresh raspberries or strawberries to cut through the sweetness.
• A pinch of flaky sea salt over the Biscoff drizzle.
Can I make these ahead?
Yes, with a small caveat. You can prepare the individual elements a day ahead:
• Keep the Biscoff biscuit crumb in an airtight container at room temperature.
• Store the caramelised bananas in the fridge.
• Keep the mascarpone cream chilled in a covered bowl or piping bag.
• Melt the Biscoff spread just before assembling.
For the freshest-looking banana slices, assemble the pots no more than a few hours before serving. The finished desserts will keep in the fridge for up to 24 hours, but they are at their best on the day you make them.
Can I use whipped cream instead?
Yes. If you do not have mascarpone, use 300ml double cream whipped with 2 tbsp icing sugar and 1 tsp vanilla extract. The mascarpone version is more stable and gives a thicker, cheesecake-like texture, while ordinary whipped cream is lighter.
Can I use ordinary digestive biscuits?
Absolutely. Digestive biscuits make a classic banoffee base, so they are a great substitute. You will lose the distinctive caramelised-spice flavour of Biscoff, but the pots will still be delicious. You can also use chocolate digestives for a more chocolatey version.
Easy variations
Chocolate Biscoff banoffee pots
Add a layer of chocolate mousse or chocolate custard beneath the mascarpone cream, then use milk chocolate curls to finish.
Strawberry banoffee pots
Layer sliced strawberries with the caramelised bananas for a fresher, fruitier dessert. Strawberries work especially well with Biscoff and mascarpone.
Salted caramel version
Stir a pinch of flaky sea salt into the dulce de leche and add salted pretzels alongside the Biscoff crumb for extra crunch.
Coffee banoffee pots
Dissolve 1 tsp instant espresso powder in 1 tsp boiling water and fold it into the mascarpone cream. This creates a subtle coffee flavour that works beautifully with caramel and bananas.