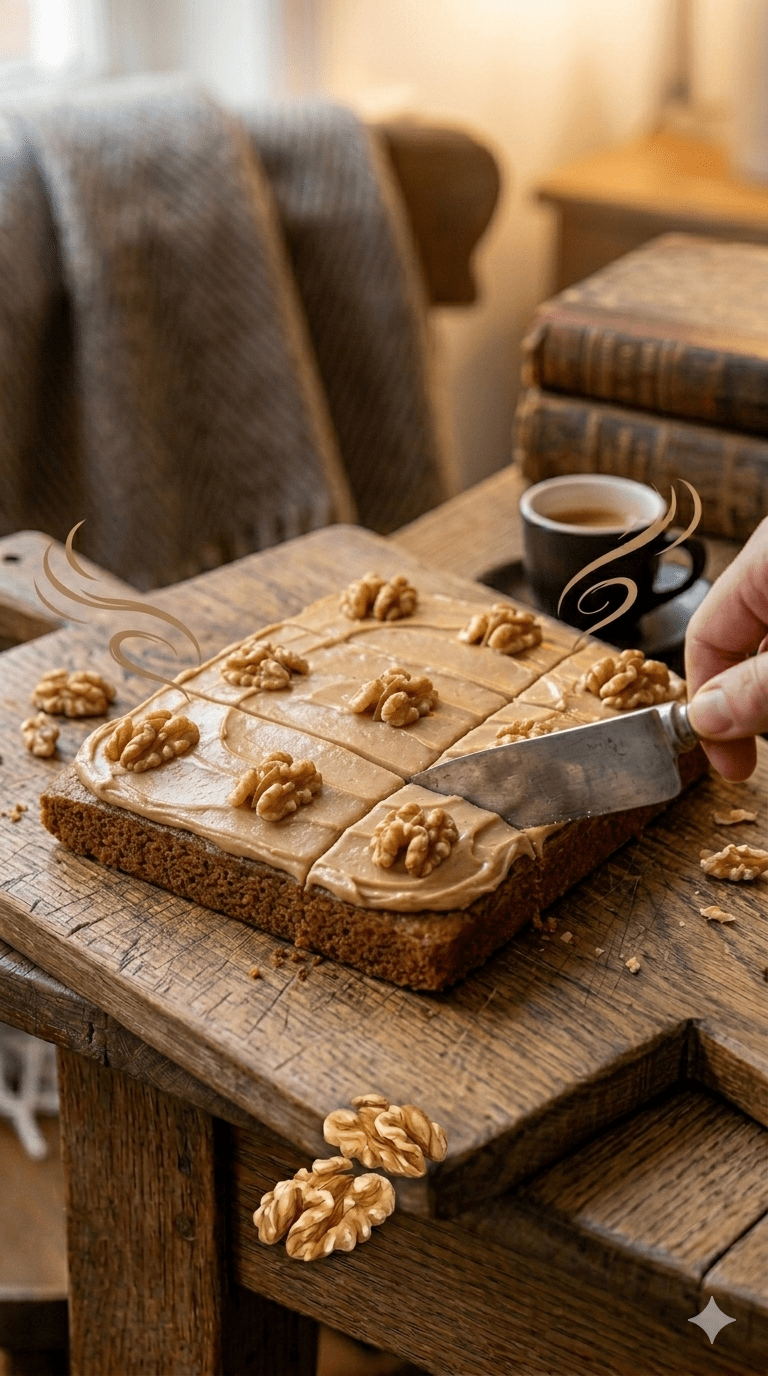
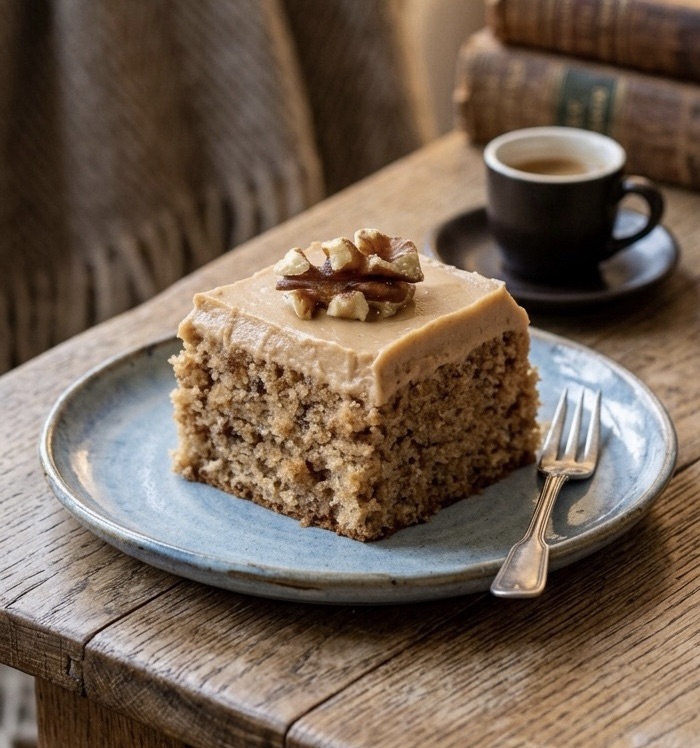
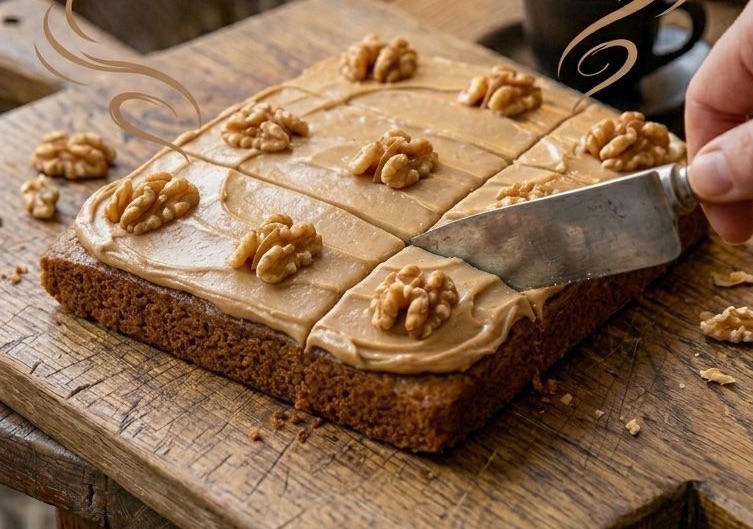
There are few sights more welcoming on a rainy afternoon than a fresh Coffee & Walnut Traybake sitting on a rustic wooden table. It is the quintessential British teatime treat—sophisticated enough for a garden party, yet humble enough for a Tuesday morning “pick-me-up.”
In this guide, we’re diving deep into how to achieve that perfect balance of earthy nuttiness, bold caffeine notes, and a sponge so soft it practically melts.
The Anatomy of a Perfect Traybake
What makes a traybake superior to a standard round cake? It’s all about the surface area. A traybake offers a consistent thickness, ensuring every slice is evenly baked and topped with a generous, level layer of decadent buttercream.
🛒 The Ingredient Breakdown
To achieve bakery-quality results at home, quality matters:
• The Fat: Use unsalted butter at room temperature. If it’s too cold, it won’t cream; if it’s melted, your sponge will be heavy.
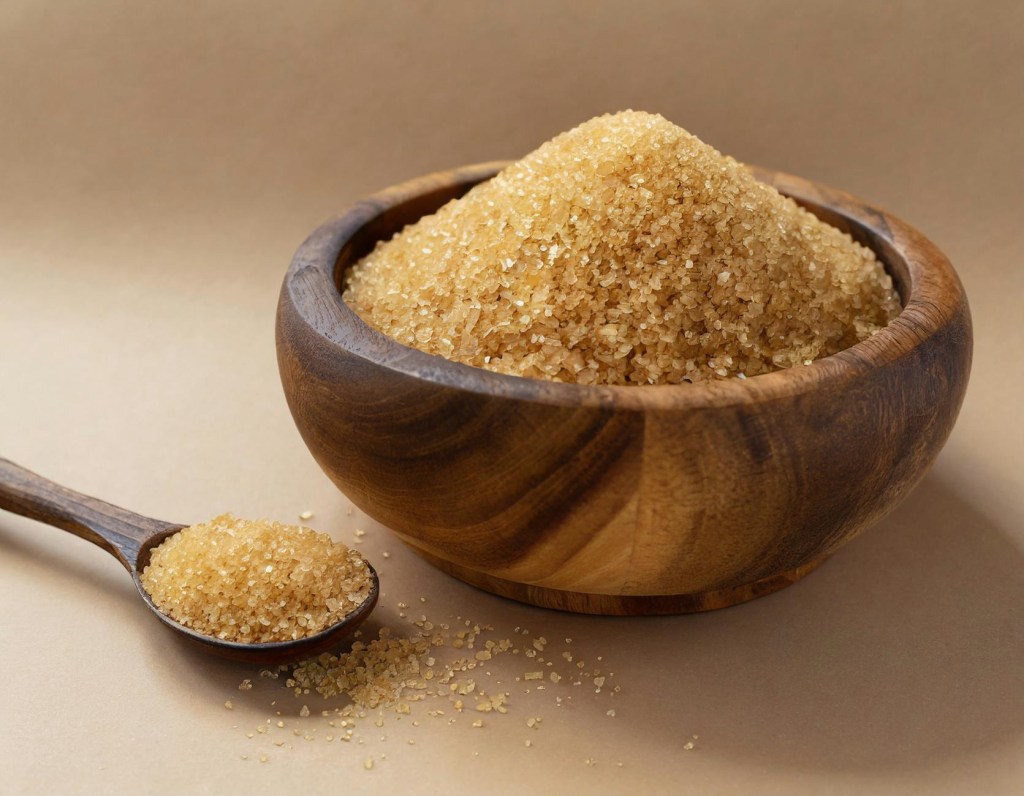
• The Sugar: We use Light Brown Soft Sugar. The molasses content adds a moisture and a “toffee” undertone that white sugar simply can’t match.
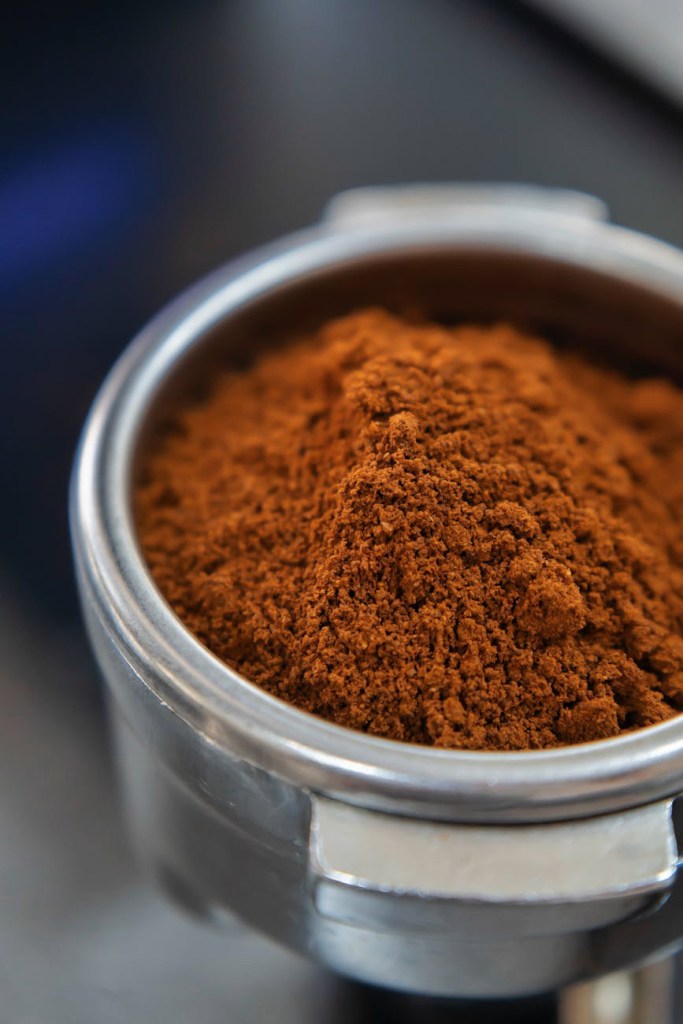
• The Coffee: Instant coffee granules are actually preferred over liquid espresso here because they provide an intense flavor without adding too much extra liquid, which can throw off the chemistry of the rise.
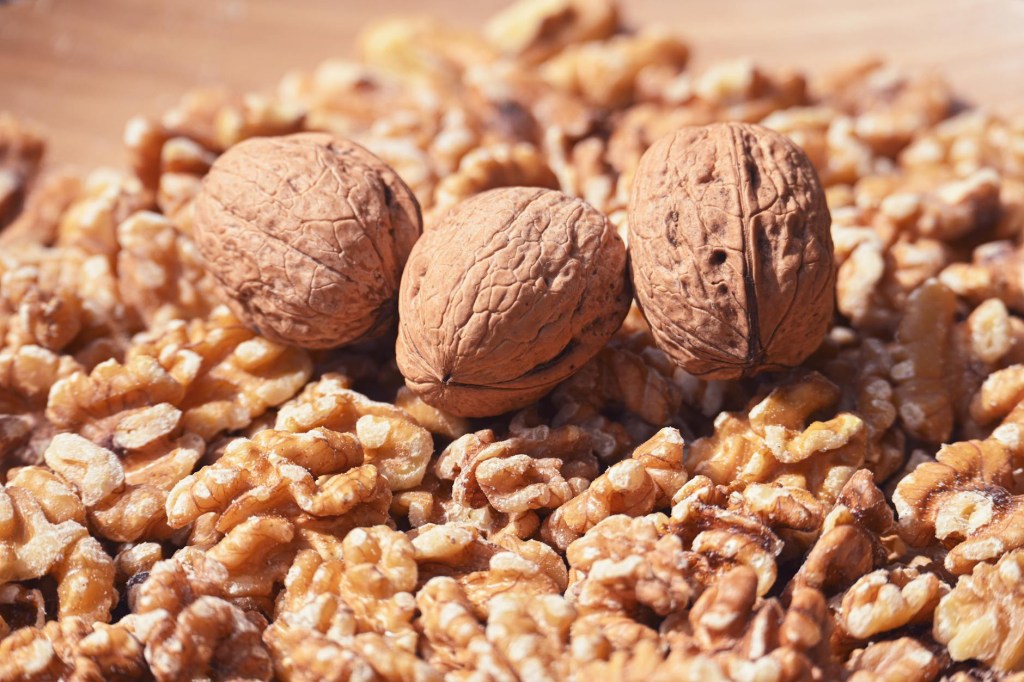
• The Crunch: Use fresh walnuts. Walnuts can go rancid quickly due to their high oil content, so give them a quick sniff before chopping!
Step-by-Step: The Method to the Magic
1. The Creaming Stage
Start by beating your 225g butter and 225g brown sugar. You are looking for a transformation: the mixture should turn from dark and gritty to pale and fluffy. This process incorporates tiny air bubbles that expand in the oven, giving you a light-as-air crumb.
2. Incorporating the Eggs
Add your 4 large eggs one at a time.
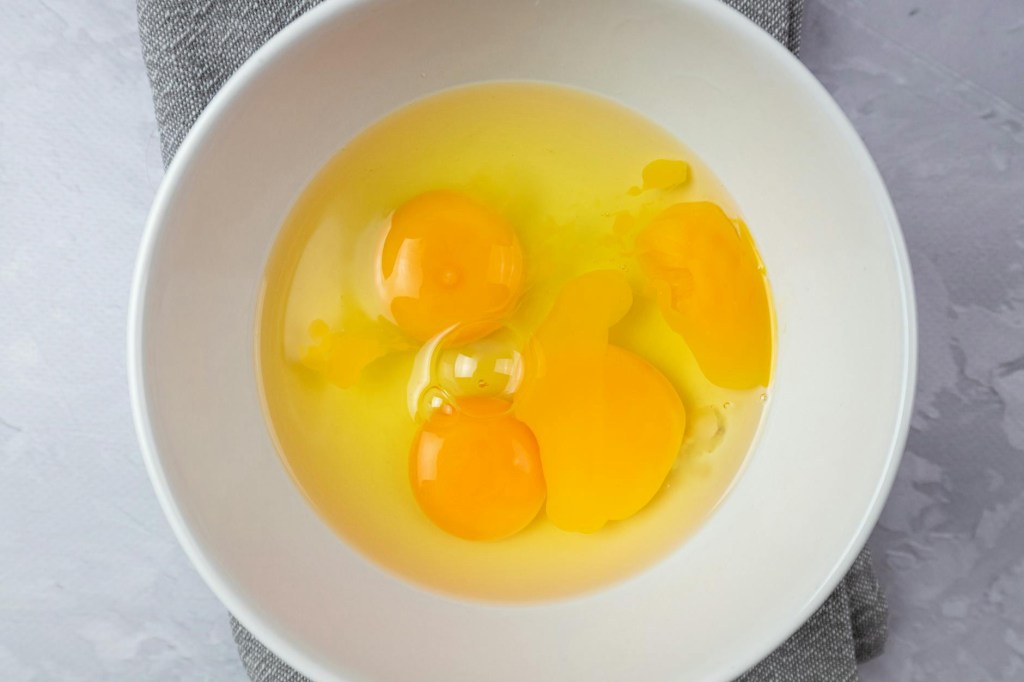
Pro Tip: If the mixture looks like it’s starting to curdle (split), add a tablespoon of your weighed flour. This binds the fat and liquid back together.
3. Folding, Not Mixing
Once the vanilla and coffee are in, sift in the 225g self-raising flour. Use a large metal spoon or a spatula to “cut and fold” the flour in. Stop the second you see no more white streaks. Over-mixing develops gluten, which results in a tough, bread-like cake rather than a tender sponge.
4. The Bake
Smooth the batter into a lined 20 × 30 cm tin. Bake at 180°C (160°C fan) for 25–30 minutes. You’ll know it’s ready when the edges slightly pull away from the parchment and the center springs back when lightly pressed.
The Crowning Glory: Coffee Buttercream
A traybake is only as good as its frosting. To get that “cloud-like” consistency for your Coffee Buttercream:
1. Beat the 150g butter on its own for 3-5 minutes before adding any sugar. It should turn almost white.
2. Gradually add 300g sifted icing sugar. Sifting is non-negotiable if you want a silky finish!
3. Add your dissolved coffee concentrate. This not only adds flavor but acts as the liquid to loosen the frosting to a spreadable dream.
Customizations & Variations
• The Mocha Twist: Add 1 tbsp of cocoa powder to the sponge mix for a subtle chocolate-coffee vibe.
• The Boozy Bake: For an adult-only version, replace the water used to dissolve the coffee with a splash of coffee liqueur (like Kahlúa).
• Nut Alternatives: If you aren’t a fan of walnuts, pecans are a fantastic substitute, offering a sweeter, more buttery crunch.
Storage & Serving
This cake actually improves after a few hours as the coffee flavor matures. Store it in an airtight container in a cool place (not the fridge, which dries out the sponge) for up to 3 days. Serve with a strong espresso or a classic pot of Earl Grey.
Ready to get baking? Grab your apron and turn your kitchen into the coziest café in town. Don’t forget to tag us in your creations!
