Tag: UK food blogger

  • Cowboy Butter Chicken Linguine (Your New Weeknight Obsession)

    Cowboy Butter Chicken Linguine (Your New Weeknight Obsession)


    If you’re bored of the same old pasta dishes, this cowboy butter chicken linguine is about to become your new favourite. It’s garlicky, buttery, a little bit spicy and wonderfully creamy – the kind of comfort food that feels like a treat but is still doable on a busy weeknight.
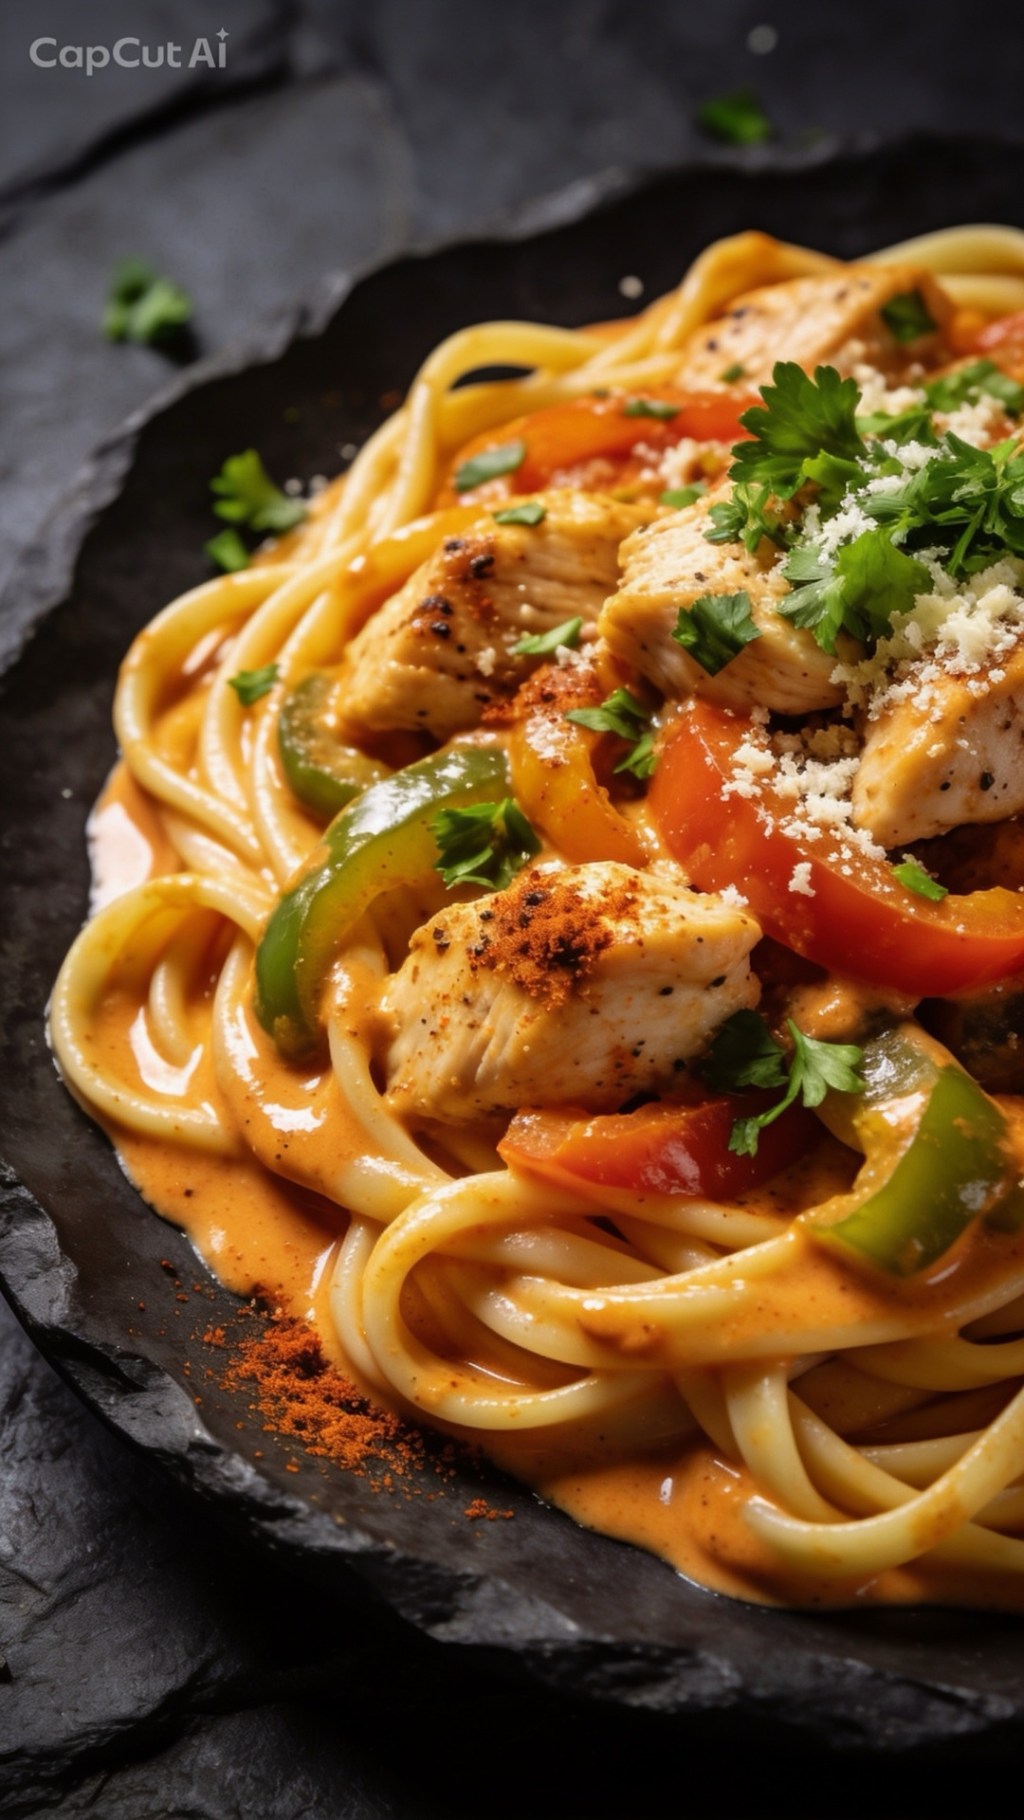
    Think tender strips of chicken, a silky cream sauce packed with paprika, garlic and a hint of chilli, all wrapped around long strands of linguine that soak up every drop of flavour.
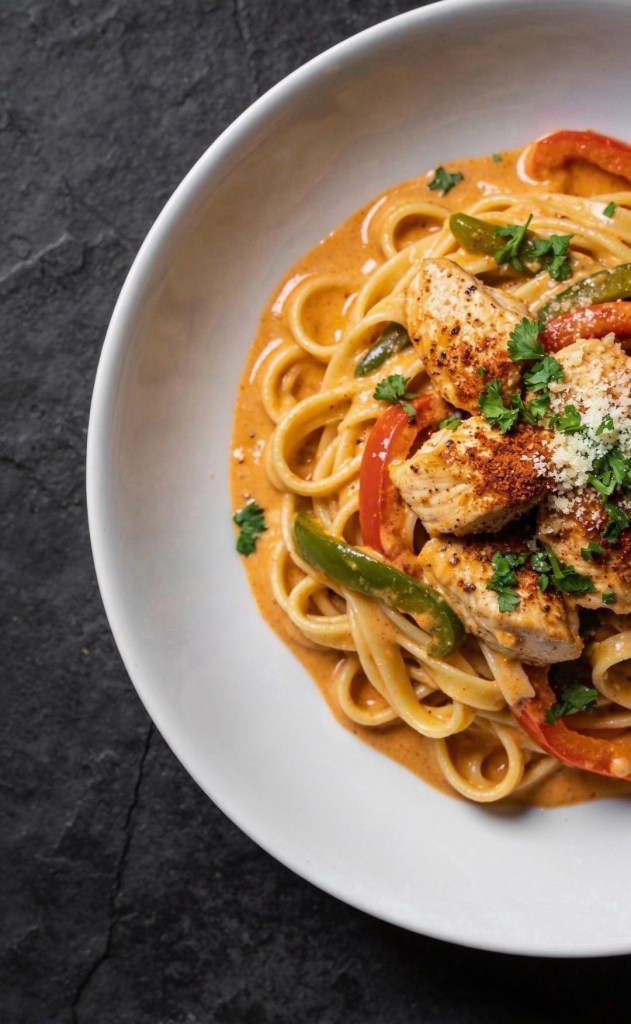
    It looks gorgeous in the bowl, photographs beautifully and tastes even better.


    In this post I’ll walk you through the ingredients, simple step-by-step method, and a few easy variations so you can make it suit your taste and what you have in the fridge.


    Cowboy Butter Chicken Linguine Ingredients
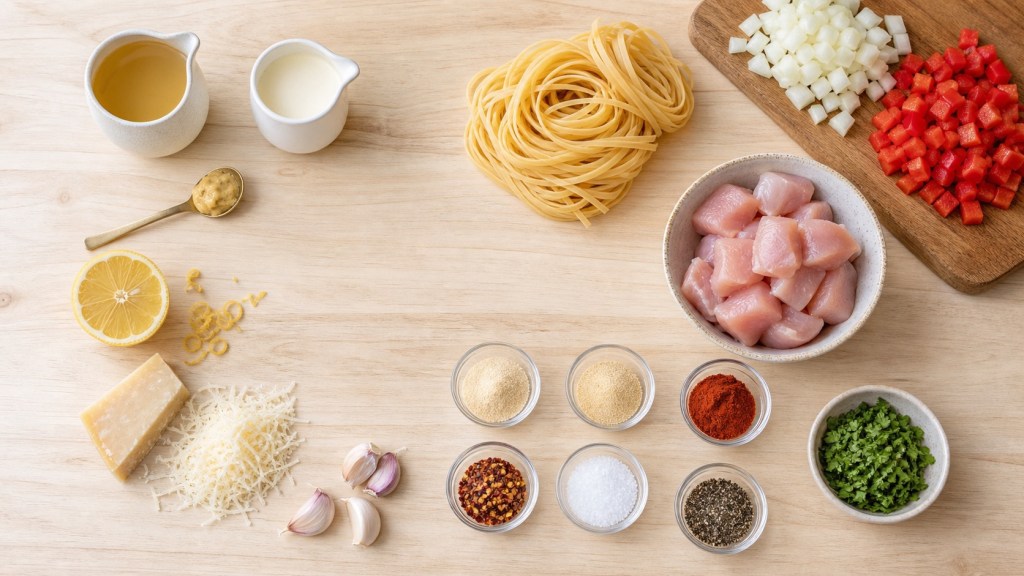

    Here’s what you’ll need for 4 servings:
    • 300 g linguine
    • 500 g chicken (thighs or breasts), cut into bite-size pieces
    • 1 teaspoon onion powder
    • 1 teaspoon garlic powder
    • 1 teaspoon smoked paprika
    • ½ teaspoon chilli flakes or cayenne (more if you like heat)
    • ½ teaspoon salt
    • ½ teaspoon black pepper
    • 1 tablespoon olive oil
    • 2 tablespoons butter
    • 1 small onion, finely diced
    • 1 bell pepper (any colour), diced
    • 3–4 garlic cloves, minced
    • 120 ml chicken stock or broth
    • 150 ml double cream
    • 1 tablespoon Dijon mustard
    • Juice and zest of ½ lemon
    • 40–50 g grated Parmesan
    • Small handful fresh parsley, chopped
    Optional extras for a “loaded” cowboy pasta:
    • Crispy bacon pieces
    • Sweetcorn
    • Extra chilli oil or chilli flakes for topping
    How To Make Cowboy Butter Chicken Linguine
    Step 1: Cook the linguine
    Bring a large pan of salted water to the boil. Add the linguine and cook according to the packet instructions until al dente. Before you drain it, save a mug of the starchy pasta water – this is really useful later to loosen the sauce if it gets too thick. Drain and set the linguine aside.
    Step 2: Season and brown the chicken
    In a bowl, toss the chicken pieces with the onion powder, garlic powder, smoked paprika, chilli flakes or cayenne, salt and black pepper until evenly coated.
    Heat the olive oil and 1 tablespoon of butter in a large frying pan over medium-high heat. Add the chicken and cook, turning occasionally, until golden and cooked through. This usually takes about 6–8 minutes depending on the size of your pieces. Transfer the cooked chicken to a plate and keep to one side.
    Step 3: Cook the vegetables
    In the same pan, add the remaining 1 tablespoon of butter. Tip in the diced onion and bell pepper and cook over a medium heat until softened and starting to colour, about 5–7 minutes.
    Add the minced garlic and cook for about 1 minute, just until fragrant. Be careful not to let the garlic burn.
    Step 4: Make the cowboy butter cream sauce
    Pour in the chicken stock and use a wooden spoon to scrape up any browned bits from the bottom of the pan – that’s where a lot of flavour lives.
    Add the double cream and Dijon mustard, stirring to combine. Let the sauce simmer gently for 4–5 minutes until it starts to thicken and coat the back of a spoon.
    Stir in the lemon juice and zest, grated Parmesan and chopped parsley. Taste the sauce and adjust with extra salt, pepper or chilli if you’d like it hotter. You should have a rich, slightly zesty, creamy sauce that smells amazing.
    Step 5: Bring everything together
    Return the cooked chicken (and any juices from the plate) to the pan and stir to coat it in the sauce.
    Add the cooked linguine and toss everything together so the pasta is fully covered. If the sauce looks too thick, add a splash of the reserved pasta water and keep tossing until it’s silky and clings nicely to the linguine.
    Step 6: Serve and enjoy
    Serve straight away, topped with extra Parmesan, a little more chopped parsley and a sprinkle of chilli flakes for that cowboy butter finish.
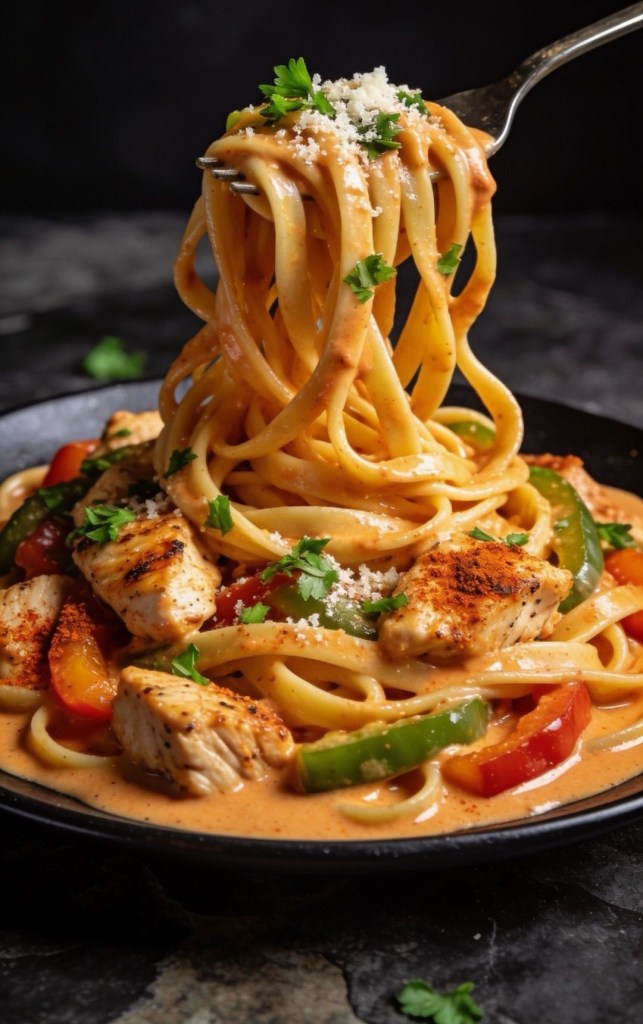

    It’s the perfect dish for a cosy night in, but it also feels special enough to serve to friends or family.
    Variations and Tips
    • Make it lighter: You can swap half of the double cream for milk or crème fraîche if you prefer a lighter sauce.
    • Add bacon: Stir through crispy fried bacon pieces at the end for a smoky, salty twist.
    • Add veg: Sweetcorn, spinach or peas all work well and add colour and texture.
    • Change the pasta: If you don’t have linguine, this recipe works beautifully with spaghetti, tagliatelle or even short pasta like penne.
    Serving Suggestions
    This cowboy butter chicken linguine is a complete meal on its own, but you can pair it with:
    • A simple green salad with a lemony dressing
    • Garlic bread or crusty baguette
    • Steamed broccoli or green beans for extra veg
    Save this one for those nights when you need something comforting, satisfying and just a little bit indulgent. It’s a great recipe to batch cook, and leftovers reheat well the next day – if you have any left!
  • Rihanna’s 5‑Minute Chickpea Salad (UK & US Measurements)

    Rihanna’s 5‑Minute Chickpea Salad (UK & US Measurements)

    Rihanna’s 5‑Minute Chickpea Salad (Perfect For Heatwave Days)
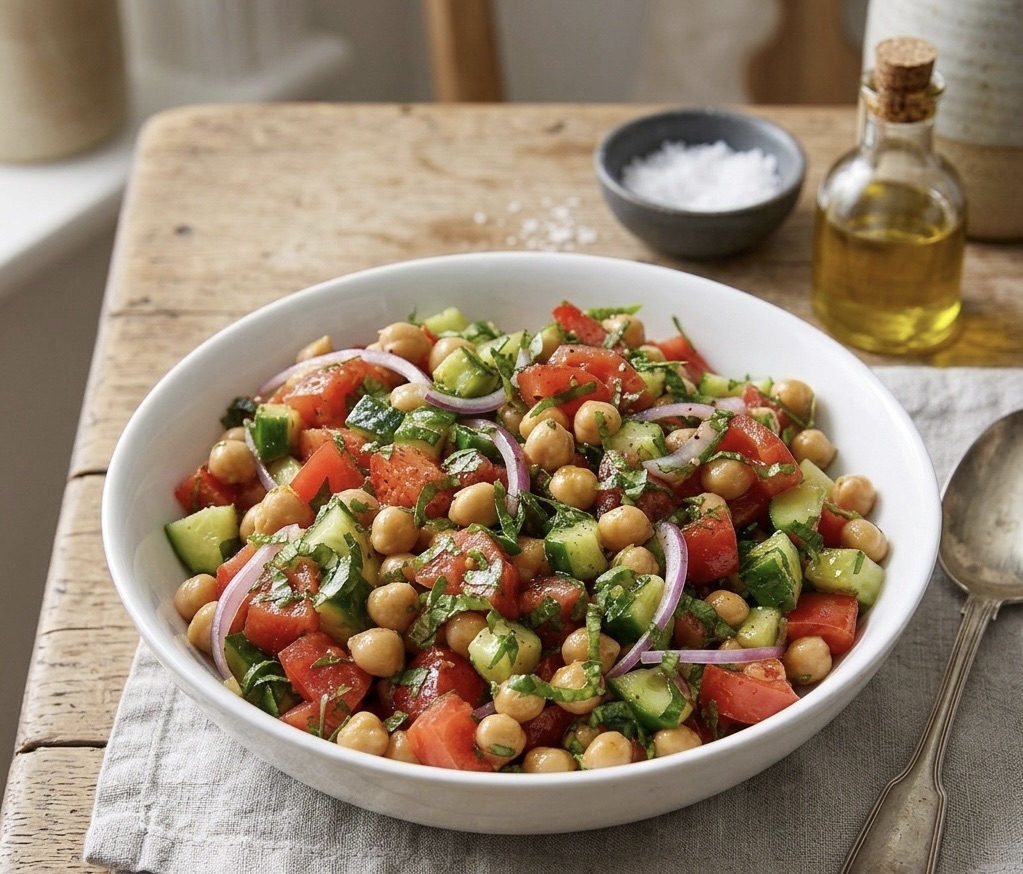
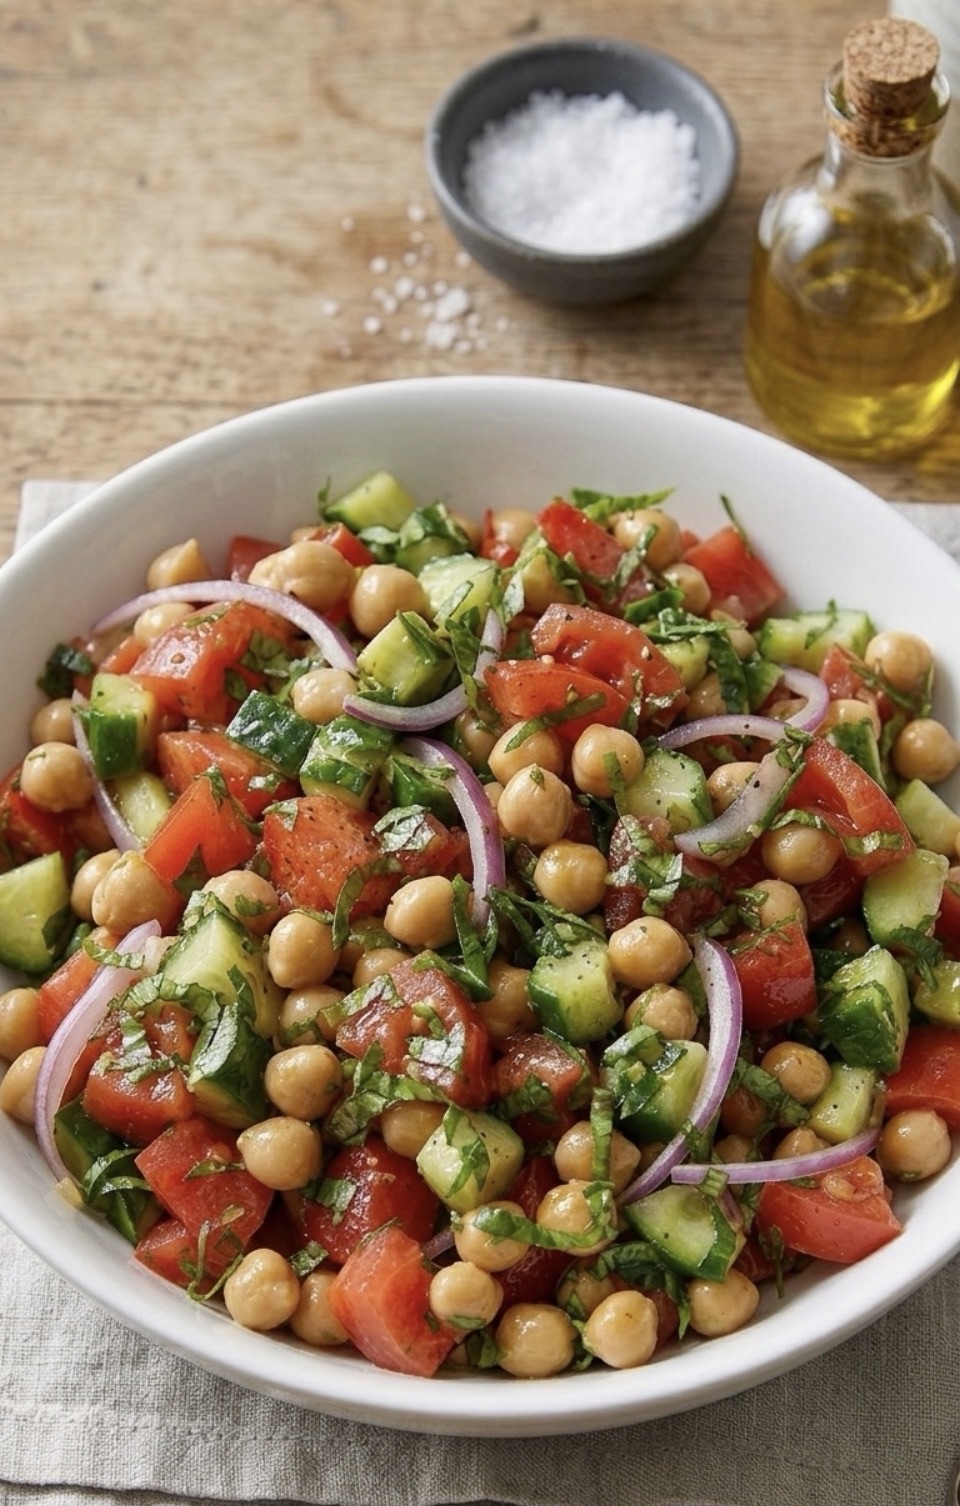
    When the weather is warm and you do not want to turn the oven on, this Rihanna-inspired chickpea salad is the perfect solution. It is fresh, light, high in fibre and ready in about five minutes – ideal for quick lunches, busy evenings or a no-fuss desk meal.

    I have adapted the recipe so it works for both UK and US readers, combining tin and can measurements in one place. The ingredients are very simple supermarket staples, but the basil, lemon and a touch of chilli keep it feeling bright and a little bit special.

    Why you will love this Rihanna-inspired salad
    • No cooking – everything is simply chopped and tossed together.
    • Budget friendly – mostly tinned and basic fresh produce.
    • High fibre and naturally vegetarian, with easy dairy-free options.

    • Scales up beautifully for meal prep or sharing.

    Ingredients (UK & US combined)
    Serves 2–3 as a main, 3–4 as a side.
    • 1 tin / can chickpeas (400g / 15 oz), drained and rinsed
    • 1 medium cucumber, diced
    • 2 medium tomatoes, diced
    • ¼ small red onion, finely sliced
    • Small handful fresh basil, chopped
    • 1 tbsp extra virgin / extra-virgin olive oil
    • Juice of ½ lemon
    • 1 tbsp red wine vinegar (or apple cider vinegar)
    • Salt and black pepper, to taste
    • Pinch chilli flakes / red pepper flakes (optional)
    Optional toppings for extra protein and creaminess:

    • 2 tbsp crumbled feta cheese or a spoonful of Greek yoghurt / yogurt

    Method

    1. Drain and rinse the chickpeas, then tip them into a large mixing bowl.
    2. Dice the cucumber and tomatoes, and finely slice the red onion. Add everything to the bowl with the chickpeas.
    3. Chop the basil and add it to the salad.
    4. In the same bowl, drizzle over the olive oil, squeeze in the lemon juice and add the vinegar. Season generously with salt, black pepper and a pinch of chilli or red pepper flakes if you like a little heat.
    5. Toss everything together until the chickpeas and vegetables are well coated in the dressing. Taste and adjust the seasoning – add more lemon or salt if needed.
    6. Serve immediately, or chill in the fridge for 20–30 minutes to let the flavours mingle.

    If you are using feta or Greek yoghurt, add it just before serving so it stays fresh and creamy.

    Helpful swaps and variations
    This salad is easy to tweak to suit what you have at home.
    • No basil: Use parsley, coriander/cilantro or a mix of dried herbs.
    • Dairy-free / vegan: Skip the feta or yoghurt and add extra chickpeas or diced avocado.
    • No vinegar: Use a little extra lemon juice and a pinch of sugar to balance the acidity.
    • Extra crunch: Add a handful of chopped nuts or seeds just before serving.

    You can also turn this into a more filling meal by serving it with toasted pitta bread / pita bread or spooning it over leafy greens.

    How to store Rihanna’s chickpea salad

    Store any leftovers in an airtight container in the fridge. The salad will keep well for up to 2 days, although the fresh herbs are best on the first day. If it tastes a little flat after chilling, simply add an extra squeeze of lemon and a small pinch of salt before serving.

    Bringing this salad to TikTok

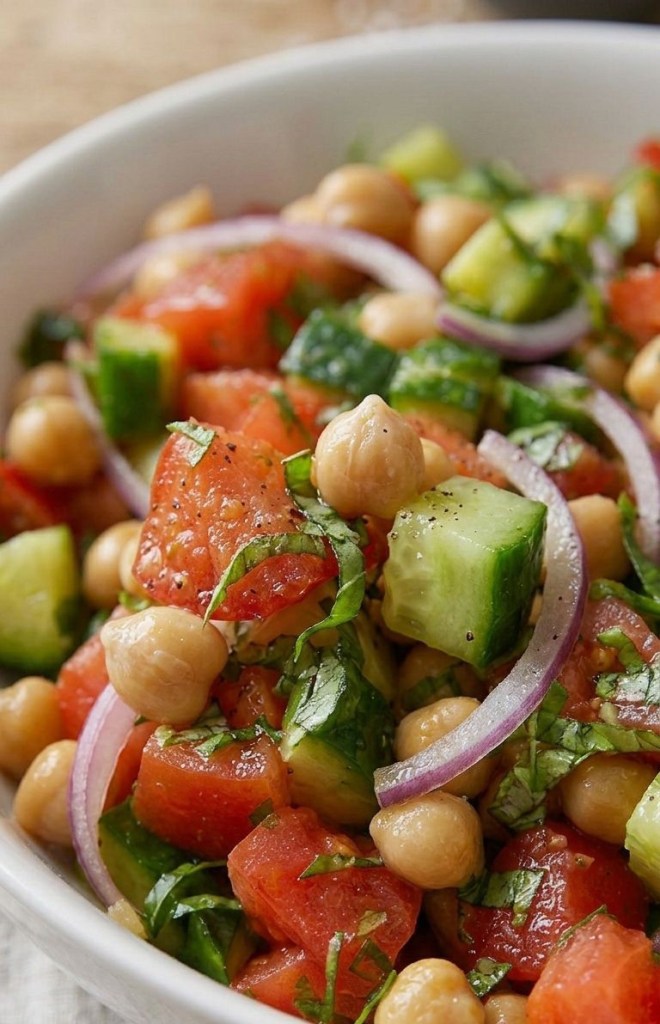
    This recipe works beautifully for short-form video. The colourful chickpeas, cucumber, tomatoes and basil look fantastic on camera, and the no-cook method means you can film it quickly. If you share it on TikTok or Instagram, tag me so I can see your version of Rihanna’s chickpea salad.

  • Hugh Jackman’s Mum’s Butternut Squash Risotto (With UK & US Measurements)

    Hugh Jackman’s Mum’s Butternut Squash Risotto (With UK & US Measurements)

    Hugh Jackman’s Mum’s Butternut Squash Risotto (With UK & US Measurements)
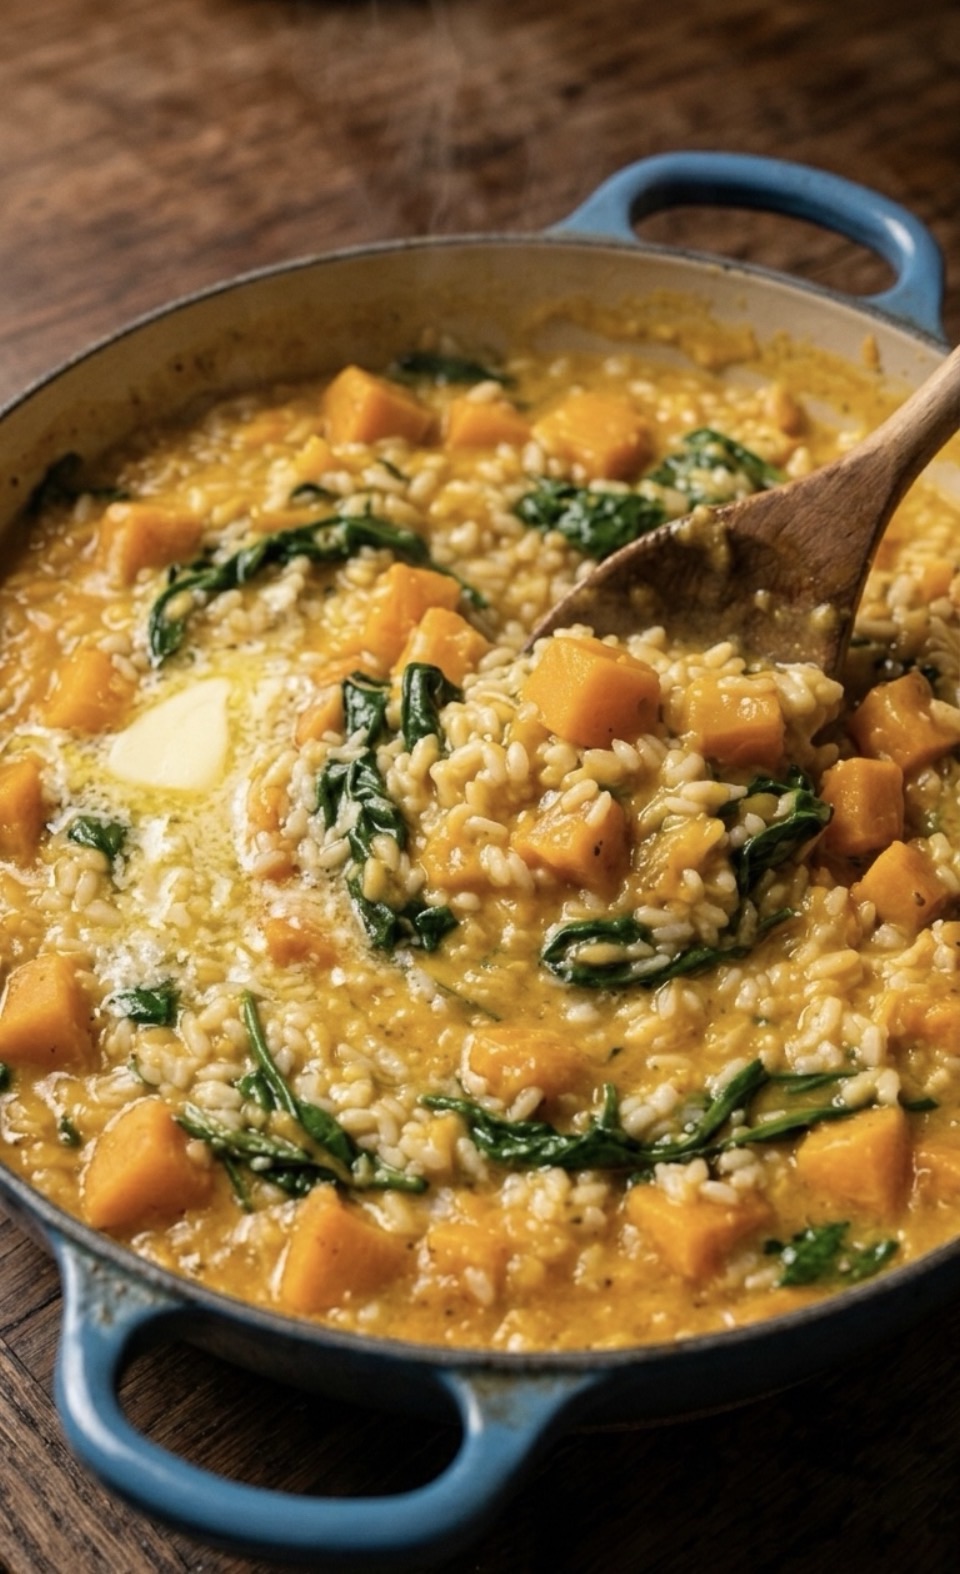
    Every now and then a celebrity recipe pops up that feels like proper real life food rather than some cheffy faff, and this one is exactly that. Hugh Jackman’s mum’s butternut squash and spinach risotto is simple, cosy and very doable on a Tuesday night – no culinary school required


    I’m a big believer that “celebrity” recipes only earn a place in our kitchens if they actually work in normal homes, with normal pans, and normal supermarket ingredients. So I’ve tested this one, translated it into UK‑friendly measurements, and added US cups and ounces so my friends across the pond can cook along too.

    It’s naturally meat‑free, full of comforting carbs, and you can absolutely nudge it in a more health‑conscious direction with a couple of easy swaps. Think: lots of veg, mindful butter and cheese, and a portion size that still feels generous.

    Is Hugh Jackman’s Risotto Vegetarian?
    Short answer: yes, it can be.
    The dish itself is built from butternut squash, spinach, Arborio rice, stock, butter and a sprinkle of hard cheese on top. There’s no meat or fish in the base recipe. The only sticking point for strict vegetarians is the cheese. Traditional Parmigiano Reggiano is made with animal rennet, which means it’s not technically vegetarian.
    If you want the dish to be fully vegetarian, just choose:
    • Vegetable stock instead of chicken stock
    • A vegetarian “Italian hard cheese” or “Parmesan‑style” cheese (most UK supermarkets now label these clearly)

    Once you’ve made those swaps, you’ve got a lovely, cosy vegetarian dinner that still tastes indulgent enough to feel like a treat.

    A Few Nutrition‑Conscious Tweaks
    This is comfort food, so I’m not here to remove all the joy. But if you’re trying to keep things on the lighter side, here are a few gentle tweaks that work well:
    • Use olive oil to sauté the onions, then finish with a smaller knob of butter at the end rather than a big chunk
    • Stick to a measured amount of hard cheese – it’s strong, so a little goes a long way
    • Load up the spinach (and even add extra greens like peas or shredded cavolo nero)
    • Serve with a simple side salad to add freshness and volume

    You still get that creamy, restaurant‑style texture, but with a bit more balance.

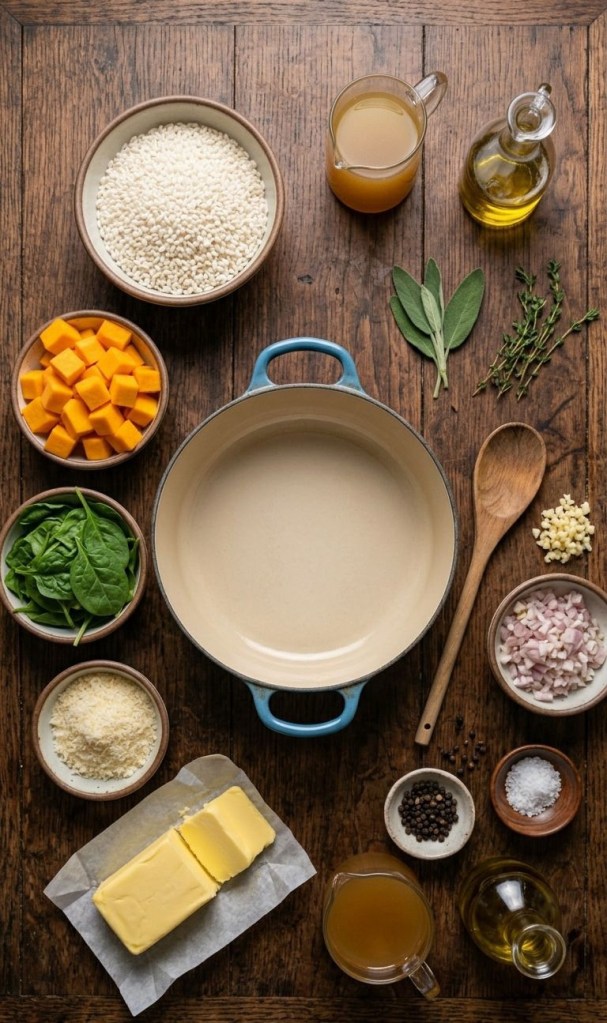
    Ingredients (Serves 4)

    I’ve listed the UK measurements first, with US equivalents in brackets so everyone is covered.
    • 1 tbsp olive oil or unsalted butter (same for US)
    • 1 medium onion, finely chopped (about 150g / 5 oz)
    • 2 cloves garlic, crushed (same for US)
    • 300g risotto rice, Arborio (1½ cups)
    • 120ml dry white wine, optional (½ cup – or use extra stock)
    • 600g butternut squash, peeled and diced small (about 4 cups)
    • 1–1.1L hot vegetable or chicken stock (4–4½ cups)
    • 60g grated vegetarian Italian hard cheese (½ cup)
    • 40g unsalted butter, to finish, optional (3 tbsp)
    • 80g baby spinach, big handfuls (2 packed cups)
    • Sea salt and black pepper, to taste
    • Optional: squeeze of lemon to brighten at the end
    If you’d like to make this dish vegan, you can:
    • Use olive oil only (no butter)
    • Skip the cheese or use a good vegan hard cheese alternative

    • Double‑check your stock is vegan‑friendly

    Method (Step‑by‑Step, No Stress)

    1. Start the flavour base
      Heat the olive oil or butter in a large frying pan or wide saucepan over a low–medium heat. Add the finely chopped onion with a pinch of salt and let it gently soften for 5–7 minutes until translucent. You don’t want much colour here – slow and gentle wins.
      Stir in the crushed garlic and cook for another minute until fragrant.
    2. Toast the rice
      Pour in the risotto rice and stir so every grain is coated in the buttery onion mixture. Give it 1–2 minutes – you’ll see the edges of the rice start to look slightly translucent. This step helps with flavour and texture.
    3. Add the wine (or skip it)
      If you’re using wine, add it now. Pour it in and stir until nearly all the liquid has been absorbed. If you don’t fancy cooking with wine, simply replace it with a ladle of hot stock instead.
    4. Bring in the squash and stock
      Stir in the diced butternut squash so it’s evenly distributed. Add your first ladle of hot stock and keep the pan at a gentle simmer. Stir every so often, and once the liquid is mostly absorbed, add another ladle.
      This is the “risotto rhythm”: add stock, stir, let it absorb, repeat. It’s quite soothing once you get into it.
    5. Keep going until creamy
      Continue adding stock a ladle at a time for around 18–22 minutes. Taste a grain of rice – you’re aiming for creamy, with a little bite in the centre (al dente), and tender pieces of squash. You might not need every drop of stock, or you might need a splash more hot water. You’re looking for a loose, creamy texture, not a stiff mound.
    6. Finish with spinach and cheese
      When the rice is where you want it, turn the heat down low. Gently stir in the butter and grated vegetarian hard cheese until everything looks glossy and silky.
      Fold in the baby spinach right at the end – the residual heat will wilt it in a minute or two. Taste and adjust with salt, black pepper and a squeeze of lemon juice if you’d like a bit of brightness.
    7. Serve and enjoy

    Serve straight away in warm bowls. I like to add a little extra sprinkle of cheese and a twist of black pepper on top. A simple green salad on the side works beautifully and keeps the plate feeling light.

    Making It Work for Real Life
    A few practical notes now I’ve made this a couple of times:
    • Time: From chopping board to bowl, I’d allow about 40–45 minutes. Most of that is gentle stirring, so pop on a podcast or some music.
    • Leftovers: Risotto is always best freshly made, but leftovers will reheat with a splash of stock or water in a pan. Just don’t expect quite the same silky texture.
    • Batch cooking: You can prep the squash in advance and keep it in the fridge for a day or two, which does speed things up on a weeknight.


    If you’re someone who loves cosy, one‑pan dinners that feel a bit special but don’t require a chef’s jacket, this one is absolutely worth adding to your list.

  • High Protein Chicken Curry That Beats Takeaway

    High Protein Chicken Curry That Beats Takeaway


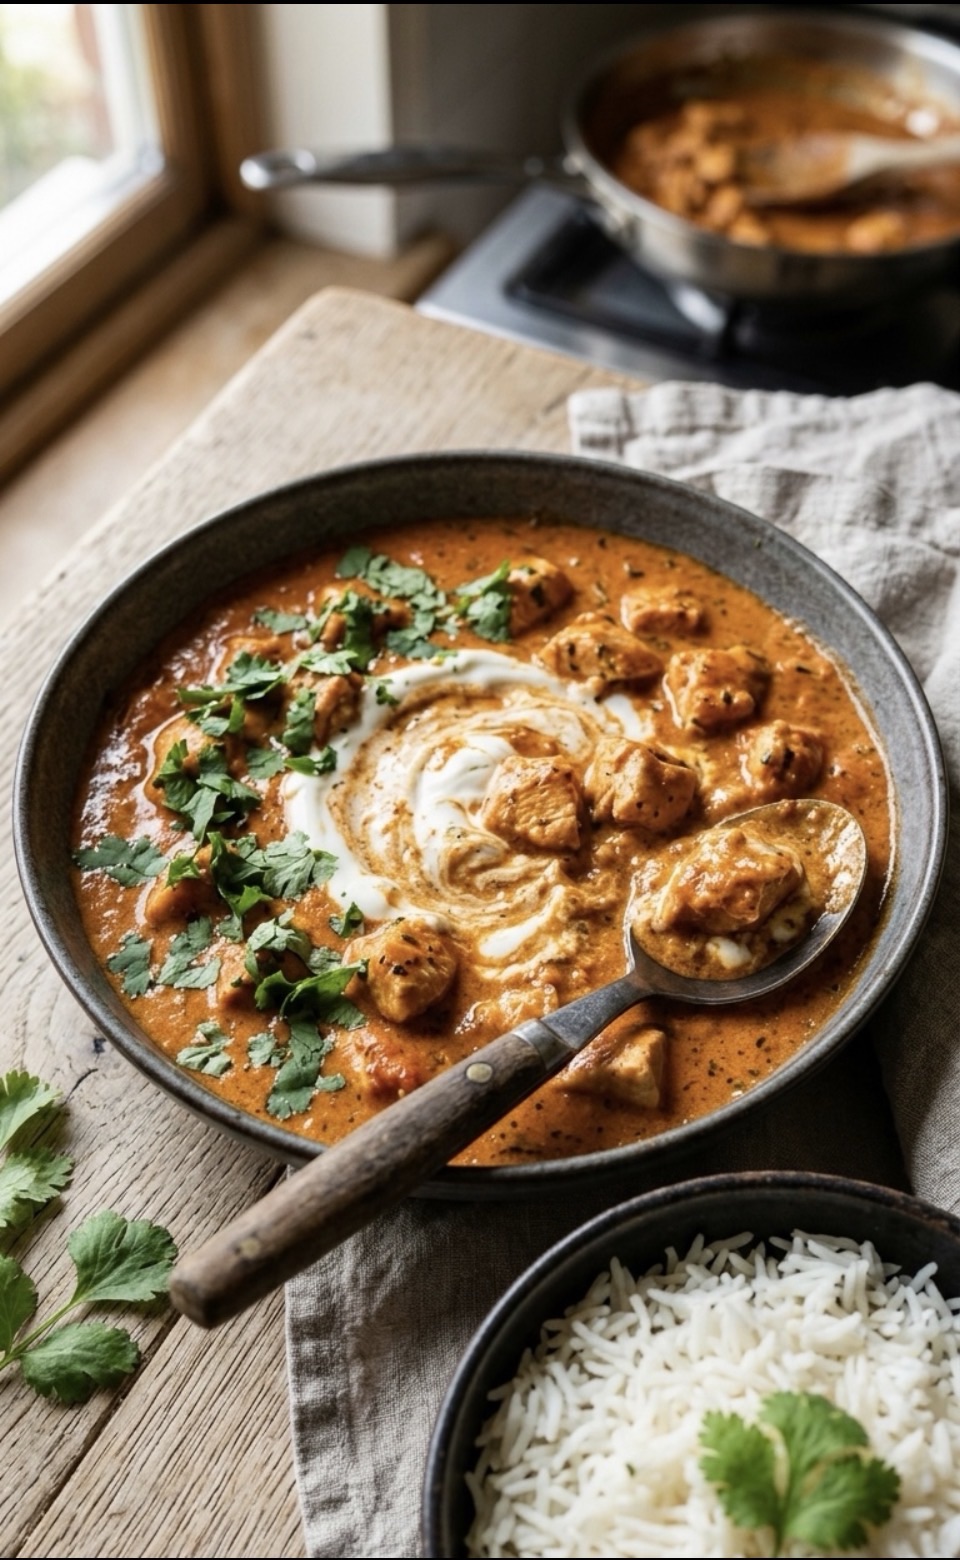
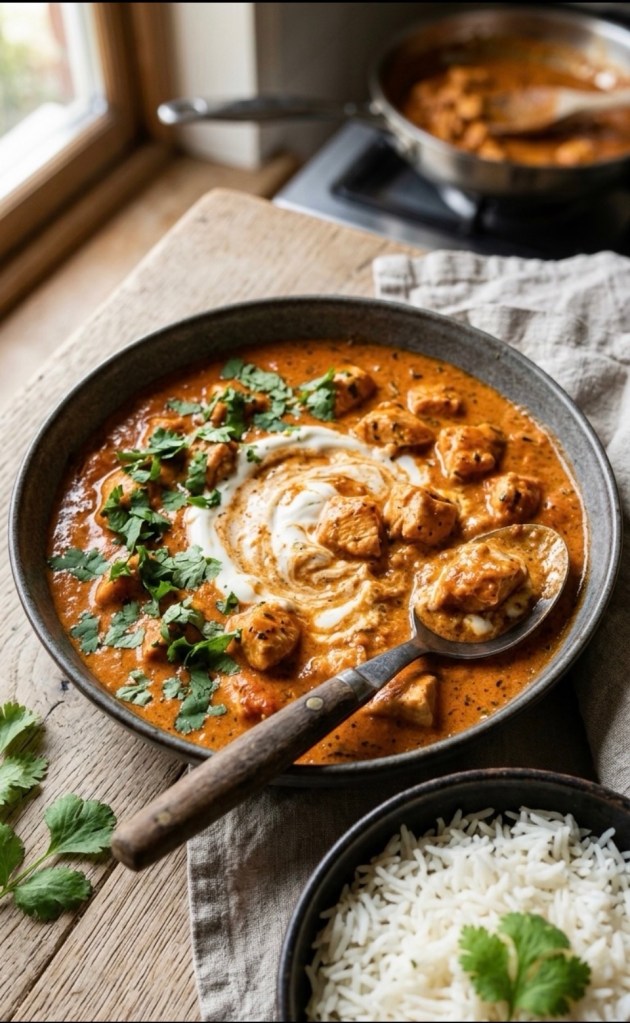
    If you love a good curry but also want to hit your protein goals, this high‑protein chicken curry is perfect for you. It’s creamy, comforting, packed with flavour, and still simple enough for a busy weekday night.

    This recipe uses lean chicken breast and thick Greek yogurt to boost the protein while keeping the sauce silky and rich. With around 35–40g protein per serving (before adding any extra sides), it’s a proper main meal, not just a light bite.

    Ingredients


    Serves 2 hungry adults
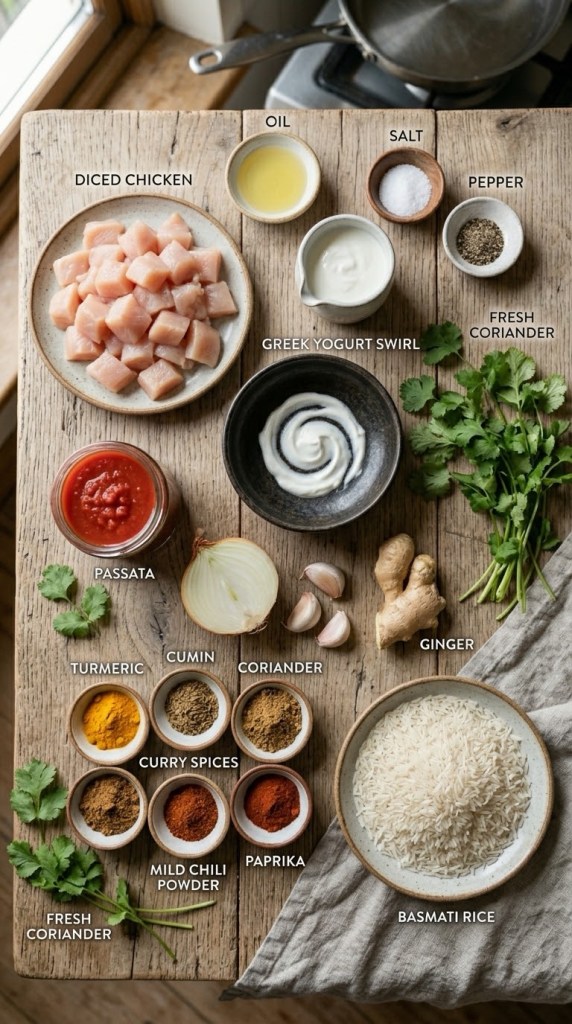
    • 400 g chicken breast, diced into bite‑size pieces
    • 150 g thick Greek yogurt
    • 1 medium onion, finely chopped
    • 3 cloves garlic, crushed or finely chopped
    • 1 teaspoon fresh grated ginger (about a 2 cm piece of ginger root)
    • 2 tablespoons curry powder (or your favourite mild/medium blend)
    • 200 g chopped tomatoes or passata
    • 1 tablespoon oil (olive or vegetable)
    • 1/2 teaspoon chilli powder (adjust to taste)
    • Salt and black pepper to taste
    • Fresh coriander, chopped, to serve

    • Cooked basmati rice, to serve

    Method

    1. Marinate the chicken
      Add the diced chicken to a bowl.
      Stir in half of the Greek yogurt (about 75 g), half of the curry powder, a good pinch of salt, and some black pepper.
      Mix well, then set aside while you prepare everything else – even 10 minutes of marinating helps the flavour.
    2. Brown the chicken
      Heat the oil in a large non‑stick pan over medium‑high heat.
      Add the marinated chicken pieces and cook until lightly browned on the outside. They don’t need to be fully cooked through yet.
      Remove the chicken to a plate and keep any juices in the pan.
    3. Build the flavour base
      In the same pan, add the chopped onion. Cook gently for 4–5 minutes until soft and starting to turn golden.
      Stir in the garlic and grated ginger and cook for about 1 minute until fragrant.
      Add the remaining curry powder and the chilli powder, stirring for 30 seconds to toast the spices.
    4. Create the sauce
      Pour in the chopped tomatoes or passata and a small pinch of salt.
      Stir well, then let the sauce simmer for a few minutes until slightly thickened.
    5. Finish cooking the chicken
      Return the browned chicken (and any juices) to the pan.
      Stir so the pieces are well coated in the sauce.
      Simmer gently for 8–10 minutes, or until the chicken is cooked through and the sauce has reduced to a nice consistency.
    6. Stir in the yogurt
      Turn the heat right down (or briefly off) so the curry is hot but not boiling.
      Stir in the remaining Greek yogurt until the sauce becomes creamy and smooth.
      Taste and adjust the seasoning with extra salt, pepper or chilli if you like more heat.
    7. Serve
      Spoon cooked basmati rice into bowls.
      Ladle the chicken curry on top or to one side.
      Garnish with chopped fresh coriander.

    Enjoy immediately – or let it cool and portion up for high‑protein meal prep.

    Approximate Nutrition (Per Serving, Without Rice)
    These numbers will vary slightly depending on the exact brands you use, but for this curry split into two portions:
    • Calories: roughly 350–400 kcal
    • Protein: roughly 35–40 g
    • Carbohydrates: mostly from the tomatoes, roughly 10–15 g
    • Fat: roughly 10–15 g

    Once you add a typical serving of basmati rice, you’ll have a very satisfying, balanced high‑protein main meal.

    Tips and Variations
    • Make it milder: Use a mild curry powder and reduce the chilli powder to a pinch.
    • Make it hotter: Add extra chilli powder, fresh chilli, or a little cayenne.
    • Add more veg: Stir in a handful of spinach, peas or peppers in the last few minutes of cooking.


    • Swap the protein: You can replace the chicken with firm tofu or chickpeas; just adjust cooking time so they heat through in the sauce.