Tag: vegan

  • Healthy “Snickers” Bars (No-Bake & Addictive!)

    Healthy “Snickers” Bars (No-Bake & Addictive!)

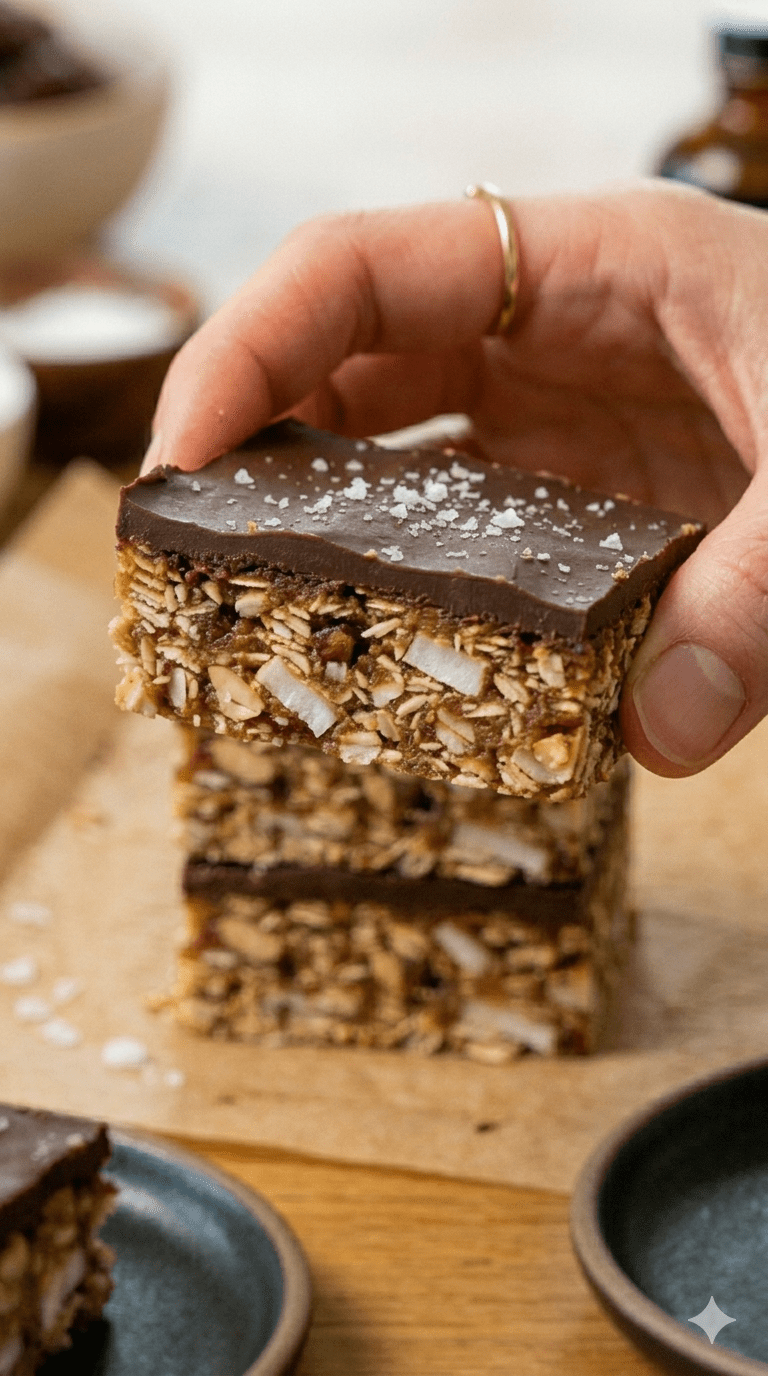
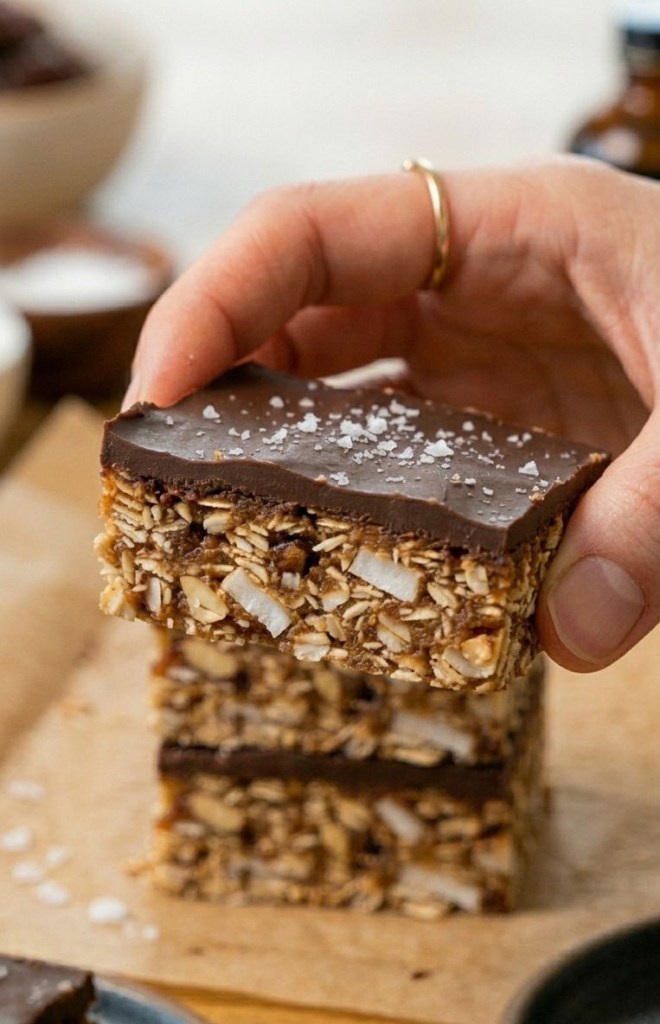
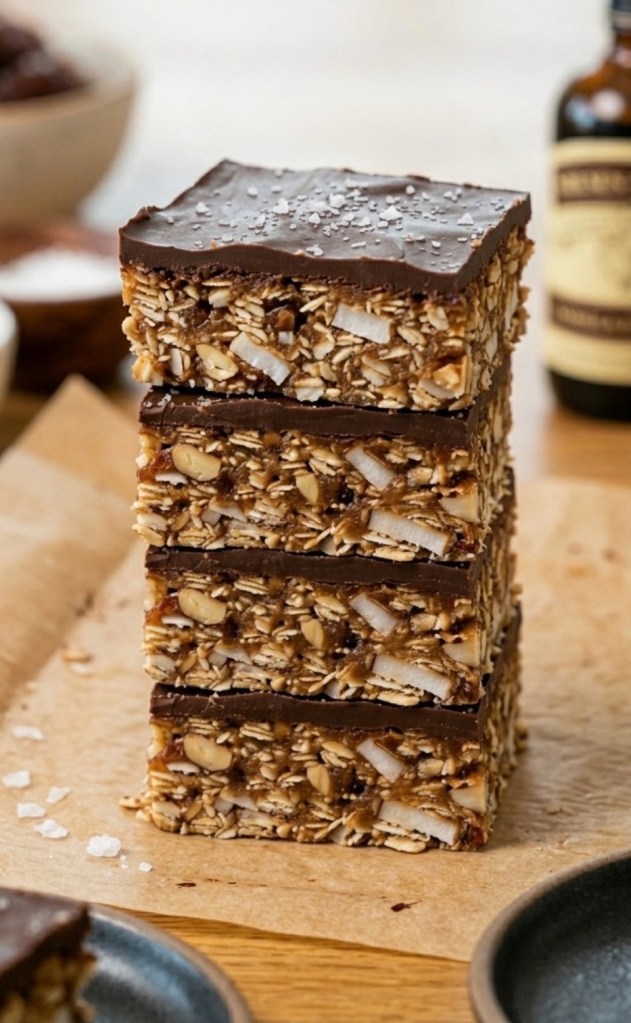
    Looking for a treat that tastes like a candy bar but is packed with wholesome ingredients? These healthy, no-bake “Snickers” bars are about to become your new obsession. They are naturally sweetened, perfect for snacking, and incredibly easy to make.

    Why You’ll Love Them:

     Refined Sugar-Free: Sweetened naturally with dates.

     No-Bake: Keeps the kitchen cool!

     Customizable: Use your favourite nut or seed butter.

     Meal Prep Friendly: They store perfectly in the fridge for whenever a craving hits.

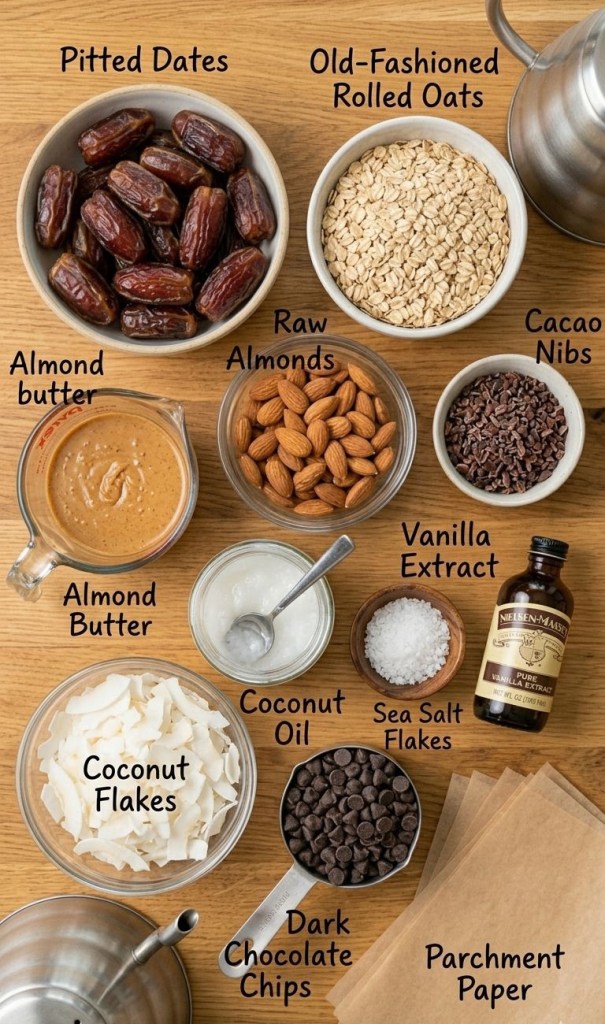
    Ingredients

    The Base:

     500g pitted dates

     Boiling water (for soaking)

     180g nut butter (peanut, almond, or cashew butter)

     90ml melted unrefined, virgin coconut oil

     1 ½ teaspoons sea salt

     4 ½ teaspoons pure vanilla extract

     270g rolled oats

     60g unsweetened coconut flakes

     150g mix-ins (chopped nuts, seeds, cacao nibs, etc.)

    The Topping:

     500g dark chocolate chips (or unsweetened chocolate with stevia to taste)

     30ml unrefined, virgin coconut oil

     Flaky sea salt (optional, for that perfect finish)

    Instructions

    1 Soak the Dates: Place the dates in a medium bowl and cover with boiling water, ensuring they are fully submerged. Let them soak for 10–15 minutes until they are soft. Drain, reserving about 45ml (3 tablespoons) of the soaking liquid.

    2 Prep the Tin: Line a 23cm x 13cm (approx. 9×5 inch) loaf tin with baking parchment.

    3 Blitz: In a food processor or blender, blitz the softened dates with the 45ml of reserved soaking liquid, nut butter, 90ml of coconut oil, salt, and vanilla until completely smooth.

    4 Mix: Transfer the date mixture to a large bowl and stir in the rolled oats, coconut flakes, and your chosen nuts/seeds until well combined. (If you have a large-capacity food processor, you can simply remove the blade and stir these ingredients in by hand).

    5 Press: Transfer the mixture to your prepared loaf tin. Spread it out evenly and smooth the top with a spatula.

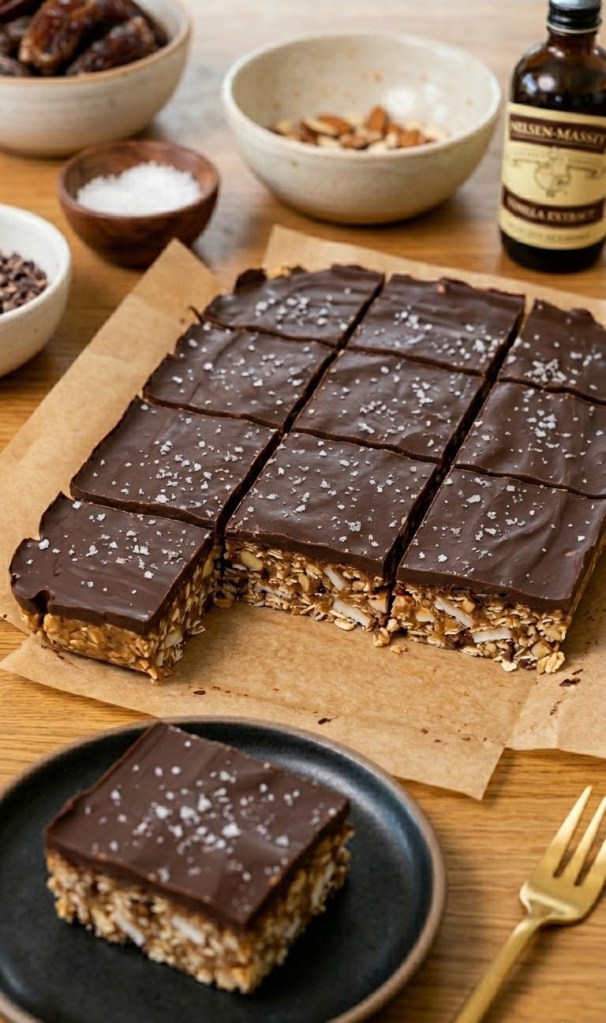
    6 The Chocolate Layer: In a heat-proof bowl set over a pan of simmering water, melt the chocolate chips with the remaining 30ml of coconut oil until smooth. Pour over the oat layer and spread evenly.

    7 Chill: Sprinkle with flaky sea salt if desired. Refrigerate for at least 8 hours, or overnight, until firm.

    8 Serve: Remove from the tin using the parchment paper and cut into bars or squares. Keep leftovers stored in the fridge!

    Did you try this recipe? Let me know how it turned out in the comments below!

  • No-Bake Date & Nut Chocolate Bites (The Ultimate Dessert with Benefits!)

    No-Bake Date & Nut Chocolate Bites (The Ultimate Dessert with Benefits!)

    Let’s be honest: most “healthy” snack bars on the market leave a lot to be desired. But what if you could bite into a rich, fudgy, chocolate-coated treat that satisfies your deep chocolate cravings and fuels your body with genuine nutrients?

    Enter these No-Bake Tea-Infused Date & Nut Chocolate Bites.

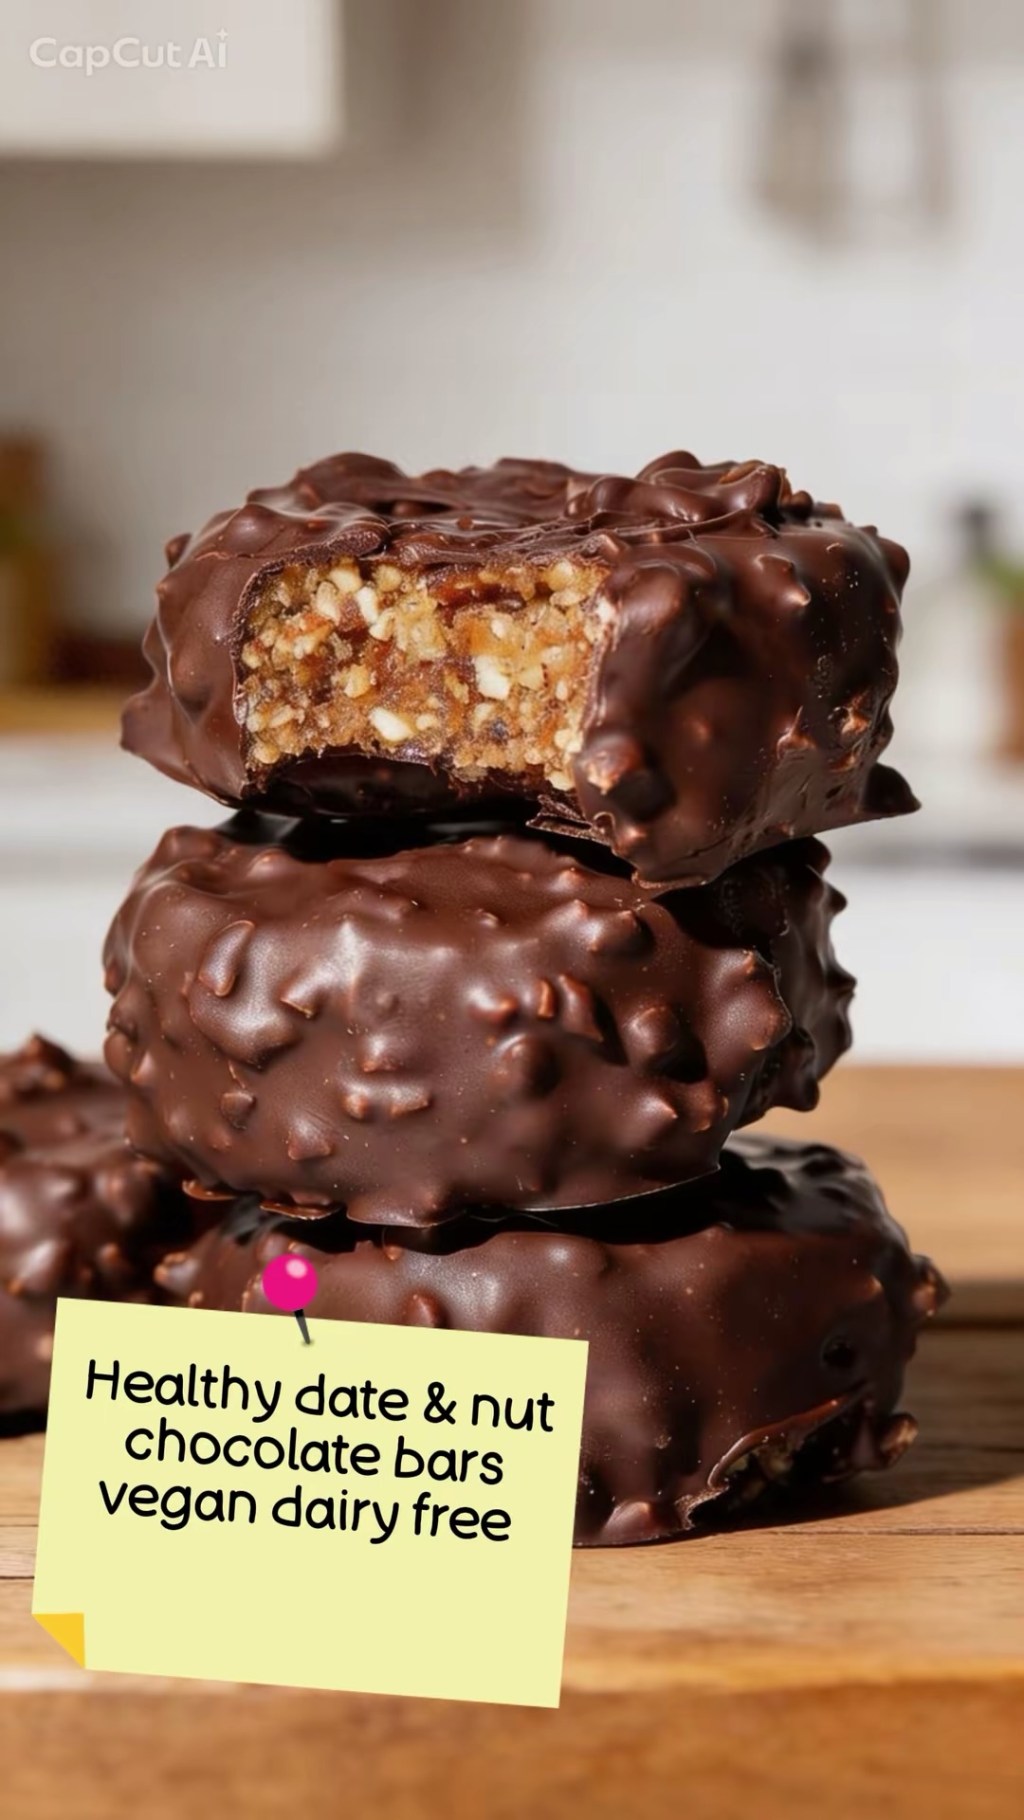
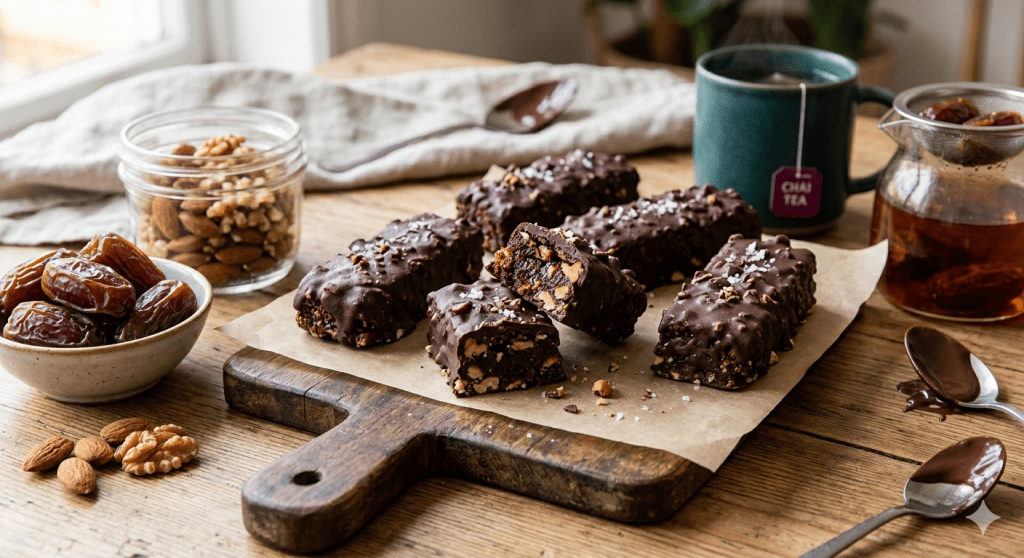
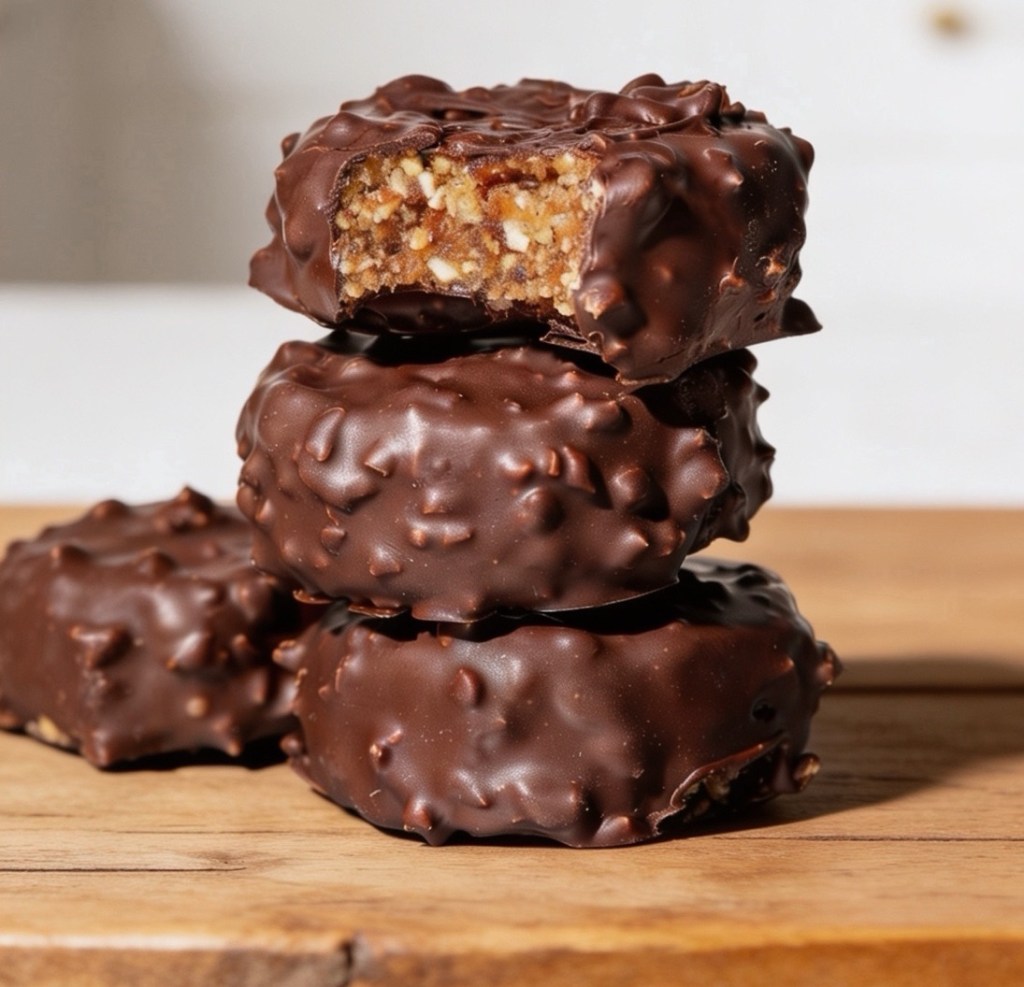
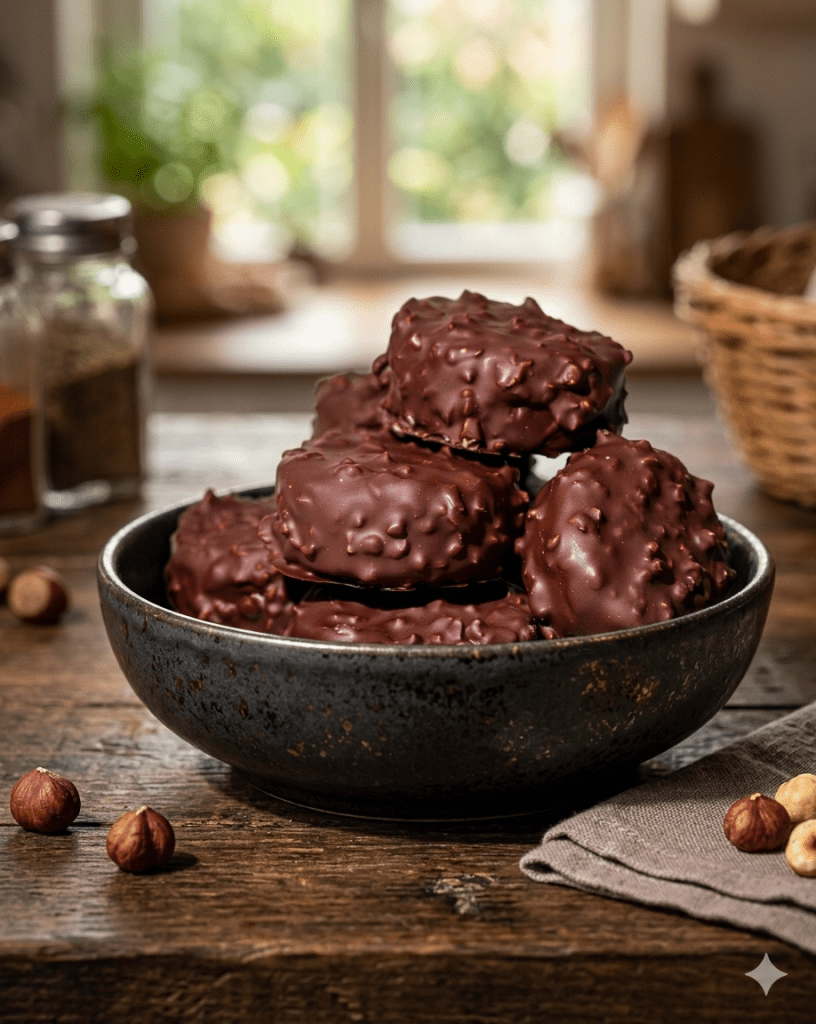
    Whether you set them in a traditional loaf tin to slice into bars or use round muffin moulds to create gourmet, “Rocher-style” chocolate discs (as pictured below!), this recipe completely redefines healthy snacking. By using a clever tea-infusion trick, these bites get an incredible depth of flavor that elevates them from a basic fruit-and-nut mix to a luxurious, candy-bar-level experience.

    It is truly a dessert with benefits!

    Why You’ll Love This Recipe

    If you’re looking for a guilt-free treat to keep on hand for busy weeks, this recipe ticks every single box. It is:

     No-Bake & Effortless: No oven required. Just a food processor, a couple of bowls, and a little freezer time.

     Dietary-Friendly: Naturally Vegan, Dairy-Free, and Gluten-Free.

     Nutrient-Dense: A fantastic, natural source of plant-based protein and gut-healthy fiber.

     Minimal Ingredients: Made with just a handful of wholesome, clean staples.

     Easy to Adapt: Swap the nuts, change the tea blend, or use your favorite percentage of dark chocolate.

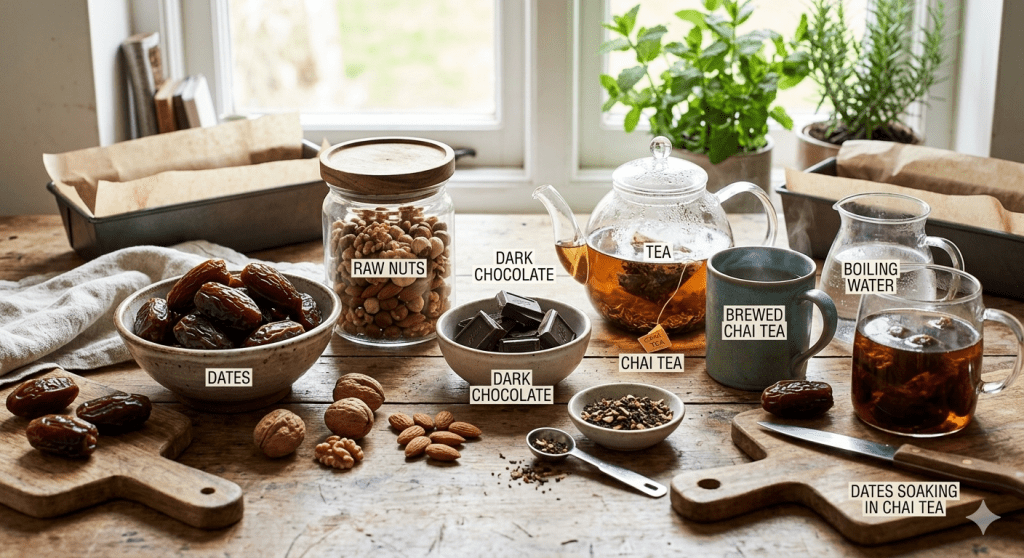
    The Secret Ingredient: The Tea Soak ☕

    Most date-based recipes tell you to soak dry dates in plain warm water. We’re throwing that rulebook out the window.

    By soaking the dates in freshly brewed tea, the fruit acts like a sponge, absorbing subtle herbal, floral, or earthy notes. This simple step cuts through the intense sweetness of the dates and adds a complex, gourmet undertone to the final treat.

    💡 Pro-Tip: Earl Grey adds a beautiful citrusy note, Chai tea gives it a cozy spice, and Mint tea pairs incredibly well with the dark chocolate coating!

    How to Make Clean-Eating Date & Nut Bites

    Equipment Needed:

     Measuring jug

     Food processor

     Silicone muffin moulds (for round discs) or a loaf tin lined with parchment paper

     Heat-proof bowl

    Ingredients:

     Tea bags or loose-leaf tea of your choice

     500ml boiling water

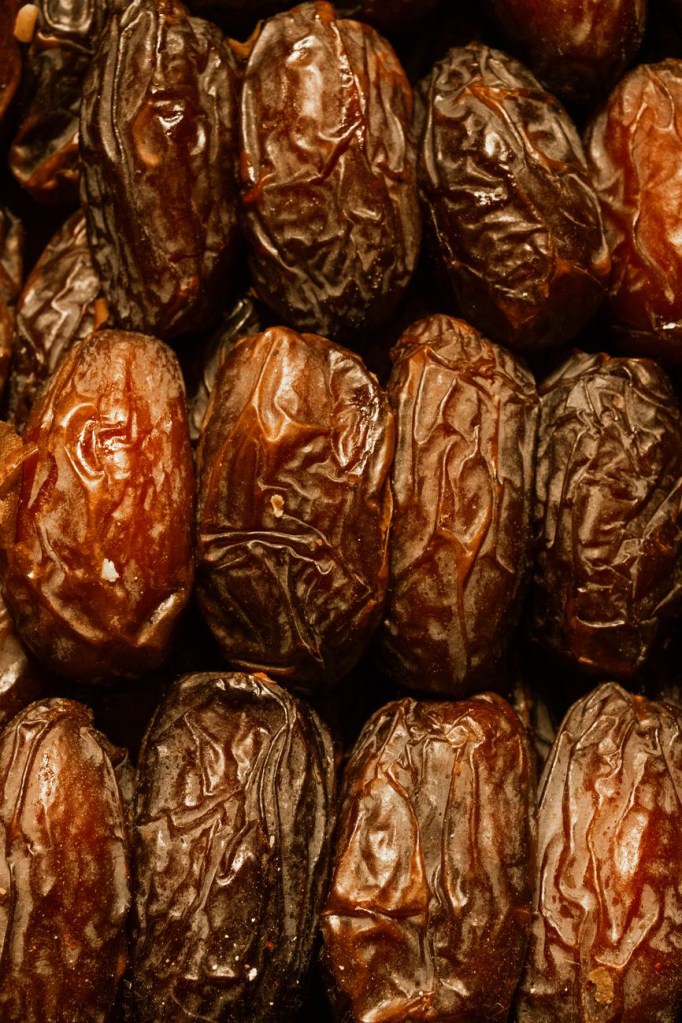
     Plump, pitted dates (Medjool work beautifully, but Deglet Noor work too!)

     Nuts of choice (Hazelnuts, almonds, walnuts, or cashews)

     Dark chocolate (Ensure it’s dairy-free/vegan to keep the recipe plant-based)

     Optional: Extra finely chopped nuts to mix into the chocolate coating for that crunchy texture.

    Step-by-Step Instructions

    1 The Tea Infusion: Add your chosen tea to a measuring jug and pour 500ml of boiling water over it. Allow it to brew for 5 minutes, then strain out the leaves or tea bags.

    2 Soak the Dates: Place your pitted dates into a heat-proof dish and pour the hot, brewed tea directly over them. Let them soak and plump up for 15–20 minutes, then drain thoroughly.

    3 Blend the Base: Throw your nuts into a food processor and pulse until they are finely chopped. Add the drained, soft dates and blend again. You’ll know it’s ready when the mixture forms a sticky dough that holds its shape perfectly when pressed between your fingers.

    4 Shape & Freeze: Press the mixture firmly into your round silicone moulds to create thick discs (or press into a lined loaf tin if you prefer classic bars). Pop the mould into the freezer until the mixture is firmly set.

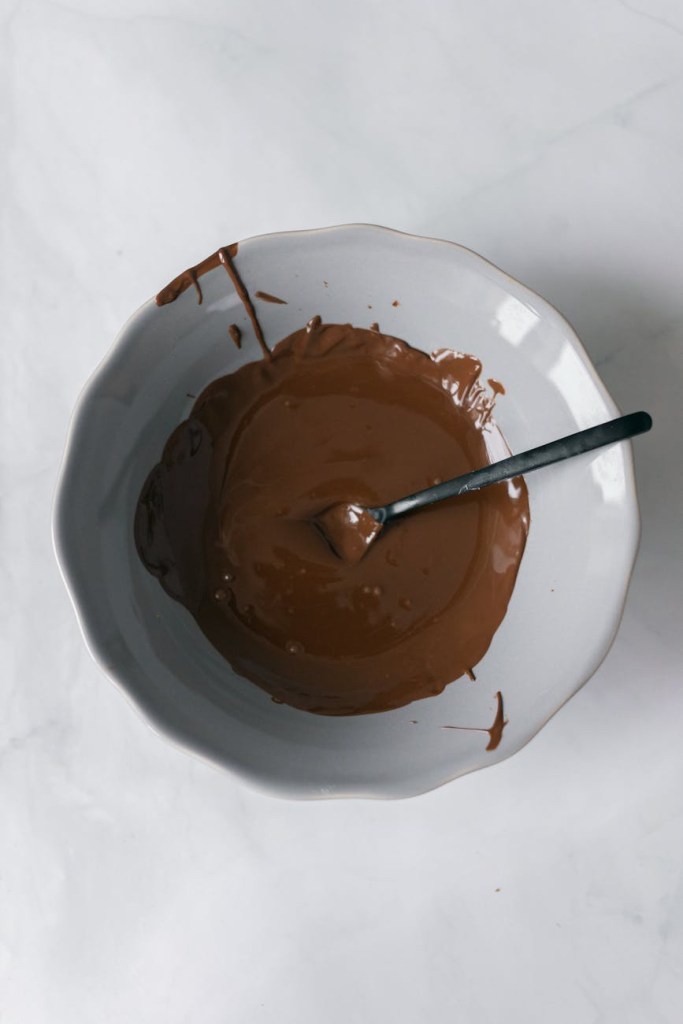
    5 The Chocolate Melt: Break up your dark chocolate into a heat-proof bowl. Microwave it in short, 20-second bursts, stirring in between, until completely smooth and glossy. If you want that gorgeous, textured look, fold your extra chopped nuts right into the melted chocolate.

    6 The Final Dip: Remove the set nut bases from their moulds. Dip each disc into the melted textured dark chocolate to coat it completely.

    7 Chill to Perfection: Arrange the coated bites on a baking tray or chopping board lined with parchment paper. Place them into the refrigerator until the chocolate shell sets completely hard.

    Easy Variations to Try

    Because this recipe is so customizable, you can reinvent it every single week depending on what’s in your pantry:

     The “Snickers” Swap: Use peanuts for the base, a robust black tea for the soak, and add a generous pinch of sea salt to the food processor.

     The Coffee Break: Soak your dates in a long shot of espresso mixed with hot water instead of tea for a rich mocha vibe.

     The Superfood Boost: Toss a tablespoon of chia seeds, hemp hearts, or flaxseeds into the food processor for an extra fiber and omega-3 kick.

    How to Store Your Bites

    Keep these stored in an airtight container in the refrigerator for up to 2 weeks, or keep them in the freezer for up to 3 months. They are absolutely perfect straight out of the fridge to conquer an afternoon energy slump or serve as a elegant evening dessert!

  • The Ultimate 20-Minute Creamy Sweet Potato & Peanut Butter Dahl

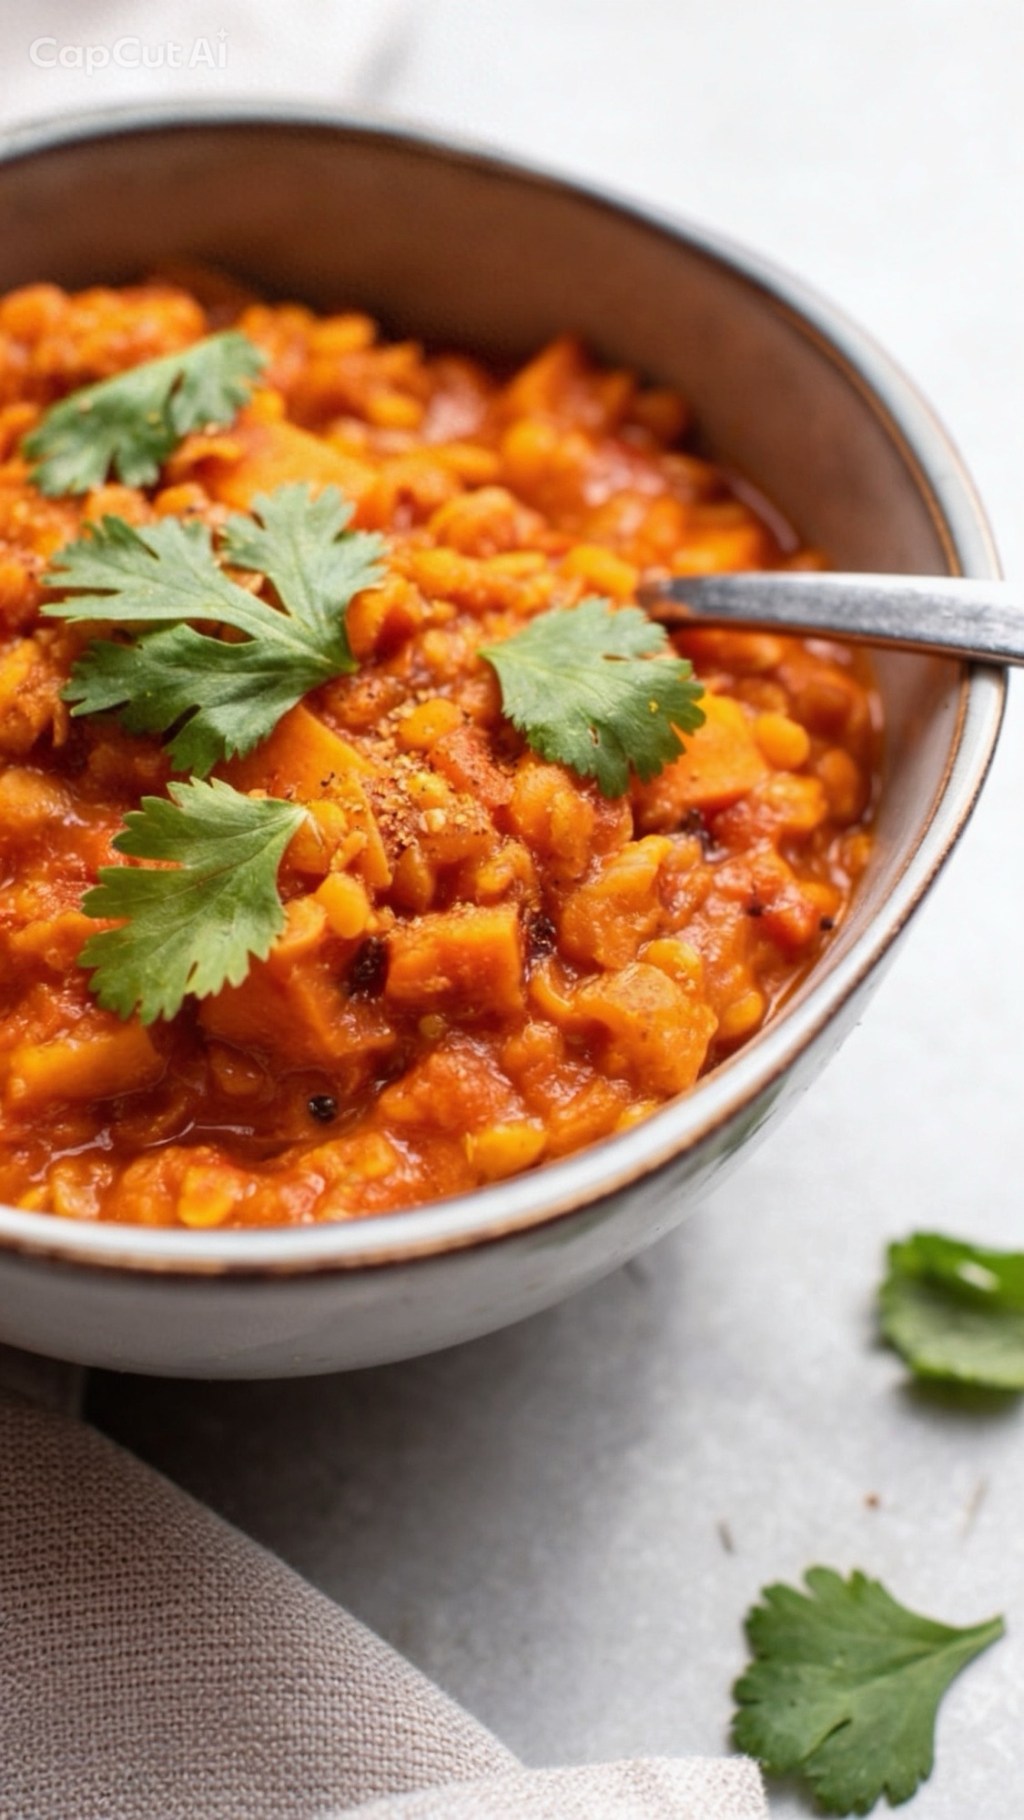
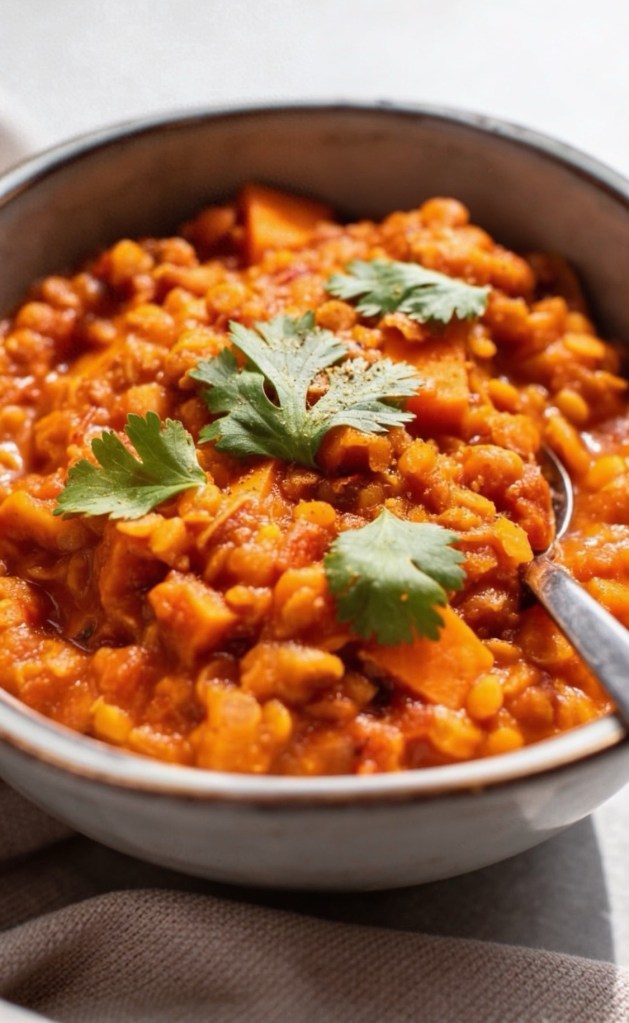
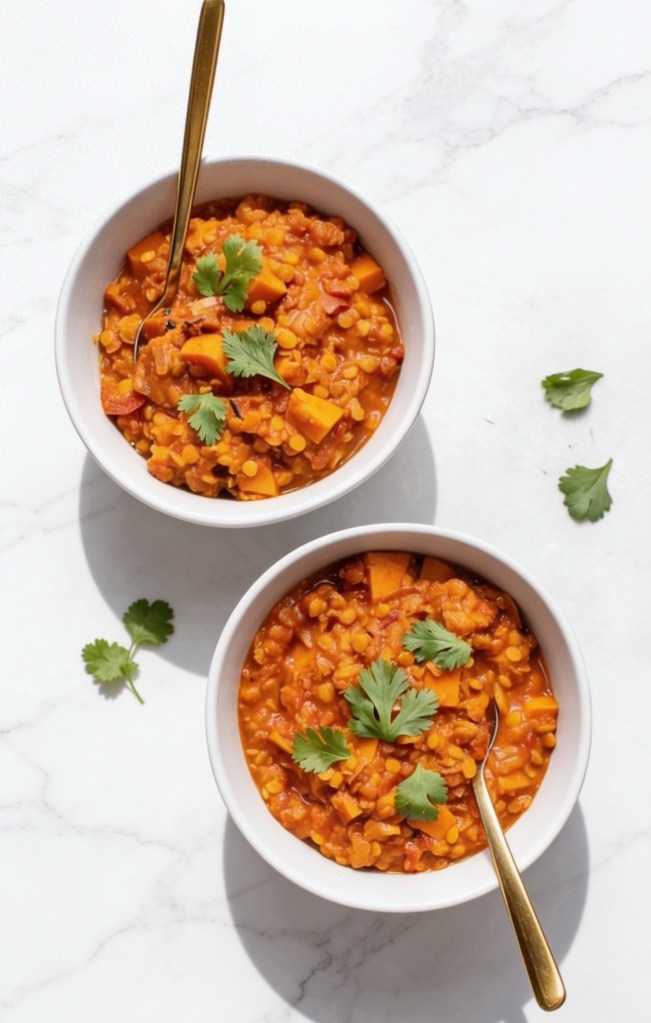
    The Ultimate 20-Minute Creamy Sweet Potato & Peanut Butter Dahl

    If you’ve come across my latest TikTok photo, you already know we are looking at pure comfort in a bowl.

    Let’s be honest: weeknight dinners need to hit three specific criteria. They need to be incredibly fast, they need to use up the bits and bobs left in the kitchen cupboard, and they need to taste like a restaurant-quality meal.

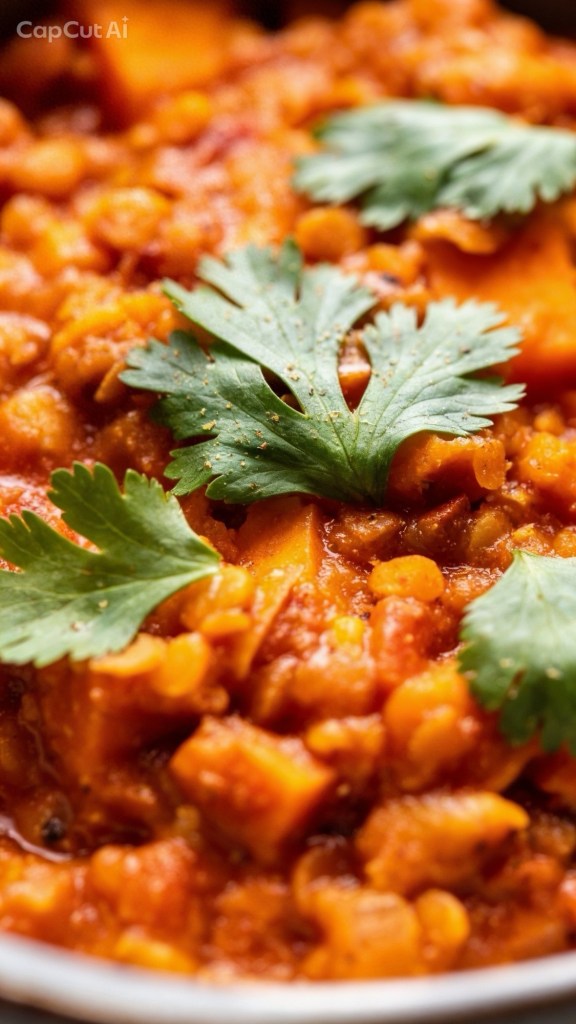
    This Sweet Potato, Lentil and Peanut Butter Dahl checks every single box. It’s entirely plant-based, packed with protein, and has a velvety, glossy texture that will make you want to lick the bowl clean.

    Why Peanut Butter in a Dahl?

    If you haven’t tried adding peanut butter to your lentil dishes yet, prepare to have your mind blown. Much like the viral Turkish eggs trend that layers rich fats with vibrant spices, smooth peanut butter acts as the ultimate shortcut to luxury.

    It melts directly into the spiced coconut milk, creating an instant, thick glaze that perfectly balances the natural sweetness of the potatoes and the earthy tone of the red lentils. It adds a deep, savory umami flavor that makes this dish feel incredibly indulgent without needing any heavy dairy.

    The Line-Up (Ingredients)

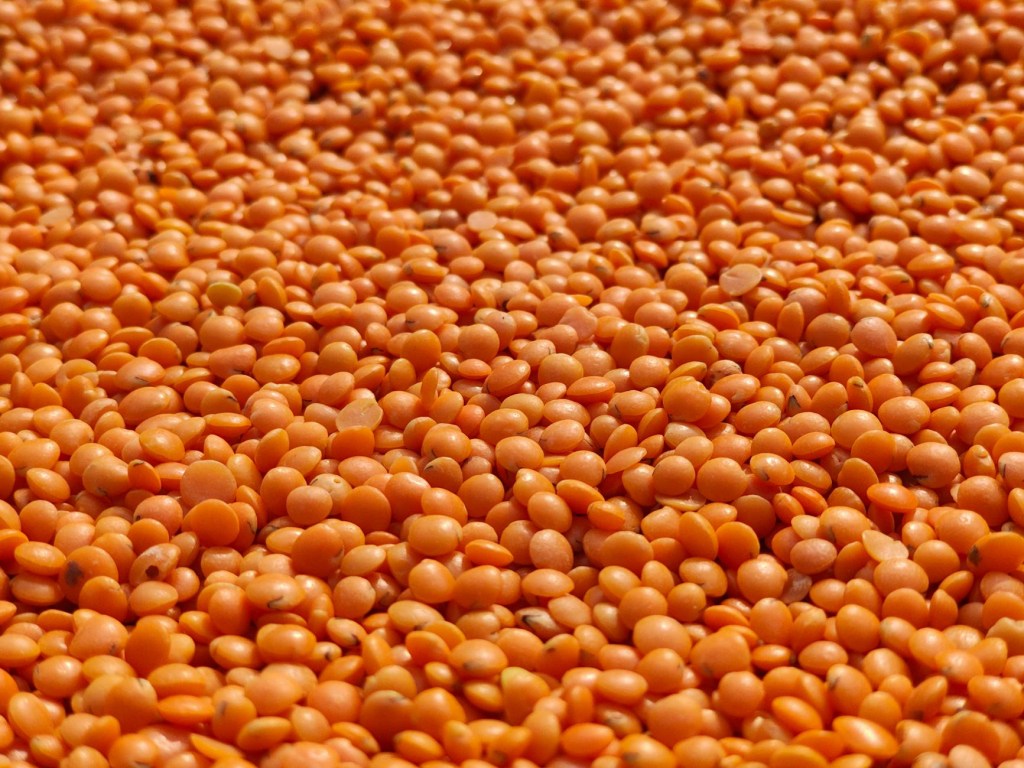
    Here is everything you’ll need to grab from the cupboard. Note: Red lentils are essential here because they break down beautifully to create that signature thick texture—don’t swap them for green or brown lentils!

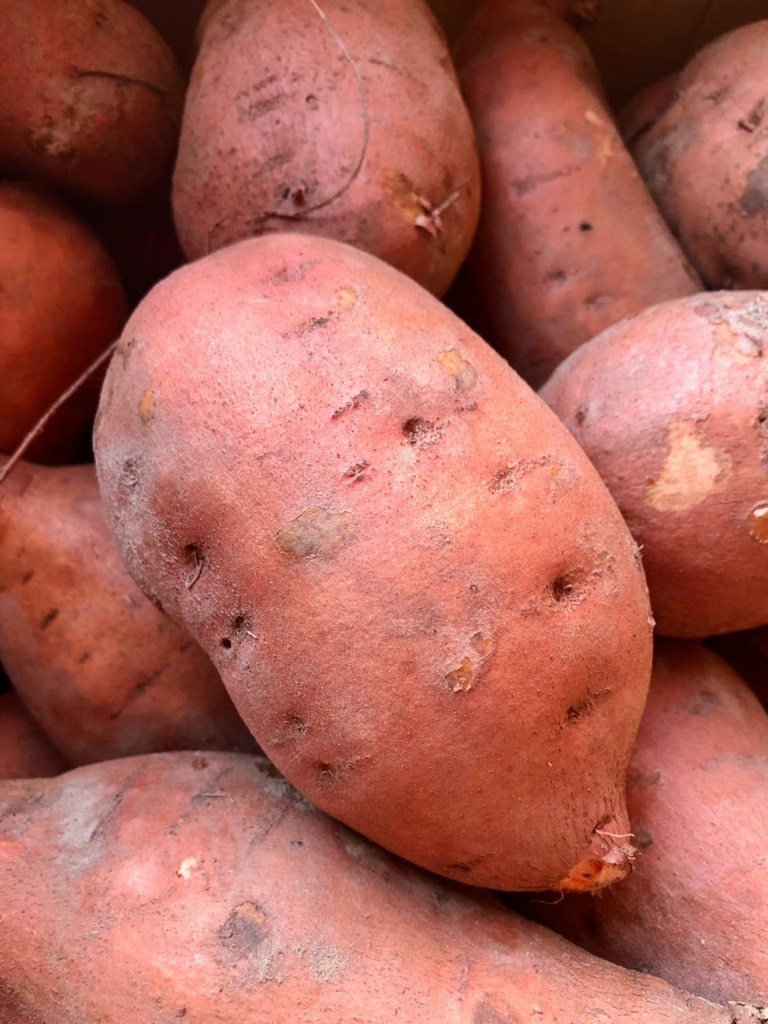
    • 1 large Sweet potato: Peeled and finely cubed. (The smaller you chop them, the faster they cook!)

    • 200g Red lentils: Thoroughly rinsed.

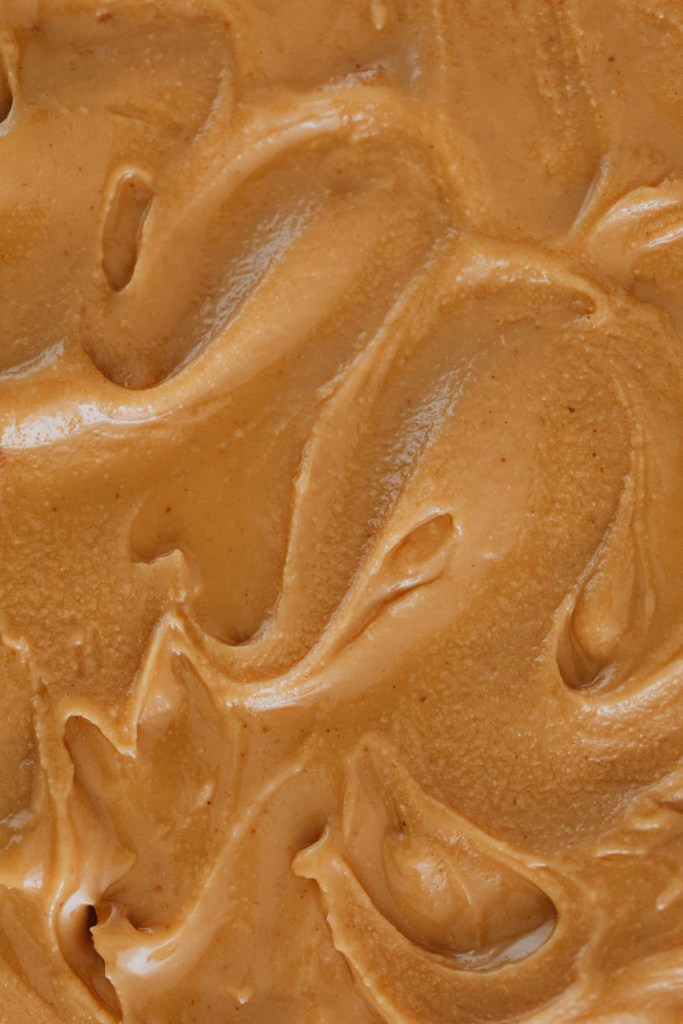
    • 3 tbsp Smooth peanut butter: Go for a good quality one if you can, but any smooth variety works.

    • 1 tin (400ml) Coconut milk: Full-fat gives the best texture, but light works too.

    • 500ml Vegetable stock: Made with one stock cube.

    • 1 Onion: Finely chopped.

    • 3 cloves Garlic: Minced or grated.

    • 1 tbsp Fresh ginger: Grated.

    • 1 tbsp Curry powder & 1/2 tsp Turmeric: For that gorgeous golden hue and warmth.

    • 1 tbsp Rapeseed or coconut oil: For frying.

    • Juice of 1/2 a lime: Don’t skip this! The acidity cuts beautifully through the rich peanut butter.

    Step-by-Step Method

    1. Build the Aromatic Base

    Heat your oil in a large, deep pan over a medium heat on the hob. Toss in your chopped onion, garlic, and ginger. Sauté these for about 3 minutes until they soften and your kitchen smells absolutely incredible.

    2. Toast the Spices

    Add the curry powder and turmeric directly into the pan with the onions. Stir them around for about 60 seconds. Toasting the dry spices in the hot oil wakes up the flavors and creates a beautiful golden base.

    3. Simmer to Perfection

    Throw in your cubed sweet potatoes and rinsed red lentils, giving them a good stir so they are entirely coated in the spice mix. Pour over the tin of coconut milk and the vegetable stock. Bring the whole thing to a boil, then turn the heat down to a gentle simmer. Pop a lid on and let it bubble away for 15 to 20 minutes, or until the lentils are completely soft and the sweet potatoes are fork-tender.

    4. The Magic Ingredient

    Take the lid off. Now for the best part: drop in your 3 tablespoons of smooth peanut butter. Stir it through and watch as it melts into the bubbling dahl, instantly transforming the sauce into a glossy, luxurious velvet.

    Top Tip: Take your wooden spoon and mash a few of the cooked sweet potato chunks against the side of the pan. This releases their starches and makes the dahl even thicker and creamier.

    5. The Finishing Touches

    Take the pan off the heat and squeeze in the fresh lime juice. Ladle the hot dahl into wide bowls and garnish with a splash of extra coconut milk, plenty of fresh coriander, and some crushed peanuts for that essential crunch.

    How to Serve It

    This dahl is practically made for dipping. Fire up some garlic naan bread or flaky parathas to scoop it all up. If you want a more substantial meal, it pairs beautifully over a bed of fluffy basmati rice.

    If you give this a go, let me know in the comments below! Did you stick to the naan bread, or did you go down the rice route?