Tag: #WeeknightDinner

  • Lemon Butter Parmesan Pasta For Tea Tonight

    Lemon Butter Parmesan Pasta For Tea Tonight


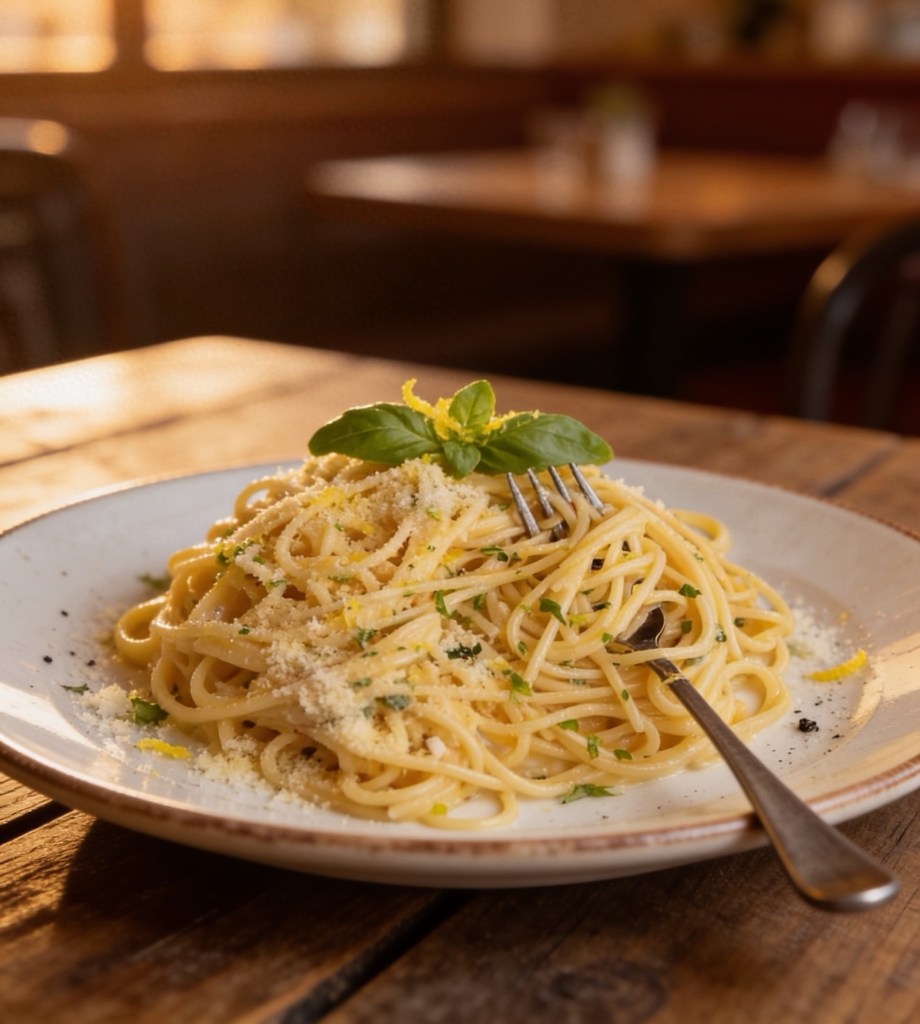
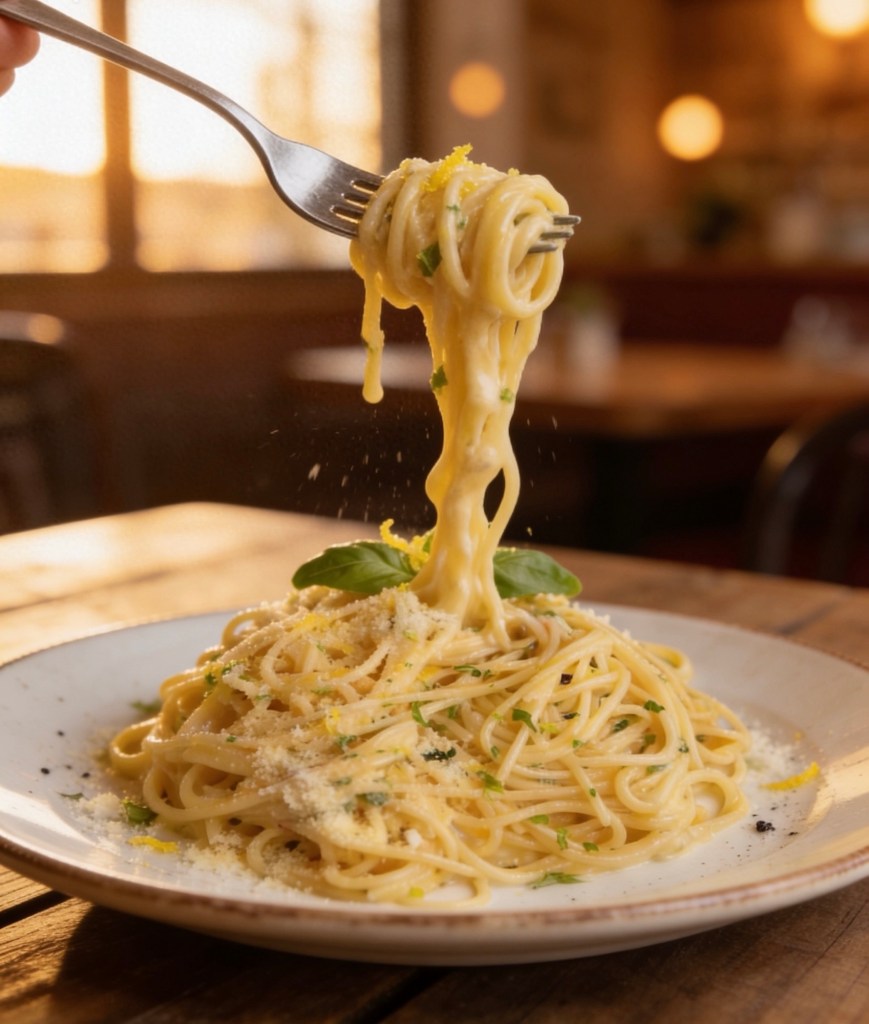
    Some nights you just want something quick, comforting and a bit special without spending ages in the kitchen. That’s cwhere this lemon butter parmesan pasta comes in. It’s bright, buttery, garlicky and on the table in about 15 minutes, so it’s perfect for busy weeknights or those evenings when you can’t be bothered but still fancy a nice tea.
    It’s made with simple cupboard and fridge bits – pasta, butter, garlic, lemon and parmesan – but it feels like a proper “restaurant at home” dinner. You can keep it exactly as it is for a meat‑free meal, or add cooked chicken, prawns or a handful of peas if you want to bulk it out a bit more.

    If you’ve seen lemon pasta all over TikTok and wondered if it’s actually worth trying, this is a really easy place to start. Everything happens in one pan plus your pasta pot, and a bit of that starchy pasta water helps create the silkiest, glossiest sauce without needing loads of cream.

    Ingredients
    Serves 2–3
    • 200 g pasta (spaghetti, tagliatelle or any long pasta)
    • 2 tbsp butter
    • 1 tbsp olive oil
    • 3 garlic cloves, finely chopped or crushed
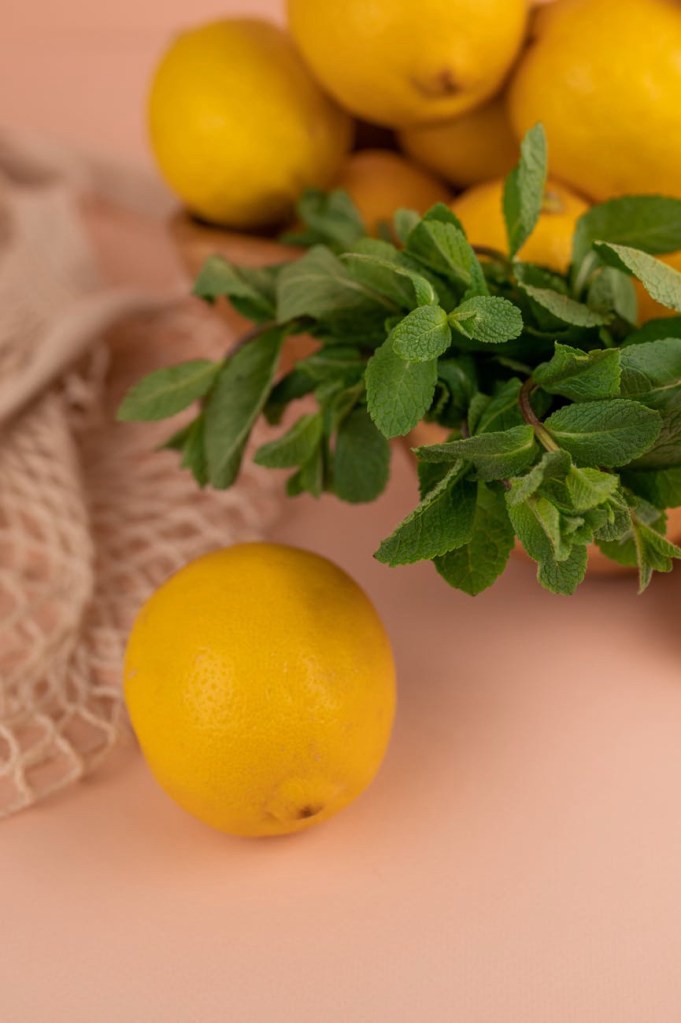
    • Zest of 1 lemon
    • Juice of 1/2–1 lemon (to taste)
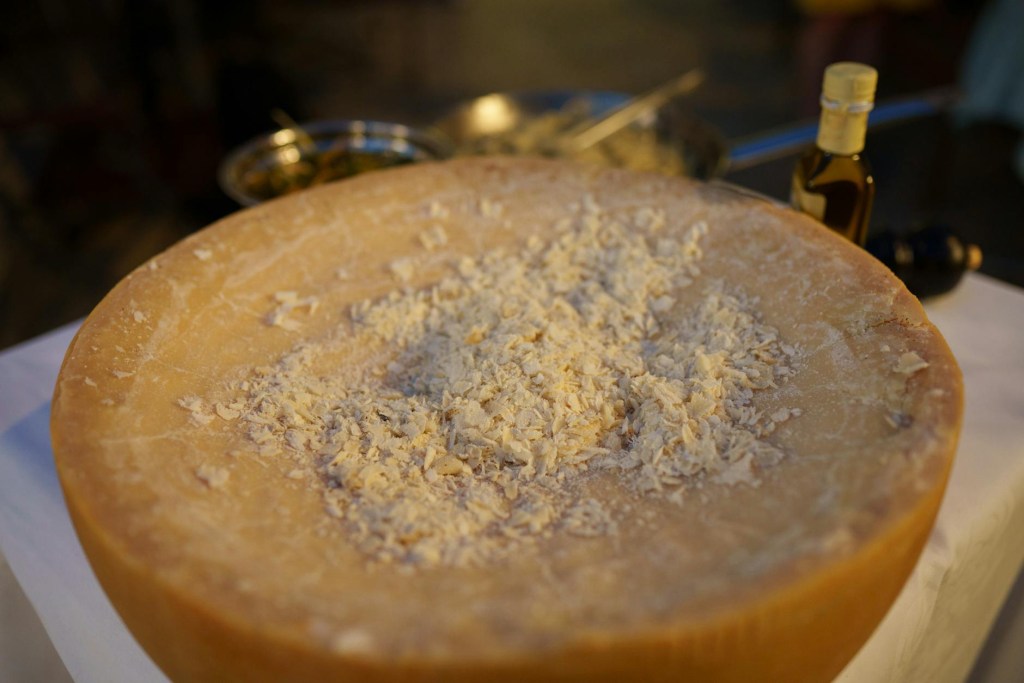
    • 30–40 g grated Parmesan or Grana Padano
    • Salt and black pepper
    • A ladle of pasta water (from the pan)

    • Fresh basil or parsley to serve (optional)

    Method

    1. Cook the pasta
      Bring a large pan of salted water to the boil and cook the pasta according to the packet instructions until al dente. Before you drain it, scoop out a mugful of the starchy pasta water and set it aside.
    2. Start the sauce
      While the pasta cooks, add the butter and olive oil to a large frying pan or shallow casserole over a low–medium heat. Let the butter melt gently into the oil.
    3. Add garlic and lemon zest
      Stir in the chopped garlic and cook for about a minute until fragrant. You want it soft and smelling amazing rather than browned or crispy. Add the lemon zest and stir it through the butter mixture.
    4. Bring the pasta and sauce together
      Add the drained pasta straight into the pan with the lemon butter and garlic. Pour in a small splash of the pasta water and toss everything together so the pasta is nicely coated.
    5. Add cheese off the heat
      Take the pan off the heat, then sprinkle over the grated Parmesan. Toss well so the cheese melts into the lemony butter and pasta water, turning into a silky, glossy sauce. Add extra splashes of pasta water as needed until it looks creamy and coats the pasta nicely.
    6. Season and adjust the lemon
      Squeeze in the juice of half a lemon, give it a taste and add more lemon if you like it extra zingy. Season with a good twist of black pepper and a little salt if it needs it (remember the Parmesan is already salty).
    1. Finish and serve

    Finish with a handful of chopped basil or parsley and a bit more Parmesan on top. Serve straight away while it’s hot and glossy.

    Tips and Variations
    • Make it extra creamy: Stir in a spoonful of cream cheese or mascarpone with the Parmesan if you want a richer sauce.
    • Add protein: Toss through some cooked chicken, prawns or crispy bacon at the end to make it more filling.
    • Keep it budget‑friendly: Swap Parmesan for a basic hard cheese and use whatever pasta you have in the cupboard – it will still work.

    • For garlic lovers: Add an extra clove or two of garlic or a pinch of garlic granules at the end for more punch.

    How to Serve
    This lemon butter parmesan pasta is lovely on its own in a big bowl, but it also works really well with a simple green salad or some garlic bread on the side. It’s the kind of easy, cosy meal you can throw together after a long day, but it still feels like a bit of a treat.
    If you do make it, let me know how you get on and what you’d rate it out of 10 – especially if you’ve spotted it on my TikTok and come over here for the full recipe.

  • Slow Cooker Chicken Breast Casserole (No Wine, No Browning)

    Slow Cooker Chicken Breast Casserole (No Wine, No Browning)


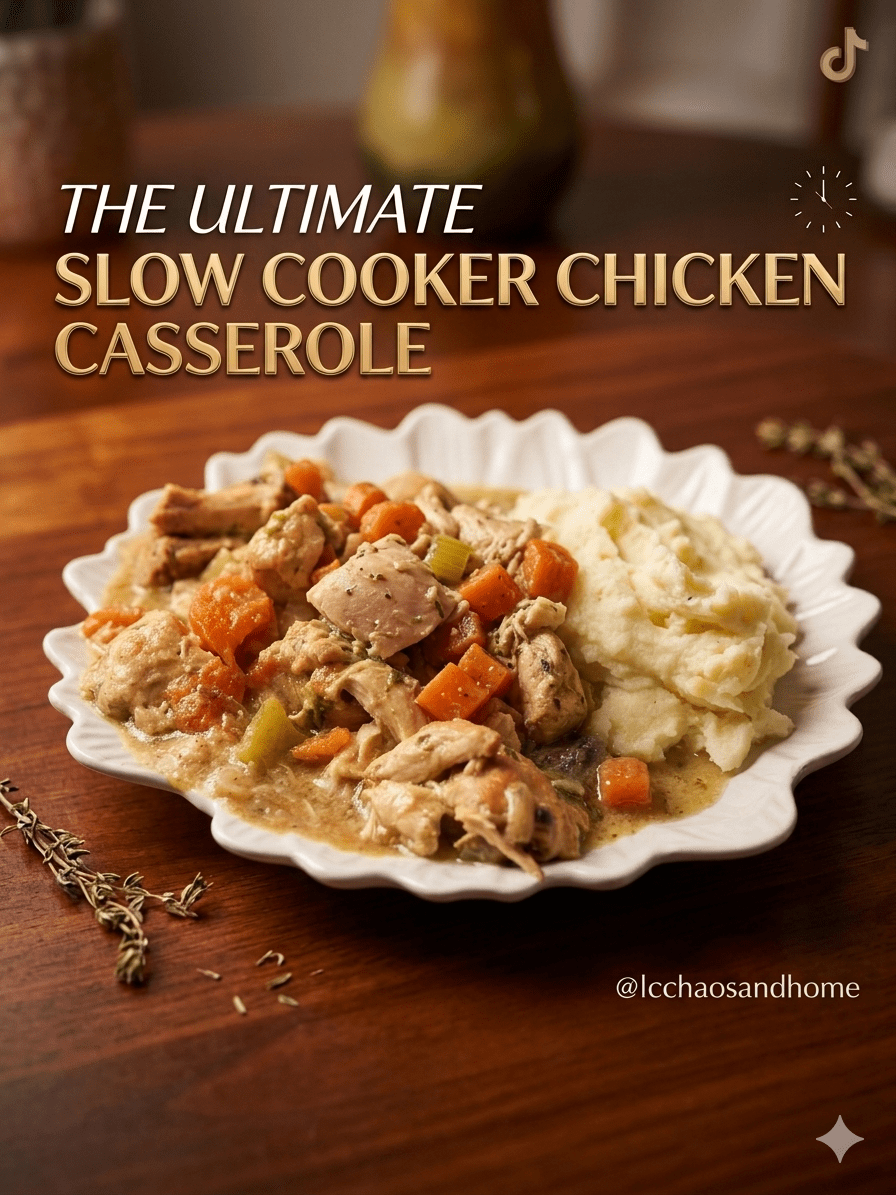
    Some days you want a proper home‑cooked dinner… without standing over the hob for ages. This slow cooker chicken breast casserole is perfect for those days: you toss everything in, switch it on, and let it quietly get on with the job.

    It uses simple ingredients, no wine, no faff, and you don’t even need to brown the chicken first. The chicken cooks gently in a savoury, herby sauce with soft vegetables – it’s the kind of meal everyone can tuck into, and it’s ideal for busy weeknights or lazy weekends.

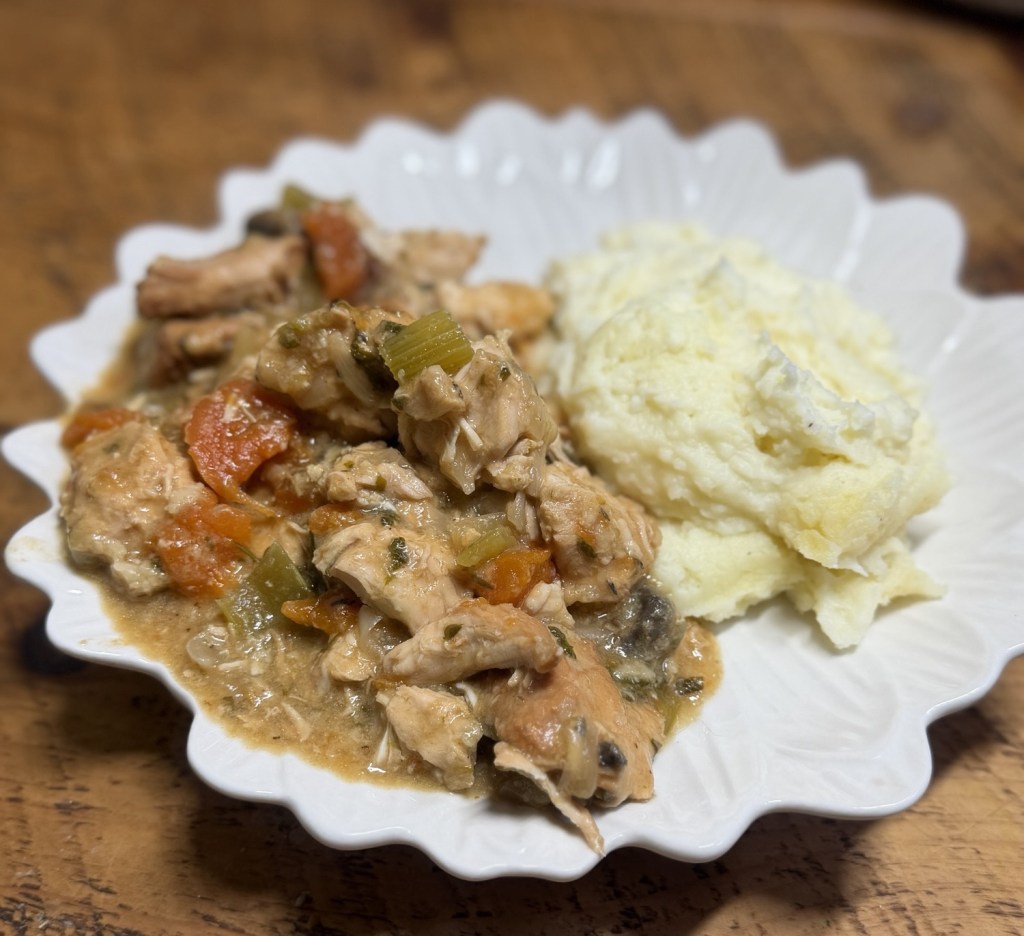
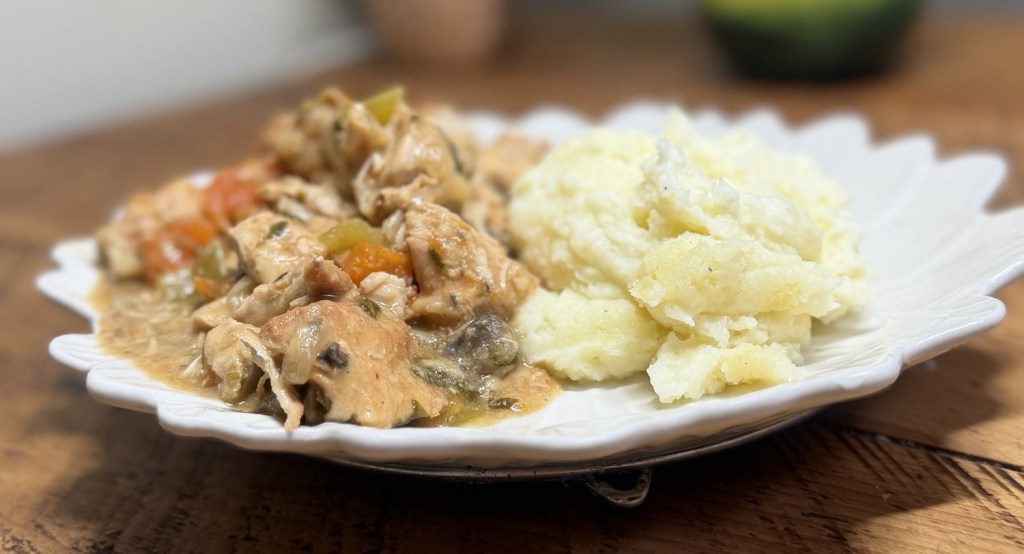
    Serve it with mash, rice, crusty bread, or whatever you like for soaking up that lovely gravy.

    Why you’ll love this easy chicken casserole
    • No browning needed – you just coat the chicken in flour and straight into the slow cooker it goes.
    • No wine – great if you don’t cook with alcohol or just don’t have any open.
    • Simple ingredients – chicken breasts, basic veg, stock and a few store‑cupboard bits.

    • Hands‑off cooking – once it’s in the pot, you can forget about it until dinner time.

    Ingredients


    For the chicken casserole (serves 4–5)
    • 750 g boneless, skinless chicken breasts, cut into large chunks (3–4 pieces per breast)
    • 2 tbsp plain flour
    • 2 medium onions, chopped
    • 3 medium carrots, sliced into chunky rounds
    • 2–3 sticks celery, sliced
    • 3–4 cloves garlic, crushed (or 1–2 tsp garlic granules)
    • 200–250 g mushrooms, quartered (optional but adds extra flavour)
    • 500 ml chicken stock (from a cube or pot, made with boiling water)
    • 1–2 tbsp tomato purée or 1 tsp Dijon mustard (or a bit of both, if you like)
    • 1 tsp dried thyme or mixed herbs
    • Salt and black pepper, to taste
    Optional to finish:
    • Small splash of cream or 2 tbsp crème fraîche

    Step‑by‑step method (no browning)

    Get the veg in the pot
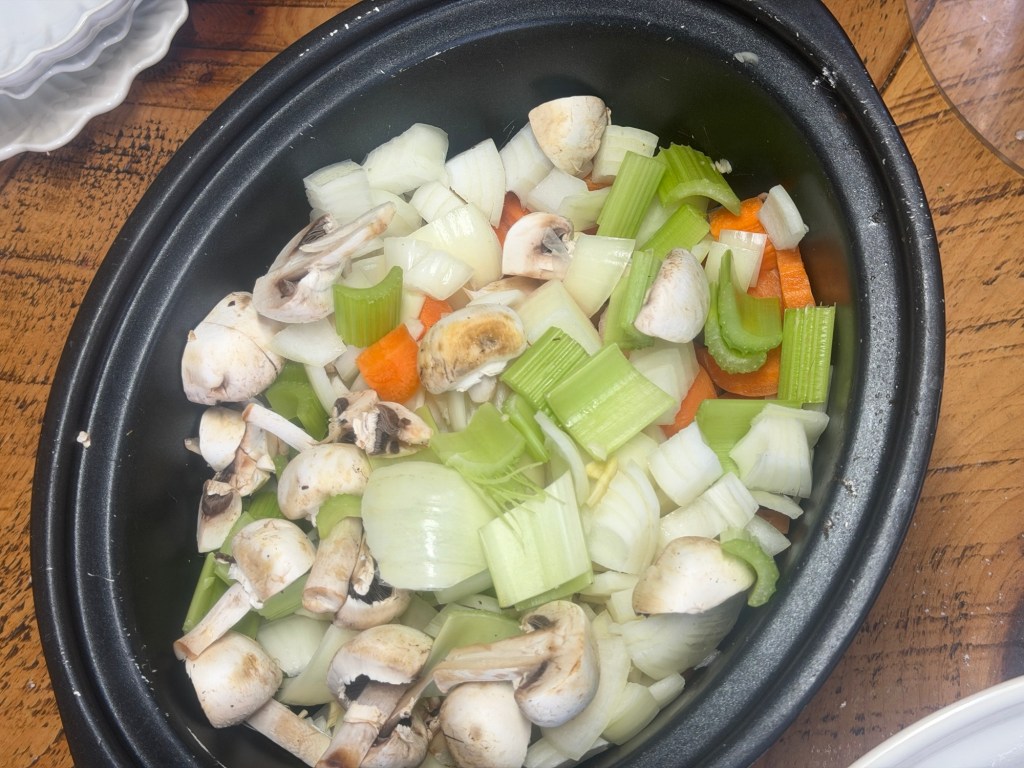
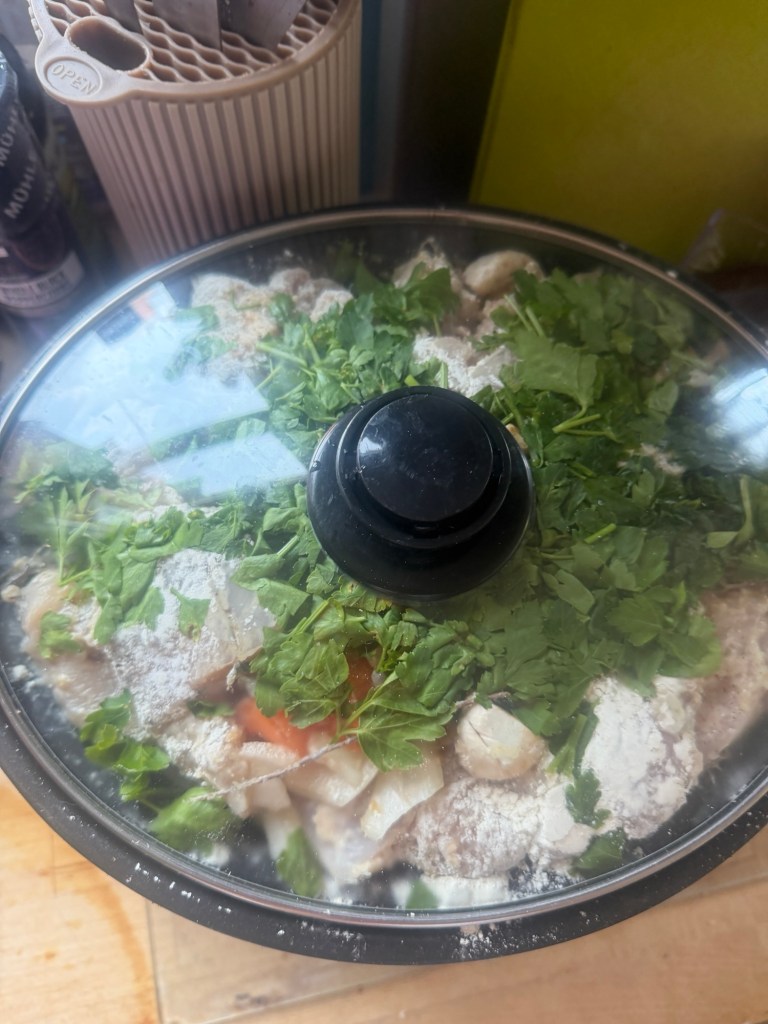
    Pop the chopped onions, carrots, celery, garlic and mushrooms straight into the bottom of your slow cooker.


    Spread them out into an even layer – they go on the bottom because they’re closer to the heat source and need more time to soften.

    Coat the chicken in flour
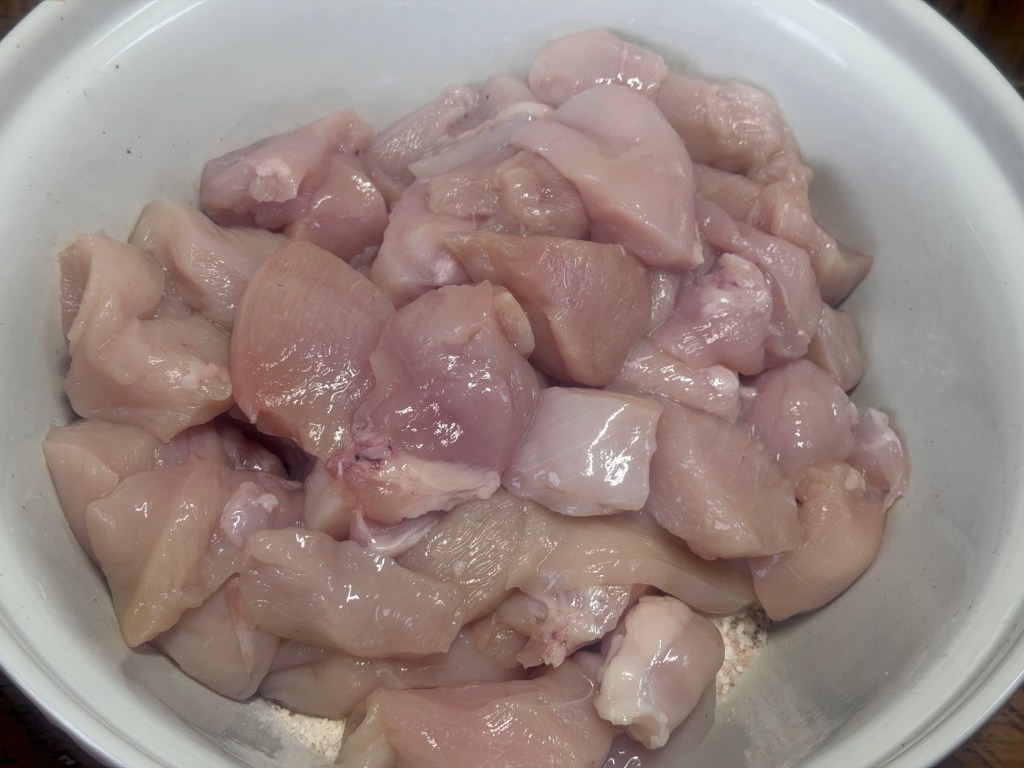
    Cut the chicken breasts into chunky pieces and put them into a bowl.


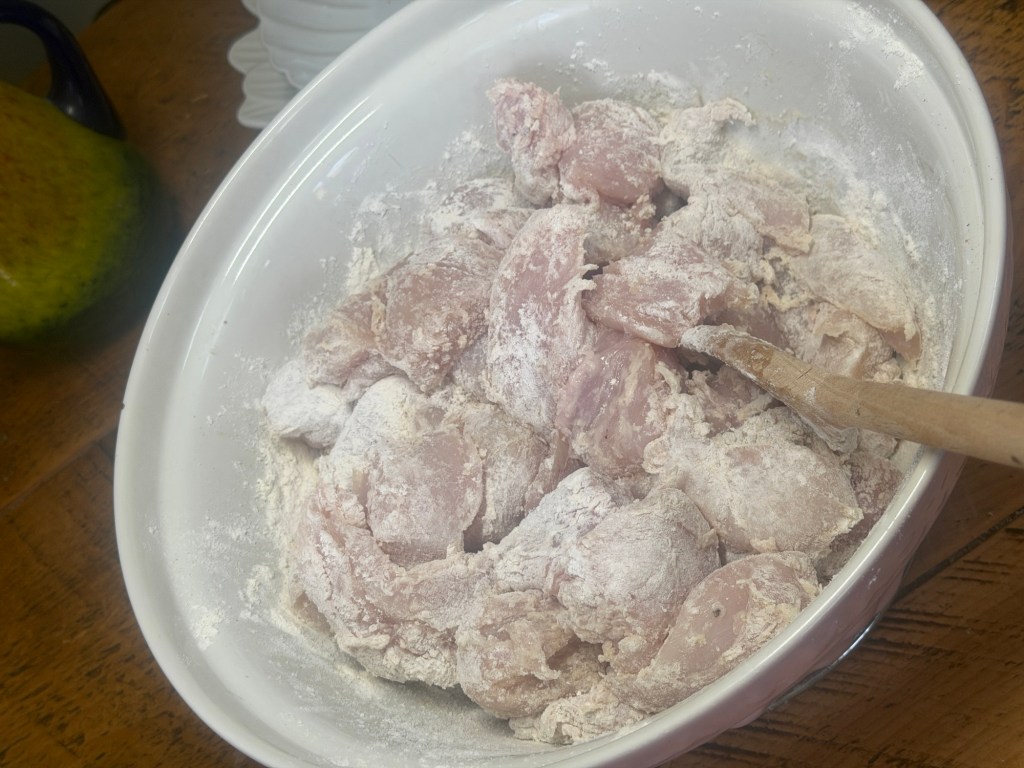
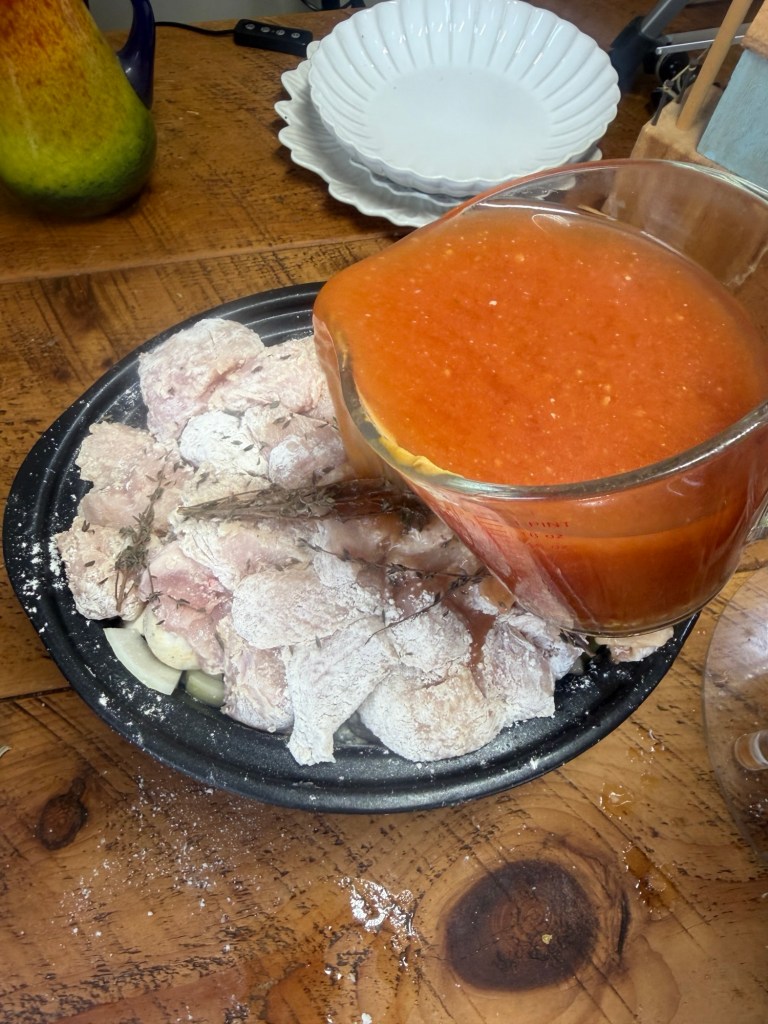
    Sprinkle over the plain flour, a good pinch of salt and some black pepper. Toss everything together so the chicken is well coated. This flour will help thicken the sauce as it cooks, so you don’t end up with a watery casserole.


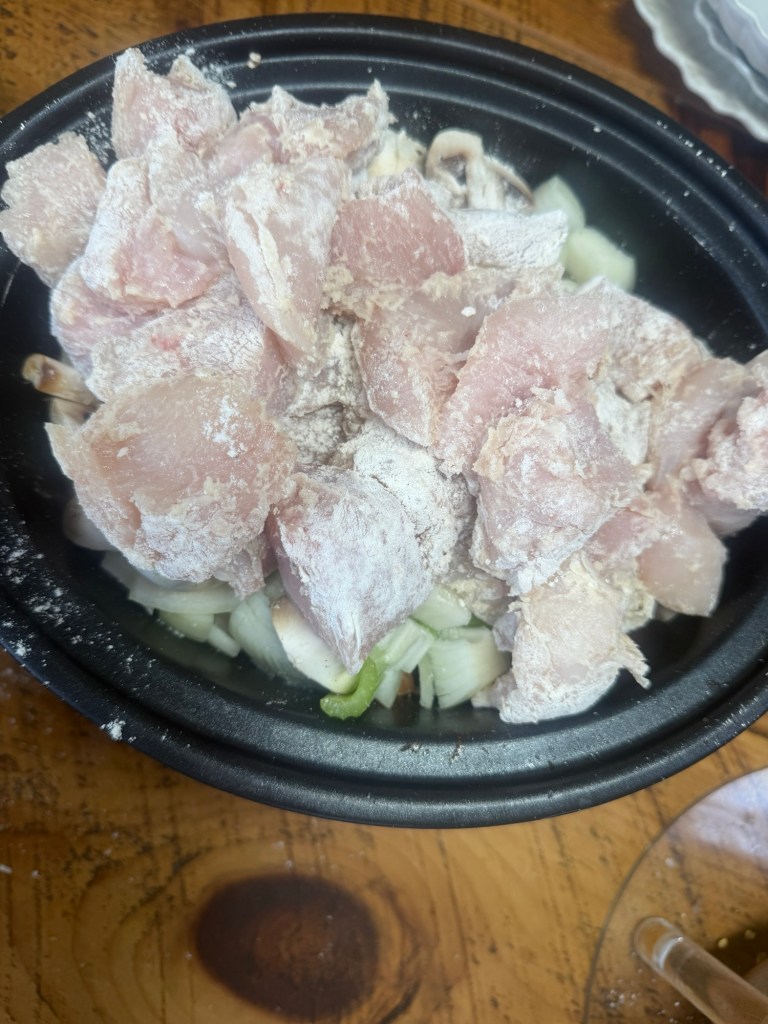
    Once coated, place the chicken pieces on top of the vegetables in the slow cooker. No browning, no extra pans – straight in.

    Mix the sauce


    In a jug, whisk together:
    • The chicken stock
    • Tomato purée and/or Dijon mustard
    • Dried thyme or mixed herbs
    • Another pinch of salt and pepper
    Give it a good stir until the tomato purée or mustard is completely mixed in.
    Pour this mixture into the slow cooker, around the chicken and vegetables. You don’t need to fully cover everything; more liquid will come out of the chicken and veg as it cooks.

    Let the slow cooker do its thing
    Put the lid on and cook:
    • On LOW for about 4–6 hours, or
    • On HIGH for about 2.5–3 hours


    You’re aiming for:
    • Chicken that is cooked through and tender
    • Vegetables that are nice and soft
    You can adjust slightly depending on how your slow cooker behaves, but mine was perfect after about 6 hours on low.
    If the chicken ends up a bit too soft, don’t worry – you can gently shred it into the sauce with a couple of forks and it turns into a slightly chunkier, stew‑style dish.

    Adjust the sauce at the end
    Once the casserole has finished cooking, give everything a good stir and see how the sauce looks and tastes.
    • If it’s thick enough for you, leave it as it is.
    • If it’s a bit thin, you have two options:
    • Often the flour on the chicken will have thickened it enough once you stir – so try that first.
    • If you still want it thicker, mix 1–2 tsp cornflour with a splash of cold water, stir that into the hot sauce, then cook on HIGH for another 15–20 minutes until it thickens slightly.

    For a richer finish, stir in a small splash of cream or a couple of tablespoons of crème fraîche and cook for another 5–10 minutes so it warms through. Taste and adjust the seasoning – add more salt, pepper, and a little squeeze of lemon juice if you’d like the flavour a bit brighter.

    How to serve


    This casserole is really flexible and works with loads of side dishes. You can serve it:
    • Over mashed potatoes
    • With rice, couscous, or quinoa
    • With steamed greens (broccoli, green beans, peas)
    • Alongside crusty bread or a baguette for dipping in the sauce

    It’s also a good one for cooking a slightly bigger batch, then enjoying the leftovers another day.

    Leftovers and storing
    • Fridge: Cool the casserole quickly, then store it in a sealed container in the fridge for up to 2 days. Reheat gently on the hob or in the microwave until piping hot all the way through.

    • Freezer: You can freeze portions of the cooked casserole. Defrost in the fridge overnight and reheat thoroughly before serving.

    Cook’s note

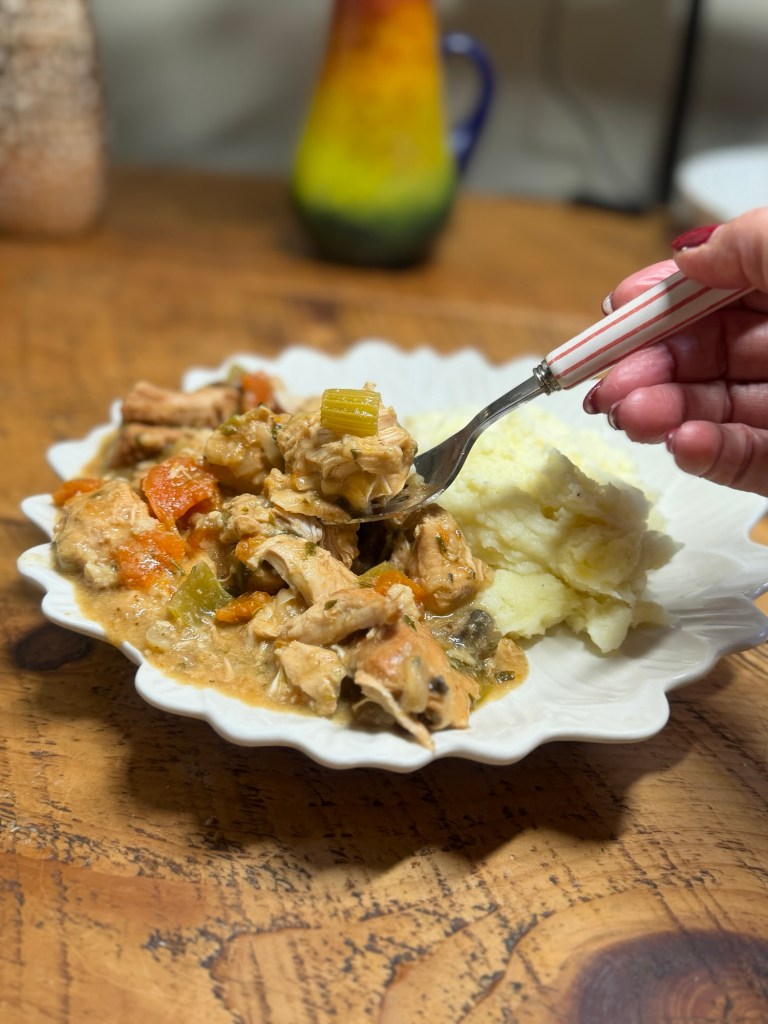
    I cooked mine on low for around 6 hours in my slow cooker and it came out beautifully tender, with the vegetables soft and the sauce rich and full of flavour. It’s the kind of dish you can throw together earlier in the day, forget about, and then lift the lid to a proper home‑cooked dinner that feels like you’ve made an effort, even though the slow cooker has quietly done it all for you. However you choose to serve it – with mash, rice or a pile of greens – it’s a simple, dependable recipe you’ll find yourself coming back to whenever you want something cosy and fuss‑free.

  • Easy Peasy Red Lentil and aubergine  Moussaka (Feeds 4)

    Easy Peasy Red Lentil and aubergine Moussaka (Feeds 4)


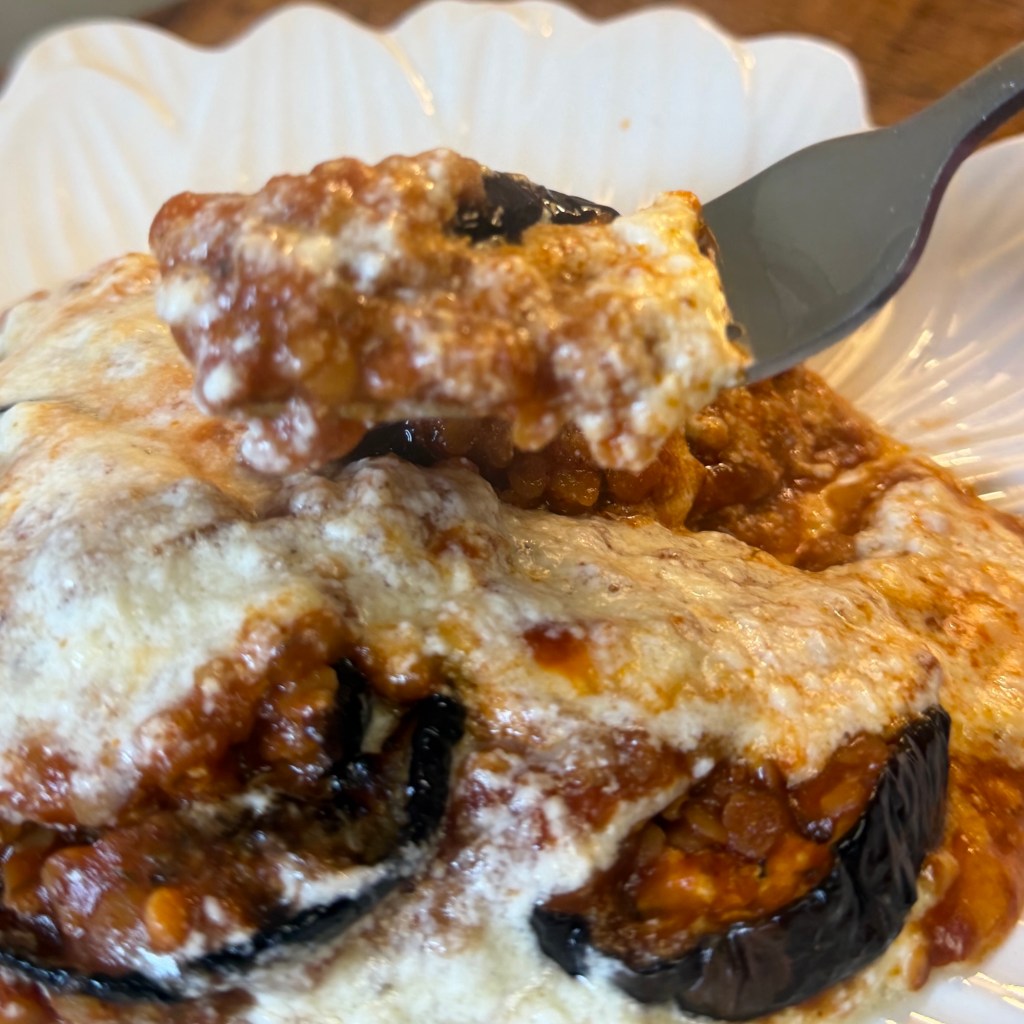
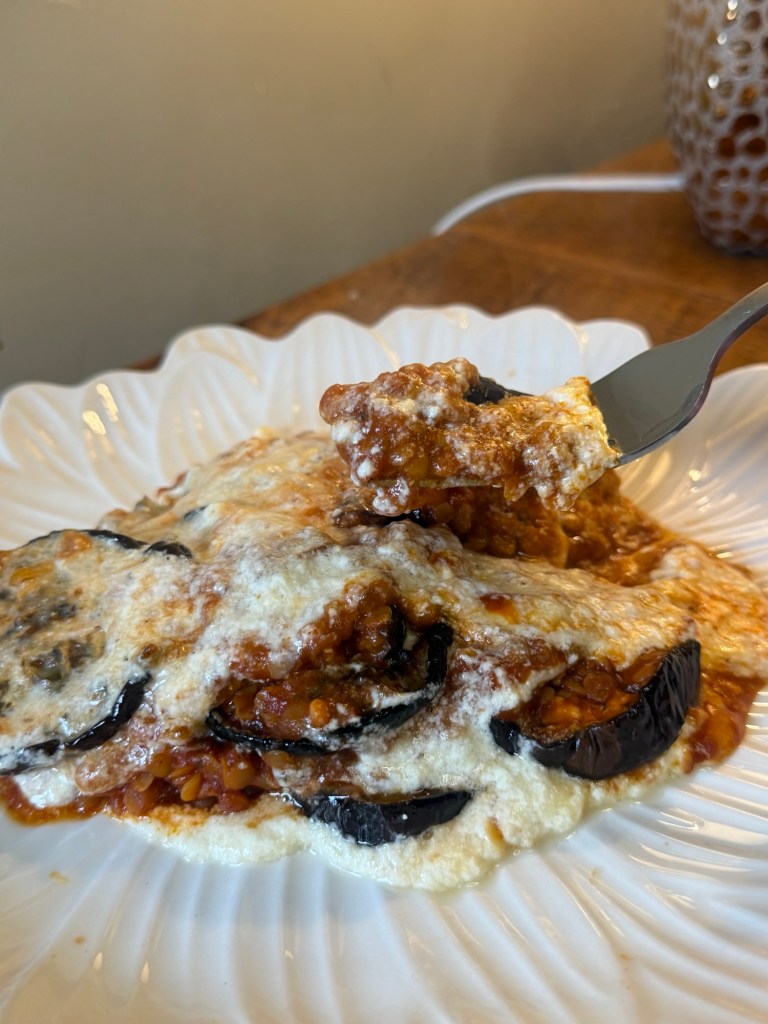
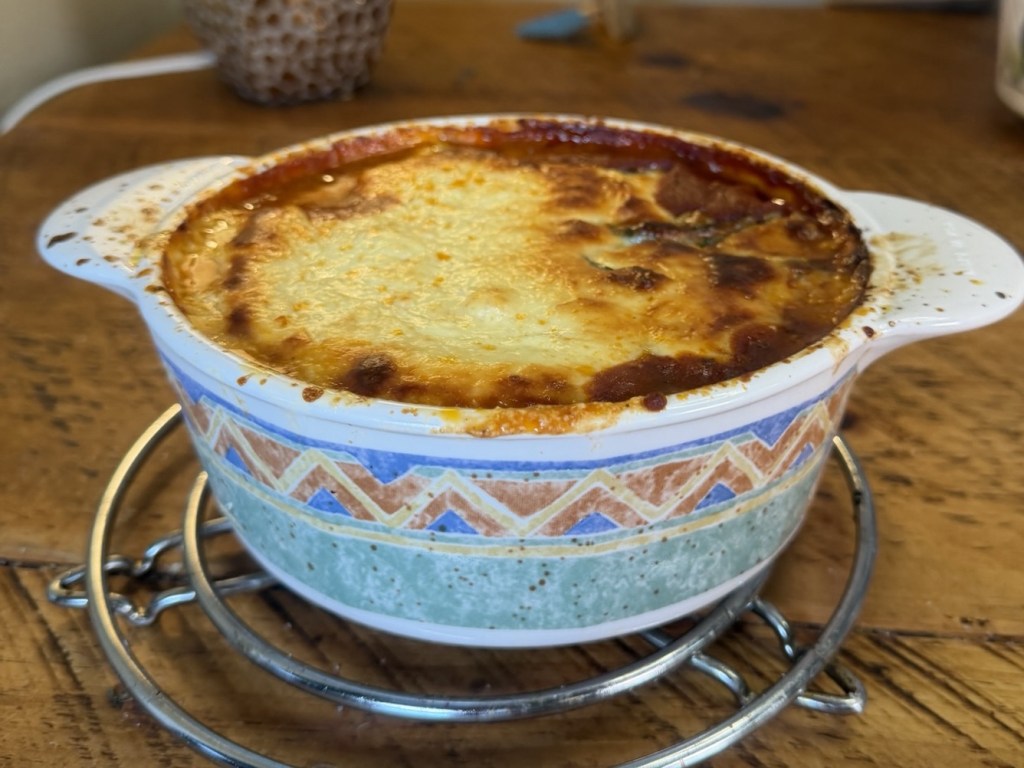
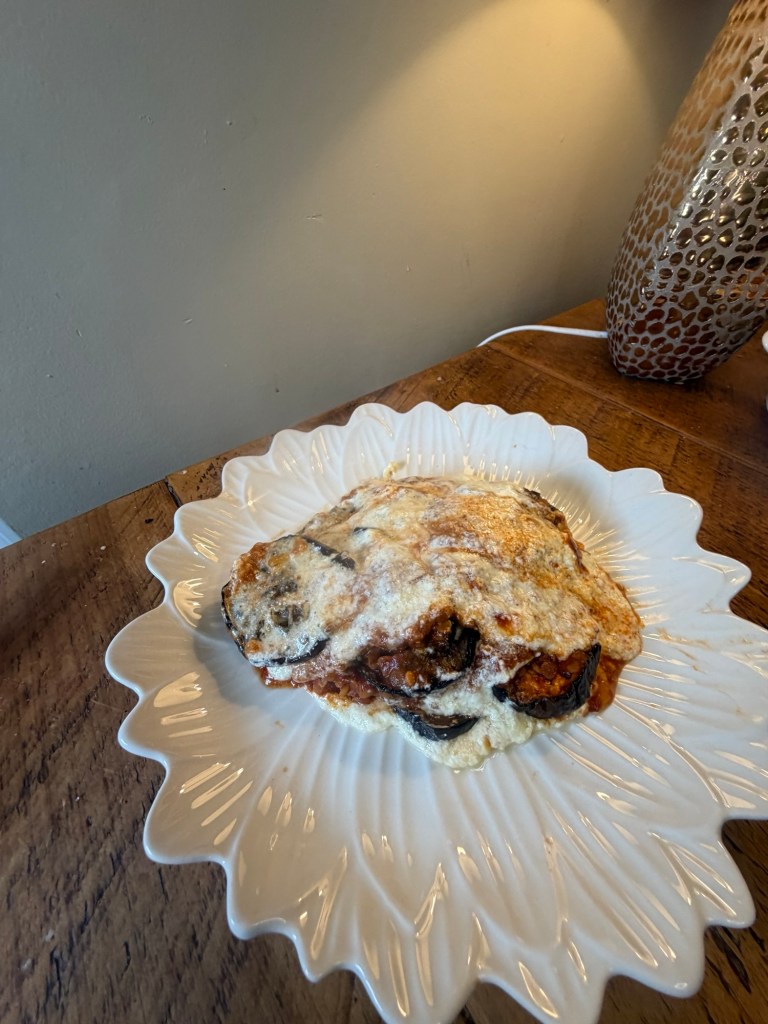
    If you love proper comfort food but don’t want to faff around with loads of ingredients, this Easy Red Lentil Moussaka is for you. It’s rich, cosy, uses simple store‑cupboard bits, and still feels a bit “special” when it comes out of the oven. Think soft layers of aubergine, a gently spiced red lentil base, and a creamy, golden top – but all very doable on a weeknight.
    Below is everything you need: ingredients, method, and a few little tips so it comes out perfect first time.

    Ingredients (serves 4)
    For the aubergine
    • 2 large aubergines, sliced into 1 cm rounds
    • 2 tbsp olive oil (for brushing)
    • Salt and pepper
    For the lentil layer
    • 2 tbsp olive oil
    • 4 garlic cloves, finely grated or crushed
    • 2 tsp dried oregano
    • 2 tsp ground cinnamon
    • 150 g dried red split lentils, rinsed
    • 2 tsp Worcestershire sauce (or a vegan alternative)
    • 20 g vegetable stock paste or 2 vegetable stock cubes
    • 2 × 400 g tins chopped tomatoes
    • 2 tsp sugar
    • 150 ml water – more if lentils look dry
    • Salt and pepper, to taste

    Method

    Get the aubergine going
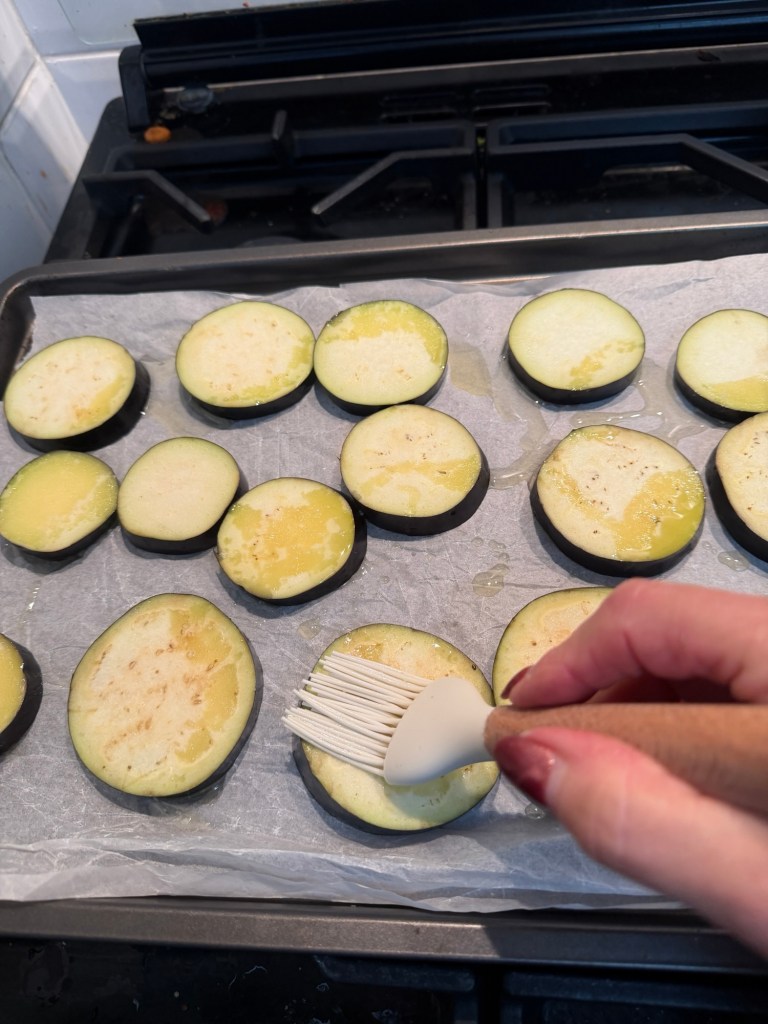
    Preheat your oven to 220°C / 200°C fan / gas 7. Line one or two baking trays with baking paper if you want easier washing up. Lay the aubergine slices out in a single layer, brush (or drizzle and rub) with olive oil on both sides, and season with salt and pepper.
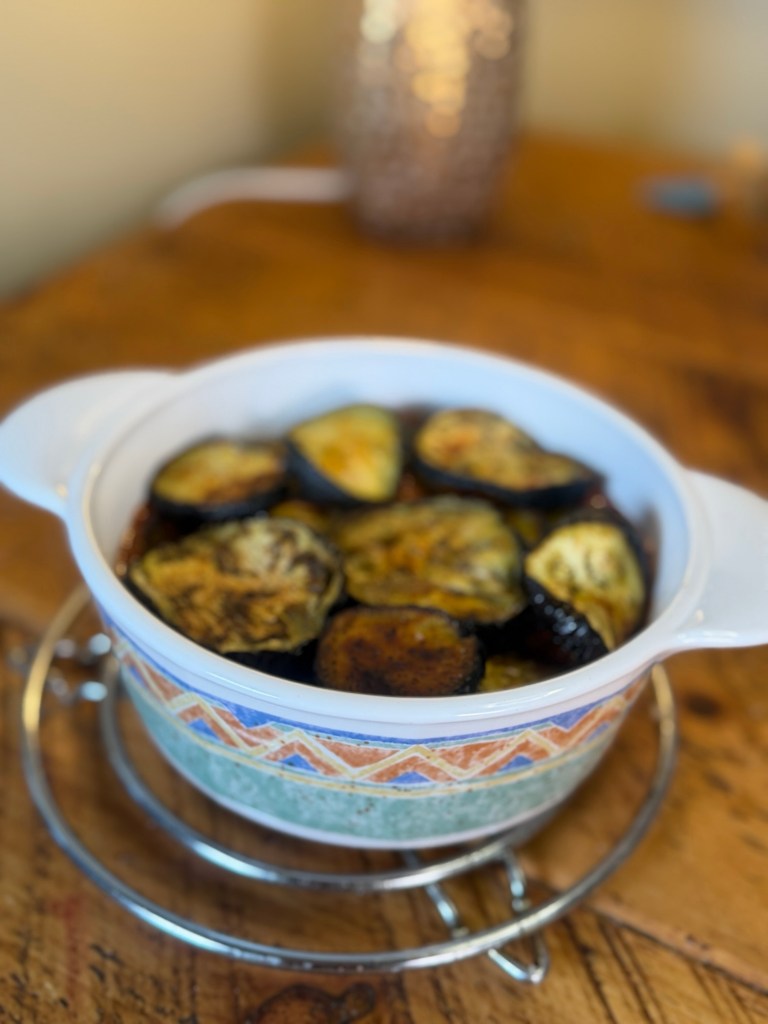
    Roast for about 20–25 minutes, turning halfway, until the slices are soft, lightly golden and just starting to catch at the edges. You want them cooked through because they won’t get much more time in the oven later.

    Start the lentil base
    While the aubergine is roasting, heat 2 tbsp olive oil in a large pan over medium–high heat. Add the dried oregano, ground cinnamon and about half of your garlic. Cook for around 1 minute, stirring, just until everything smells fragrant – you don’t want the garlic to brown.
    This little step – toasting the herbs and spices – makes the whole dish taste warmer and more “slow‑cooked” than it really is.

    Add lentils and liquids
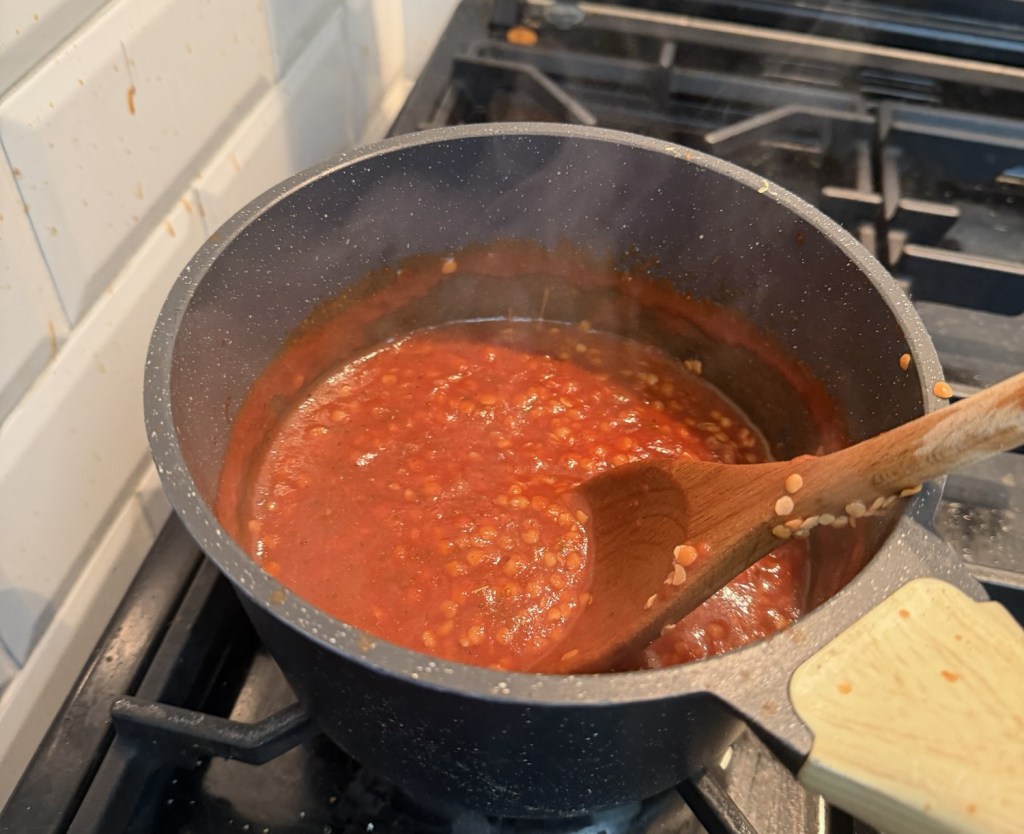
    Tip in the rinsed red lentils, Worcestershire sauce, stock paste or cubes, chopped tomatoes, sugar and the water. Give it all a good stir, scraping up anything that’s stuck to the bottom of the pan.
    Bring it up to the boil, then turn the heat down so it’s gently simmering. Leave it to bubble away for about 20–25 minutes, stirring occasionally. Red lentils break down and thicken as they cook; you’re aiming for a thick, spoonable sauce – not soupy, not dry.
    If it starts to look too thick before the lentils are soft, add a splash more water. If it’s still a bit runny at the end, just let it simmer with the lid off for a few extra minutes.

    Season properly
    When the lentils are soft and the sauce is nice and thick, stir in the remaining garlic and season really well with salt and pepper. Taste it – this is your moment to get the flavour right. The lentils should taste rich, tomatoey and slightly warm from the cinnamon, not flat or bland.
    Turn off the heat and set aside for a moment while you sort the topping.

    Mix the creamy topping
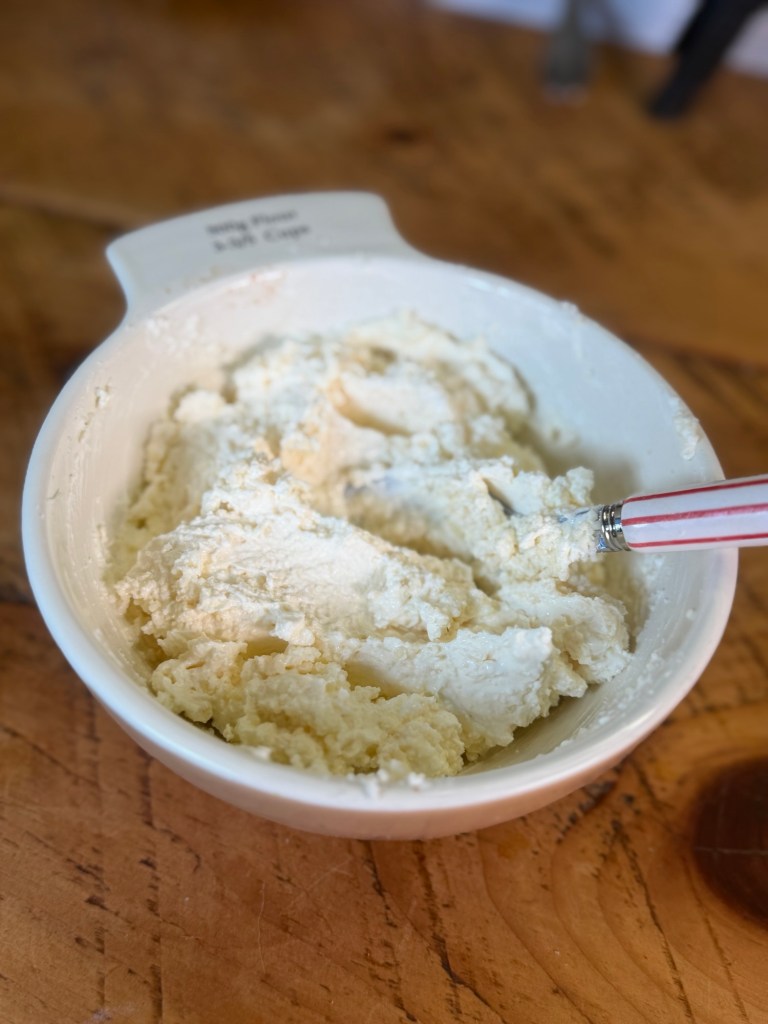
    In a small bowl, stir together the crème fraîche and most of the grated cheese, keeping a little cheese back for sprinkling on top. Add a good grind of black pepper. You don’t need to overthink this – just mix until it’s smooth and combined.
    If you prefer a slightly looser topping, you can add a tablespoon or two of water or milk to loosen it slightly.

    Build your moussaka
    Tip the lentil mixture into a medium–large ovenproof dish and spread it out evenly. You want a reasonably thick layer, not too shallow.
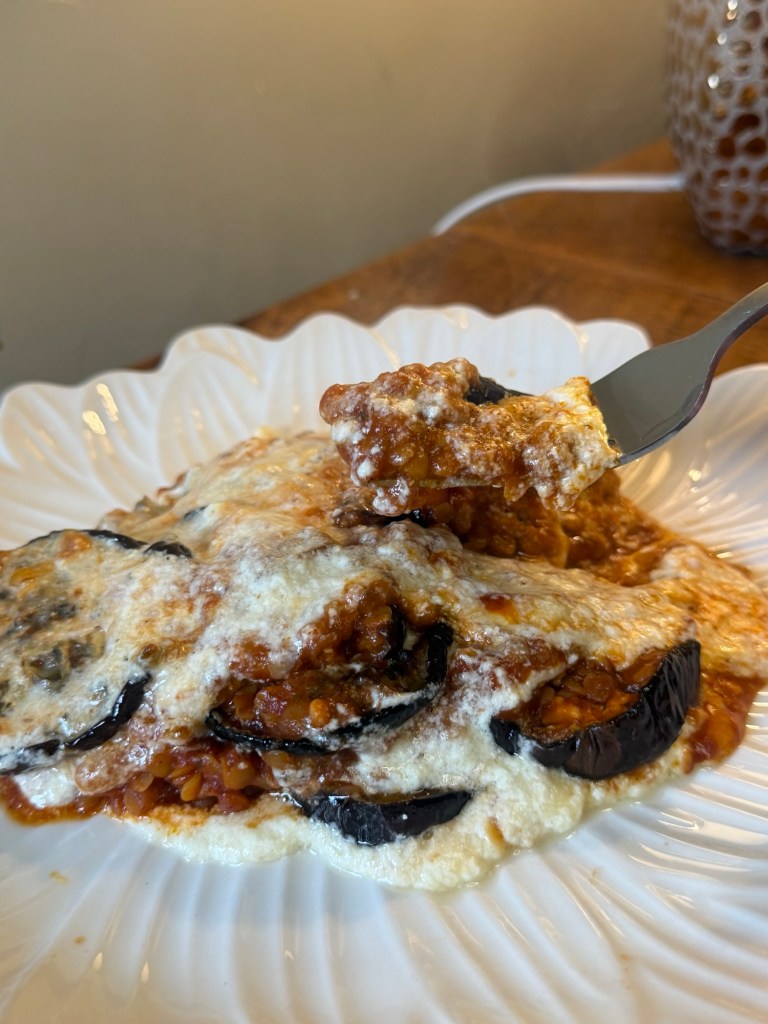
    Lay the roasted aubergine slices over the lentils in a single layer, overlapping them slightly like roof tiles.

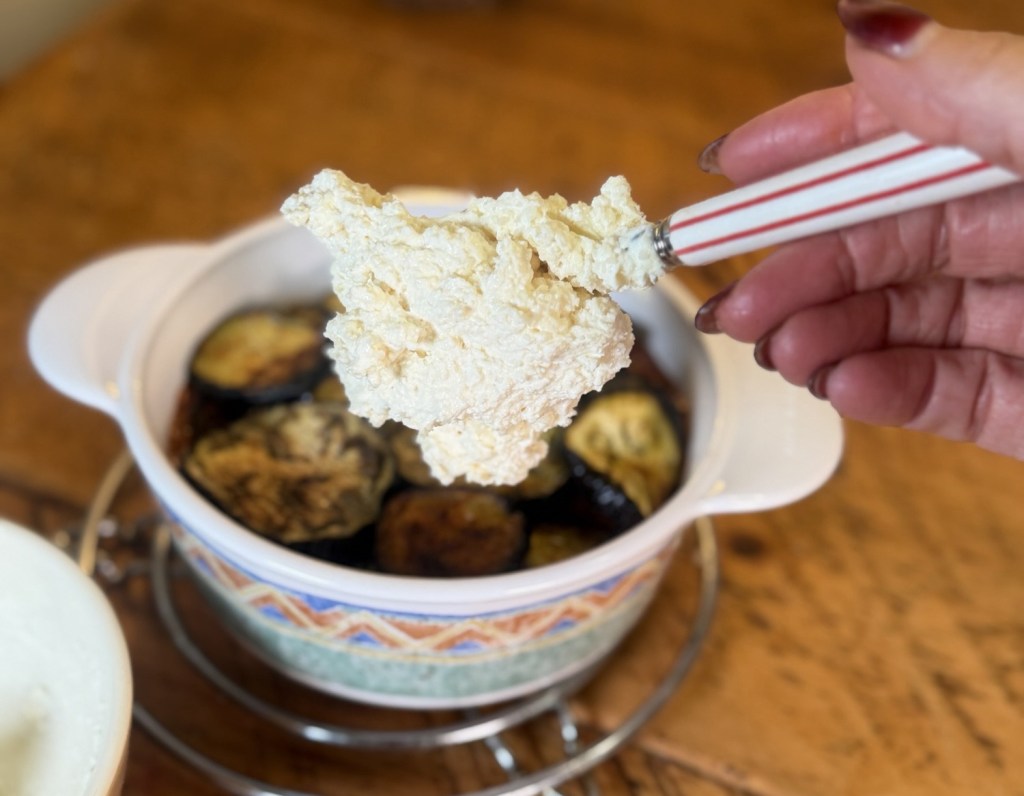
    Spoon the crème fraîche and cheese mixture over the top and gently spread it right to the edges. Sprinkle over the remaining cheese.

    You should now have three layers: lentils, aubergine, creamy top.

    Bake until golden
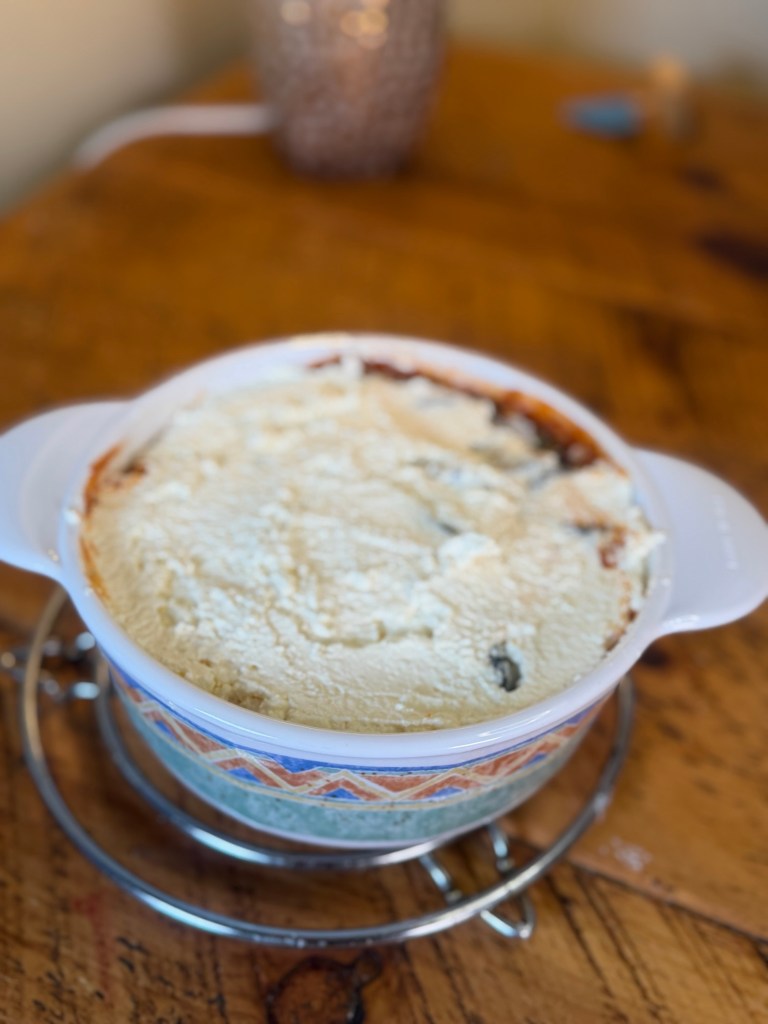
    Pop the dish under a hot grill or back into the oven (still at 220°C / 200°C fan) for about 5–8 minutes, just until the top is bubbling and golden in patches.

    Keep an eye on it – it can go from perfect to very dark quite quickly.

    Once it looks lovely and golden, take it out and let it sit for 5–10 minutes. This resting time helps it firm up so it’s easier to scoop or slice.

    Optional: quick garlic bread
    If you’re making the garlic bread, you can do this while the moussaka is having its little rest.

    Mix the grated garlic with olive oil and a pinch of oregano or za’atar. Spread the mixture onto your ciabatta slices. Grill or bake for a few minutes until crisp and lightly golden at the edges. Serve on the side to mop up all the lentil sauce.

    Little tips and swaps
    • Want it lighter? Use half crème fraîche and half fat‑free Greek yoghurt, or swap entirely to a thick yoghurt if you don’t mind a slightly tangier top.
    • Make it vegan: Use a plant‑based yoghurt instead of crème fraîche, a vegan cheese, and a vegan Worcestershire or a splash of soy sauce.
    • Spice it up: Add a pinch of chilli flakes when you add the cinnamon if you like a bit of warmth.
    • Prep‑ahead friendly: You can assemble the whole thing earlier in the day, keep it in the fridge, then bake until hot and golden when you’re ready to eat. Just give it a few extra minutes in the oven if it’s going in cold.

    This dish really feels like “home” to me – simple ingredients, nothing fancy, but so much love in the layers. I love that you can make it on a normal weeknight and it still feels like a little moment of care, whether you’re cooking just for yourself or feeding a full table. If you do make it, I hope it becomes one of those recipes you come back to on the days you need something warm, comforting and uncomplicated – the kind of meal that quietly looks after you while you get on with life.