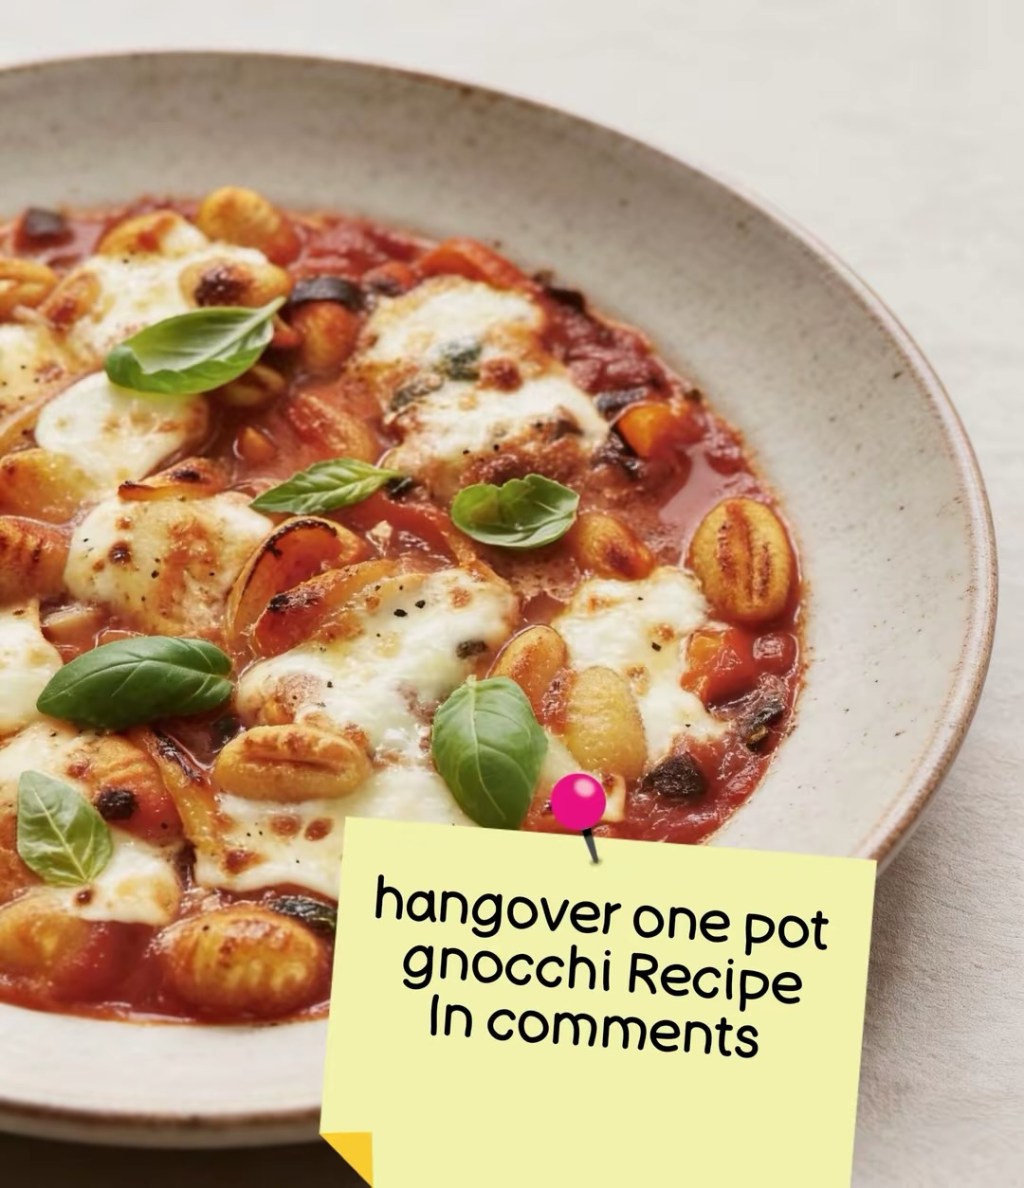
We’ve all been there. The sun is shining a little too brightly through the curtains, your head is doing a passable impression of a techno festival, and your stomach is demanding immediate attention. You need food, you need comfort, and you absolutely cannot deal with a sink full of dishes.
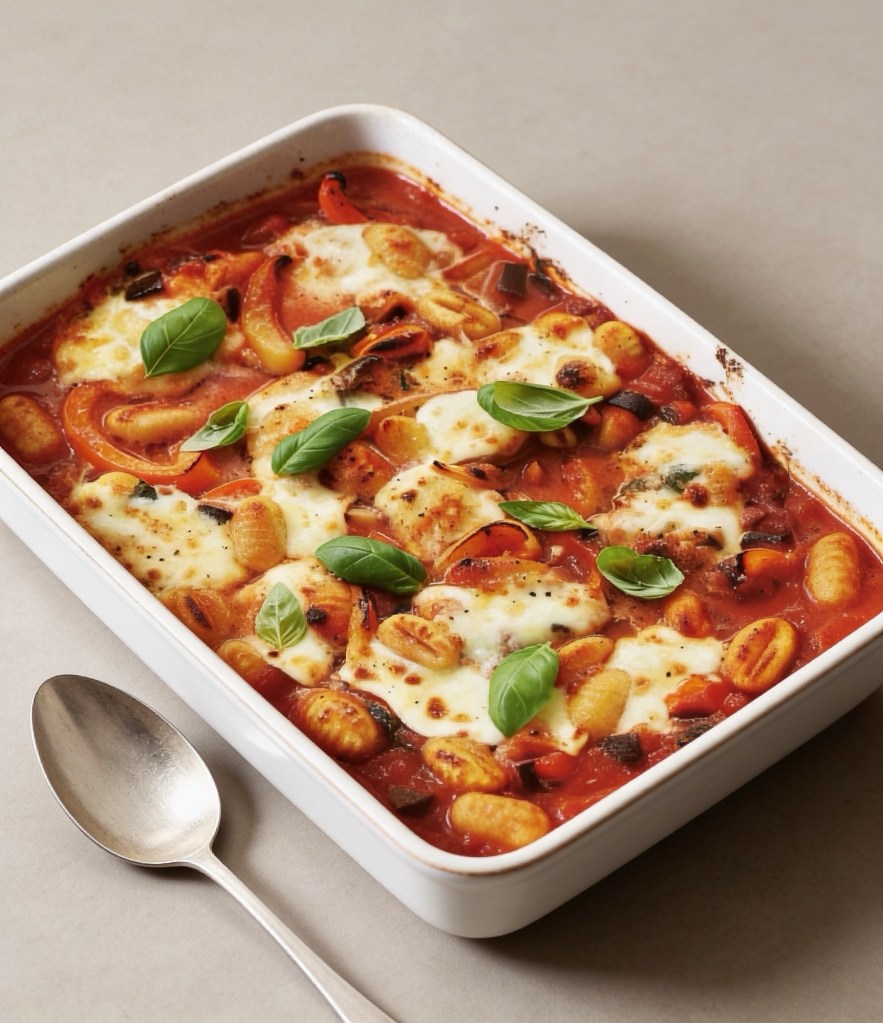
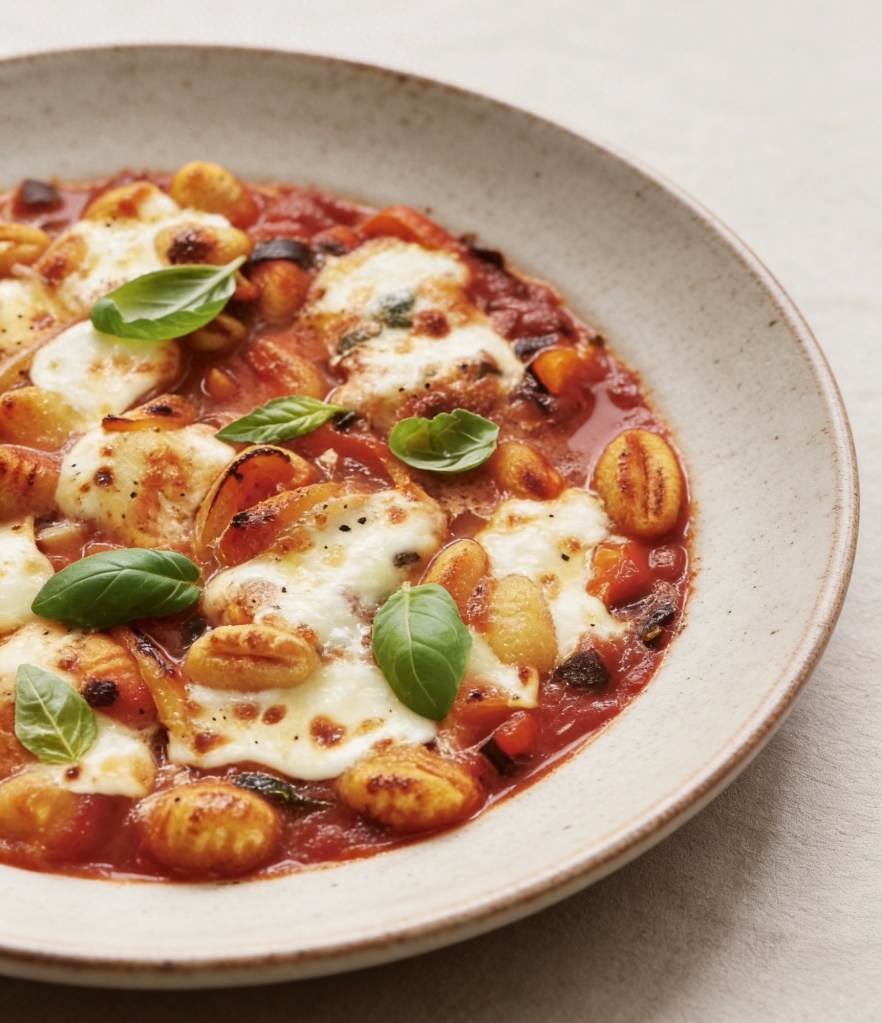
Enter the holy grail of hangover food: the One-Pot Cheesy Gnocchi Bake.
Why This is the Ultimate Hangover Cure
When you’re hurting, your body is crying out for a few specific things, and this recipe hits every single one of them:
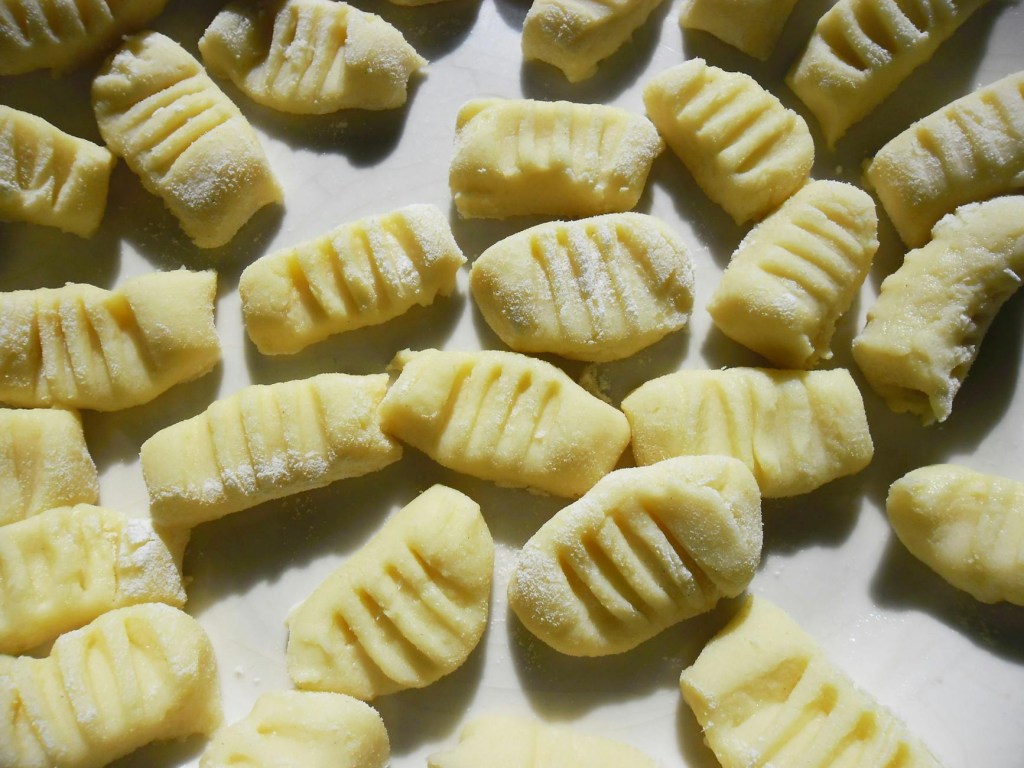
• The Ultimate Carb Blanket: Gnocchi is pure, pillowy comfort. Unlike heavy pasta that requires waiting for a massive pot of water to boil (who has the patience?), gnocchi cooks right in the sauce. It provides the fast-acting carbohydrates your brain is begging for to restore your crashing blood sugar.
• Hydration & Electrolytes: Alcohol dehydrates you, stripping your body of essential salts. The rich tomato passata and veggie stock pot in this recipe act like a delicious, savory electrolyte drink, helping your body retain moisture and kickstarting your recovery.
• The Magic of Melted Cheese: Let’s be honest, science aside, melted mozzarella is good for the soul. The fats in the cheese help line your stomach and trigger those happy endorphins to battle the “hangover anxiety.”
• Minimal Effort, Maximum Reward: It’s a one-pot wonder. You chop a few veggies, dump everything into a casserole dish, cover it in cheese, and let the oven do the heavy lifting while you lie on the couch.
Ingredients & Method
Here is exactly how to pull this together when you’re operating on 10% brain power.
Step-by-Step
1. Get the base going: Heat a splash of olive oil in a heavy-based, ovenproof casserole dish. Toss in your chopped onion and garlic. Let them cook over a medium heat for about 6-8 minutes until they’re soft and fragrant.
2. Add the bulk: Stir in your chopped aubergine and let it cook for another 10 minutes. Give it an occasional stir—nothing too strenuous.
3. Preheat and level up: Crank your oven to 220°C/200°C fan/gas 7. Stir the chopped peppers and a handful of torn basil into the pan, letting them cook for 5 more minutes.
4. Make the sauce: Dissolve your stock pot in 200ml of boiling water. Pour that into the pan along with the passata. Give it all a really good stir.
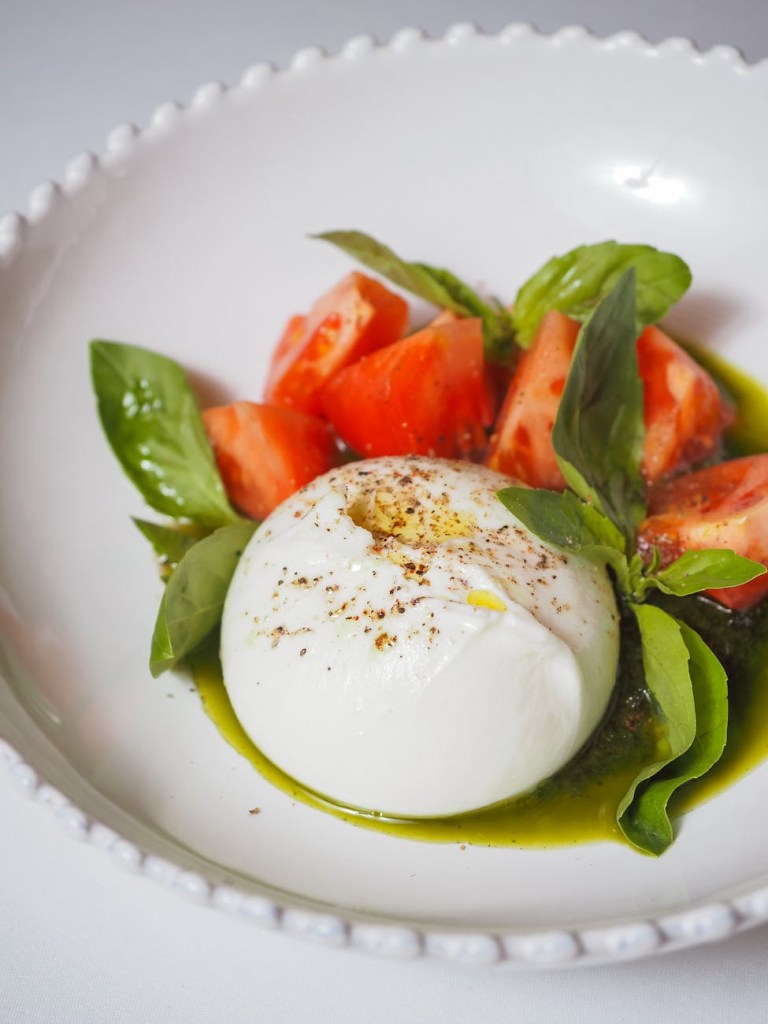
5. The best part: Stir the gnocchi straight into the sauce (yes, raw!). Tear up your mozzarella and scatter it generously over the top.
6. Bake and relax: Pop the whole dish into the oven for 15-20 minutes. You’re looking for a bubbling sauce and a gorgeous, golden, melted cheese crust.
Scatter a few fresh basil leaves over the top to make it look pretty, grab a bowl, and go melt into the sofa. You’ve earned this.
What’s your go-to drink to pair with a hangover meal like this—are you team ice-cold cola or team extra-spicy Bloody Mary?
A Rainy Sunday Afternoon and a Game-Changing Recipe
There’s something about a rainy Sunday afternoon that calls for comfort food. The other week, as the rain pattered against the window, I was craving something that felt like a warm hug. My kitchen was filled with the rich, earthy scent of roasting chicken and mushrooms, and for a moment, I was transported right back to my favorite little bistro.
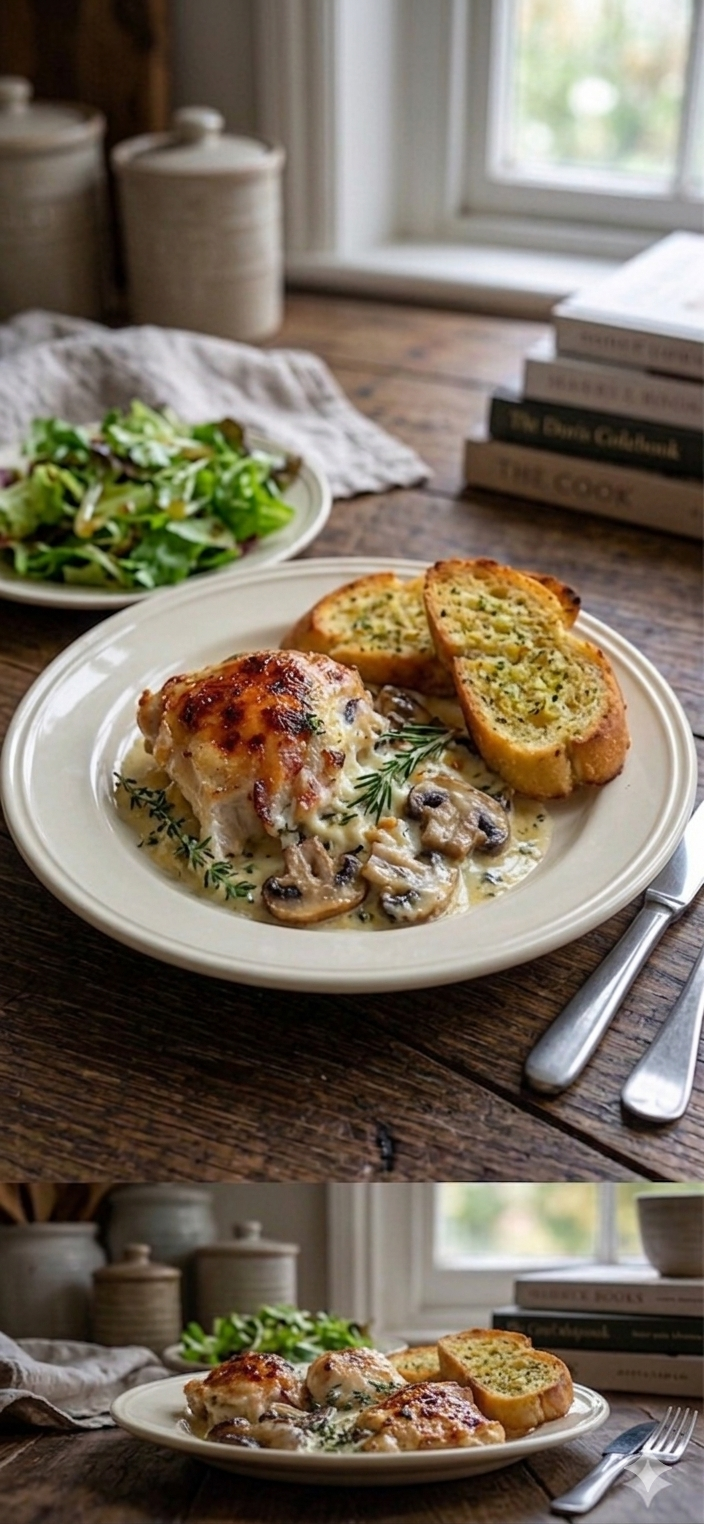
I’d been on the hunt for a dish that delivered that deep, satisfying, home-cooked flavor but without the all-day faff in the kitchen. And that’s exactly when I stumbled across this absolute gem: a Creamy Chicken & Mushroom Cheese Bake.
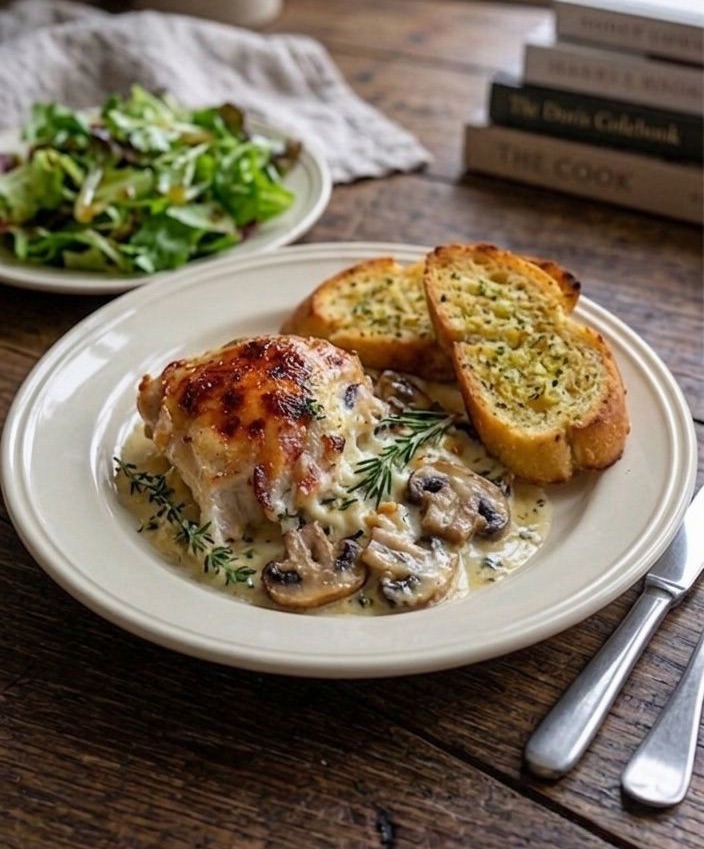
Let me tell you, this recipe is a total game changer. It’s a gorgeous mix of succulent chicken, sautéed mushrooms, and a velvety, cheesy sauce, all baked until it’s bubbly and golden. It’s simple enough for a busy weeknight (perfect for after school and work!) but elegant enough to serve up to friends for a casual dinner party. And the best bit? You probably have most of what you need already in your cupboards!
This isn’t just dinner; it’s a cosy culinary adventure that guarantees smiles all around the table. No fast food hassle, just pure, homemade comfort. Ready to try my new go-to recipe? Let’s get cooking!
Why You’ll Adoooooore This Creamy Chicken & Mushroom Cheese Bake
Ultimate Comfort: If this dish was a person, it would be that friend who gives the best hugs. It’s warm, gooey, and deeply satisfying. Perfect for when you need a pick-me-up.
Super Simple: Honestly, this recipe is ridiculously easy to follow. You don’t need to be some sort of Michelin-star chef. If you can slice mushrooms and stir a sauce, you’ve got this. It looks gourmet but is genuinely foolproof.
What You’ll Need (All in Proper UK Measures!)
The ingredients are simple, no-nonsense classics. Here’s your shopping list:
For the Chicken
• 400g Chicken Breast: Grab boneless, skinless breasts. They stay lovely and tender when they’re baked in the sauce.
• A good pinch of Sea Salt: A little salt goes a long way to really making that chicken flavor pop.
For the Mushrooms
• 300g Fresh Mushrooms: I like a mix of button and chestnut for this, sliced. They add that beautiful, deep, earthy depth that works so perfectly with the creamy sauce.
• 1 tbsp Olive Oil: Just a standard olive oil (no need to use your fancy extra virgin stuff here) for sautéing the mushrooms and bringing out all their natural goodness.
For that Lush Creamy Sauce
• 200ml Double Cream: Okay, I know, I know… but double cream is what gives this dish its insanely rich and velvety texture. You could use single cream or even semi-skimmed milk for a lighter version, but for that true, bistro-style indulgence, go for the double cream. It’s so worth it!
• 150g (approx. 1½ cups) Grated Cheese: For the perfect gooey topping that pull-aparts in the most satisfying way, use a mix. Half Mozzarella (for the melt) and half Mature Cheddar (for the punchy flavor) is my absolute favorite combo.
• 1 tsp Garlic Powder: This adds a gorgeous, subtle hint of garlic that elevates the whole sauce without being overwhelming.
• 1 tsp Onion Powder: Pairs perfectly with the garlic for that classic, deep, savory flavor.
For the Perfect Finishing Touch (The Topping!)
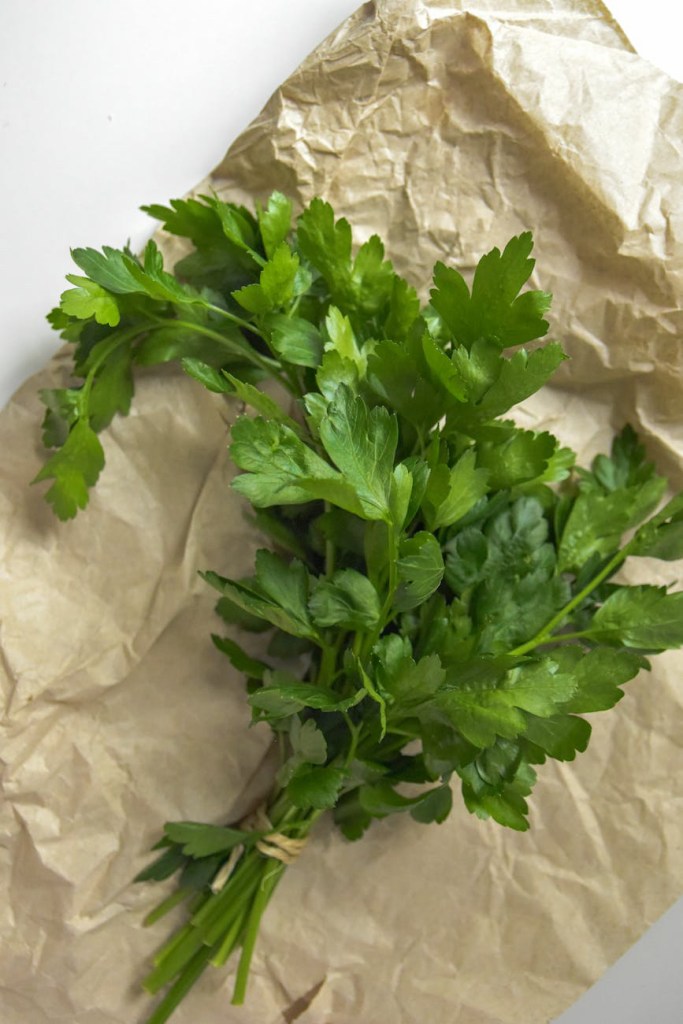
• A small handful of Fresh Parsley: Chopped finely, this adds a burst of vibrant green color and a lovely, fresh flavor contrast.
• 1-2 tbsp Grated Parmesan Cheese (Optional): If you’re feeling extra indulgent, a sprinkle of Parmesan on top takes the cheesy goodness to a whole new level of rich and savory. Trust me, it’s a pro move!
And that’s it! Just simple, quality ingredients that come together to create absolute magic. Let’s get to the fun part… making it!
How to Make Your Creamy Chicken & Mushroom Cheese Bake
Okay, grab your favorite apron (and maybe pour yourself a glass of something nice – it is a rainy Sunday, after all!). Here is my super easy, step-by-step guide.
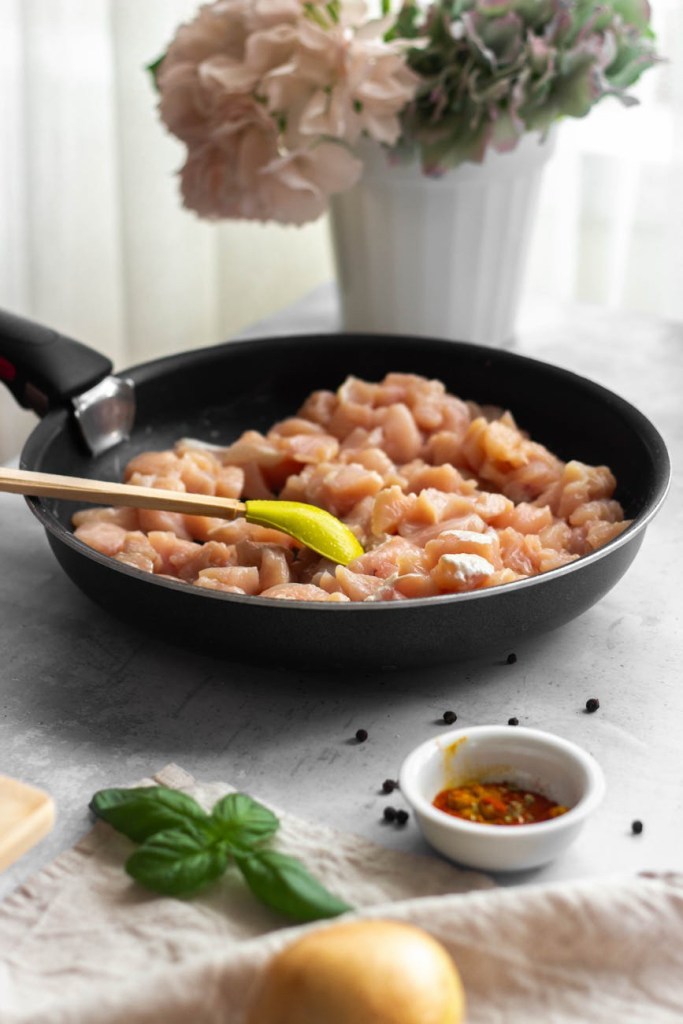
1. Prep Your Chicken: First things first, get that oven on! Preheat it to 200°C (180°C fan) / Gas Mark 6. While that’s heating up, grab your 400g of chicken breast. I like to slice mine into strips or bite-sized pieces so it cooks a bit faster and gets completely coated in that amazing sauce. Season it generously with your pinch of sea salt. This simple step makes a huge difference in the final taste.
2. Sauté Your Mushrooms: In a nice big skillet or frying pan (the one you’ll also be making the sauce in, to save on washing up!), heat up your 1 tbsp of olive oil over a medium heat. Once it’s hot, add in your 300g of sliced fresh mushrooms. Sauté them, stirring every now and then, for about 5 minutes, or until they’ve released their juices, are gorgeous and golden brown, and smelling divine. Remove them from the pan and set them aside.
3. Cook the Chicken: Using the same pan (more flavor!), add the seasoned chicken. Cook it for about 5-7 minutes on each side. You want it to get some lovely color, but the main thing is ensuring it’s no longer pink in the middle. (If you’ve sliced it small, this might only take 3-4 minutes per side).
4. Make the Lush Sauce: This is where the magic happens. Turn the heat down slightly and pour in your 200ml of double cream. Stir in your 1 tsp of garlic powder and 1 tsp of onion powder. Let it simmer very gently for about 3-5 minutes, just until the mixture is slightly thickened. You’re not trying to reduce it too much, just get it to a beautiful, velvety consistency.
5. Get it Oh-So-Cheesy: Now, the moment of truth. Stir in your 150g of grated cheese mix (Mozzarella and Cheddar). Watch in pure joy as it melts effortlessly into that cream, creating a smooth, rich, and ridiculously gooey sauce that smells like actual heaven. Make sure it’s fully melted and has beautifully coated all that succulent chicken.
6. Bake to Perfection: Now, transfer the whole glorious mixture into your favorite ovenproof dish (a medium-sized rectangular or oval one works perfectly). For that extra-special touch, top it with a light sprinkling of the optional grated Parmesan and a handful of the freshly chopped parsley. Pop it in the preheated oven and bake for 20 minutes, or until the top is an irresistible golden brown and it’s all bubbling away beautifully.
7. Serve & Devour: The hardest part: waiting for it to cool for a few minutes before serving. This allows the sauce to set slightly. Once you can’t wait a second longer, garnish with some more fresh parsley, dish it up, and watch as it creates instant silence around the table (the sign of a very good meal!).
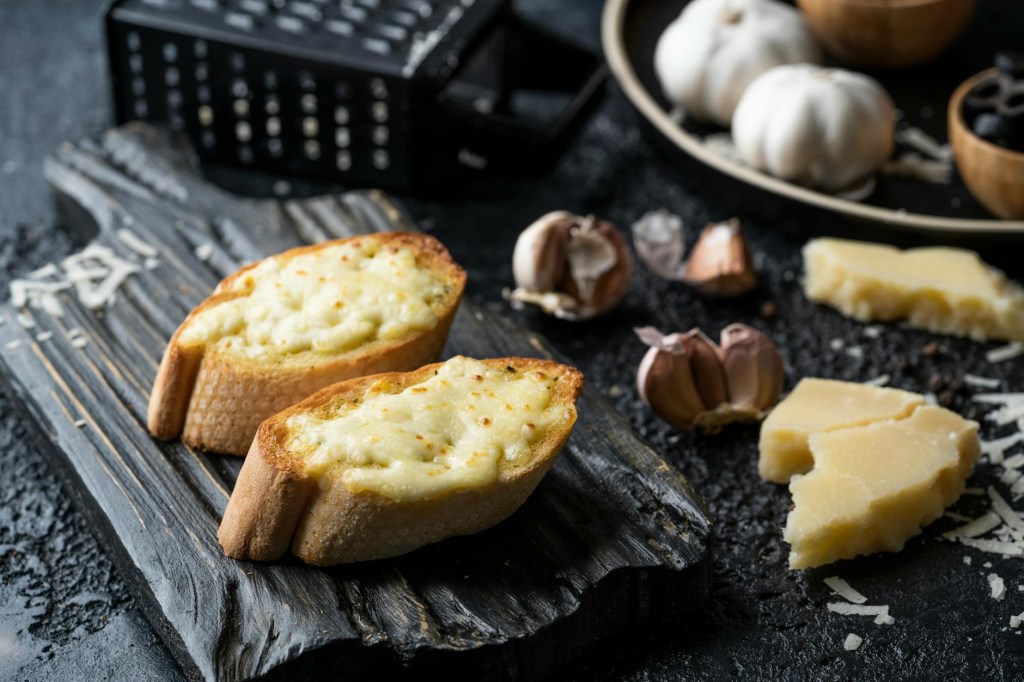
I love serving mine with some crusty garlic bread to mop up all that delicious sauce, and maybe a simple side salad if I’m feeling fancy. It’s also incredible over some fluffy rice or even tossed through pasta.
So there you have it, my go-to recipe for the ultimate comfort food. This Creamy Chicken & Mushroom Cheese Bake is guaranteed to be a hit. It’s simple, delicious, and brings that bistro feeling right to your kitchen. I can’t wait for you to try it!
Let me know in the comments if you make it, and don’t forget to tag me on social media so I can see your cozy culinary creations! Happy cooking!
Brave For The Other — Volume 1 (Adult Edition) Listening time: 20 minutes · Also available as a children’s edition Long description Some stories are written. This one was walked. Brave For The Other — Volume 1 is the adult companion to the children’s picture book
of the same name — the unflinching version, the one told after the lights go down and the pram wheels stop turning. In twenty raw, cinematic minutes, Lance and Carolyn pull back the curtain on the year that asked everything of them — and on the three cats who quietly held the line. There’s Ruby, the black-and-white tuxedo tom: cantankerous, impossibly resilient, the kind of cat who looks at a terminal prognosis and decides he isn’t finished yet. Moon, the soft one, who gives love away like it costs her nothing.
Pic: The Luxury Of TouchPic: “Ruby illustration. One night, I recorded a portion of this audio and heard him behind me at 2:00 AM. I felt like a hypocrite reciting his praises and ignoring him, so I turned around and wondered if he could understand. Instantly, I sat him beside me. Not a herd of wild horses would have me believe that he wasn’t absorbing the melancholy prognosis from the vet.”
Here is the clip .
Pic: She looked appallingly sad when I found her. She Pic: Adorable
And Millie, the tortoiseshell — only ever touched gently, head-first, because somebody before them got it wrong, and she has not forgotten. This is the origin story behind LC Chaos and Home. A small Cheshire life. A blue pram. A cloud blanket. And the lanes of Warrington, Hillcliffe and Stockton Heath in sun and rain — nearly nine weeks of long walks after the vet said weeks, not months. Ruby curled into a tight ball most days, almost weightless. Then someone would say the word pram — and to their astonishment, he’d uncurl, find his feet, and go and wait beside it. Every single time. Volume 1 doesn’t flinch from the strain. The pensive ache of wanting a break, a holiday, anything — and not being able to leave. The quiet recalibration of two people who realised they had become entirely centric to one small life, and that the only way through was outward — branching into new realms, learning AI, building something that could carry the story when they couldn’t carry it alone. It is, at its heart, the simplest equation of all: two people and a promise. One small step. One kind thing. Brave for the other. For listeners of memoir-led audio in the vein of Glennon Doyle, Matt Haig and Helen Macdonald — and for anyone who has ever loved something so much they had to learn a new version of themselves to keep loving it well. The children’s edition tells it gently, with paw prints and sunshine. This one tells it true. Press play. Meet Ruby, Moon and Millie. Be brave for the other.
Hey lovely! Grab a cuppa and let’s have a proper chat about mornings. If you’re anything like me, your 7:00 AM self and your 10:00 PM self are two very different people. At night, I’m ambitious, thinking I’ll whip up a full English or a gourmet omelette. By the time the alarm actually goes off? I’m lucky if I manage a piece of burnt toast while hunting for my car keys.
But then, I discovered the absolute lifesaver that is Overnight Chia Pudding. If you haven’t hopped on the chia train yet, consider this your official invitation. It is, quite literally, the “set it and forget it” breakfast of dreams. It feels like you’re eating a posh dessert for breakfast, but it’s actually fueling you with so much goodness that you won’t be reaching for the biscuit tin by 11:00 AM.
So, What’s the Big Deal with Chia Seeds?
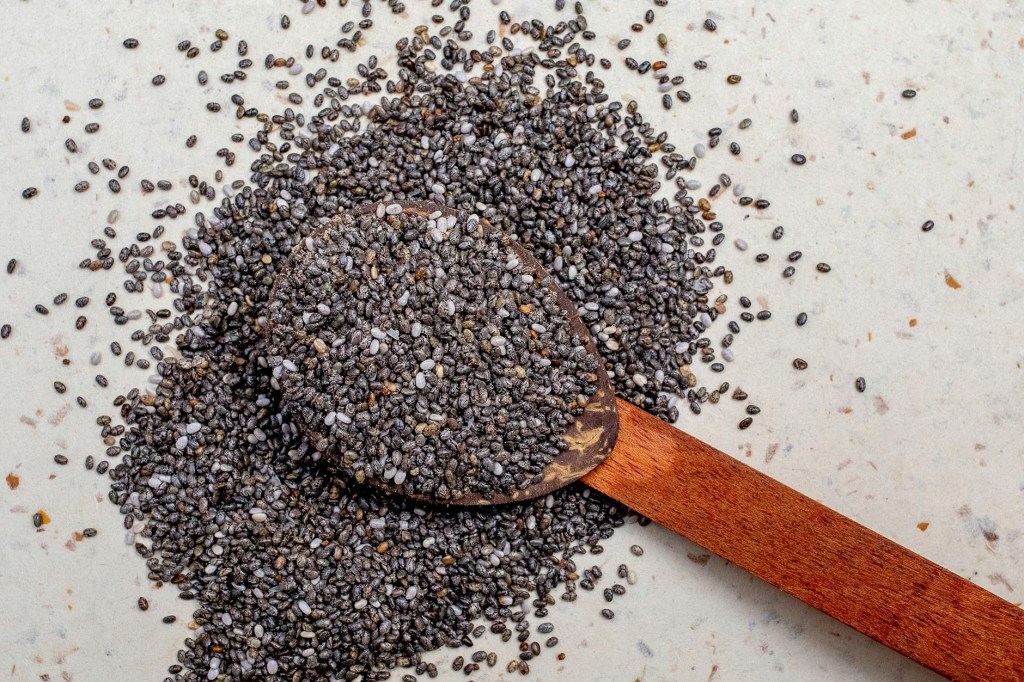
You’ve probably seen these tiny little black and white seeds everywhere, from health food shops to the middle aisle of Aldi. But they aren’t just a “trendy” fad; they are actual nutritional powerhouses.
Historically, they were a staple for the Aztecs and Mayans—and if they could power ancient civilisations, they can definitely power you through a rainy Tuesday in the UK! Here’s why I’m obsessed with them:
• Omega-3 Heroes: Chia seeds are one of the best plant-based sources of Omega-3 fatty acids (specifically alpha-linolenic acid). This is brilliant for your heart health and brain power, but it also helps your body absorb all those important fat-soluble vitamins like A, D, E, and K.
• The “Fullness” Factor: Just two tablespoons of these tiny seeds pack about 10 grams of fibre and 5 grams of protein. Because they expand and turn into a gel when soaked, they keep you feeling satisfied for ages. No more tummy rumbles mid-meeting!
• Mineral Magic: They’re loaded with calcium, magnesium, and manganese. It’s basically like taking a multivitamin, but it tastes like raspberry cream.
• Friendly for Everyone: Whether you’re smashing a Keto goal, living that Vegan life, or just trying to be a bit more “Whole-foods” focused, chia seeds fit right in.
The Science of the “Gel” (The Magic Part!)
The coolest thing about chia seeds is their “hydrophilic” nature—basically, they love water. They can absorb up to 12 times their weight in liquid! When you soak them, they transform from a crunchy seed into a silky, pearl-like pudding. You can eat them after two hours, but for that truly luxurious, thick texture, letting them sit in the fridge overnight is the secret. It’s like magic happening while you sleep.
🍓 My Signature Raspberry & Coconut Recipe
Serves 2 | Prep time: 5 mins (plus a little nap in the fridge)
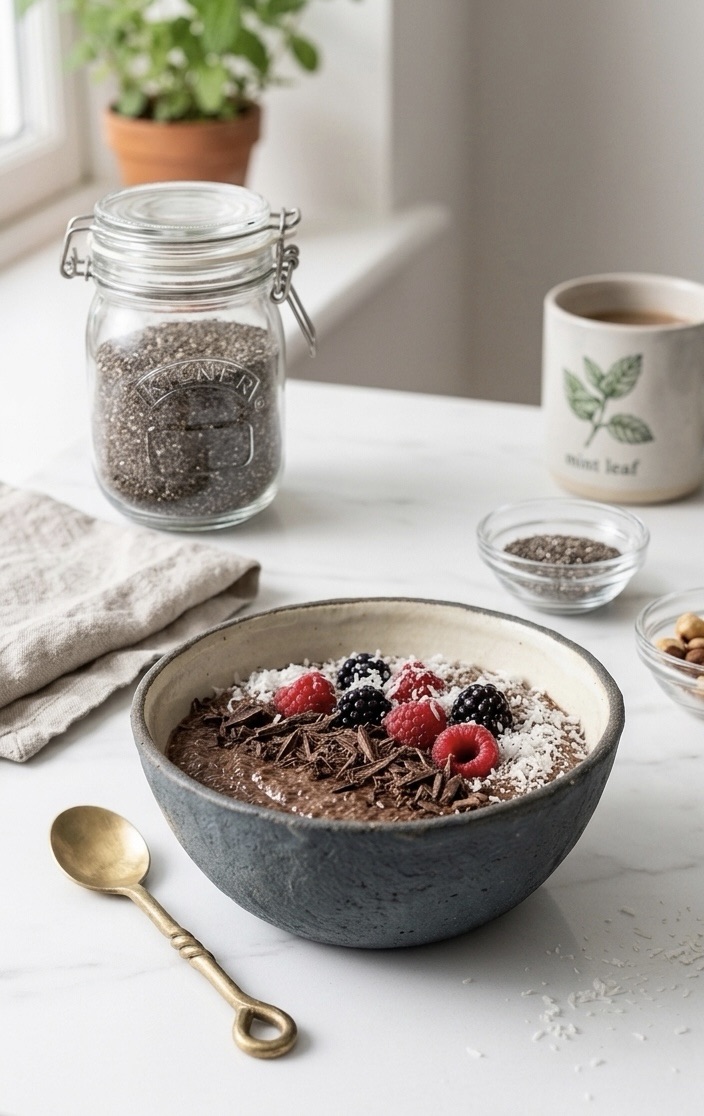
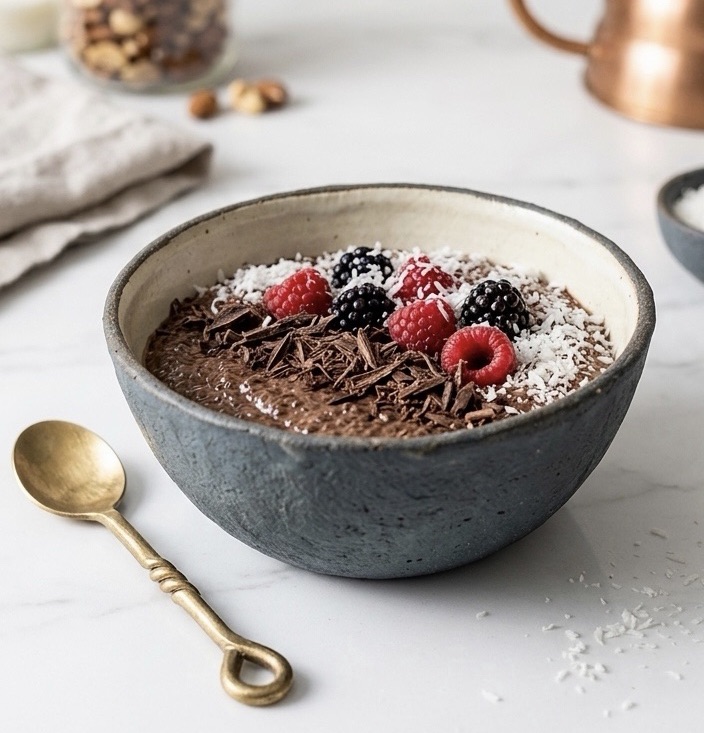
This is my go-to when I want something bright, zingy, and fresh. The pink hue from the raspberries makes it look so pretty in a Kilner jar!
What You’ll Need:
• The Base: 2 tbsp chia seeds & 175ml (approx. 3/4 cup) creamy coconut milk (the stuff from the carton works great, or use tinned for extra richness).
• The Flavour: 40g raspberries (frozen are fine!), 1/2 scoop of your favourite protein powder (vanilla or berry works best), a pinch of lemon zest, and a splash of vanilla extract.
• The Toppings: A handful of fresh blueberries, sliced strawberries, and a generous sprinkle of desiccated coconut.
The Method:
1. Whiz it up: Don’t just stir the protein powder in—it’ll get clumpy! Pop the milk, raspberries, protein powder, lemon zest, and vanilla into a blender. Give it a quick whiz until it’s a smooth, gorgeous pink liquid.
2. The Big Mix: Pour that liquid into a bowl or directly into your Kilner jars over the chia seeds. Give it a really vigorous stir with a fork or a small whisk.
3. The “Check-In”: This is the pro tip—about 30 minutes after you put them in the fridge, give them one more quick stir. This stops the seeds from clumping at the bottom.
4. Chill Out: Let them set overnight.
5. Finish it off: In the morning, layer on your fresh berries and coconut. If you’re feeling extra fancy, a drizzle of honey or maple syrup doesn’t hurt!
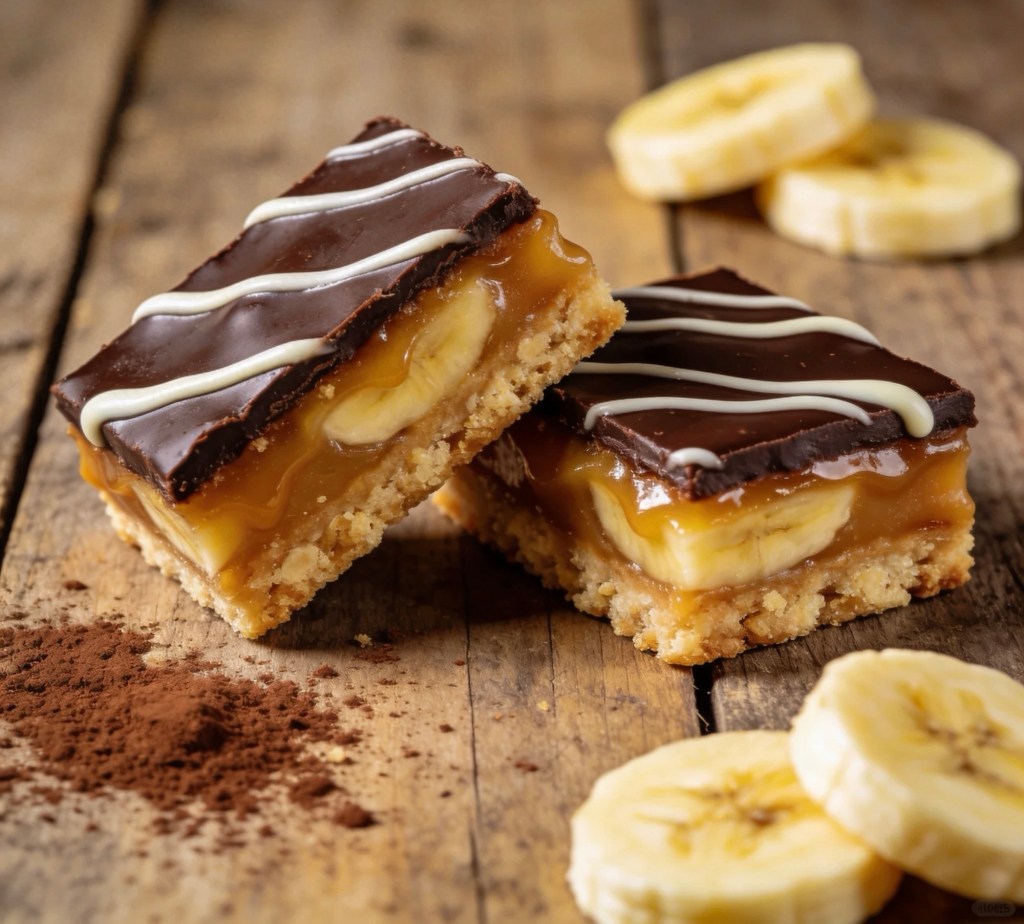
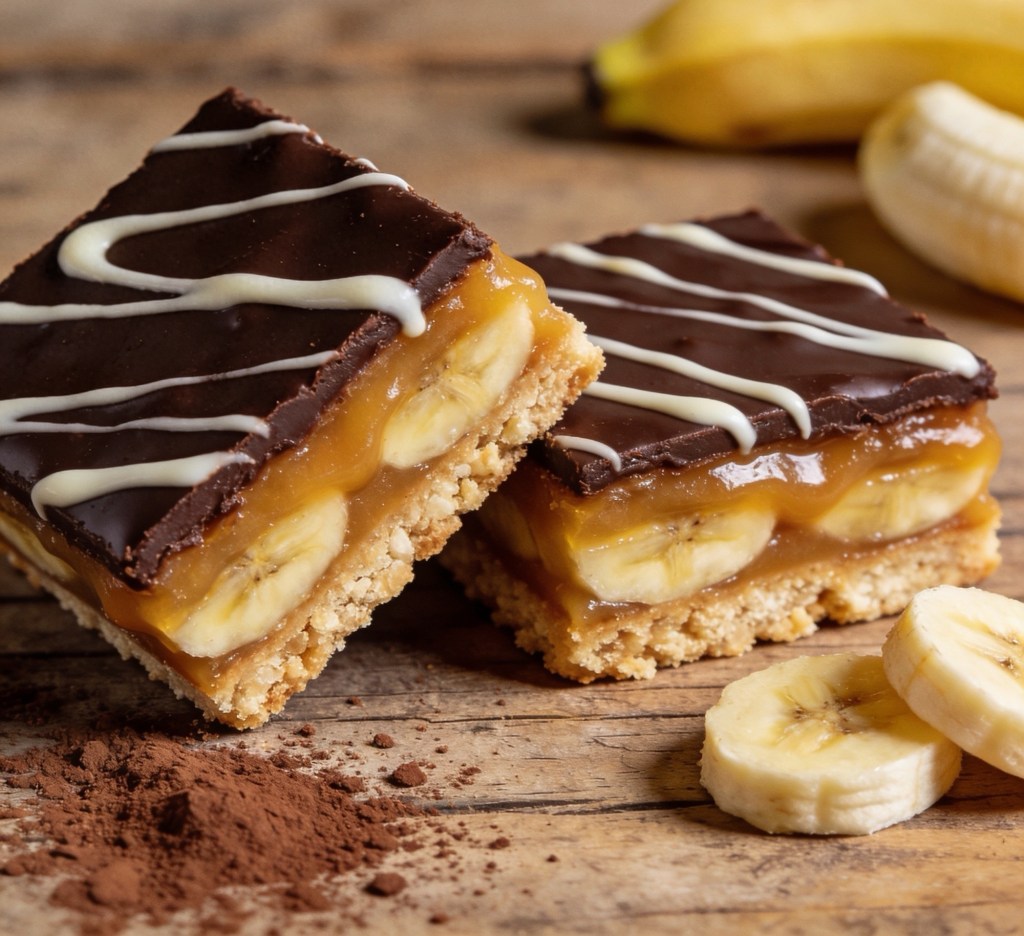
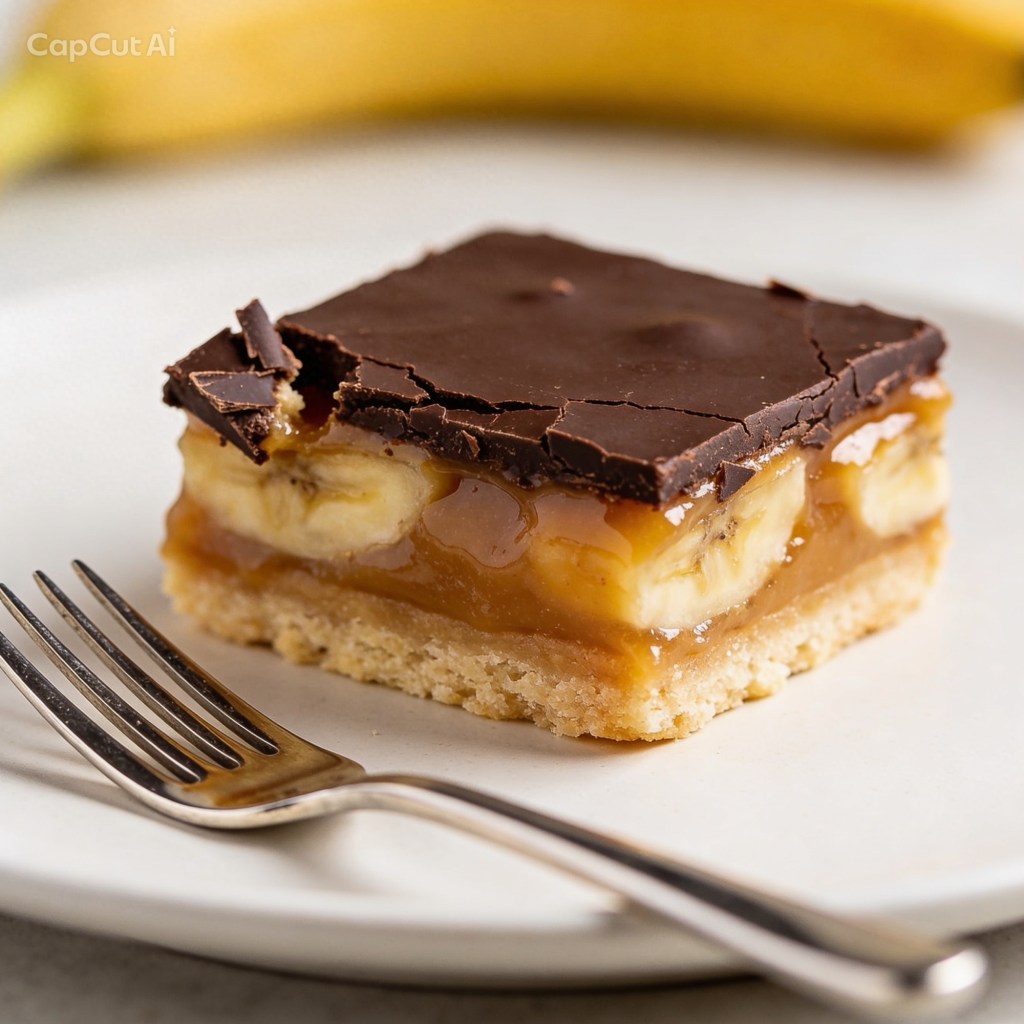
If you can’t decide between a classic Banoffee Pie and the rich, decadent layers of a Millionaire’s Shortbread, I have some very good news: you don’t have to.
This Banoffee Millionaire’s Shortbread takes everything you love about both desserts and stacks them into one incredible bite. We’re talking a buttery shortbread base, a layer of fresh sliced bananas, a deep fudge-like caramel, and a marbled chocolate topping that looks professional but is secretly so easy to do.
The Shopping List
The Base
• 250g Shortbread Biscuits: Crushed into fine crumbs.
• 55g Butter: Melted to bind it all together.
The Filling
• 150g Dark Brown Soft Sugar: This gives the caramel a deeper, toffee-like flavor.
• 150g Butter: For that silky texture.
• 397g Can Condensed Milk: The secret to perfect “no-fail” caramel.
• 2 Bananas: Ripe but firm works best here.
The Topping
• 200g Dark Chocolate: To balance the sweetness of the caramel.
• 55g White Chocolate: For that beautiful marbled effect.
Step-by-Step Instructions
1. The Foundation
Start by combining your crushed shortbread and the 55g of melted butter. Press this firmly into a 20cm square tin lined with parchment paper. You want it packed tight so it doesn’t crumble when you slice it later! Pop that in the fridge for 20 minutes to firm up.
2. The Caramel Layer
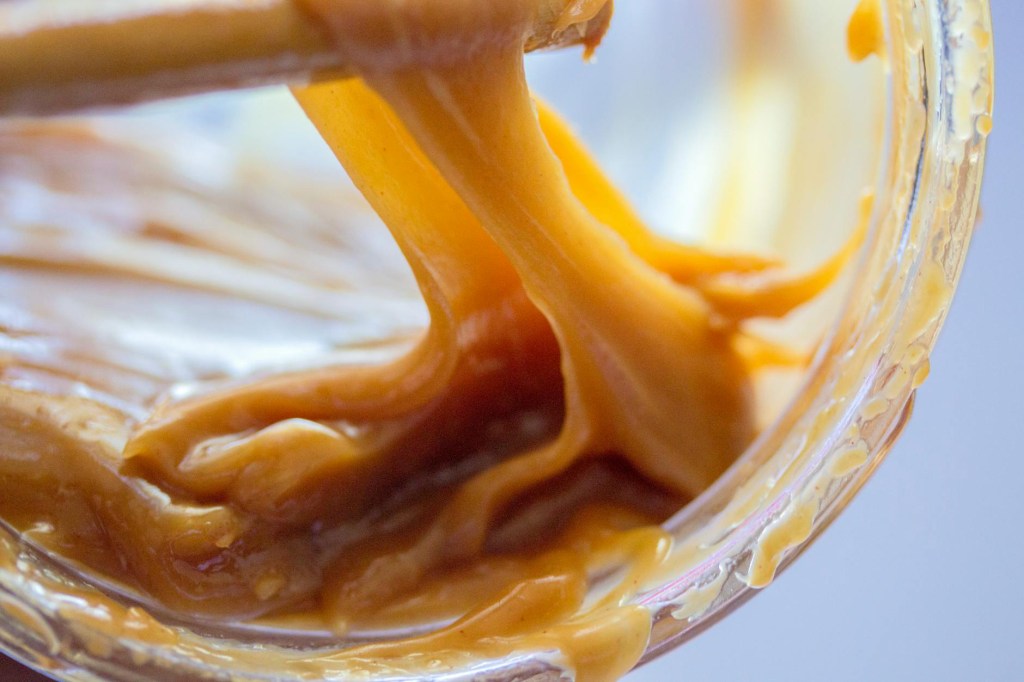
In a non-stick pan, gently melt the sugar and the remaining 150g of butter. Once smooth, pour in the condensed milk. Now, turn up the heat and bring it to a rapid boil, stirring constantly (don’t walk away, or it’ll catch!). Cook for about a minute until it thickens and turns a gorgeous amber color.
3. The Banoffee Secret
While the caramel is slightly cooling, slice your bananas and layer them evenly across your chilled biscuit base. Pour that warm caramel directly over the bananas, smoothing it out to the edges. Let it cool, then chill in the fridge until it’s fully set.
4. The Marbled Finish
Melt your dark and white chocolates in separate bowls. Pour the dark chocolate over the set caramel layer. While it’s still wet, drop spoonfuls of the white chocolate on top. Use a skewer or a small spoon to gently swirl them together to create a marble pattern.
5. The Perfect Slice
Once the chocolate is set, remove the block from the tin. To get those clean, “bakery-style” edges, dip your knife in hot water, wipe it dry, and slice through the chocolate while the blade is still warm.
Why This Works
The dark brown sugar in the caramel mimics the flavor of a traditional Banoffee “Dulce de Leche,” while the fresh bananas add a soft texture that breaks up the richness of the chocolate. It’s the perfect treat for a weekend bake or a crowd-pleasing party tray.
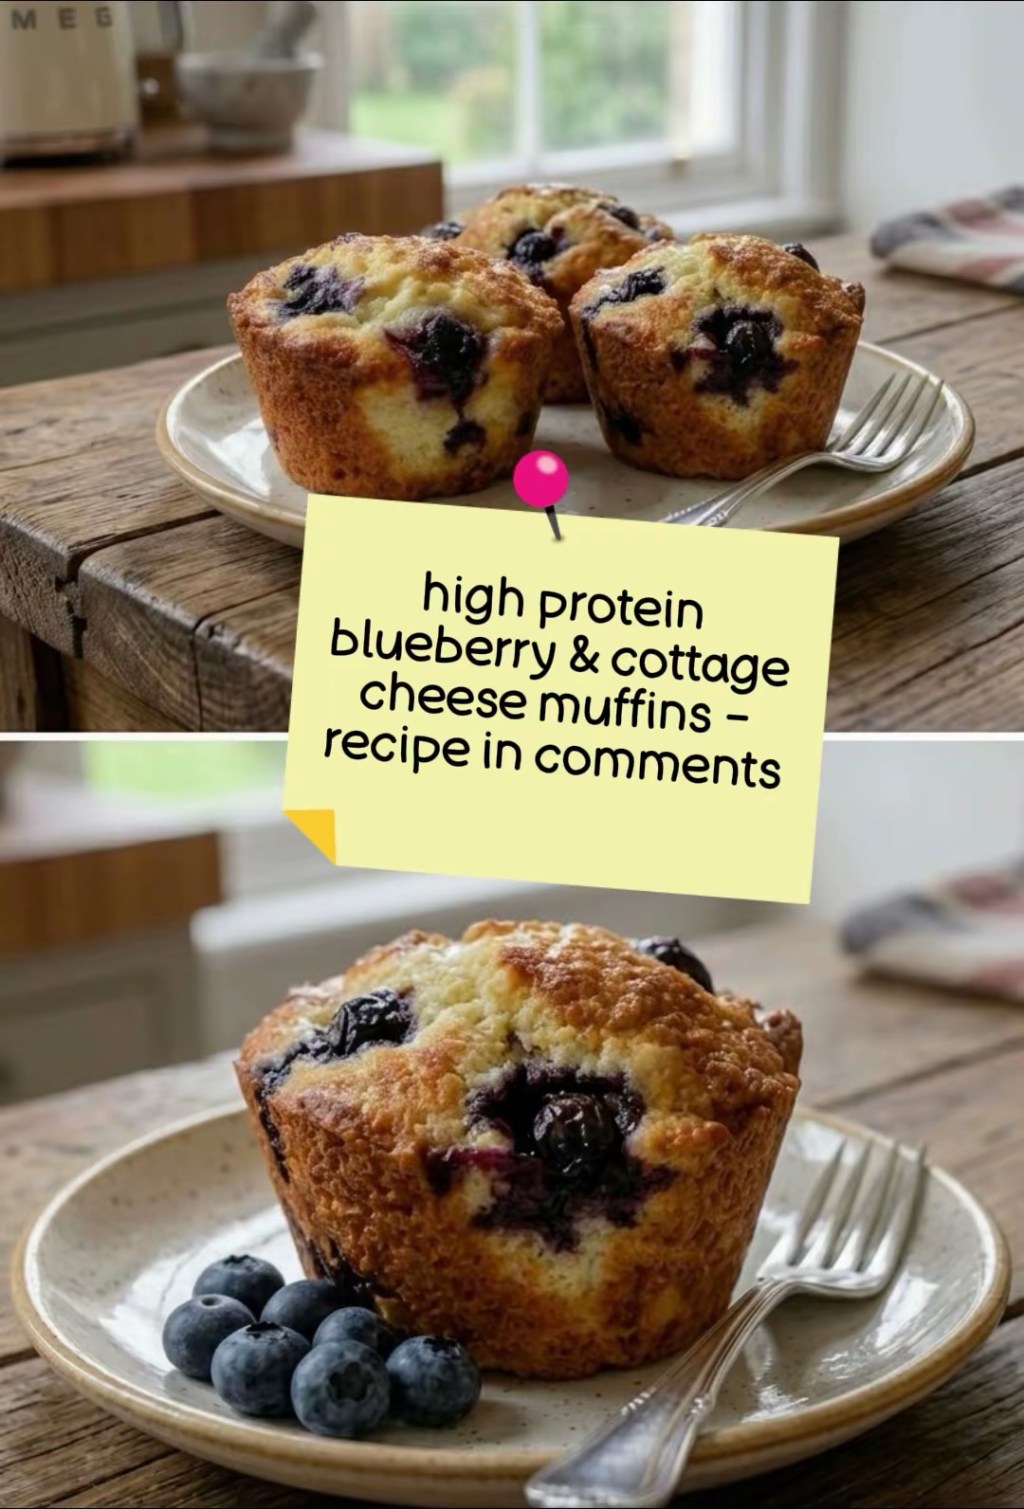
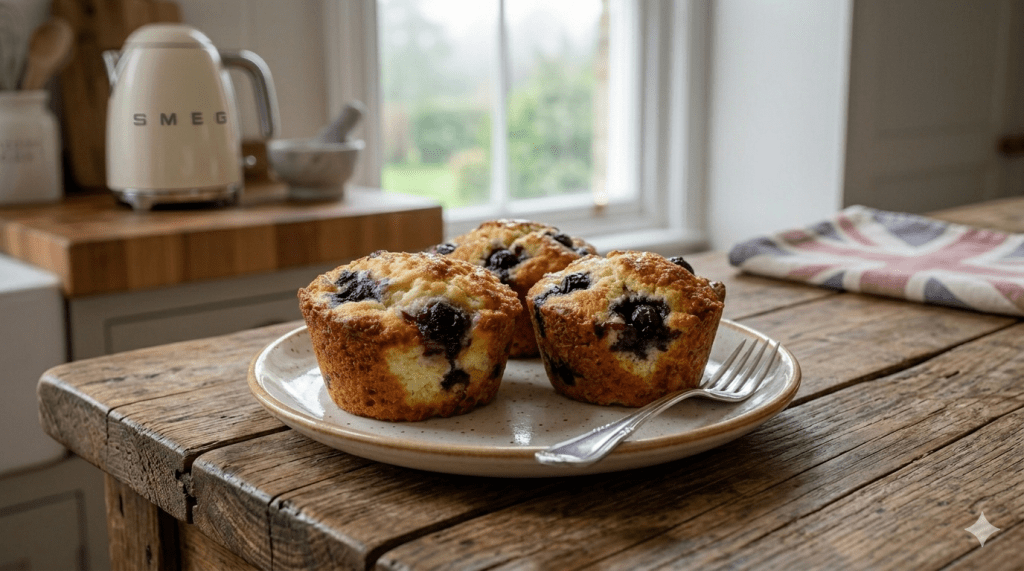
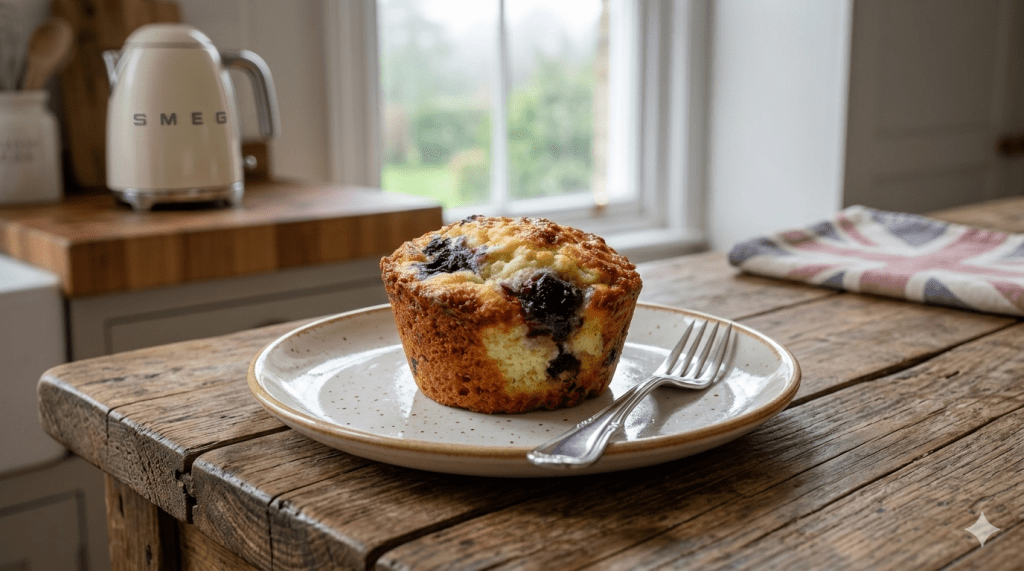
I am so excited to finally share this recipe with you. It’s been a total game-changer in our house. We are always on the look-out for healthy, high-protein snacks that actually taste good, and these Blueberry Cottage Cheese Protein Muffins hit all the right marks.
Yes, you read that correctly—cottage cheese! I know it might sound unusual, but it’s the secret to making these muffins incredibly moist, tender, and, most importantly, packed with protein. The cottage cheese completely melts away during baking, leaving you with a light and fluffy muffin and zero strange texture. My kids (the toughest critics) absolutely love them and have no idea they are eating something healthy.
Each muffin delivers a serious punch of protein, making them the perfect grab-and-go breakfast for busy mornings or a satisfying post-workout snack. They are naturally sweetened and full of juicy blueberries, giving you that classic muffin flavour without all the refined sugar and flour.
I’ve rewritten the recipe with UK measurements to make it as easy as possible for everyone. Give them a try this weekend and let me know what you think! Happy baking!
Have you tried adding cottage cheese to your baking before? Share your experience or a photo of your muffins in the comments below, or tag me on Instagram—I’d love to see your creations!
Lance and I go to yoga weekly and usually end our session with a standard Savasana and a heated debate over where to get smoothies. But this week, things got… resonant. After rolling up our mats, we decided to dive headfirst (literally, in Lance’s case) into a vibrational healing session. If you’re wondering if that involves a lot of humming and mysterious wooden instruments, the answer is a resounding yes.
What Exactly is Vibrational Healing?
For the uninitiated, vibrational healing (or sound therapy) is based on the idea that everything in our bodies—from our cells to our over-caffeinated heartbeats—vibrates at a specific frequency. When we’re stressed, sick, or just “off,” those frequencies get out of whack.
The goal? Use sound and physical vibration to “retune” the body. Think of it like a software update for your soul, but with fewer “remind me later” buttons.
The Highlights (and the Humorous Bits)
1. The Monochord “Chest Press”
In the first photo, you’ll see me lying flat while our practitioner placed a Monochord (that sleek wooden stringed instrument) directly on my chest.
• The Sensation: It’s hard to describe, but it feels like your ribcage is being turned into a cello. As she plucked the strings, the sound didn’t just go into my ears; it traveled straight through my sternum.
• The Benefit: This is incredible for “heart opening” and clearing out emotional congestion. Honestly, it vibrated the stress of my Monday morning right out of my toes.
2. Lance and the “Tube of Zen”
Then there’s Lance. As you can see in the photo, he had a rain stick tube positioned right over his “Third Eye.”
• The Look: I won’t lie—from my angle, it looked like he was being beamed up to a very chill spaceship.
• The Benefit: This targeted sound application is meant to calm the nervous system and quiet the “monkey mind.” Judging by the fact that Lance didn’t move a muscle for twenty minutes, I’d say his monkey mind went on a full-blown vacation. And he didn’t snore which is a result!
Why You Should Try It
If you’re feeling “stuck” or just need a break from the noise of the world, here’s why we’re now vibrational healing converts:
• Deep Physical Relaxation: It reaches spots that a foam roller just can’t. The vibrations act like a cellular massage.
• Mental Clarity: It’s like hitting the “reset” button on your brain. I walked out feeling like I’d just had eight hours of sleep and a very polite epiphany.
• Intimate Connection: Doing this with a partner or friend adds a layer of shared peace. There’s something special about being in a room that quite literally hums with good energy.
The Verdict
We walked into the session as two slightly stiff yoga students and walked out feeling like a couple of well-tuned Stradivarius violins. If you have the chance to let someone play a wooden instrument on your chest or point a sound tube at your forehead—do it.
Your cells will thank you, and honestly, the “zen glow” is a much better look than “post-work stress.”
Have you ever tried sound or vibrational healing? Did you feel like a new person or just a very musical human? Let us know in the comments!
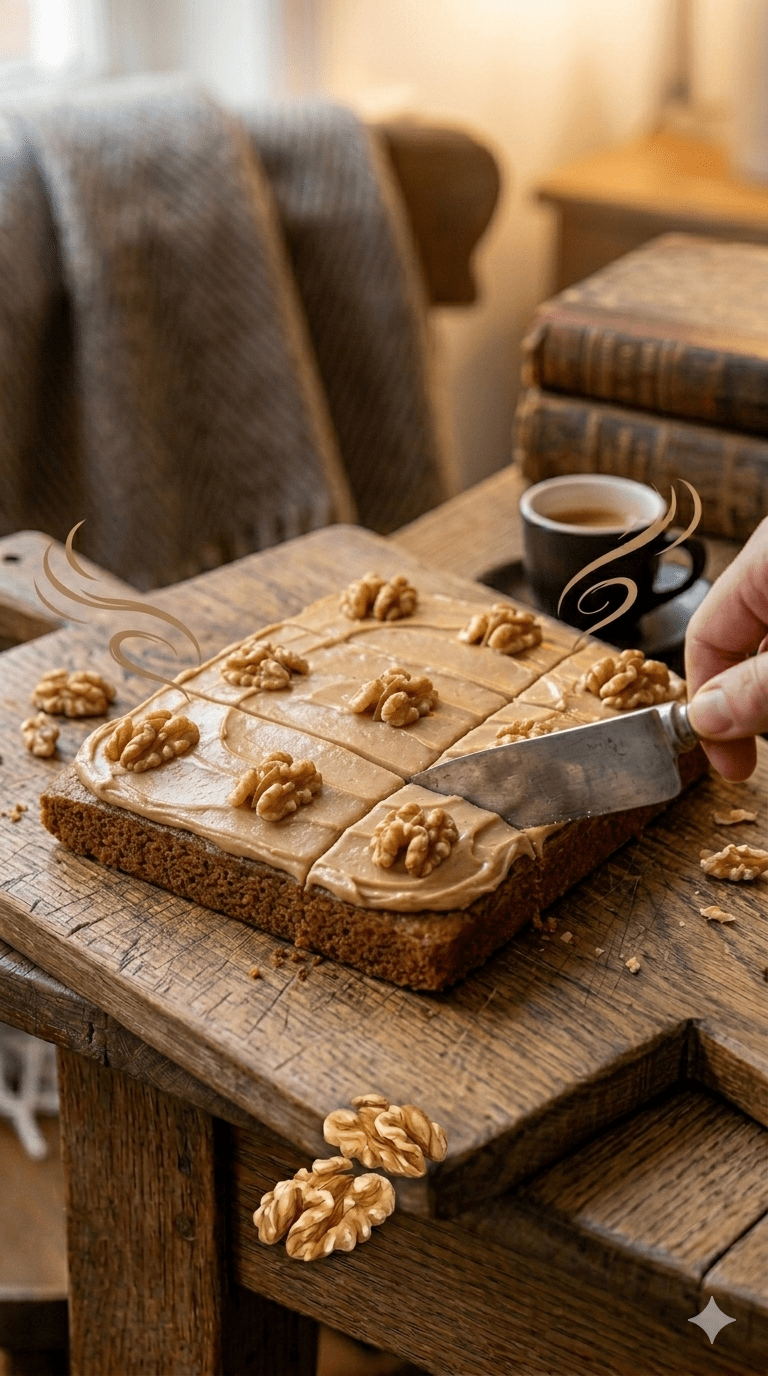
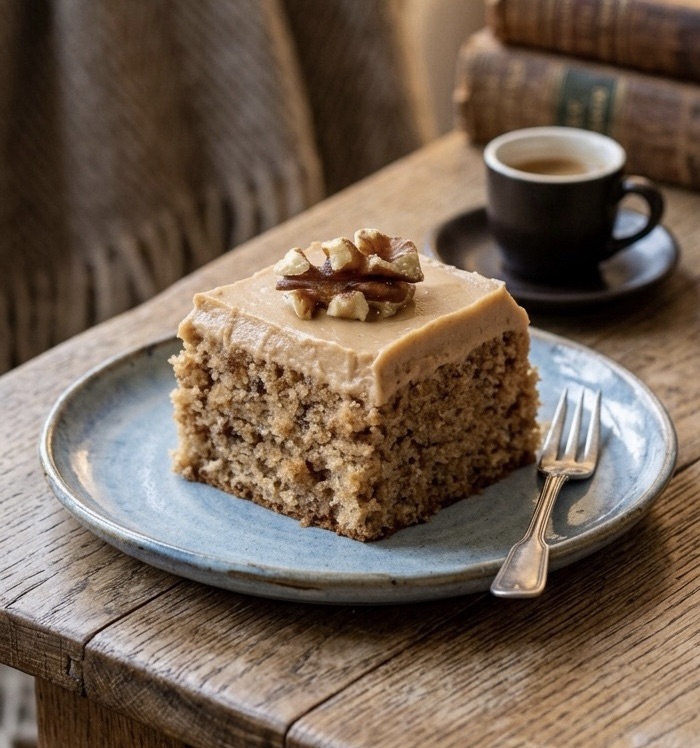
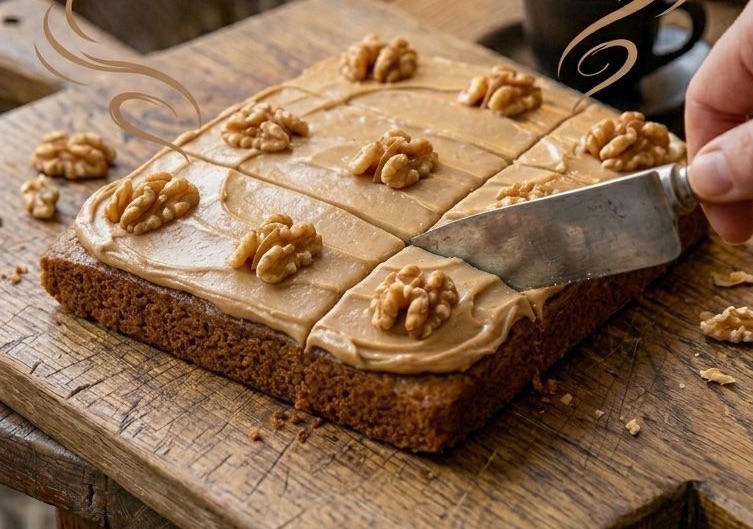
There are few sights more welcoming on a rainy afternoon than a fresh Coffee & Walnut Traybake sitting on a rustic wooden table. It is the quintessential British teatime treat—sophisticated enough for a garden party, yet humble enough for a Tuesday morning “pick-me-up.”
In this guide, we’re diving deep into how to achieve that perfect balance of earthy nuttiness, bold caffeine notes, and a sponge so soft it practically melts.
The Anatomy of a Perfect Traybake
What makes a traybake superior to a standard round cake? It’s all about the surface area. A traybake offers a consistent thickness, ensuring every slice is evenly baked and topped with a generous, level layer of decadent buttercream.
🛒 The Ingredient Breakdown
To achieve bakery-quality results at home, quality matters:
• The Fat: Use unsalted butter at room temperature. If it’s too cold, it won’t cream; if it’s melted, your sponge will be heavy.
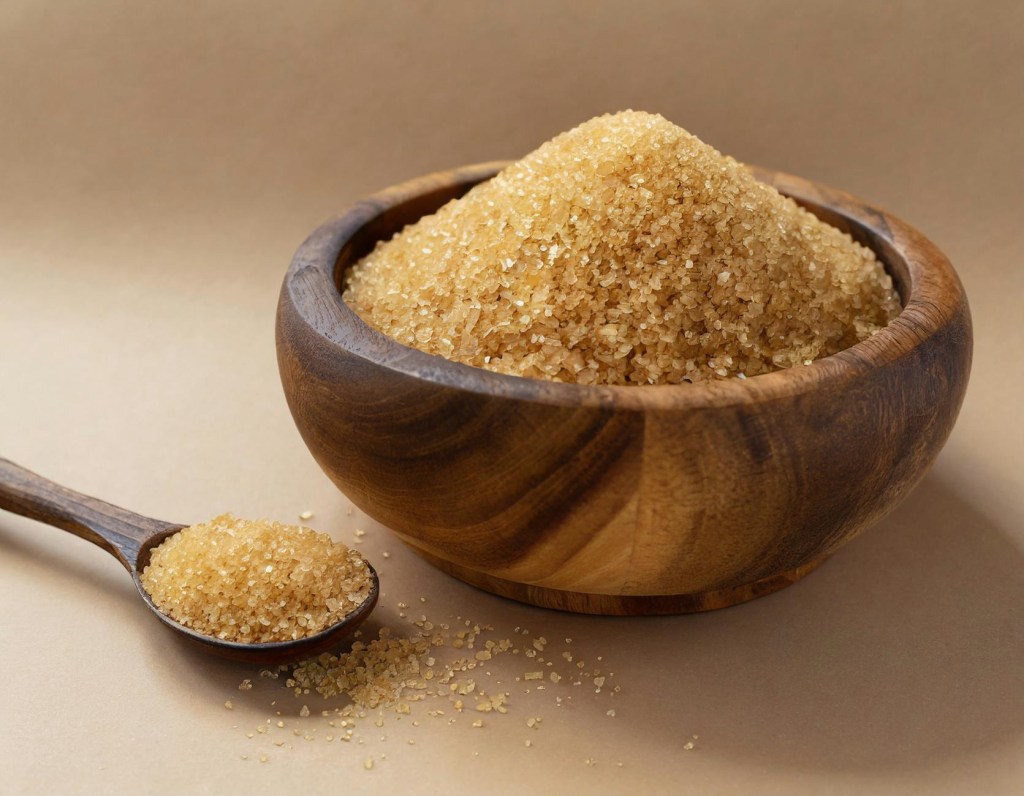
• The Sugar: We use Light Brown Soft Sugar. The molasses content adds a moisture and a “toffee” undertone that white sugar simply can’t match.
• The Coffee: Instant coffee granules are actually preferred over liquid espresso here because they provide an intense flavor without adding too much extra liquid, which can throw off the chemistry of the rise.
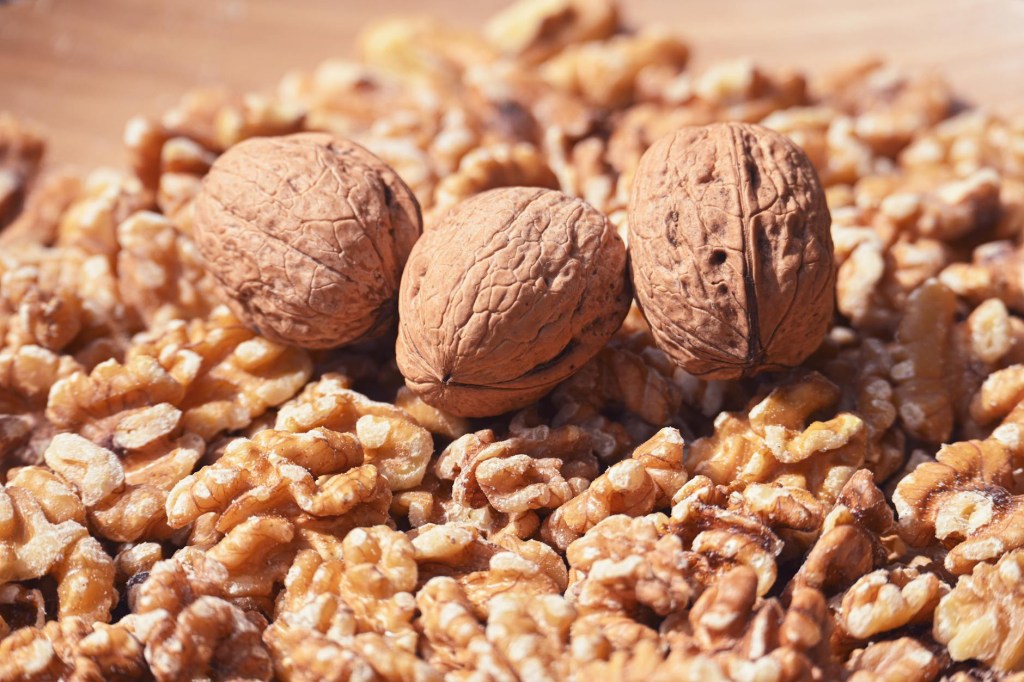
• The Crunch: Use fresh walnuts. Walnuts can go rancid quickly due to their high oil content, so give them a quick sniff before chopping!
Step-by-Step: The Method to the Magic
1. The Creaming Stage
Start by beating your 225g butter and 225g brown sugar. You are looking for a transformation: the mixture should turn from dark and gritty to pale and fluffy. This process incorporates tiny air bubbles that expand in the oven, giving you a light-as-air crumb.
2. Incorporating the Eggs
Add your 4 large eggs one at a time.
Pro Tip: If the mixture looks like it’s starting to curdle (split), add a tablespoon of your weighed flour. This binds the fat and liquid back together.
3. Folding, Not Mixing
Once the vanilla and coffee are in, sift in the 225g self-raising flour. Use a large metal spoon or a spatula to “cut and fold” the flour in. Stop the second you see no more white streaks. Over-mixing develops gluten, which results in a tough, bread-like cake rather than a tender sponge.
4. The Bake
Smooth the batter into a lined 20 × 30 cm tin. Bake at 180°C (160°C fan) for 25–30 minutes. You’ll know it’s ready when the edges slightly pull away from the parchment and the center springs back when lightly pressed.
The Crowning Glory: Coffee Buttercream
A traybake is only as good as its frosting. To get that “cloud-like” consistency for your Coffee Buttercream:
1. Beat the 150g butter on its own for 3-5 minutes before adding any sugar. It should turn almost white.
2. Gradually add 300g sifted icing sugar. Sifting is non-negotiable if you want a silky finish!
3. Add your dissolved coffee concentrate. This not only adds flavor but acts as the liquid to loosen the frosting to a spreadable dream.
Customizations & Variations
• The Mocha Twist: Add 1 tbsp of cocoa powder to the sponge mix for a subtle chocolate-coffee vibe.
• The Boozy Bake: For an adult-only version, replace the water used to dissolve the coffee with a splash of coffee liqueur (like Kahlúa).
• Nut Alternatives: If you aren’t a fan of walnuts, pecans are a fantastic substitute, offering a sweeter, more buttery crunch.
Storage & Serving
This cake actually improves after a few hours as the coffee flavor matures. Store it in an airtight container in a cool place (not the fridge, which dries out the sponge) for up to 3 days. Serve with a strong espresso or a classic pot of Earl Grey.
Ready to get baking? Grab your apron and turn your kitchen into the coziest café in town. Don’t forget to tag us in your creations!
Whether you’re clearing out your wardrobe for some extra holiday cash or you’re a seasoned “pro-seller” trying to shift a designer gem, the Vinted “ping” is a sound that brings a mix of hope and immediate, soul-crushing frustration.
You open the app, expecting a notification that your item has sold. Instead, you find an offer so low it feels like a personal attack on your character—or even worse, you accept a fair offer within thirty seconds and then… tumbleweeds.
If you’ve ever found yourself shouting, “Why even send the offer if you aren’t going to buy it?!” at your phone while your dinner gets cold, this post is for you. Let’s dive into the chaotic psychology of the Vinted buyer.
1. The “Car Boot Sale” Delusion
We have to remember that Vinted isn’t a high-street shop, and it’s not even really eBay anymore. It has morphed into a giant, global, 24/7 digital car boot sale.
At a physical car boot sale, people don’t just want the item; they want the thrill of the steal.
• The Sport of Haggling: For a lot of buyers, the “Make an Offer” button is basically a game of Deal or No Deal. They aren’t thinking about your profit margin; they’re chasing the hit of dopamine that comes from “winning” a negotiation.
• The “Cheeky” Punt: Let’s be real—sometimes lowballing works. A seller who is moving house or just desperately needs space might say “fine, just take it” to a 60% discount. Buyers send “stupid” offers because, once in a blue moon, someone is tired enough to say yes.
2. The “Hidden Fee” Panic
As a seller, you see a £10 item. You think, “That’s a bargain!” But the buyer’s brain is doing some very stressful “Vinted Math.” By the time they click through, the screen looks like this:
• Item: £10.00
• Buyer Protection Fee: £1.10
• Shipping (Standard): £3.29
• Total: £14.39
Suddenly, that “tenner” purchase is nearly £15. Many buyers send a lowball offer not because they think your item is worthless, but because they are trying to “cancel out” the fees and shipping costs to bring the total back down to the price they saw on the thumbnail.
3. The “Offer and Ghost”: What’s Actually Happening?
This is the one that truly grinds our gears. Why send an offer, wait for the seller to accept, and then disappear into the void?
The “Safety Net” Strategy
Think of this as the “dating app” approach to shopping. A buyer might find five different pairs of black Levi’s they like. They send a £20 offer to all five sellers simultaneously. The first seller to accept “wins” the buyer, and the other four sellers are left shouting into the abyss. It’s cold, it’s calculated, and it’s incredibly annoying.
The Impulse Cool-Down
We’ve all been there. It’s 11:30 PM, you’ve had a glass of wine, and you desperately need a vintage leather jacket. You send the offer. By the time the seller accepts the next morning, the “buying fever” has broken. You’ve realized you have three jackets already and you probably shouldn’t spend the money. On Vinted, because an accepted offer isn’t a binding contract (unlike eBay), it’s way too easy to just… walk away.
Window Shopping 2.0
For some, making an offer is just a way of “super-favouriting” an item. They’re testing the waters. They want to see if you’re a “flexible” seller just in case they decide to buy it next payday. They aren’t ready to commit; they’re just flirting with your listing.
How to Keep Your Sanity
Look, Vinted is a wild west. To survive without throwing your phone out the window, try these three rules:
• Don’t take it personally: A £2 offer on a £10 item isn’t a comment on your fashion sense. It’s just a stranger in their pajamas trying their luck.
• The “Counter-Offer” is your best friend: Never just decline. Even if their offer is insulting, counter-offer with your lowest price (or even just 50p off the original). It keeps the door open and reminds them that there’s a real person on the other end.
• The “Expect Nothing” Mantra: Until you see the notification that says “Download Shipping Label,” the sale does not exist. Don’t start looking for a mailing bag or imagining what you’ll spend the profit on until the money is actually in the “Pending” bin.
The bottom line? Vinted is a marketplace of human whims, late-night boredom, and bargain hunting. For every ten “ghosts” and lowballers, there’s one dream buyer who pays full price and leaves a 5-star review. You just have to wade through the “Is this still available?” messages to find them!
What’s the most “creative” lowball offer you’ve ever received? Drop a comment and let’s commiserate!
We’ve all been there—it’s 3 PM, the kettle is whistling, and you’re dying for a chocolate muffin, but the thought of weighing out flour and waiting for the oven to preheat feels like a mountain to climb.
Enter: The No-Bake Muffin Bar.
These are a total lifesaver. They’re chewy, intensely chocolatey, and have that dense, “fudgy” texture we all love. Because they’re packed with oats and Greek yogurt, they actually keep you full, making them the perfect “elevenses” snack or a quick breakfast before the school run.
Why You’ll Love These
• Zero Oven Time: Perfect for summer or when you just can’t be bothered with baking.
• Budget Friendly: You probably have all of this in your cupboard already! (And yes, a quick trip to Lidl for their Greek-style yogurt and a bunch of bananas will cost you next to nothing).
• The “Ripeness” Rule: This is the ultimate way to use that one lonely, brown banana sitting in the fruit bowl. The spottier, the better—it makes them naturally sweeter so you can use less honey.
The Recipe (UK Measurements & Terms)
Ingredients:
• 1 Large Banana: The riper and spottier, the better!
• 125g Greek Yogurt: Go for the thick, authentic stuff (not “yogurt drink” style).
• 1 tbsp Cocoa Powder: Sift it if it’s lumpy.
• 4 tbsp Honey: (Or maple syrup if you prefer).
• 150g Porridge Oats: Either rolled or “quick” oats work perfectly here.
The “Optional but Highly Recommended” Bits: I used chopped nuts in this recipe
• 1 tsp Vanilla Extract
• 1 tbsp Chia Seeds (for a little health kick)
• 30g Dark Chocolate Chips
• A pinch of Sea Salt (trust me, it makes the chocolate pop!)
• 1 tbsp Peanut Butter (for extra richness)
The Method
1. Mash the Nana: In a medium bowl, mash your banana until it’s basically a liquid. No big lumps allowed!
2. The Wet Mix: Stir in your Greek yogurt, honey, cocoa powder, and vanilla. It should look like a thick, glossy chocolate ganache. If you’re using peanut butter, swirl it in now.
3. The Oats: Fold in your porridge oats. Keep stirring until every single oat is coated in chocolate. It will be a very thick, heavy dough. Fold in your chocolate chips or seeds now.
4. The Tin: Line a small square tin (or even a Tupperware container!) with baking parchment. Tip the mixture in and press it down really firmly with the back of a spoon. You want it compact so it doesn’t crumble when you slice it.
5. The Big Chill: Pop it in the fridge for at least 3 hours (or the freezer for 45 minutes if you’re impatient like me).
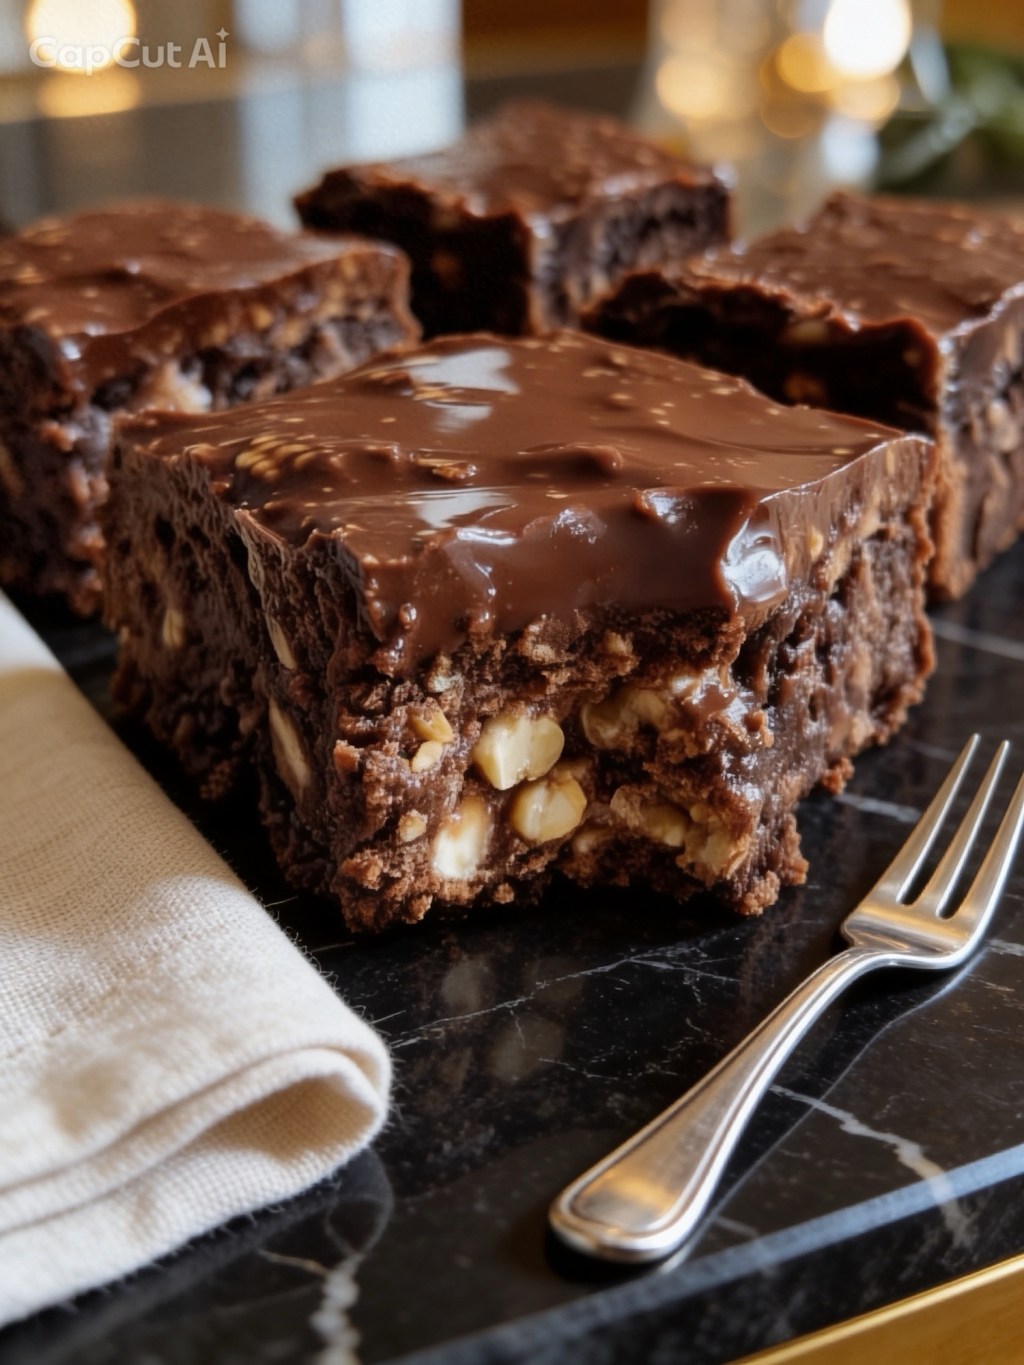
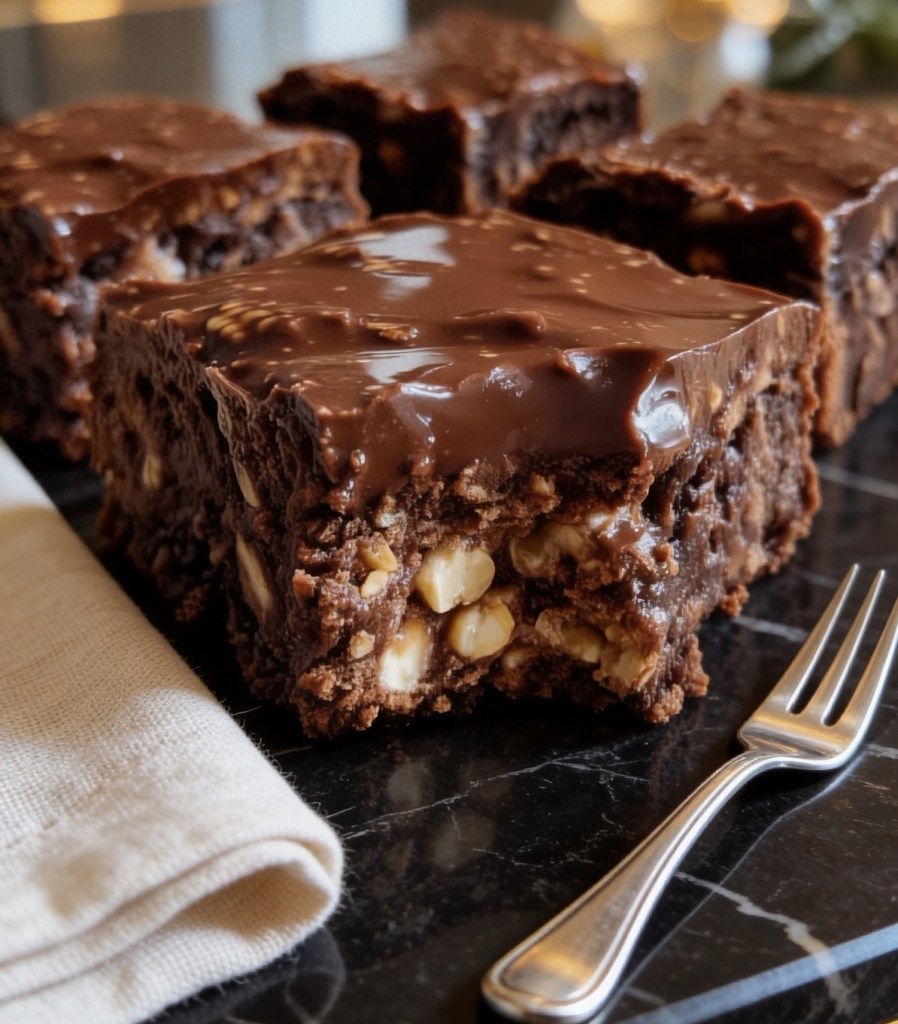
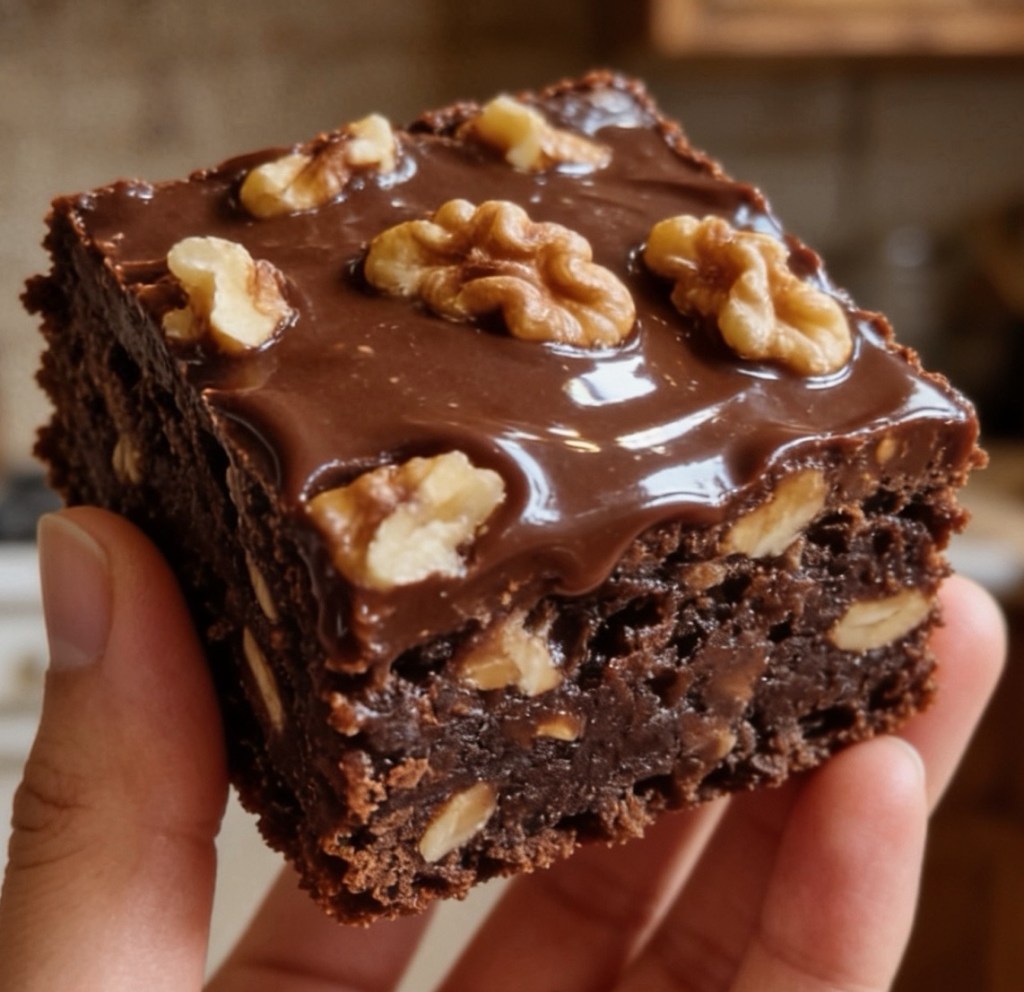
6. Slice & Serve: Lift the parchment out, slice into bars or squares, and enjoy! Cover in melted chocolate for that extra treat
Storage Tip: Keep these in an airtight container in the fridge. They stay lovely and soft for about 4–5 days.