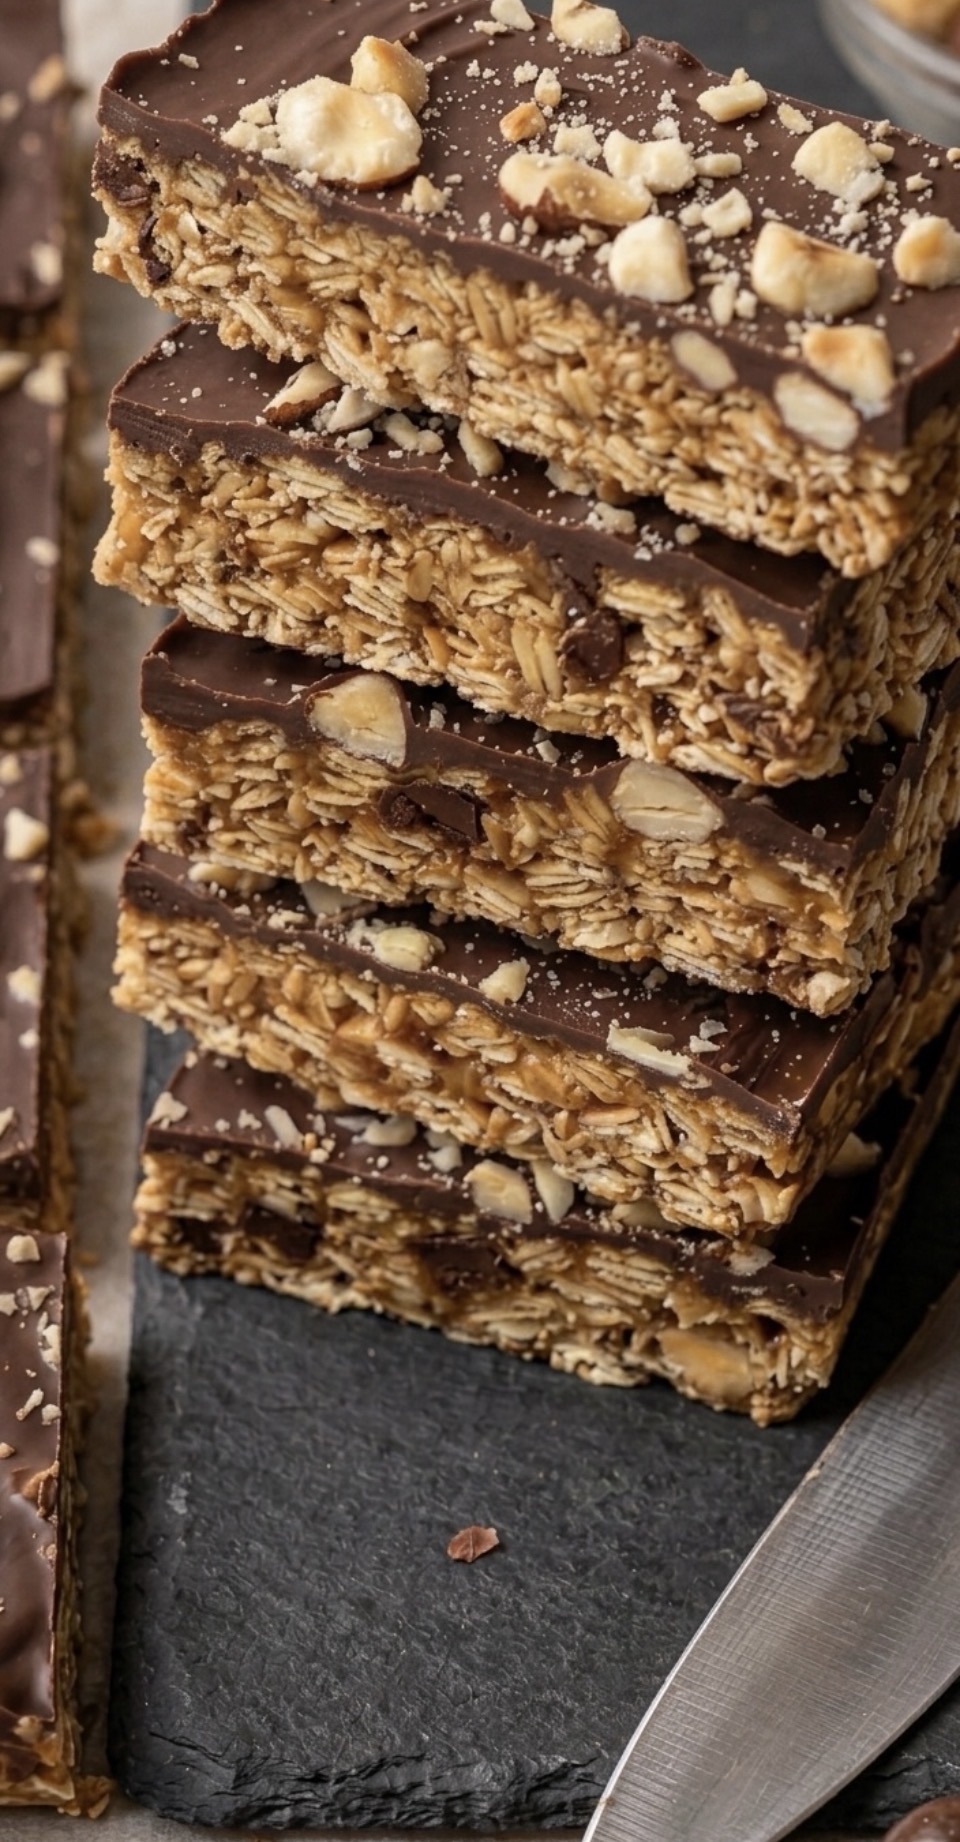
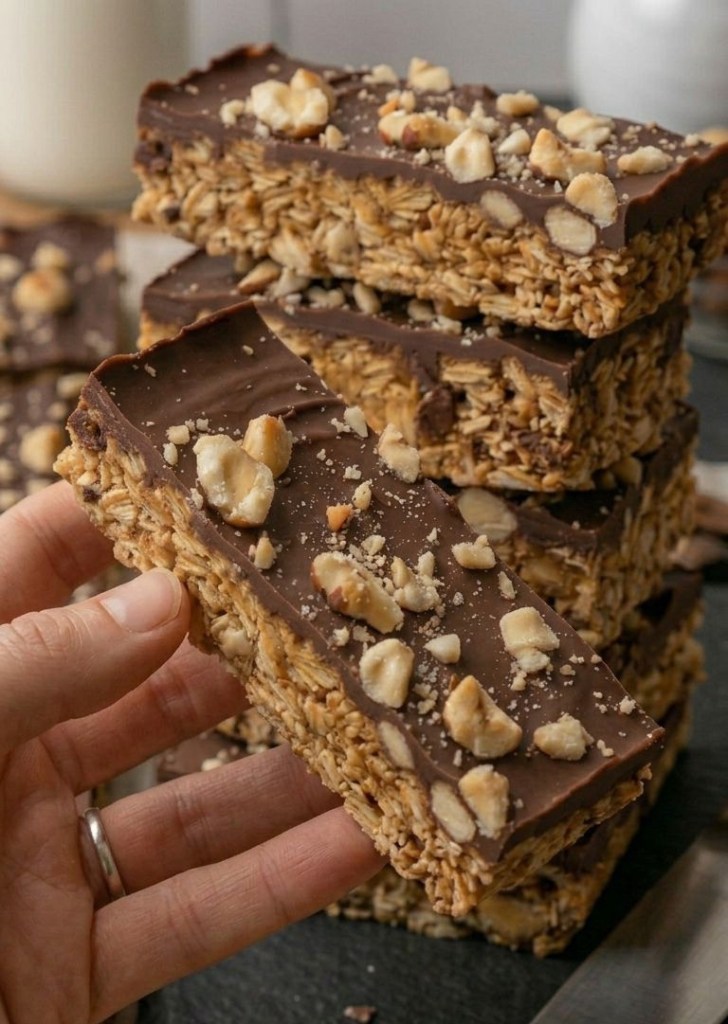
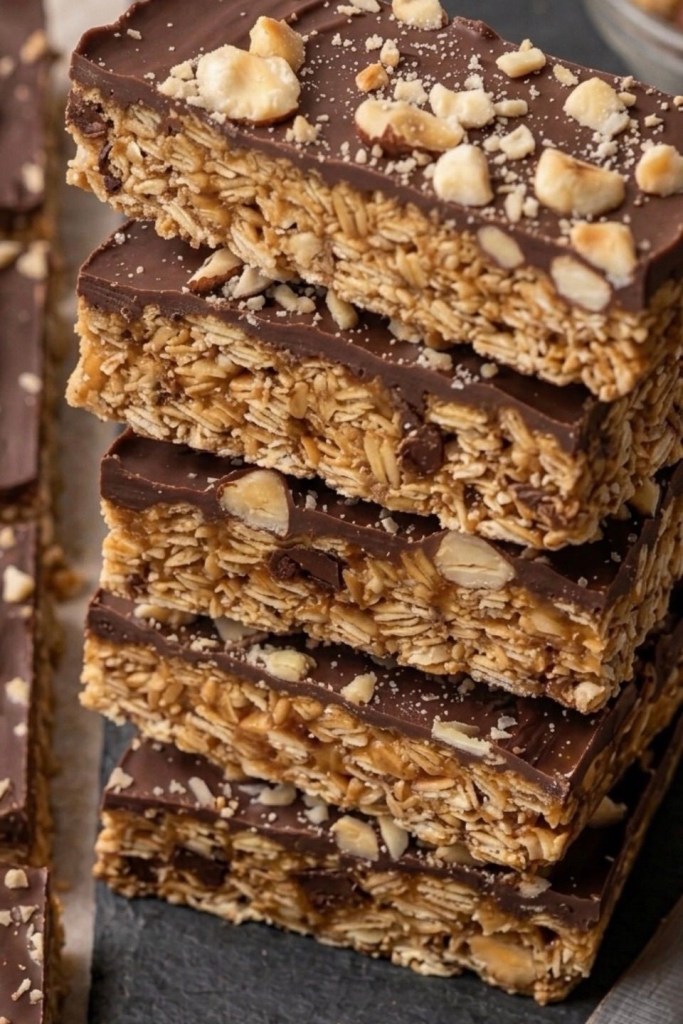
Forget the expensive, processed cereal bars from the supermarket. If you want a snack that is deeply satisfying, perfectly chewy, and actually good for you, you have come to the right place.
These chocolate hazelnut oat bars are my go-to for snack prep. They take minutes to pull together, they use simple pantry staples, and—best of all—they taste like a proper treat.
Why You’ll Love These:
Minimal Ingredients: Just three core ingredients for the base.
No-Bake/Quick Prep: Perfect for busy weeks.
Customisable: Add seeds, extra nuts, or sea salt to suit your taste.
Healthier Energy: Packed with oats for sustained energy and healthy fats from the peanut butter.
The Recipe (UK Measurements)
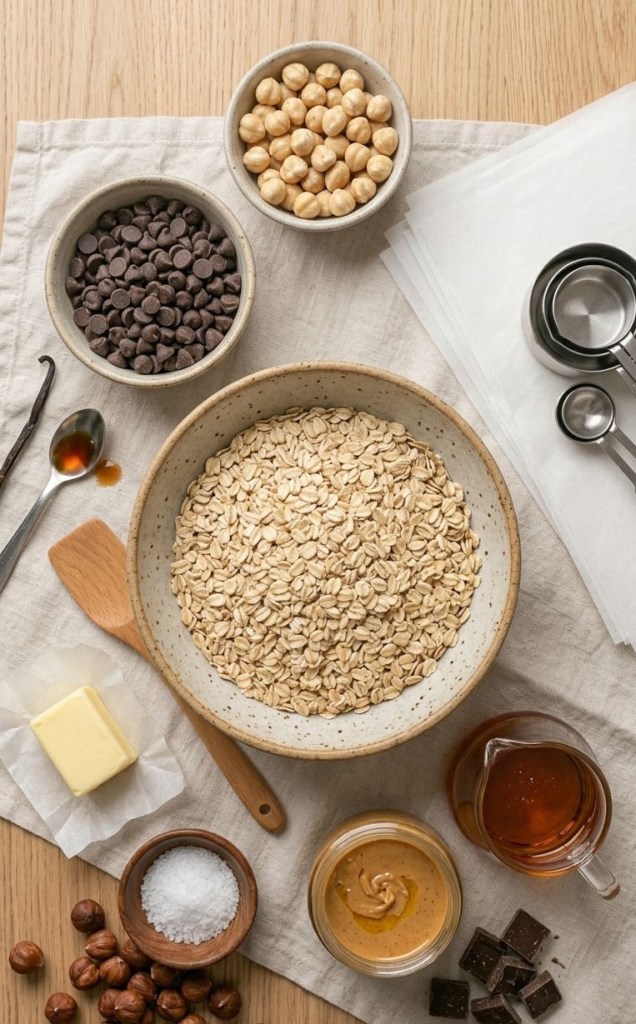
Ingredients for the Base:
200g Rolled Oats (use GF-certified if required)
125g Peanut Butter (smooth or crunchy)
110g Maple Syrup (or agave nectar/honey)
For the Topping:
150g Dark Chocolate (melted)
50g Blanched Hazelnuts (roughly chopped)
Method
1. Prep: Line a 20cm x 20cm square baking tin with parchment paper.
2. Mix the Binder: In a medium bowl, combine your peanut butter and maple syrup. If it’s a bit stiff, pop it in the microwave for 30 seconds until it’s nice and soft and easy to stir.
3. Combine: Place your rolled oats into a large mixing bowl. Pour the peanut butter and syrup mixture over the oats and mix well until every oat is evenly coated.
4. Press: Transfer the mixture into your lined tin. Use the back of a spoon or your hands to press the mixture very firmly into the tin. This is the secret to getting them to stay together!
5. Set: Place the tin into the freezer for 30 minutes to firm up.
6. Top: Once firm, pour your melted chocolate over the top and spread it evenly. Sprinkle the chopped hazelnuts over the wet chocolate.
7. Chill & Slice: Place the tin back in the fridge or freezer until the chocolate has fully set. Once set, lift out of the tin using the parchment paper and slice into oblong bars.
Tips for Success
Storage: Keep these in the fridge to ensure they stay perfectly chewy and don’t get too soft. They will last for up to a week in an airtight container.
Additions: Feel free to stir in chia seeds, sunflower seeds, or a pinch of sea salt to the oat mixture before pressing it into the tin.
Did you give these a try? Let me know in the comments below how they turned out!
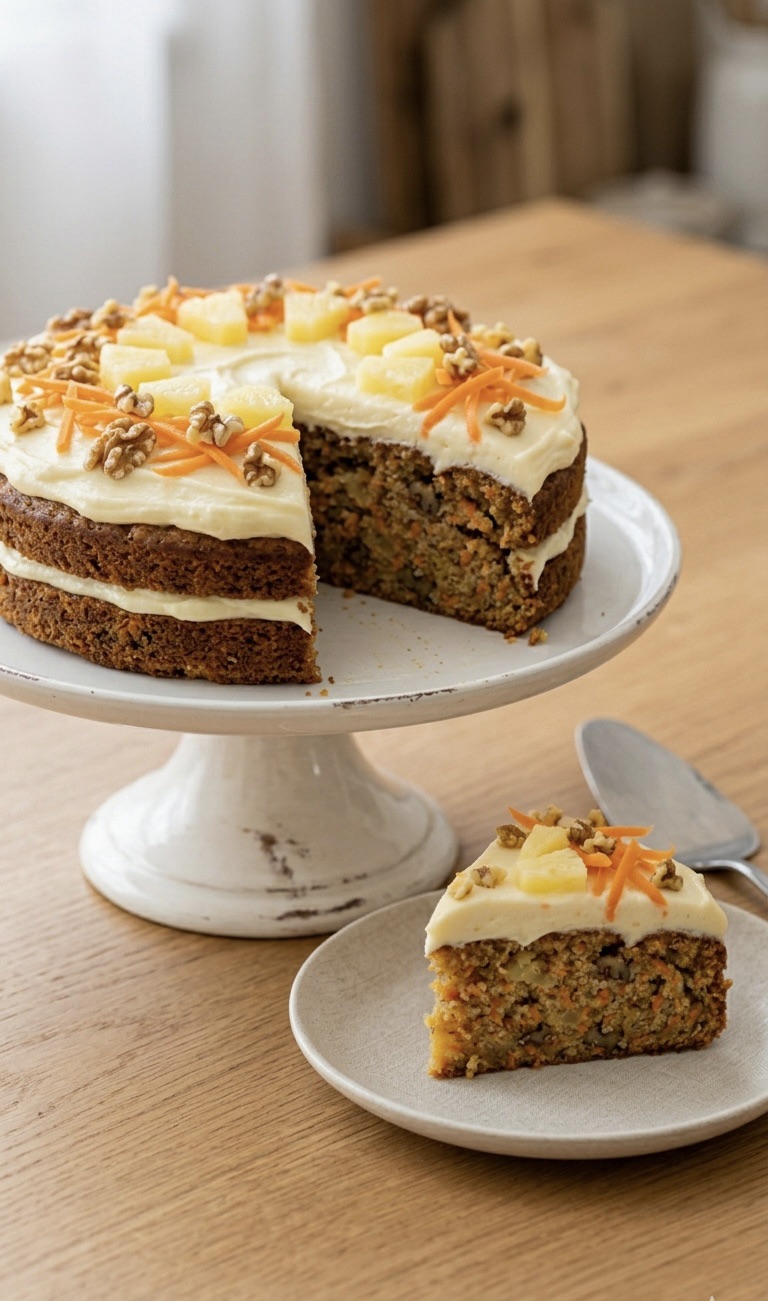
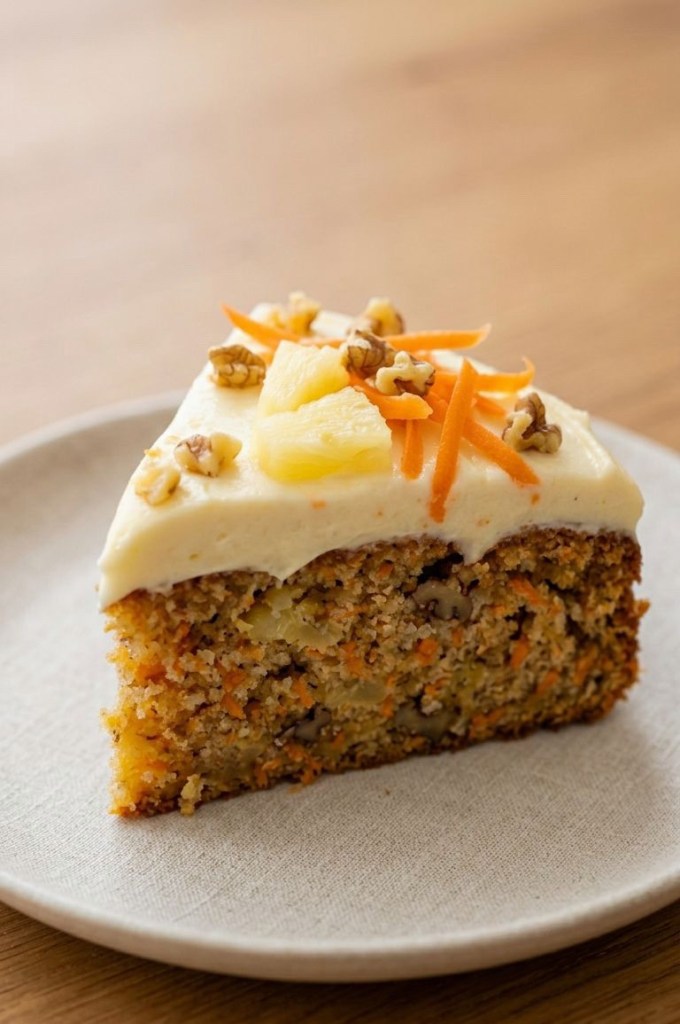
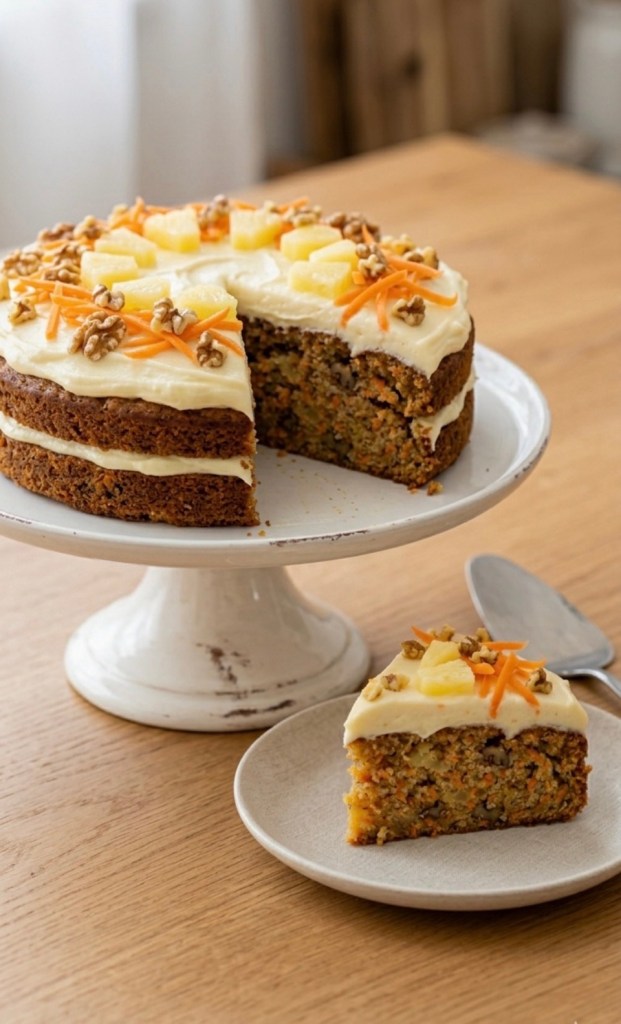
If you think you know carrot cake, think again! I’ve taken the classic, comforting recipe we all love and given it a sun-drenched, tropical makeover that changes the game entirely.
The secret? Crushed pineapple.
It adds a subtle sweetness and an incredible level of moisture that makes this cake almost impossibly tender. Combined with the crunch of toasted walnuts and a silky-smooth cream cheese frosting, this is guaranteed to be your new go-to bake for birthdays, brunches, or just because.
Why You’ll Love This Recipe
Insanely Moist: Thanks to the secret pineapple ingredient, this cake stays fresh for days.
Easy to Make: No complicated techniques here—just simple mixing and folding.
The Perfect Balance: The warm cinnamon and earthiness of the carrots pair perfectly with the bright, tangy pineapple and velvety cream cheese topping.
The Tropical Carrot Cake
Prep time: 20 mins
Bake time: 35–40 mins
Yields: One 9×13-inch traybake
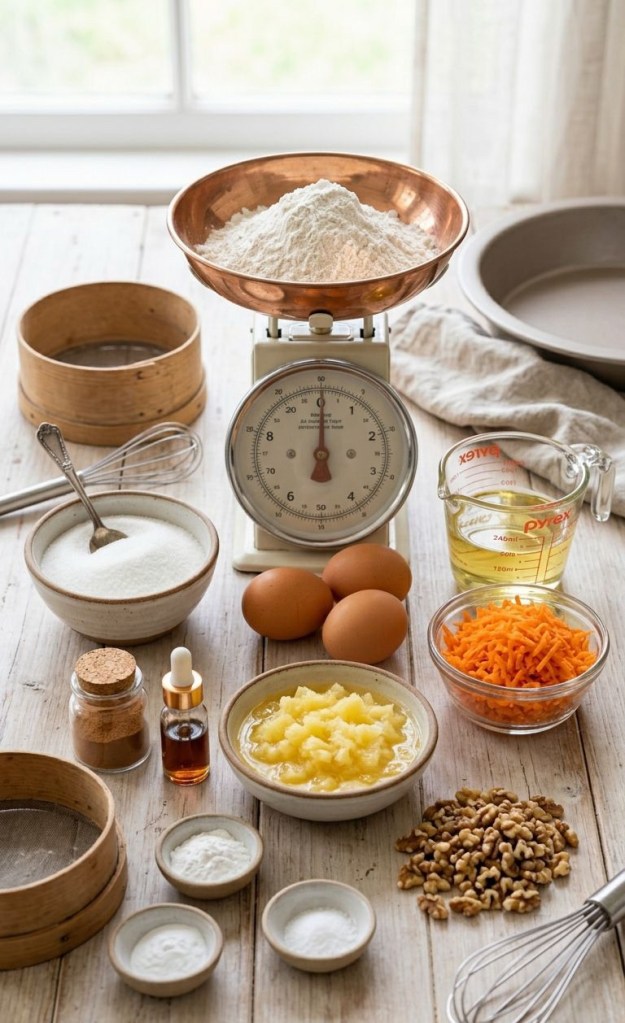
Ingredients
250g plain flour
2 tsp baking powder
1 tsp bicarbonate of soda
2g ground cinnamon
½ tsp salt
300g caster sugar
3 large eggs
240ml vegetable oil
2 tsp vanilla extract
220g carrots, finely grated
150g crushed pineapple, well drained
60g walnuts, chopped (optional)
For the Frosting:
225g cream cheese, softened
115g unsalted butter, softened
240g icing sugar
1 tsp vanilla extract
Method
1 Get Ready: Preheat your oven to 180°C (160°C fan/gas mark 4). Grease and flour a 23cm x 33cm baking tin.
2 Dry Mix: In a medium bowl, whisk together your flour, baking powder, bicarb, cinnamon, and salt.
3 Wet Mix: In a larger bowl, beat the sugar, eggs, oil, and vanilla until the mixture is pale and creamy. This helps build a great structure for the cake.
4 Combine: Gently fold the dry ingredients into the wet mixture. Be careful not to overmix—just stir until the flour streaks disappear.
5 Add the Goodies: Fold in the grated carrots, well-drained pineapple, and those crunchy walnuts.
6 Bake: Spread evenly into your tin and bake for 35–40 minutes. You’ll know it’s done when a skewer inserted into the center comes out clean. Let it cool completely in the tin.
7 Frost: Whisk the cream cheese and butter until fluffy, then gradually beat in the icing sugar and vanilla until smooth. Spread generously over your cooled cake.
8 Garnish: Top with a few extra pineapple chunks and a sprinkle of shredded carrot for that professional, sunny finish!
Have you tried adding fruit to your carrot cake before? Let me know in the comments below!
Did you find this post helpful? Don’t forget to save this recipe for your next baking session!
If you grew up in the UK, chances are you remember that soft vanilla sponge covered in white icing and a ridiculous amount of sprinkles. This Old School Sprinkle Cake is my take on the classic school‑dinner traybake – simple, nostalgic, and perfect with a big mug of tea (or a jug of custard if you really want to go back in time!).
This recipe uses basic store‑cupboard ingredients and comes together in one bowl. It’s ideal for bake sales, birthdays, or slicing into generous squares for packed lunches.
Ingredients For the sponge • 300 g butter or margarine (margarine gives a lighter sponge) • 300 g caster or granulated sugar • 5 medium or large eggs • 1 teaspoon vanilla extract • 300 g self‑raising flour • 4 tablespoons milk For the icing • 325 g icing sugar • 4–5 tablespoons water (enough for a thick, spreadable icing)
• Sprinkles – sugar strands or hundreds and thousands
Equipment • 23 cm x 30 cm (9 x 13 inch) baking tin • Baking parchment • Large mixing bowl and electric mixer (or wooden spoon)
• Wire cooling rack
Method Step 1: Prepare the tin Preheat your oven to 180°C / 160°C fan / 350°F / Gas Mark 4. Line a 23 x 30 cm baking tin with baking parchment, making sure the paper comes slightly up the sides so you can lift the cake out easily later. Step 2: Make the sponge In a large mixing bowl, beat the softened butter or margarine with the sugar for around 2 minutes until the mixture is light and creamy. Add one egg, the vanilla extract, and a tablespoon of the flour. Beat well to combine. Repeat with the remaining eggs, adding a spoonful of flour with each egg to help prevent the mixture from curdling. Add the remaining flour and gently mix until just combined. Pour in the milk and mix again until the batter is smooth – try not to overmix, as this can make the sponge a little dense. Step 3: Bake Pour the cake batter into your lined tin and smooth the top with a spatula or the back of a spoon. Bake in the preheated oven for 25–30 minutes, or until the cake is golden, risen and a skewer inserted into the centre comes out clean with no raw batter.
Leave the cake to cool in the tin for about 10 minutes, then carefully lift it onto a wire rack and leave to cool completely.
Step 4: Make the icing Once the cake is completely cool, sift the icing sugar into a mixing bowl.
Add water a teaspoon at a time, stirring between each addition, until you have a thick but spreadable icing. You want it to sit nicely on top of the cake without running straight off the edges.
Step 5: Decorate Place the cooled cake back in the tin or onto a tray. Spread the icing evenly over the top of the sponge.
While the icing is still wet, shower the cake with a generous amount of sprinkles – this is not the time to be shy! Leave the icing to set at room temperature.
Once set, slice the cake into 12–16 squares, depending on how big you like your pieces.
Tips and Variations • Pink school cake: Add a tiny bit of pink food colouring to the icing for that classic school‑dinner look. • Custard lovers: Serve warm slices with hot custard for maximum nostalgia. • Flavour twist: Swap the vanilla for almond extract, or add some lemon zest to the batter for a subtle citrus flavour.
• Freezing: The un‑iced sponge freezes well. Wrap tightly in cling film and freeze for up to 3 months, then thaw and ice when needed.
How to Store
Store your Old School Sprinkle Cake in an airtight container at room temperature. It will keep well for up to 3 days. If your kitchen is very warm, you can store it in the fridge, but bring it back to room temperature before serving for the best texture.
Perfect for Sharing
This is the sort of cake that disappears quickly at coffee mornings, school fairs, office bake tables or family get‑togethers. It’s simple, nostalgic and guaranteed to put a smile on people’s faces. If you make it, let me know how you remember eating it – with custard, on a plastic school tray, or as a weekend treat at home.
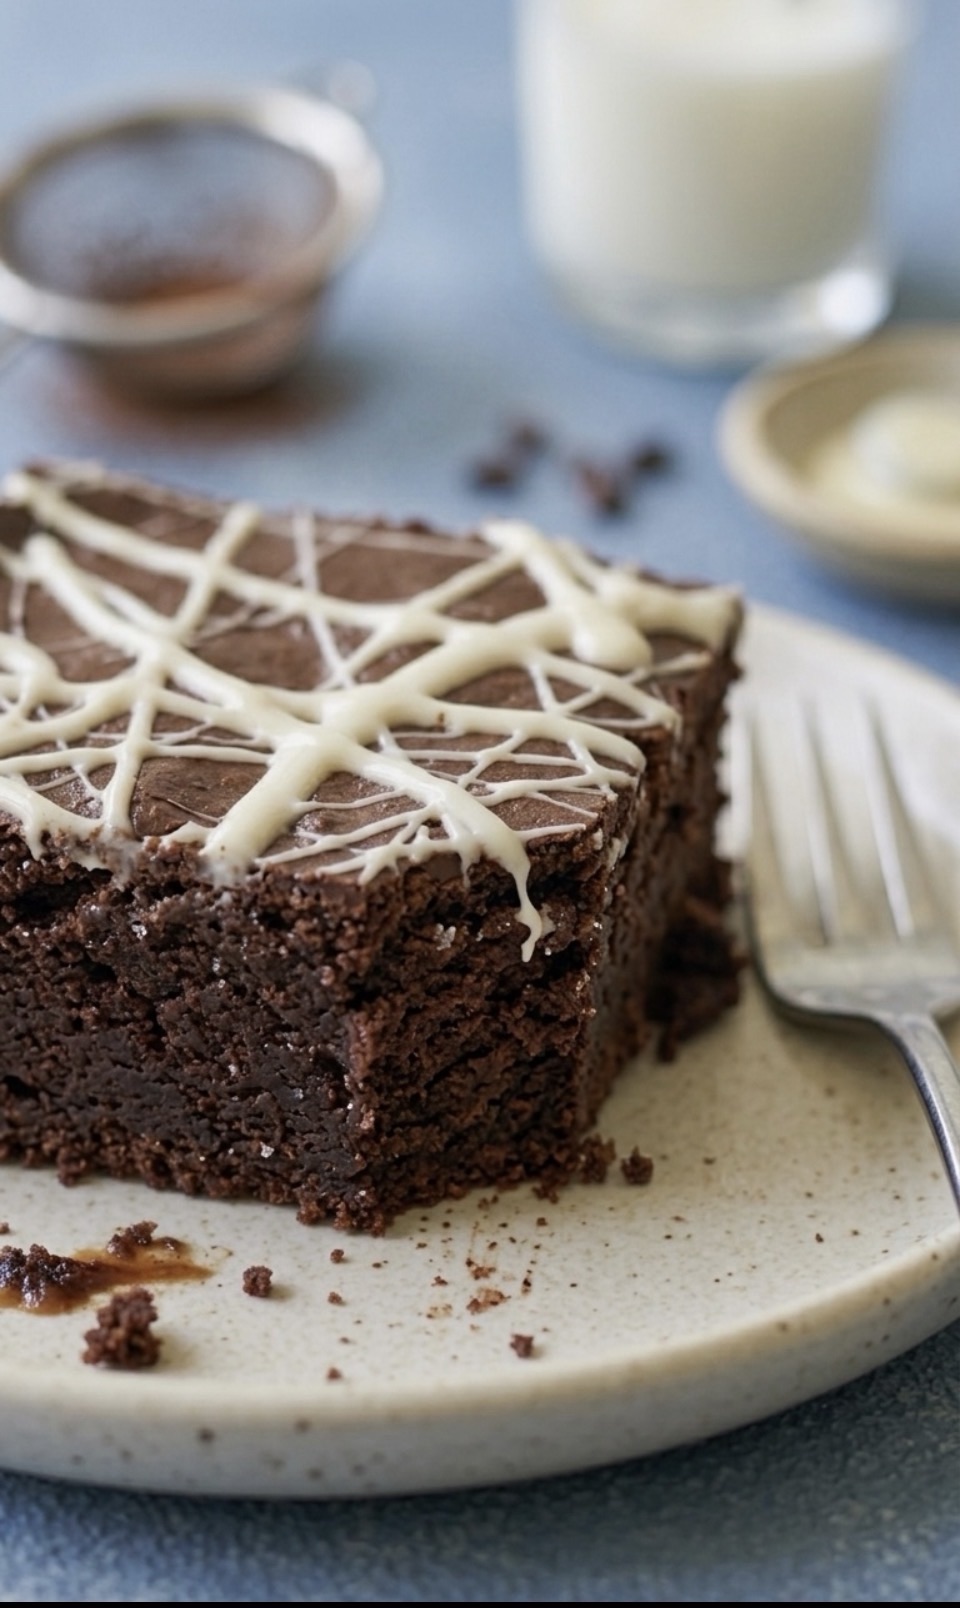
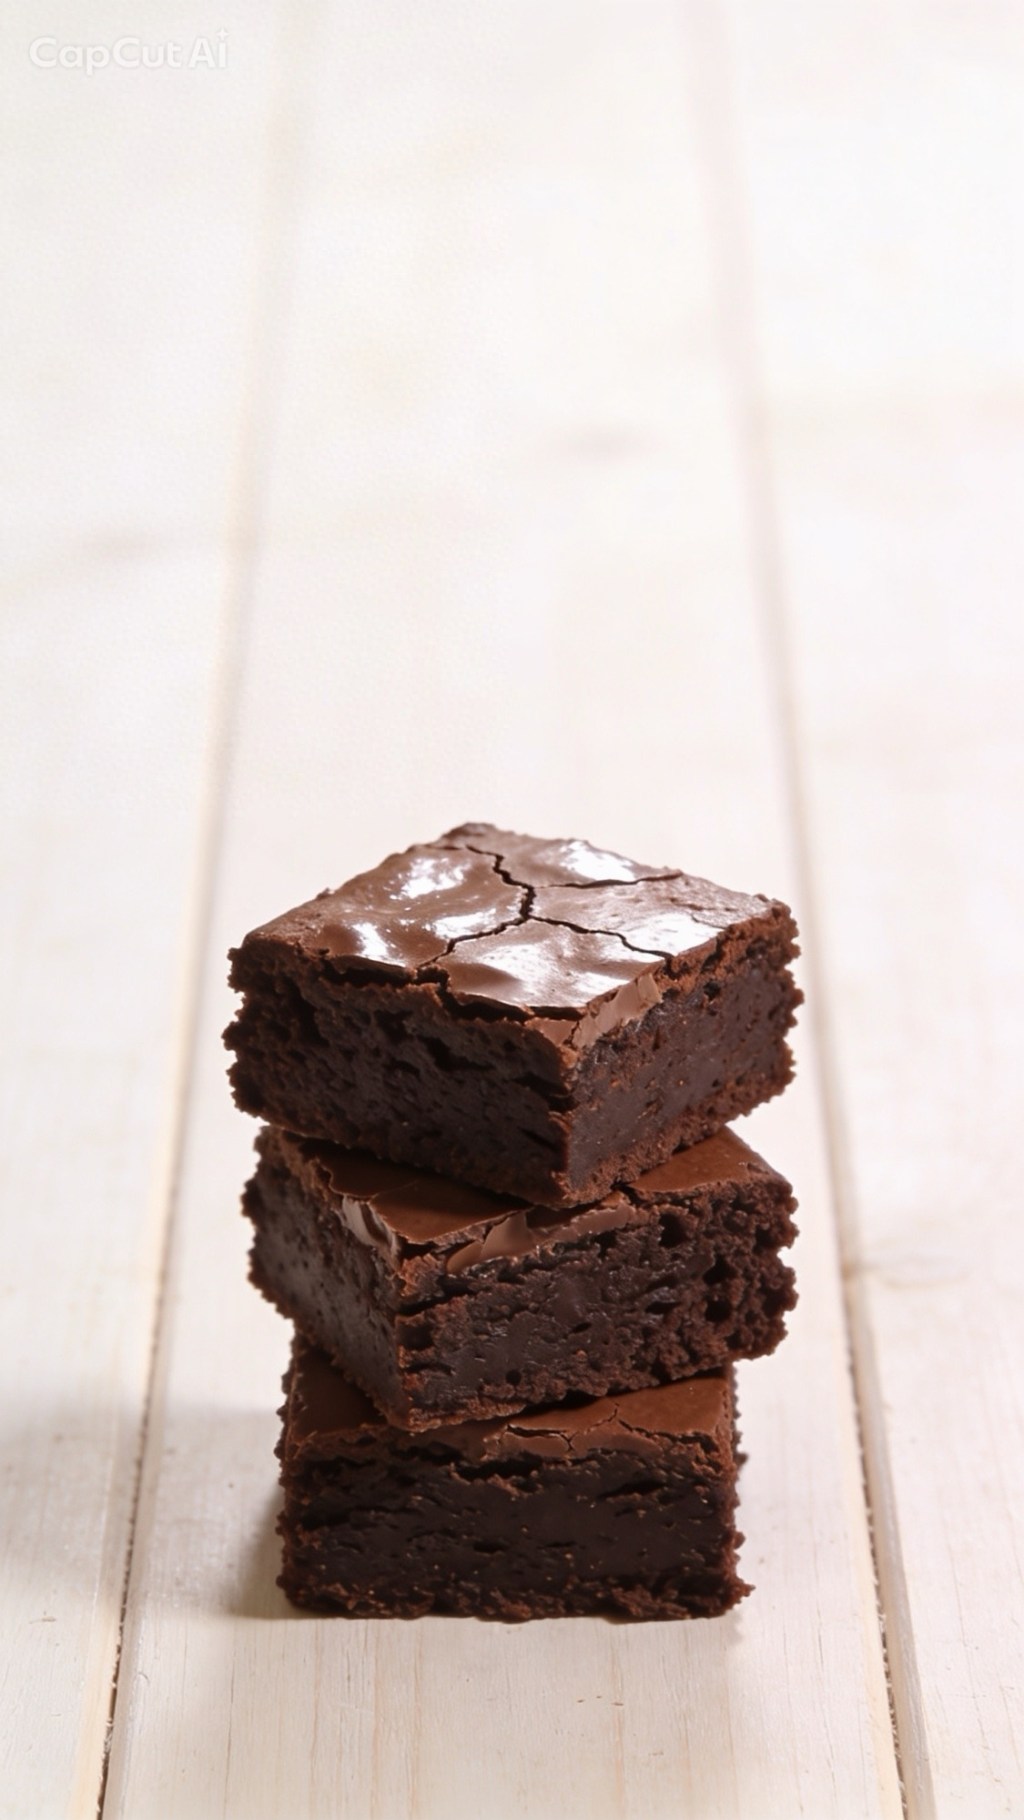
If you are looking for a brownie that is thin, cakey, or has a messy, liquid-caramel center that pools all over your plate, you’ve come to the wrong place.
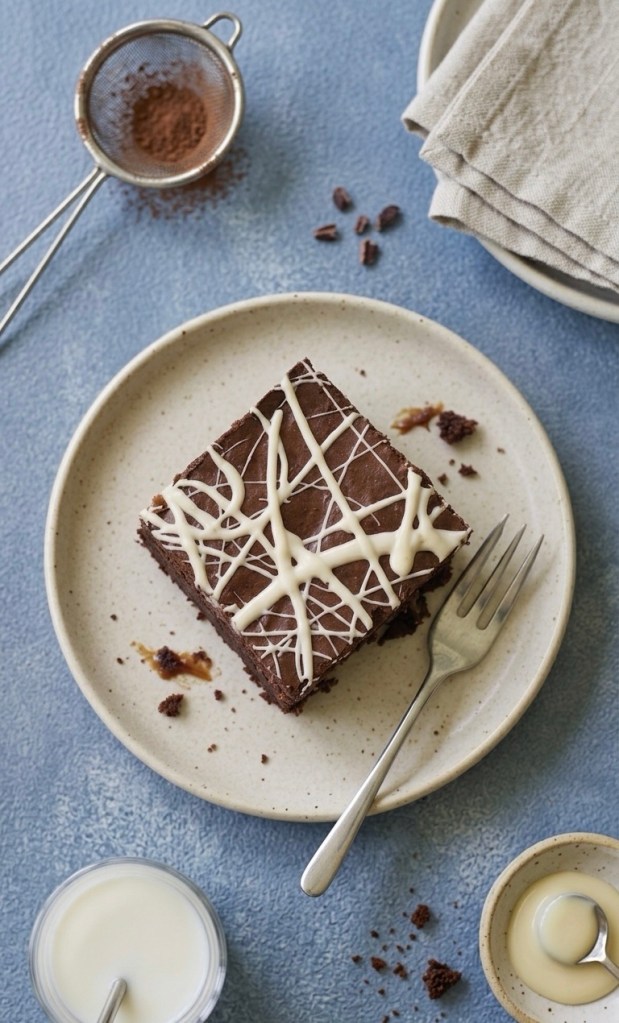
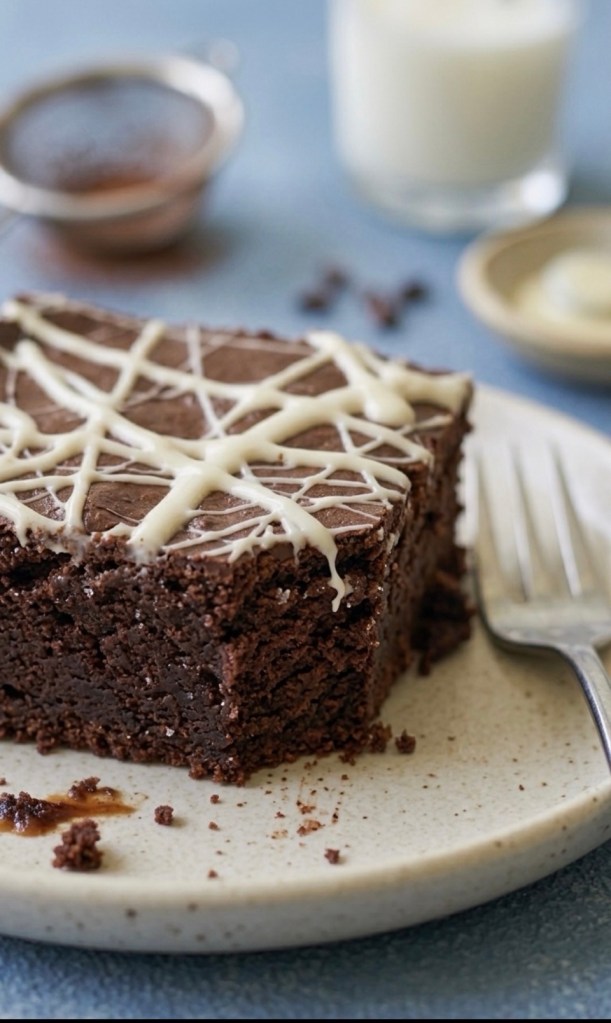
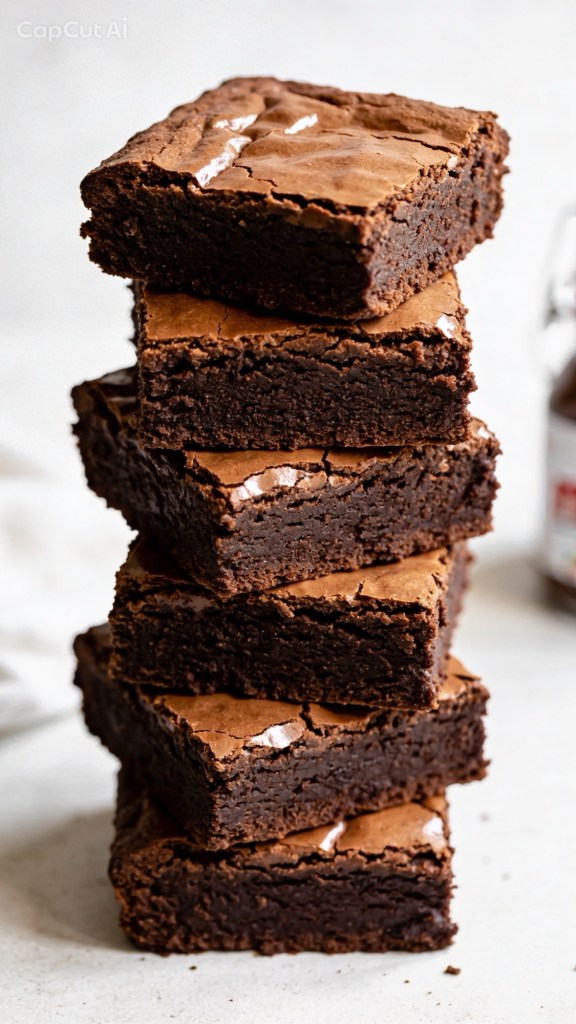
These are the ultimate fudgy salted caramel brownies. They are dense, incredibly rich, intensely chocolatey, and feature a layer of homemade salted caramel that bakes directly into the brownie crumb. The result? A perfectly chewy, cohesive bite that doesn’t collapse into a puddle. Finished with a striking white chocolate spiderweb drizzle, these brownies look like they walked straight out of a luxury bakery window.
Whether you’re baking for a weekend treat or looking to impress on social media, this foolproof recipe delivers every single time.
Why You Will Love This Recipe
The Perfect Texture: No cakey layers here. Thanks to a high ratio of chocolate and butter to flour, these brownies are dense, fudgy, and satisfyingly chewy.
Baked-In Caramel: Instead of a runny, messy middle, the homemade caramel merges with the batter during baking to create an ultra-decadent, chewy caramel layer.
Striking Presentation: The intricate white chocolate drizzle contrasts beautifully with the dark chocolate crust, making it highly photogenic (and even more delicious).
The Secret to Fudgy Brownies
The secret to achieving that coveted, dense, crinkle-top brownie lies in how you handle the eggs and sugar. Whisking the eggs and sugars together until they are pale, thick, and fluffy creates a stable foam. When the warm, melted chocolate and butter are folded in, this foam rises slightly in the oven and creates that delicate, glossy paper-crust on top, while keeping the inside perfectly fudgy.
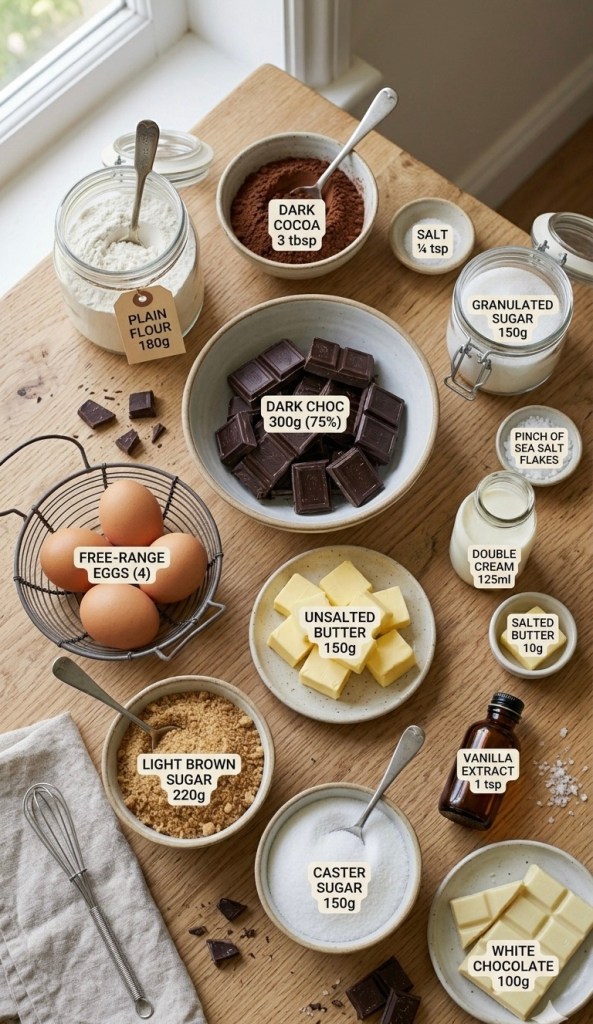
Ingredients You’ll Need
For the Salted Caramel Filling
150g (5½ oz) Granulated sugar
Pinch of Sea salt flakes
125ml (4 fl oz) Double cream
10g (¼ oz) Salted butter, softened
For the Fudgy Brownie Batter
300g (10½ oz) Dark chocolate (minimum 65-75% cocoa solids)
150g (5½ oz) Unsalted butter
4 Free-range eggs (room temperature)
220g (8 oz) Light brown sugar
150g (5½ oz) Caster sugar
1 tsp Vanilla extract
180g (6¼ oz) Plain flour
3 tbsp Cocoa powder
¼ tsp Salt
To Decorate
100g (3½ oz) Good-quality white chocolate
Step-by-Step Instructions
Step 1: Prepare the Homemade Salted Caramel
1 Place the granulated sugar in a clean, dry saucepan over medium heat. Allow the sugar to melt completely. Do not stir the sugar with a spoon; instead, gently swirl the pan occasionally to ensure it melts evenly.
2 Watch closely until the melted sugar turns a deep, golden amber color.
3 Immediately remove the pan from the heat. Carefully whisk in the softened salted butter and a generous pinch of sea salt.
4 Slowly pour in the double cream while whisking continuously. The mixture will bubble up rapidly, so be cautious. Keep whisking until the caramel is completely smooth and glossy. Pour it into a heatproof bowl and set it aside to cool to room temperature.
Step 2: Melt the Chocolate and Butter
1 Preheat your oven to 180°C / 160°C fan / Gas Mark 4. Line a 20cm (8-inch) square baking tin with baking parchment, leaving a bit of overhang on the sides for easy removal later.
2 Roughly chop the dark chocolate and dice the unsalted butter. Place them together in a heatproof bowl set over a pan of gently simmering water (making sure the bottom of the bowl doesn’t touch the water).
3 Stir occasionally until completely melted and smooth. Remove the bowl from the heat and allow it to cool slightly while you prepare the rest of the batter.
Step 3: Whisk the Egg and Sugar Base
1 In a large mixing bowl (or the bowl of a stand mixer fitted with the whisk attachment), combine the 4 free-range eggs, light brown sugar, caster sugar, and vanilla extract.
2 Whisk vigorously on medium-high speed for about 3 to 5 minutes. The mixture should become pale, thick, and visibly expanded in volume. When you lift the whisk, it should leave a distinct trail (or ribbon) on the surface for a few seconds.
Step 4: Combine and Bake
1 Gently pour the melted chocolate and butter mixture into the whisked egg base. Use a rubber spatula to gently fold the mixture together until just combined, taking care not to knock too much air out of the batter.
2 Sift the plain flour, cocoa powder, and ¼ teaspoon of salt directly into the bowl. Fold gently until no pockets of dry flour remain.
3 Pour exactly half of the brownie batter into your prepared baking tin and smooth it into an even layer.
4 Take your cooled salted caramel and drizzle it uniformly over the batter layer.
5 Carefully spoon the remaining brownie batter over the caramel layer. Use a spatula to gently smooth it out to the edges, sealing the caramel inside.
6 Bake in the preheated oven for 25 to 30 minutes. When done, the edges should be completely set, but the center should still have a very slight, gentle wobble.
Step 5: Cool and Decorate
1 Remove the tin from the oven and place it on a wire rack. Let the brownies cool completely in the tin. As they cool, the center will firm up into a dense, fudgy masterpiece.
2 Once cooled, use the parchment paper overhang to lift the brownie block out of the tin.
3 Break the white chocolate into a microwave-safe bowl and melt it in 20-second bursts, stirring between each, until completely smooth.
4 Pour the melted white chocolate into a piping bag (or use a spoon) and drizzle it back and forth across the top of the brownie block in an intricate, intersecting web pattern.
5 Allow the white chocolate decoration to set completely before using a sharp, warm knife to slice into clean squares.
Top Baker’s Tips for Success
Don’t Overbake: Brownies continue cooking in the hot tin even after they are removed from the oven. If a toothpick inserted into the center comes out completely clean, they are overbaked. You want a few moist crumbs attached to the tester!
Room Temperature Eggs: Cold eggs can shock the melted chocolate mixture and cause it to seize or clump. Ensure your eggs are at room temperature before you begin.
Clean Slices: For perfectly clean, bakery-style squares, place the cooled, decorated brownie block into the fridge for 30 minutes before slicing. Wipe your knife blade with a hot, damp cloth between every single cut.
How to Store Your Brownies
Keep your brownies in an airtight container at room temperature for up to 4 days, or in the refrigerator for up to a week. If you prefer them ultra-chewy, eat them straight from the fridge! They also freeze beautifully—simply wrap individual squares tightly in plastic wrap and freeze for up to 3 months.
We’ve all been there. It’s 9 PM on a rainy Tuesday, the work emails won’t stop pinging, and your brain is screaming for something sweet, warm, and comforting. When life gets a bit too chaotic, some people meditate, others go for a brisk run, and a few light scented candles.
Me? I put on my comfiest trackies, head straight to the kitchen, and grab a jar of hazelnut spread.
What started as a viral TikTok meme—the ultimate “what do we do when we’re stressed?” joke—has officially become my holy grail baking recipe. Let’s be honest: standing over a warm oven and eating gooey chocolate straight from the baking tin might actually be the cheapest form of self-care available.
If you have a jar of Nutella, a couple of eggs, and a scoop of flour in your cupboard, you are exactly 20 minutes away from chocolate heaven. Here is why this recipe works, the science behind it, and how to nail it on your very first try.
The Secret Science: Why 3 Ingredients Actually Work
Usually, baking is a strict science experiment. If you forget the baking powder, mess up the sugar ratio, or use the wrong type of fat, your bake is ruined. You’re usually left hunting through the cupboards for golden syrup, cocoa powder, and blocks of expensive baking chocolate.
This recipe completely throws the traditional rulebook out the window. Why? Because the clever scientists at Ferrero have already done the hard work for you.
• The Nutella: Think of Nutella not just as a topping, but as your primary baking base. It is already packed with cocoa for flavour, sugar for sweetness, and palm oil/hazelnut fats for moisture. It replaces the butter, sugar, and cocoa powder of a traditional brownie in one single scoop.
• The Eggs: Eggs are the magicians of this recipe. They provide the structure, the rise, and—most importantly—that highly coveted, shiny, papery crinkle-top that separates a mediocre brownie from an elite one.
• The Plain Flour: A tiny amount of plain flour binds everything together. Because we aren’t using raising agents (like self-raising flour or baking powder), the dense properties of plain flour keep the texture beautifully fudgy rather than cake-like.
No fancy equipment, no waiting for butter to soften on the counter for hours, and practically zero washing up. It is pure kitchen efficiency.
The Recipe: Fudgy Nutella Brownies
Ingredients
• Nutella: 280g (Roughly one standard small jar. Ensure it’s at room temperature so it mixes easily.)
• Eggs: 2 Large (Use free-range, room-temperature eggs for the best rise.)
• Plain Flour: 65g (Standard plain white flour – do not use self-raising!)
Step-by-Step Method
1. Prep Your Station
Before you do anything else, preheat your oven to 180°C (160°C fan/Gas Mark 4). Line a small square baking tin (around 8×8 inches or 20×20 cm) with baking parchment.
Top Tip: Leave a bit of parchment overhang on the sides. This creates “handles” so you can easily lift the brownie block out of the tin later without it breaking apart.
2. Whisk the Base
In a medium-sized mixing bowl, crack in your two large eggs and add the 280g of Nutella. Grab a whisk and go to town. At first, it might look a bit split, lumpy, or strange as the cold eggs hit the thick spread. Keep whisking for about a minute! Suddenly, it will transform into a beautifully smooth, glossy, and thick chocolate batter.
3. Fold, Don’t Stir
Sift your 65g of plain flour into the bowl. Put the whisk away and grab a silicone spatula or a wooden spoon. Gently fold the flour into the chocolate mixture using a figure-of-eight motion just until the white streaks disappear.
The Golden Rule: Stop mixing the second the flour is incorporated! If you overmix the batter, you will develop the gluten in the flour. This turns your dense, fudgy brownies into a tough, bready cake—and nobody wants a bready brownie.
4. Into the Oven
Pour the batter into your lined tin. It will be quite thick and sticky, so use your spatula to smooth it out into the corners. Pop it into the middle shelf of the oven and bake for 15 to 20 minutes.
The Ultimate Brownie Test: Fudgy vs. Overbaked
How do you know when they are perfectly done?
You want the edges to look set and matte, and the top should have that gorgeous, paper-like crinkle. However, if you gently shake the tin, the very centre should still have a tiny bit of a wobble.
If you insert a toothpick or skewer into the centre, it should not come out completely clean. It should have a few moist, sticky crumbs attached to it. If the skewer comes out completely dry, you’ve overbaked them into a cake. Pull them out early—they will continue to firm up as they cool down in the hot tin!
Variations to Try (If You’re Feeling Fancy)
While the 3-ingredient version is perfect on its own, it also acts as a brilliant blank canvas. If you want to level up your bake next time, try folding in these extras right before baking:
• The Sweet & Salty: Add a generous pinch of flaky sea salt (like Maldon) over the top right before it goes in the oven.
• The Crunch: Fold in 50g of chopped, toasted hazelnuts to mimic the inside of a Ferrero Rocher.
• The Ultimate Chocolate Fix: Toss in a handful of white or milk chocolate chips for a bit of texture.
How to Serve
If you possess an incredible amount of self-control, let the brownies cool completely in the tin for about 20–30 minutes, slice them into neat squares, and serve them alongside a scoop of vanilla bean ice cream or a hot cup of tea.
If you’re having one of those weeks? Forget the knife. Grab a spoon, sit yourself down on the kitchen floor, and eat them warm and gooey straight out of the tin. We completely support your journey.
Have you tried the 3-ingredient Nutella brownie trend yet, or are you skeptical that a recipe this simple can actually taste good? Let me know in the comments below if you’re team fudgy or team cakey!
Let’s be real—some nights call for a drink, and some call for a serious chocolate fix. But when you want to feel a bit more sophisticated? You combine them.
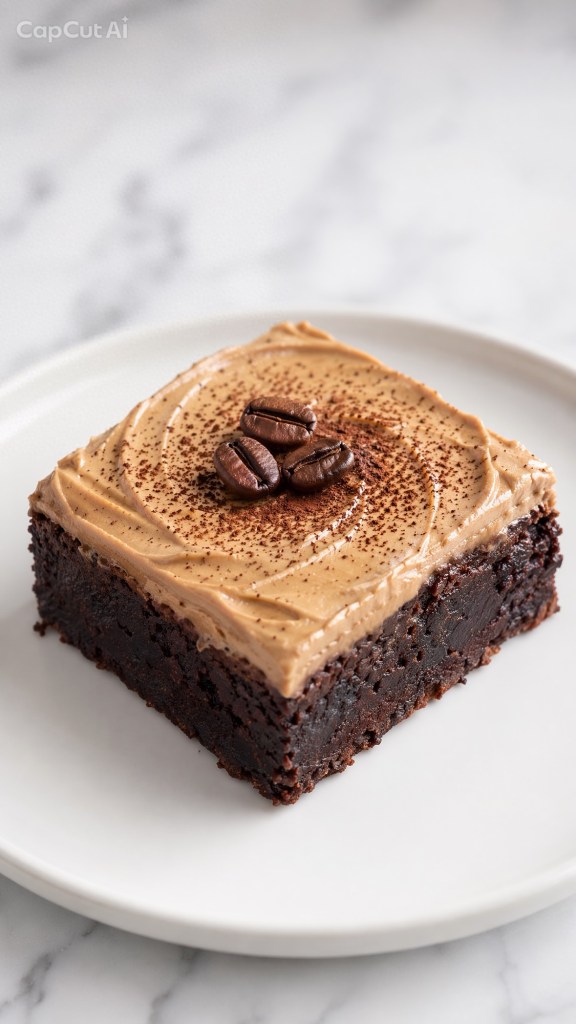
Meet the Espresso Martini Brownie.
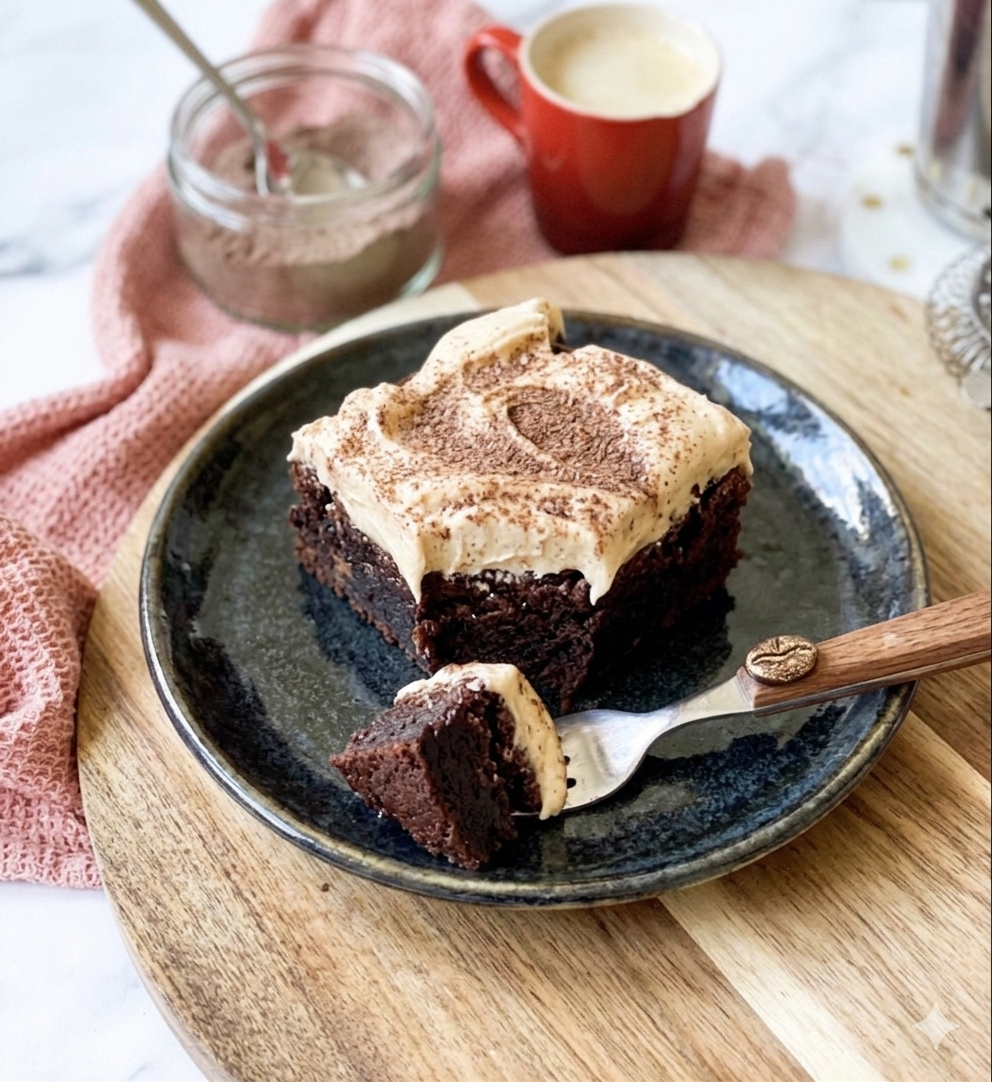
This is the brownie for grown-ups. We’re talking a dark, intense, fudgy base that’s packed with molten chocolate, topped with a silky buttercream spiked with a proper hit of coffee liqueur. It’s rich, it’s boozy, and it’s the ultimate “wow” dessert for when you’re hosting (or when you just want to feel fancy on a Friday night).
Why These Work:
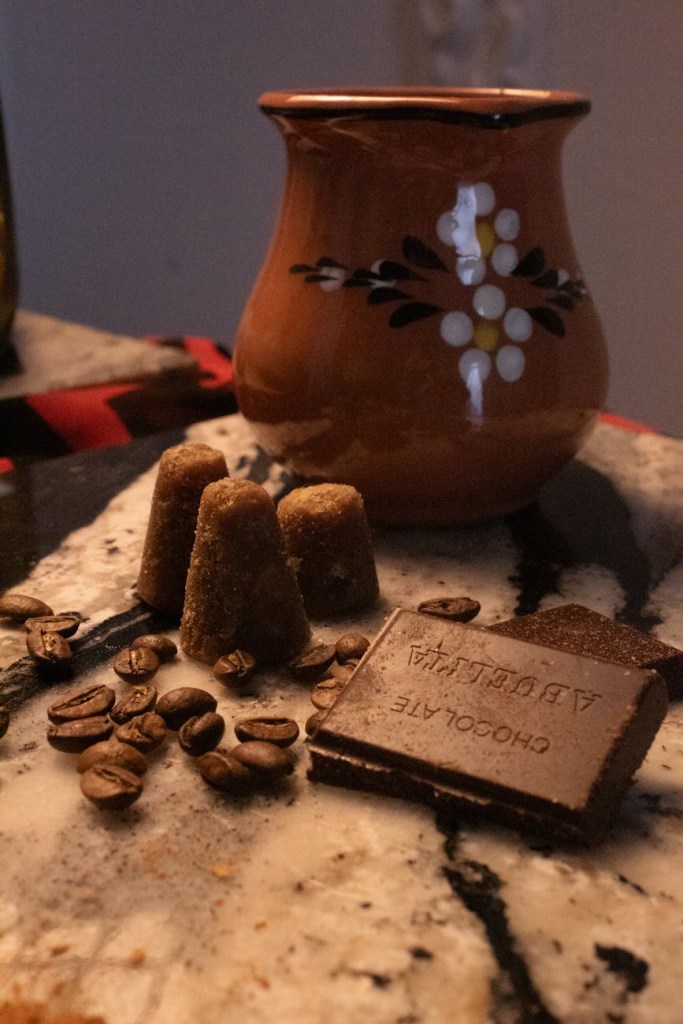
• The Depth: Dark chocolate and espresso are a match made in heaven. The coffee makes the chocolate taste ten times more intense.
• The Texture: No cakey brownies here. These are dense, fudgy, and loaded with chunks.
• The Finish: The frosting is basically an Espresso Martini in buttercream form. It’s elite.
The Recipe (UK Measurements)
Prep: 15 mins | Bake: 30 mins | Makes: 12 squares of absolute indulgence
• 30ml Coffee Liqueur (Kahlúa or Tia Maria work perfectly)
Let’s Bake
1. Prep: Preheat your oven to 170°C (150°C Fan). Line a 20cm (8″) square tin with baking paper.
2. Whisk: Combine your melted butter and both sugars. Whisk for a solid 3-5 minutes until the mixture is pale and smooth—this is the secret to that perfect texture.
3. The Base: Stir in the eggs and coffee extract. Slowly pour in the melted dark chocolate, making sure it’s cooled slightly so it doesn’t cook the eggs.
4. Fold: Sift in the flour, cocoa, and a pinch of salt. Fold it gently with a spatula until just combined. Stir through those milk chocolate chunks.
5. Bake: Pour the batter in and bake for 30 minutes. You want a slight wobble in the middle—that’s how you keep them fudgy. Let them cool completely in the tin.
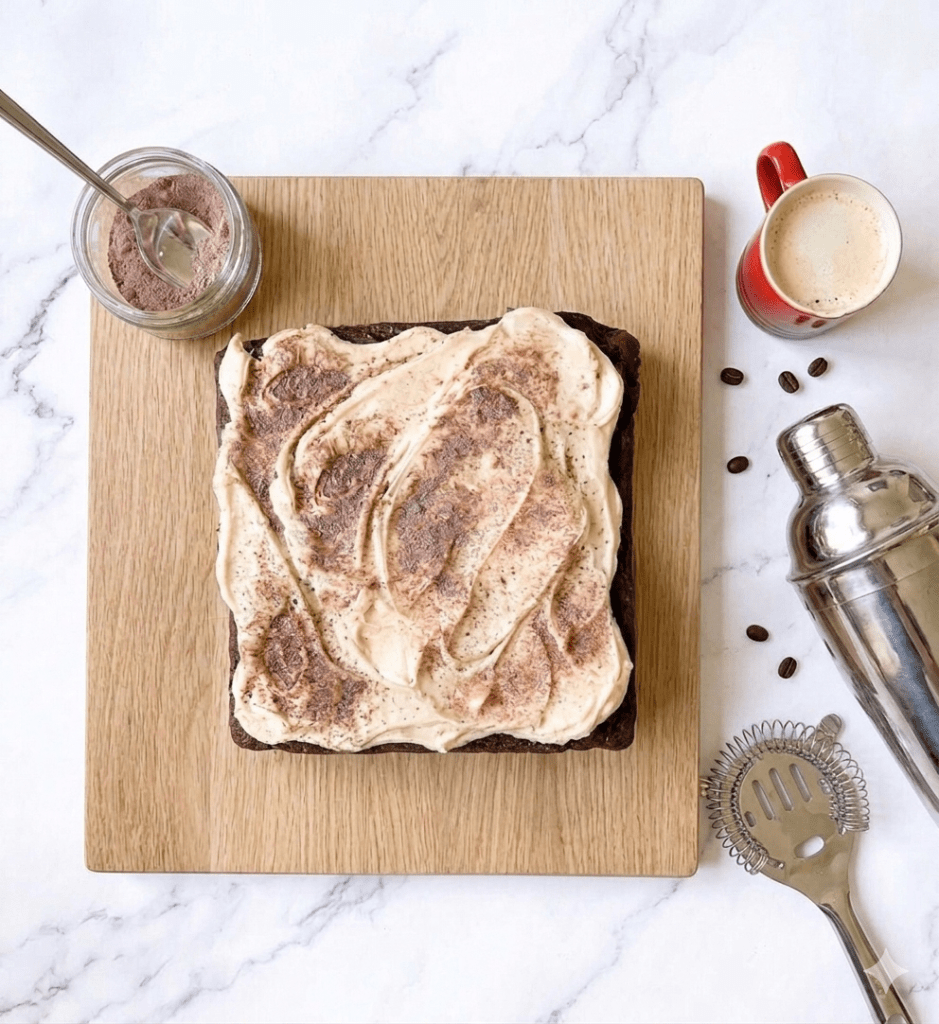
6. The Frosting: Whisk the softened butter and liqueur together, then gradually add the icing sugar. Beat it until it’s light and fluffy. Spread it thick, dust with extra cocoa powder, and slice into clean squares.
Pro Tip: For the full cocktail-hour vibe, serve a single square on a dark plate with a silver pastry fork. It’s pure class.
Whether you’re serving these at a late-night party or just treating yourself after a long week, these brownies are the ultimate proof that you don’t need a glass to enjoy a cocktail. They’re dark, they’re boozy, and they’re far too good to share—so maybe keep the tin hidden. Give them a go, and let me know if they become your new after-hours obsession!
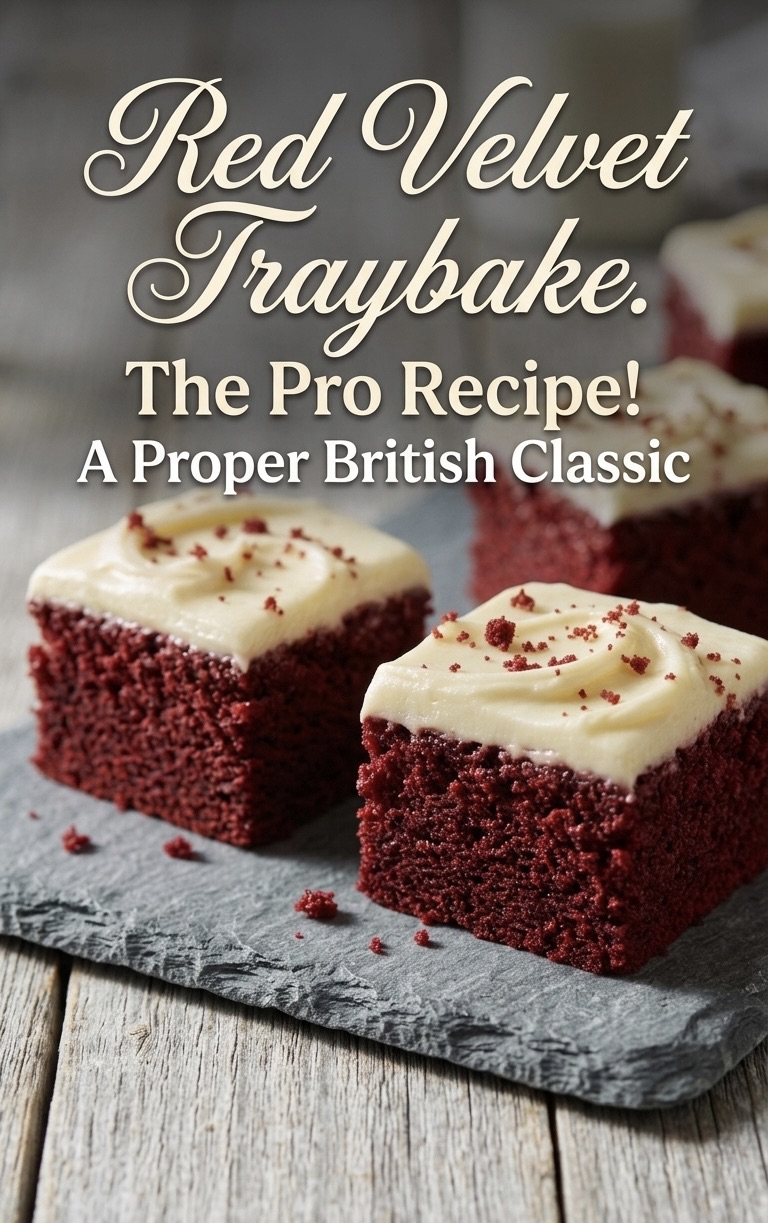
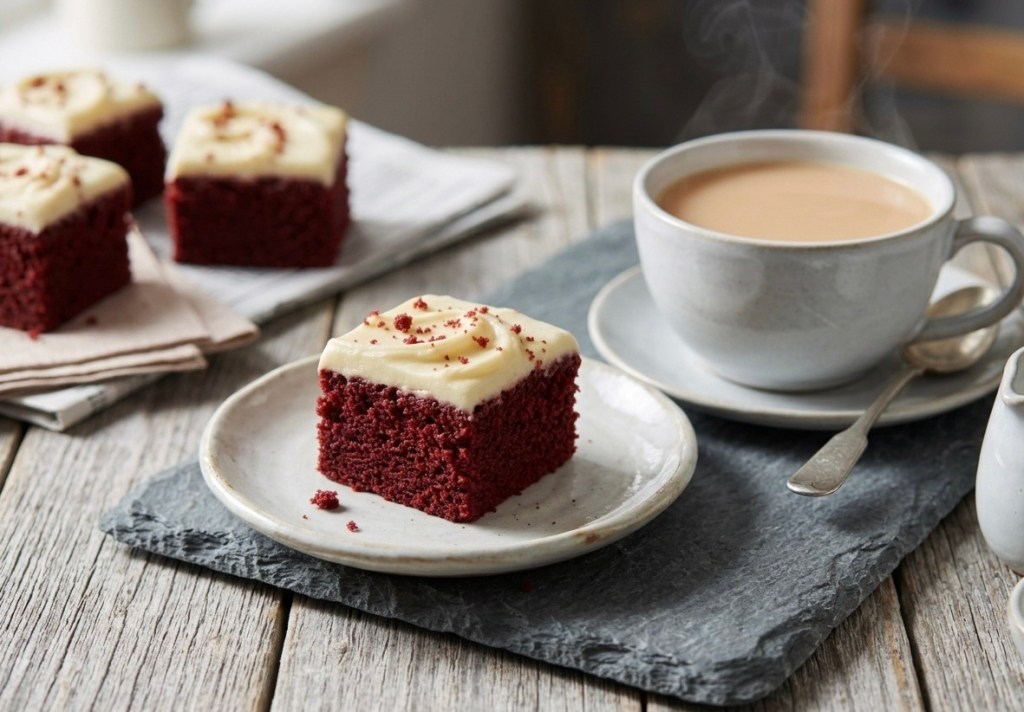
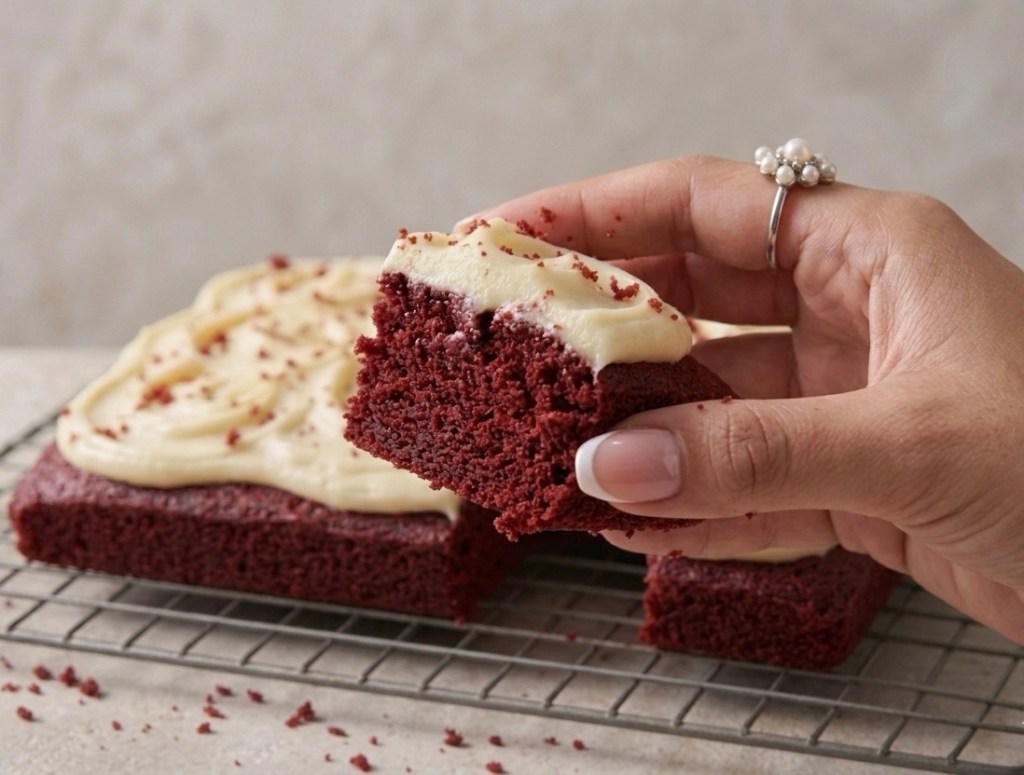
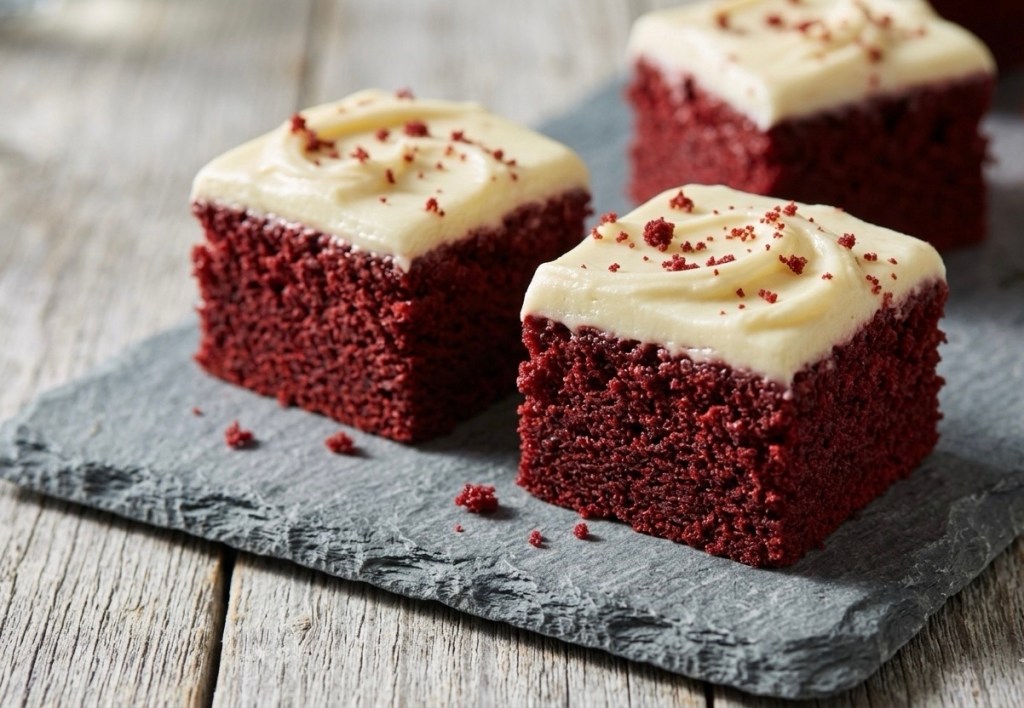
Let’s be honest—Red Velvet is a cake that often gets a bad reputation. Too many people think it’s just a chocolate cake with a bottle of red dye thrown in. But a proper Red Velvet is a masterpiece of baking chemistry. It’s tangy, incredibly light, and has a unique “velvet” crumb that sets it apart from any other sponge.
If you’ve struggled with dry cakes or a “muddy” colour in the past, this one-tin traybake is about to change your kitchen game.
The “Velvet” Secret: Chemistry in a Tin 🧪
The magic of this recipe lies in the reaction between 1 Tbsp white wine vinegar and 1 tsp bicarbonate of soda. When you mix these right at the end, they fizz up, creating tiny air bubbles that give the sponge its iconic, tight-but-fluffy texture.
Combined with 200ml of buttermilk, you get a sponge that stays moist for days and has that signature subtle tang that balances the sweetness.
The Pro-Secret: Sugarflair Velvet Red 🎨
We’ve all been there—using an entire bottle of supermarket liquid colouring only to end up with a cake that looks maroon or, worse, brown. For this recipe, we are using 1–3 tsp of Sugarflair Velvet Red paste.
Because it’s a concentrated paste, it delivers a deep, dramatic crimson without adding extra liquid to your batter. You can easily find it online, and it is worth every penny for that professional bakery finish.
The Topping: Cream Cheese Perfection 🥯
The frosting is the crowning glory. To get it perfect every time:
• Temperature Matters: Ensure your 100g of butter and 250g of full-fat cream cheese are at room temperature. Cold cheese leads to lumps!
• The Method: Whisk the butter and 100g of icing sugar until pale and fluffy first. Only then do you fold in the cream cheese. If you over-beat it, the icing can turn runny, so keep it brief!
The Ingredients
For the Sponge:
• 250g unsalted butter, softened
• 250g caster sugar
• 4 medium eggs
• 200ml buttermilk
• 275g self-raising flour
• 50g cocoa powder
• 1–3 tsp Sugarflair Velvet Red paste (available online)
• 1 Tbsp white wine vinegar
• 1 tsp bicarbonate of soda
For the Icing:
• 100g unsalted butter, softened
• 100g icing sugar, sifted
• 250g full-fat cream cheese (room temperature)
• Red sprinkles (optional)
Step-by-Step Directions
1. Prep the Tin: Preheat your oven to 180°C (160°C fan). Grease and line a roughly 20 x 30cm baking tin with baking parchment.
2. Cream the Base: In a large bowl, whisk the 250g butter and 250g caster sugar until pale and fluffy.
3. Mix the Wet & Dry: In a jug, whisk the eggs and buttermilk. Sift your 275g self-raising flour and 50g cocoa into a separate bowl.
4. Combine: Add 1/3 of the egg mix to the butter, then 1/3 of the flour. Repeat until incorporated. Beat in your Sugarflair paste until you hit that gorgeous red shade.
5. The Fizz: Quickly mix the vinegar and bicarb in a small cup. Pour the fizzing mix into the batter, beat it in quickly, and get it straight into the tin.
6. Bake: Bake for 45 minutes or until a skewer inserted into the centre comes out clean. Let it cool completely in the tin.
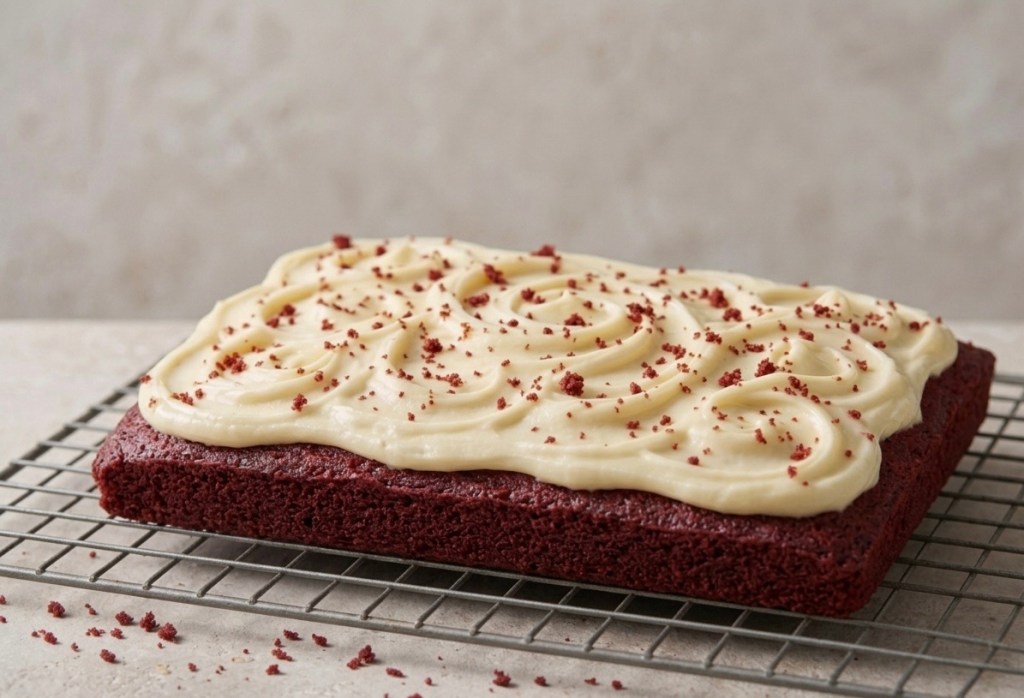
7. The Frosting: Whisk the 100g butter and 100g icing sugar until light. Gently beat in the 250g cream cheese just until combined.
8. Finish: Spread thick over the cooled sponge, add sprinkles, and cut into 16 generous squares.
So, there you have it—the only Red Velvet recipe you’ll ever need in your baking arsenal! Honestly, once you’ve seen that vinegar and bicarb work their magic and tasted that silkier-than-silk cream cheese frosting, there’s no going back. It’s the perfect bake for when you want something that looks incredibly impressive but actually lets you keep your cool in the kitchen.
If you do give it a whirl, please tag me in your photos or leave a comment below—I’d love to see your crimson masterpieces! Now, if you’ll excuse me, I have some “quality control” testing to do with a cuppa and a very large square of cake. Happy baking, everyone! 🍰✨
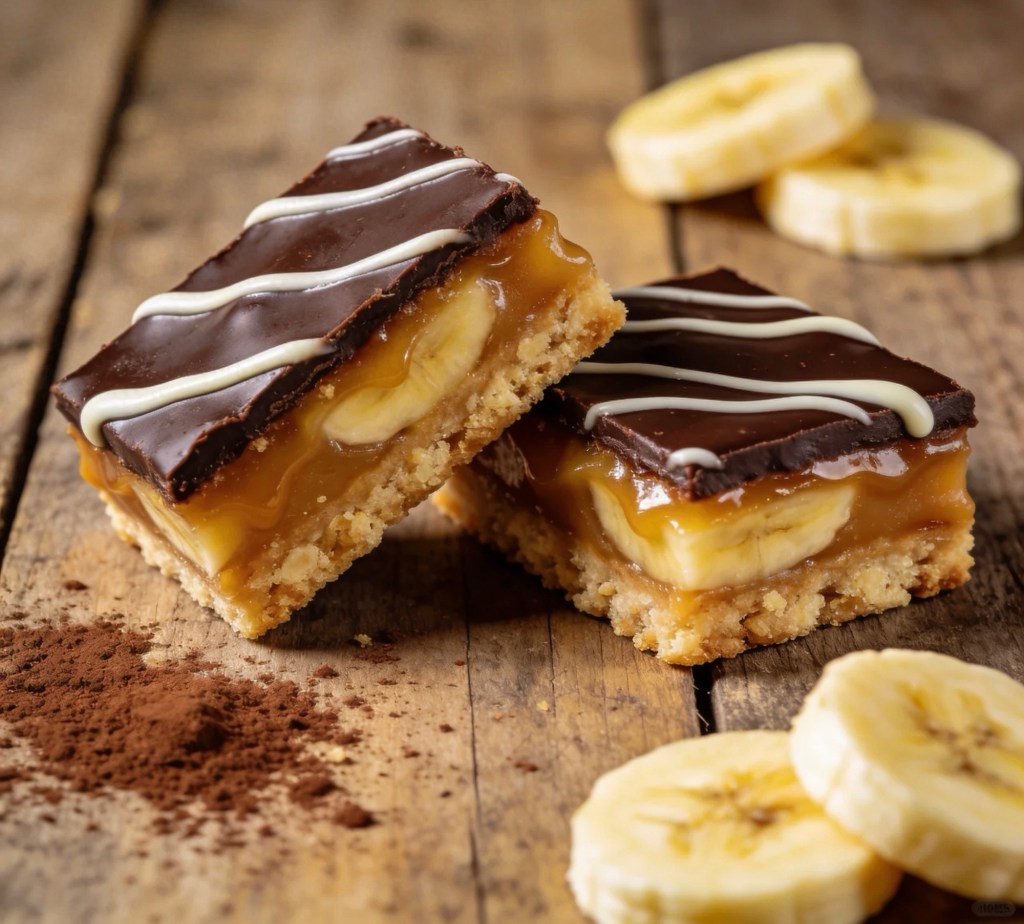
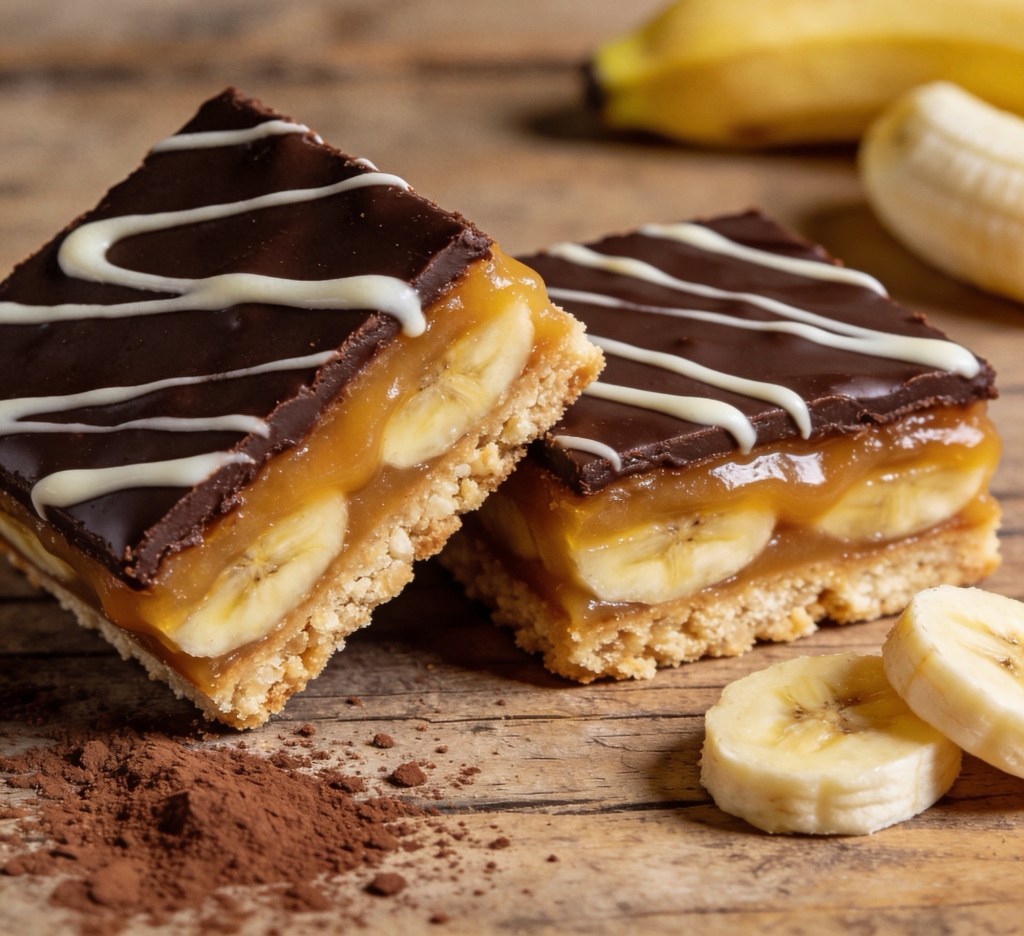
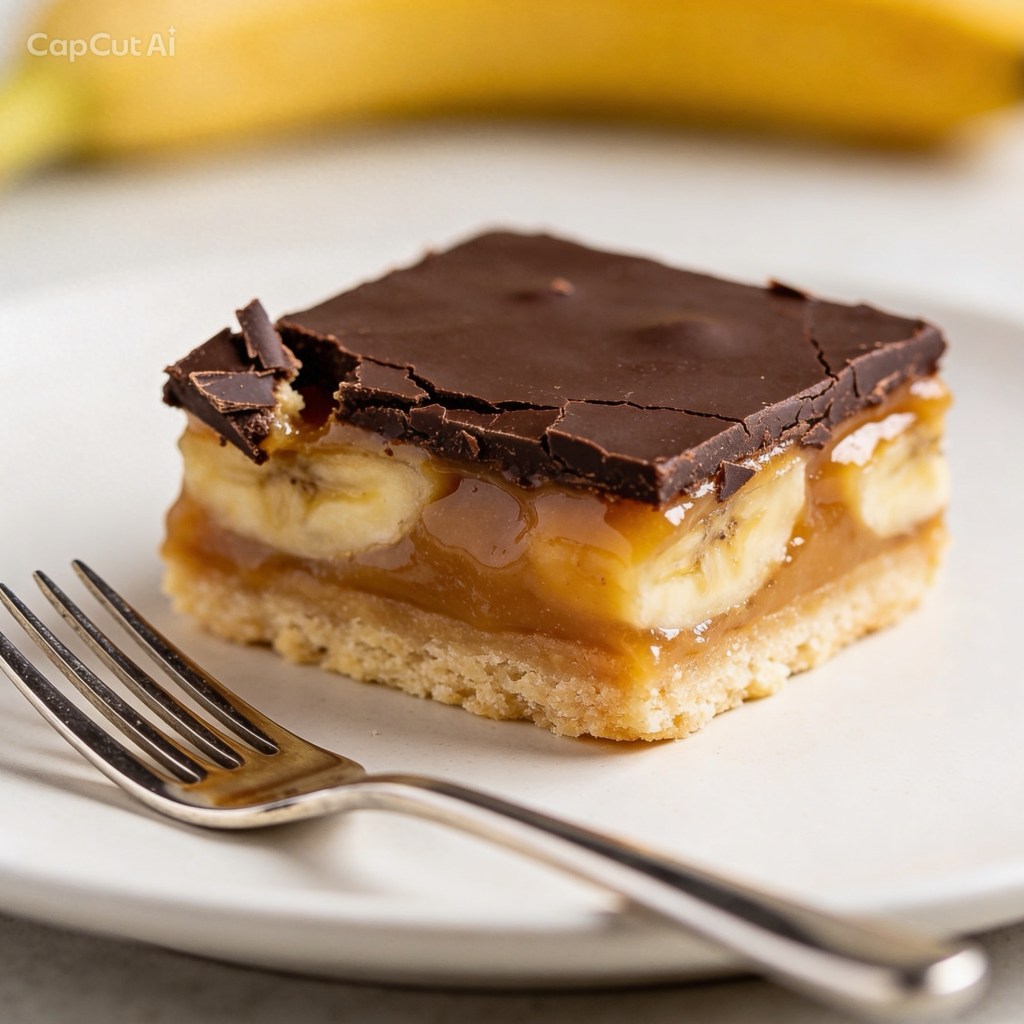
If you can’t decide between a classic Banoffee Pie and the rich, decadent layers of a Millionaire’s Shortbread, I have some very good news: you don’t have to.
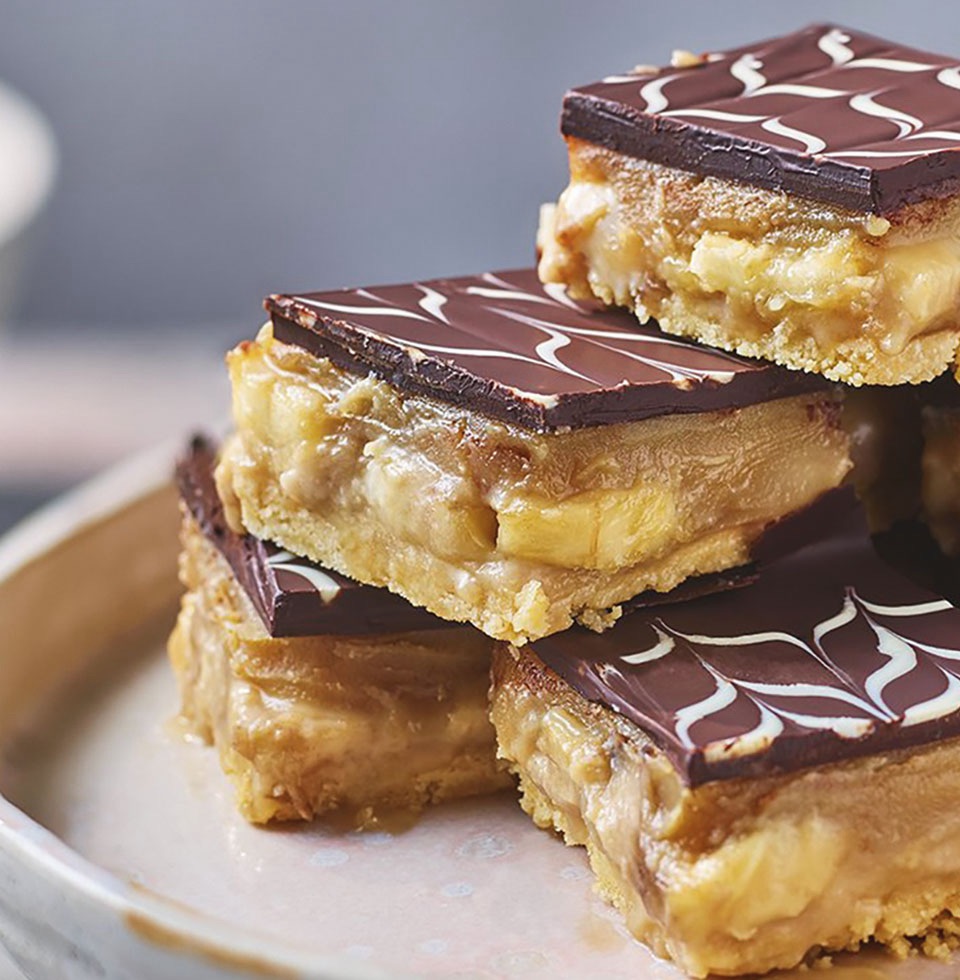
This Banoffee Millionaire’s Shortbread takes everything you love about both desserts and stacks them into one incredible bite. We’re talking a buttery shortbread base, a layer of fresh sliced bananas, a deep fudge-like caramel, and a marbled chocolate topping that looks professional but is secretly so easy to do.
The Shopping List
The Base
• 250g Shortbread Biscuits: Crushed into fine crumbs.
• 55g Butter: Melted to bind it all together.
The Filling
• 150g Dark Brown Soft Sugar: This gives the caramel a deeper, toffee-like flavor.
• 150g Butter: For that silky texture.
• 397g Can Condensed Milk: The secret to perfect “no-fail” caramel.
• 2 Bananas: Ripe but firm works best here.
The Topping
• 200g Dark Chocolate: To balance the sweetness of the caramel.
• 55g White Chocolate: For that beautiful marbled effect.
Step-by-Step Instructions
1. The Foundation
Start by combining your crushed shortbread and the 55g of melted butter. Press this firmly into a 20cm square tin lined with parchment paper. You want it packed tight so it doesn’t crumble when you slice it later! Pop that in the fridge for 20 minutes to firm up.
2. The Caramel Layer
In a non-stick pan, gently melt the sugar and the remaining 150g of butter. Once smooth, pour in the condensed milk. Now, turn up the heat and bring it to a rapid boil, stirring constantly (don’t walk away, or it’ll catch!). Cook for about a minute until it thickens and turns a gorgeous amber color.
3. The Banoffee Secret
While the caramel is slightly cooling, slice your bananas and layer them evenly across your chilled biscuit base. Pour that warm caramel directly over the bananas, smoothing it out to the edges. Let it cool, then chill in the fridge until it’s fully set.
4. The Marbled Finish
Melt your dark and white chocolates in separate bowls. Pour the dark chocolate over the set caramel layer. While it’s still wet, drop spoonfuls of the white chocolate on top. Use a skewer or a small spoon to gently swirl them together to create a marble pattern.
5. The Perfect Slice
Once the chocolate is set, remove the block from the tin. To get those clean, “bakery-style” edges, dip your knife in hot water, wipe it dry, and slice through the chocolate while the blade is still warm.
Why This Works
The dark brown sugar in the caramel mimics the flavor of a traditional Banoffee “Dulce de Leche,” while the fresh bananas add a soft texture that breaks up the richness of the chocolate. It’s the perfect treat for a weekend bake or a crowd-pleasing party tray.
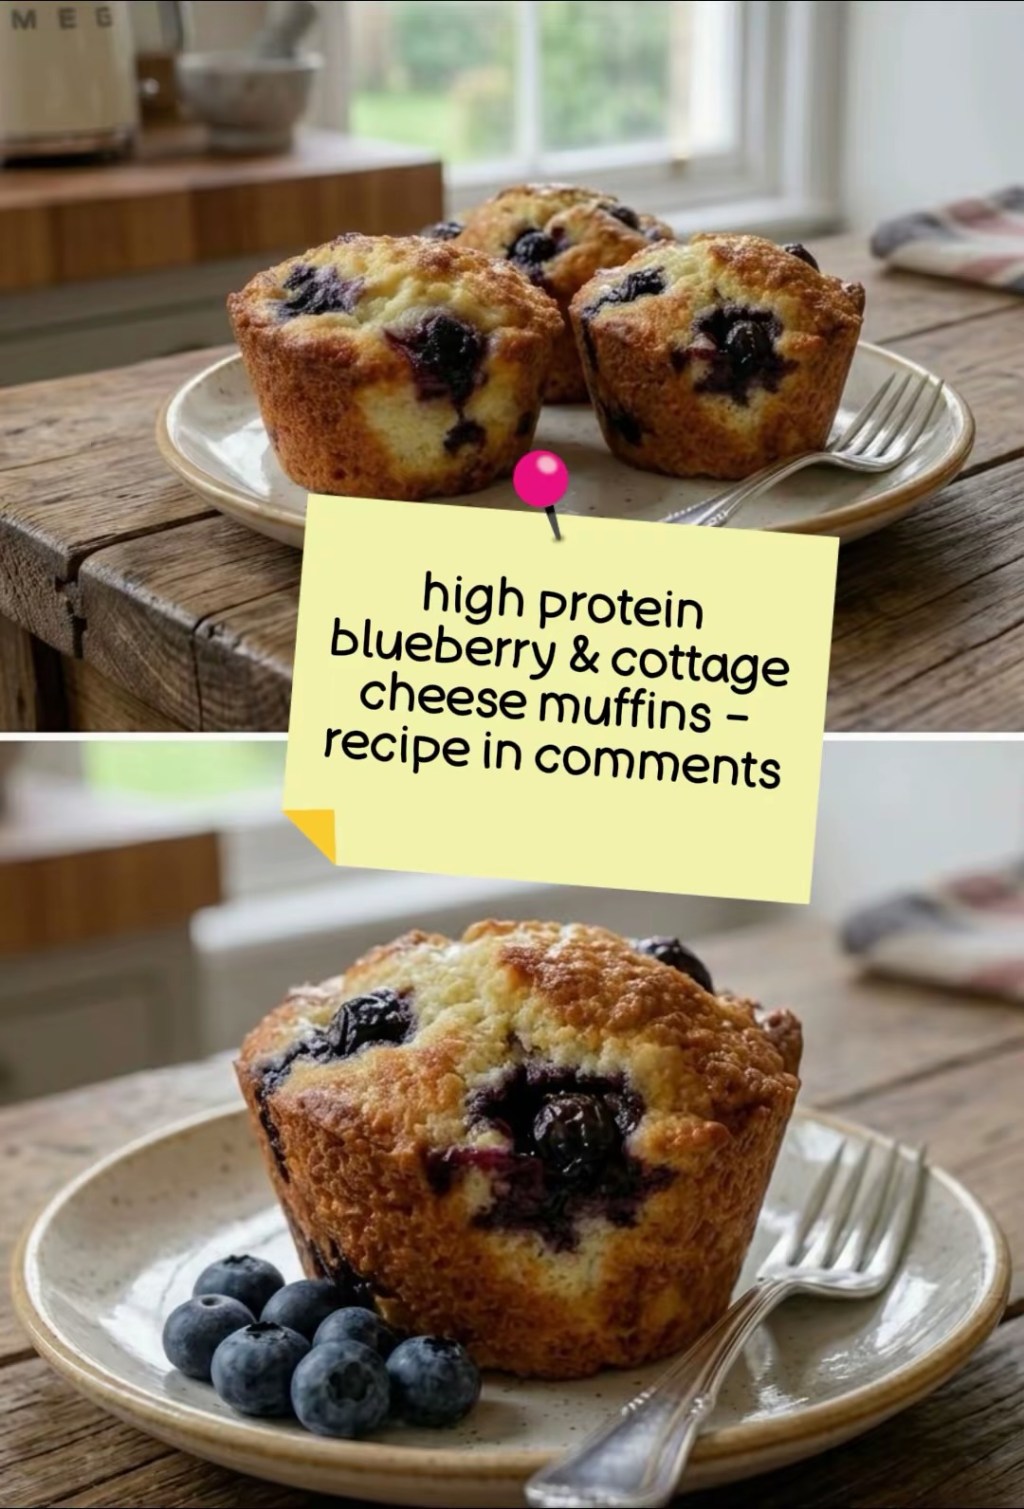
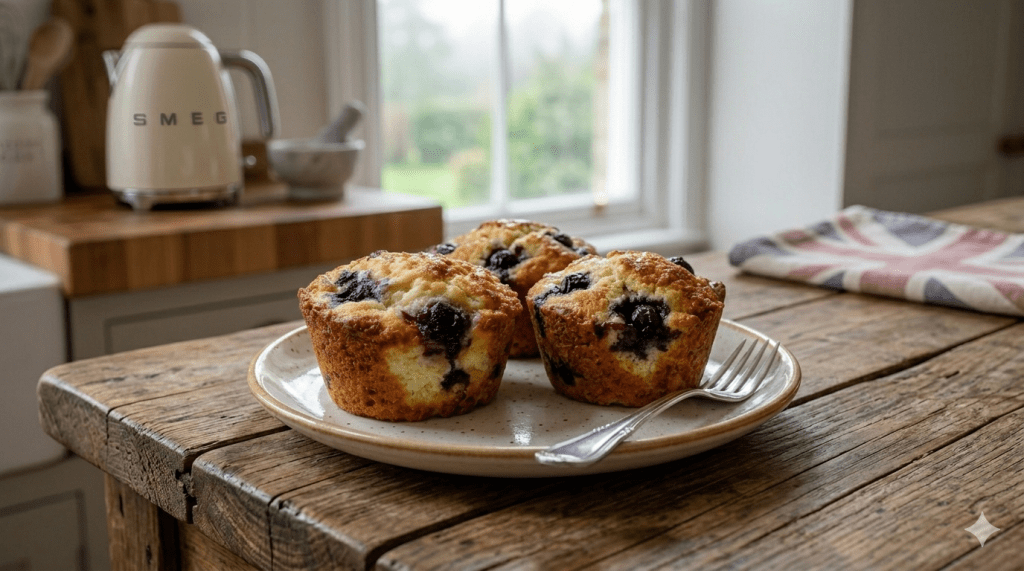
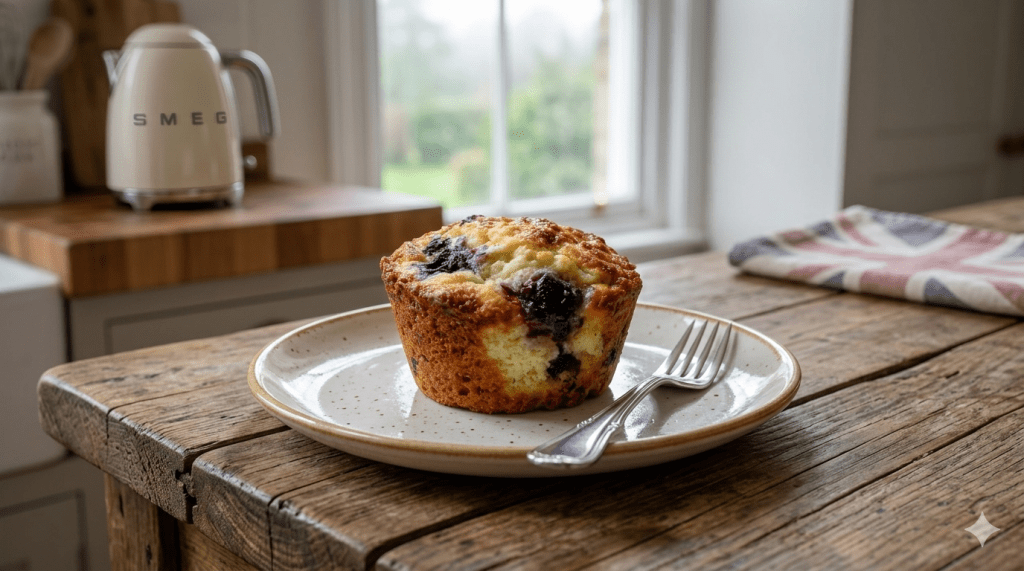
I am so excited to finally share this recipe with you. It’s been a total game-changer in our house. We are always on the look-out for healthy, high-protein snacks that actually taste good, and these Blueberry Cottage Cheese Protein Muffins hit all the right marks.
Yes, you read that correctly—cottage cheese! I know it might sound unusual, but it’s the secret to making these muffins incredibly moist, tender, and, most importantly, packed with protein. The cottage cheese completely melts away during baking, leaving you with a light and fluffy muffin and zero strange texture. My kids (the toughest critics) absolutely love them and have no idea they are eating something healthy.
Each muffin delivers a serious punch of protein, making them the perfect grab-and-go breakfast for busy mornings or a satisfying post-workout snack. They are naturally sweetened and full of juicy blueberries, giving you that classic muffin flavour without all the refined sugar and flour.
I’ve rewritten the recipe with UK measurements to make it as easy as possible for everyone. Give them a try this weekend and let me know what you think! Happy baking!
Have you tried adding cottage cheese to your baking before? Share your experience or a photo of your muffins in the comments below, or tag me on Instagram—I’d love to see your creations!
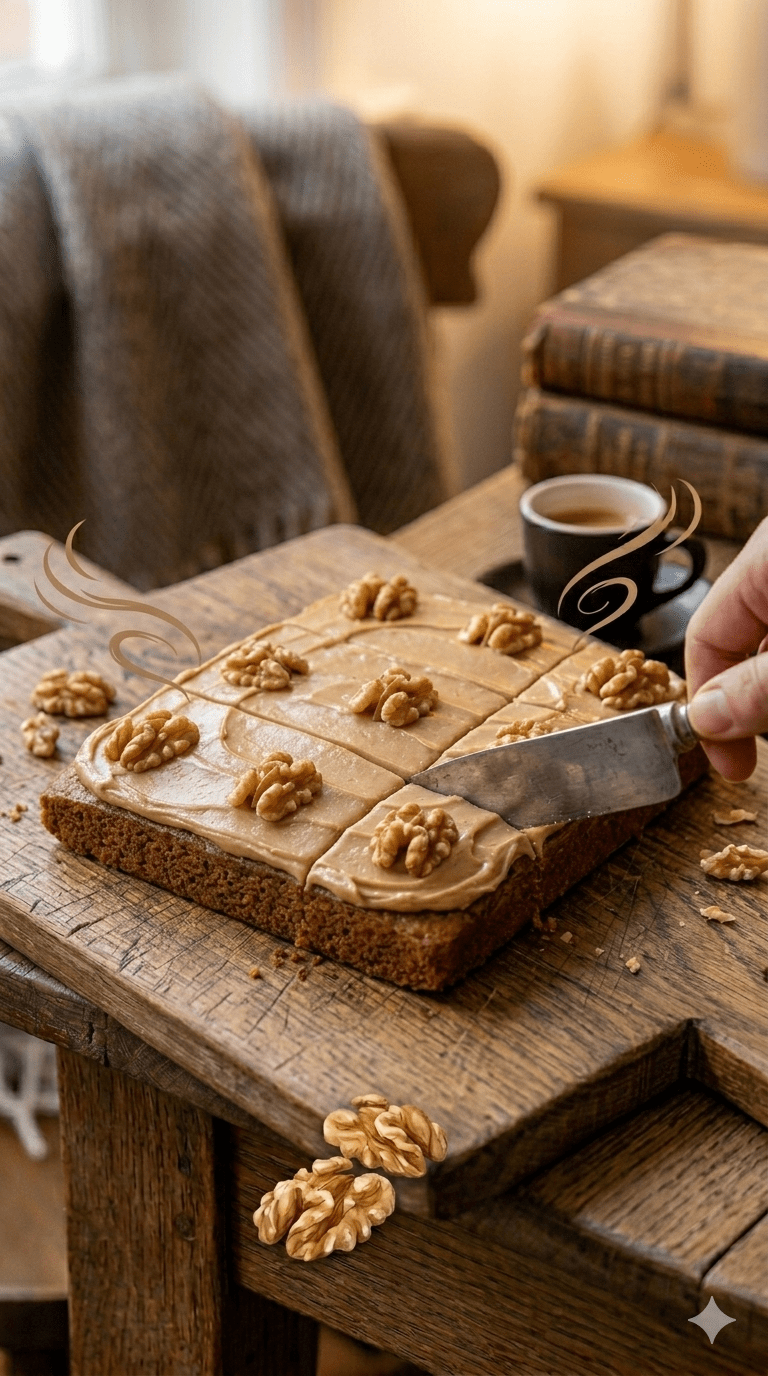
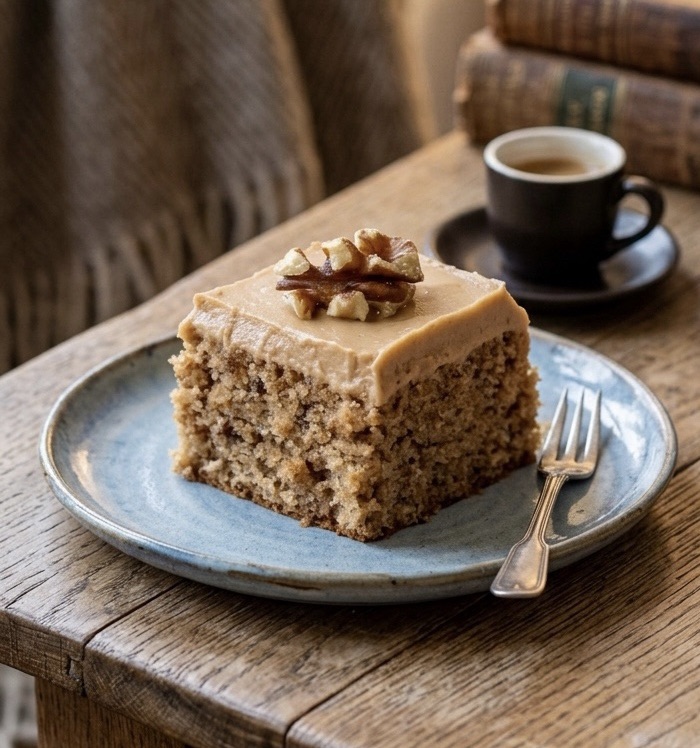
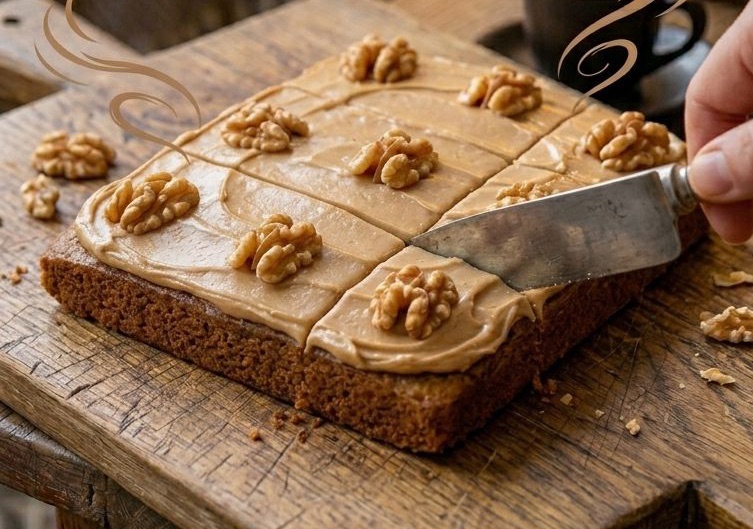
There are few sights more welcoming on a rainy afternoon than a fresh Coffee & Walnut Traybake sitting on a rustic wooden table. It is the quintessential British teatime treat—sophisticated enough for a garden party, yet humble enough for a Tuesday morning “pick-me-up.”
In this guide, we’re diving deep into how to achieve that perfect balance of earthy nuttiness, bold caffeine notes, and a sponge so soft it practically melts.
The Anatomy of a Perfect Traybake
What makes a traybake superior to a standard round cake? It’s all about the surface area. A traybake offers a consistent thickness, ensuring every slice is evenly baked and topped with a generous, level layer of decadent buttercream.
🛒 The Ingredient Breakdown
To achieve bakery-quality results at home, quality matters:
• The Fat: Use unsalted butter at room temperature. If it’s too cold, it won’t cream; if it’s melted, your sponge will be heavy.
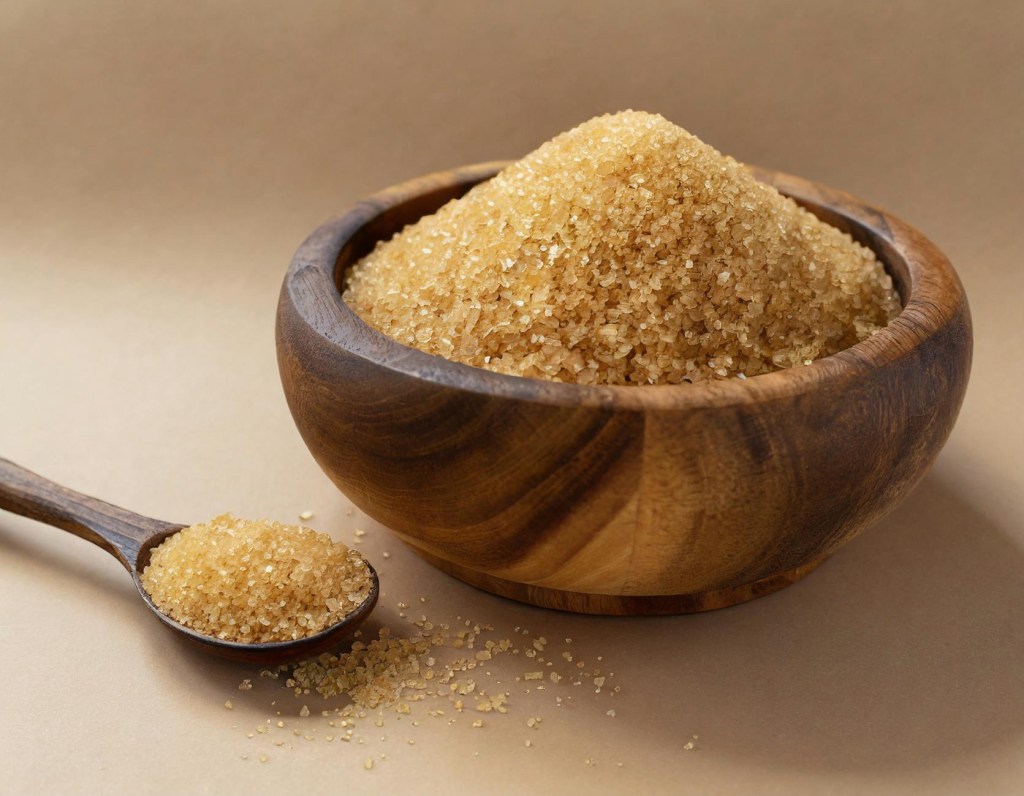
• The Sugar: We use Light Brown Soft Sugar. The molasses content adds a moisture and a “toffee” undertone that white sugar simply can’t match.
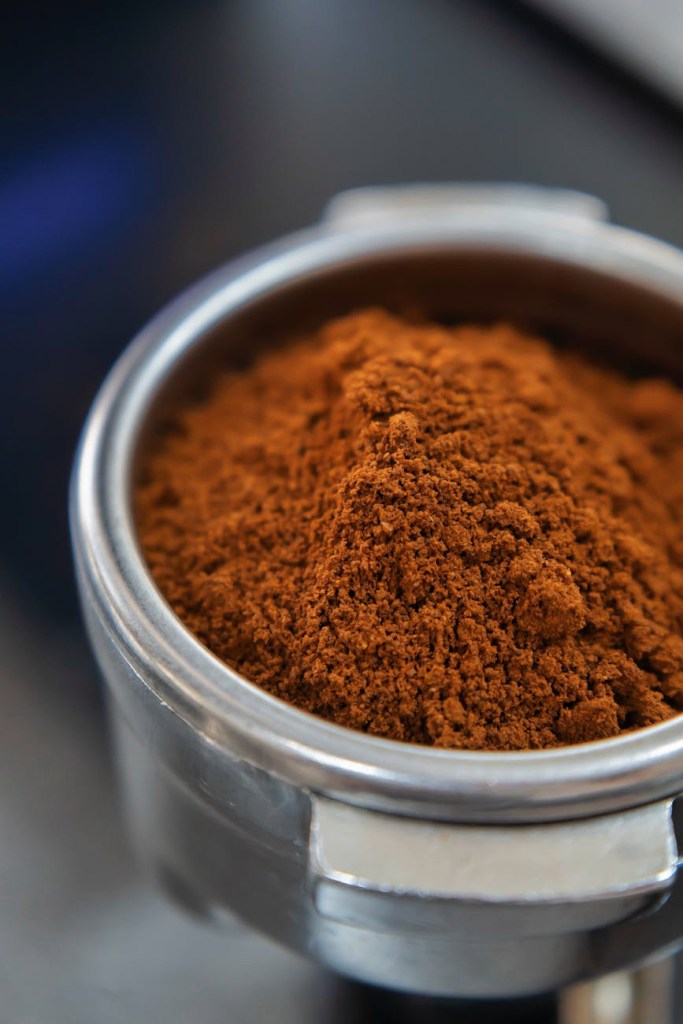
• The Coffee: Instant coffee granules are actually preferred over liquid espresso here because they provide an intense flavor without adding too much extra liquid, which can throw off the chemistry of the rise.
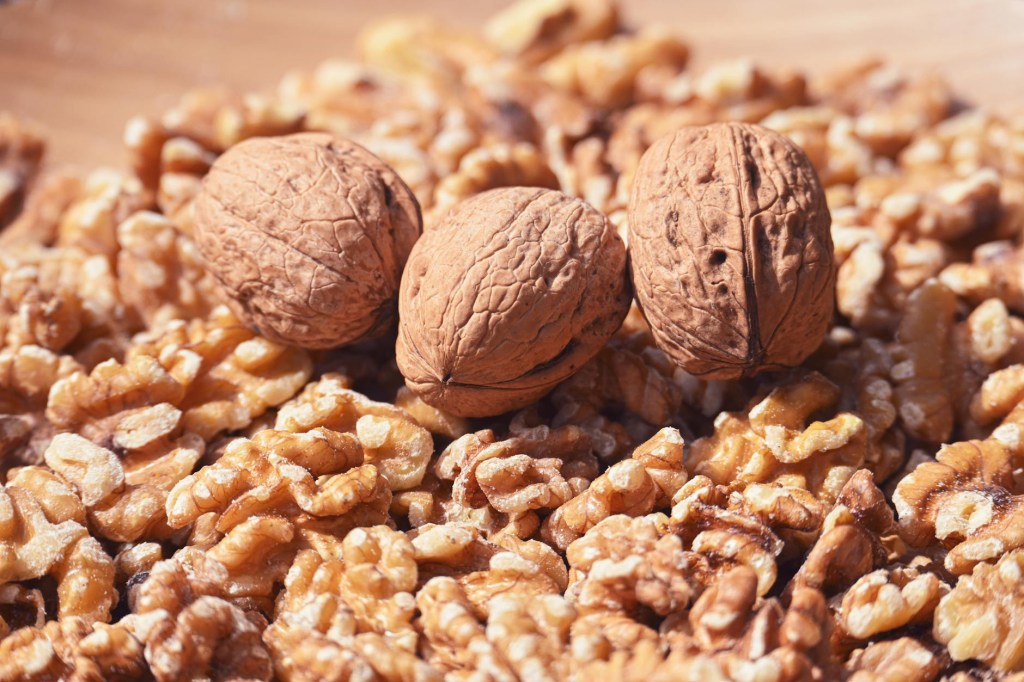
• The Crunch: Use fresh walnuts. Walnuts can go rancid quickly due to their high oil content, so give them a quick sniff before chopping!
Step-by-Step: The Method to the Magic
1. The Creaming Stage
Start by beating your 225g butter and 225g brown sugar. You are looking for a transformation: the mixture should turn from dark and gritty to pale and fluffy. This process incorporates tiny air bubbles that expand in the oven, giving you a light-as-air crumb.
2. Incorporating the Eggs
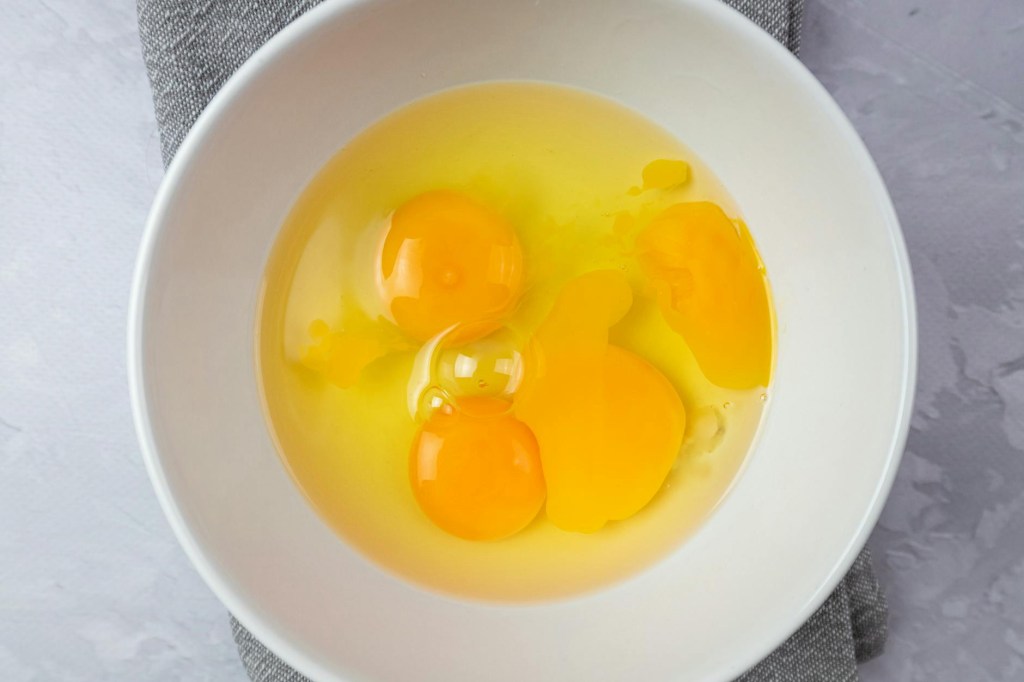
Add your 4 large eggs one at a time.
Pro Tip: If the mixture looks like it’s starting to curdle (split), add a tablespoon of your weighed flour. This binds the fat and liquid back together.
3. Folding, Not Mixing
Once the vanilla and coffee are in, sift in the 225g self-raising flour. Use a large metal spoon or a spatula to “cut and fold” the flour in. Stop the second you see no more white streaks. Over-mixing develops gluten, which results in a tough, bread-like cake rather than a tender sponge.
4. The Bake
Smooth the batter into a lined 20 × 30 cm tin. Bake at 180°C (160°C fan) for 25–30 minutes. You’ll know it’s ready when the edges slightly pull away from the parchment and the center springs back when lightly pressed.
The Crowning Glory: Coffee Buttercream
A traybake is only as good as its frosting. To get that “cloud-like” consistency for your Coffee Buttercream:
1. Beat the 150g butter on its own for 3-5 minutes before adding any sugar. It should turn almost white.
2. Gradually add 300g sifted icing sugar. Sifting is non-negotiable if you want a silky finish!
3. Add your dissolved coffee concentrate. This not only adds flavor but acts as the liquid to loosen the frosting to a spreadable dream.
Customizations & Variations
• The Mocha Twist: Add 1 tbsp of cocoa powder to the sponge mix for a subtle chocolate-coffee vibe.
• The Boozy Bake: For an adult-only version, replace the water used to dissolve the coffee with a splash of coffee liqueur (like Kahlúa).
• Nut Alternatives: If you aren’t a fan of walnuts, pecans are a fantastic substitute, offering a sweeter, more buttery crunch.
Storage & Serving
This cake actually improves after a few hours as the coffee flavor matures. Store it in an airtight container in a cool place (not the fridge, which dries out the sponge) for up to 3 days. Serve with a strong espresso or a classic pot of Earl Grey.
Ready to get baking? Grab your apron and turn your kitchen into the coziest café in town. Don’t forget to tag us in your creations!