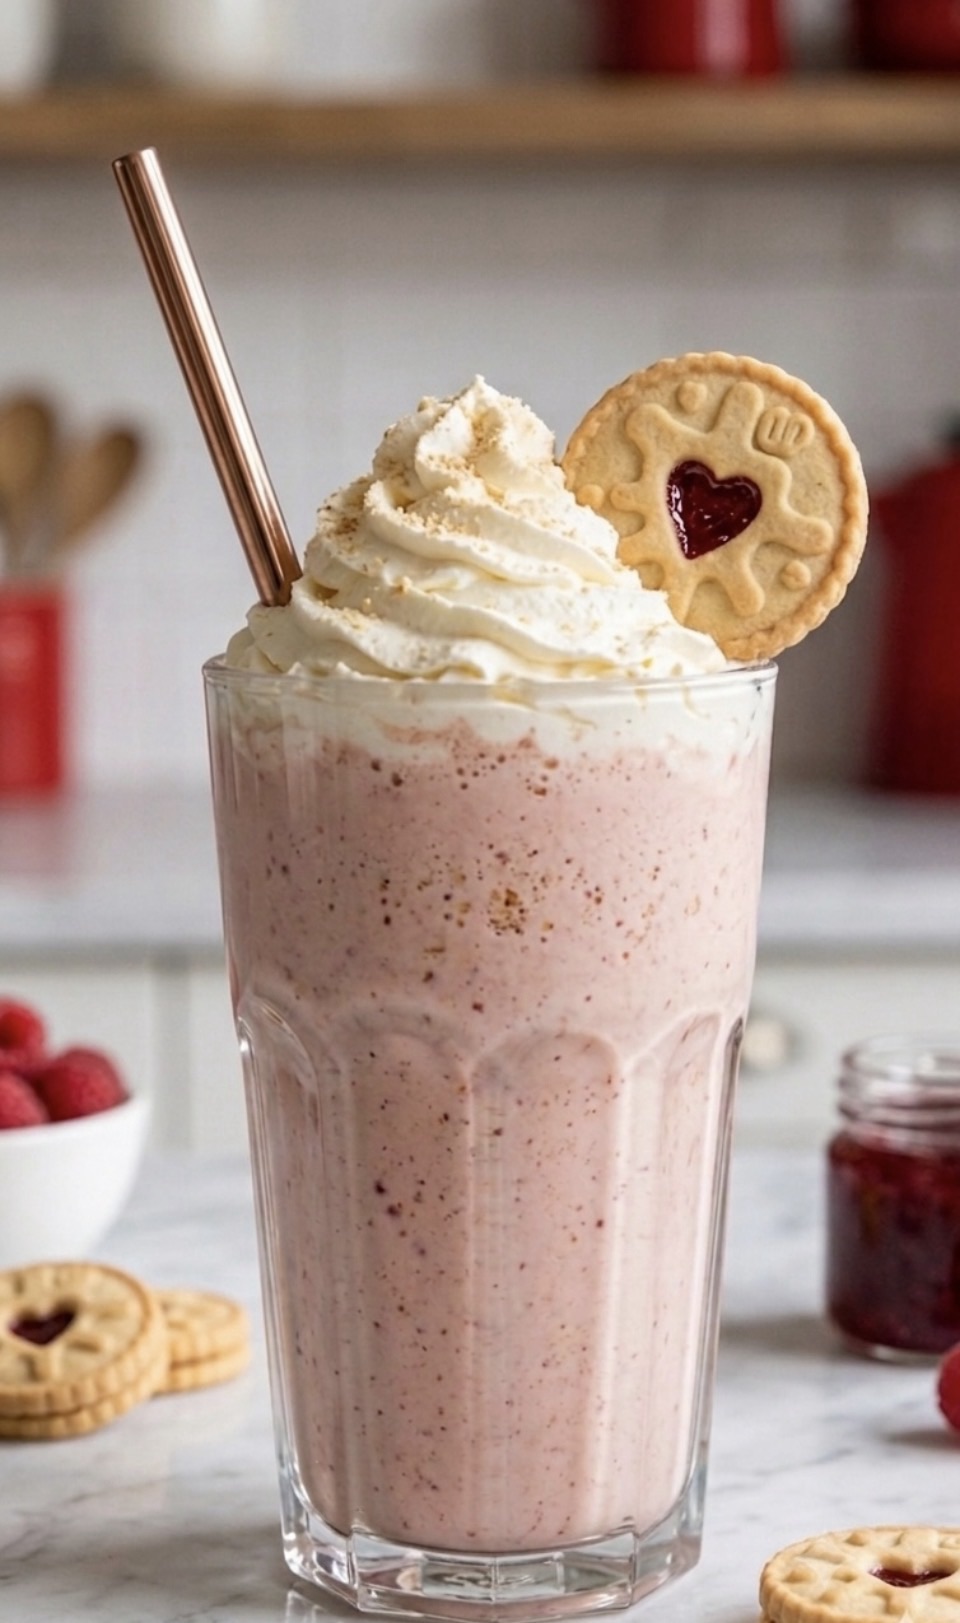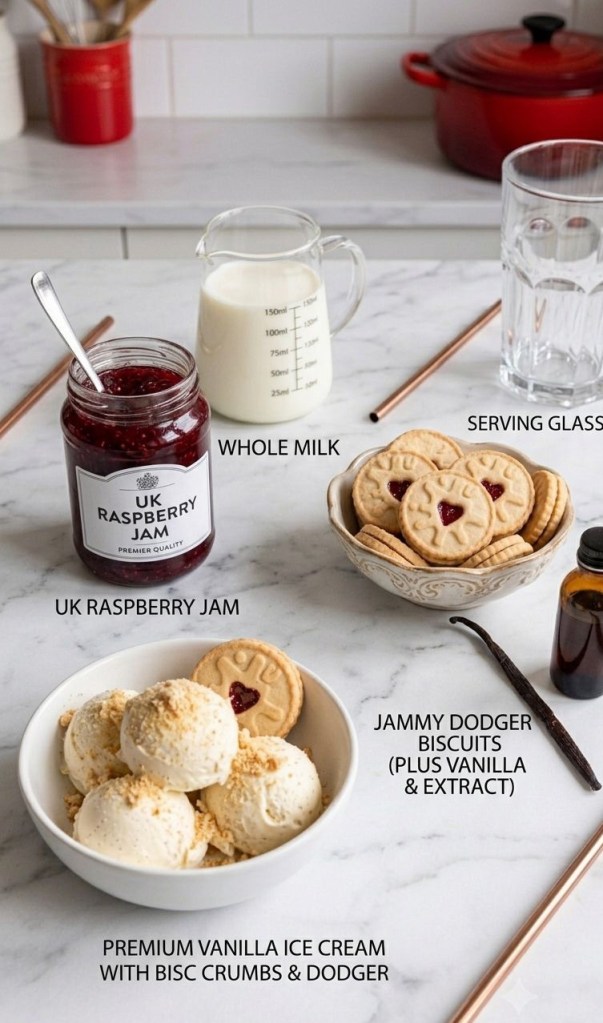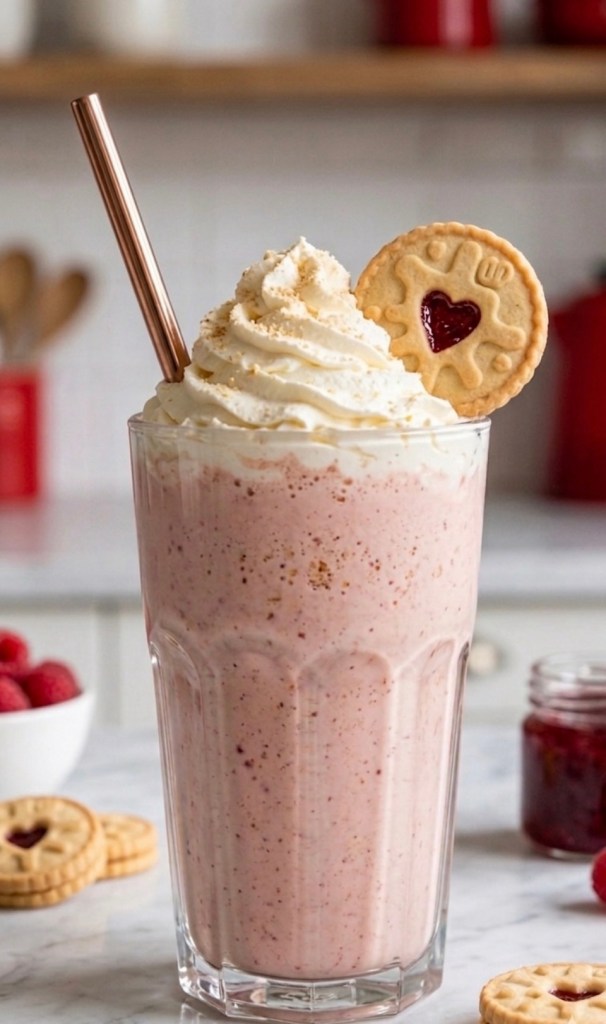
We have all been there. You get a craving for a thick, indulgent Oreo milkshake, throw a handful of biscuits and some ice cream into a blender, hit go, and… end up with a sad, uniform, grey sludge.
It tastes okay, but it completely lacks that premium cafe-style texture.
The secret to a perfect Oreo milkshake isn’t a magical ingredient—it’s all in the timing. If you blend everything together at once, the biscuits pulverize into dust. By changing up your blending order, you get a beautiful, speckled shake with perfect crunchy biscuit bits in every single sip.
Here is how to make a proper British cafe-standard Oreo milkshake at home in less than five minutes.
Why This Recipe Works
The Texture Contrast: Blending the base first keeps the ice cream thick while pulsing the biscuits at the end preserves the crunch.
No Ice Needed: Adding ice dilutes the rich dairy flavour. We use pure ice cream and full-fat milk for maximum creaminess.
Chilled Glass Technique: Freezing the glass with chocolate sauce ensures your milkshake stays thick from the first sip to the last.
Ingredients
4 large scoops vanilla ice cream
120ml whole milk (full-fat milk gives the best texture)
5 Oreo biscuits (plus 1 or 2 extra for the topping)
Optional: Whipped cream (or squirty cream) and chocolate dessert sauce for decorating the glass
Step-by-Step Instructions
Step 1: Prep Your Glass
Take your serving glass and drizzle chocolate sauce around the inside walls in a swirl pattern. Pop the glass straight into the freezer while you make the shake. Trust me, a chilled glass is a game-changer for keeping a milkshake thick.
Step 2: Blend the Creamy Base
Add the 4 large scoops of vanilla ice cream and 120ml of whole milk to your blender. Whizz on high for about 20 to 30 seconds until the mixture is completely smooth, thick, and uniform.
Step 3: Add the Oreos and Pulse
Drop the 5 Oreo biscuits directly into the smooth mixture. Instead of turning the blender back on continuously, use the pulse setting just 4 or 5 times. You want the blades to break the biscuits into small, chewable pieces, not turn them into powder.
Step 4: Assemble and Serve
Take your chilled glass out of the freezer. Pour the thick, speckled milkshake straight in. Top with a generous mountain of whipped cream, and crumble your remaining Oreo biscuits over the top. Add a wide straw and enjoy!
💡 Pro-Tip: The 2-Minute Rule
If your milkshake feels a bit too thick to drink through a straw, do not add more milk. Adding more milk dilutes the rich creaminess and thins it out permanently. Instead, just leave it on the kitchen side for two minutes. Let the ice cream soften naturally, and it will reach the perfect sippable consistency on its own.
Variations to Try
The Peanut Butter Twist: Add one tablespoon of smooth peanut butter into the blender during Step 2 for an incredible sweet-and-salty kick.
Double Chocolate: Swap out two of the vanilla ice cream scoops for chocolate ice cream to make a decadent ultra-chocolate version.
Over to you! Do you prefer your milkshakes completely smooth, or are you team chunky? Let me know in the comments below!
Okay, let’s be real for a second—is there anything better than a Kinder Bueno? That hazelnutty, creamy, crispy perfection is basically a food group in my house. So, naturally, I decided to turn it into the ultimate milkshake, and wow… I think I’ve peaked.
Seriously, this isn’t just a drink; it’s a whole experience. It’s super creamy, packed with that iconic hazelnut flavor, and looks like something straight out of a fancy cafe.
Why You’ll Be Obsessed
If you’re having a bad day, this is your fix. If you’re having a good day, this is your celebration. It’s got everything:
The Secret Weapon: A big spoonful of Nutella, which makes the hazelnut flavor absolutely pop.
Texture Heaven: Smooth vanilla ice cream blended with those signature crispy wafers.
The “Extra” Factor: A mountain of whipped cream and a chocolate syrup drizzle that looks professional (even if it took two seconds to do).
Let’s Make It!
You don’t need to be a barista to nail this. Just grab these:
3 scoops of your favorite vanilla ice cream
2 bars of Kinder Bueno
1 big tablespoon of Nutella
1/2 cup of milk (add more if you like it thinner)
Chocolate syrup and whipped cream for the finishing touches!
How to do it:
Drizzle some syrup down the inside of your glass—it makes it look so fancy! Toss the ice cream, Kinder Bueno, Nutella, and milk into the blender, and whirl it until it’s smooth. Pour it into your glass, pile on that whipped cream, and top it with an extra piece of Kinder Bueno. Boom. Done.
Trust me, you have to try this. And when you do, tag me in your photos—I want to see your creations!
So, are you team “drink it all” or “let’s share”? Let me know in the comments! 👇
There is nothing quite like the taste of fresh watermelon on a hot day. Whether you are looking for a hydrating afternoon pick-me-up or a sophisticated evening drink, this watermelon recipe is designed to hit the spot. Best of all, it is incredibly easy to prepare and feels just as special as a craft cocktail
The Perfect Summer Refresher
This recipe takes inspiration from a classic watermelon margarita but keeps things light and simple. The beauty of this drink lies in its versatility—it’s naturally refreshing, vibrant, and can be enjoyed as a crisp mocktail or turned into a spirited margarita for your next gathering.
Ingredients (Per Glass)
1 cup fresh watermelon, blended
Juice of 1 lime
150–200ml sparkling water or sugar-free lemonade
3 fresh mint leaves
Ice
Optional Rim: Salt or Tajín
How to Prepare
1. Prep the Base: Blend your fresh watermelon until smooth. If you prefer a thinner, more refined texture, strain the juice through a fine-mesh sieve.
2. Rim the Glass: Run a lime wedge around the rim of your glass. Dip the edge into a small plate of salt or Tajín for that signature savory kick.
3. Build the Drink: Fill your glass with ice. Squeeze in the fresh lime juice and drop in the fresh mint leaves.
4. Pour & Mix: Pour in your blended watermelon juice. Top the glass with your choice of sparkling water or sugar-free lemonade.
5. Finish: Give it a gentle stir, garnish with a fresh wedge of watermelon, and enjoy immediately!
Making it an Alcoholic Margarita
If you are hosting or simply want to elevate this into a classic cocktail, it is incredibly simple to convert.
The Swap: Simply replace 50ml of the sparkling water/lemonade with 50ml of high-quality Tequila Blanco or Reposado.
Pro Tip: Add the tequila into the glass along with the lime juice and stir well before topping with your sparkling water to ensure the flavors are perfectly balanced.
Why You’ll Love It
Hydrating: Watermelon is packed with water, making it the perfect choice for sunny afternoons.
Customizable: Keep it alcohol-free for a daytime treat or add a splash of tequila to turn it into a refreshing party staple.
Simple: No complicated syrups or hard-to-find ingredients—just fresh, clean flavors.
Which do you prefer: the crisp, alcohol-free mocktail or the classic margarita? Let me know in the comments below!
If you’ve been looking for a way to turn your morning breakfast into a work of art, look no further. The Galaxy Dust Smoothie is the latest trend taking over social media feeds, and for good reason—it’s vibrant, moody, and absolutely delicious.
Forget about boring breakfasts. This smoothie isn’t just a meal; it’s a cosmic experience in a glass.
Why This Smoothie is Out of This World
The Visuals: Using deep-hued berries and a sprinkle of edible gold, this smoothie mimics the look of a nebula.
The Texture: It’s rich, thick, and velvety—perfect for sipping through a glass straw.
The Ingredients: Packed with antioxidant-rich blueberries and blackberries, it’s as nourishing as it is pretty.
The Recipe
Prep time: 5 minutes | Servings: 1
Ingredients
1 cup Frozen wild blueberries
½ cup Frozen blackberries
½ Frozen banana
120ml Coconut milk or almond milk (adjust for your preferred thickness)
1 tsp Açai powder (optional, for extra depth)
1 tsp Maple syrup (to taste)
The “Galaxy” Finish: A pinch of food-grade edible gold luster dust and a handful of crushed freeze-dried raspberries.
Method
1 Chill Your Glass: For the best presentation, pop your ribbed glass in the freezer for about 10 minutes before you start.
2 The Blend: Combine your frozen fruit, banana, milk, açai powder, and maple syrup in a high-speed blender. Blend until you achieve a thick, sorbet-like consistency. Pro-tip: Start with a little less liquid—you want this thick!
3 Create the Nebula: Pour the deep purple mixture into your chilled glass. Use a straw to gently swirl and ripple the mixture against the sides of the glass to create those stunning “nebula” effects.
4 Add the Stars: Flick a pinch of food-grade gold luster dust over the surface and sprinkle with crushed freeze-dried raspberries to act as your “supernova” fragments.
5 Serve: Add your favorite glass straw and enjoy immediately!
Pro-Tips for the Best Photos
Lighting Matters: Galaxy smoothies look most dramatic in cooler, slightly dimmer natural light. Avoid harsh direct sun if you want to capture those deep, rich purple tones.
Slow-Motion Pour: If you’re filming this, a slow-motion pour is essential. It highlights the velvety texture of the smoothie.
Get Close: A tight close-up shot will capture the shimmer of the gold dust and the contrast of the raspberries better than a wide shot.
Did you try this cosmic creation? I’d love to see how your galaxy turned out! Tag me in your photos and let me know if you managed to capture the perfect swirl on your first try. Happy blending!
Want a breakfast that looks like a masterpiece and tastes like a tropical holiday? The Sunset Glow Smoothie is your new go-to. This stunning, two-layered creation uses vibrant mango and berries to create a gradient effect that’s perfect for your morning fuel or an impressive brunch item.
The best part? This isn’t just an aesthetic ‘gram-worthy drink. The bottom layer is a pure burst of sunshine mango, and the top layer provides a sweet, zesty berry kick.
We’ve designed this specific recipe using precise UK metric measurements for a perfect, easy-to-follow result every time.
The Recipe: Step-by-Step
This smoothie is all about the layers, so you will need to blend them separately for the best effect.
Prep Time: 5 Minutes
Makes: 1 Large Smoothie (or 2 small ones for sharing)
Step 1: The Base Layer (The Sunset)
Ingredients:
250ml Frozen Mango Chunks (roughly 1 large cup-full)
125ml Coconut Milk (or any plant-based milk)
A healthy squeeze of Lime Juice (optional, but adds a brilliant zest)
Instructions:
1 Place the frozen mango and coconut milk into your blender.
2 If using, squeeze in your lime juice.
3 Blend on high until smooth. You want this layer to be quite thick, so it can support the next layer. If it’s too thin, add a couple of extra mango chunks.
4 Pour this mixture into your glass, filling it just over halfway. Use a spoon to level and smooth the top surface against the glass. Rinse the blender jug quickly.
Step 2: The Glow Layer (The Berry)
Ingredients:
125ml Frozen Strawberries (roughly 1/2 a standard cup)
125ml Frozen Raspberries (roughly 1/2 a standard cup)
125ml Coconut Milk
1 tsp Honey or Agave Nectar
Instructions:
1 Combine the frozen strawberries, raspberries, coconut milk, and sweetener in your clean blender.
2 Blend on high until smooth. This layer should be thick but slightly softer than the base.
Step 3: To Finish (The Assembly)
Ingredients for Garnish:
1 tablespoon Chia Seeds
A few fresh Raspberries
A sprig of fresh Mint
Assembly Instructions:
1 Here is the trick for the perfect layer: Use a clean, large spoon. Hold the spoon, curved side up, directly over the base layer.
2 Slowly pour the berry mixture onto the back of the spoon, letting it gently diffuse onto the mango layer rather than crashing down. This ensures the layers remain distinct.
3 Fill to the top of the glass.
4 Finish by sprinkling the chia seeds, arranging your fresh raspberries, and placing your mint sprig on top for a professional look. Enjoy your Glow!
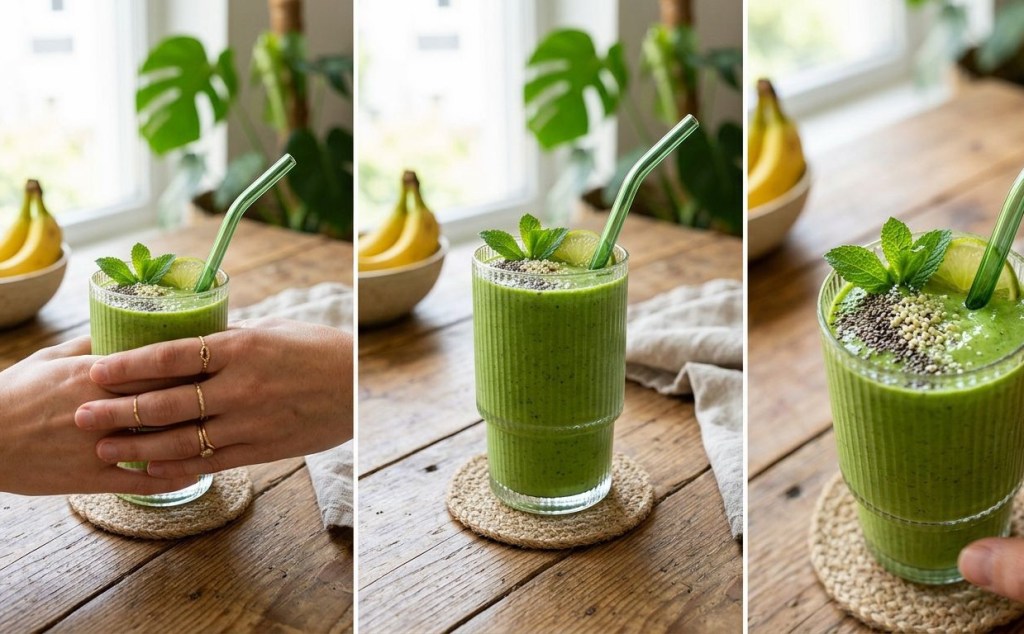
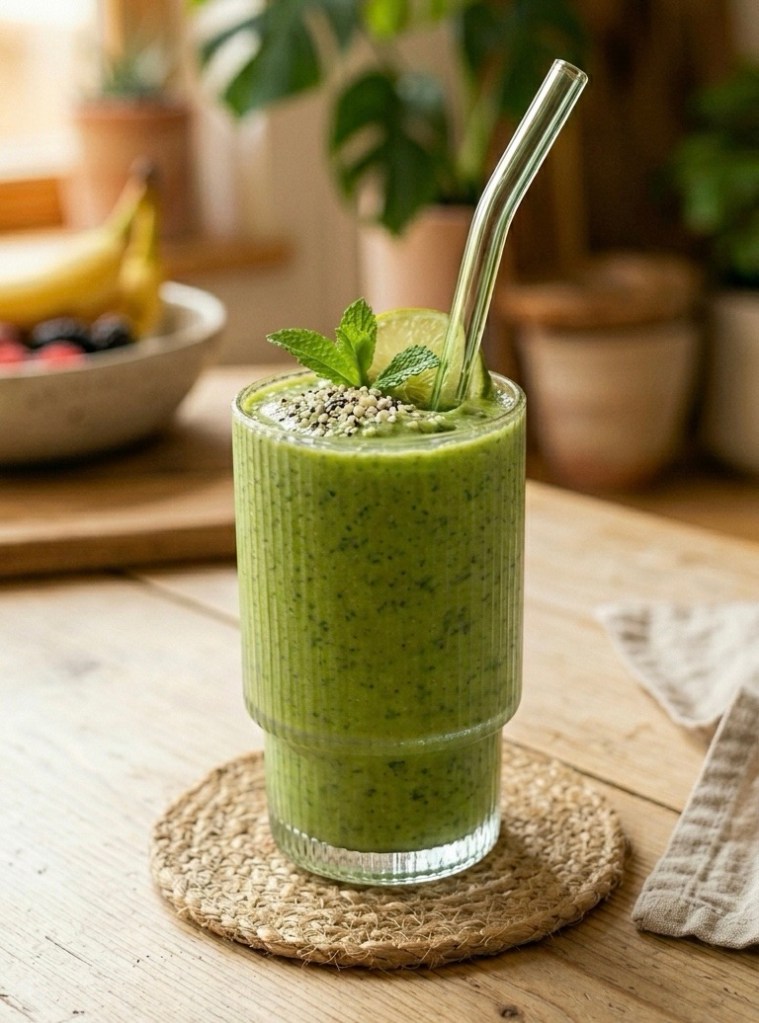
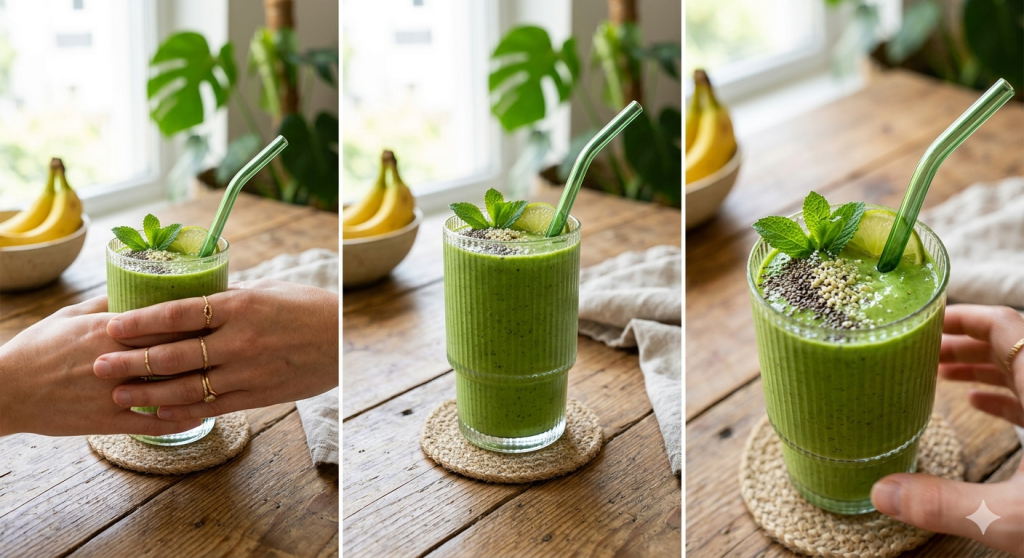
Tired of green smoothies that taste like liquid grass? It’s time for an upgrade. This vibrant, tropical-inspired green smoothie is a revelation—perfect for a refreshing breakfast, a post-workout recharge, or a delicious afternoon pick-me-up.
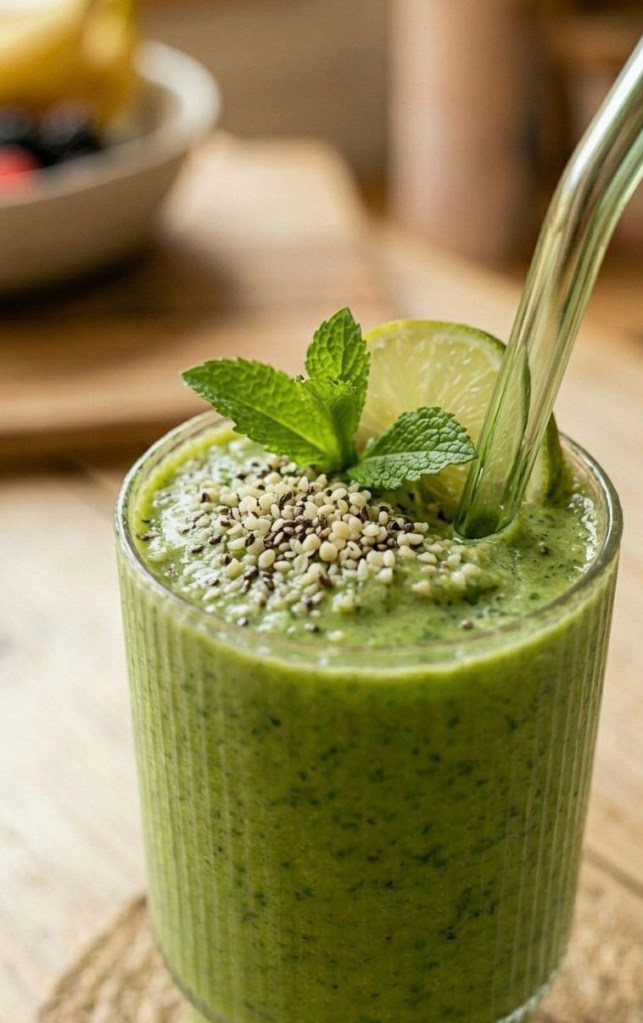
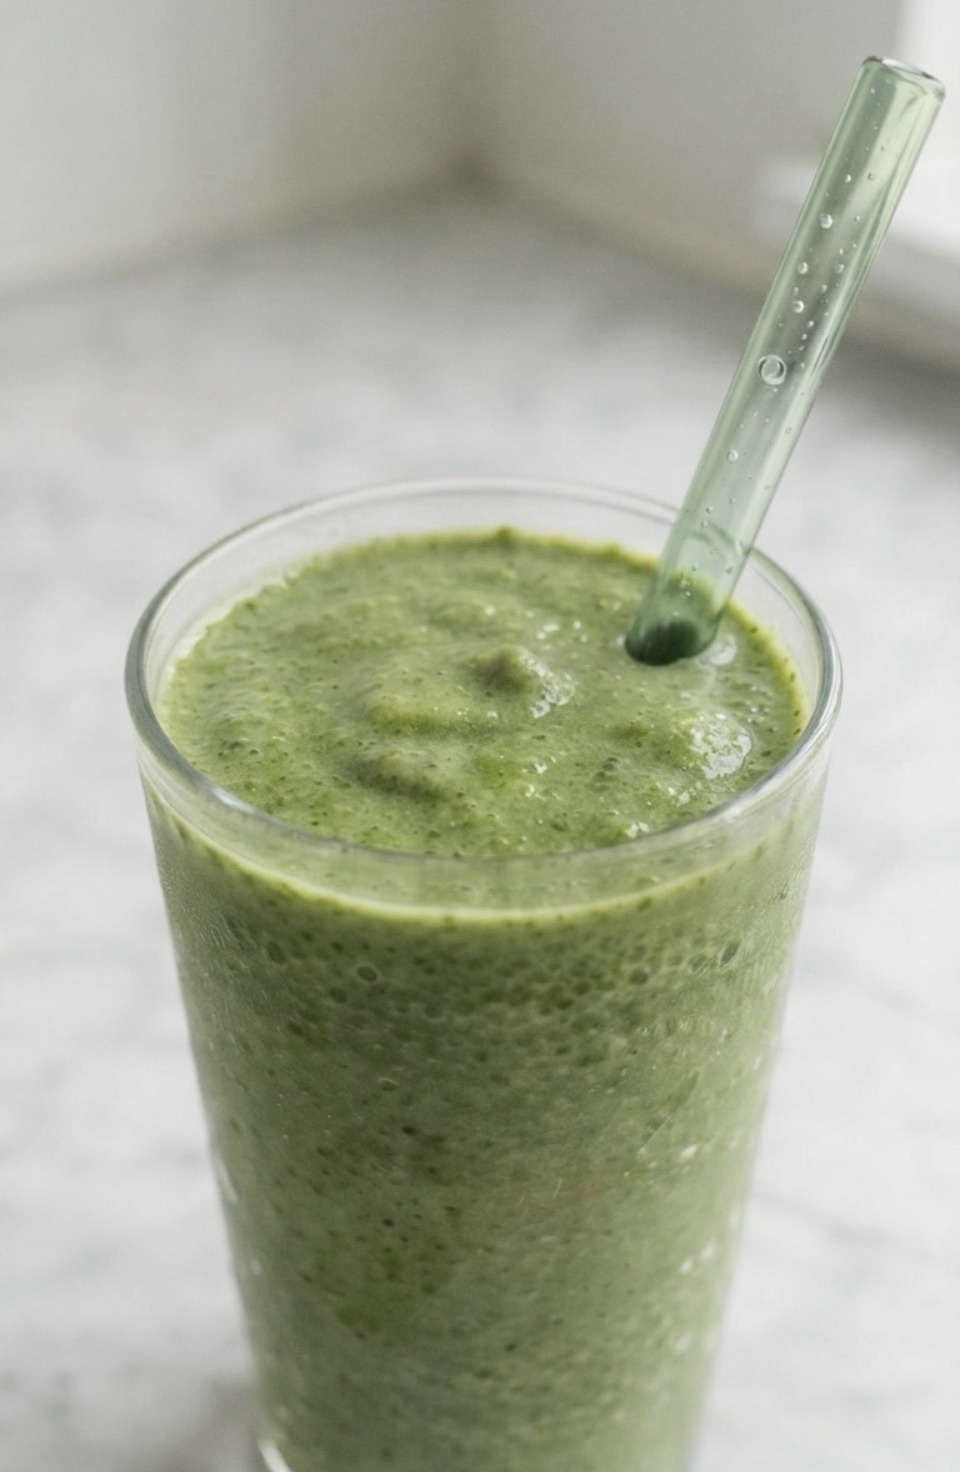
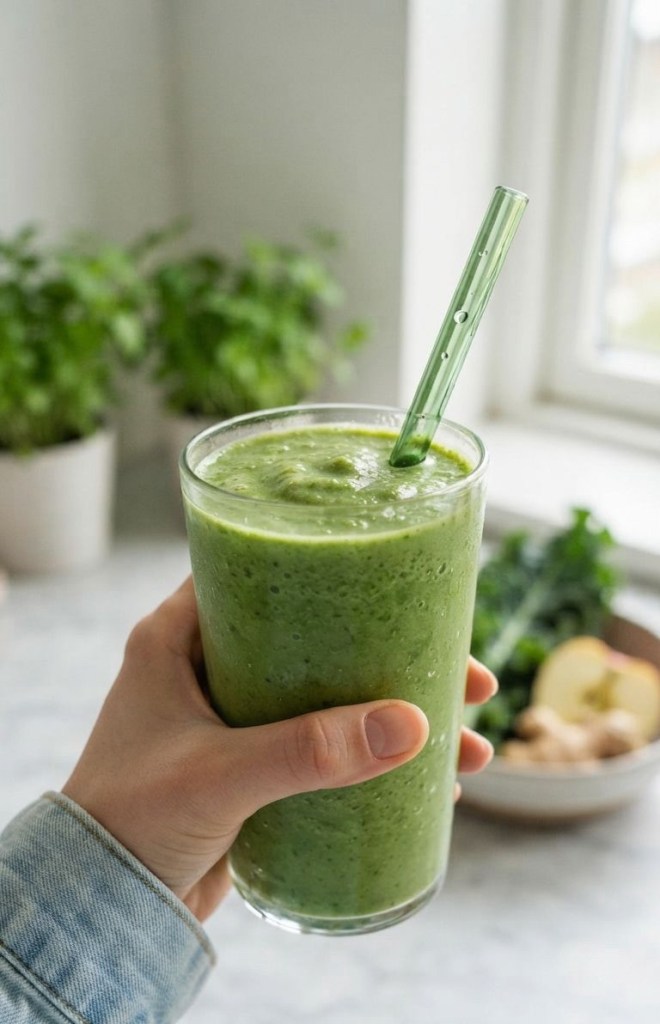
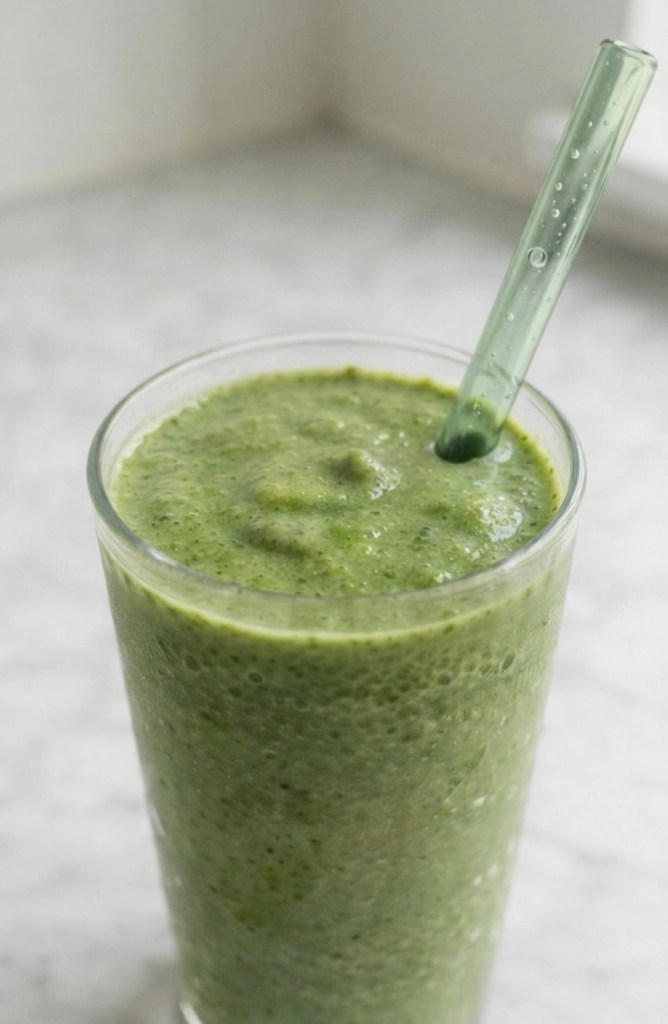
As seen in my recent close-up (look at that beautiful texture and vibrant colour!), this smoothie balances creamy sweetness with a powerful ginger kick and a bright lime finish. Best of all? It’s packed with ingredients that love you back.
Read on to discover why this green smoothie is so incredible and get the exact recipe that will change your morning routine forever.
Why This Green Smoothie Works
Green smoothies are a superfood standard, but many fall short on flavour. This recipe uses clever ingredient pairing to make the greens virtually undetectable, while amplifying the health benefits.
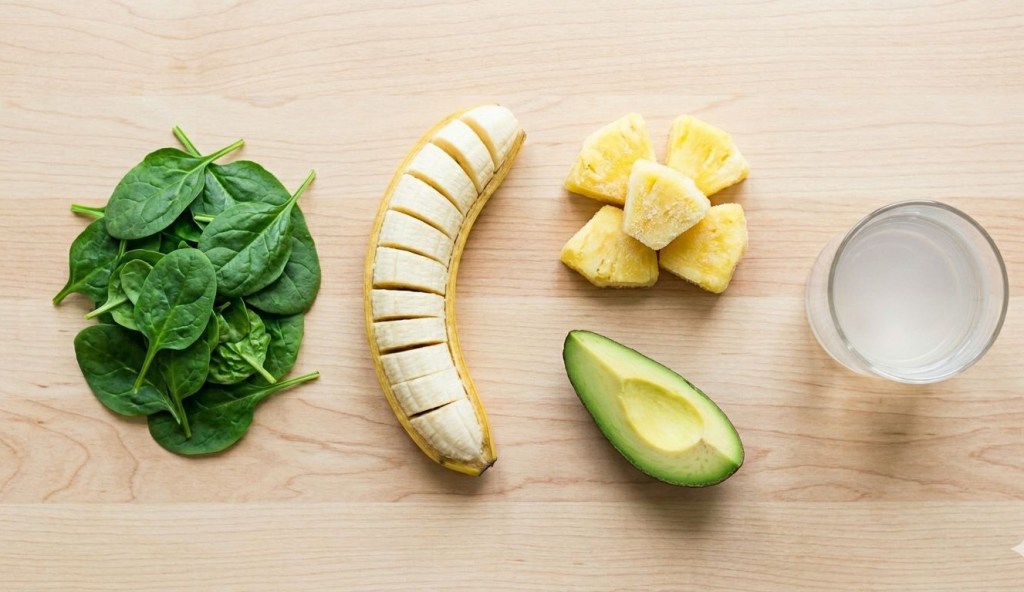
The natural sweetness of the pineapple and banana perfectly counters the earthiness of the spinach. Then, a punch of fresh ginger and a squeeze of zesty lime brighten up the entire drink, making it genuinely refreshing instead of a chore to drink. The tiny green specks in the smoothie show you’re getting all the nutrition from the coriander, adding an extra layer of freshness.
The Amazing Health Benefits Behind the Greens
This smoothie is more than just a beautiful colour; it’s a nutritional powerhouse. Let’s break down the incredible benefits of every ingredient:
1. Leafy Spinach (The Iron Boost)
Spinach provides the bulk of the colour and the essential nutrients. It is incredibly rich in iron (critical for energy production and oxygen transport), magnesium, and vitamins K, A, and folate. Because it is so low in calories, it’s a fantastic way to bulk up your nutrition without adding excess sugar.
2. Frozen Pineapple (The Digestion Dynamo)
The tropical sweetness of pineapple isn’t just delicious; it’s a natural source of bromelain, an enzyme that is famous for its anti-inflammatory properties and its ability to aid digestion. It’s also packed with vitamin C to boost your immune system. Using frozen chunks is key to getting that thick, smoothie-bar texture.
3. Frozen Banana (Creaminess & Potassium)
Banana is our base ingredient for that gorgeous, creamy texture. More importantly, bananas provide potassium, which is vital for heart health and muscle function, making this an ideal post-workout smoothie. They also provide natural, easy-to-digest energy.
4. Fresh Ginger (The Anti-Inflammatory Star)
A 1cm piece of fresh ginger changes everything. Gingerol, the active compound in ginger, has powerful anti-inflammatory and antioxidant effects. It’s superb for calming digestion, reducing nausea, and soothing muscle soreness. It gives this smoothie its signature warmth and depth.
5. Green Apple (Fibre and Natural Sweetness)
We use a green apple for its crisp tartness and natural fibre. The fibre (especially pectin) supports healthy digestion and can help stabilise blood sugar levels, keeping you full and satisfied. Apples are also rich in antioxidants like quercetin.
6. Coriander (The Fresh Ally)
A small handful of fresh coriander adds a complex, refreshing herb note. Beyond flavour, coriander is rich in vitamins A and K. Some studies also suggest it may support the body’s natural cleansing and metabolic processes.
7. Fresh Lime Juice (Vitamin C and Bright Acid)
A tablespoon of fresh lime juice balances all the sweetness and cuts through the earthiness of the greens. It provides a huge boost of Vitamin C and helps enhance the body’s absorption of the iron found in the spinach.
8. Water or Orange Juice (Hydration)
Your liquid base is crucial. Water provides pure hydration without added calories. If you opt for orange juice, you are adding natural sweetness and an extra dose of Vitamin C (just keep an eye on total sugar).
The Ultimate Ginger-Lime Green Smoothie Recipe
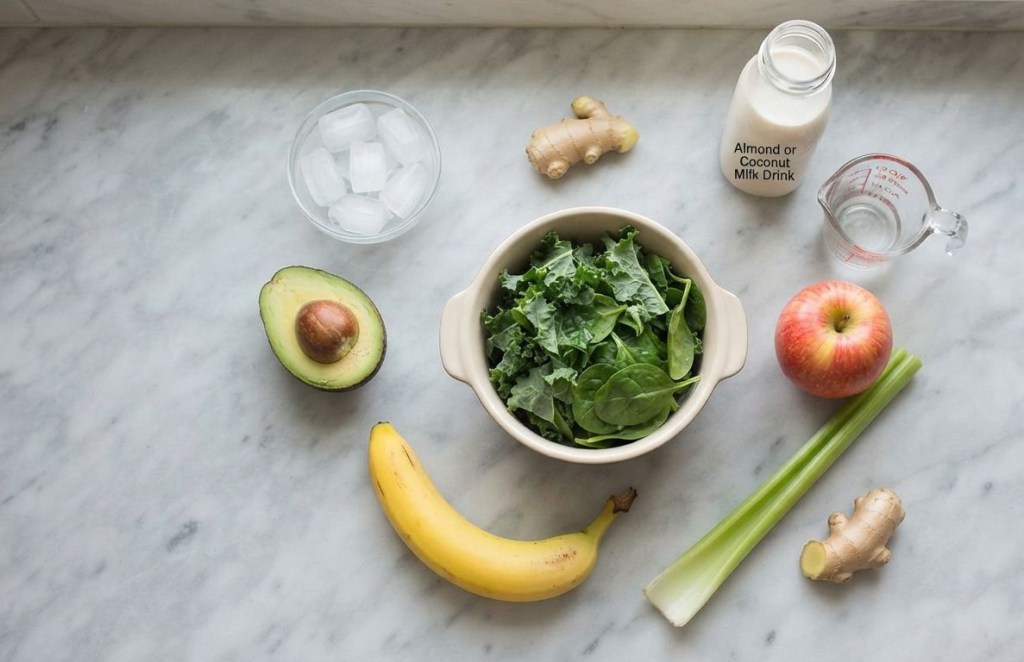
Ingredients
120ml water (or orange juice for a sweeter, immunity boost)
1 whole green apple (cored and roughly chopped)
80g frozen pineapple chunks (do not thaw)
½ frozen banana
1cm piece of fresh ginger root, peeled and finely grated
30g fresh spinach (about a large handful)
Small handful fresh coriander leaves
1 tablespoon fresh lime juice
Method
1 Prep Your Ingredients: If your high-speed blender has a specific loading order (usually liquids first), follow that. Otherwise, start by pouring in your liquid base (water or OJ).
2 Add the Greens: Load in the fresh spinach and the handful of coriander. Adding these on top of the liquid helps them process smoothly.
3 Layer the Fruits: Add the chopped green apple, frozen pineapple, frozen banana chunks, and the grated fresh ginger. Finally, add the tablespoon of fresh lime juice.
4 Blend Until Smooth: Secure the lid tightly and start your blender on a low speed, quickly increasing to high. Blend for 30–60 seconds, or until the smoothie is completely smooth with no remaining chunks of fruit or large specks of spinach.
5 Serve Immediately: Pour straight away into a glass—preferably with a glass straw and a beautiful lime wedge garnish! Enjoy immediately for the best texture and nutrient value.
Make it Social!
We want to see your results! If you make this smoothie, share your own vibrant green glass and tag us!
There are few flavour combinations more iconic than rich, dark chocolate and zesty, tangy orange. It’s a classic for a reason. And when you combine that flavour profile with the texture of a real Jaffa Cake, you get something truly magical.
I’m not talking about *flavouring* a milkshake to *taste* like orange and chocolate. No. I am talking about blending actual, whole Jaffa Cakes directly into the shake. It is thick, it is creamy, and yes, it features the distinct, spongey texture that makes Jaffa Cakes unique. Is it a cake or a biscuit? I’ll let you decide, but in this form, it is simply perfect.
This is the ultimate, indulgent dessert-in-a-glass. Let’s get blending.
What You Need: The Jaffa Cake Milkshake Ingredients
The beauty of this recipe is its simplicity. You don’t need anything fancy, just five key ingredients and a blender. As you can see in the ingredients picture above, we keep it simple:
Jaffa Cakes (The Star): You will need 5 for the shake itself, and an extra one or two for the necessary garnish!
Vanilla Ice Cream (The Base): Use high-quality vanilla bean ice cream for the smoothest, creamiest texture.
Whole Milk: To give it that essential rich milkshake consistency.
Orange Marmalade (The Secret): This is crucial. A tablespoon of good quality marmalade provides that explosive, zesty punch that makes it taste exactly like the jelly centre of the Jaffa Cake.
Chocolate Sauce: For drizzling inside the glass and over the toppings.
Recommended Equipment
A high-speed blender (essential for pulverising the cakes).
A tall, clear glass.
A straw!
Step-by-Step Method
Follow these simple steps to chocolate-orange bliss:
Prep Your Glass (Optional but Recommended): Take your serving glass and drizzle chocolate sauce artfully down the inside walls. Place the glass in the freezer while you mix the rest. This keeps your milkshake ice-cold when you serve.
Break the Cakes: Roughly tear 5 Jaffa Cakes in half and drop them into the bottom of your blender pitcher.
Add the Dairy: Add 3 large scoops of vanilla ice cream and 200ml of whole milk.
The Secret Punch: Add 1 tablespoon of orange marmalade (or orange syrup if you prefer).
Blend until Smooth: Secure the lid and blend on high speed for 20-30 seconds. You want it completely combined and frothy, but stop before it melts completely!
Pour and Garnish: Take your chilled glass from the freezer. Pour the thick Jaffa Cake blend in.
The Masterpiece Top: Crown your shake with a generous serving of whipped cream. Drizzle more chocolate sauce, perhaps a sprinkle of orange zest, and perch one whole Jaffa Cake on the rim as the final garnish.
Tips for Success
Consistency Check: If the shake is too thick to drink, add another splash of milk and give it a quick pulse. If it’s too thin, add another half-scoop of ice cream.
Vegan Option: You can easily make this vegan by using dairy-free ice cream (vanilla coconut works well), plant-based milk (oat or almond), and vegan chocolate sauce.
Share the Debate: When you serve this, ask the ultimate question: Biscuit or Cake? (And let me know their answers in the comments!)
This Jaffa Cake Milkshake is a game-changer. Enjoy every sip!
If you’ve been scrolling through your feed lately, you’ve probably seen a dozen different ways to make a fruit smoothie. But let’s be honest—half the time, they either turn out too icy, too watery, or just plain bland.
That stops today. This ultra-creamy strawberry smoothie tastes less like health food and more like a decadent milkshake, but it’s packed with clean ingredients to fuel your morning.
The secret? A tiny splash of fresh lemon juice. It sounds simple, but it completely cuts through the richness and makes the strawberry flavor absolutely explode.
🛒 The Ingredient Breakdown
Here is everything you need to grab from your kitchen:
Frozen Strawberries (2 cups): Essential for keeping the smoothie thick and frosty without needing to add ice (which just dilutes the flavor).
Greek Yogurt (½ cup): Go for whole milk Greek yogurt if you want maximum creaminess and a solid protein boost.
Frozen Banana (½): Just half a banana adds the perfect natural sweetness and velvet texture without overpowering the strawberry flavor.
Honey or Maple Syrup (1 tbsp): For a touch of natural, unrefined sweetness.
Fresh Lemon Juice (1 tsp): The game-changer. Don’t skip it!
🥛 The Great Milk Debate: Which One is Best?
The beauty of this recipe is its flexibility. Depending on what you pour into your blender, you can completely customize the vibe of your breakfast:
Whole Milk: The undisputed champion for the richest, most milkshake-like texture.
Oat Milk: The absolute best plant-based option. It has a naturally thick consistency and a slight sweetness that pairs perfectly with berries.
Almond Milk: Your go-to if you want to keep things light, crisp, and low-calorie.
🌪️ How to Make It
1 Layer the Blender: Put your liquid in first (this helps the blades spin smoothly), followed by the yogurt, honey, lemon juice, and finally the frozen fruit.
2 Blend on High: Whirl it all together until completely smooth. If it’s looking a little too thick to move, don’t panic—just add an extra splash of milk a tablespoon at a time.
3 Garnish and Serve: Pour it into a tall glass, pop in a reusable glass straw, and top with a few fresh strawberry slices if you’re feeling fancy.
📝 Prep Ahead: Meal Prep Smoothie Packs
Love this recipe but short on time in the morning? You can prep your ingredients ahead of time!
Method:
1 Grab a reusable silicone freezer bag or a heavy-duty freezer Ziploc.
2 Place the frozen strawberries and frozen banana (the core frozen components) directly in the bag.
3 Add the optional honey if you prefer it pre-frozen (though it blends fine fresh).
4 Squeeze out as much air as possible, seal, and store in the freezer.
5 In the morning: Grab your pre-packed bag, dump it into the blender, add the milk, Greek yogurt, and the key teaspoon of fresh lemon juice. Blend and go!
This saves valuable minutes and ensures you have a thick, cold base every time.
📊 Nutritional Breakdown (Estimated, per serving)
This breakdown assumes you are using whole milk Greek yogurt and whole dairy milk, and that the recipe makes one large or two moderate-sized servings.
Calories: ~350 – 450 kcal
Protein: ~18g – 22g (great for muscle recovery)
Carbohydrates: ~45g – 55g
Total Fat: ~10g – 14g (from the whole dairy and yogurt)
Sugars: ~30g – 35g (mostly natural from fruit, plus 1 tbsp honey)
Dietary Fiber: ~6g – 8g (keeps you full longer)
Vitamin C: High (from strawberries and lemon)
Calcium: Good source (from milk and yogurt)
✨ Final Thoughts
Whether you’re blending this up for a quick weekday breakfast or treating yourself on a lazy Sunday morning, this creamy strawberry smoothie is bound to become a permanent staple in your routine. It’s fast, incredibly satisfying, and that simple lemon juice trick will make you feel like an absolute blending genius. Give it a try, experiment with your favorite milk combo, and leave a comment below to let me know how yours turned out. Happy blending!
If you ever feel like your stomach blows up like a balloon after meals, you’re not alone. Many of us struggle with that heavy, over‑full feeling, especially after eating quickly, eating out, or during certain times of the month. Instead of reaching for expensive “debloat” supplements, this simple tropical smoothie uses everyday ingredients that may help soothe bloating while tasting like a beach holiday in a glass.
This Tropical Debloat Smoothie is packed with fiber‑rich fruits, live cultures and a touch of ginger heat. It’s gentle enough for everyday sipping but powerful enough to become your new go‑to on “why am I so bloated again?” days.
Why These Ingredients Can Help with Bloating Each ingredient in this smoothie earns its place in the blender: • Kiwi – Naturally high in fiber and an enzyme called actinidin, kiwi can support digestion and help things move more comfortably through your system. • Papaya – Contains the enzyme papain, which can help break down proteins and may ease that heavy, “brick in the stomach” feeling. • Pineapple – Another enzyme‑rich fruit, pineapple contains bromelain, often used to support digestion and reduce puffiness. • Banana – Provides soluble fiber and potassium, which can help with fluid balance and reduce the feeling of water retention. • Yogurt – Whole‑milk plain yogurt adds creaminess and beneficial bacteria that can support a happier gut. • Ginger – A classic choice for nausea and bloating; ginger may help calm the digestive system and reduce gas.
Put them together and you get a creamy, tropical‑tasting smoothie that feels more like a treat than a “remedy.”
Tropical Debloat Smoothie Recipe This recipe makes 2 servings – perfect for sharing, or for you now and you later. Ingredients • 1 medium frozen peeled banana, sliced (about 1 cup) • 1 cup seeded, peeled and chopped fresh papaya • 1 cup frozen pineapple chunks • ¾ cup unsweetened almond milk • ¼ cup whole‑milk plain yogurt • 1 small kiwi, peeled and chopped (¼ cup), plus extra for garnish • ½ teaspoon freshly grated ginger
Method
Prep your ingredients If your banana isn’t already frozen, peel, slice and freeze it ahead of time for the best creamy texture. Peel and chop the papaya and kiwi, and measure out the pineapple, almond milk and yogurt.
Add everything to the blender Add the sliced banana, papaya, pineapple, almond milk, yogurt, chopped kiwi and grated ginger to your blender jug.
Blend until silky smooth Start on a low speed, then gradually increase to high. Blend for 1–2 minutes, or until the mixture is completely smooth and creamy. Use a tamper if your blender has one to help everything combine.
Serve and garnish Pour into 2 glasses. Garnish with extra kiwi slices on the rim or a few small cubes of pineapple or papaya on top if you’re feeling fancy.
Sip slowly
Enjoy your smoothie slowly rather than chugging it in one go – that can help reduce extra air intake, which also contributes to bloating.
When to Drink This Smoothie You can enjoy this Tropical Debloat Smoothie whenever you like, but there are a few moments when it can feel especially helpful: • As a light breakfast after a heavier dinner the night before • Mid‑afternoon when your jeans suddenly feel tighter • As a gentle, soothing option when your digestion feels “off” • Around your period, when water retention and bloating tend to spike
If you’re sensitive to large amounts of fruit sugar, you can start with a smaller serving and see how your body feels.
Tips & Variations You can easily tweak this smoothie to suit your preferences: • Make it dairy‑free – Swap the yogurt for a dairy‑free alternative or extra almond milk. • Add protein – Add a scoop of protein powder or a spoonful of nut butter to make it more filling as a breakfast. • Extra fiber – Add a spoonful of chia seeds or ground flaxseed if your gut tolerates them well.
• Adjust sweetness – If you prefer it sweeter, add a date or a small drizzle of honey; if it’s too sweet, increase the yogurt slightly.
Final Thoughts Bloating can be uncomfortable and frustrating, but small daily habits can make a big difference. This Tropical Debloat Smoothie is a simple, delicious way to support your digestion with whole foods – no harsh detoxes, no complicated ingredients. If you try this recipe, let me know how it works for you and whether you notice a difference in how your tummy feels over a week or two of regular use.