Category: Drinks

  • The Viral Blue Cloud Smoothie: The Ultimate Affordable Dupe

    The Viral Blue Cloud Smoothie: The Ultimate Affordable Dupe

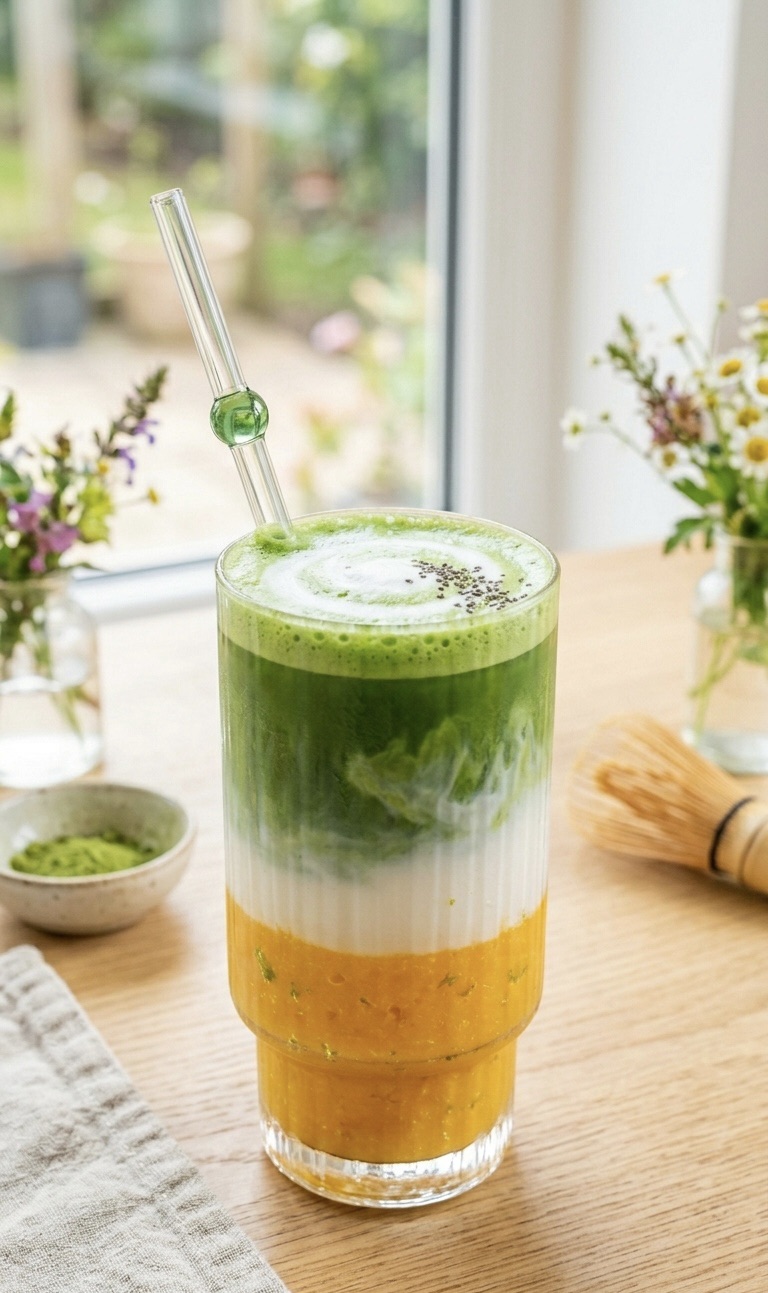
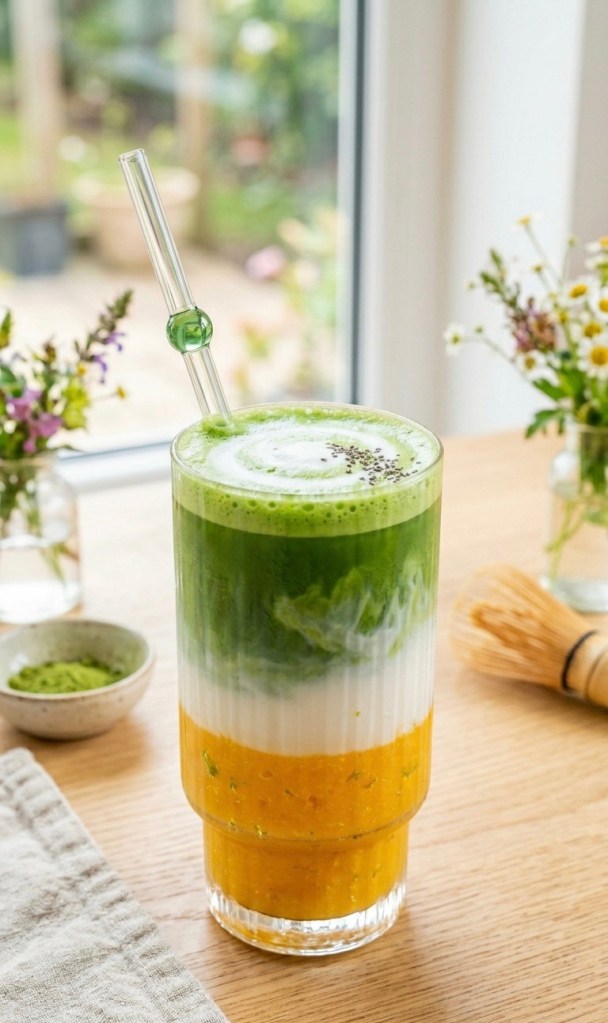
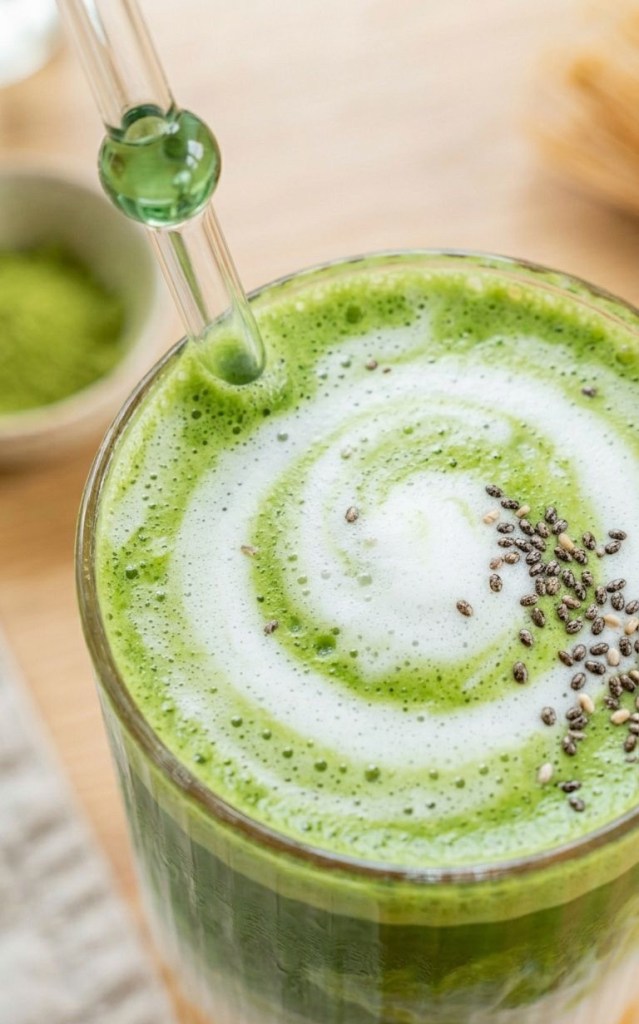
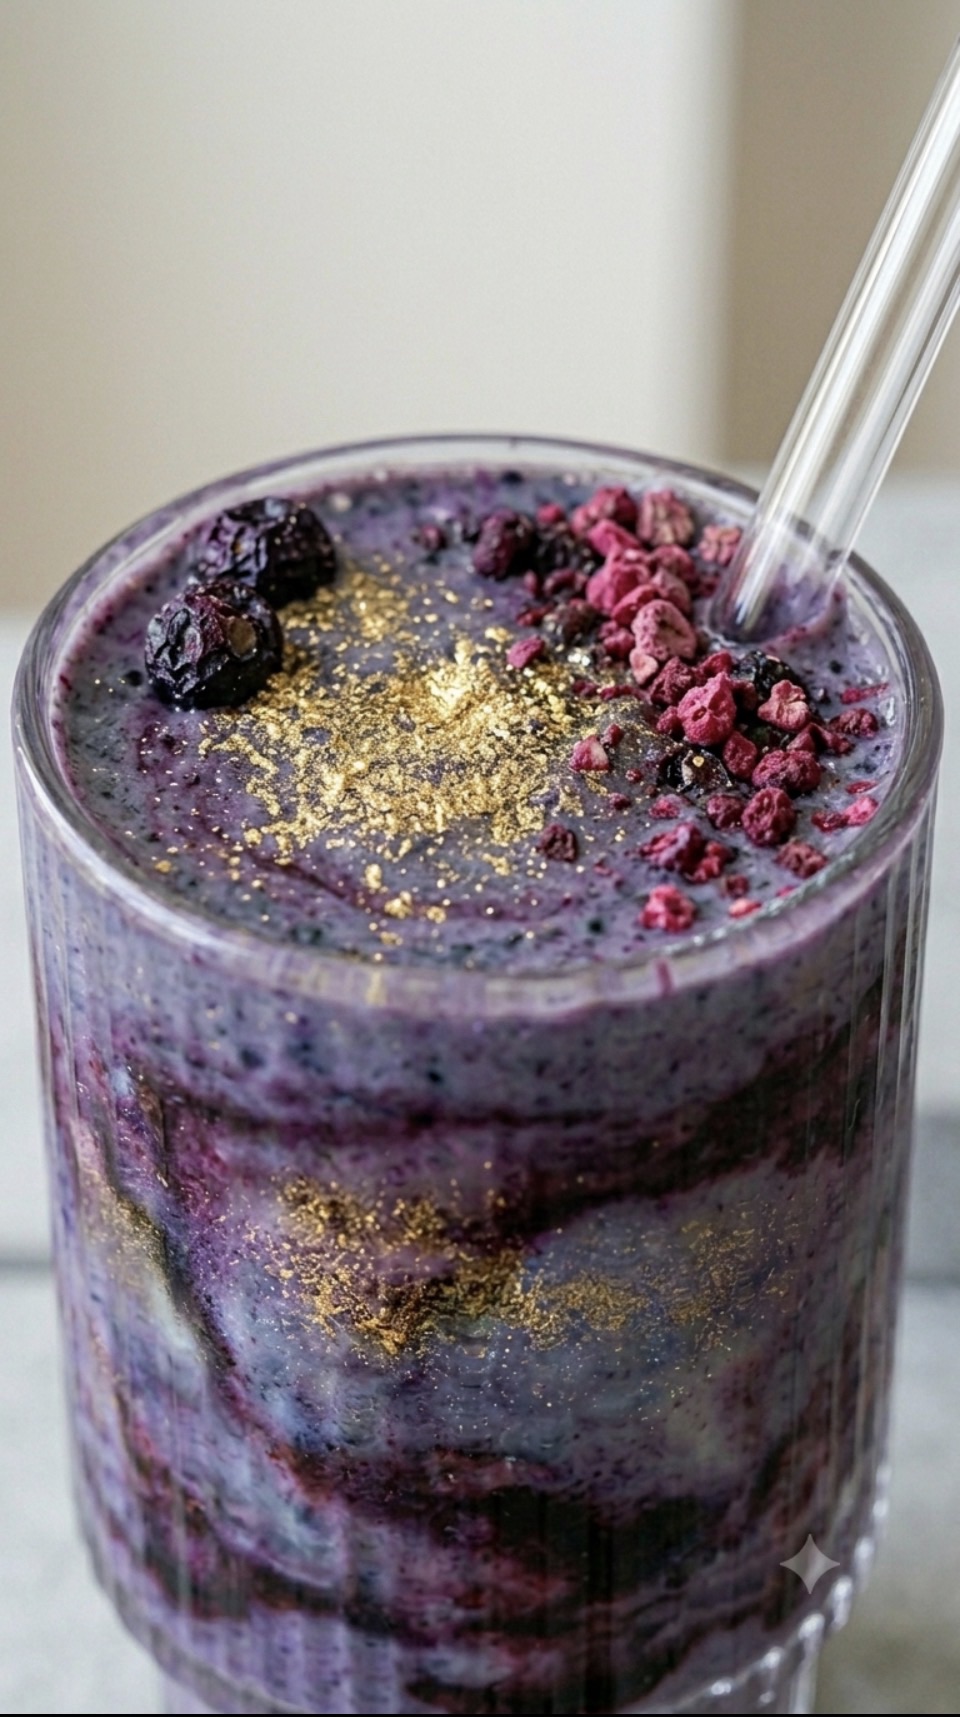
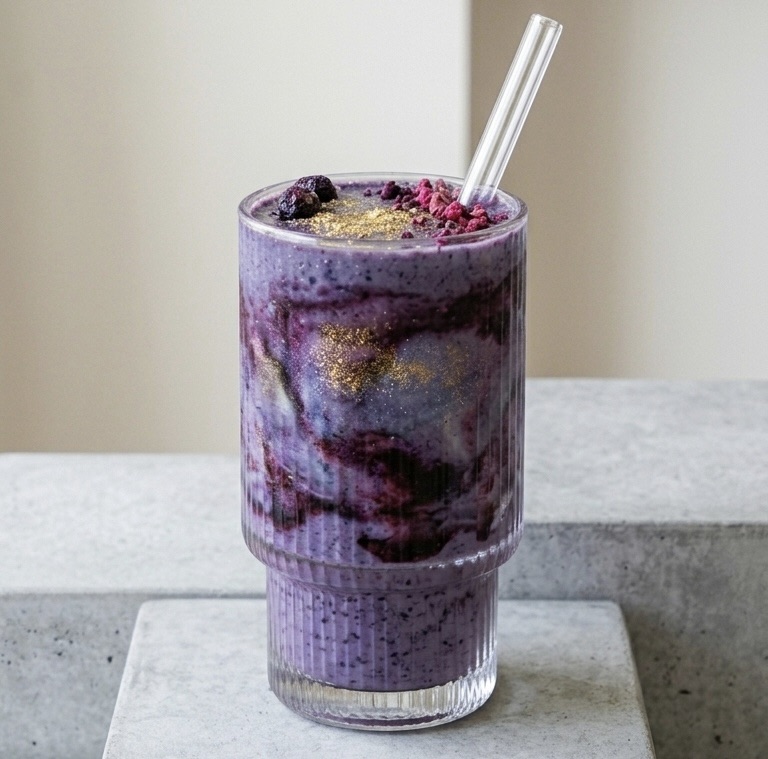
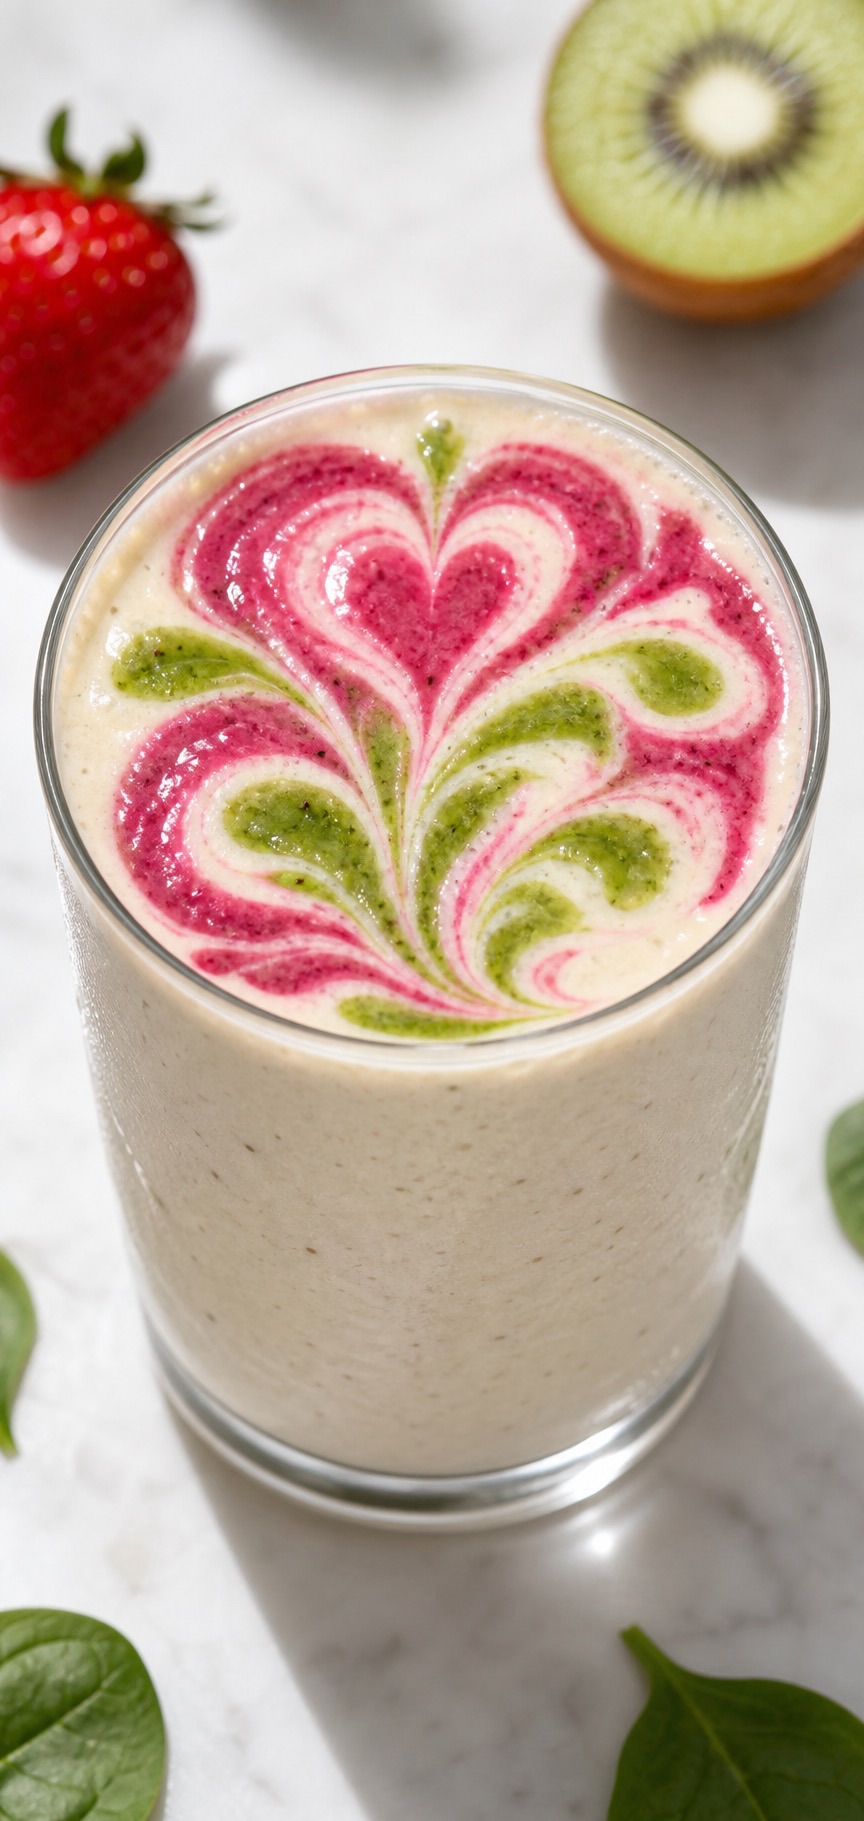
    Have you seen that famous blue smoothie all over your social media feeds? You know the one—the vibrant, ethereal blue drink with fluffy white clouds swirled perfectly against the glass.

    It’s an absolute showstopper, but if you’ve ever looked up the price tag of the original at high-end health markets, you might have had a mini heart attack. Luckily, I’ve cracked the code. You can make this aesthetic masterpiece at home for a fraction of the cost.

    Here is how to whip up the viral Blue Cloud Smoothie in your own kitchen.

    Why You’ll Love It

     It’s stunning: The “cloud” technique makes it look like professional cafe art.

     It’s budget-friendly: You’re using everyday pantry staples instead of expensive specialty ingredients.

     It’s healthy: Packed with healthy fats from avocado and almond butter, it’s as nourishing as it is beautiful.

    The Recipe

    Prep time: 5 minutes | Servings: 1

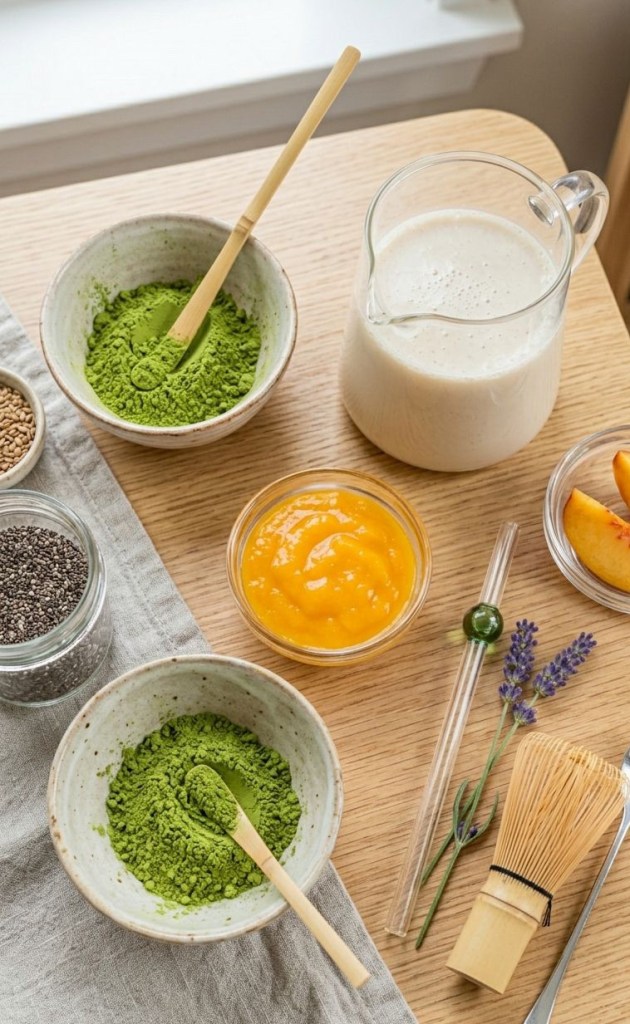
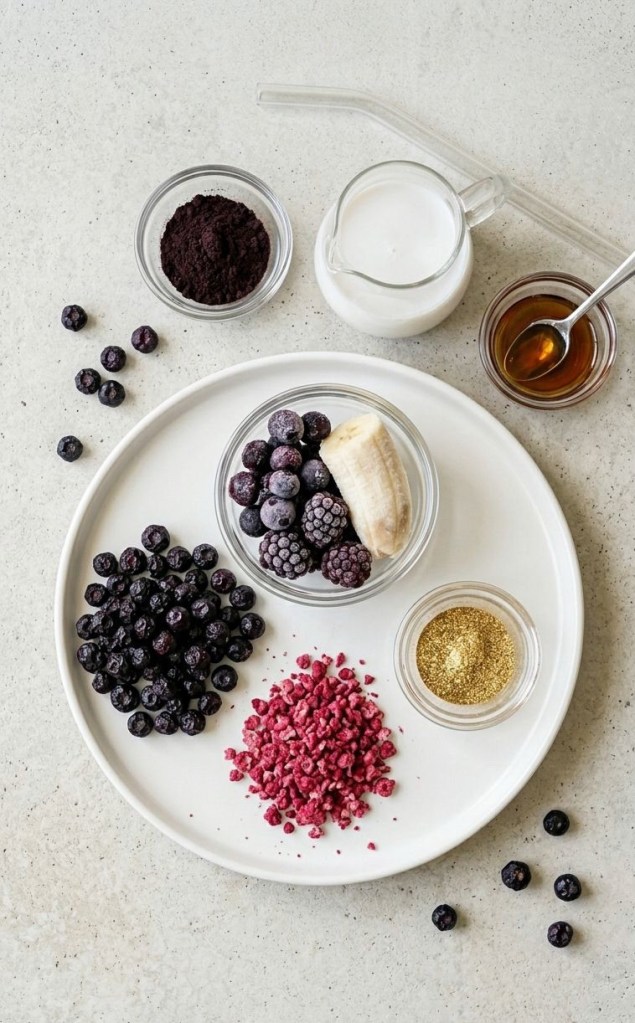
    Ingredients

     2 tbsp Coconut yogurt (the thickest you can find!)

     180ml Non-dairy milk (almond or oat works best)

     ½ Frozen avocado

     ½ Frozen banana

     60g Frozen pineapple

     2 tsp Almond butter

     1 tsp Vanilla extract

     1 tsp Blue spirulina powder (plus a little extra for dusting)

     1 tsp Maple syrup (optional, to taste)

    Method

    1 Paint Your Clouds: Take a spoon and scoop dollops of coconut yogurt against the interior walls of your glass. Don’t overthink it—random, fluffy shapes look the most natural. Lightly sprinkle a pinch of blue spirulina over the yogurt to give it that sky-blue tint. Set the glass aside.

    2 The Blend: In a high-speed blender, combine your milk, frozen avocado, banana, pineapple, almond butter, vanilla, 1 teaspoon of blue spirulina, and maple syrup. Blitz on high until the mixture is perfectly smooth and creamy.

    3 The Pour: Carefully pour your smoothie into your prepared “cloud” glass. Try to pour slowly so you don’t smear the yogurt too much.

    4 The Finish: Top with the remaining coconut yogurt and a tiny extra dusting of spirulina. Serve immediately with a glass straw for the full aesthetic experience!

    Pro-Tips for the Best Photos

     Use a Ribbed Glass: The texture of a ribbed glass catches the light and adds dimension to the “cloud” effect.

     Use Frozen Fruit: Avoid using ice! Using frozen fruit keeps the smoothie thick, creamy, and vibrantly colored.

     Natural Lighting: If you’re posting this to TikTok or Instagram, always photograph or film it near a bright window.

    Did you try this recipe? I’d love to see your creations! Snap a photo, tag me, and let me know if you managed to get those clouds looking perfect on your first try. Happy blending!
    Shopping links

    Blue spirulina

    https://amzn.to/43zmuxZ

    Smoothie glasses

    https://amzn.to/43xMidU

    Nutribullet blender

    https://amzn.to/3PRFUem

  • Skip the Lines: How to Make a DIY M&S Custard Cream Milkshake at Home

    Skip the Lines: How to Make a DIY M&S Custard Cream Milkshake at Home

    If you are a fan of classic British biscuits, you have probably heard the rumors. The supermarket kings at Marks & Spencer are reportedly launching a brand-new Custard Cream Milkshake.

    While we love an M&S treat as much as the next person, why wait for the release date (or pay supermarket prices) when you can whip up an even better version right in your own kitchen?

    This DIY Custard Cream Milkshake recipe is incredibly easy, hassle-free, and takes less than five minutes to make. If you want a quick, thick, and deeply comforting sweet treat, this is the ultimate recipe for you.


    🛒 The Ingredients

    You don’t need a professional kitchen or any fancy equipment for this recipe—just a container or a standard measuring jug and a whisk or spoon. Here is what you will need for one serving:

    • Milk: 150ml
    • Custard: 200g (Ready-made pourable custard works best!)
    • Caster Sugar: 3 teaspoons (Optional, adjust to taste)
    • Vanilla Essence: Up to 1 teaspoon
    • Whipped Cream: Vanilla whipped cream is highly recommended!
    • The Star Ingredient: Custard Cream biscuits

    👩‍🍳 Step-by-Step Instructions

    This recipe is incredibly straightforward, making it the perfect quick fix for late-night cravings

    or a fun weekend treat.

    Step 1: Blend the Base

    First, put 200g of custard into a container (a glass measuring jug works perfectly for this). Next, add your 150ml of milk. Mix or whisk vigorously until both ingredients have completely blended together into a smooth, creamy liquid base.

    Step 2: Flavor and Sweeten

    Add your 3 teaspoons of caster sugar (if you want that extra hit of sweetness) and stir it in. Then, add a little splash of vanilla essence.

    Top Tip: Keep it to a maximum of one teaspoon of vanilla essence. Anything more than that will overpower the delicate, nostalgic flavor of the custard!

    Step 3: Top it Off

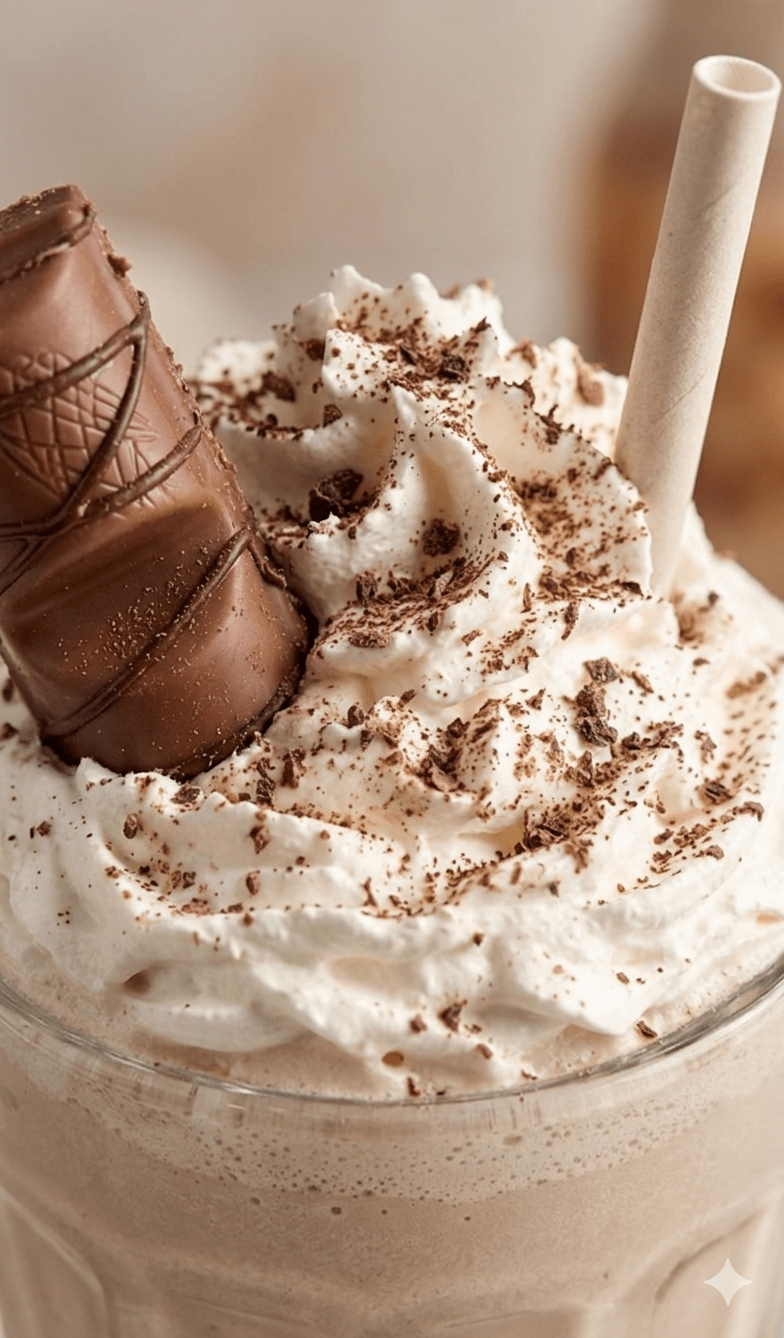
    Now for the best part. Simply add as much whipped cream as your heart desires to the top of your drink. While standard whipped cream is fine, vanilla whipped cream works best because it perfectly compliments the custard base.

    Step 4: The Ultimate Garnish

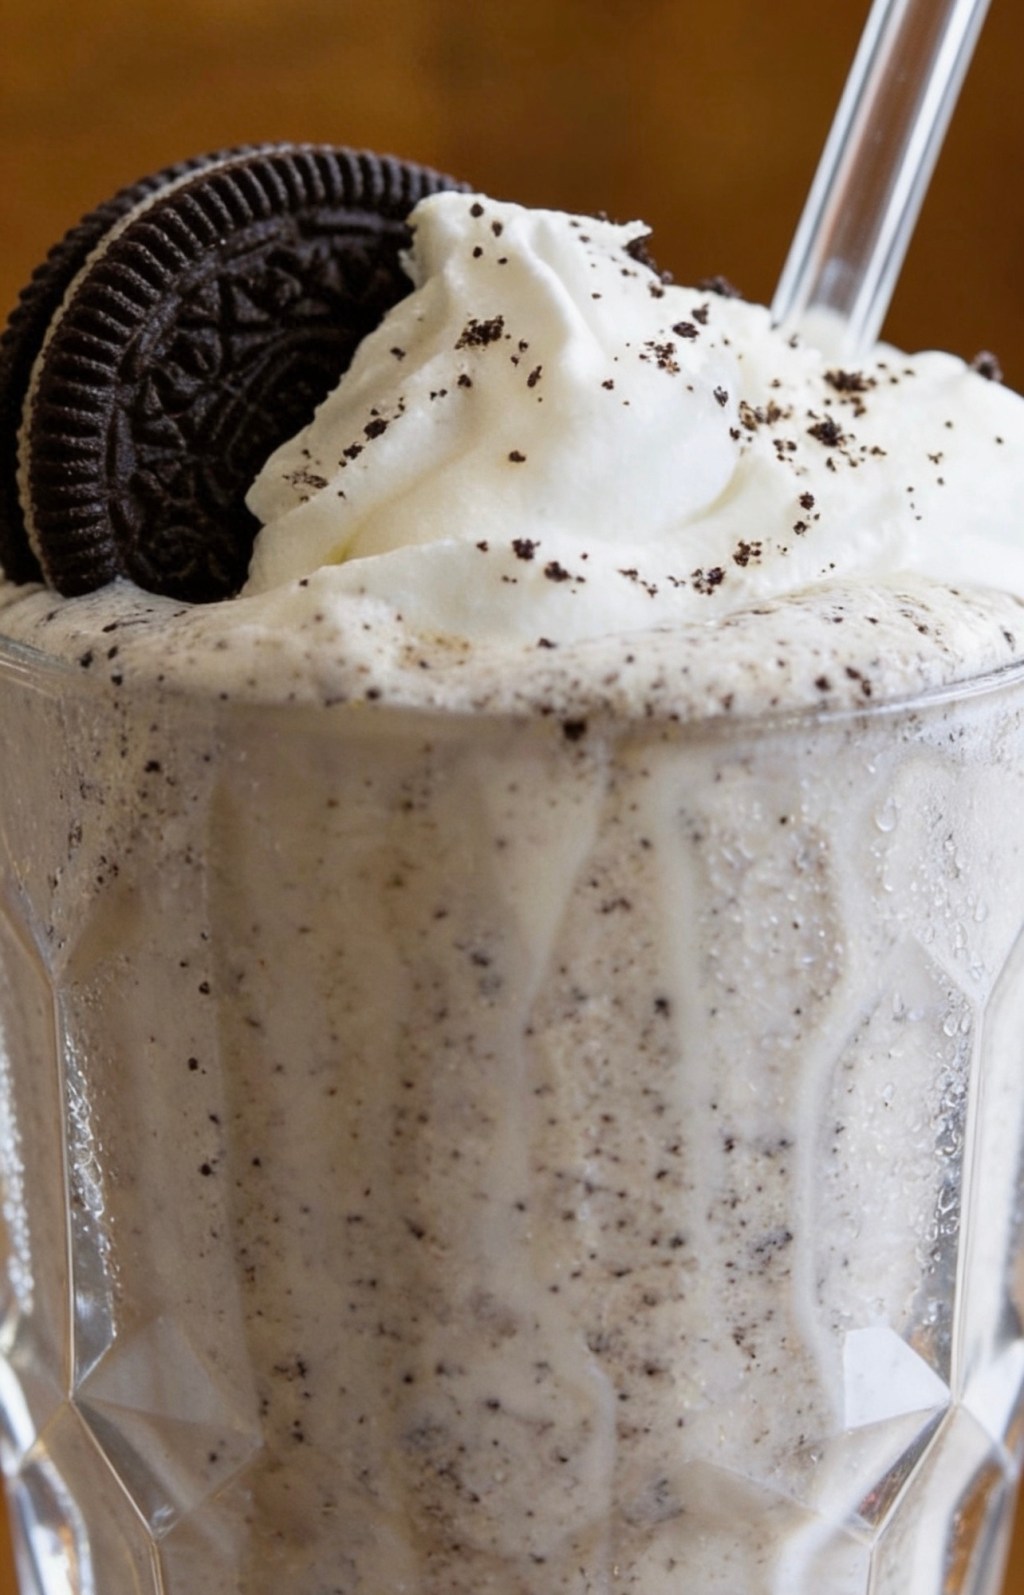
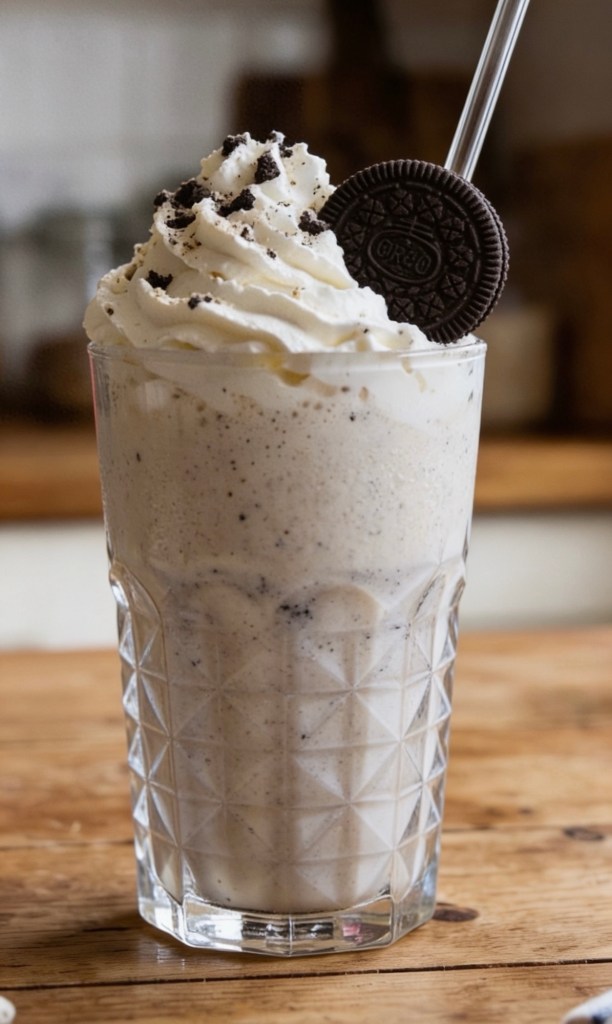
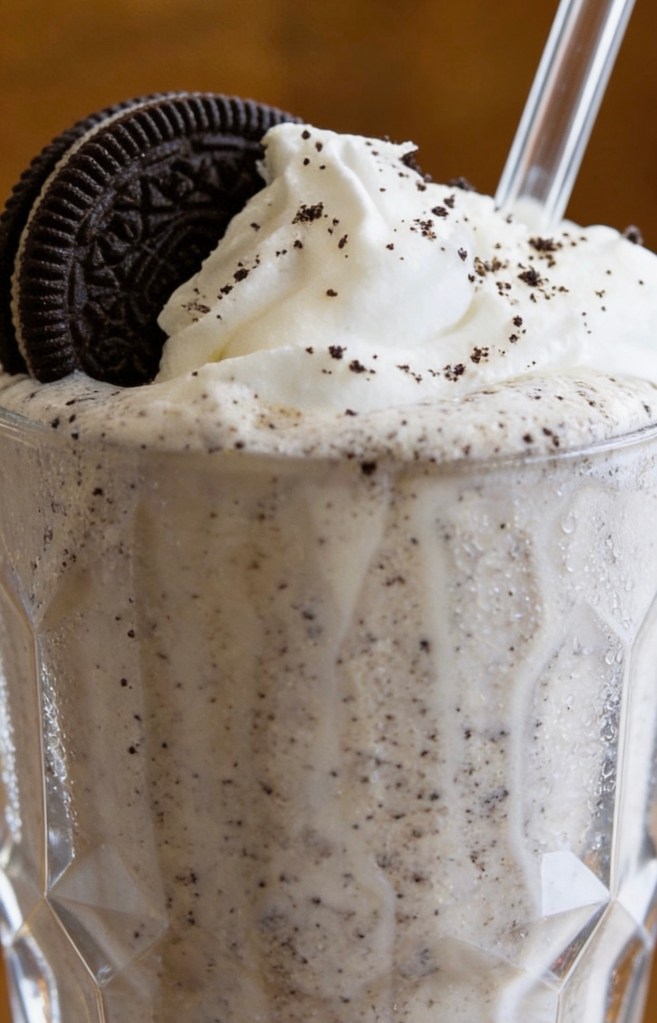
    Finally, top off your creation with a whole Custard Cream biscuit (and maybe a few extra crumbs if you are feeling fancy).

    Your homemade Custard Cream Milkshake is ready to serve!


    🥤 Why This Recipe Beats the Store-Bought Version

    Aside from saving you a trip to the high street, making this milkshake at home lets you control exactly what goes into it. You can make it extra thick by adding a bit more custard, or dial back the sugar if you prefer a more subtle sweetness.

    Plus, you get to stack the whipped cream and biscuits as high as you want!


    💬 What Do You Think?

    Are you going to try making this at home, or are you still curious to see how the official Marks & Spencer version compares?

    Let us know in the comments below if you tried this recipe, and don’t forget to share your milkshake photos with us!