Tag: #cake

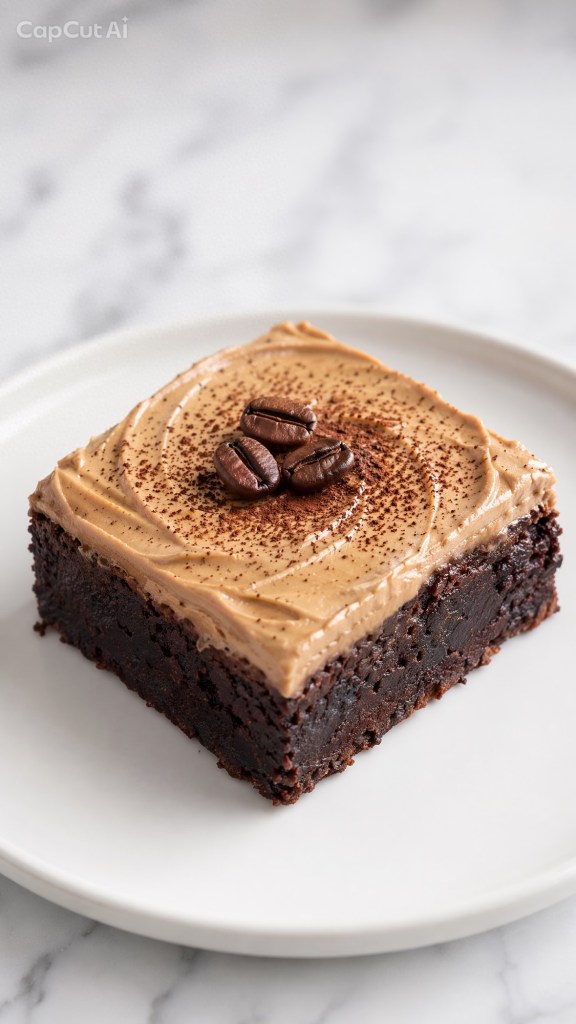
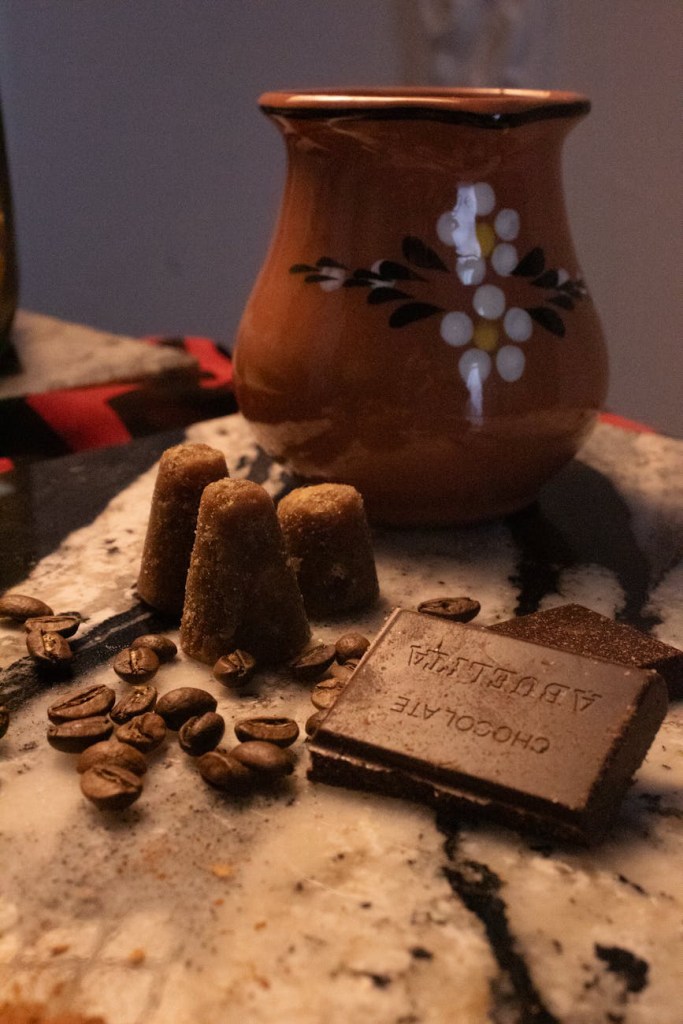
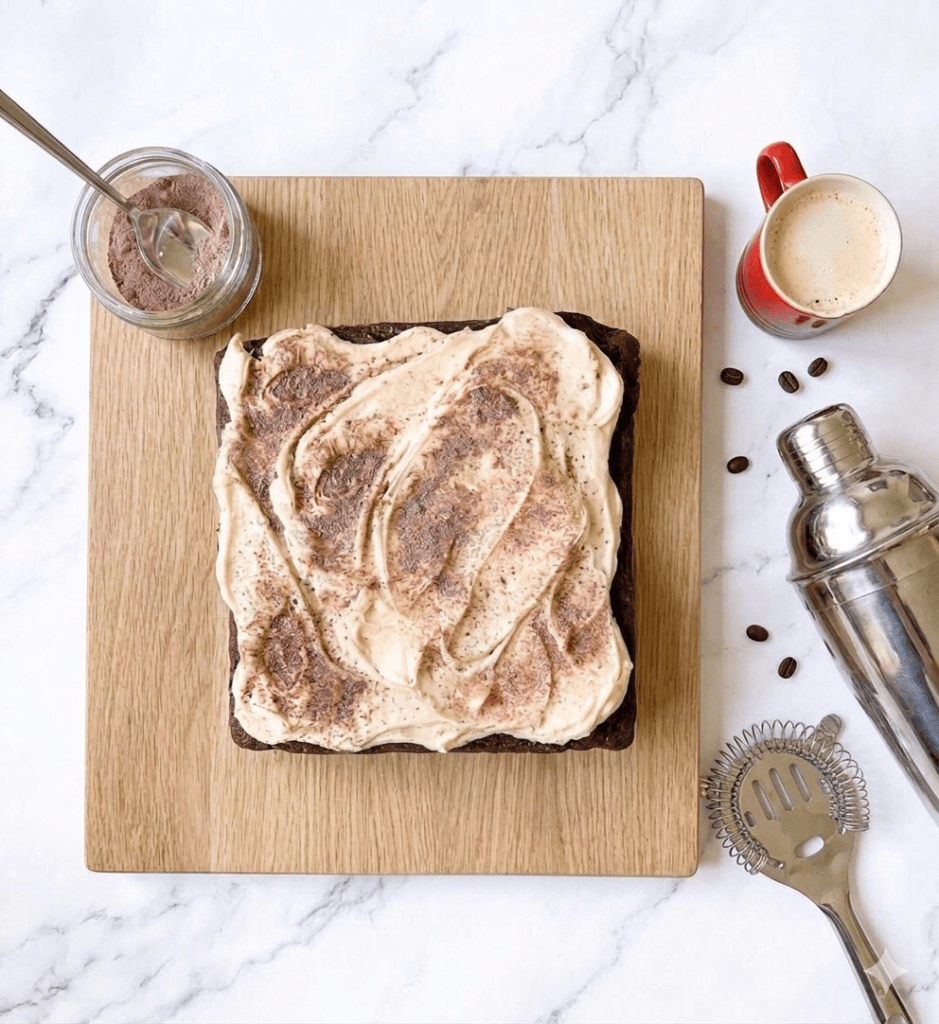
  • The Espresso Martini Brownie: Cocktail Hour, Just Edible 🍸✨

    The Espresso Martini Brownie: Cocktail Hour, Just Edible 🍸✨

    Let’s be real—some nights call for a drink, and some call for a serious chocolate fix. But when you want to feel a bit more sophisticated? You combine them.

    Meet the Espresso Martini Brownie.

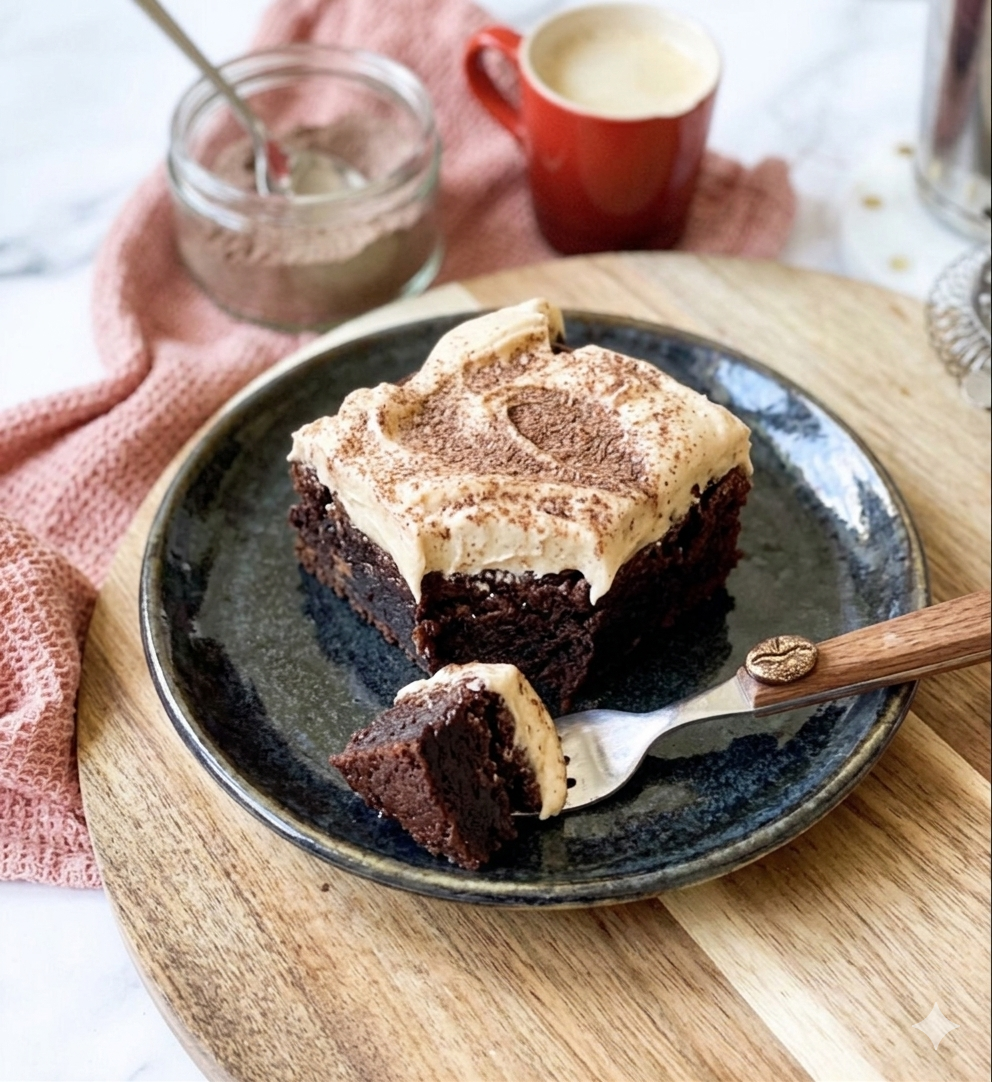
    This is the brownie for grown-ups. We’re talking a dark, intense, fudgy base that’s packed with molten chocolate, topped with a silky buttercream spiked with a proper hit of coffee liqueur. It’s rich, it’s boozy, and it’s the ultimate “wow” dessert for when you’re hosting (or when you just want to feel fancy on a Friday night).

    Why These Work:

    • The Depth: Dark chocolate and espresso are a match made in heaven. The coffee makes the chocolate taste ten times more intense.

    • The Texture: No cakey brownies here. These are dense, fudgy, and loaded with chunks.

    • The Finish: The frosting is basically an Espresso Martini in buttercream form. It’s elite.

    The Recipe (UK Measurements)

    Prep: 15 mins | Bake: 30 mins | Makes: 12 squares of absolute indulgence

    The Shopping List

    For the Brownies:

    • 100g Dark Chocolate (Melted)

    • 170g Unsalted Butter (Melted)

    • 100g Light Brown Soft Sugar

    • 100g Caster Sugar

    • 2 Medium Eggs

    • 1 tsp Coffee Extract (or 1 tsp instant coffee dissolved in 2 tbsp water)

    • 85g Plain Flour

    • 30g Cocoa Powder

    • 150g Milk Chocolate (Roughly chopped)

    For the Boozy Frosting:

    • 120g Butter (Room Temp)

    • 275g Icing Sugar

    • 30ml Coffee Liqueur (Kahlúa or Tia Maria work perfectly)

    Let’s Bake

    1. Prep: Preheat your oven to 170°C (150°C Fan). Line a 20cm (8″) square tin with baking paper.

    2. Whisk: Combine your melted butter and both sugars. Whisk for a solid 3-5 minutes until the mixture is pale and smooth—this is the secret to that perfect texture.

    3. The Base: Stir in the eggs and coffee extract. Slowly pour in the melted dark chocolate, making sure it’s cooled slightly so it doesn’t cook the eggs.

    4. Fold: Sift in the flour, cocoa, and a pinch of salt. Fold it gently with a spatula until just combined. Stir through those milk chocolate chunks.

    5. Bake: Pour the batter in and bake for 30 minutes. You want a slight wobble in the middle—that’s how you keep them fudgy. Let them cool completely in the tin.

    6. The Frosting: Whisk the softened butter and liqueur together, then gradually add the icing sugar. Beat it until it’s light and fluffy. Spread it thick, dust with extra cocoa powder, and slice into clean squares.

    Pro Tip: For the full cocktail-hour vibe, serve a single square on a dark plate with a silver pastry fork. It’s pure class.

    Whether you’re serving these at a late-night party or just treating yourself after a long week, these brownies are the ultimate proof that you don’t need a glass to enjoy a cocktail. They’re dark, they’re boozy, and they’re far too good to share—so maybe keep the tin hidden. Give them a go, and let me know if they become your new after-hours obsession!

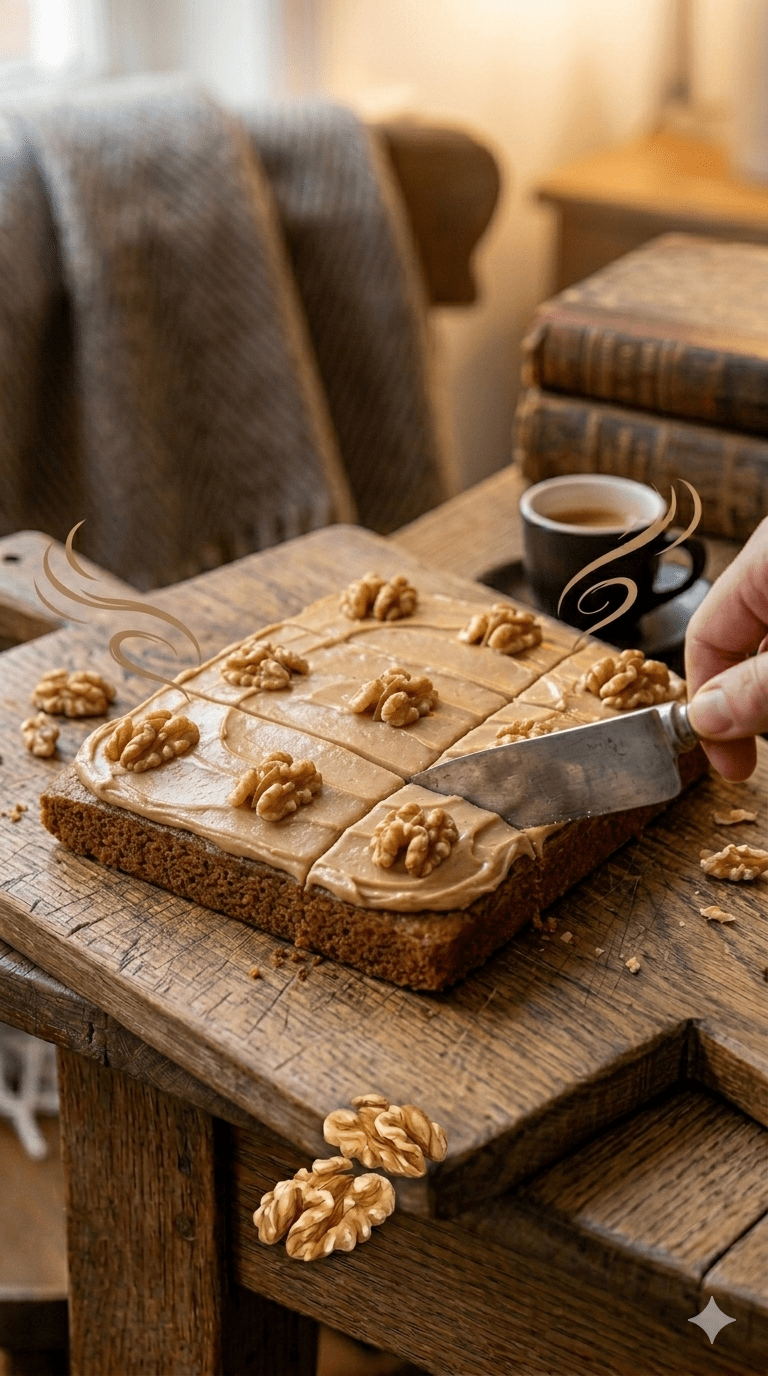
  • Classic Coffee & Walnut Traybake: A Masterclass in British Baking

    Classic Coffee & Walnut Traybake: A Masterclass in British Baking

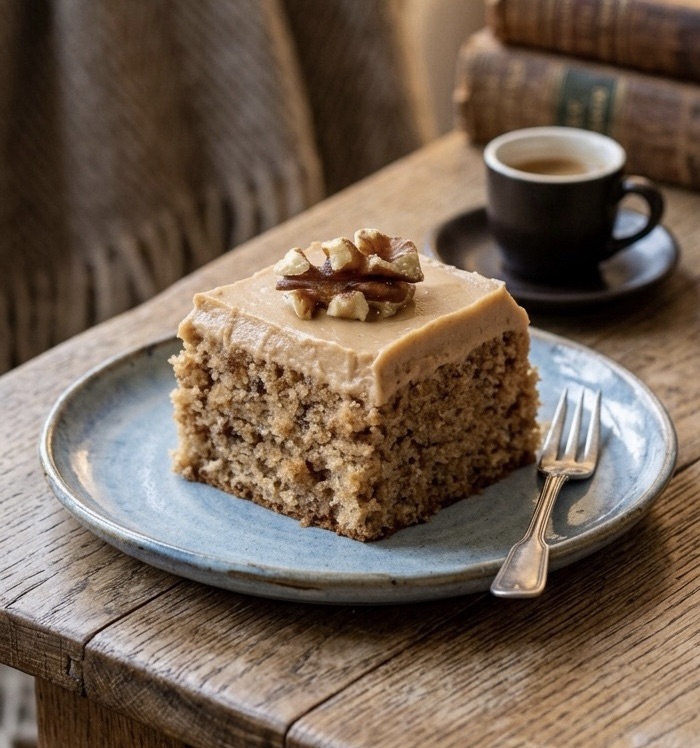
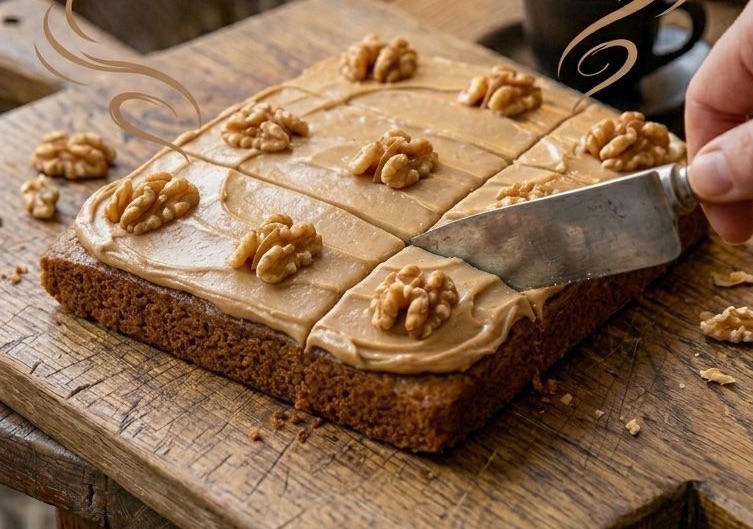
    There are few sights more welcoming on a rainy afternoon than a fresh Coffee & Walnut Traybake sitting on a rustic wooden table. It is the quintessential British teatime treat—sophisticated enough for a garden party, yet humble enough for a Tuesday morning “pick-me-up.”

    In this guide, we’re diving deep into how to achieve that perfect balance of earthy nuttiness, bold caffeine notes, and a sponge so soft it practically melts.

    The Anatomy of a Perfect Traybake

    What makes a traybake superior to a standard round cake? It’s all about the surface area. A traybake offers a consistent thickness, ensuring every slice is evenly baked and topped with a generous, level layer of decadent buttercream.

    🛒 The Ingredient Breakdown

    To achieve bakery-quality results at home, quality matters:

    • The Fat: Use unsalted butter at room temperature. If it’s too cold, it won’t cream; if it’s melted, your sponge will be heavy.

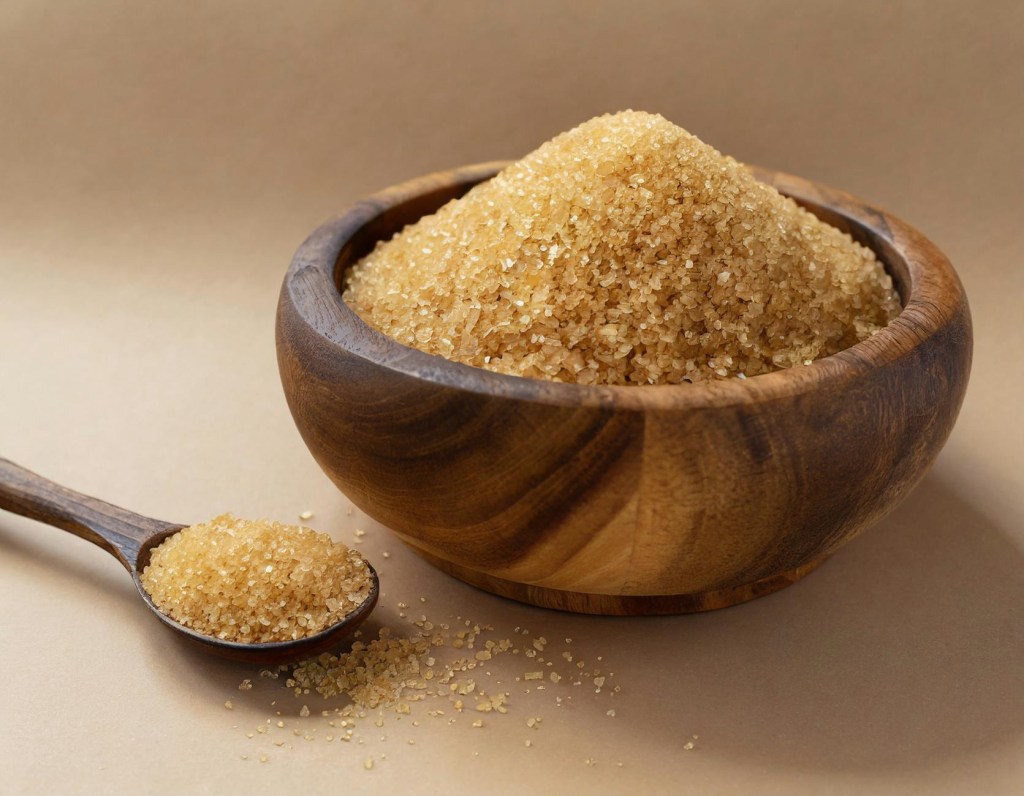
    • The Sugar: We use Light Brown Soft Sugar. The molasses content adds a moisture and a “toffee” undertone that white sugar simply can’t match.

    • The Coffee: Instant coffee granules are actually preferred over liquid espresso here because they provide an intense flavor without adding too much extra liquid, which can throw off the chemistry of the rise.

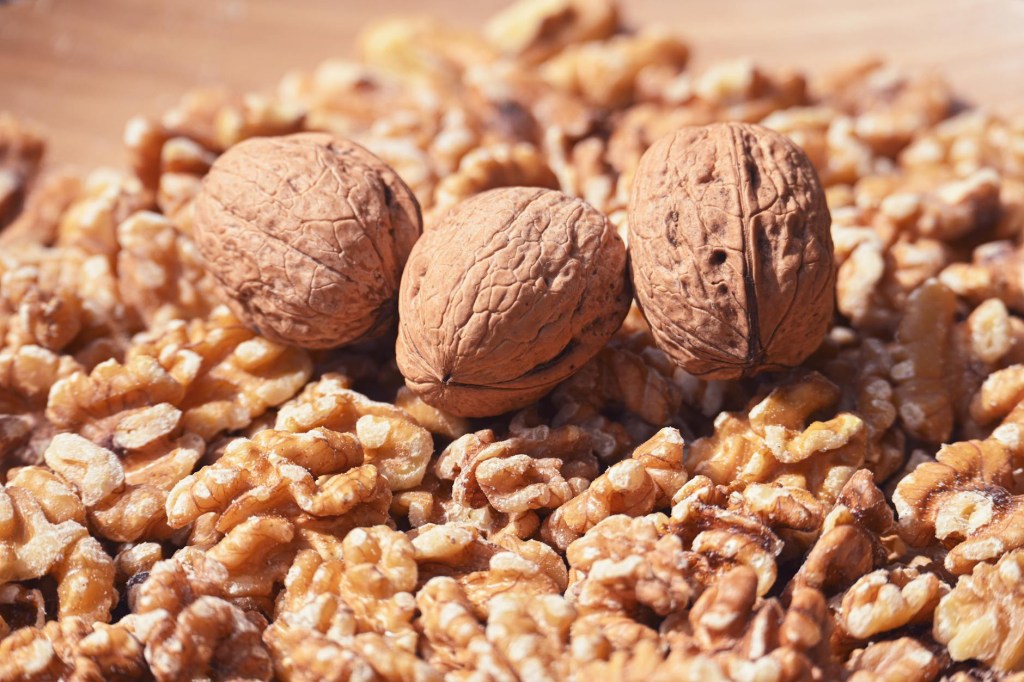
    • The Crunch: Use fresh walnuts. Walnuts can go rancid quickly due to their high oil content, so give them a quick sniff before chopping!

    Step-by-Step: The Method to the Magic

    1. The Creaming Stage

    Start by beating your 225g butter and 225g brown sugar. You are looking for a transformation: the mixture should turn from dark and gritty to pale and fluffy. This process incorporates tiny air bubbles that expand in the oven, giving you a light-as-air crumb.

    2. Incorporating the Eggs

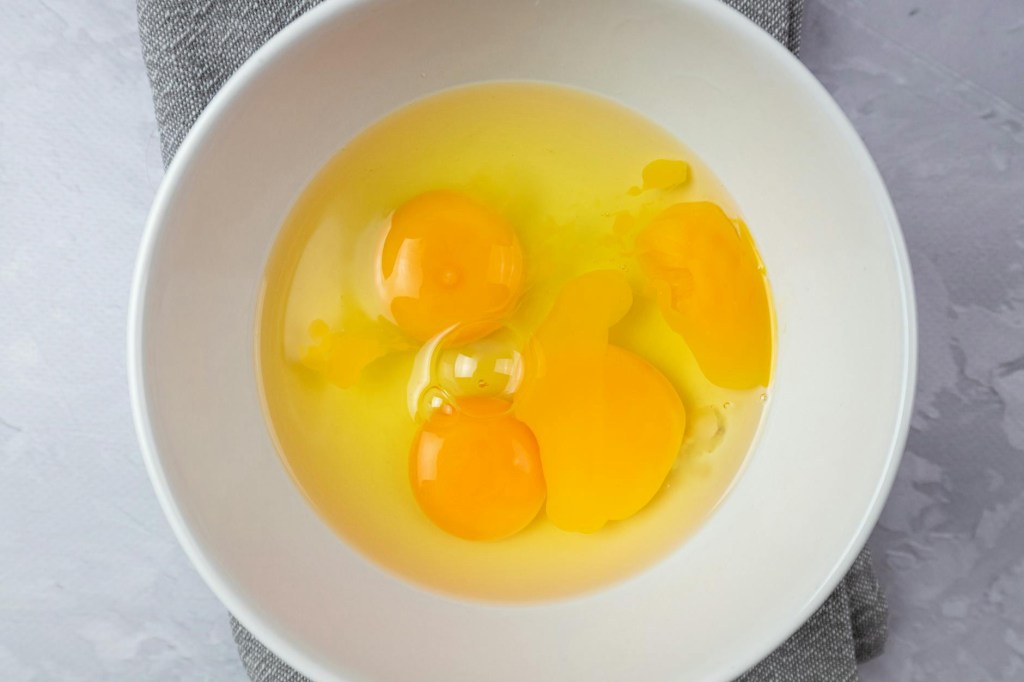
    Add your 4 large eggs one at a time.

    Pro Tip: If the mixture looks like it’s starting to curdle (split), add a tablespoon of your weighed flour. This binds the fat and liquid back together.

    3. Folding, Not Mixing

    Once the vanilla and coffee are in, sift in the 225g self-raising flour. Use a large metal spoon or a spatula to “cut and fold” the flour in. Stop the second you see no more white streaks. Over-mixing develops gluten, which results in a tough, bread-like cake rather than a tender sponge.

    4. The Bake

    Smooth the batter into a lined 20 × 30 cm tin. Bake at 180°C (160°C fan) for 25–30 minutes. You’ll know it’s ready when the edges slightly pull away from the parchment and the center springs back when lightly pressed.

    The Crowning Glory: Coffee Buttercream

    A traybake is only as good as its frosting. To get that “cloud-like” consistency for your Coffee Buttercream:

    1. Beat the 150g butter on its own for 3-5 minutes before adding any sugar. It should turn almost white.

    2. Gradually add 300g sifted icing sugar. Sifting is non-negotiable if you want a silky finish!

    3. Add your dissolved coffee concentrate. This not only adds flavor but acts as the liquid to loosen the frosting to a spreadable dream.

    Customizations & Variations

    • The Mocha Twist: Add 1 tbsp of cocoa powder to the sponge mix for a subtle chocolate-coffee vibe.

    • The Boozy Bake: For an adult-only version, replace the water used to dissolve the coffee with a splash of coffee liqueur (like Kahlúa).

    • Nut Alternatives: If you aren’t a fan of walnuts, pecans are a fantastic substitute, offering a sweeter, more buttery crunch.

    Storage & Serving

    This cake actually improves after a few hours as the coffee flavor matures. Store it in an airtight container in a cool place (not the fridge, which dries out the sponge) for up to 3 days. Serve with a strong espresso or a classic pot of Earl Grey.

    Ready to get baking? Grab your apron and turn your kitchen into the coziest café in town. Don’t forget to tag us in your creations!

  • Summer Berry & White Chocolate Cloud Cake

    Summer Berry & White Chocolate Cloud Cake


    If you love a bake that looks impressive but quietly took you almost no effort, this Summer Berry & White Chocolate Cloud Cake is going to be your new party trick.

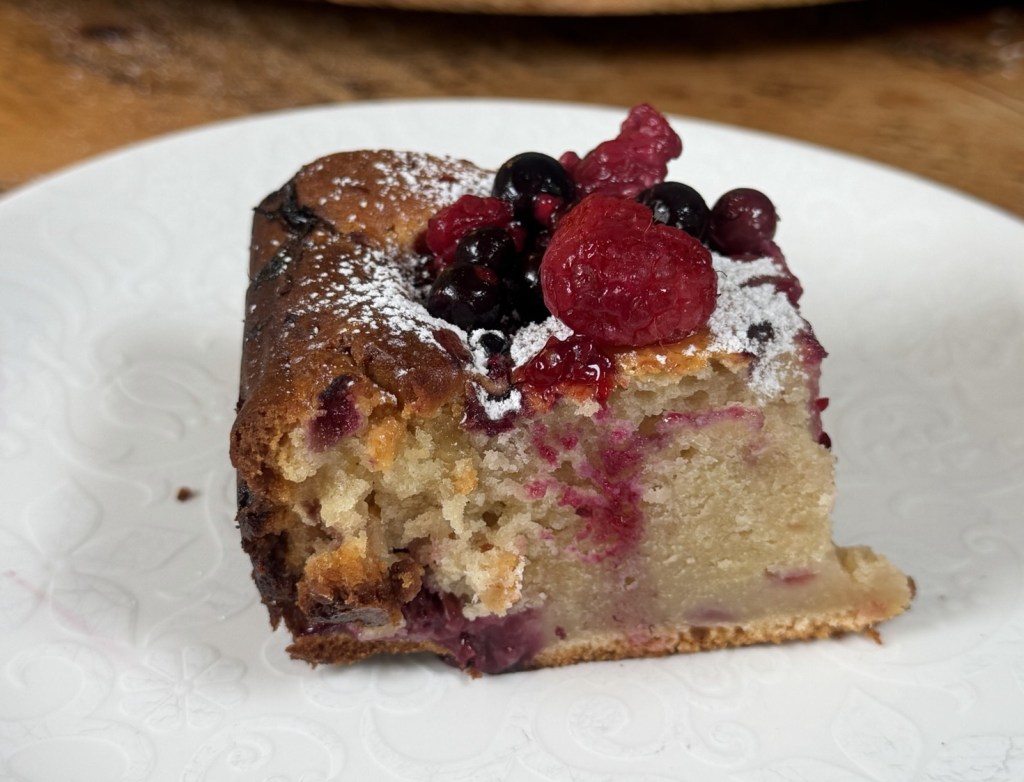
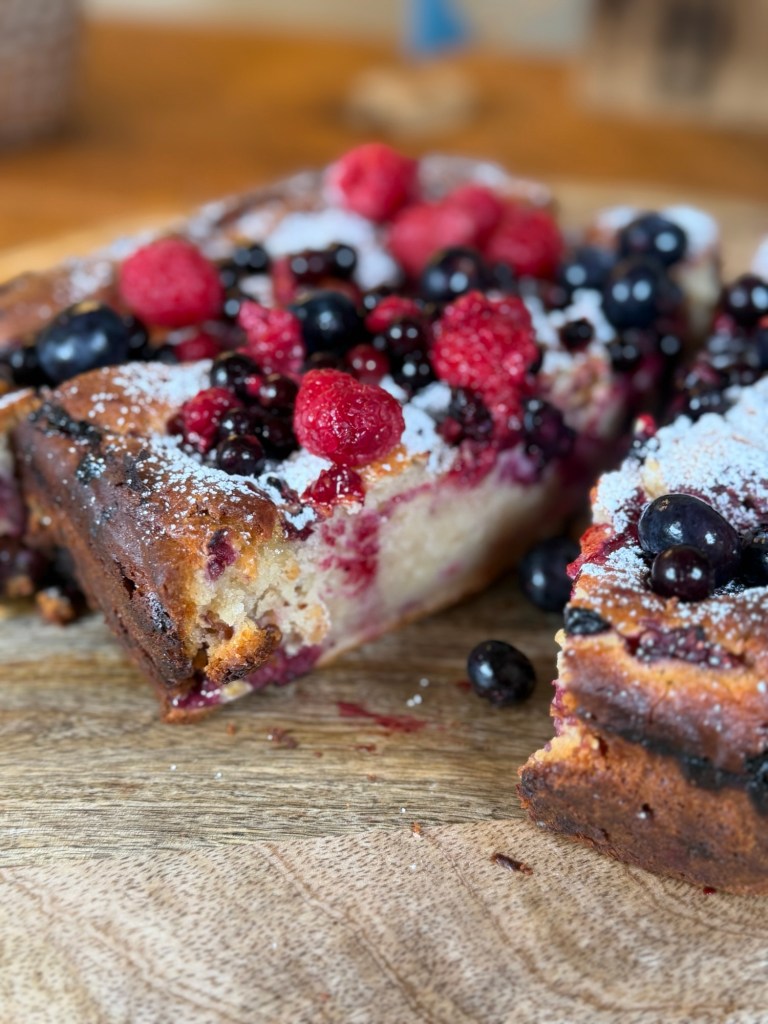
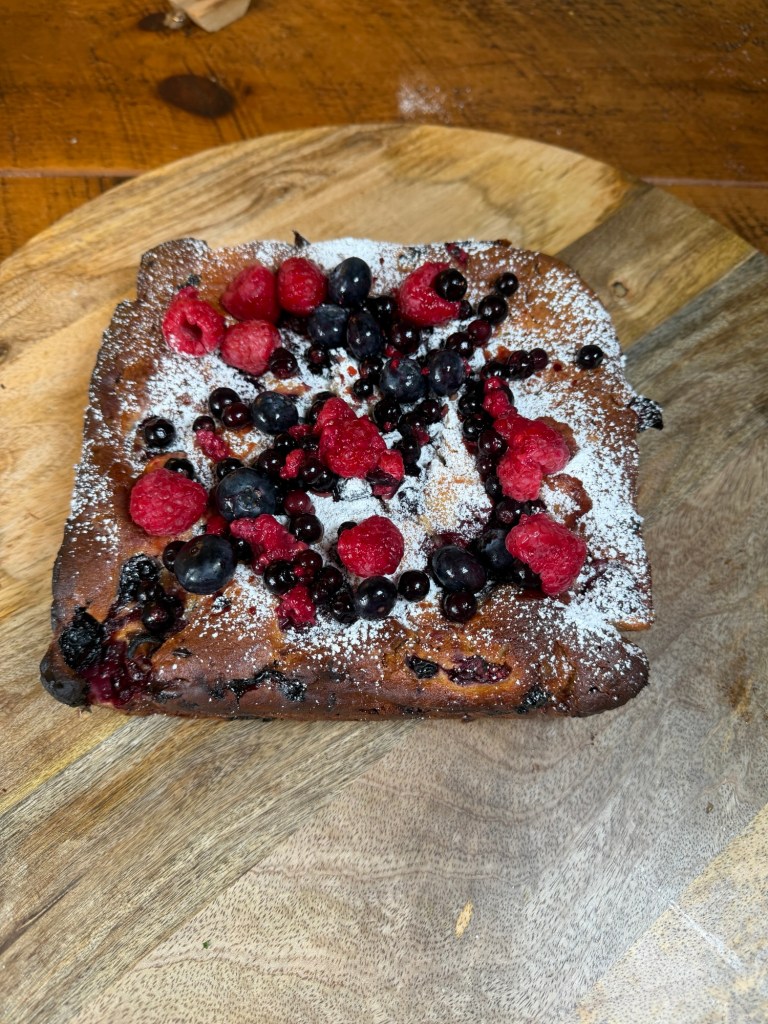
    It’s soft, squidgy and just a little bit fancy – like a cross between a light sponge and a blondie – and it all comes together in one bowl and a square tin. Frozen berries bring big bursts of colour and juiciness inside the cake, white chocolate chips bring creamy sweetness, and a handful of fresh berries on top makes it look café‑level pretty with almost zero styling.
    I wanted something that felt summery and a bit special, but without piping bags, layers or complicated decorating. A regular layer cake felt too faffy, brownies didn’t feel quite seasonal enough, and I had a big bag of mixed berries sitting in the freezer. The result was this soft yoghurt‑based sponge, baked so it stays tender, with two‑thirds of the fruit baked into the cake and the rest kept fresh for decorating.

    Mille ‘helping’

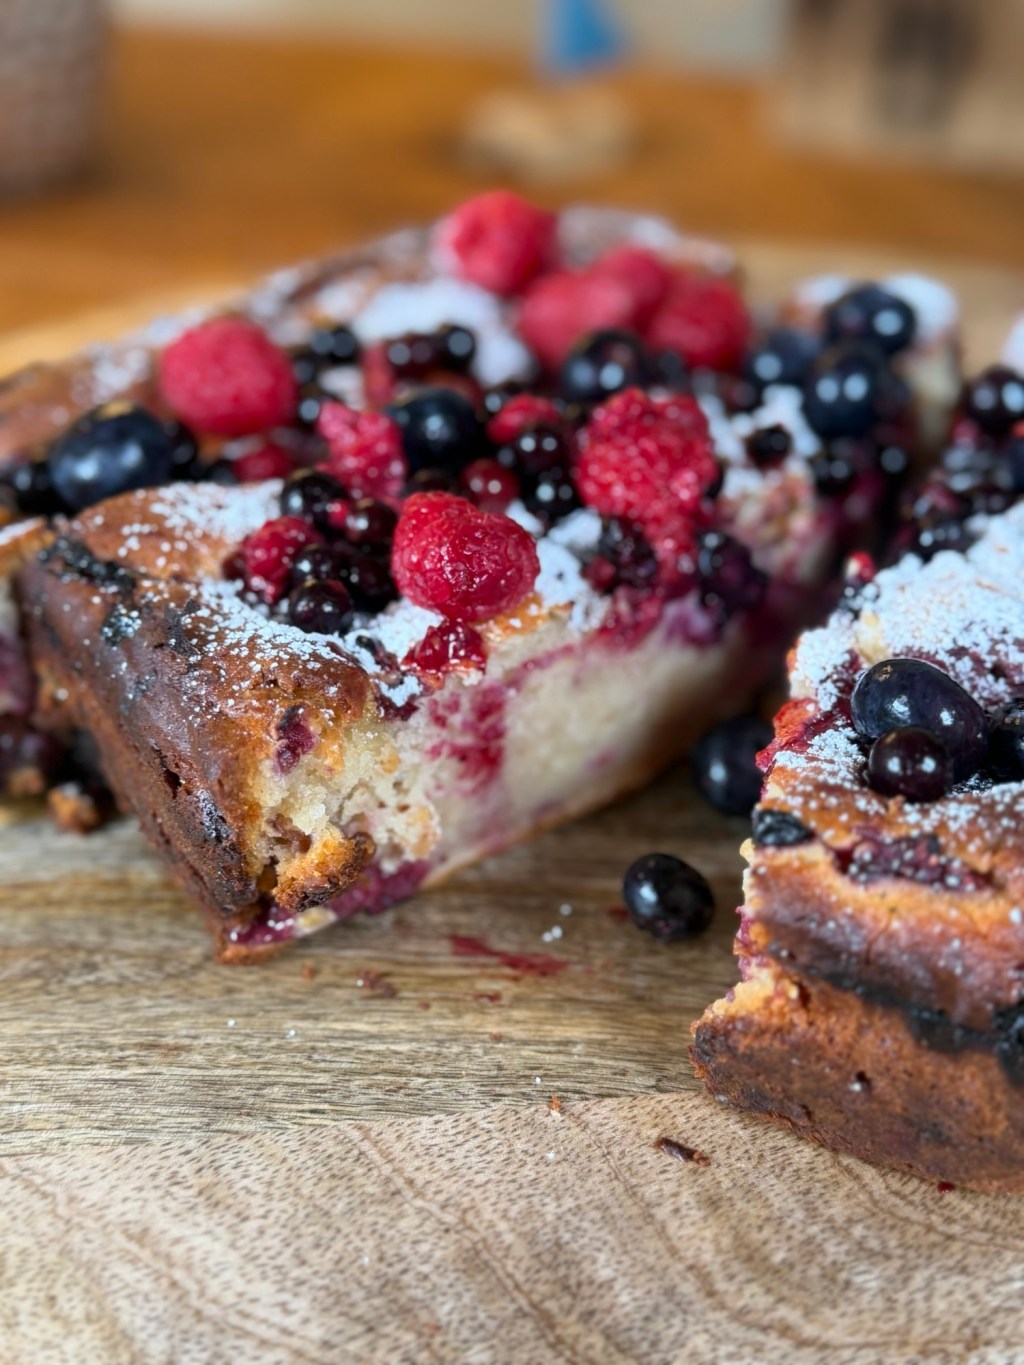
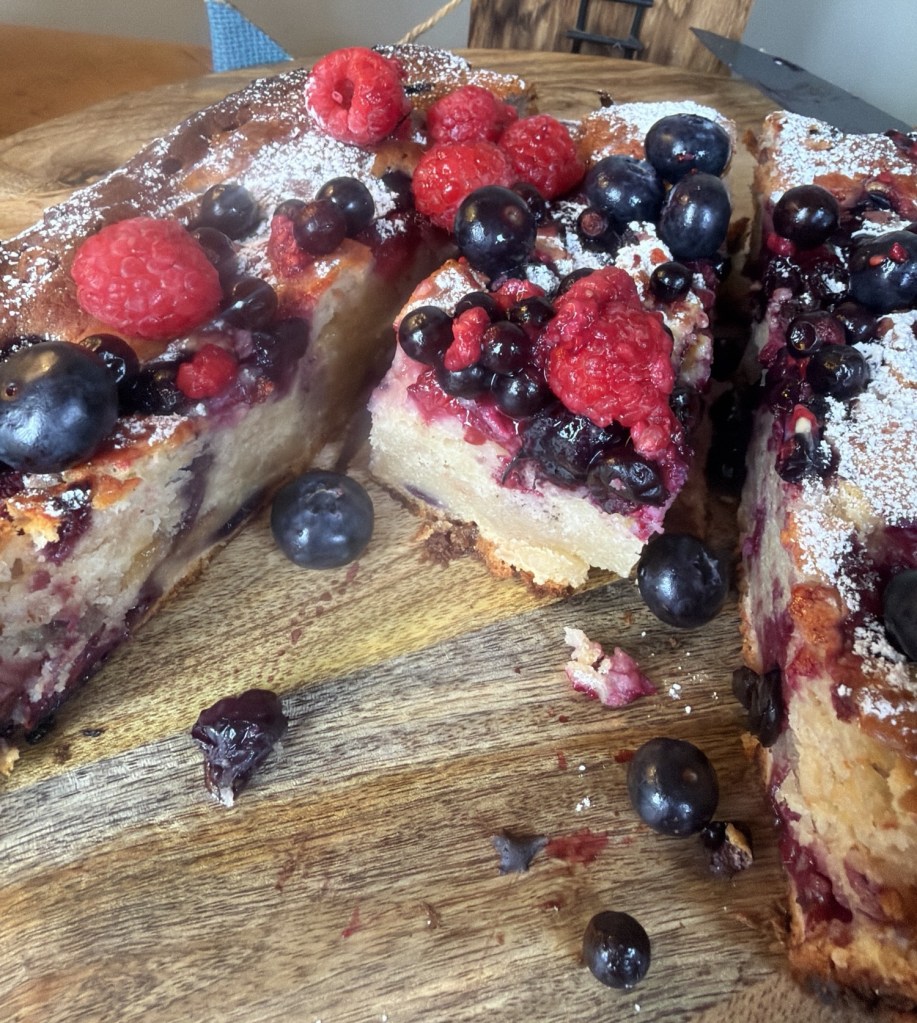
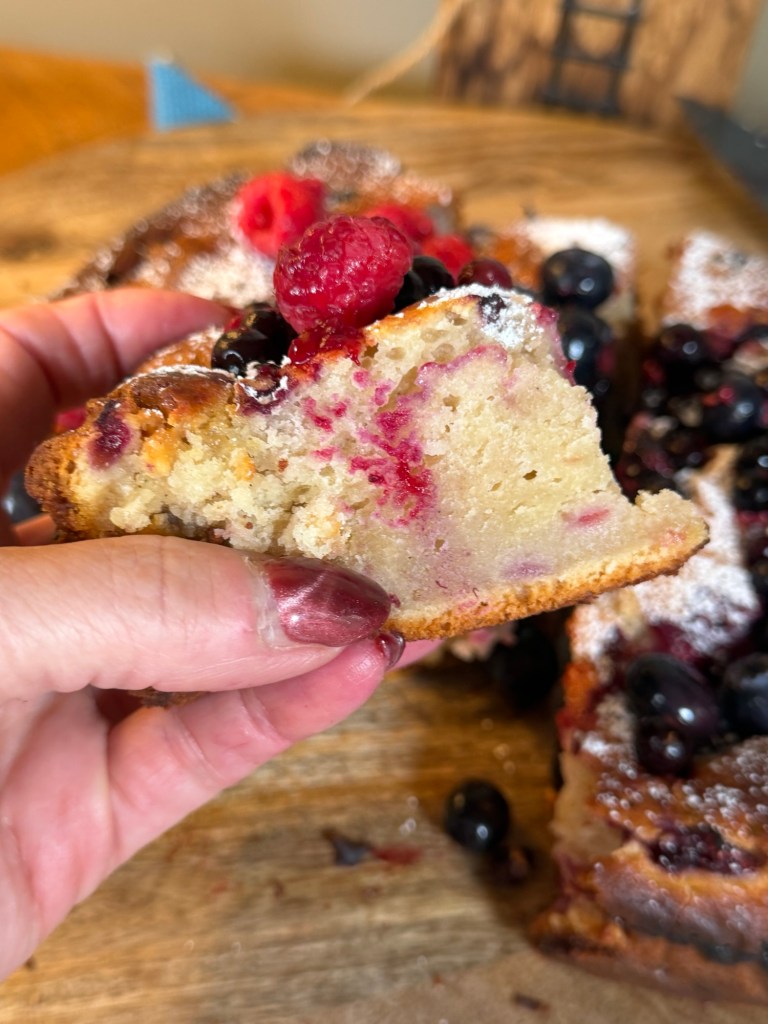
    Every slice has pockets of jammy baked berries and little puddles of melted white chocolate hiding inside, plus a pop of freshness on top from the uncooked fruit. It disappeared in minutes, which is always the best review.
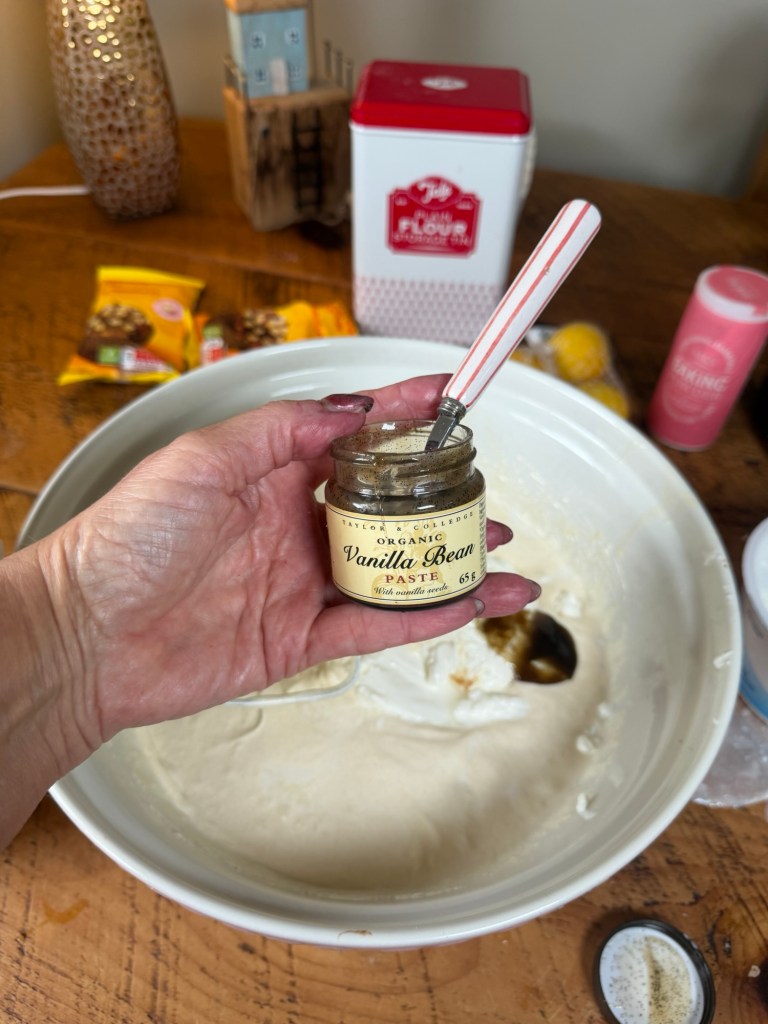
    The batter itself is wonderfully straightforward. You whisk together sugar, melted butter and eggs – no creaming, no stand‑mixer drama – then stir in thick Greek yoghurt and a splash of vanilla. That yoghurt is the secret to the “cloud” texture; it keeps everything moist without being heavy. A simple mix of plain flour, baking powder and a pinch of salt gets folded in, and you can add a bit of citrus zest if you fancy a hint of brightness, but it’s absolutely optional.

    The real stars here are the berries and the 100 g of white chocolate chips that melt into little creamy pockets all through the crumb.
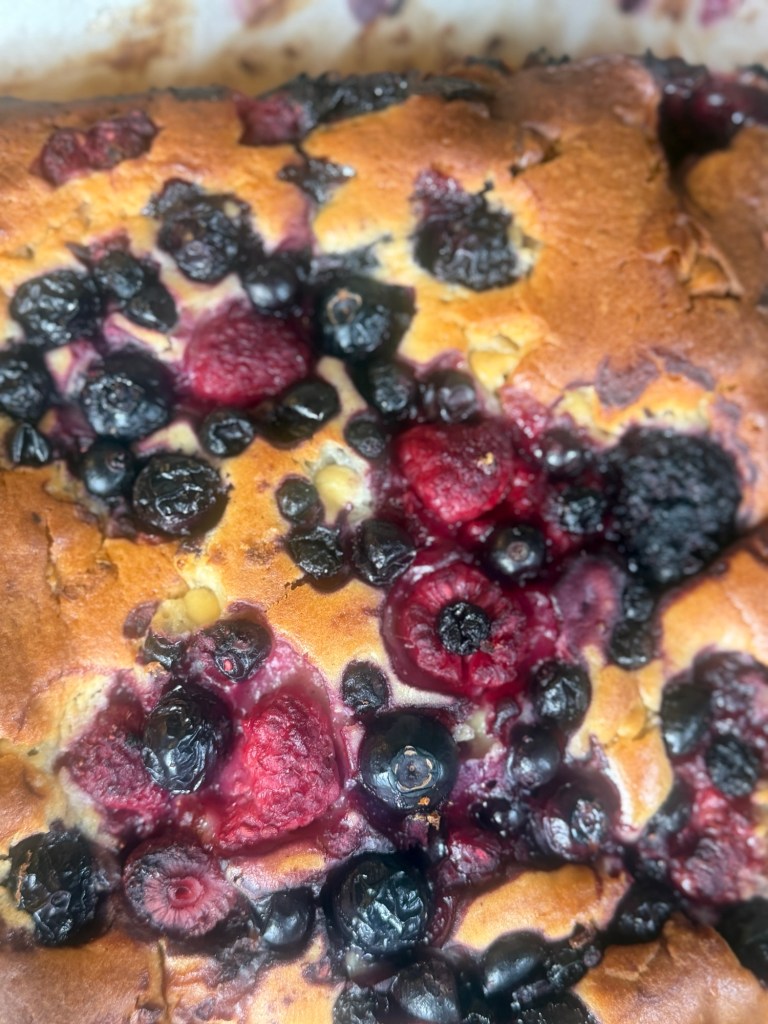
    For the fruit, I use two‑thirds frozen summer berries and one‑third fresh. The frozen berries (raspberries, strawberries, blueberries, blackberries – whatever mix you’ve got) go straight from freezer to bowl, which is ideal when you’re baking on a whim. I toss some of them in a spoonful of flour and fold them through the batter along with the white chocolate chips. The rest of the frozen berries get scattered over the top of the batter in the tin, so they sink in as it bakes and create lovely swirls of colour through the cake. The fresh berries stay safely in the fridge, ready for their moment as a juicy, glossy topping once the cake has cooled.
    While it bakes, the kitchen smells outrageous – buttery and sweet with those little pockets of berry jam starting to form. The top turns a deep golden colour, the edges pull very slightly away from the tin, and the berries sink in just enough to marble the inside of the cake without making it soggy. Once the cake is completely cool, I dust it with icing sugar and tumble the fresh berries over the top, so you get that “summer dessert” moment as soon as you put it on the table.
    Serving‑wise, this cake is incredibly flexible. Cut small squares for a picnic or snack plate, or go for larger slices with a dollop of whipped cream, ice cream or thick Greek yoghurt as a proper pudding. It’s lovely eaten at room temperature, but there’s something special about it slightly chilled from the fridge on a hot day – the white chocolate firms up again and the baked berry pockets turn almost fudgey, while the fresh berries on top stay bright and juicy. Leftovers (if you’re lucky enough to have any) keep well in an airtight tin for a couple of days, and you can freeze slices without the fresh fruit topping for future you.
    The best bit is how easy it is to play around with. Stick with the same ratio – about two‑thirds frozen fruit in the cake, one‑third fresh to finish – and change the mix depending on what you’ve got. All raspberries? Gorgeous. Mostly blueberries with a few blackberries thrown in? Also gorgeous. You can add a handful of flaked almonds on top before baking if you want a bit of crunch, or swap the white chocolate for milk or dark if that’s more your style. Once you’ve made the base once, you can tweak it to match whatever’s in your freezer and fruit bowl, and it still bakes up into that same soft, cloud‑like crumb every single time.
    So if you’re after a one‑tin wonder that feels special but doesn’t ask for hours of your life, Summer Berry & White Chocolate Cloud Cake is the one to bookmark. It uses sensible ingredients, makes the most of frozen fruit, and finishes with a flourish of fresh berries – the kind of bake people remember and ask you for the recipe for, and you don’t have to admit quite how easy it was to throw together.
    INGREDIENTS
    Plain flour – 250 g
    Baking powder – 2 teaspoons
    Fine salt – ¼ teaspoon
    Caster or granulated sugar – 250 g
    Salted butter, melted and slightly cooled – 115 g
    Eggs – 2 medium–large
    Plain Greek yoghurt – 240 g
    Vanilla extract – 1 teaspoon
    Finely grated citrus zest (lemon or orange, optional) – up to 2 tablespoons
    Frozen summer berries for the cake – 300 g (about two‑thirds of the total fruit)
    Fresh berries for the top – 150 g
    Plain flour for tossing some of the frozen berries – 1 tablespoon
    White chocolate chips (or chopped white chocolate) – 100 g
    Icing sugar – for dusting the finished cake
    20–23 cm square tin (8–9 inch), lined with baking paper
    Oven temperature – 180°C / 160°C fan / Gas 4
    METHOD

    1. Line a 20–23 cm square baking tin with baking paper, letting it overhang the sides so you can lift the cake out easily later. Preheat the oven to 180°C / 160°C fan / Gas 4.
    2. In a small bowl, whisk together the plain flour, baking powder and salt. Set aside.
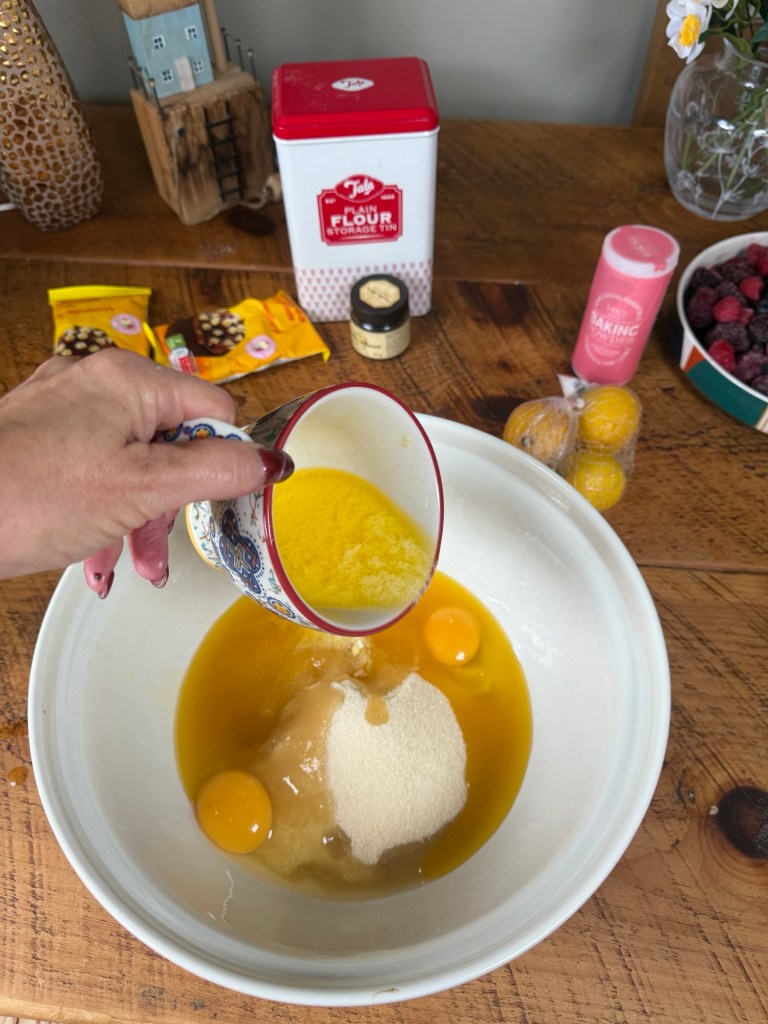
    1. In a larger mixing bowl, whisk the sugar, melted butter and eggs until the mixture is smooth and slightly lighter in colour. Add the Greek yoghurt and vanilla and whisk again until everything is combined.
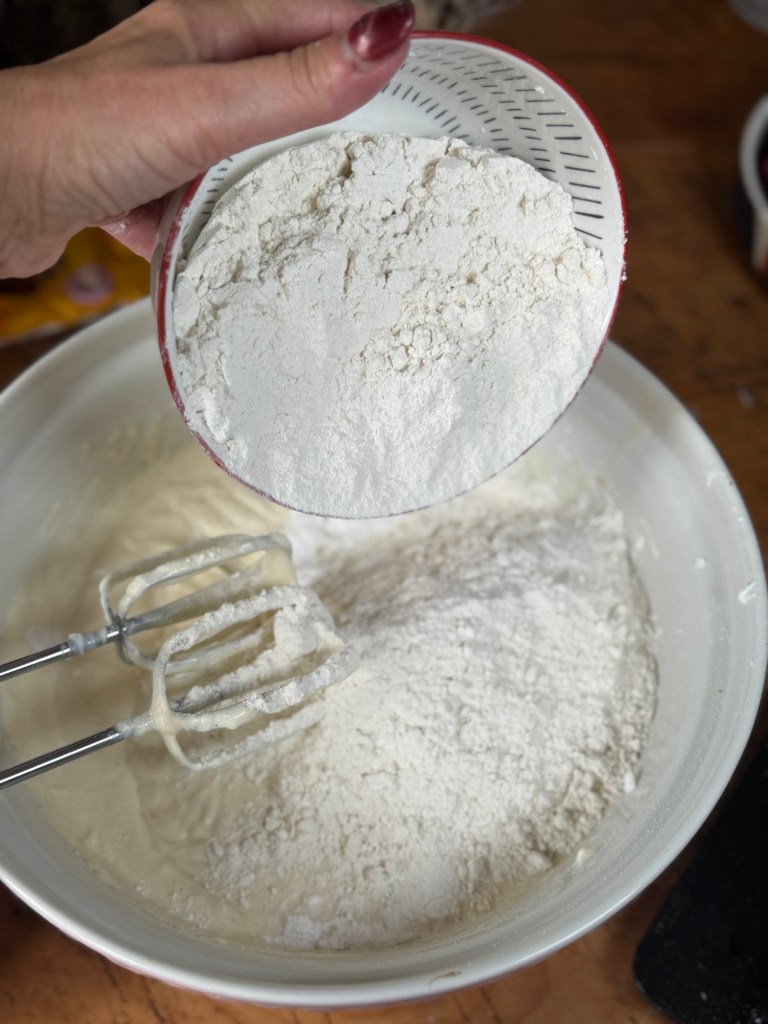
    1. Tip the dry mixture into the wet in two additions, gently whisking or folding each time until you have a smooth, fairly thick batter. Stir in the citrus zest if you’re using it.
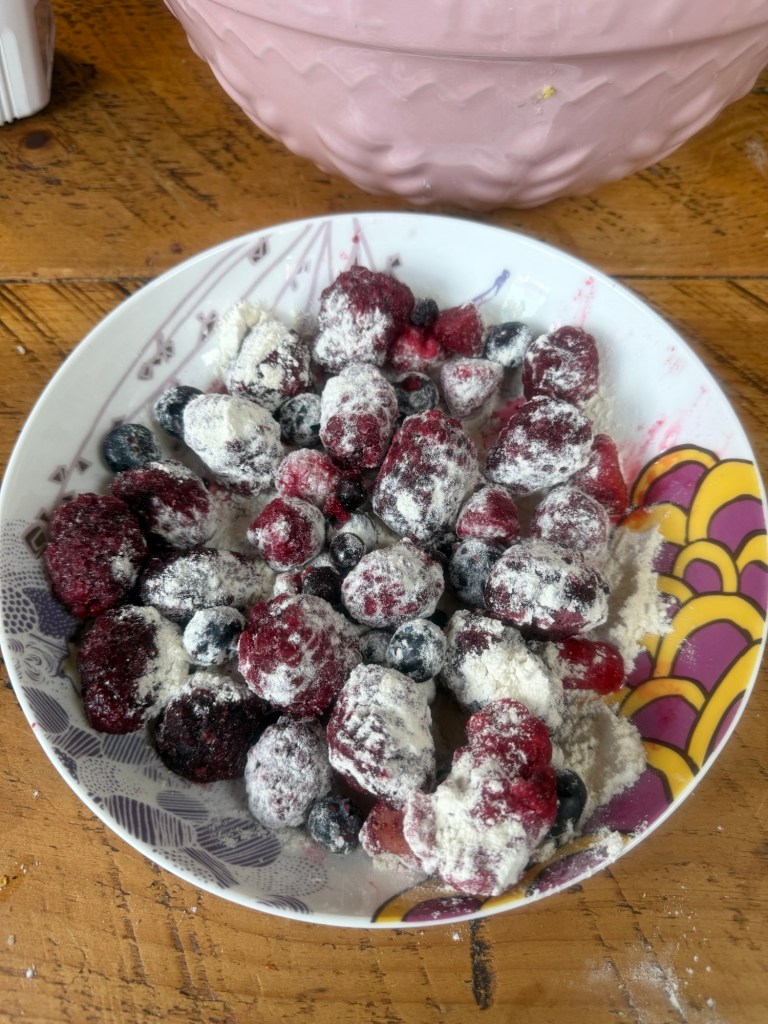
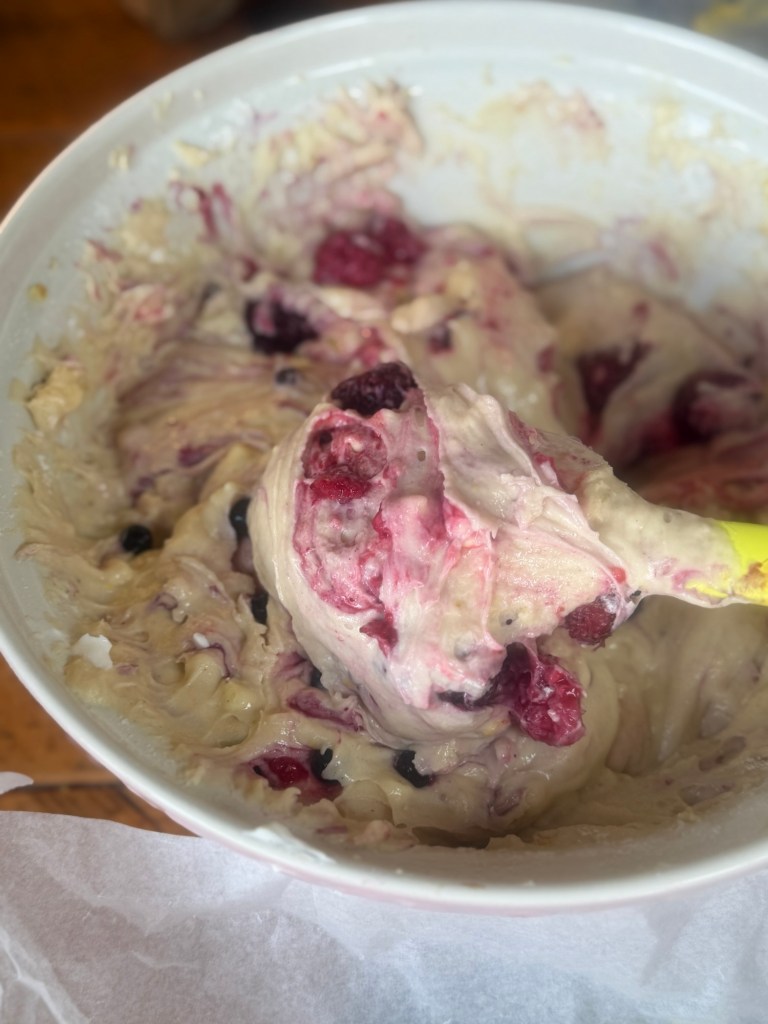
    1. Take about half of the 300 g frozen berries and toss them with the 1 tablespoon of plain flour. Fold these floured frozen berries and the 100 g white chocolate chips into the batter with a spatula, being gentle so you don’t break the fruit up too much.
    Toss the berries in flour to stop them sinking
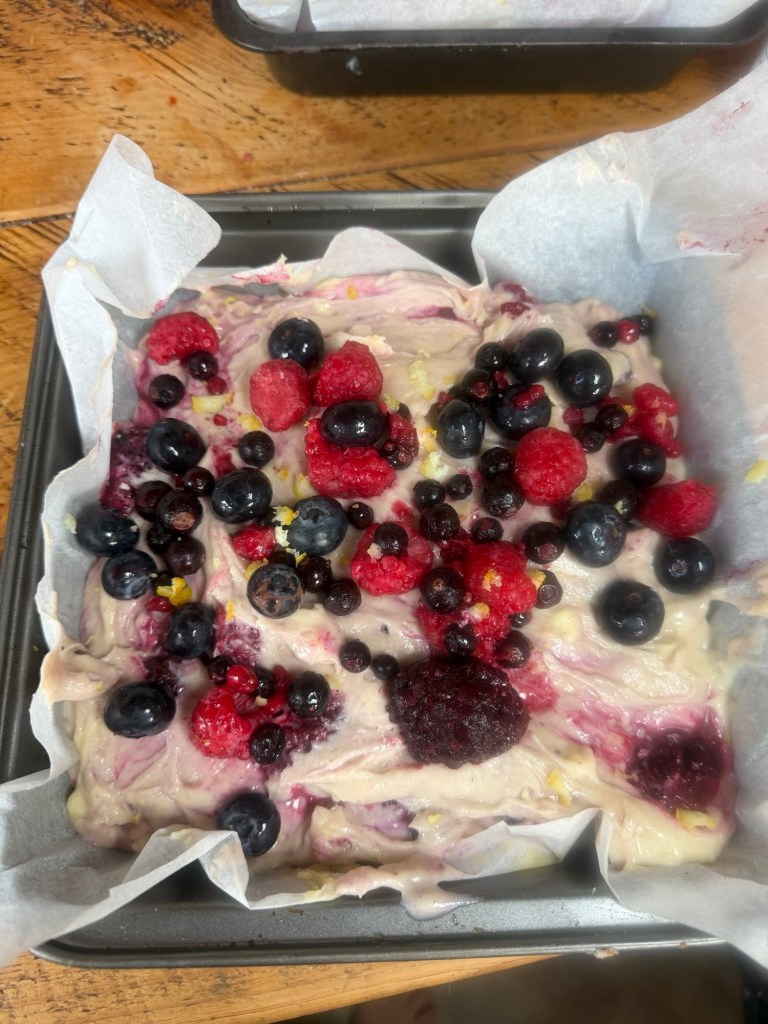
    1. Spread the batter evenly into the lined tin, smoothing it right into the corners. Scatter the remaining frozen berries from the 300 g over the top and press them in very lightly.

    Bake for about 35–45 minutes, until the top is golden, the edges are just pulling away from the tin, and a skewer inserted into the centre comes out with a few moist crumbs but no wet batter. If the top is browning too quickly, loosely cover the tin with foil for the last 10 minutes.

    Leave the cake to cool in the tin for 10–15 minutes, then lift it out using the baking paper and transfer it to a wire rack to cool completely.

    Once the cake is cool, dust the top with icing sugar and decorate generously with the fresh berries you kept back.

    Slice into squares or bars and serve as it is, or with cream, ice cream or thick yoghurt.


    CLOSING NOTES
    And if you really want to spoil yourself, try a slice warm with custard – it’s absolutely divine. The berries go all soft and jammy again, the white chocolate turns velvety, and the custard sneaks into all the little corners of the sponge. It’s the sort of pud that makes everyone go quiet for a moment, then immediately ask if there’s any chance of seconds.