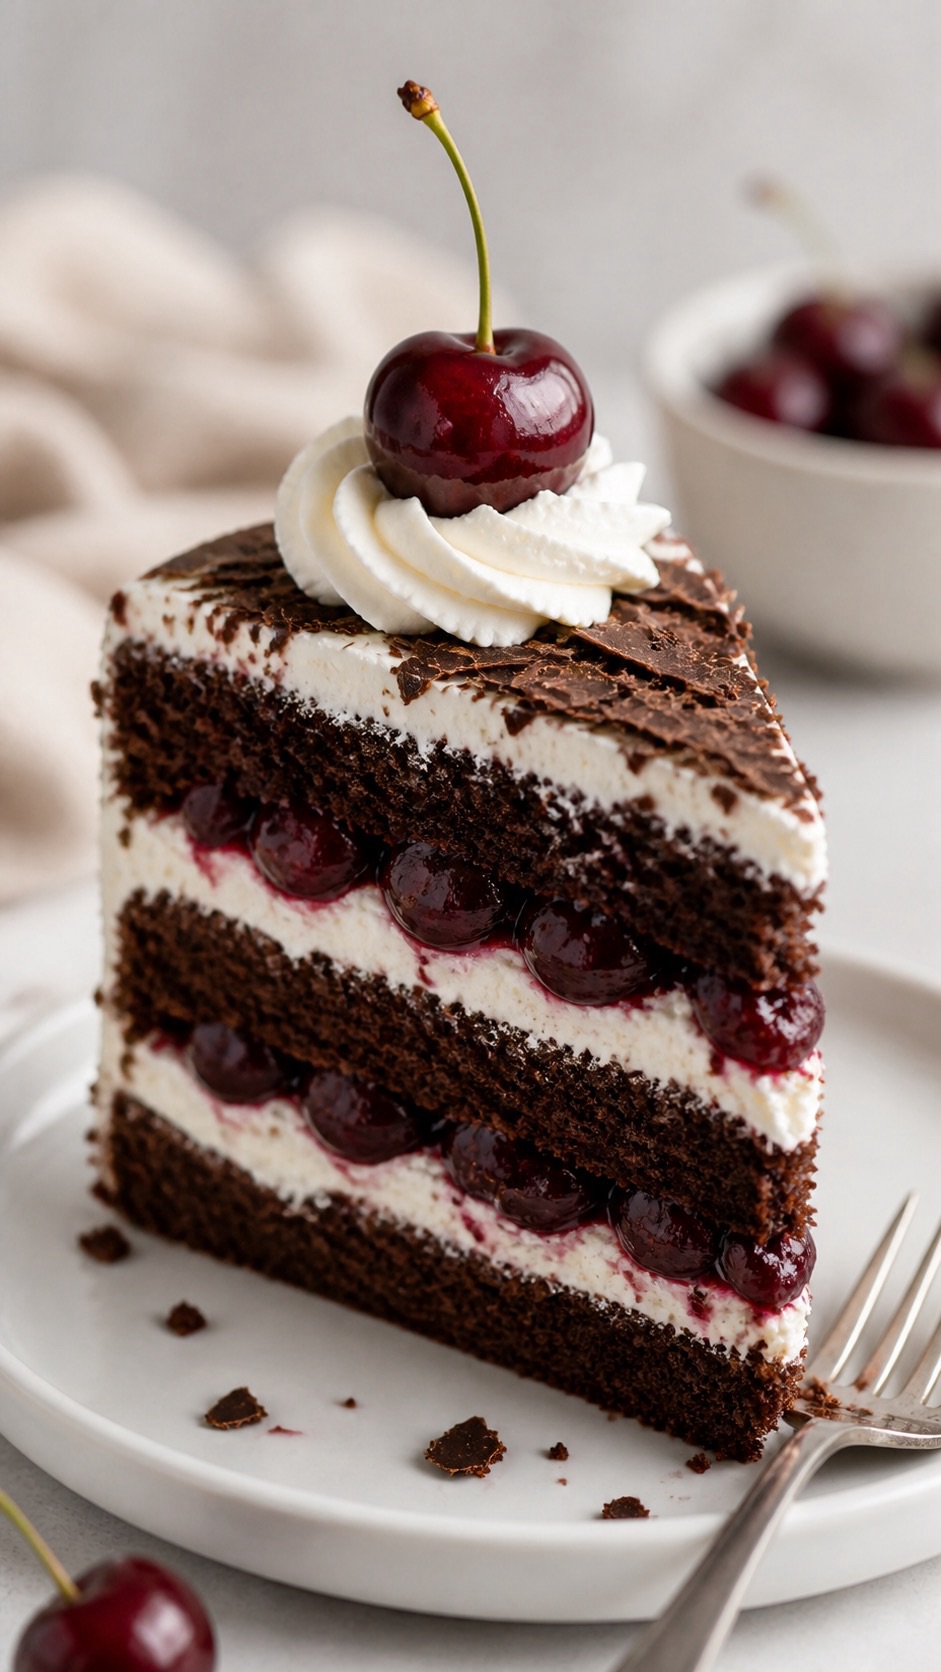
Some cakes never go out of style – they just wait patiently for us to remember how good they are. Black Forest cake is one of those bakes: rich chocolate sponge, juicy cherries, and soft clouds of cream, all in one dramatic, sliceable dessert.
In this post I’m sharing my TikTok‑ready Black Forest cake: a full, round cake that works just as well for family tea as it does for a scroll‑stopping video. You’ll get UK ingredients first (with US cups in brackets), plus a streamlined method that keeps the classic flavour without making you live in the kitchen.
What Makes A Black Forest Cake “Black Forest”?
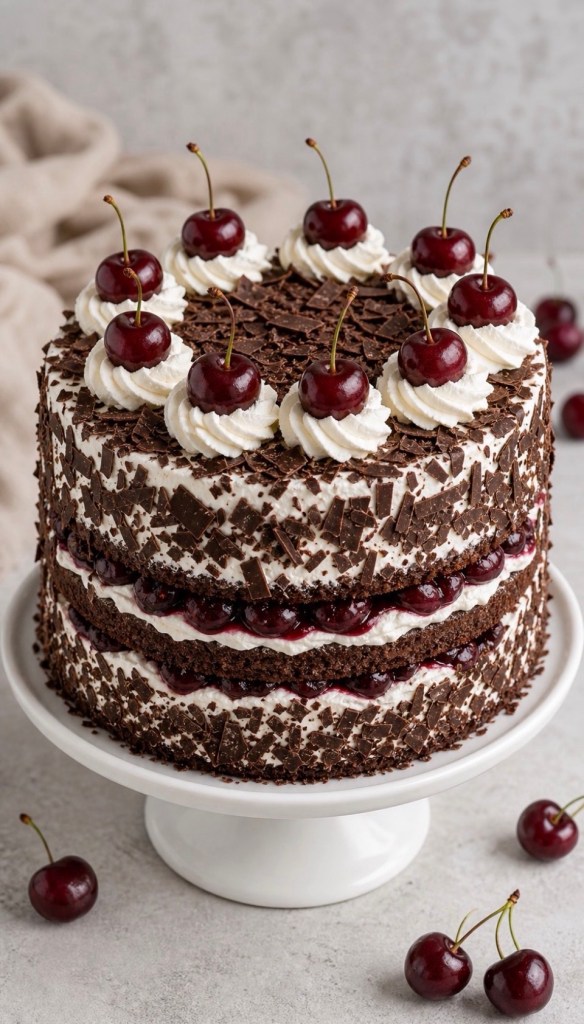
Black Forest cake (Schwarzwälder Kirschtorte) comes from the Black Forest region of Germany and traditionally combines chocolate sponge, cherries, and kirsch (a clear cherry brandy). Instead of buttercream, it uses lightly sweetened whipped cream, which keeps every bite lighter than it looks.
Modern versions often tone down the alcohol and lean on jarred cherries in juice instead of fresh, which makes the recipe more accessible for home bakers. The essential elements are still the same: chocolate sponge, cherry filling, cream, and plenty of chocolate shavings on top.
Ingredients (UK First, With US Cups)
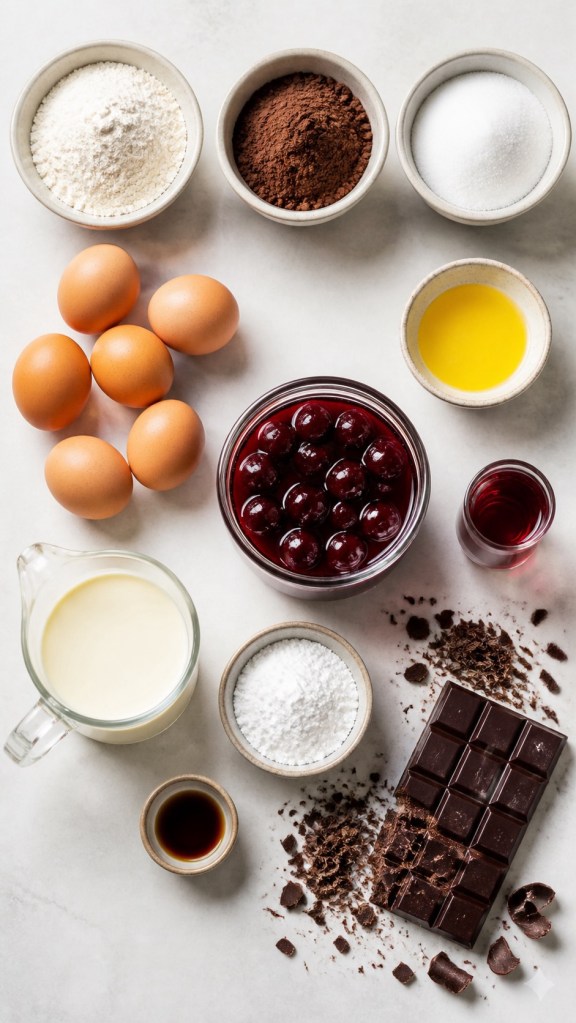
I’ve kept this as simple as possible, using store‑cupboard ingredients and a jar of cherries in juice. This quantity makes a full round cake, about three 18–20 cm layers, ideal for a celebration or Sunday tea.
Sponge
• 6 eggs
• 200 g caster sugar (1 cup sugar)
• 120 g plain flour (1 cup all‑purpose flour)
• 50 g cocoa powder (½ cup unsweetened cocoa)
• 1 tsp baking powder (or ½ tsp baking soda)
• Pinch of salt
• 60 g melted butter (4 tbsp unsalted butter), cooled
Cherries
• 1 large jar pitted cherries in juice (about 680 g / 24 oz can)
• 50 g sugar (¼ cup)
• 2–3 tbsp cornflour (cornstarch)
• Optional: 2–3 tbsp kirsch or cherry brandy (or extra juice if alcohol‑free)
Cream
• 600 ml double cream (2½ cups heavy/whipping cream)
• 50–70 g icing sugar (½–¾ cup powdered sugar)
• 1–2 tsp vanilla extract
Topping
• Dark chocolate shavings (a bar of dark chocolate, roughly grated)
• Extra cherries for the top
Step‑By‑Step: Chocolate Sponge
This sponge relies on whisked eggs and sugar for structure, so take your time with this step. You’re aiming for a thick, pale mixture that leaves ribbons on the surface when you lift the whisk.
- Preheat your oven to 180°C (160°C fan) / 350°F and grease and line three 18–20 cm round tins.
- In a large bowl or stand mixer, whisk the eggs and caster sugar for 6–7 minutes until very pale and doubled in volume.
- In a separate bowl, sift together the plain flour, cocoa powder, baking powder, and salt.
- Gently fold the dry ingredients into the egg mixture in two or three additions, keeping as much air as possible in the batter.
- Pour in the cooled melted butter and fold again until just combined.
- Divide the batter evenly between the tins and bake for 20–25 minutes, or until the sponges are risen and a skewer comes out clean.
- Allow the cakes to cool in their tins for 10 minutes, then turn out onto a wire rack to cool completely.
Step‑By‑Step: Cherry Filling And Syrup
The cherry layer is part compote, part syrup: a glossy mixture that sits between the layers while some of the juice is reserved to soak the sponge. This keeps the cake moist and gives you that unmistakable cherry flavour in every slice. - Drain the cherries, reserving the juice in a jug.
- Measure about 300 ml (1¼ cups) of the cherry juice into a saucepan; top up with water if needed.
- Whisk in the sugar and cornflour until no lumps remain, then add the optional kirsch if using.
- Bring to a gentle boil over medium heat, whisking often, until the mixture thickens and turns glossy.
- Remove from the heat and stir in the cherries, coating them in the thickened juice.
- Set aside to cool; keep a little plain cherry juice or a splash of the syrup thinned with water for brushing over the sponge layers.
Step‑By‑Step: Whipped Cream And Assembly
Because Black Forest cake uses whipped cream instead of buttercream, it’s lighter on the palate but needs a bit of care in warm kitchens. You can stabilise the cream with a spoonful of Greek yoghurt or a commercial stabiliser if you want it to hold longer for photos. - Add the double cream, icing sugar, and vanilla to a chilled bowl.
- Whisk to soft‑stiff peaks – firm enough to hold its shape, but still smooth and spreadable.
- To assemble, place the first sponge layer on a serving plate or cake stand and brush generously with reserved cherry juice or kirsch syrup.
- Pipe or spread a ring of whipped cream around the edge, then spoon some cherry mixture into the middle.
- Add a little more cream over the cherries, then top with the second sponge layer and repeat.
- Place the final sponge layer on top, brush with syrup, and then cover the top and sides of the cake with the remaining whipped cream.
- Press dark chocolate shavings onto the sides and top, then decorate with extra cherries.
- Chill for at least 1–2 hours before slicing to allow the flavours to meld and the cream to set slightly.
Tips For Health‑Conscious Bakers
Black Forest cake is naturally lighter than many buttercream‑heavy layer cakes because it uses whipped cream and fruit. You can lean into that by making a few gentle adjustments without losing the spirit of the dessert.
• Swap some caster sugar for a lower‑GI sweetener if that’s part of your routine.
• Use an alcohol‑free version by skipping the kirsch and adding extra cherry juice instead.
• Keep your slice sizes modest and pair with a cup of tea or coffee – a little goes a long way.
For everyday baking, you might save this for weekends or special occasions, then keep your weekday treats simpler and higher in protein. This kind of balance keeps cake joyful rather than guilt‑ridden, especially if you already focus on walking and general wellness.


Leave a Reply