Tag: #EasyRecipe

  • Classic Coffee & Walnut Traybake: A Masterclass in British Baking

    Classic Coffee & Walnut Traybake: A Masterclass in British Baking

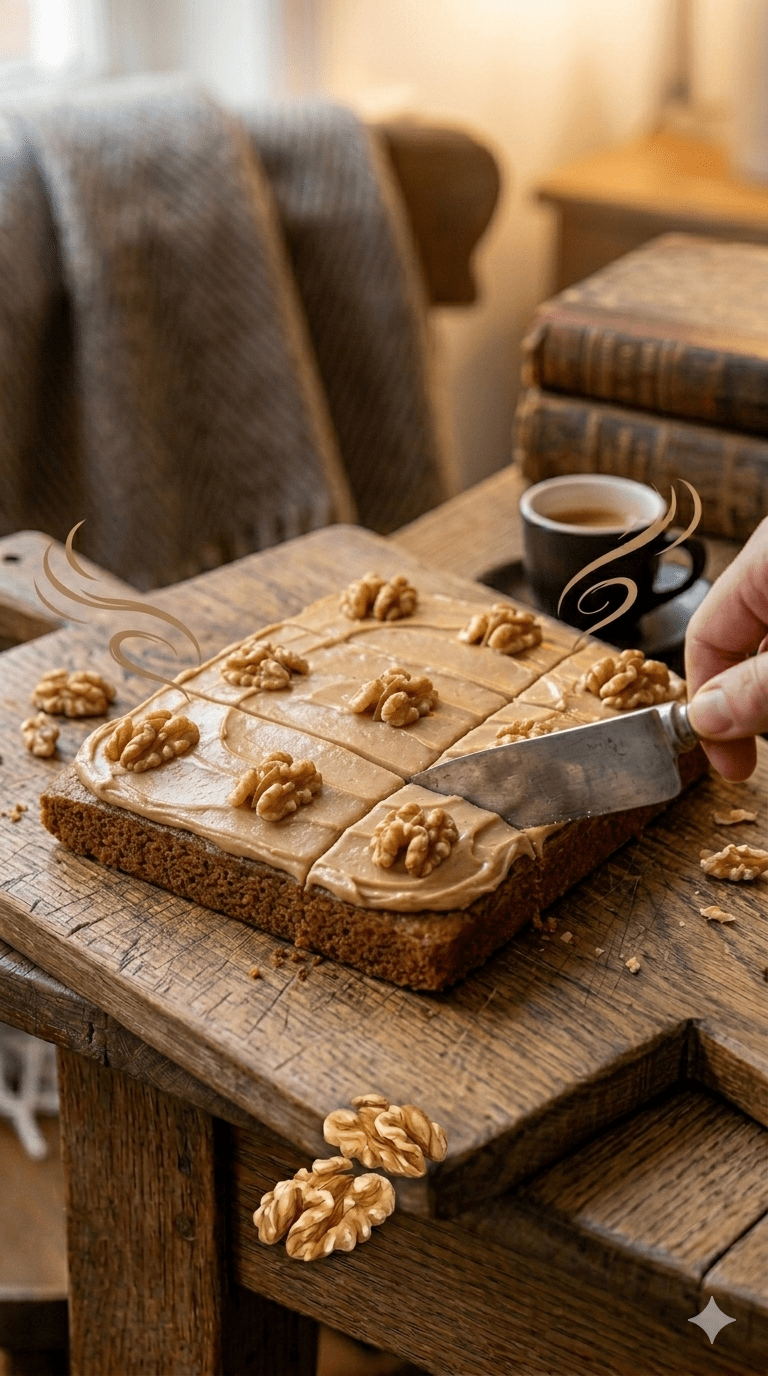
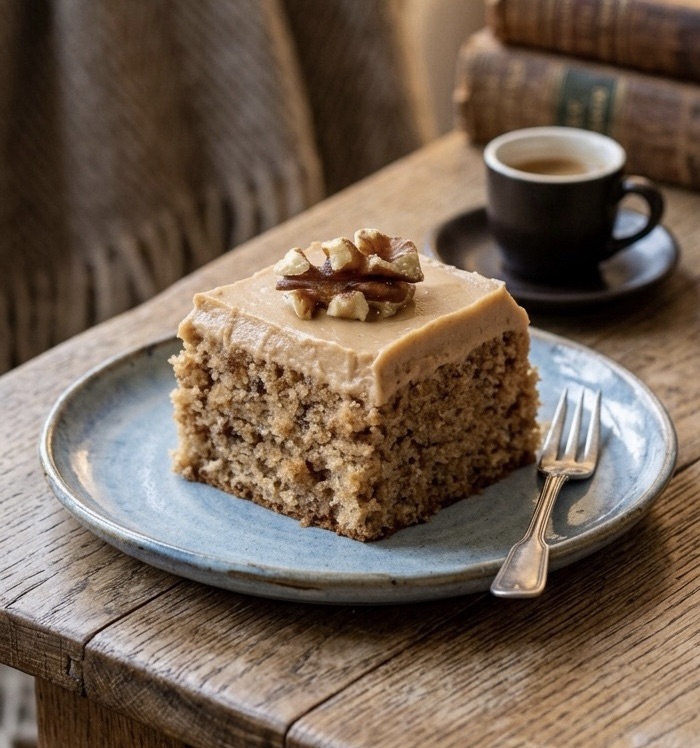
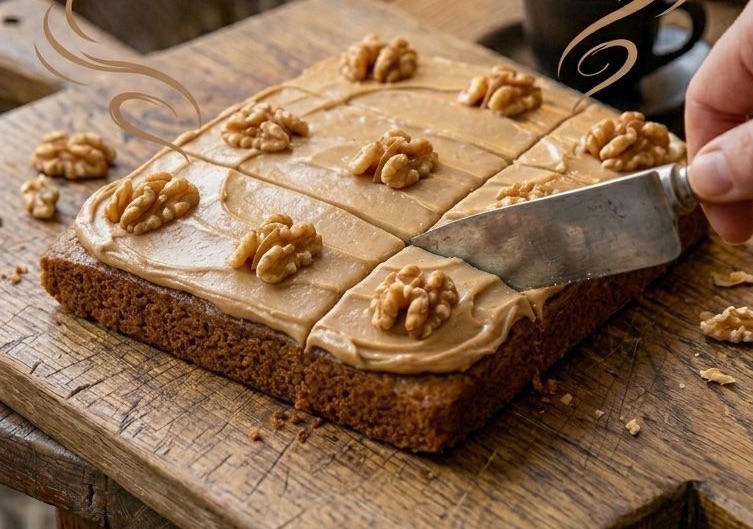
    There are few sights more welcoming on a rainy afternoon than a fresh Coffee & Walnut Traybake sitting on a rustic wooden table. It is the quintessential British teatime treat—sophisticated enough for a garden party, yet humble enough for a Tuesday morning “pick-me-up.”

    In this guide, we’re diving deep into how to achieve that perfect balance of earthy nuttiness, bold caffeine notes, and a sponge so soft it practically melts.

    The Anatomy of a Perfect Traybake

    What makes a traybake superior to a standard round cake? It’s all about the surface area. A traybake offers a consistent thickness, ensuring every slice is evenly baked and topped with a generous, level layer of decadent buttercream.

    🛒 The Ingredient Breakdown

    To achieve bakery-quality results at home, quality matters:

    • The Fat: Use unsalted butter at room temperature. If it’s too cold, it won’t cream; if it’s melted, your sponge will be heavy.

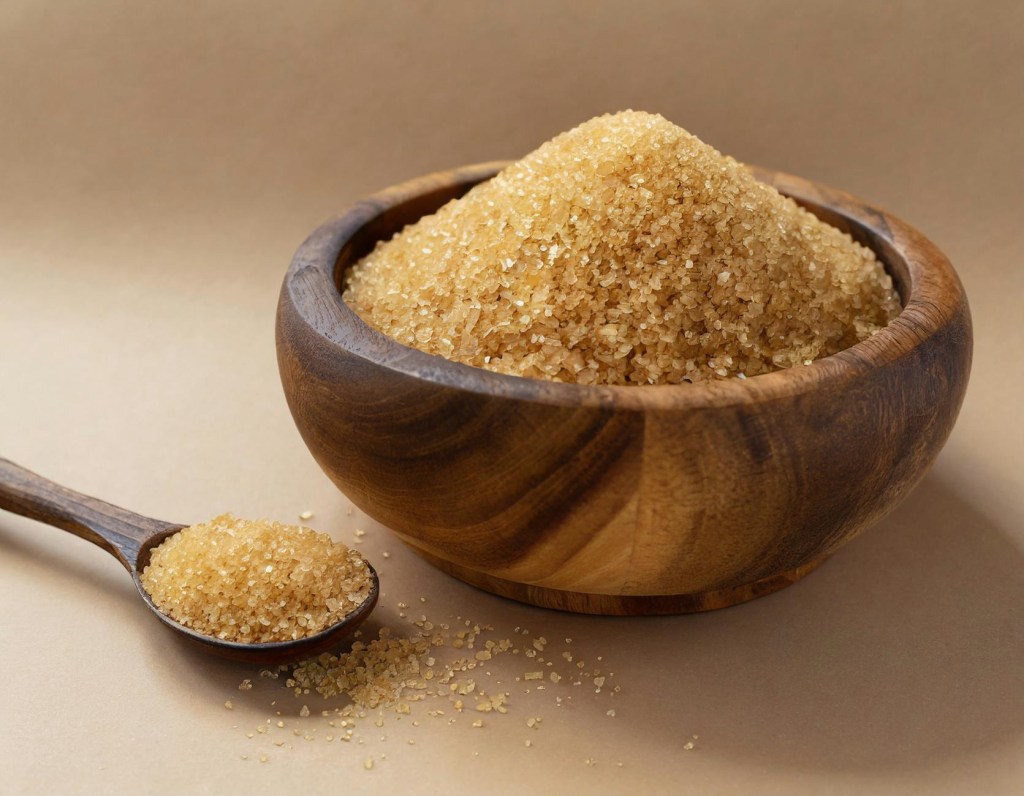
    • The Sugar: We use Light Brown Soft Sugar. The molasses content adds a moisture and a “toffee” undertone that white sugar simply can’t match.

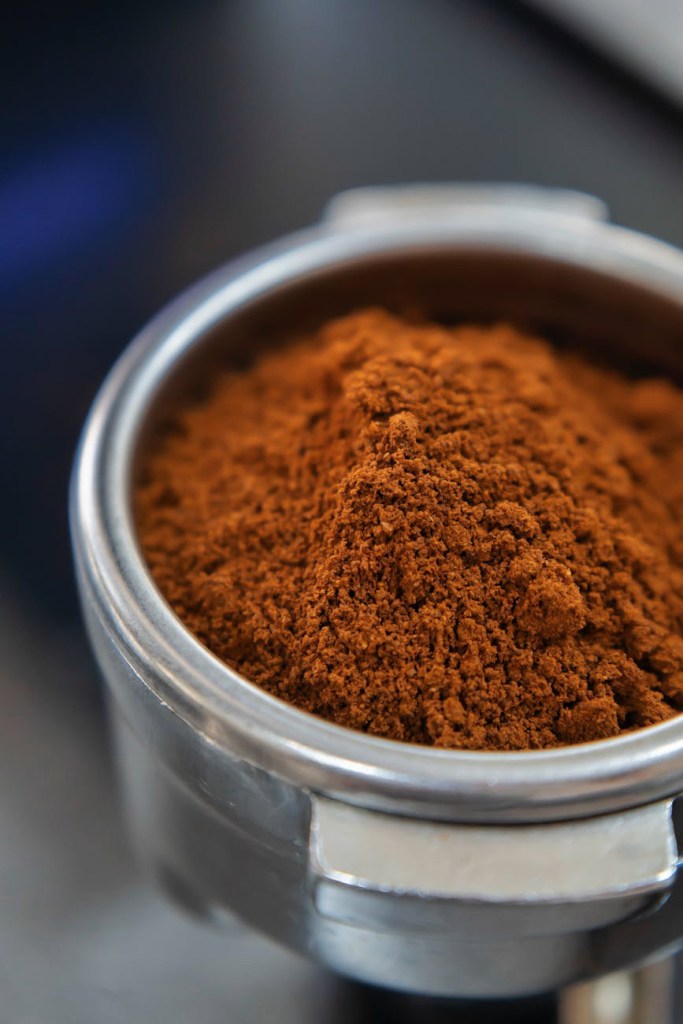
    • The Coffee: Instant coffee granules are actually preferred over liquid espresso here because they provide an intense flavor without adding too much extra liquid, which can throw off the chemistry of the rise.

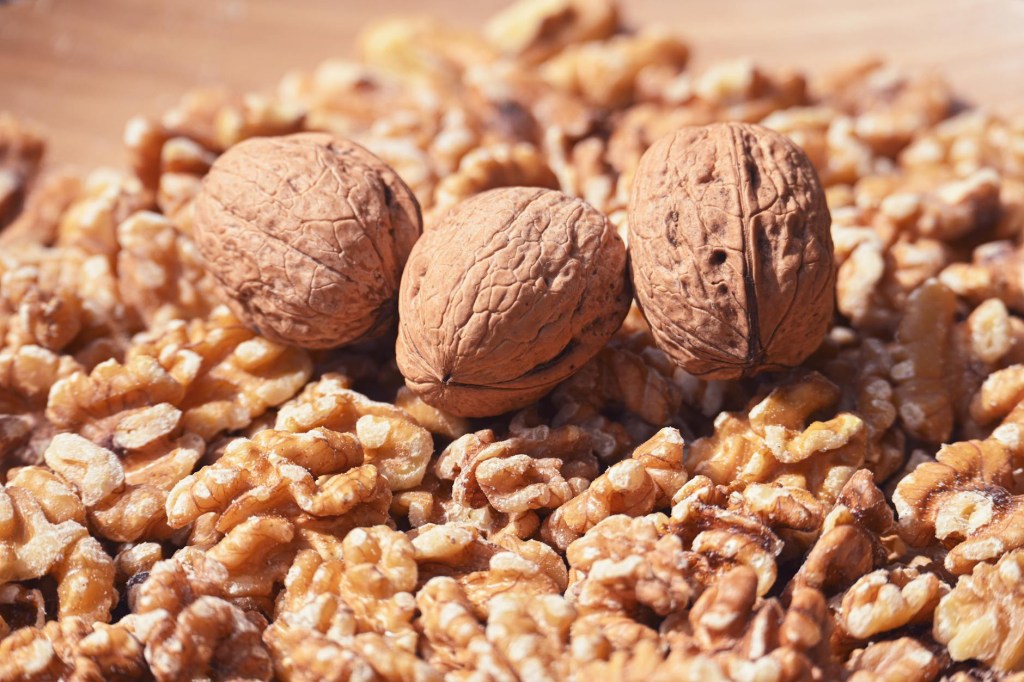
    • The Crunch: Use fresh walnuts. Walnuts can go rancid quickly due to their high oil content, so give them a quick sniff before chopping!

    Step-by-Step: The Method to the Magic

    1. The Creaming Stage

    Start by beating your 225g butter and 225g brown sugar. You are looking for a transformation: the mixture should turn from dark and gritty to pale and fluffy. This process incorporates tiny air bubbles that expand in the oven, giving you a light-as-air crumb.

    2. Incorporating the Eggs

    Add your 4 large eggs one at a time.

    Pro Tip: If the mixture looks like it’s starting to curdle (split), add a tablespoon of your weighed flour. This binds the fat and liquid back together.

    3. Folding, Not Mixing

    Once the vanilla and coffee are in, sift in the 225g self-raising flour. Use a large metal spoon or a spatula to “cut and fold” the flour in. Stop the second you see no more white streaks. Over-mixing develops gluten, which results in a tough, bread-like cake rather than a tender sponge.

    4. The Bake

    Smooth the batter into a lined 20 × 30 cm tin. Bake at 180°C (160°C fan) for 25–30 minutes. You’ll know it’s ready when the edges slightly pull away from the parchment and the center springs back when lightly pressed.

    The Crowning Glory: Coffee Buttercream

    A traybake is only as good as its frosting. To get that “cloud-like” consistency for your Coffee Buttercream:

    1. Beat the 150g butter on its own for 3-5 minutes before adding any sugar. It should turn almost white.

    2. Gradually add 300g sifted icing sugar. Sifting is non-negotiable if you want a silky finish!

    3. Add your dissolved coffee concentrate. This not only adds flavor but acts as the liquid to loosen the frosting to a spreadable dream.

    Customizations & Variations

    • The Mocha Twist: Add 1 tbsp of cocoa powder to the sponge mix for a subtle chocolate-coffee vibe.

    • The Boozy Bake: For an adult-only version, replace the water used to dissolve the coffee with a splash of coffee liqueur (like Kahlúa).

    • Nut Alternatives: If you aren’t a fan of walnuts, pecans are a fantastic substitute, offering a sweeter, more buttery crunch.

    Storage & Serving

    This cake actually improves after a few hours as the coffee flavor matures. Store it in an airtight container in a cool place (not the fridge, which dries out the sponge) for up to 3 days. Serve with a strong espresso or a classic pot of Earl Grey.

    Ready to get baking? Grab your apron and turn your kitchen into the coziest café in town. Don’t forget to tag us in your creations!

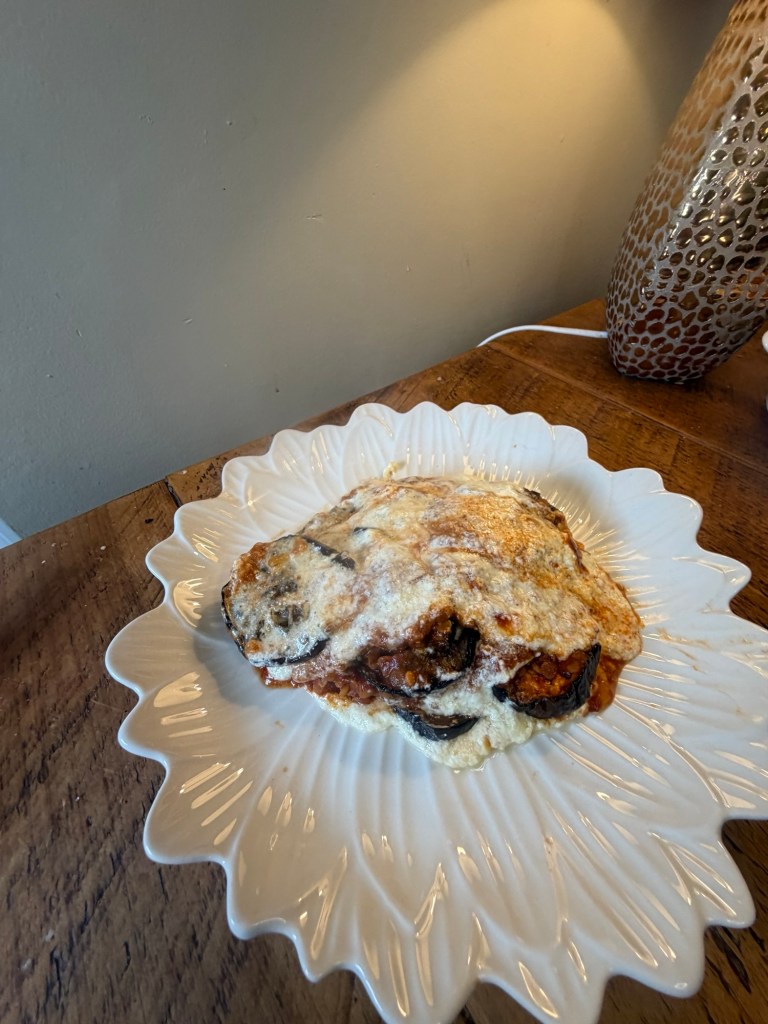
  • Easy Peasy Red Lentil and aubergine  Moussaka (Feeds 4)

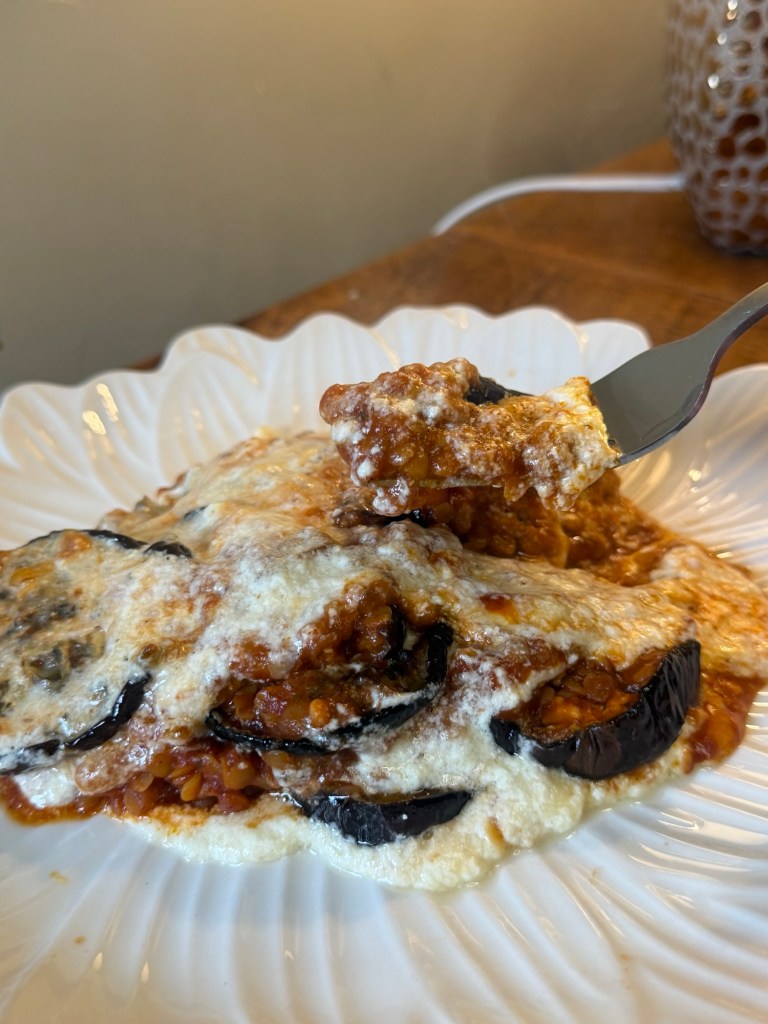
    Easy Peasy Red Lentil and aubergine Moussaka (Feeds 4)


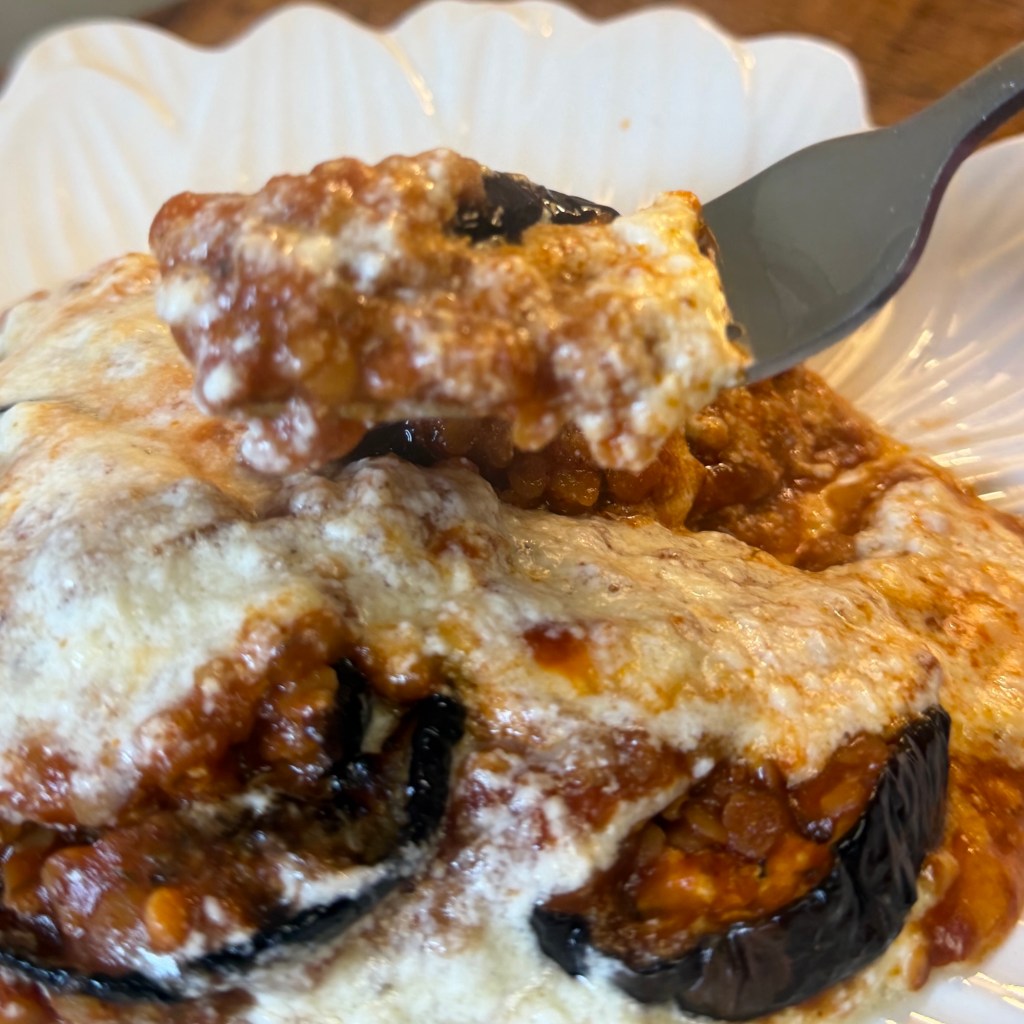
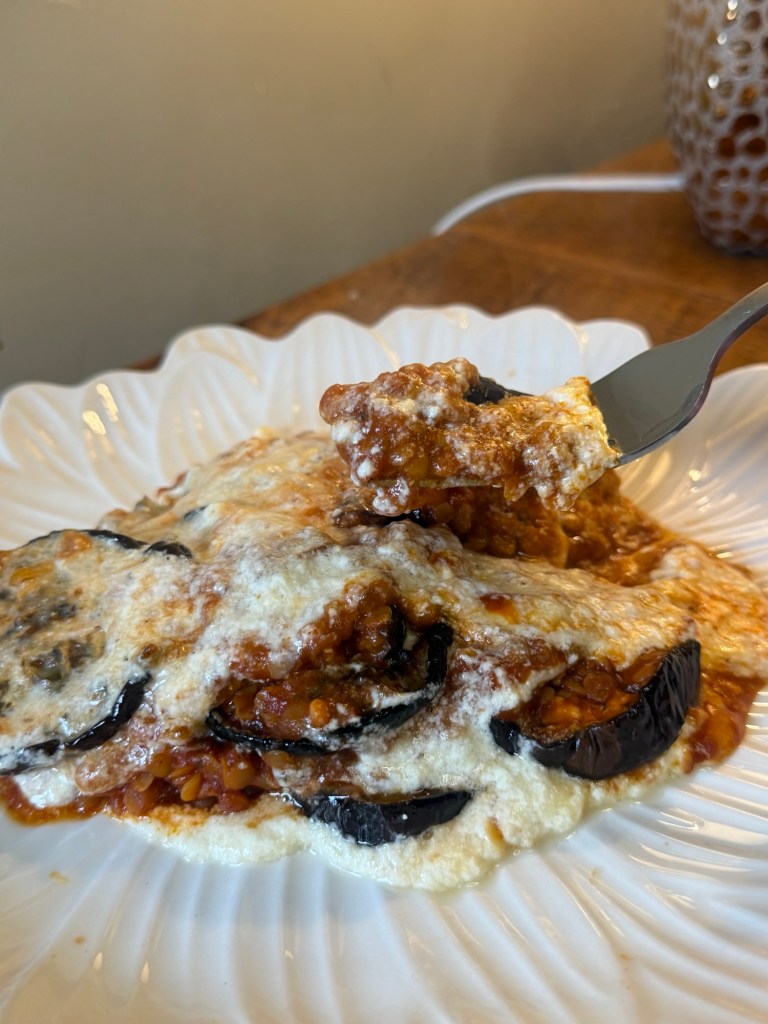
    If you love proper comfort food but don’t want to faff around with loads of ingredients, this Easy Red Lentil Moussaka is for you. It’s rich, cosy, uses simple store‑cupboard bits, and still feels a bit “special” when it comes out of the oven. Think soft layers of aubergine, a gently spiced red lentil base, and a creamy, golden top – but all very doable on a weeknight.
    Below is everything you need: ingredients, method, and a few little tips so it comes out perfect first time.

    Ingredients (serves 4)
    For the aubergine
    • 2 large aubergines, sliced into 1 cm rounds
    • 2 tbsp olive oil (for brushing)
    • Salt and pepper
    For the lentil layer
    • 2 tbsp olive oil
    • 4 garlic cloves, finely grated or crushed
    • 2 tsp dried oregano
    • 2 tsp ground cinnamon
    • 150 g dried red split lentils, rinsed
    • 2 tsp Worcestershire sauce (or a vegan alternative)
    • 20 g vegetable stock paste or 2 vegetable stock cubes
    • 2 × 400 g tins chopped tomatoes
    • 2 tsp sugar
    • 150 ml water – more if lentils look dry
    • Salt and pepper, to taste

    Method

    Get the aubergine going
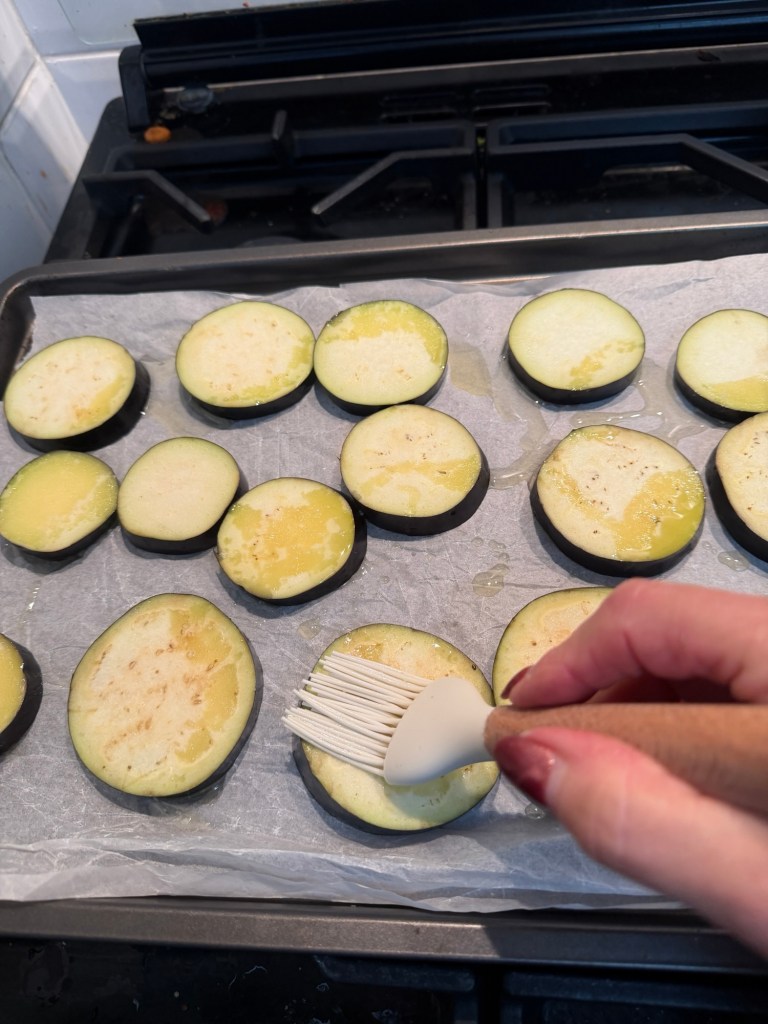
    Preheat your oven to 220°C / 200°C fan / gas 7. Line one or two baking trays with baking paper if you want easier washing up. Lay the aubergine slices out in a single layer, brush (or drizzle and rub) with olive oil on both sides, and season with salt and pepper.
    Roast for about 20–25 minutes, turning halfway, until the slices are soft, lightly golden and just starting to catch at the edges. You want them cooked through because they won’t get much more time in the oven later.

    Start the lentil base
    While the aubergine is roasting, heat 2 tbsp olive oil in a large pan over medium–high heat. Add the dried oregano, ground cinnamon and about half of your garlic. Cook for around 1 minute, stirring, just until everything smells fragrant – you don’t want the garlic to brown.
    This little step – toasting the herbs and spices – makes the whole dish taste warmer and more “slow‑cooked” than it really is.

    Add lentils and liquids
    Tip in the rinsed red lentils, Worcestershire sauce, stock paste or cubes, chopped tomatoes, sugar and the water. Give it all a good stir, scraping up anything that’s stuck to the bottom of the pan.
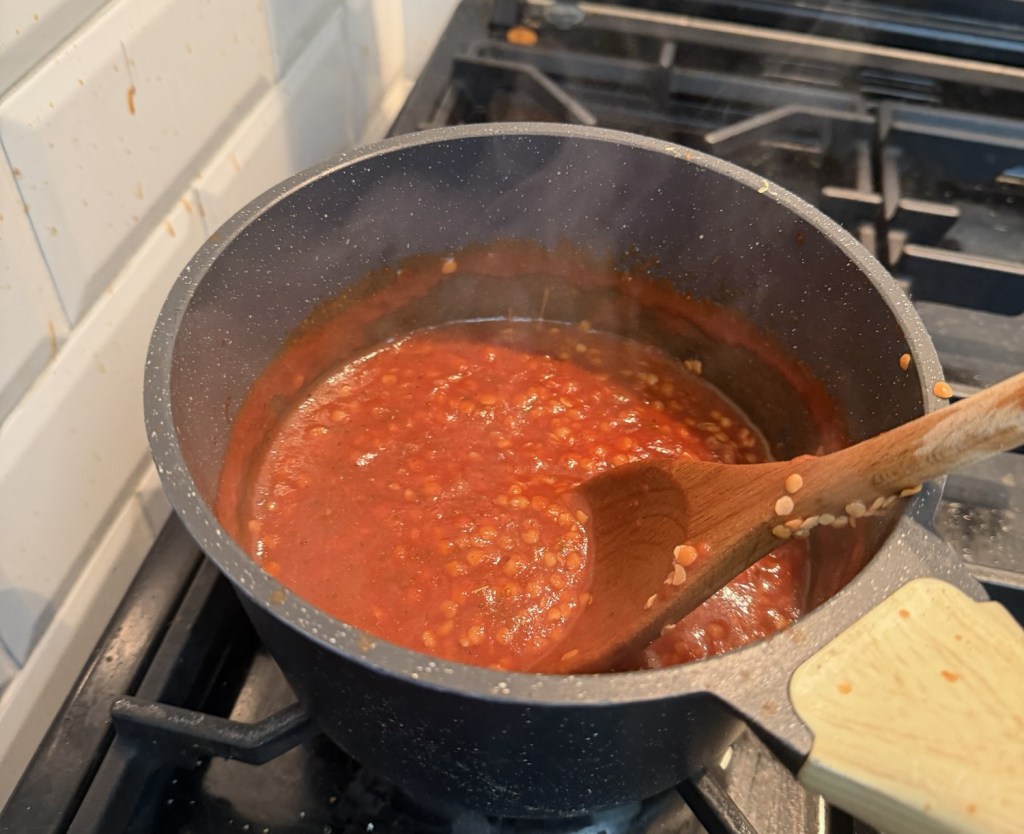
    Bring it up to the boil, then turn the heat down so it’s gently simmering. Leave it to bubble away for about 20–25 minutes, stirring occasionally. Red lentils break down and thicken as they cook; you’re aiming for a thick, spoonable sauce – not soupy, not dry.
    If it starts to look too thick before the lentils are soft, add a splash more water. If it’s still a bit runny at the end, just let it simmer with the lid off for a few extra minutes.

    Season properly
    When the lentils are soft and the sauce is nice and thick, stir in the remaining garlic and season really well with salt and pepper. Taste it – this is your moment to get the flavour right. The lentils should taste rich, tomatoey and slightly warm from the cinnamon, not flat or bland.
    Turn off the heat and set aside for a moment while you sort the topping.

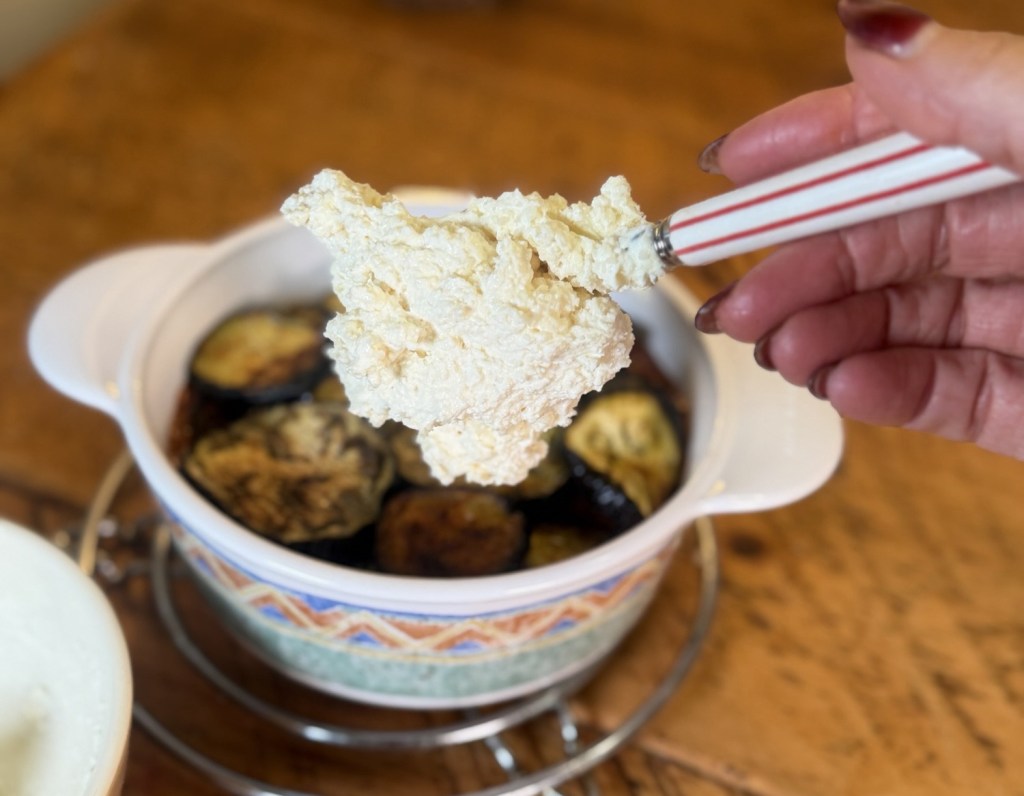
    Mix the creamy topping
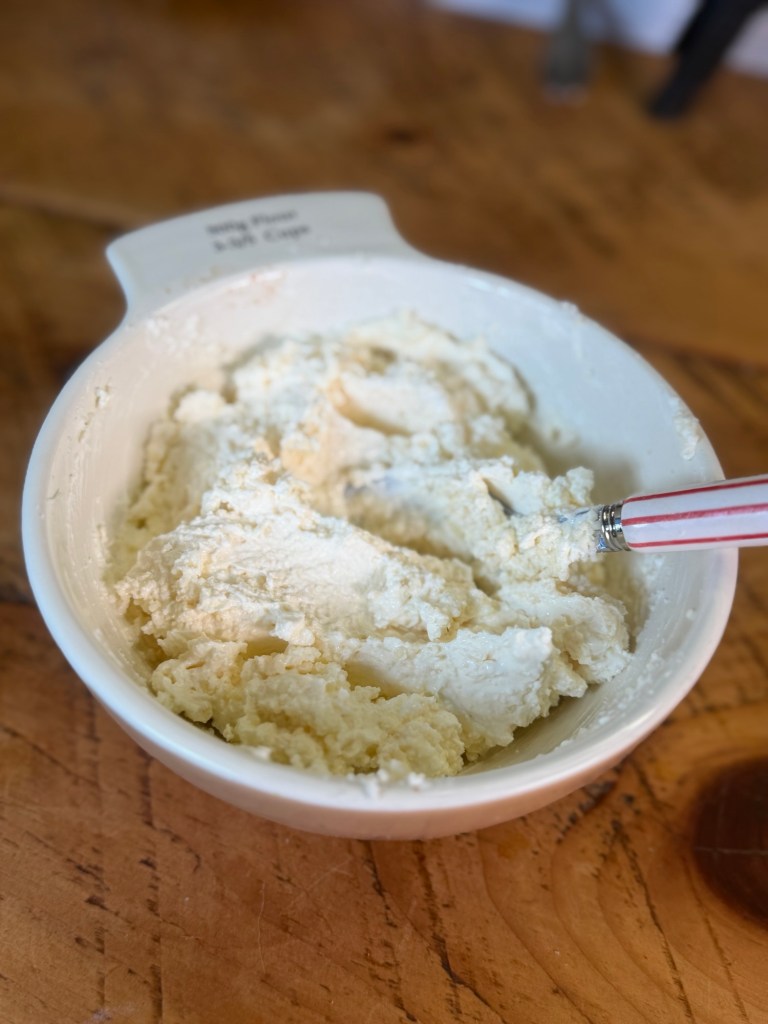
    In a small bowl, stir together the crème fraîche and most of the grated cheese, keeping a little cheese back for sprinkling on top. Add a good grind of black pepper. You don’t need to overthink this – just mix until it’s smooth and combined.
    If you prefer a slightly looser topping, you can add a tablespoon or two of water or milk to loosen it slightly.

    Build your moussaka
    Tip the lentil mixture into a medium–large ovenproof dish and spread it out evenly. You want a reasonably thick layer, not too shallow.
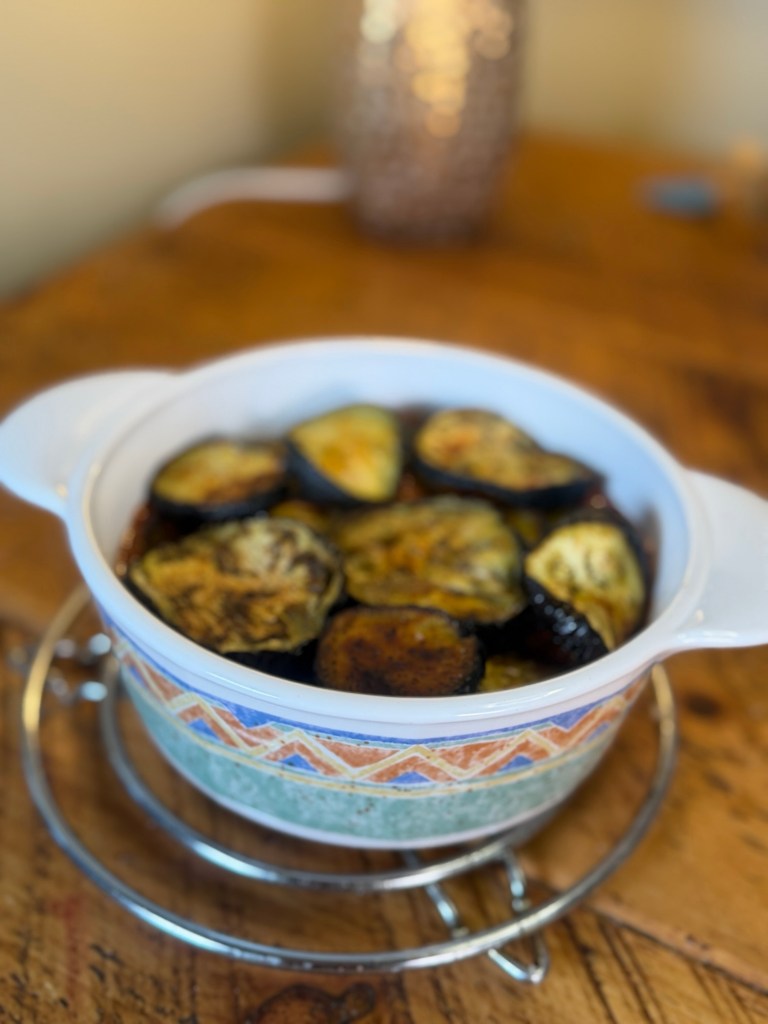
    Lay the roasted aubergine slices over the lentils in a single layer, overlapping them slightly like roof tiles.

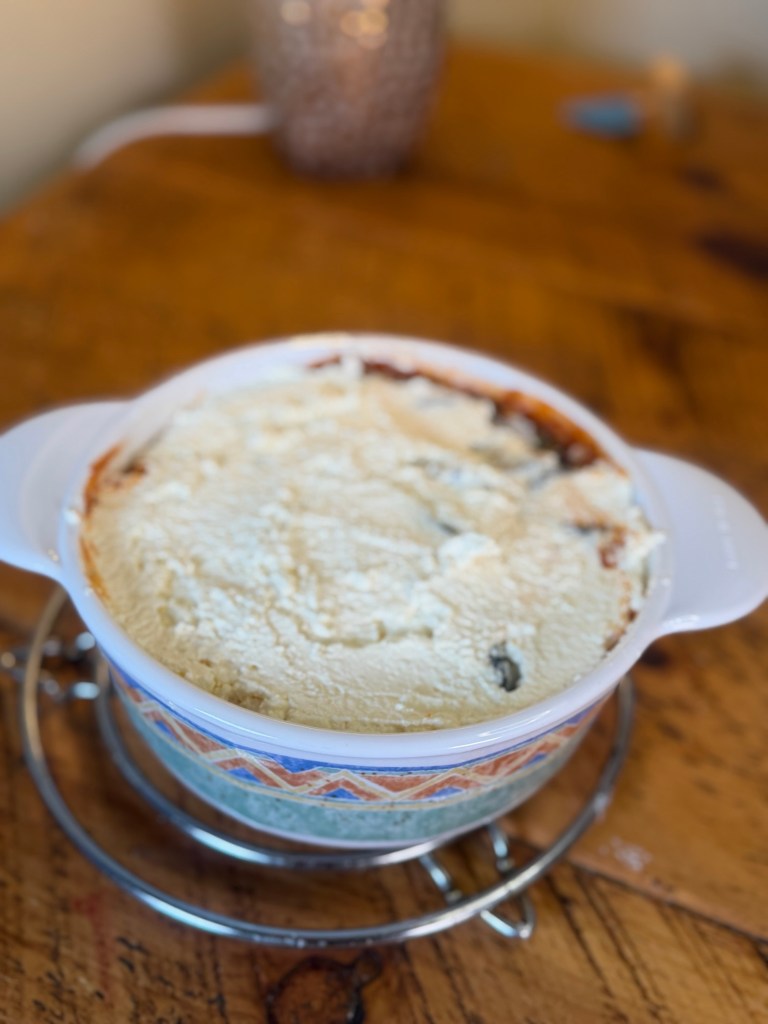
    Spoon the crème fraîche and cheese mixture over the top and gently spread it right to the edges. Sprinkle over the remaining cheese.

    You should now have three layers: lentils, aubergine, creamy top.

    Bake until golden
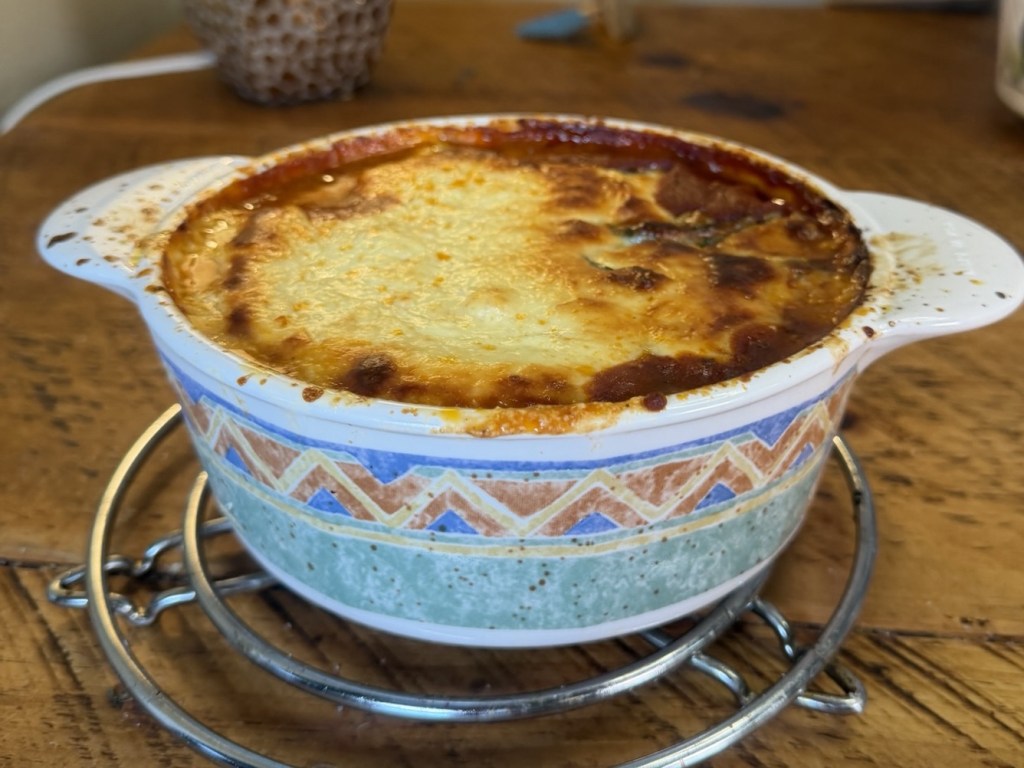
    Pop the dish under a hot grill or back into the oven (still at 220°C / 200°C fan) for about 5–8 minutes, just until the top is bubbling and golden in patches.

    Keep an eye on it – it can go from perfect to very dark quite quickly.

    Once it looks lovely and golden, take it out and let it sit for 5–10 minutes. This resting time helps it firm up so it’s easier to scoop or slice.

    Optional: quick garlic bread
    If you’re making the garlic bread, you can do this while the moussaka is having its little rest.

    Mix the grated garlic with olive oil and a pinch of oregano or za’atar. Spread the mixture onto your ciabatta slices. Grill or bake for a few minutes until crisp and lightly golden at the edges. Serve on the side to mop up all the lentil sauce.

    Little tips and swaps
    • Want it lighter? Use half crème fraîche and half fat‑free Greek yoghurt, or swap entirely to a thick yoghurt if you don’t mind a slightly tangier top.
    • Make it vegan: Use a plant‑based yoghurt instead of crème fraîche, a vegan cheese, and a vegan Worcestershire or a splash of soy sauce.
    • Spice it up: Add a pinch of chilli flakes when you add the cinnamon if you like a bit of warmth.
    • Prep‑ahead friendly: You can assemble the whole thing earlier in the day, keep it in the fridge, then bake until hot and golden when you’re ready to eat. Just give it a few extra minutes in the oven if it’s going in cold.

    This dish really feels like “home” to me – simple ingredients, nothing fancy, but so much love in the layers. I love that you can make it on a normal weeknight and it still feels like a little moment of care, whether you’re cooking just for yourself or feeding a full table. If you do make it, I hope it becomes one of those recipes you come back to on the days you need something warm, comforting and uncomplicated – the kind of meal that quietly looks after you while you get on with life.