You know those dishes that instantly transport you back to a special place? For me, this gorgeous beet risotto does exactly that. The first time I tried it was on a freezing cold December day in Budapest, tucked away in a fabulous little restaurant down a side street.
I still remember the deep ruby colour, the velvety texture, and that perfect mix of earthy beetroot, creamy goat’s cheese and just a hint of truffle oil. Outside the wind was bitter, but inside it was all warmth, candlelight and that heavenly aroma. Ever since that night, it’s been a firm favourite in my kitchen — indulgent, comforting, and just that bit fancy without actually being hard to make.

Quick beetroot tip
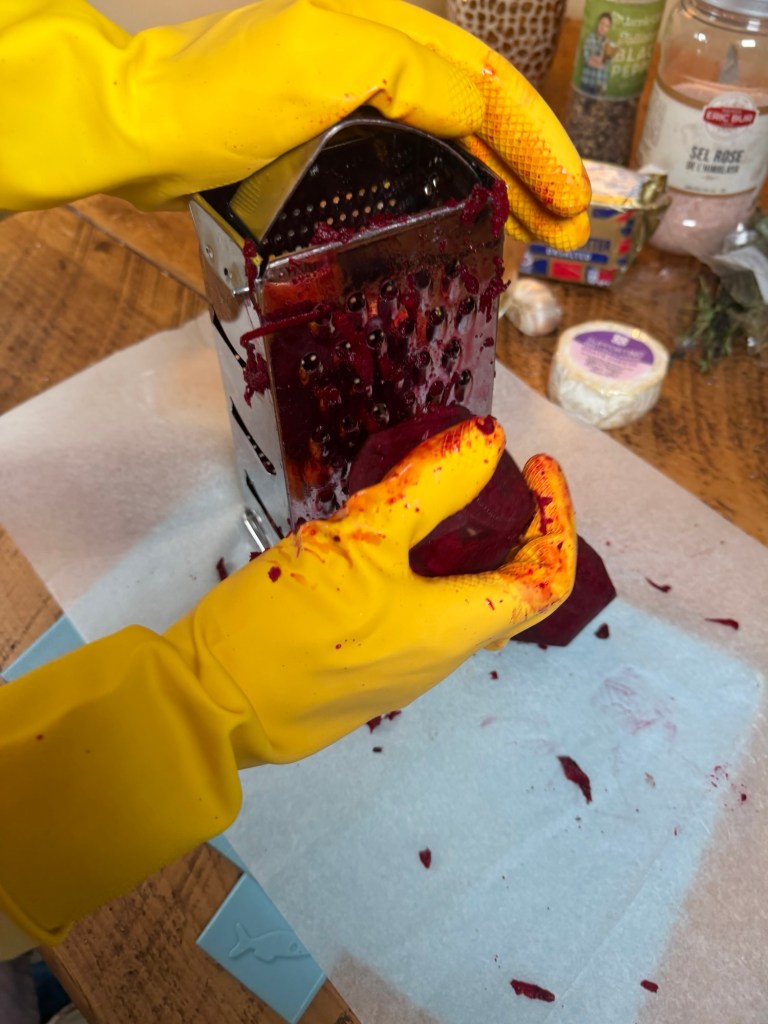
Before we start — wear gloves! Either rubber or disposable plastic ones. Beetroot is a beautiful thing but it will stain absolutely everything — hands, chopping boards, worktops, you name it. I always pop a sheet of greaseproof paper over my chopping board before peeling or grating the beetroot, which completely saves it from turning pink. A bit of prep makes all the difference (and saves on scrubbing later!).
What you’ll need
• 2 medium raw beetroot, peeled and coarsely grated
• 1 small onion, finely chopped
• 1 ½ cups (around 300 g) Arborio risotto rice
• 1 litre hot vegetable stock (keep it simmering on low)
• 2 tablespoons olive oil
• 1 tablespoon butter
• 100 ml dry white wine (optional but lovely)
• Salt and pepper to taste
• 1 tablespoon runny honey
• 75 g soft goat’s cheese (use the creamy kind – sliced neatly for topping)
• A drizzle of truffle oil (or olive oil if you don’t have truffle)
Method
Have your grated beetroot ready (gloves and greaseproof paper at the ready so you don’t stain everything)
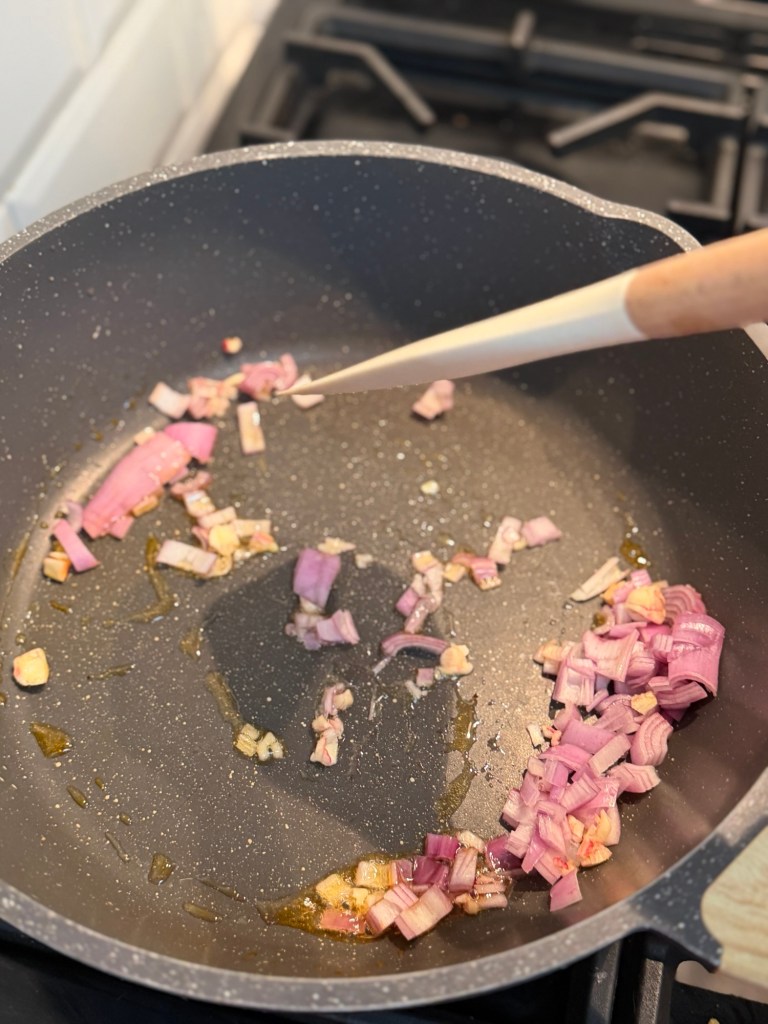
In a large pan, heat the olive oil over a medium heat. Add the chopped shallot and garlic and let it soften gently — you want it translucent, not browned
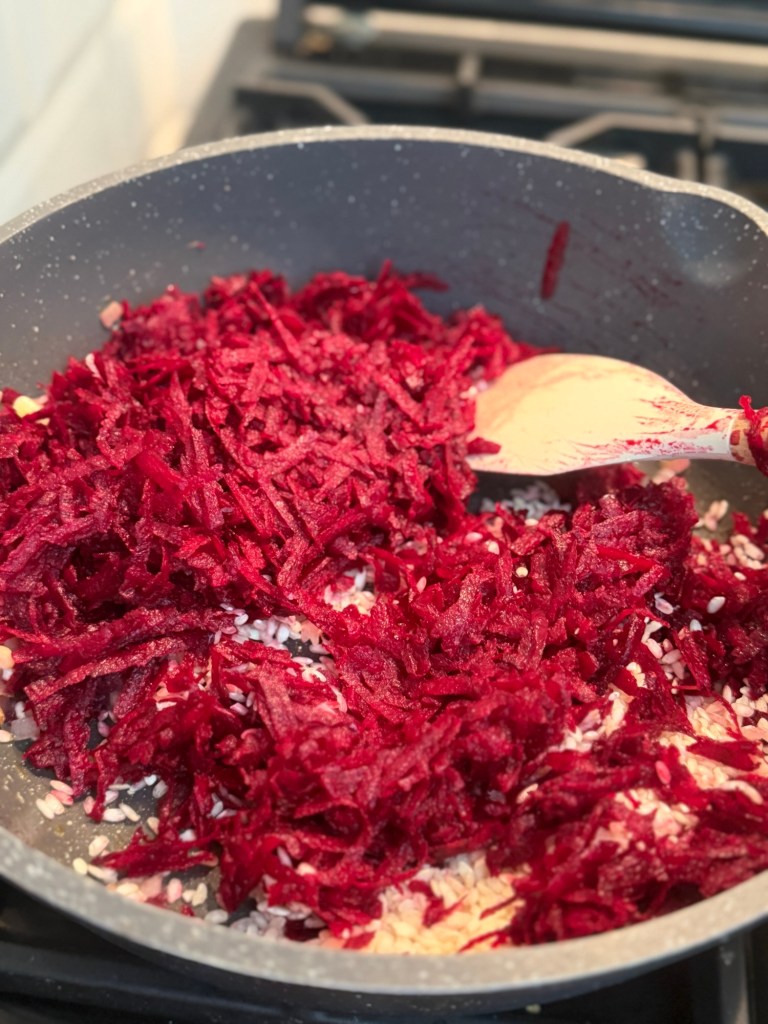
Tip in the Arborio rice and grated beetroot and stir for a minute or two so everything gets coated, glossy and lightly toasted. The rice will start to take on that gorgeous pink colour straight away
Pour in the white wine (if using) and stir until most of it’s absorbed. Then start adding your hot stock, one ladle at a time, stirring often and waiting until each bit has soaked in before adding more.
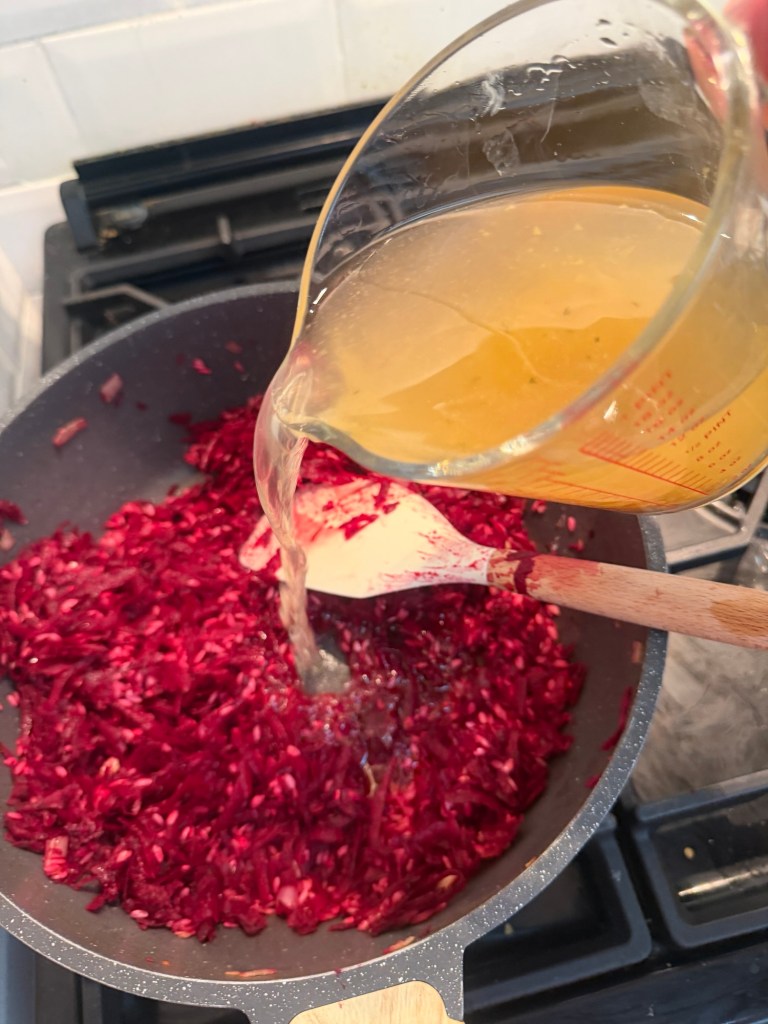
Keep going with the stock, stirring regularly, until the rice is tender but still has a tiny bite — about 20–25 minutes in total.
Season with salt and pepper, then stir through the honey for that touch of mellow sweetness that balances the earthy beetroot beautifully.
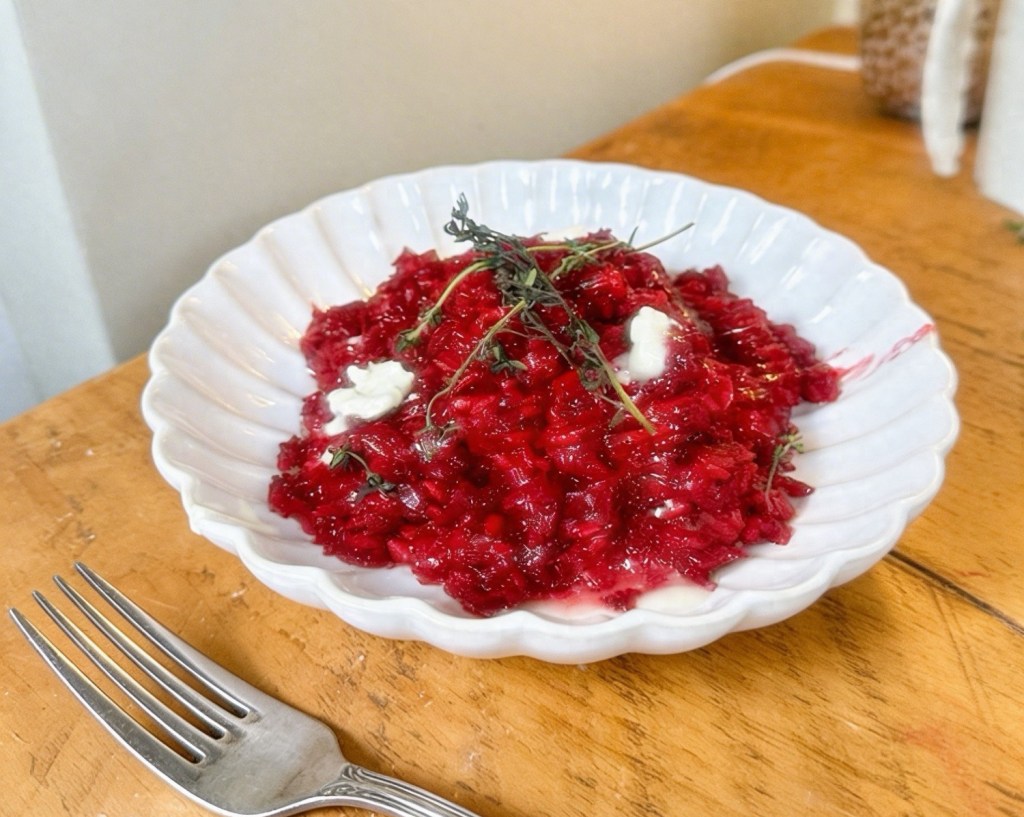
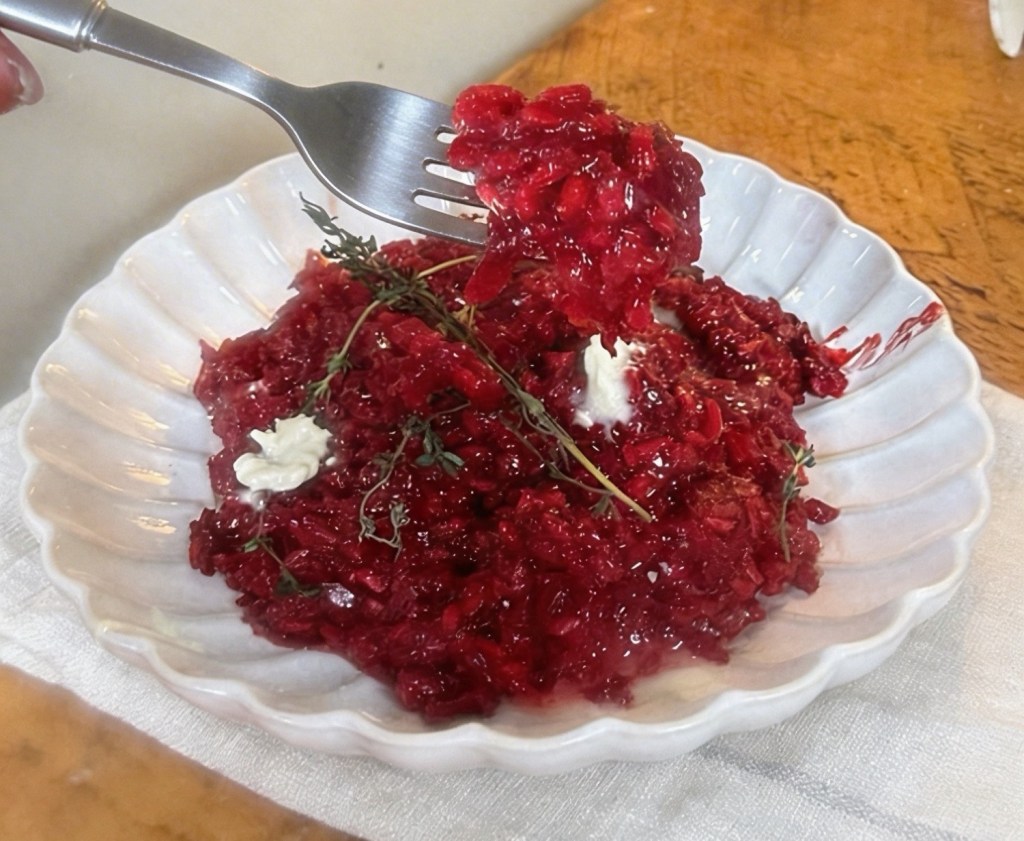
To serve, spoon the risotto into bowls, top with blobs of soft goat’s cheese, and finish with a drizzle of truffle oil and a little more honey
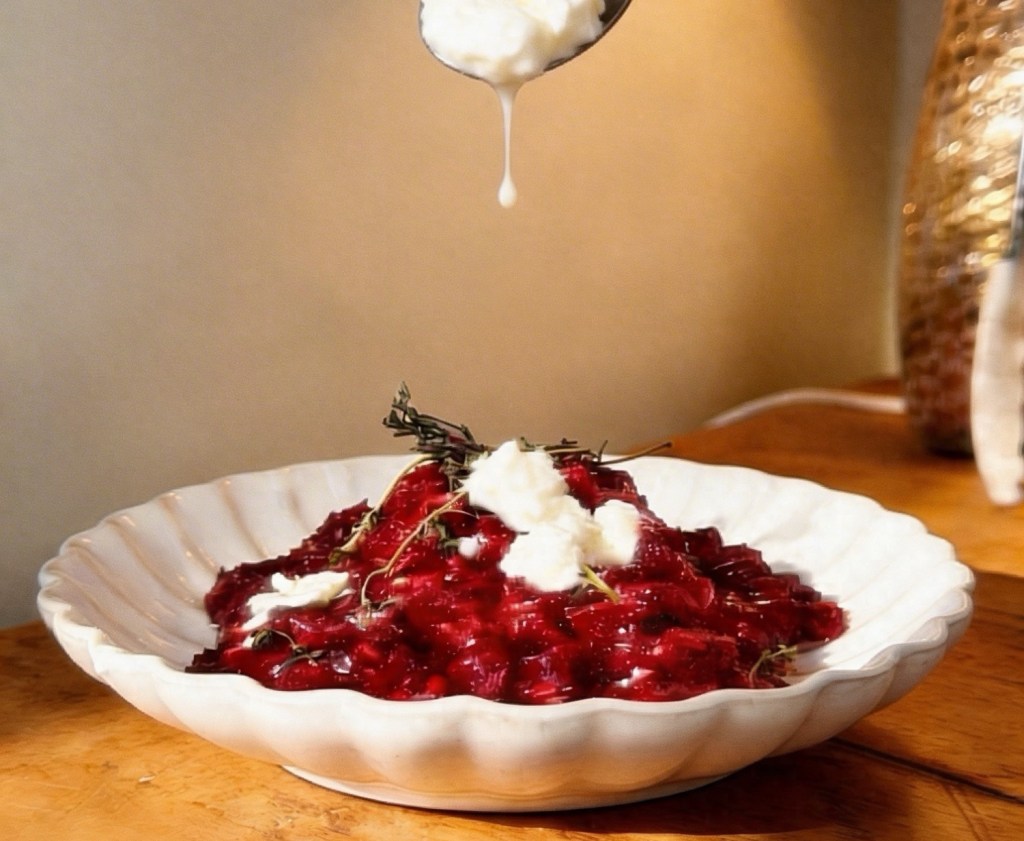
The heat from the risotto just melts the cheese so it goes soft and creamy — and that mix of colours, the pink beetroot with a swirl of white goat’s cheese on top, looks absolutely stunning on the plate. It’s cozy, comforting and a little bit indulgent — perfect for creating a taste of Budapest magic right at home.

Serving suggestions
I love serving this on a chilly evening with something light and fresh on the side, just to balance all that creamy, cosy loveliness. A simple green salad with peppery rocket, a squeeze of lemon and a few toasted nuts works brilliantly with the earthy beetroot and tangy goat’s cheese. Warm crusty bread or a baguette is perfect for scooping up every last bit from the bowl — nothing goes to waste in this house.


If you fancy a glass of wine with it, a crisp sauvignon blanc or dry riesling works really well with the sweetness of the beetroot and the creaminess of the risotto. If you’re more of a red wine person, go for something light and elegant like a pinot noir or Beaujolais so it doesn’t overpower the dish. To be honest though, it’s one of those dishes that feels special even with just a chilled glass of fizzy water and a candle on the table — proper Budapest winter vibes at home.