Tag: #Foodie

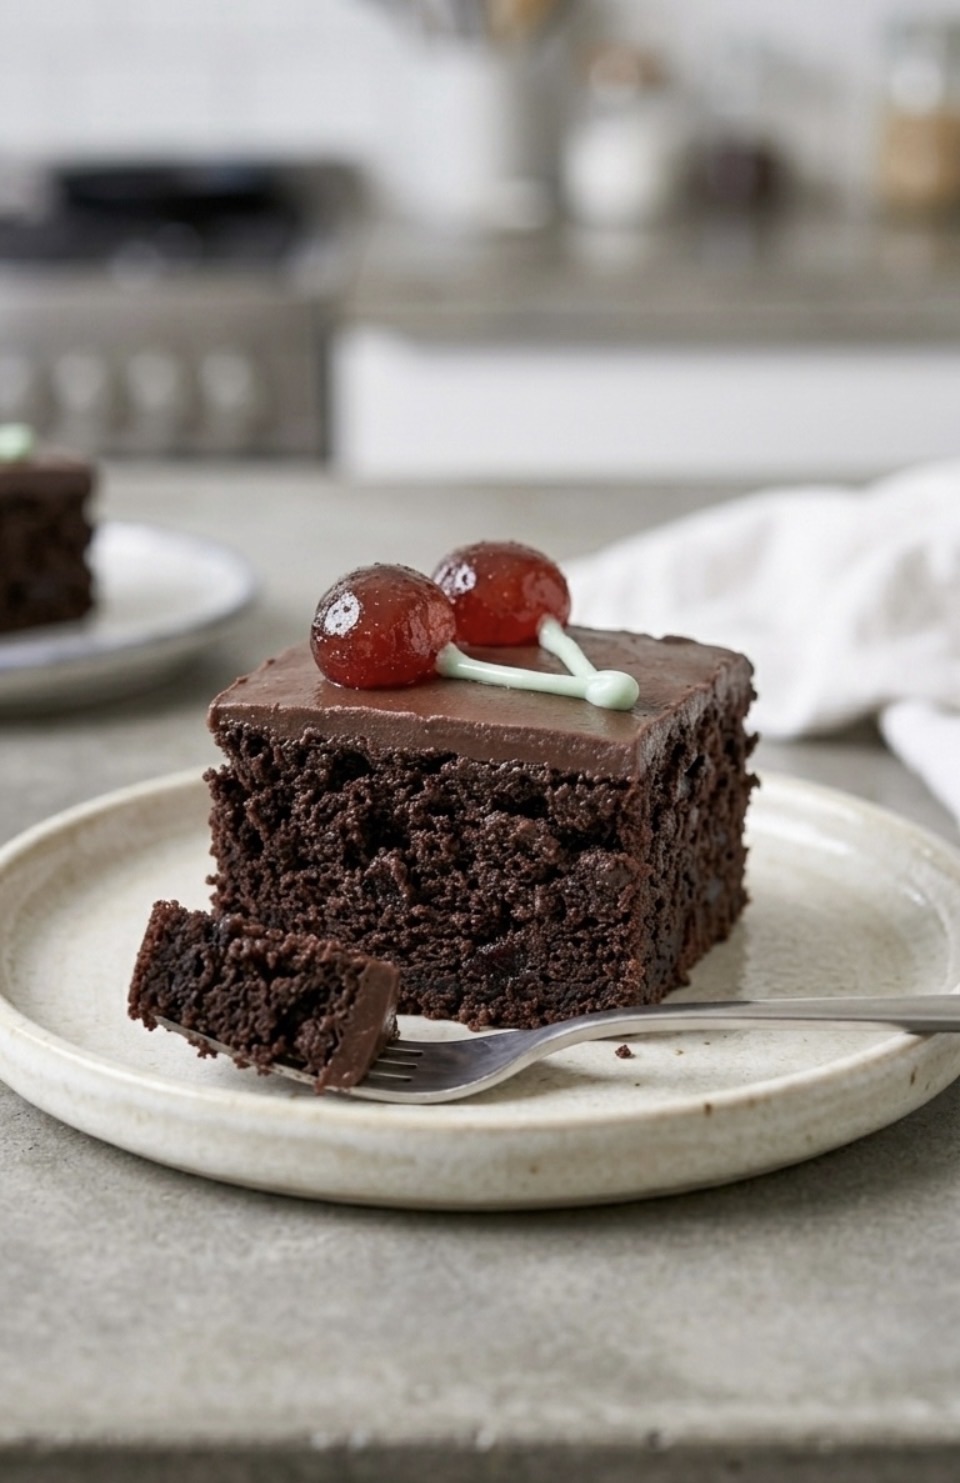
  • The Ultimate Black Forest Tray Bake: Rich, Fudgy, and Perfectly Cherry-Topped

    The Ultimate Black Forest Tray Bake: Rich, Fudgy, and Perfectly Cherry-Topped

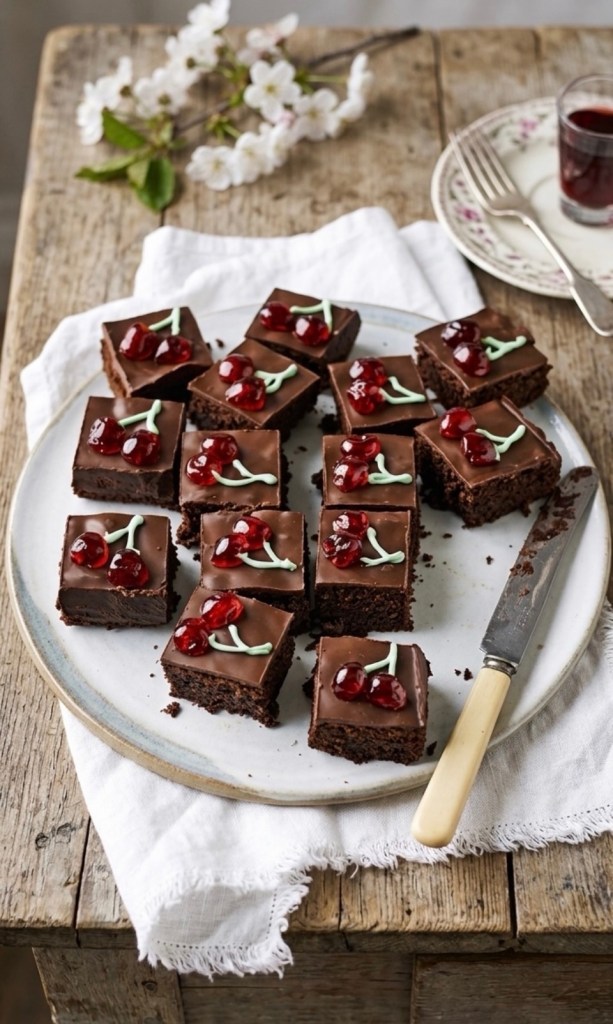
    There is something undeniably classic about the combination of deep, dark chocolate and sweet, tangy cherries. If you’re looking for a crowd-pleaser that looks as good as it tastes, this Black Forest Tray Bake is exactly what your kitchen needs.

    Whether you are baking for a weekend treat or a special occasion, this recipe delivers on both texture and flavour.

    Why You’ll Love This Bake

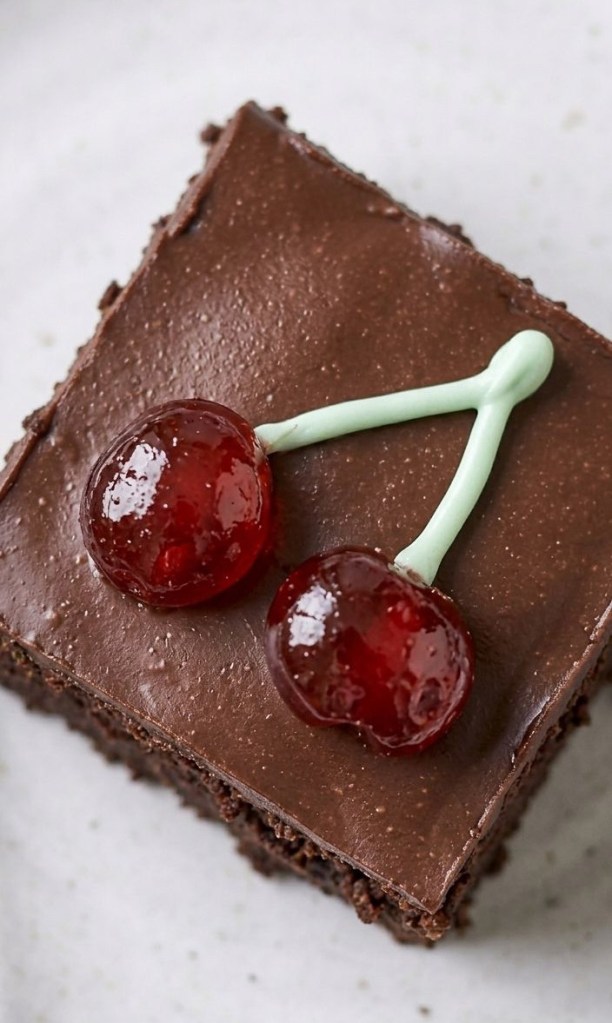
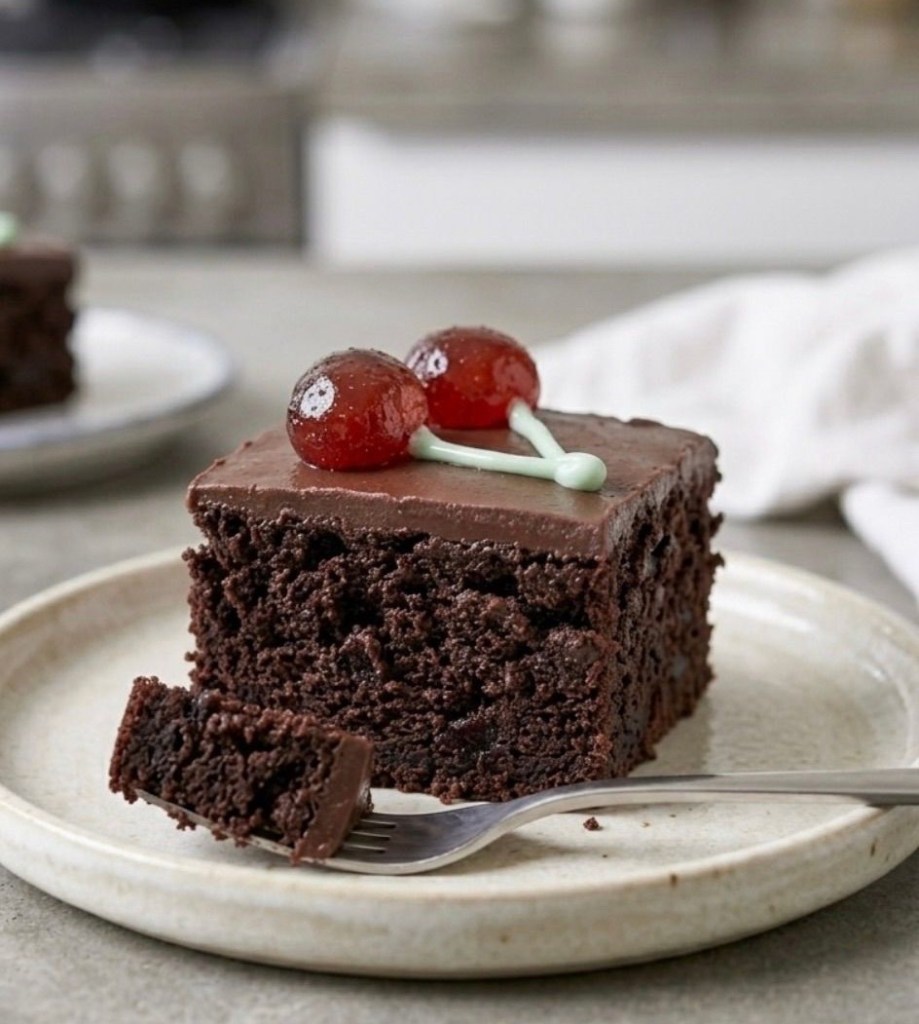
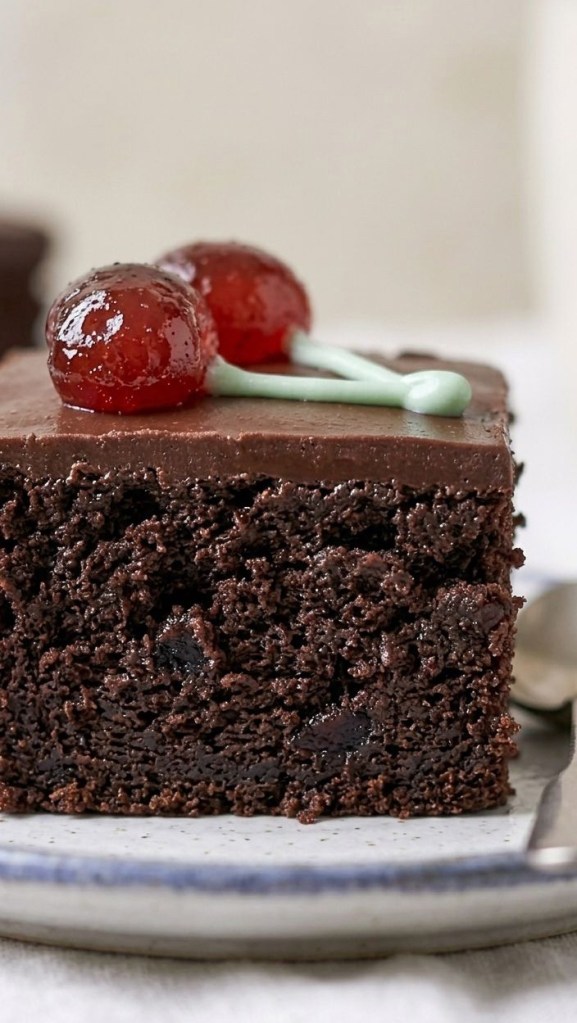
    This isn’t your average brownie. By incorporating dried sour cherries into the batter, you get little pockets of intense flavour in every bite. The addition of instant coffee also helps to deepen the chocolate notes, creating a rich, sophisticated base. Finished with a silky dark chocolate glaze and adorable hand-piped buttercream “stems,” this tray bake is a total showstopper.

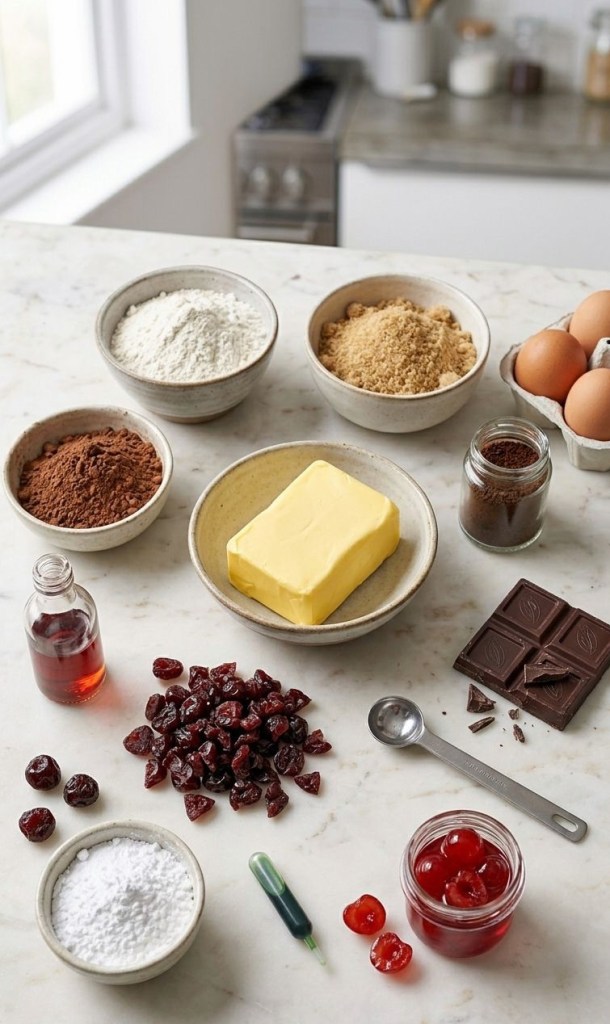
    Ingredients

     For the Base:

     250g unsalted butter, softened (plus extra for greasing)

     1 tbsp instant coffee powder

     350g light brown soft sugar

     4 medium eggs

     75g cocoa powder

     100g self-raising flour

     1 tsp cherry essence (optional, but recommended for that classic profile)

     100g dried sour cherries, chopped

     For the Topping:

     200g dark chocolate (60% minimum cocoa solids)

     25g unsalted butter, softened

     50g icing sugar

     Green food colouring gel

     20 glacĂ© cherries, halved

    Method

    1. Preparation

    Start by preheating your oven to 180°C/160°C fan/gas 4. Grease a 30 x 20cm cake tin and line it with parchment paper to ensure an easy release later. Mix your instant coffee with 2 tablespoons of boiling water and set it aside to cool.

    2. Mixing the Batter

    Cream the butter and sugar together for about 5 minutes until the mixture is light and fluffy. Add the eggs one at a time, making sure to incorporate them well after each addition. In a separate bowl, whisk together the cocoa powder and flour. Stir the cherry essence and cooled coffee into your butter mixture, then fold in the dry ingredients followed by the chopped dried sour cherries.

    3. The Bake

    Spoon the batter into your prepared tin and level the top with the back of a spoon. Bake in the centre of the oven for 30–35 minutes, or until a skewer inserted into the middle comes out clean. Let it cool completely in the tin before moving on to the topping.

    4. The Finishing Touches

    Melt the dark chocolate (using a microwave or a bain-marie) and spread it in an even layer over the cooled brownies. While the chocolate sets, mix the butter, icing sugar, and a few drops of green food colouring to create your buttercream. Once the chocolate has set, cut the tray into 20 squares. Place two glacé cherry halves on top of each square and use the green buttercream—fitted with a writing tip nozzle—to pipe the cherry stems.

    Have you given this Black Forest Tray Bake a try? I’d love to hear how yours turned out—let me know in the comments below!

    Key ingredient Shopping

    Sour cherries

    https://amzn.to/3PxoG5Z

    Cherry essence

    https://amzn.to/4uFzEW1

    Chocolate

    https://amzn.to/4wZ3TZP

    Cherries

    https://amzn.to/4fR6zT4

    This post may contain affiliate links, which means I may earn a small commission if you purchase through them — at no extra cost to you. As an Amazon Associate, I earn from qualifying purchases

  • Midweek Lifesaver: Mediterranean Feta & Tomato Pasta đźŤť

    Midweek Lifesaver: Mediterranean Feta & Tomato Pasta đźŤť

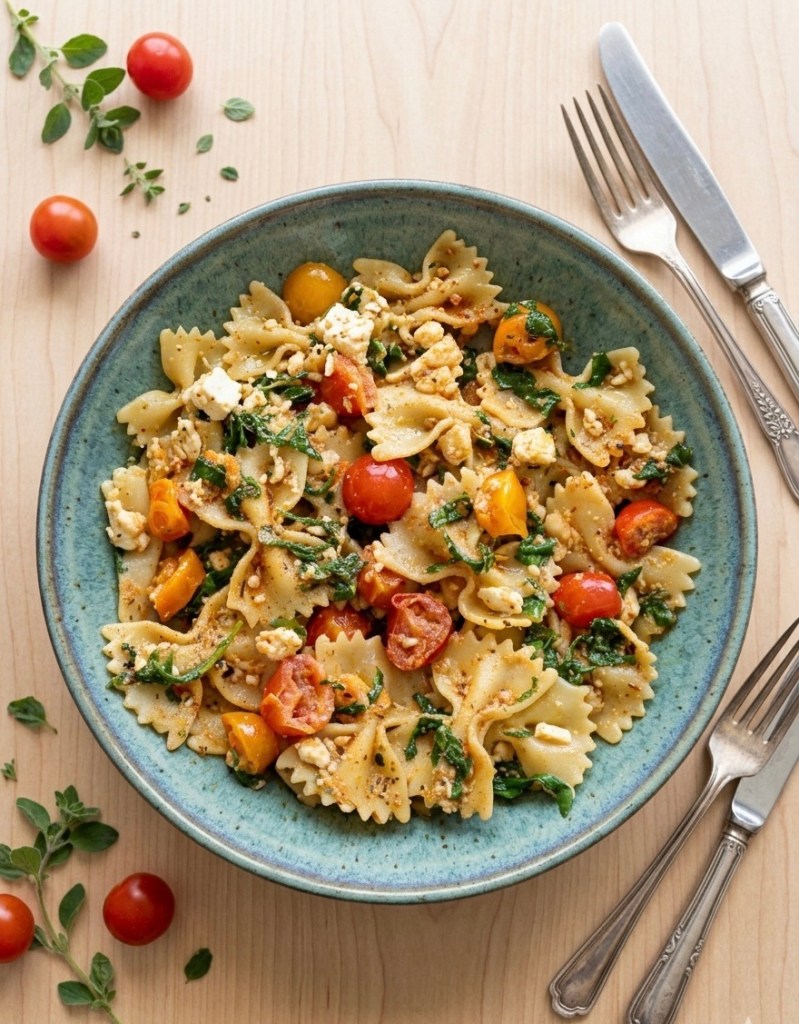
    Let’s be real—by the time Wednesday rolls around, the last thing anyone wants to do is spend an hour hovering over a hot stove. If you’re looking for a dinner that feels like a holiday in Greece but takes less time than a quick trip to the shops, you’ve hit the jackpot.

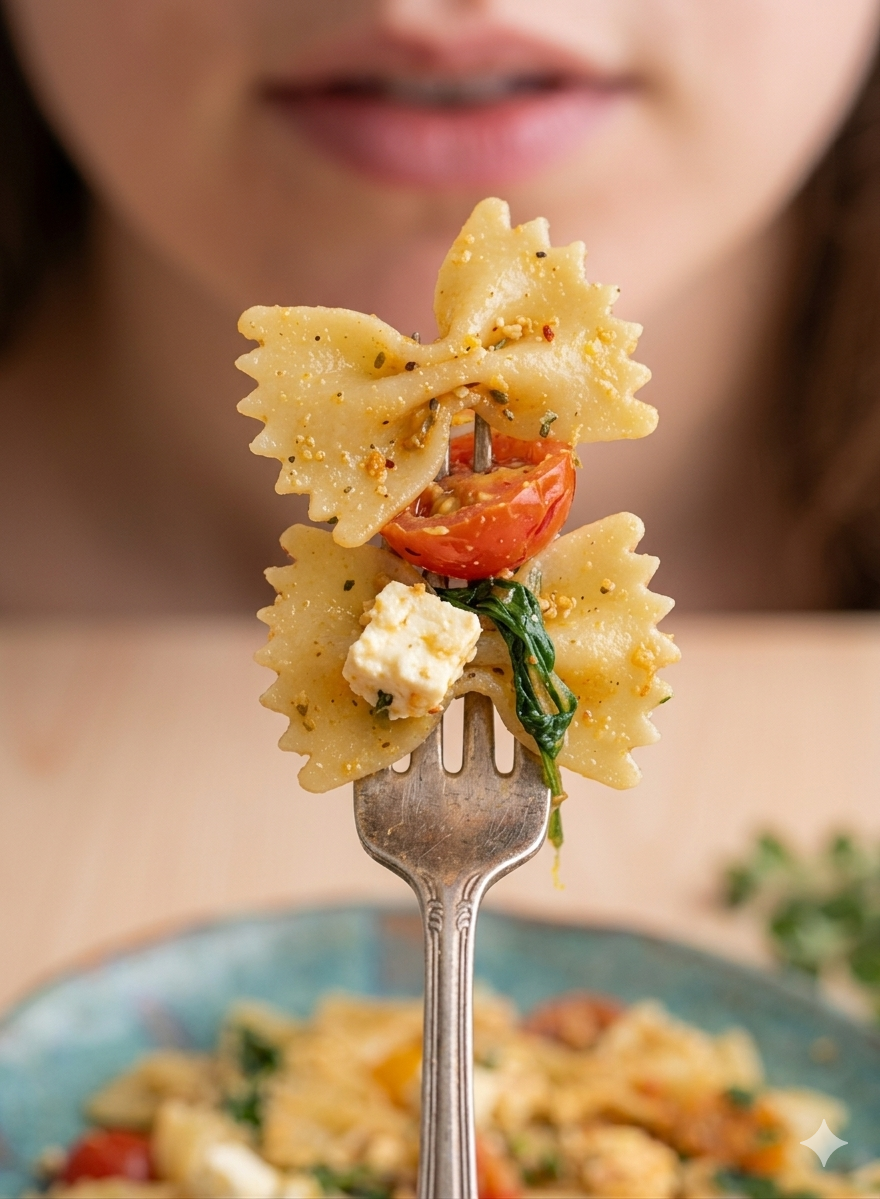
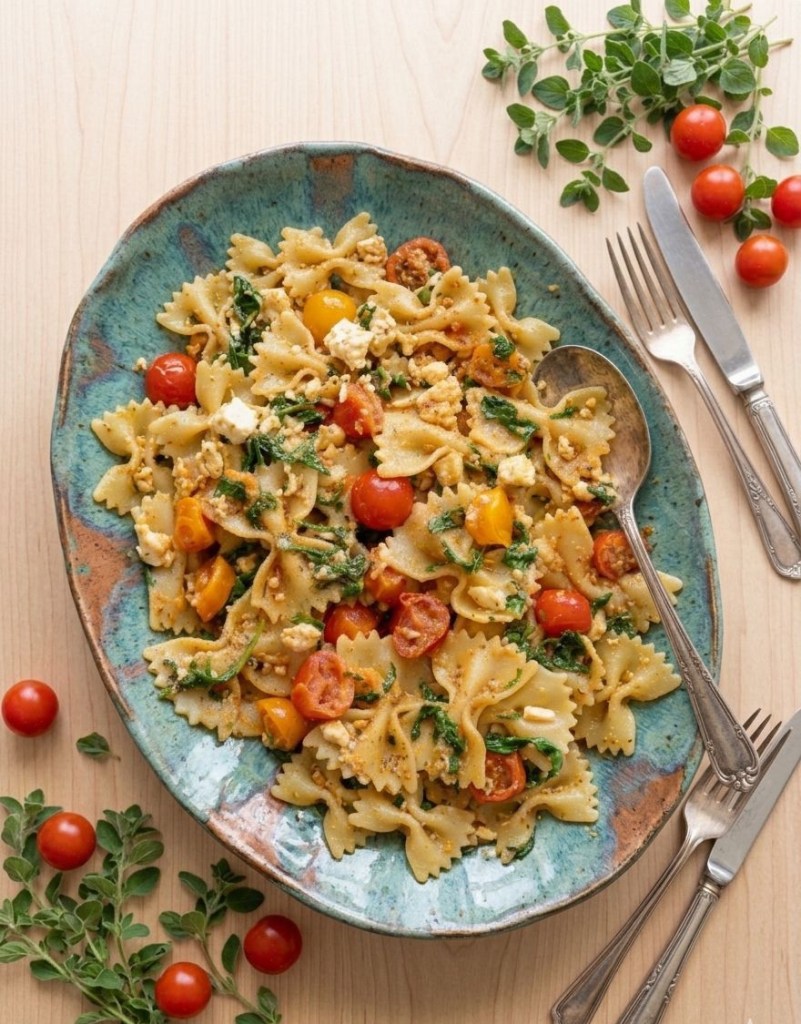
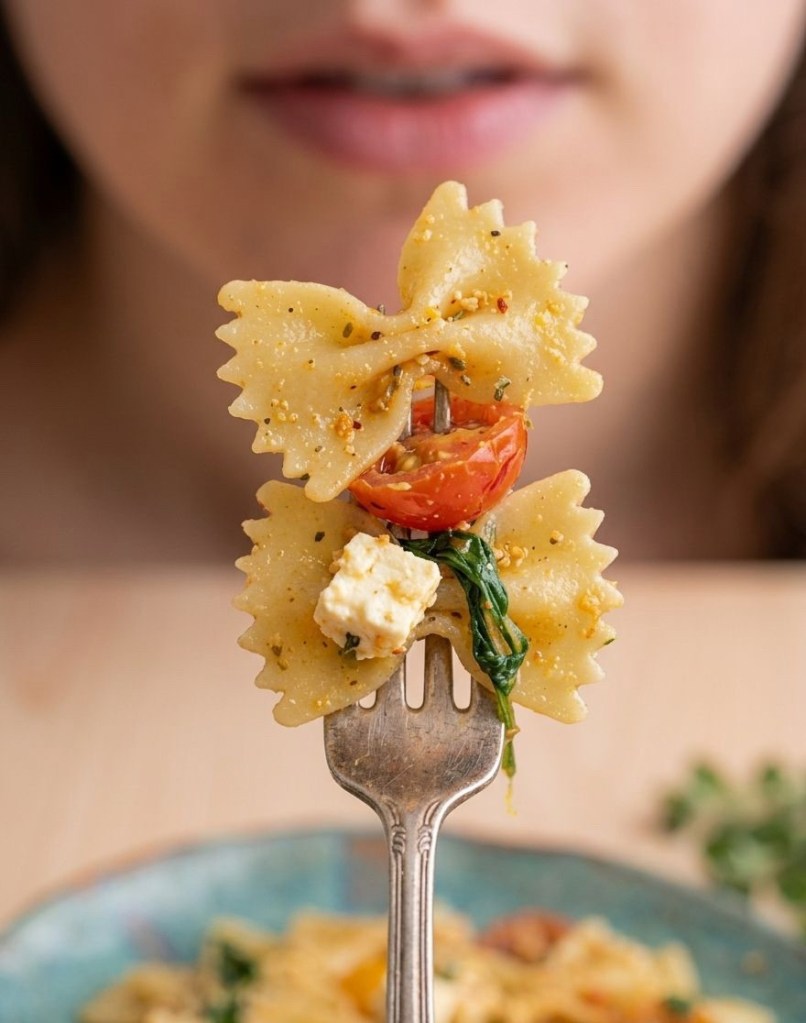
    This Mediterranean Pasta is my absolute go-to. It’s vibrant, zesty, and uses those gorgeous Mediterranean diet staples we all love. Best of all? It’s a “one-pan wonder” (mostly!) that’s ready in 30 minutes flat.

    đź›’ The Shopping List

    Here’s what you’ll need to grab from the cupboard or the local market:

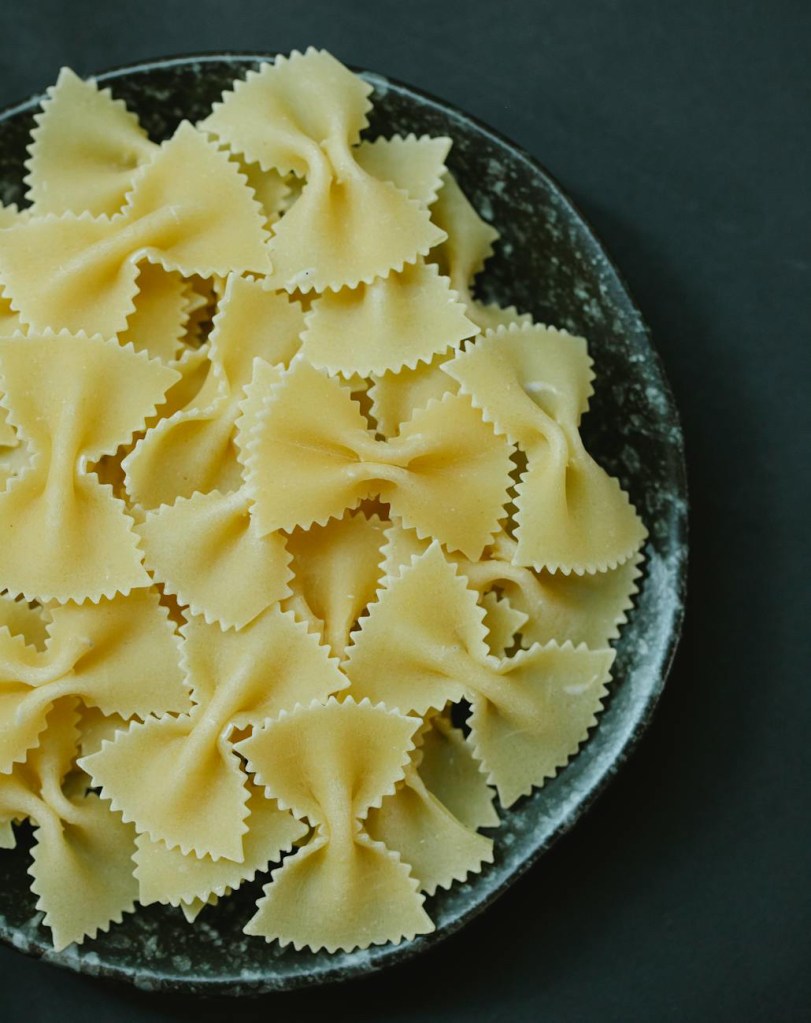
    • The Pasta: I’m a fan of farfalle (the little bows), but any short-cut pasta works perfectly. Think penne, fusilli, or rigatoni—basically anything that’s good at catching the sauce.

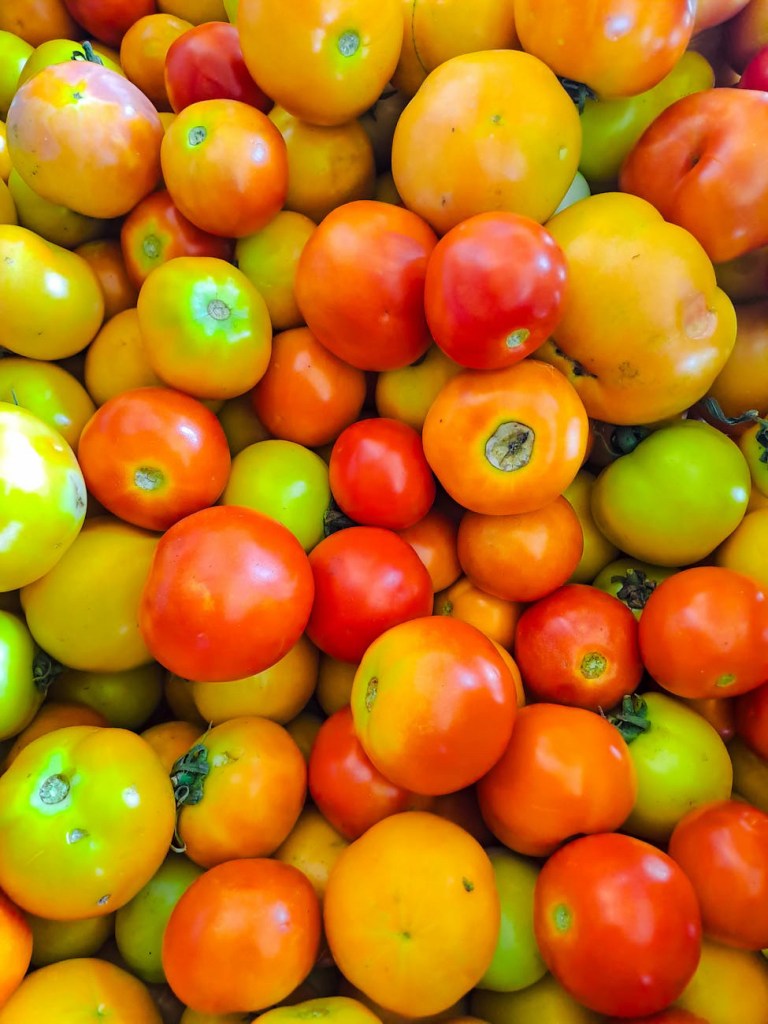
    • The Veg: Get yourself some cherry or grape tomatoes. If you can find a mix of red and yellow, it looks stunning.

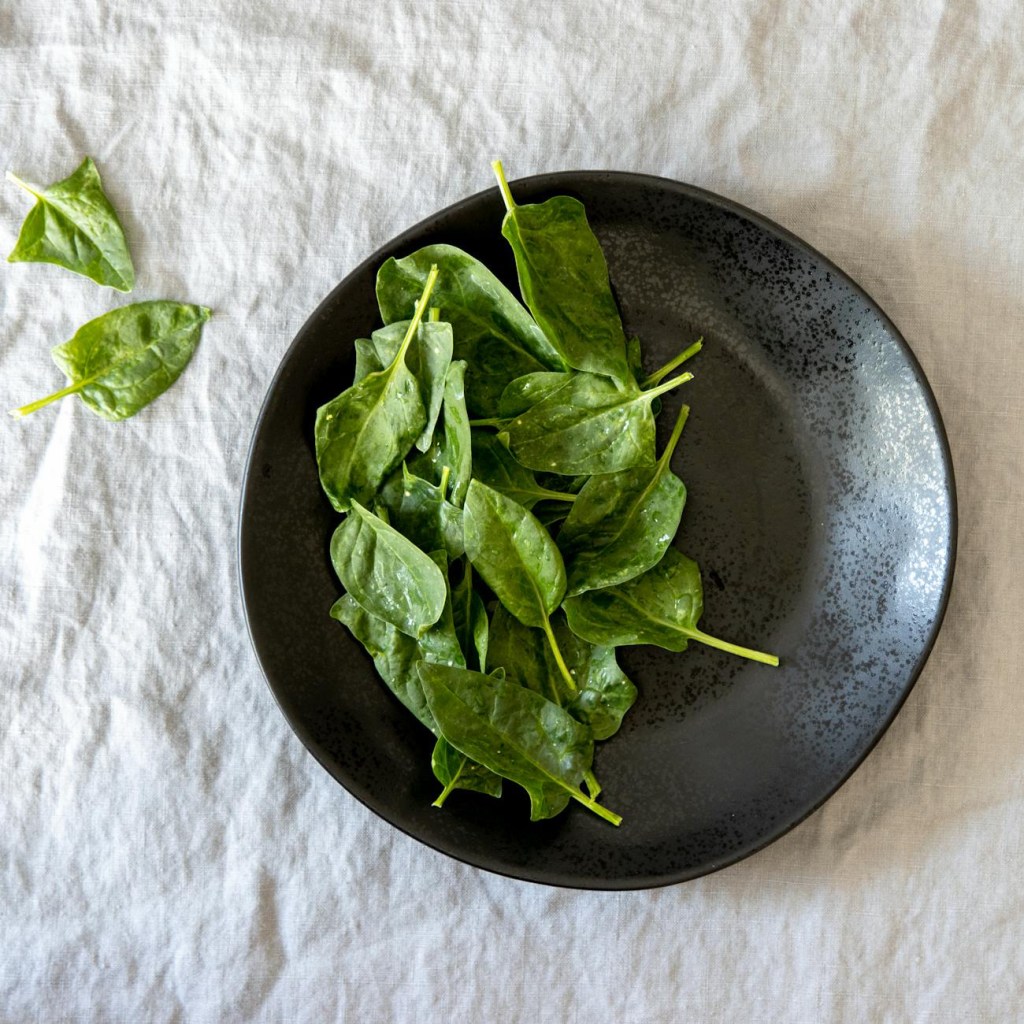
    • The Greens: A big bag of fresh spinach. If you’ve only got frozen, just make sure to thaw it and squeeze out the water first.

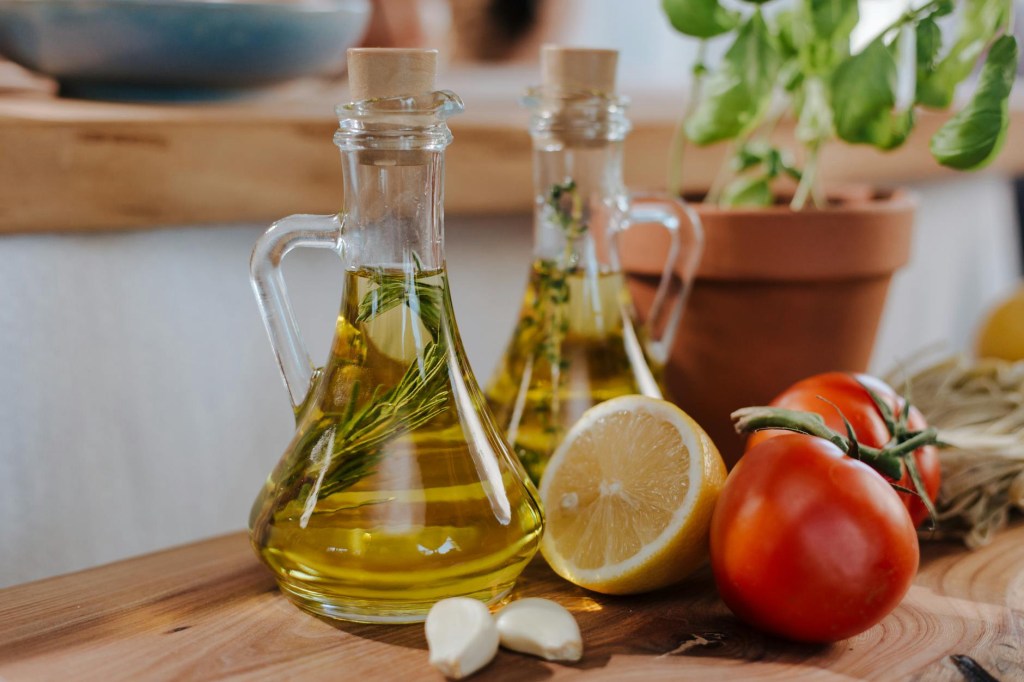
    • The Flavour Makers: Plenty of fresh garlic (don’t be shy!), olive oil, and a cheeky squeeze of lemon.

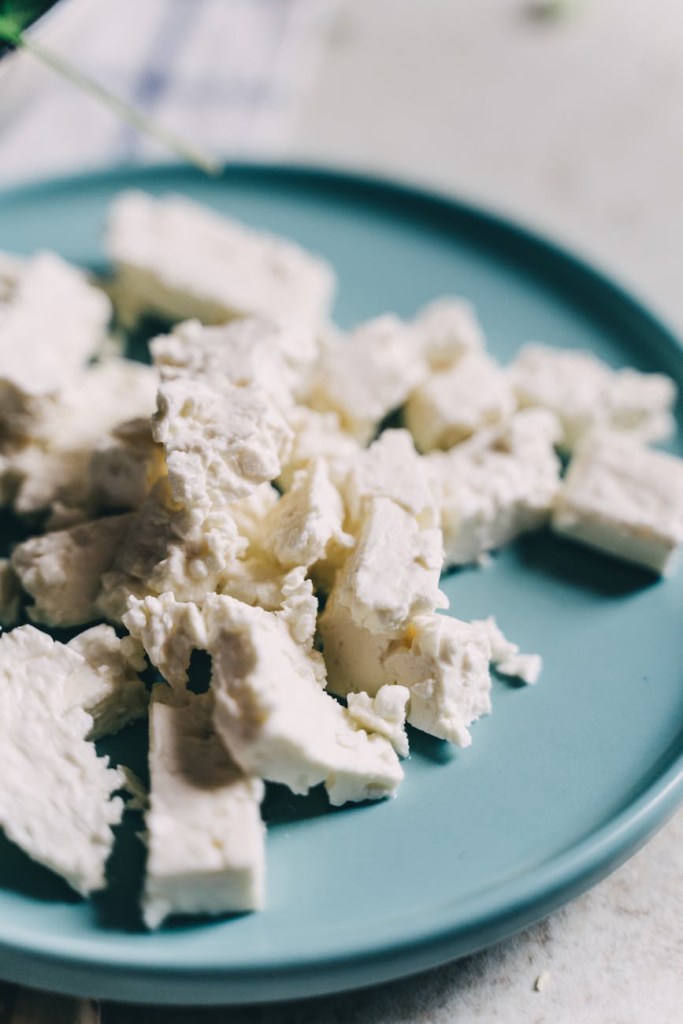
    • The Cheese: Feta is the star here. You can buy the block and crumble it yourself or grab a pack of ready-crumbled to save time.

    • The Spice Rack: Grab your Italian seasoning, some paprika for a bit of warmth, and plenty of sea salt and cracked black pepper.

    👩‍🍳 How to Whip It Up

    1. Get the water on: Boil a large pot of salted water and cook your pasta until al dente.

    2. Sizzle the tomatoes: While the pasta bubbles away, grab a large frying pan or skillet. Toss in your halved tomatoes, minced garlic, a glug of olive oil, paprika, salt, and your dried herbs. Cook on a medium heat for about 2 minutes until the tomatoes start to soften and get juicy.

    3. Wilting time: Throw in the spinach. Stir it around until it wilts into that lovely garlic-tomato base.

    4. The Feta finish: Stir in your crumbled feta and let it get just a little bit melty.

    5. The Big Mix: Toss in your drained pasta and the lemon juice. Give it a good stir for a minute to get everything coated. If it looks a bit dry, add an extra drizzle of olive oil.

    Top Tip: This is a fantastic “make-ahead” meal. It keeps beautifully in the fridge for lunch the next day, and you can even freeze it!

    Whether you’re dodging the temptation of a takeaway or just need a win after a hectic shift, this Mediterranean pasta is the ultimate shortcut to a proper meal. It’s vibrant, zesty, and—best of all—gets you from “starving” to “serving” in the time it takes to boil a kettle. Give it a go tonight, enjoy the fact that there’s barely any washing up, and let that hit of lemon and garlic do the heavy lifting. Happy cooking!

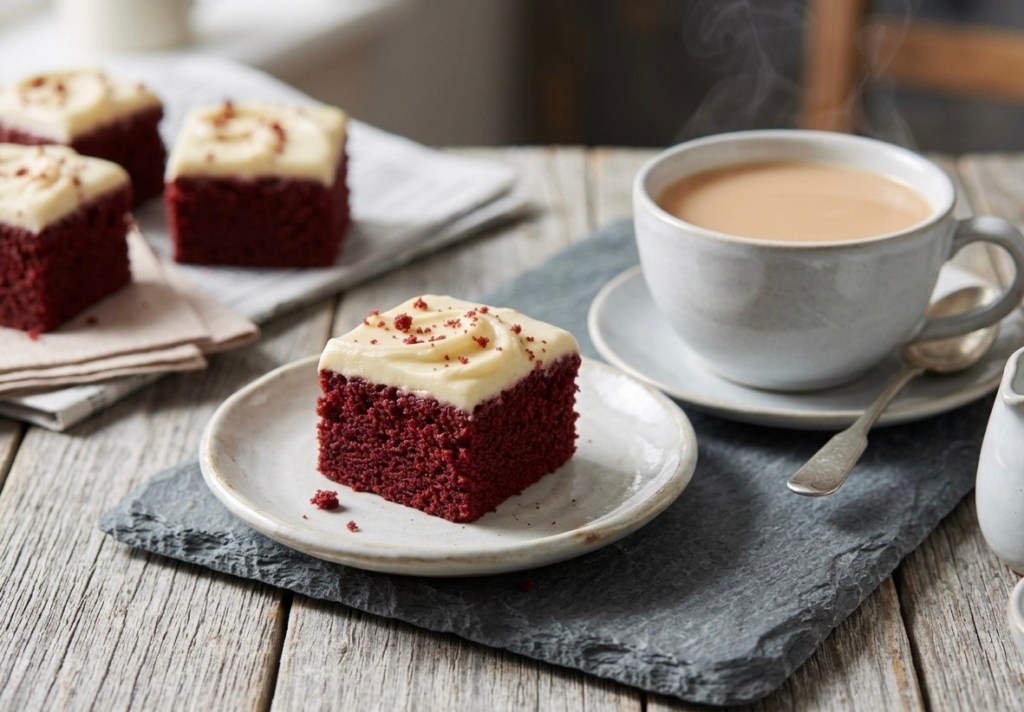
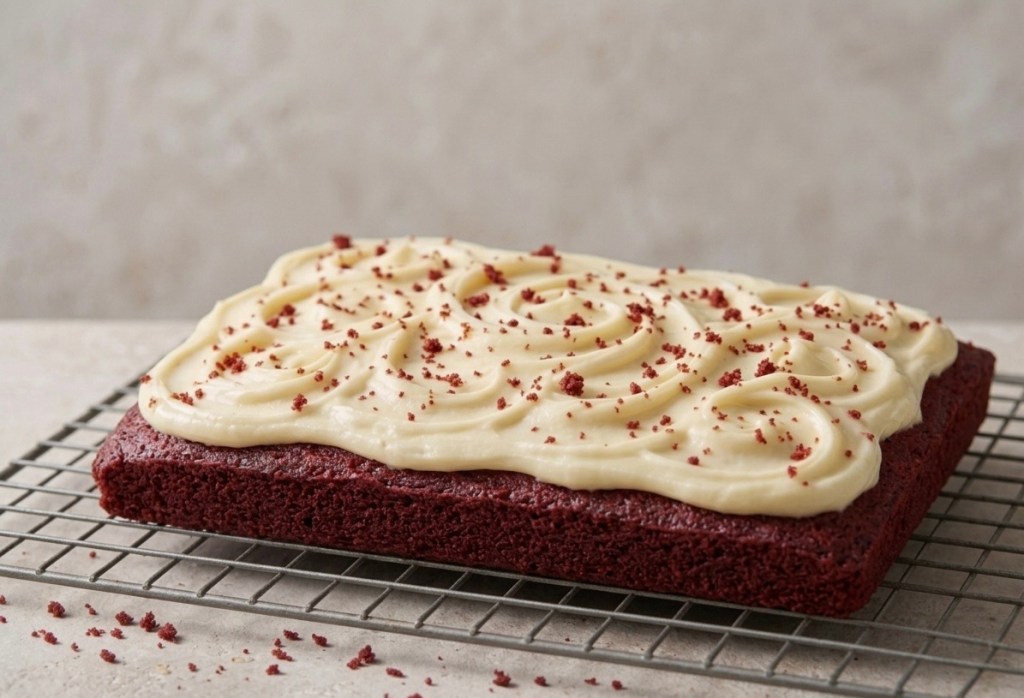
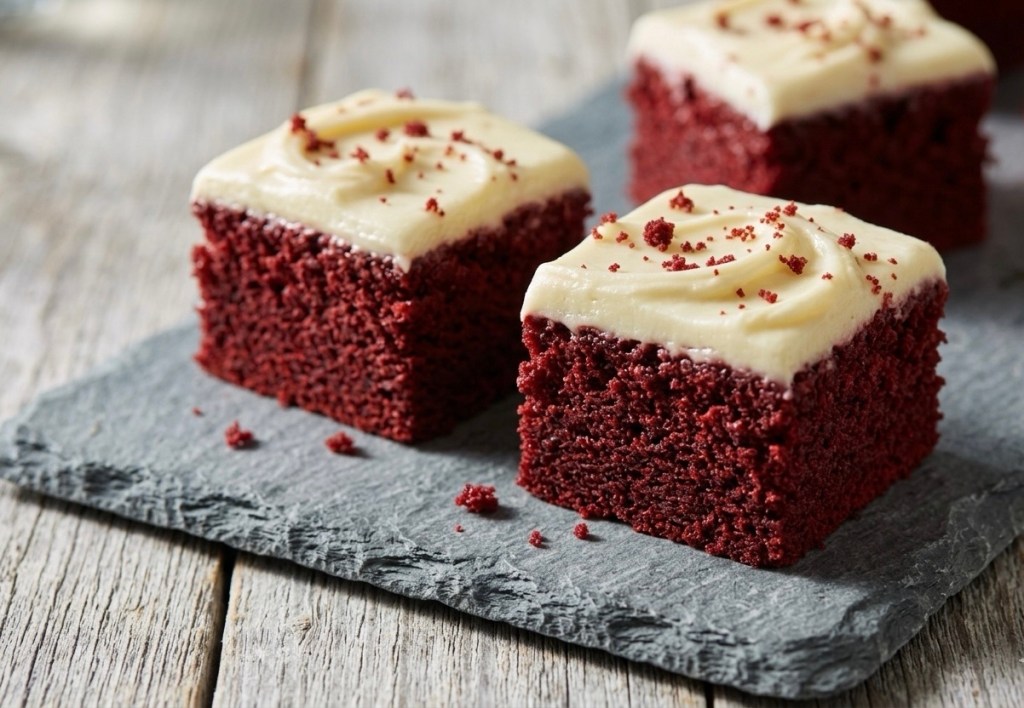
  • The Red Velvet Renaissance: A Proper British Traybake (With a Secret Science Twist!) đźŤ°

    The Red Velvet Renaissance: A Proper British Traybake (With a Secret Science Twist!) đźŤ°

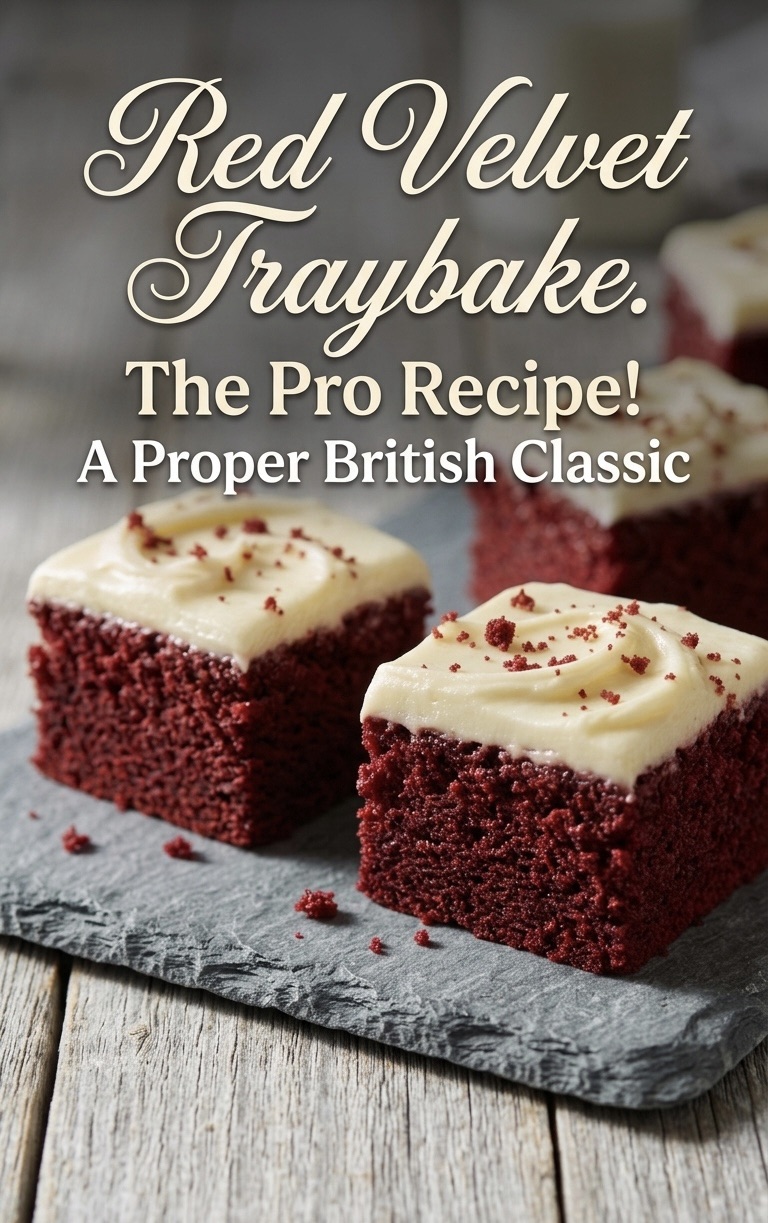
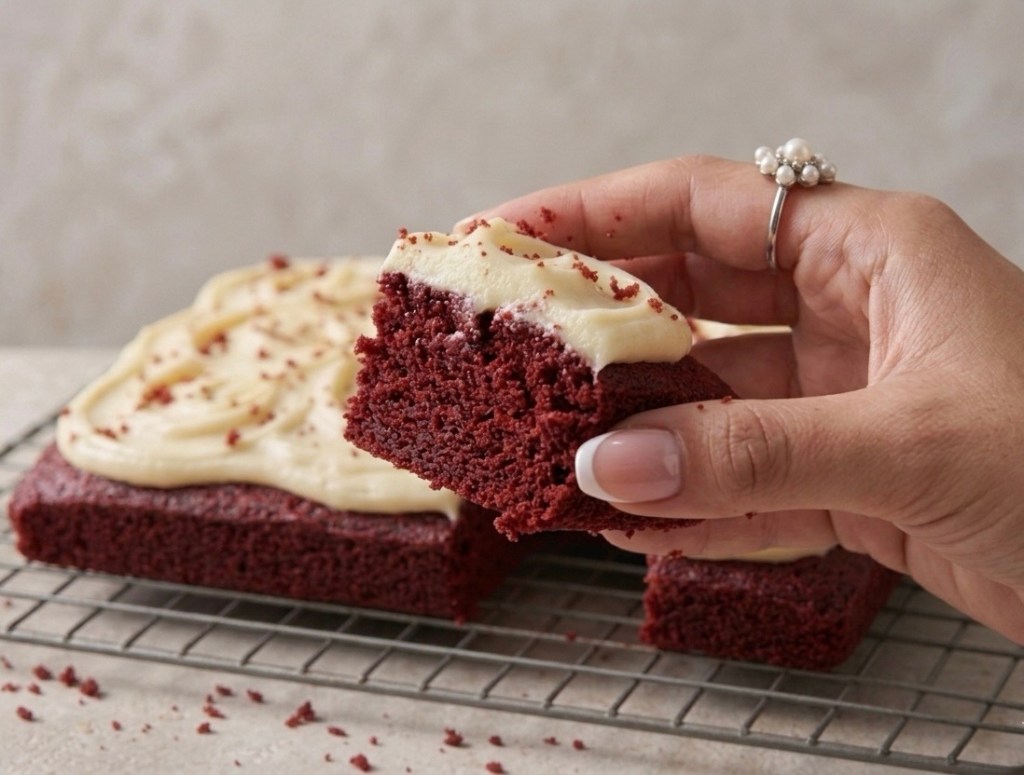
    Let’s be honest—Red Velvet is a cake that often gets a bad reputation. Too many people think it’s just a chocolate cake with a bottle of red dye thrown in. But a proper Red Velvet is a masterpiece of baking chemistry. It’s tangy, incredibly light, and has a unique “velvet” crumb that sets it apart from any other sponge.

    If you’ve struggled with dry cakes or a “muddy” colour in the past, this one-tin traybake is about to change your kitchen game.

    The “Velvet” Secret: Chemistry in a Tin đź§Ş

    The magic of this recipe lies in the reaction between 1 Tbsp white wine vinegar and 1 tsp bicarbonate of soda. When you mix these right at the end, they fizz up, creating tiny air bubbles that give the sponge its iconic, tight-but-fluffy texture.

    Combined with 200ml of buttermilk, you get a sponge that stays moist for days and has that signature subtle tang that balances the sweetness.

    The Pro-Secret: Sugarflair Velvet Red 🎨

    We’ve all been there—using an entire bottle of supermarket liquid colouring only to end up with a cake that looks maroon or, worse, brown. For this recipe, we are using 1–3 tsp of Sugarflair Velvet Red paste.

    https://amzn.to/4u2kHNt

    Because it’s a concentrated paste, it delivers a deep, dramatic crimson without adding extra liquid to your batter. You can easily find it online, and it is worth every penny for that professional bakery finish.

    The Topping: Cream Cheese Perfection 🥯

    The frosting is the crowning glory. To get it perfect every time:

    • Temperature Matters: Ensure your 100g of butter and 250g of full-fat cream cheese are at room temperature. Cold cheese leads to lumps!

    • The Method: Whisk the butter and 100g of icing sugar until pale and fluffy first. Only then do you fold in the cream cheese. If you over-beat it, the icing can turn runny, so keep it brief!

    The Ingredients

    For the Sponge:

    • 250g unsalted butter, softened

    • 250g caster sugar

    • 4 medium eggs

    • 200ml buttermilk

    • 275g self-raising flour

    • 50g cocoa powder

    • 1–3 tsp Sugarflair Velvet Red paste (available online)

    • 1 Tbsp white wine vinegar

    • 1 tsp bicarbonate of soda

    For the Icing:

    • 100g unsalted butter, softened

    • 100g icing sugar, sifted

    • 250g full-fat cream cheese (room temperature)

    • Red sprinkles (optional)

    Step-by-Step Directions

    1. Prep the Tin: Preheat your oven to 180°C (160°C fan). Grease and line a roughly 20 x 30cm baking tin with baking parchment.

    2. Cream the Base: In a large bowl, whisk the 250g butter and 250g caster sugar until pale and fluffy.

    3. Mix the Wet & Dry: In a jug, whisk the eggs and buttermilk. Sift your 275g self-raising flour and 50g cocoa into a separate bowl.

    4. Combine: Add 1/3 of the egg mix to the butter, then 1/3 of the flour. Repeat until incorporated. Beat in your Sugarflair paste until you hit that gorgeous red shade.

    5. The Fizz: Quickly mix the vinegar and bicarb in a small cup. Pour the fizzing mix into the batter, beat it in quickly, and get it straight into the tin.

    6. Bake: Bake for 45 minutes or until a skewer inserted into the centre comes out clean. Let it cool completely in the tin.

    7. The Frosting: Whisk the 100g butter and 100g icing sugar until light. Gently beat in the 250g cream cheese just until combined.

    8. Finish: Spread thick over the cooled sponge, add sprinkles, and cut into 16 generous squares.

    So, there you have it—the only Red Velvet recipe you’ll ever need in your baking arsenal! Honestly, once you’ve seen that vinegar and bicarb work their magic and tasted that silkier-than-silk cream cheese frosting, there’s no going back. It’s the perfect bake for when you want something that looks incredibly impressive but actually lets you keep your cool in the kitchen.

    If you do give it a whirl, please tag me in your photos or leave a comment below—I’d love to see your crimson masterpieces! Now, if you’ll excuse me, I have some “quality control” testing to do with a cuppa and a very large square of cake. Happy baking, everyone! 🍰✨