Tag: healthy snacks

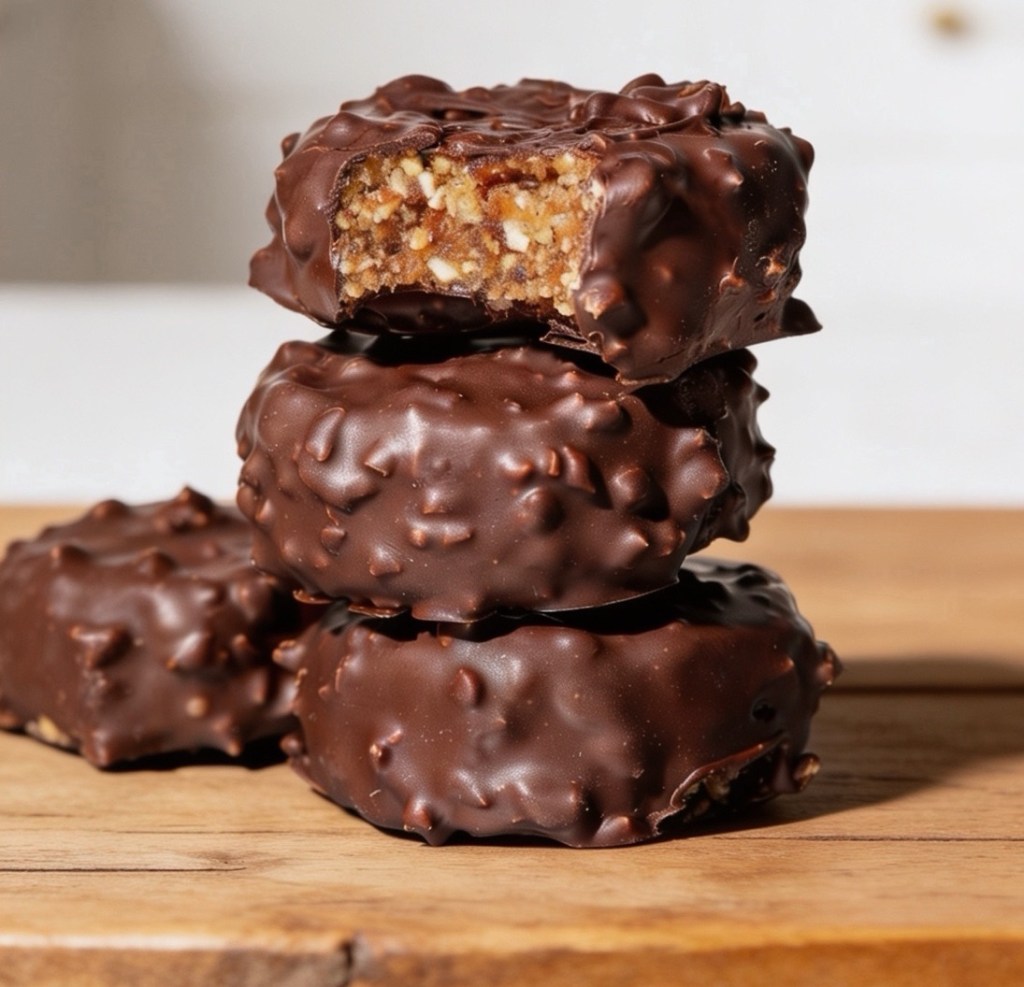
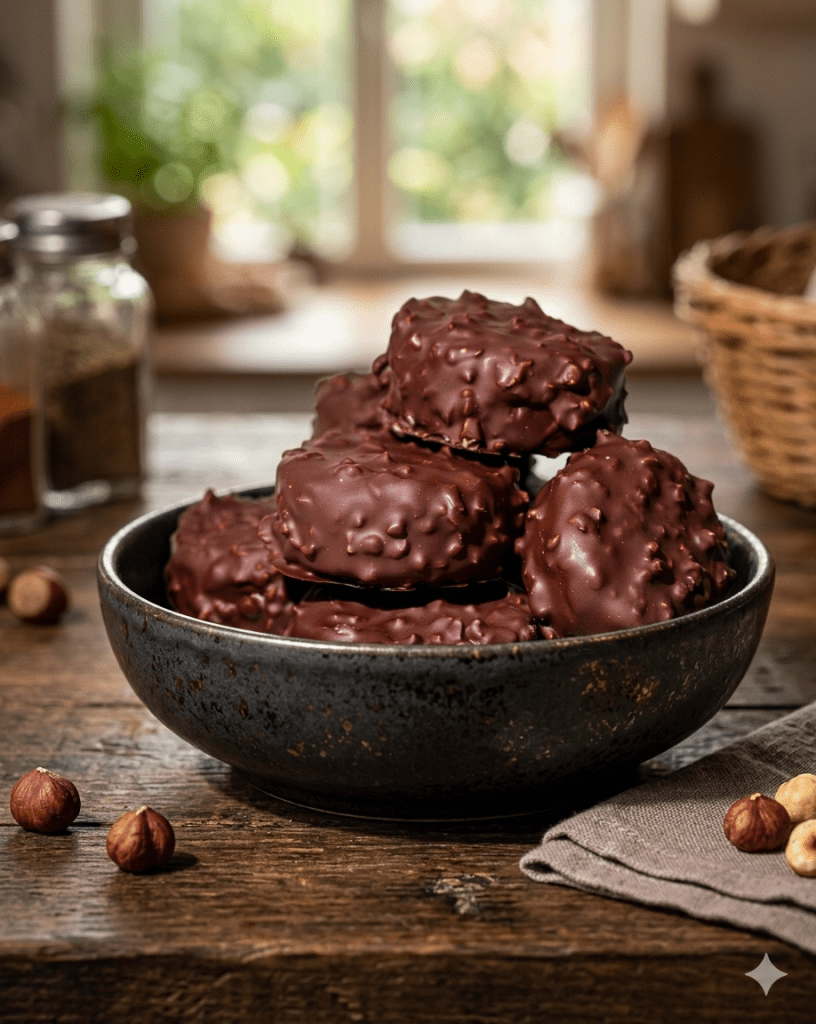
  • Healthy Hazelnut & Chocolate Bites: The Perfect Guilt-Free Snack

    Healthy Hazelnut & Chocolate Bites: The Perfect Guilt-Free Snack

    Looking for a way to satisfy those mid-afternoon chocolate cravings without reaching for the processed stuff? You are not alone. Many of us want a sweet treat that feels indulgent but keeps our health goals on track.

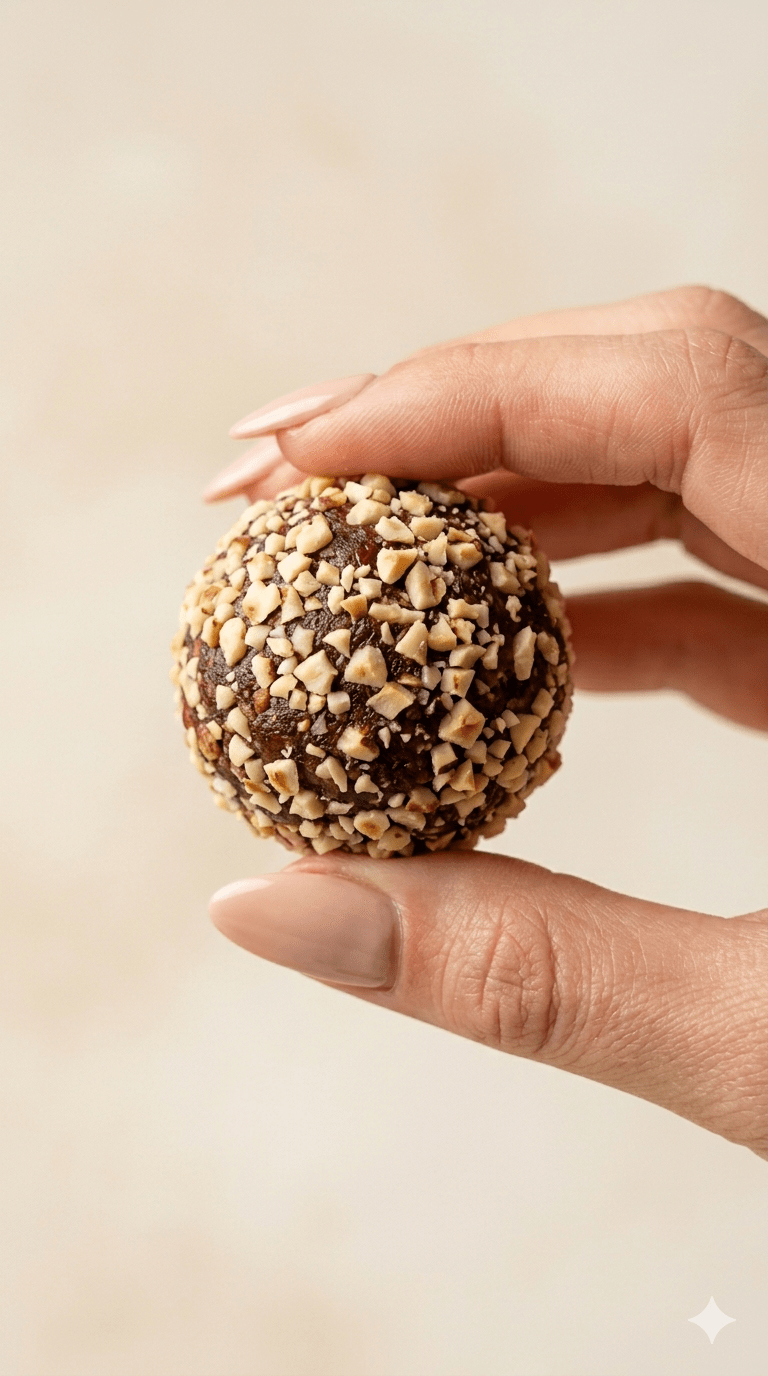
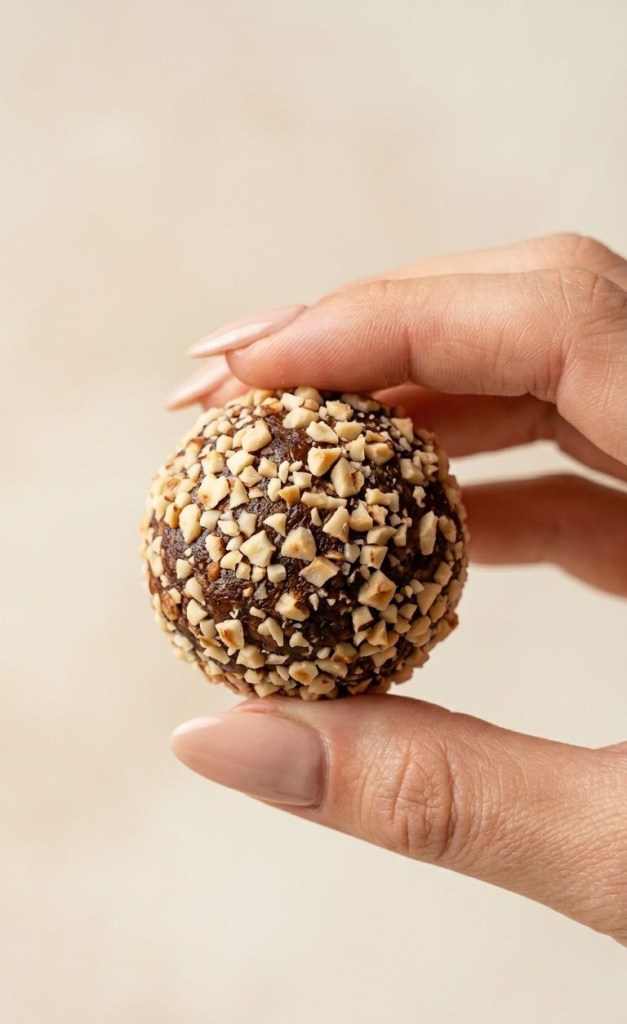
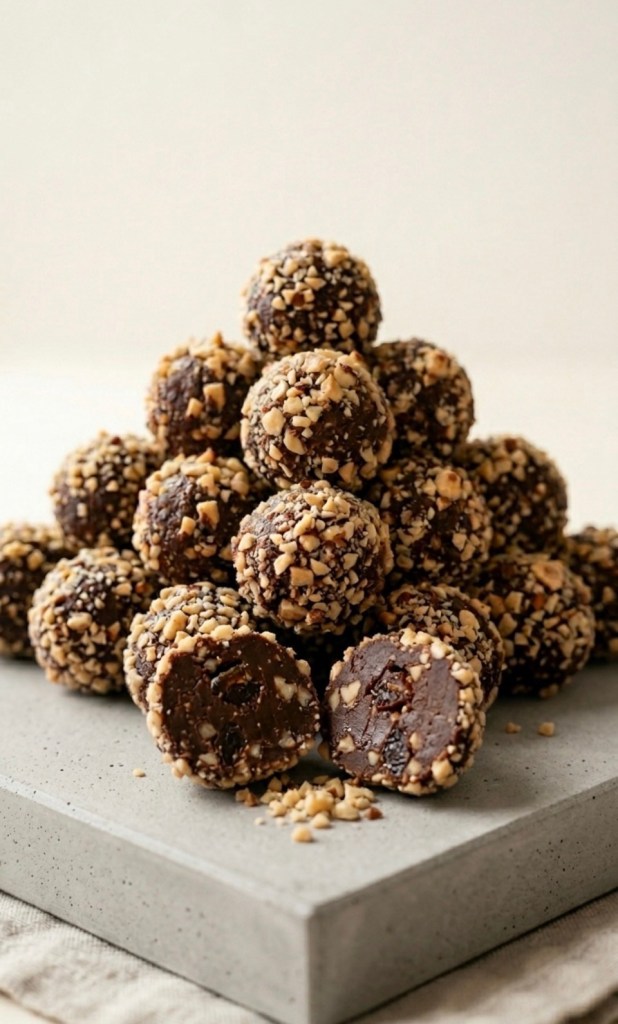
    These homemade, date-based hazelnut bites are the answer. They pack all the rich, nutty flavour of a classic luxury chocolate into a wholesome, plant-based package. Best of all? They are incredibly easy to make and require zero baking.

    Why You Will Love These Bites

     Wholesome Ingredients: They rely on natural sweetness from Medjool dates and heart-healthy fats from hazelnuts.

     Quick & Easy: No oven required—just a food processor and 30 minutes of chill time.

     Versatile: They are vegan, refined-sugar-free, and make the perfect meal-prep snack for a busy week.

    The Ingredients

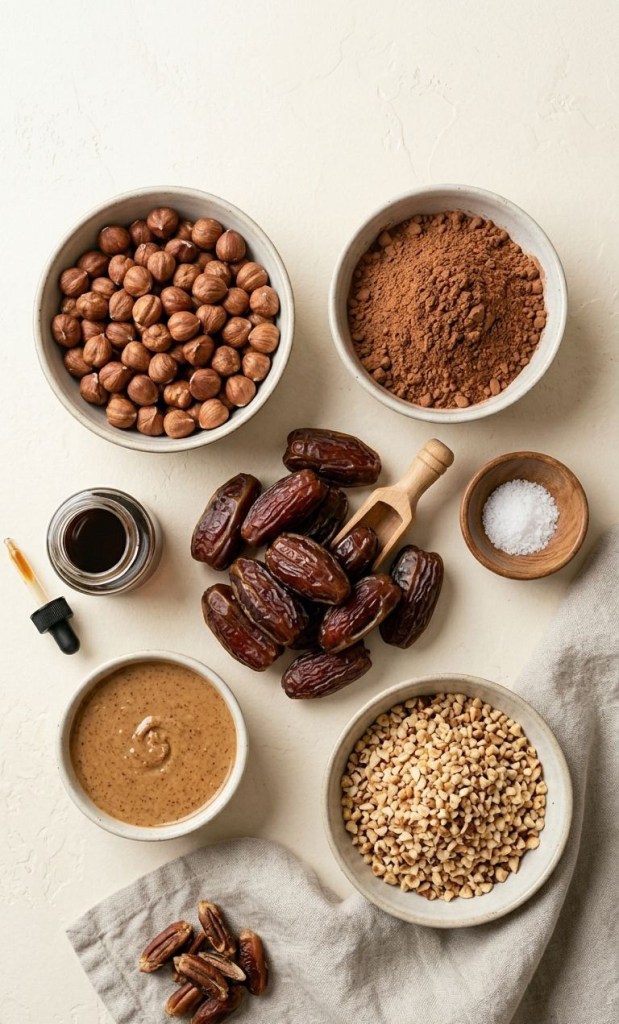
     1 cup whole hazelnuts (roasted, skins removed)

     1 ½ cups Medjool dates (pitted and packed)

     3 tbsp high-quality unsweetened cocoa powder (or raw cacao)

     1 tsp pure vanilla extract

     1 pinch sea salt

     Optional: 1 tbsp hazelnut butter for extra decadence

     For the coating: ½ cup finely chopped roasted hazelnuts

    Simple Method

    1. Prep the Nuts: Place your roasted hazelnuts into a food processor and pulse until they are coarsely chopped. Scoop out about 2–3 tablespoons and set them aside; you will use these for the final coating.

    2. Combine: Add the pitted dates, cocoa powder, vanilla extract, sea salt, and optional hazelnut butter to the processor with the remaining nuts.

    3. Blend: Blitz on high until the mixture forms a thick, sticky dough. If your dates are on the firmer side and it isn’t sticking, add a teaspoon of hot water or melted coconut oil to get it moving.

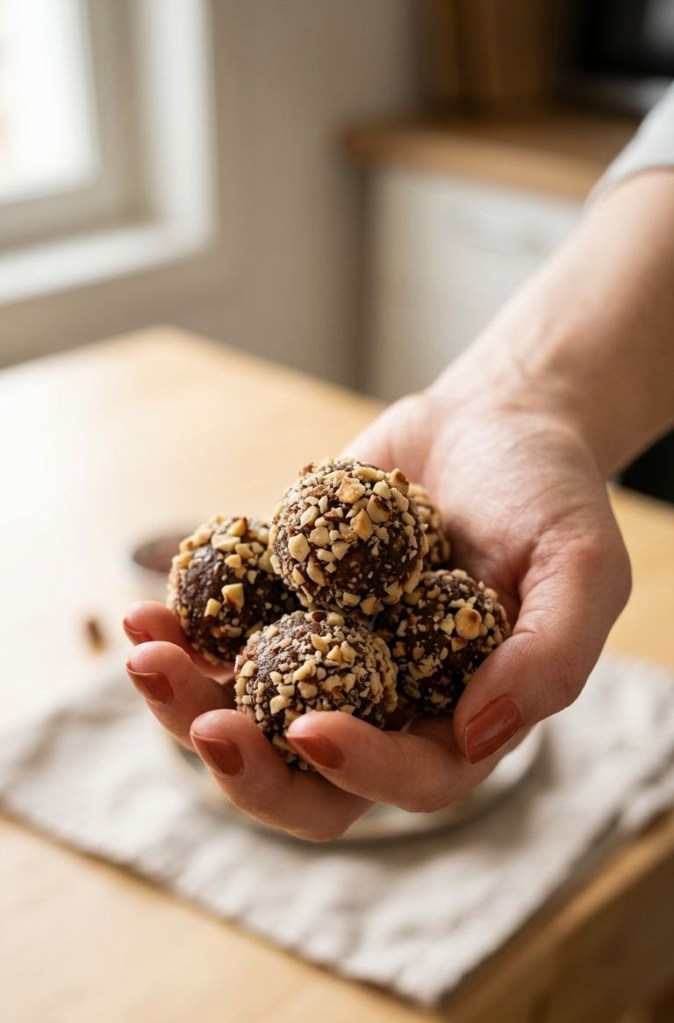
    4. Shape: Take about a tablespoon of the mixture and roll it firmly between your palms to create a ball.

    5. Coat: Roll each ball into the reserved chopped hazelnuts, pressing gently so the nut pieces stick to the outside.

    6. Chill: Place them on a tray lined with parchment paper and pop them in the fridge for at least 30 minutes to firm up.

    Storage Tips

    Keep these bites in an airtight container in your fridge for up to two weeks, or stash them in the freezer for up to two months when you need a quick energy boost.

    Who says you can’t have your chocolate and eat it too? These are made with simple, wholesome ingredients—no refined sugars, just pure hazelnut and cocoa goodness! Perfect for that 3pm slump.

  • No-Bake Raspberry & Lemon Oat Bars (Healthy Breakfast Hack!)

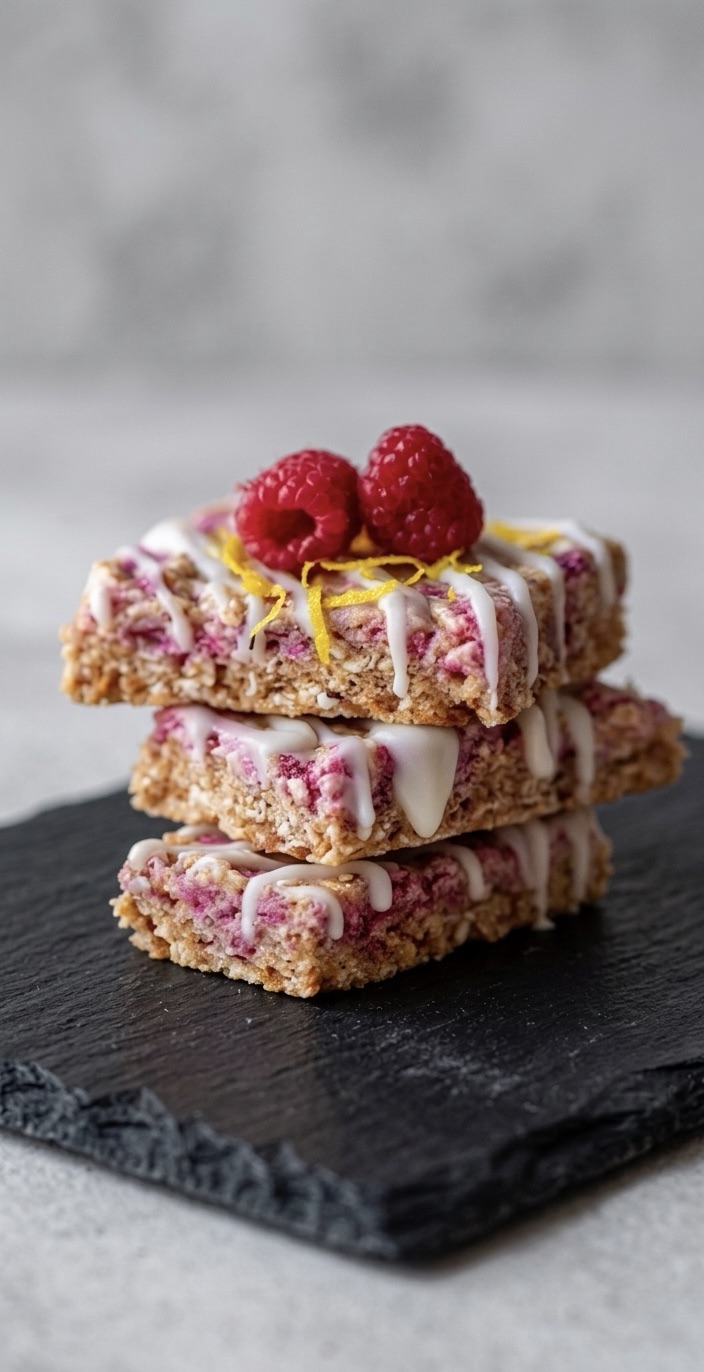
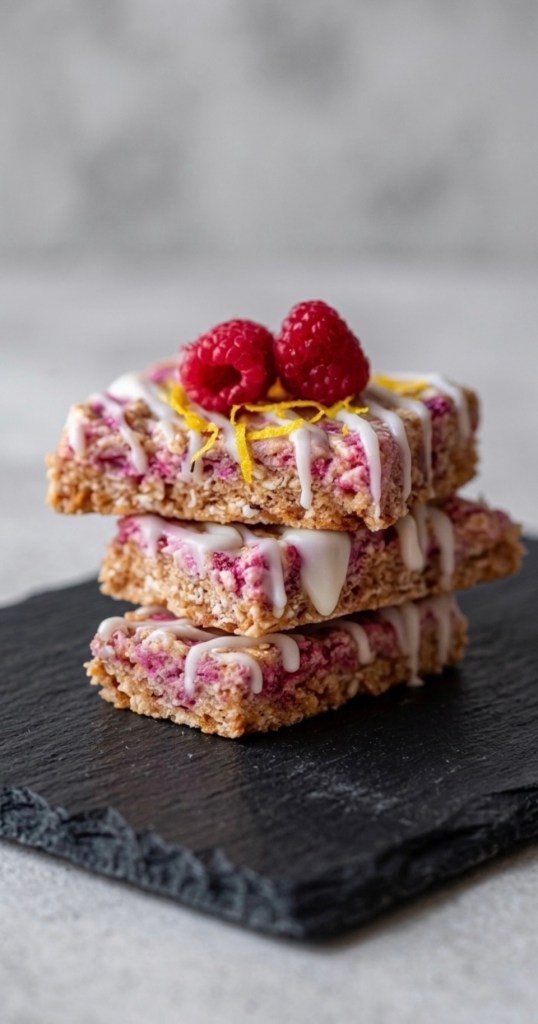
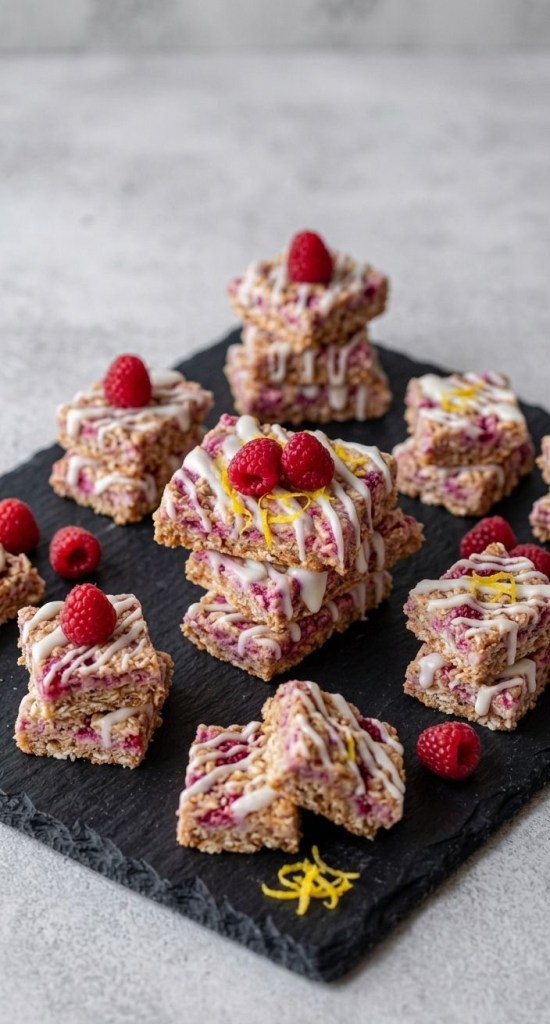
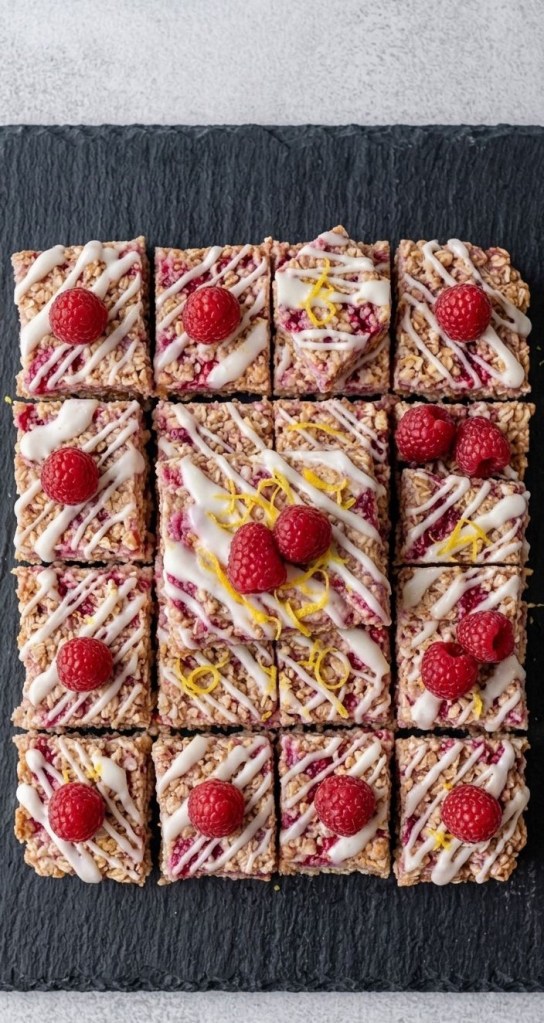
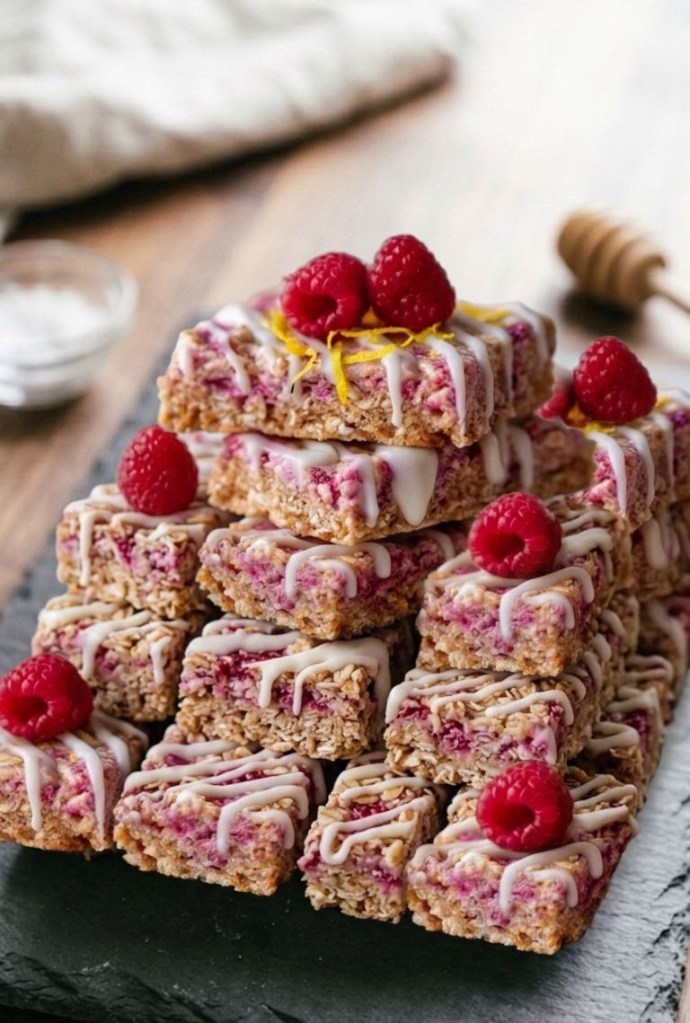
    No-Bake Raspberry & Lemon Oat Bars (Healthy Breakfast Hack!)

    Let’s be real for a second—how many times have you skipped breakfast because you were in a rush, only to find yourself reaching for a sugary biscuit by 10 AM? We’ve all been there!

    I’ve been on a mission lately to find a grab-and-go breakfast that actually keeps me full, doesn’t cost a fortune, and—most importantly—doesn’t require me to stand over a hot oven at 6 AM.

    Well, my friends, I think I’ve found the holy grail: No-Bake Raspberry & Lemon Oat Bars. These beauties are chewy, zingy, naturally sweetened, and completely no-bake. They are honestly a game-changer for your weekly meal prep!

    Why You’ll Love Them:

     Zero Baking: No preheating the oven. Just mix, press, and chill.

     Packed with Goodness: We’re talking oats for slow-release energy, seeds for fiber, and nuts for that satisfying crunch.

     Customisable: Want to add a little something extra? Go for it!

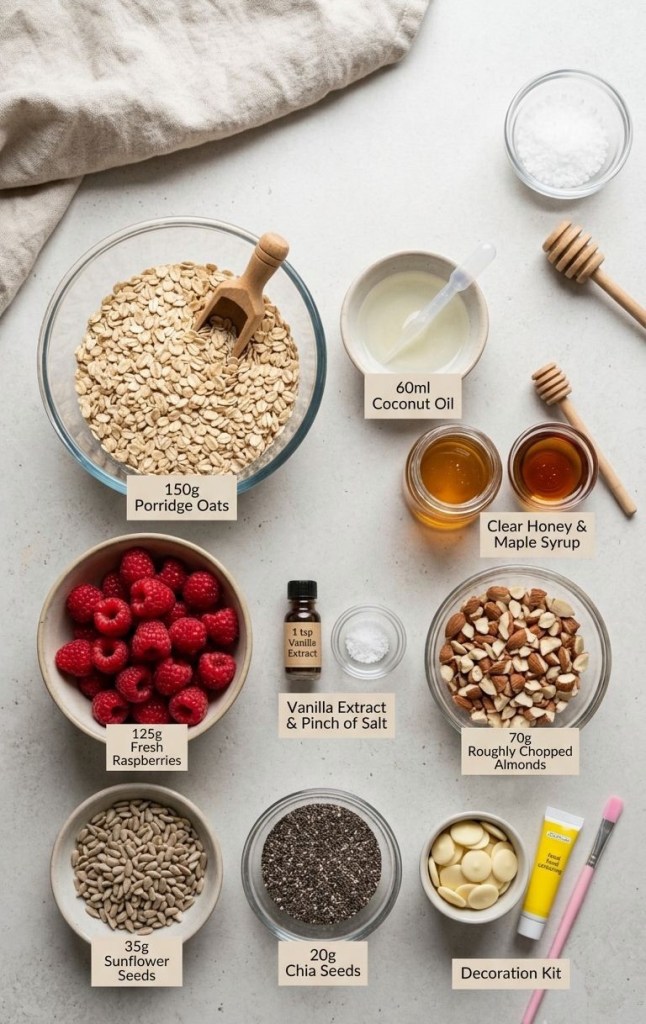
    What You’ll Need:

     150g Porridge oats (Use jumbo oats if you like a bit more texture)

     125g Raspberries (Fresh or frozen both work perfectly)

     60ml Coconut oil, melted

     85g Clear honey

     20g Maple syrup

     1 tsp Vanilla extract

     Pinch of sea salt

     70g Almonds, roughly chopped

     35g Sunflower seeds

     20g Chia seeds

    For the decoration:

     White chocolate, melted (essential for that signature drizzle!)

     Extra white chocolate mixed with a tiny drop of food colouring (I love using pink or yellow to match the raspberry-lemon vibe!)

    How to Make Them:

    1. Prep your tin: Line a 20cm (8-inch) square tin with baking parchment. Leaving a bit of an overhang makes it so much easier to lift them out later.

    2. The Mix: In a large mixing bowl, combine your melted coconut oil, honey, maple syrup, and vanilla. Give it a good whisk until it’s smooth.

    3. Combine: Add in your oats, chopped almonds, sunflower seeds, and chia seeds. Stir until everything is nicely coated in that sticky, sweet mixture.

    4. The Fruit: Gently fold in your raspberries. If you’re using frozen, don’t thaw them! Just toss them in straight from the freezer to keep them from breaking up too much.

    5. Press & Chill: Tip the mixture into your tin and press it down really firmly with the back of a spoon. This is the secret to getting them to stay together! Pop the tin into the freezer for at least an hour to set.

    6. Decorate: Once firm, lift them out and slice into bars. Melt your white chocolate, drizzle away, and feel free to add that pop of colour with your tinted chocolate for a professional bakery look

    A Quick Pro-Tip:

    These bars keep perfectly in the fridge for about a week, or you can wrap them individually and keep them in the freezer for up to three months. They’re basically the ultimate morning life-saver.

    Give these a try this weekend and let me know how you get on! Don’t forget to tag me in your photos—I love seeing your creations!

    Are you a “prep your breakfast the night before” person or a “grab whatever is in the cupboard” person? Let me know in the comments below! 

  • Easy No-Bake Peanut Butter & Oat Bars

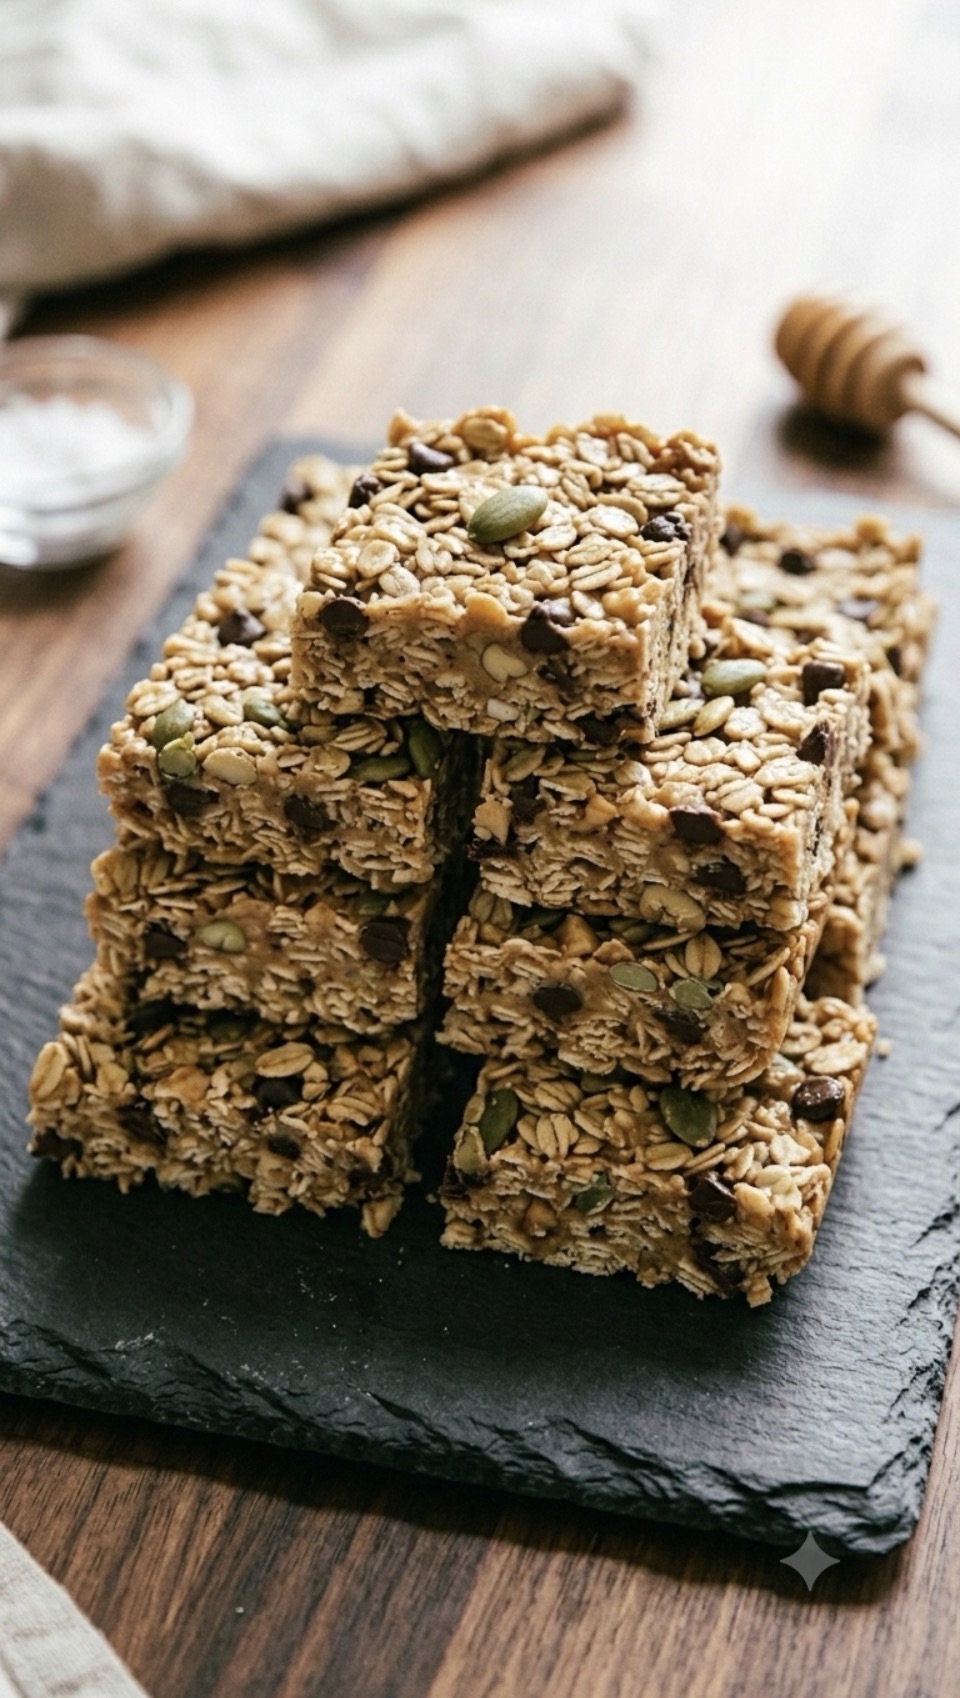
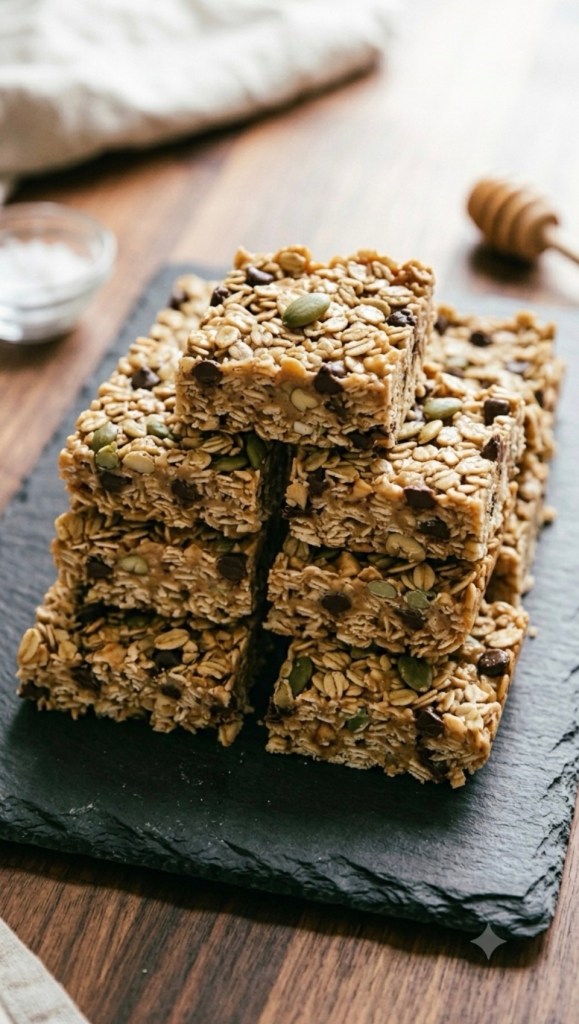
    Easy No-Bake Peanut Butter & Oat Bars

    Ever have one of those days where you need a snack now, but everything in the cupboard is a bit boring?

    I have been there so many times. That’s exactly why these No-Bake Peanut Butter and Oat Bars have become a permanent fixture in my kitchen. They are the perfect balance of chewy, salty, and sweet, and honestly? They take almost zero effort to put together.

    Whether you need a quick pre-workout bite, a school lunchbox filler, or just a little something to go with your afternoon tea, these are going to be your new go-to.

    Why You’ll Love These Bars

     No Oven Needed: They come together in one bowl and set in the fridge.

     Customisable: Don’t have peanut butter? Cashew butter works wonders. Want more crunch? Throw in extra pumpkin seeds.

     Better Than Store-Bought: You know exactly what’s in them—simple, wholesome ingredients.

    What You’ll Need

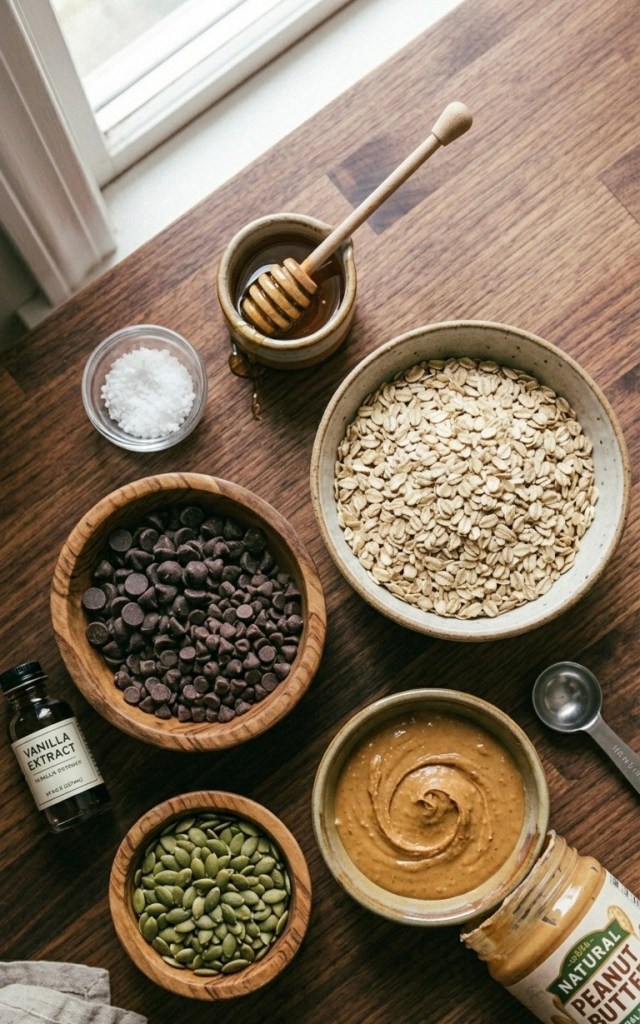
     250g very smooth, creamy natural peanut butter (or cashew butter)

     220g honey

     1 tsp vanilla extract

     Heaping ½ tsp sea salt

     250g whole rolled oats

     60g mini chocolate chips (or chopped chocolate—this is the secret to getting them to hold together!)

     3 tbsp pumpkin seeds

    Method

    1 Prep your tin: Line an 8×8 inch square baking tin with parchment paper. This makes getting the bars out once they’re set much easier.

    2 Mix the base: In a large bowl, stir your peanut butter, honey, vanilla, and sea salt together. Keep stirring until it’s lovely and smooth.

    3 Add the goodness: Tip in your oats, chocolate chips, and pumpkin seeds. It might look a little dry when you first start, but just keep mixing! The oats will absorb that lovely peanut butter mixture and everything will come together.

    4 Press and chill: Tip the mixture into your prepared tin. To get them perfectly flat and compact, place a second piece of parchment paper on top and use the back of a measuring cup to press down firmly. The more you pack it down, the better they stay together.

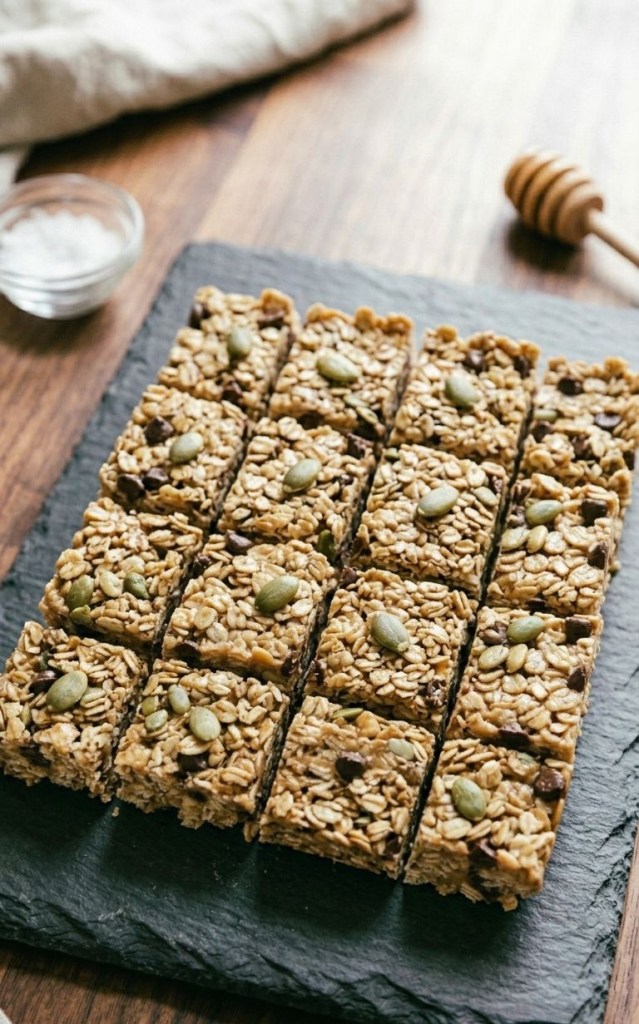
    5 Set: Pop the tin in the fridge for at least 1 hour. Once set, slice them into bars and store them in the fridge to keep them firm.

    Pro-tip: If you can’t find mini chocolate chips, grab a bar of your favourite dark chocolate and chop it into tiny pieces. Small pieces help the bars hold their shape much better than big, chunky chips!

    Let me know in the comments if you give these a try! Are you a peanut butter purist, or are you going to try the cashew version?

  • Better Than A Snickers: My New Favourite Guilt-Free Treat! 🍫

    Better Than A Snickers: My New Favourite Guilt-Free Treat! 🍫

    Let’s be real for a second—who doesn’t have that 3 PM slump where all you want is a chocolate bar from the vending machine? I’ve been trying to be a bit better with my snacking lately, but I still need that sweet fix.

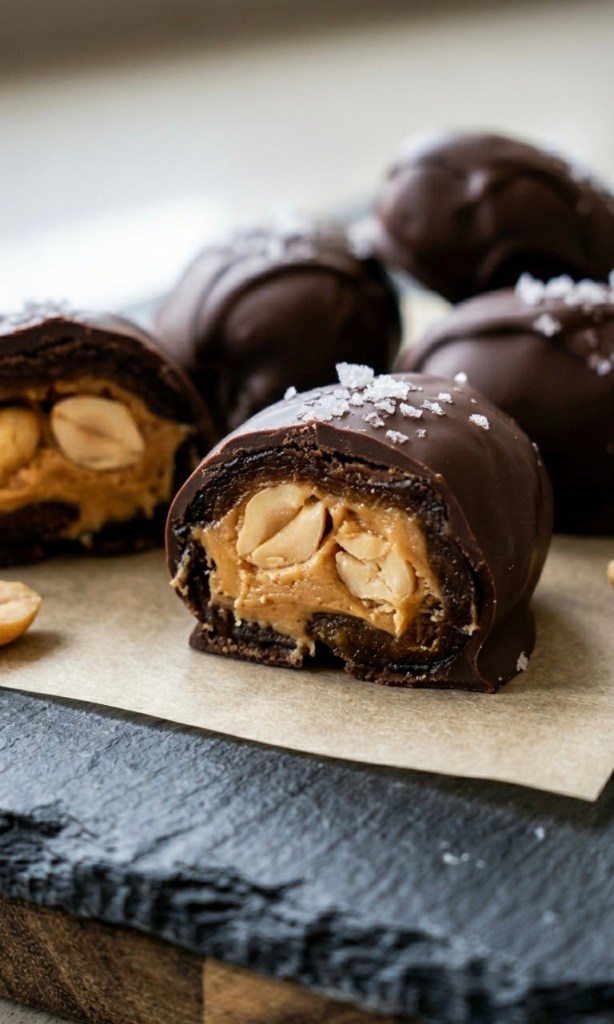
    Well, I think I’ve officially found the holy grail of snacks. They’re basically a healthy, whole-food version of a Snickers bar, and I am obsessed. The best part? They take about 10 minutes of effort and zero actual baking.

    Why you’re going to love these

    These little guys use Medjool dates, which are honestly nature’s candy. They’re naturally sweet, super chewy, and when you pair them with peanut butter and dark chocolate, it’s game over. Plus, they’re totally free of refined sugar. It’s the kind of treat that feels like you’re being naughty, but you’re actually just fueling yourself with some good stuff.

    What you’ll need

    You can grab all of this at your local supermarket—nothing fancy required!

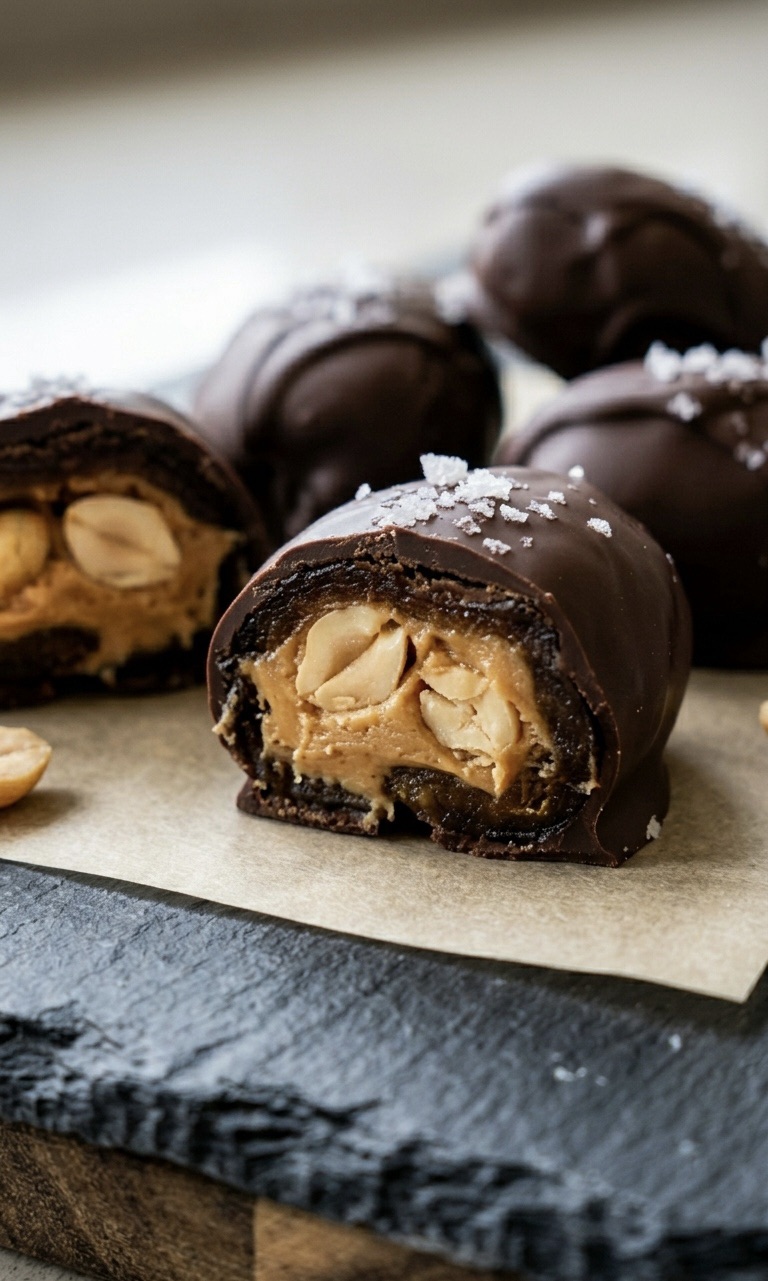
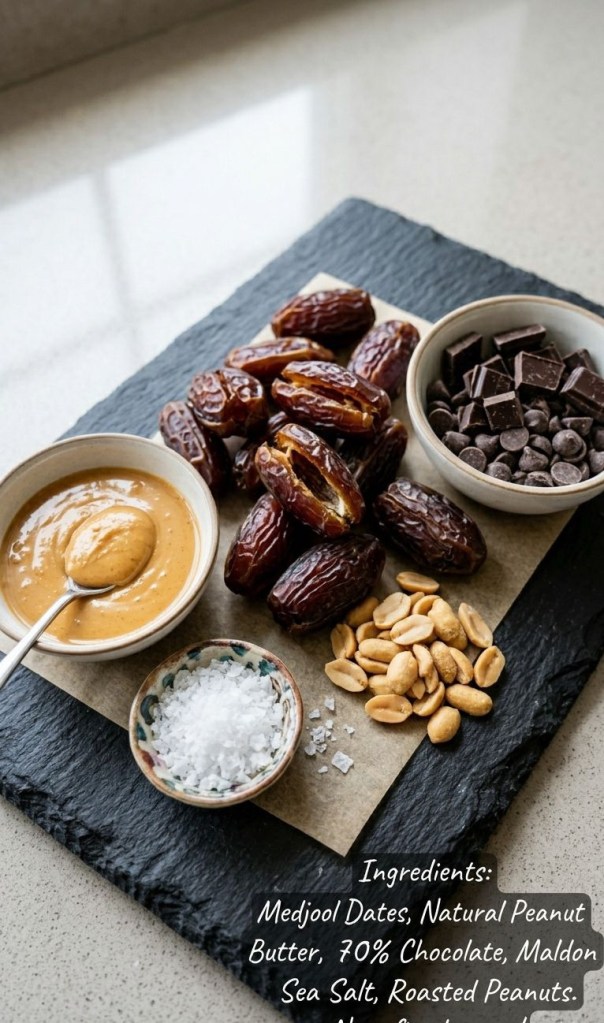
     10–12 Medjool dates: These are your base. Make sure they’re nice and soft.

     120g natural peanut butter: Try to find one that’s just 100% nuts.

     120g dark chocolate: I go for 70% cocoa or higher for that rich hit.

     Optional: A pinch of Maldon sea salt and a few roasted salted peanuts for that extra crunch.

    How to make them

    1 Prep: Slice the dates lengthwise, just enough to pop the stone out.

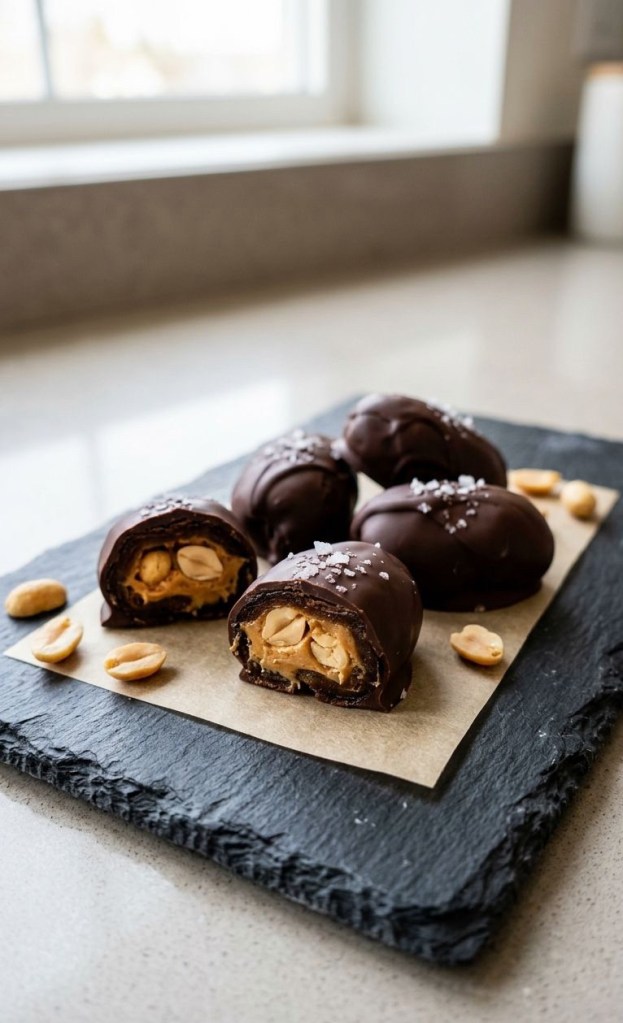
    2 Fill: Grab a teaspoon and stuff the center of each date with peanut butter. If you want a proper “Snickers” vibe, press a couple of roasted peanuts in there too.

    3 Chill: Line a tray with some baking parchment, pop the dates on, and stick them in the freezer for about 15 minutes. This makes them much easier to coat!

    4 Coat: Melt your dark chocolate (30-second blasts in the microwave work a treat). Drop each date in, fish it out with a fork, and tap off any excess chocolate.

    5 Finish: Sprinkle a little Maldon sea salt on top while the chocolate is still melty, then pop them back in the freezer for 10 minutes until they’re set and crisp.

    I’m telling you, keep a stash of these in your freezer, and you’ll never look at a shop-bought chocolate bar the same way again.

    Have you tried making “healthy” versions of your favourite treats before? Let me know how they turned out in the comments! 👇

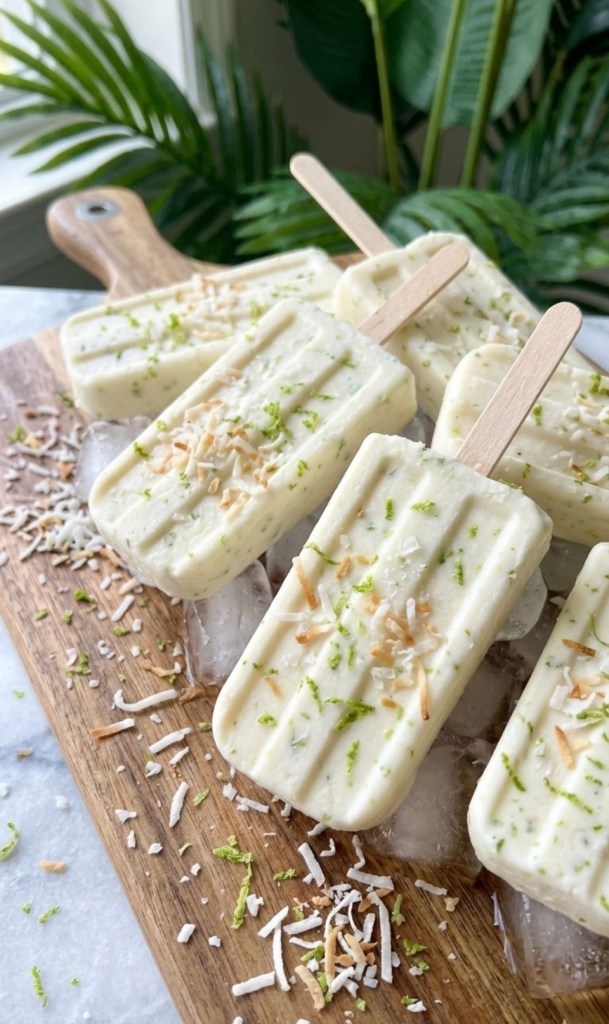
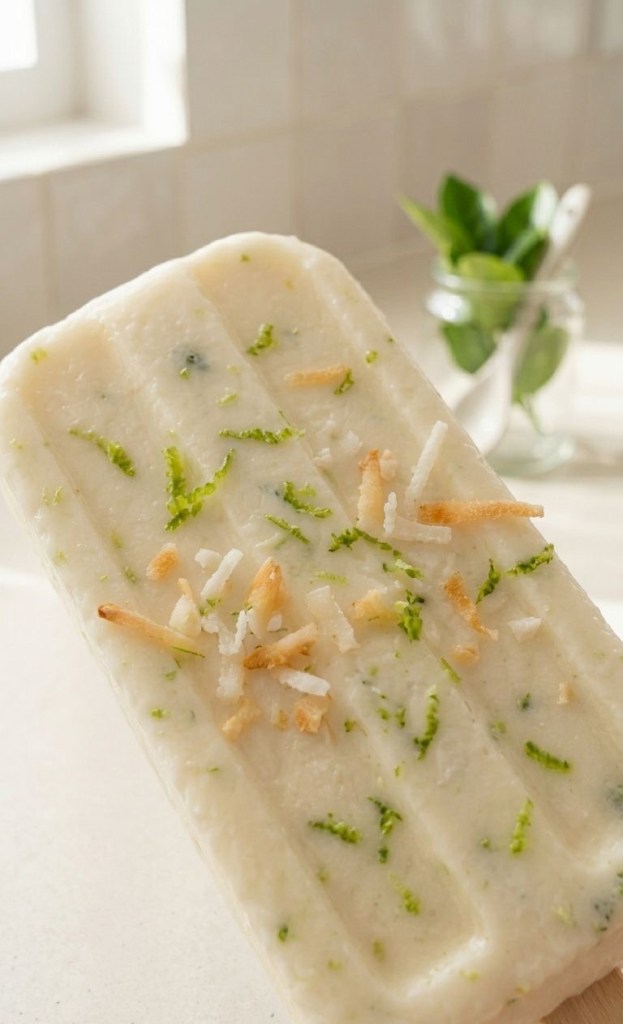
  • Healthy Treat: Zesty Lime & Coconut Superfood Lollies

    Healthy Treat: Zesty Lime & Coconut Superfood Lollies

    Summer is officially here, and when the temperature rises, there is nothing quite like a cooling treat to refresh your palate. If you are tired of store-bought ice lollies packed with refined sugar, I have the perfect solution for you

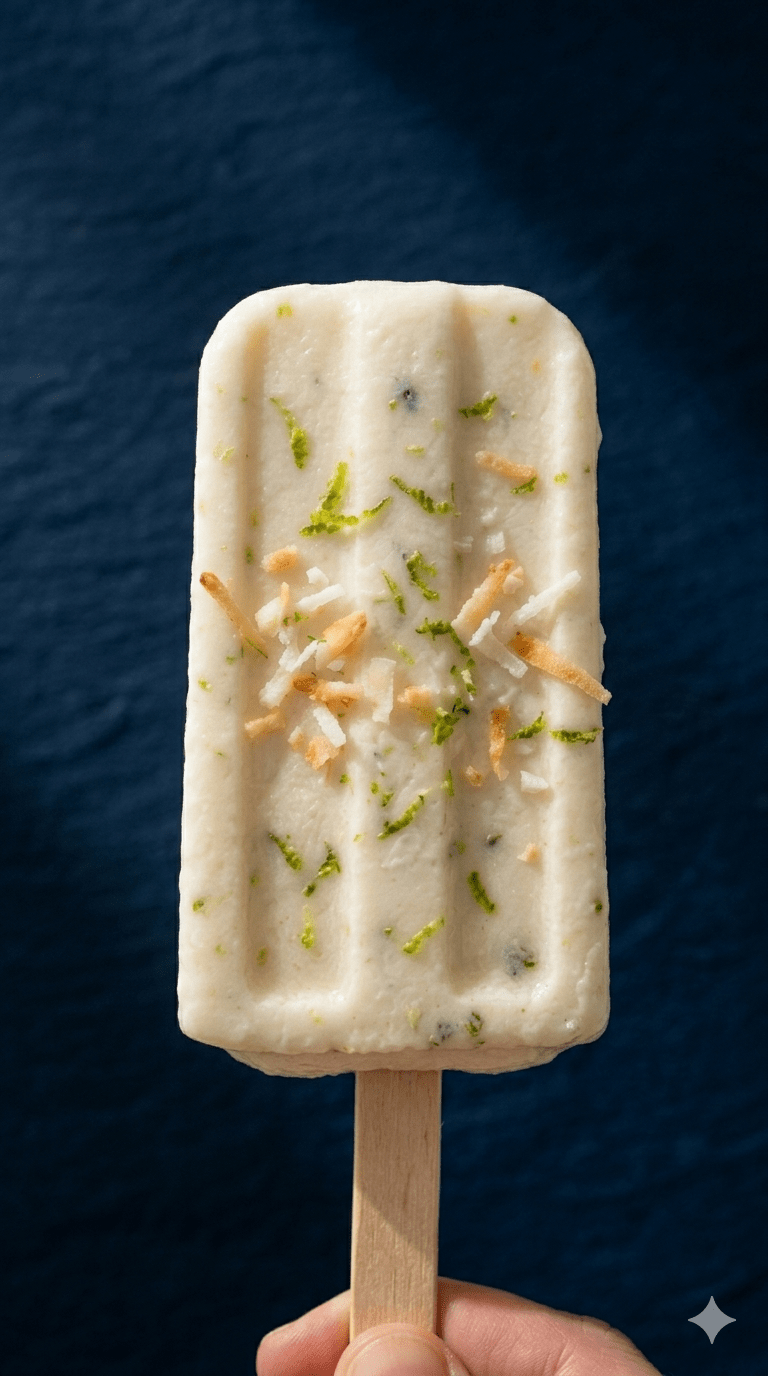
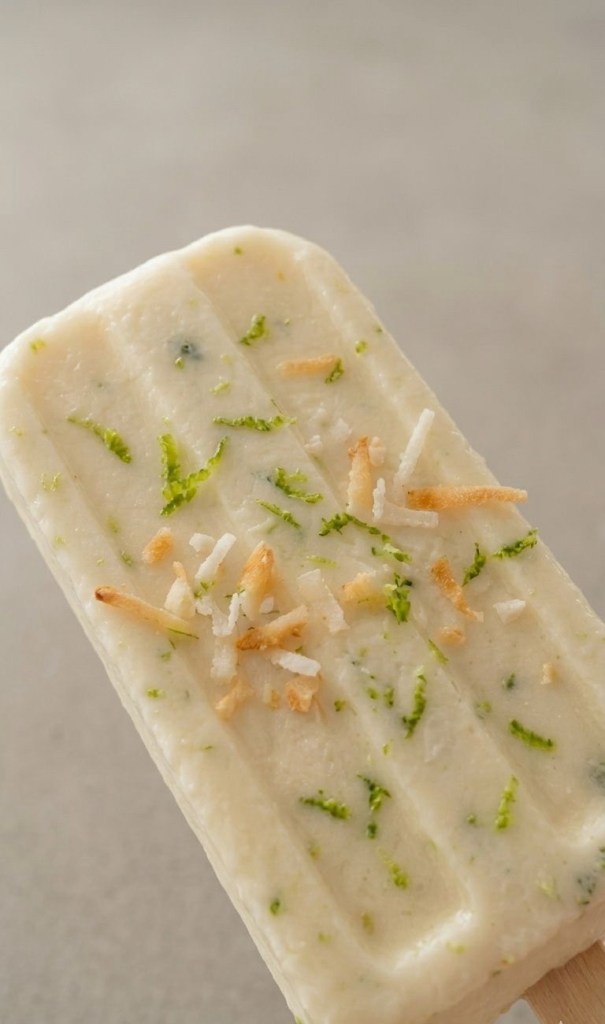
    These Lime & Coconut Superfood Lollies are not just delicious—they are designed to fuel your body with healthy fats, probiotics, and a nutrient-packed punch.

    Why You Will Love These

     No Refined Sugar: We use natural sweeteners for a guilt-free indulgence.

     Probiotic Boost: The Greek yogurt base is excellent for gut health.

     Superfood Additions: With chia seeds, lime zest, and goji berries, every bite is loaded with fiber and antioxidants.

    The Recipe

    Prep time: 10 mins | Freeze time: 4–6 hours | Yields: Approx. 6 lollies

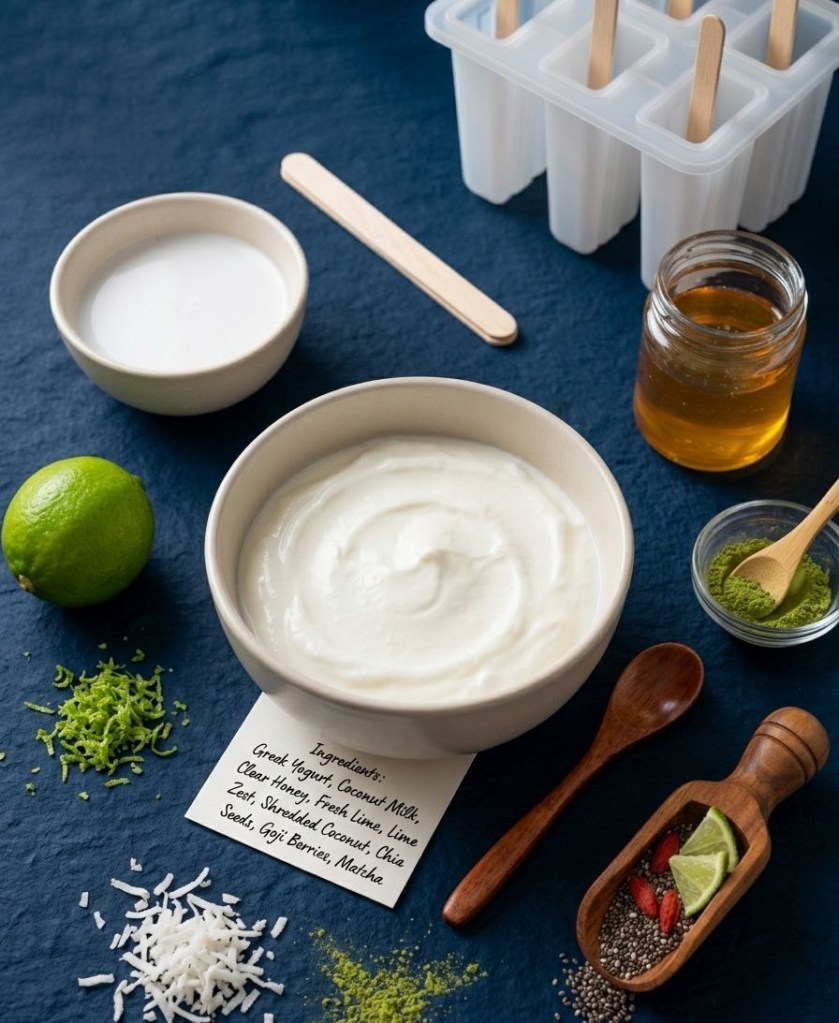
    Ingredients:

     500g plain Greek yogurt

     60ml coconut milk

     2 tbsp clear honey or maple syrup

     1 tbsp fresh lime juice

     1 tsp fresh lime zest

     2 tbsp shredded coconut

     1 tbsp chia seeds

     Toppings: Dried goji berries and a light dusting of matcha powder.

    Method:

    1 Whisk: In a large mixing bowl, combine the Greek yogurt, coconut milk, honey (or maple syrup), lime juice, and lime zest. Whisk until the mixture is perfectly smooth.

    2 Fold: Gently fold in the chia seeds and shredded coconut to ensure they are evenly distributed throughout the mixture.

    3 Fill: Pour the mixture carefully into your ice lolly moulds. Insert your wooden sticks.

    4 Freeze: Place the moulds in the freezer for at least 4–6 hours, or until completely set.

    5 Serve: Run the moulds under warm water for a few seconds to release the lollies. Before serving, top with a sprinkle of goji berries and a dusting of matcha for that extra antioxidant boost.

    Pro-Tip for the Perfect Lolly

    If you want to keep these strictly vegan, simply swap the Greek yogurt for a thick, high-quality coconut or soy yogurt.

    What is your favourite healthy flavour combination? Let me know in the comments below!

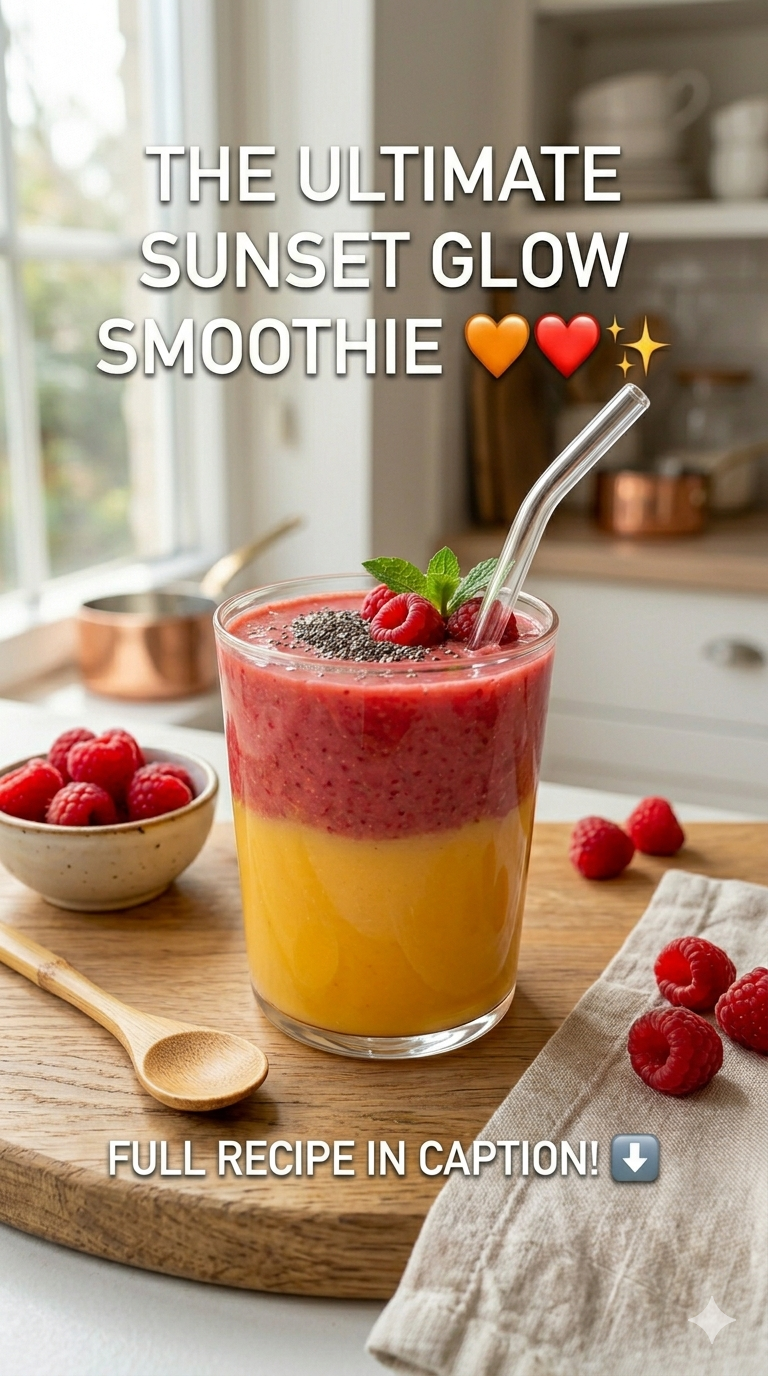
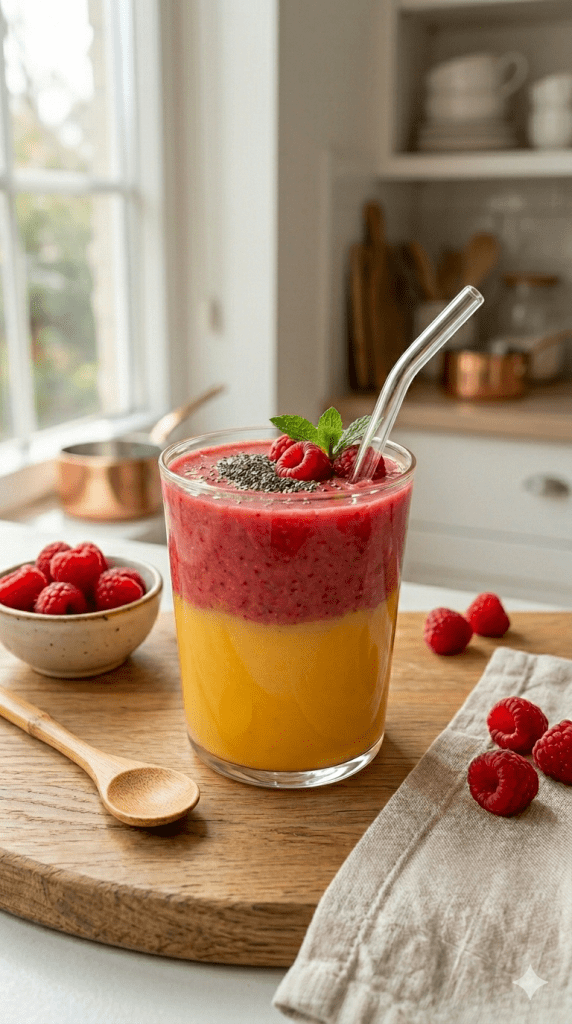
  • The Sunset Glow Smoothie: The Ultimate UK Layered Recipe

    The Sunset Glow Smoothie: The Ultimate UK Layered Recipe

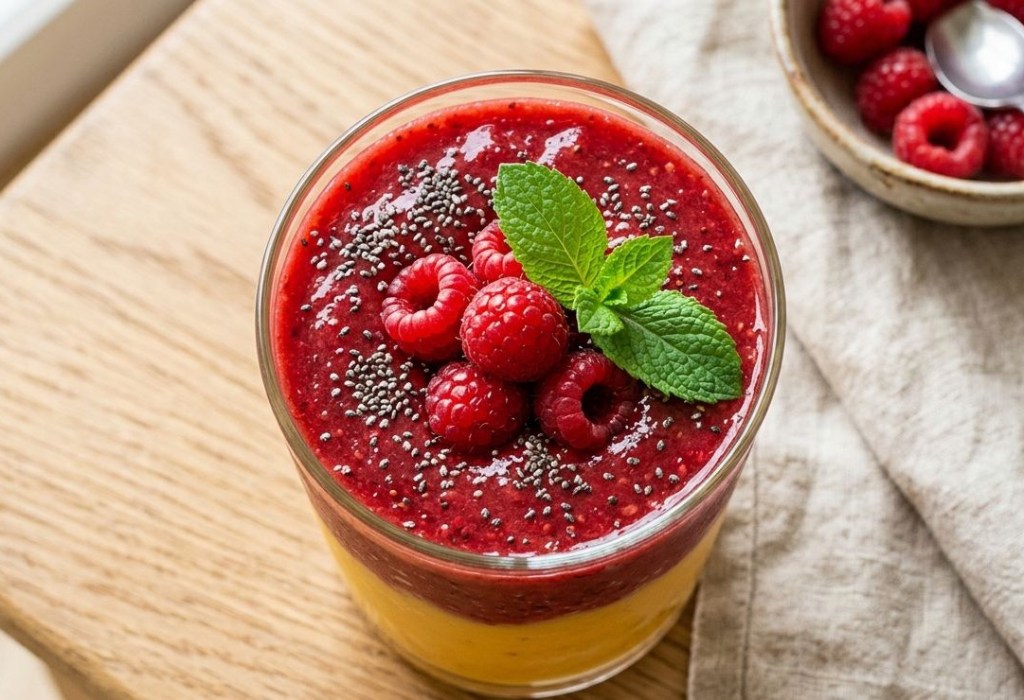
    Want a breakfast that looks like a masterpiece and tastes like a tropical holiday? The Sunset Glow Smoothie is your new go-to. This stunning, two-layered creation uses vibrant mango and berries to create a gradient effect that’s perfect for your morning fuel or an impressive brunch item.

    The best part? This isn’t just an aesthetic ‘gram-worthy drink. The bottom layer is a pure burst of sunshine mango, and the top layer provides a sweet, zesty berry kick.

    We’ve designed this specific recipe using precise UK metric measurements for a perfect, easy-to-follow result every time.

    The Recipe: Step-by-Step

    This smoothie is all about the layers, so you will need to blend them separately for the best effect.

    Prep Time: 5 Minutes

    Makes: 1 Large Smoothie (or 2 small ones for sharing)

    Step 1: The Base Layer (The Sunset)

    Ingredients:

     250ml Frozen Mango Chunks (roughly 1 large cup-full)

     125ml Coconut Milk (or any plant-based milk)

     A healthy squeeze of Lime Juice (optional, but adds a brilliant zest)

    Instructions:

    1 Place the frozen mango and coconut milk into your blender.

    2 If using, squeeze in your lime juice.

    3 Blend on high until smooth. You want this layer to be quite thick, so it can support the next layer. If it’s too thin, add a couple of extra mango chunks.

    4 Pour this mixture into your glass, filling it just over halfway. Use a spoon to level and smooth the top surface against the glass. Rinse the blender jug quickly.

    Step 2: The Glow Layer (The Berry)

    Ingredients:

     125ml Frozen Strawberries (roughly 1/2 a standard cup)

     125ml Frozen Raspberries (roughly 1/2 a standard cup)

     125ml Coconut Milk

     1 tsp Honey or Agave Nectar

    Instructions:

    1 Combine the frozen strawberries, raspberries, coconut milk, and sweetener in your clean blender.

    2 Blend on high until smooth. This layer should be thick but slightly softer than the base.

    Step 3: To Finish (The Assembly)

    Ingredients for Garnish:

     1 tablespoon Chia Seeds

     A few fresh Raspberries

     A sprig of fresh Mint

    Assembly Instructions:

    1 Here is the trick for the perfect layer: Use a clean, large spoon. Hold the spoon, curved side up, directly over the base layer.

    2 Slowly pour the berry mixture onto the back of the spoon, letting it gently diffuse onto the mango layer rather than crashing down. This ensures the layers remain distinct.

    3 Fill to the top of the glass.

    4 Finish by sprinkling the chia seeds, arranging your fresh raspberries, and placing your mint sprig on top for a professional look. Enjoy your Glow!

  • No-Bake Date & Nut Chocolate Bites (The Ultimate Dessert with Benefits!)

    No-Bake Date & Nut Chocolate Bites (The Ultimate Dessert with Benefits!)

    Let’s be honest: most “healthy” snack bars on the market leave a lot to be desired. But what if you could bite into a rich, fudgy, chocolate-coated treat that satisfies your deep chocolate cravings and fuels your body with genuine nutrients?

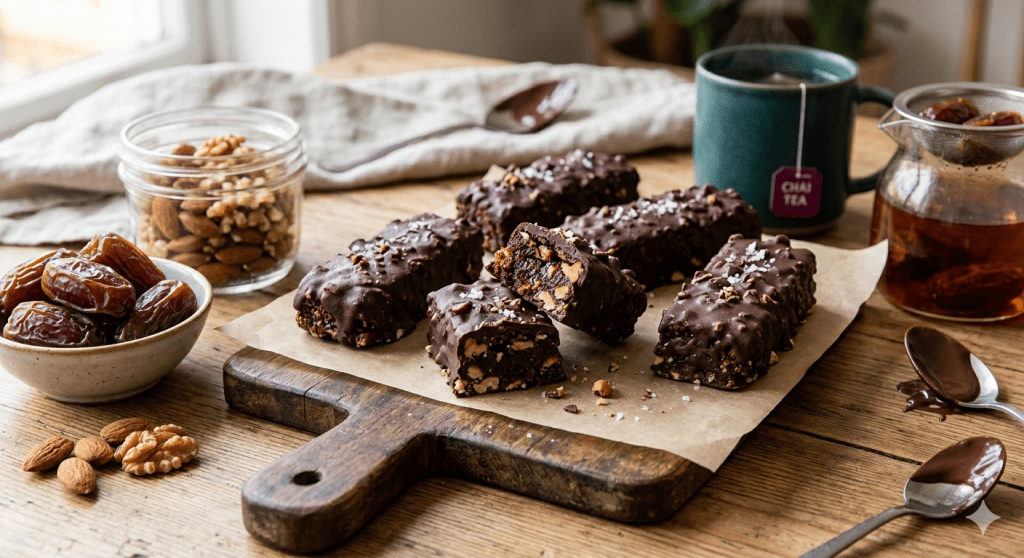
    Enter these No-Bake Tea-Infused Date & Nut Chocolate Bites.

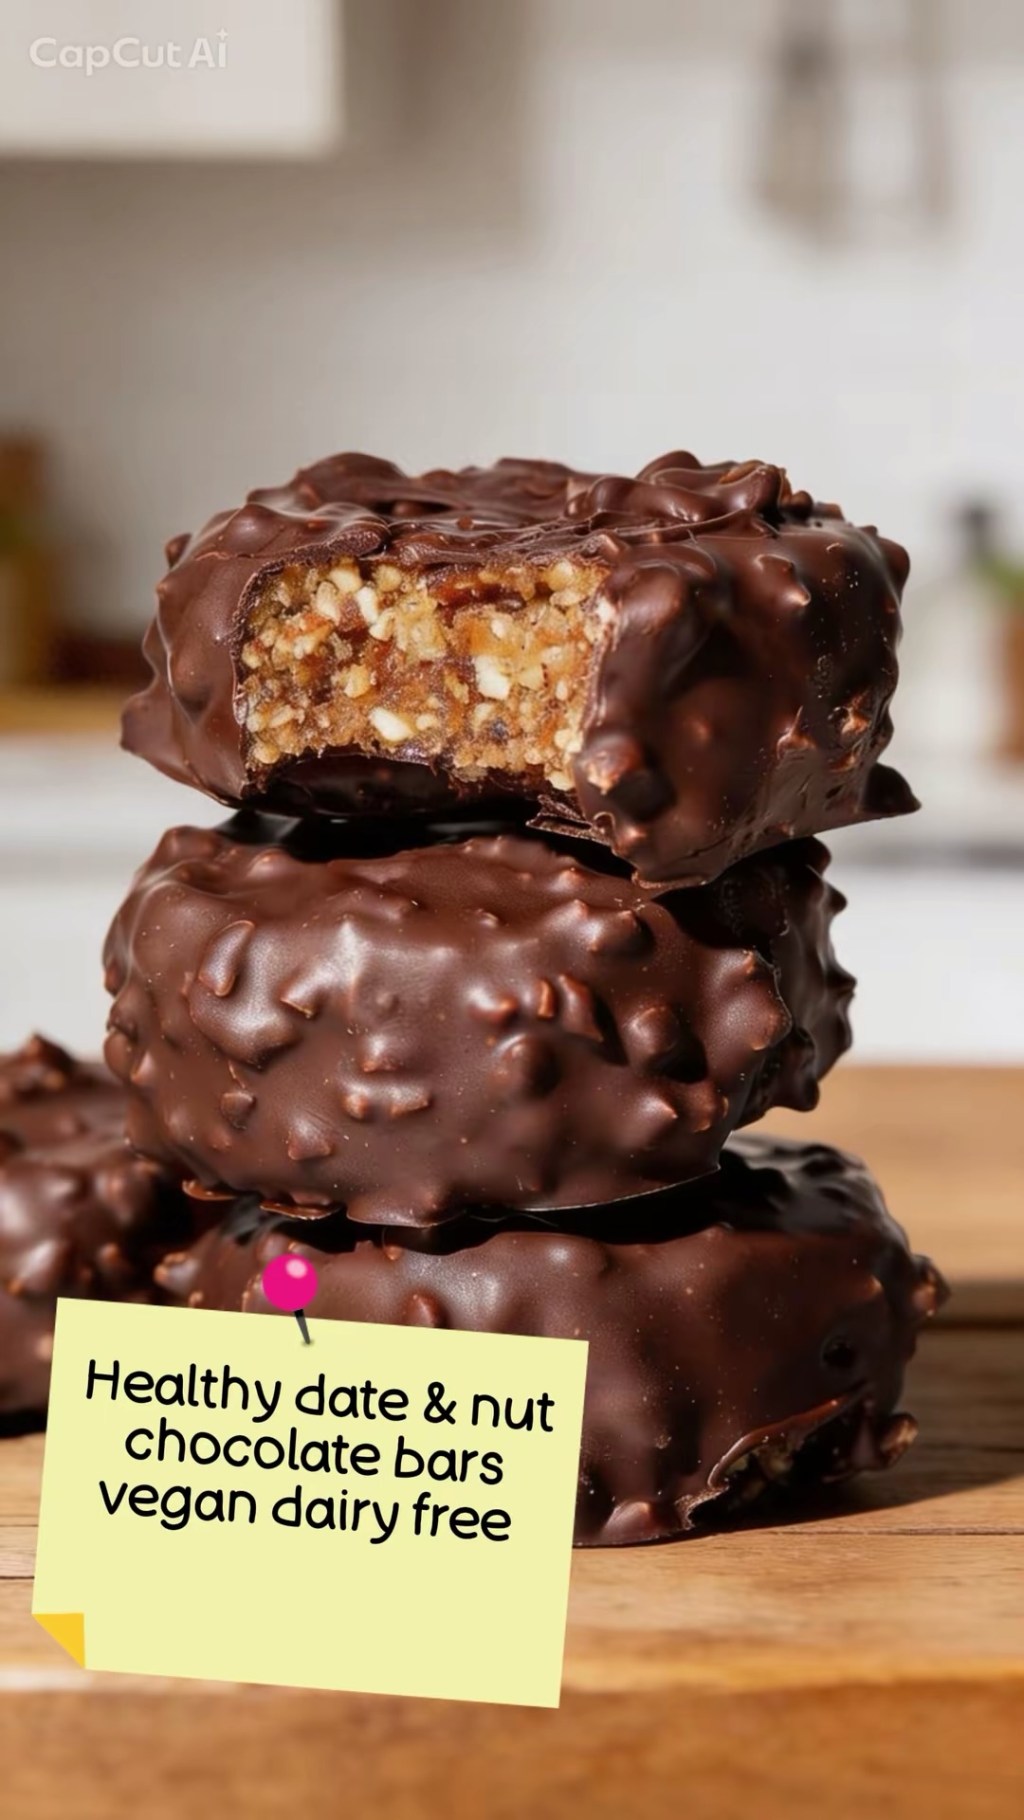
    Whether you set them in a traditional loaf tin to slice into bars or use round muffin moulds to create gourmet, “Rocher-style” chocolate discs (as pictured below!), this recipe completely redefines healthy snacking. By using a clever tea-infusion trick, these bites get an incredible depth of flavor that elevates them from a basic fruit-and-nut mix to a luxurious, candy-bar-level experience.

    It is truly a dessert with benefits!

    Why You’ll Love This Recipe

    If you’re looking for a guilt-free treat to keep on hand for busy weeks, this recipe ticks every single box. It is:

     No-Bake & Effortless: No oven required. Just a food processor, a couple of bowls, and a little freezer time.

     Dietary-Friendly: Naturally Vegan, Dairy-Free, and Gluten-Free.

     Nutrient-Dense: A fantastic, natural source of plant-based protein and gut-healthy fiber.

     Minimal Ingredients: Made with just a handful of wholesome, clean staples.

     Easy to Adapt: Swap the nuts, change the tea blend, or use your favorite percentage of dark chocolate.

    The Secret Ingredient: The Tea Soak ☕

    Most date-based recipes tell you to soak dry dates in plain warm water. We’re throwing that rulebook out the window.

    By soaking the dates in freshly brewed tea, the fruit acts like a sponge, absorbing subtle herbal, floral, or earthy notes. This simple step cuts through the intense sweetness of the dates and adds a complex, gourmet undertone to the final treat.

    💡 Pro-Tip: Earl Grey adds a beautiful citrusy note, Chai tea gives it a cozy spice, and Mint tea pairs incredibly well with the dark chocolate coating!

    How to Make Clean-Eating Date & Nut Bites

    Equipment Needed:

     Measuring jug

     Food processor

     Silicone muffin moulds (for round discs) or a loaf tin lined with parchment paper

     Heat-proof bowl

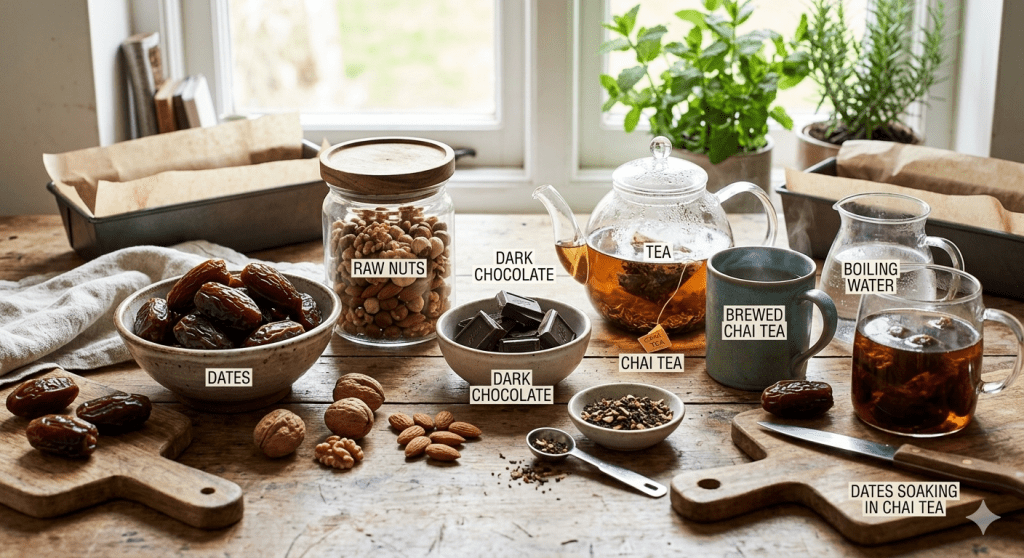
    Ingredients:

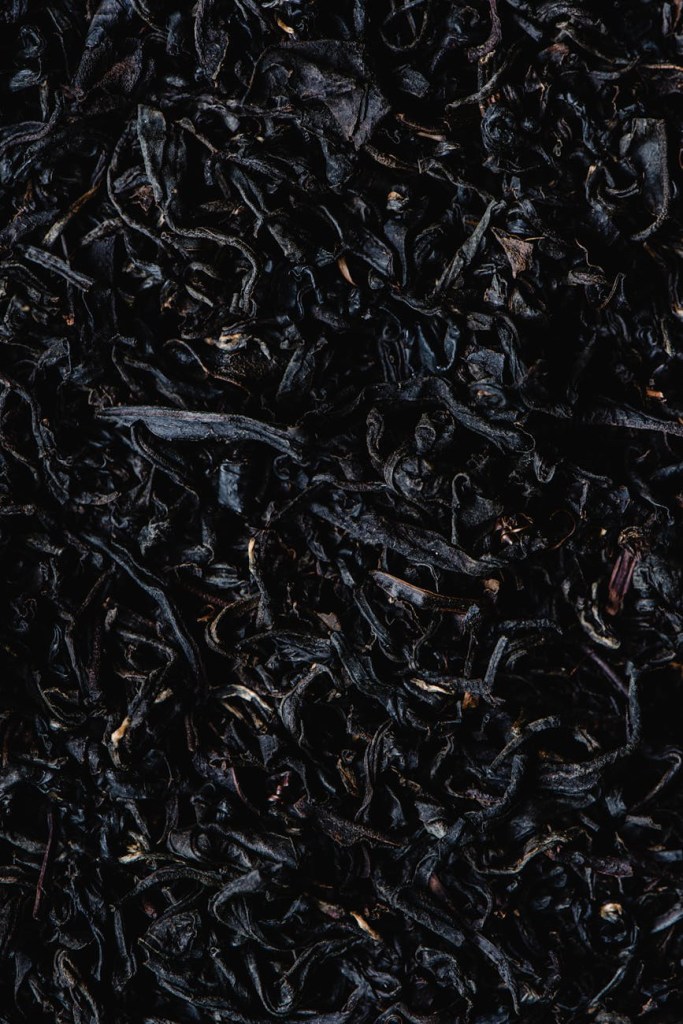
     Tea bags or loose-leaf tea of your choice

     500ml boiling water

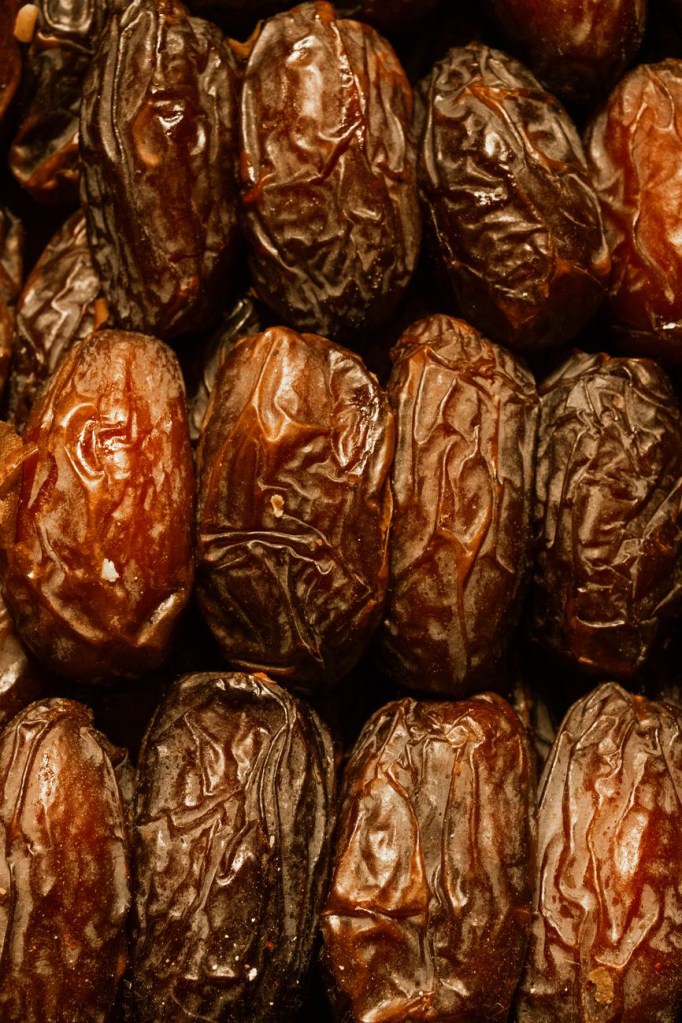
     Plump, pitted dates (Medjool work beautifully, but Deglet Noor work too!)

     Nuts of choice (Hazelnuts, almonds, walnuts, or cashews)

     Dark chocolate (Ensure it’s dairy-free/vegan to keep the recipe plant-based)

     Optional: Extra finely chopped nuts to mix into the chocolate coating for that crunchy texture.

    Step-by-Step Instructions

    1 The Tea Infusion: Add your chosen tea to a measuring jug and pour 500ml of boiling water over it. Allow it to brew for 5 minutes, then strain out the leaves or tea bags.

    2 Soak the Dates: Place your pitted dates into a heat-proof dish and pour the hot, brewed tea directly over them. Let them soak and plump up for 15–20 minutes, then drain thoroughly.

    3 Blend the Base: Throw your nuts into a food processor and pulse until they are finely chopped. Add the drained, soft dates and blend again. You’ll know it’s ready when the mixture forms a sticky dough that holds its shape perfectly when pressed between your fingers.

    4 Shape & Freeze: Press the mixture firmly into your round silicone moulds to create thick discs (or press into a lined loaf tin if you prefer classic bars). Pop the mould into the freezer until the mixture is firmly set.

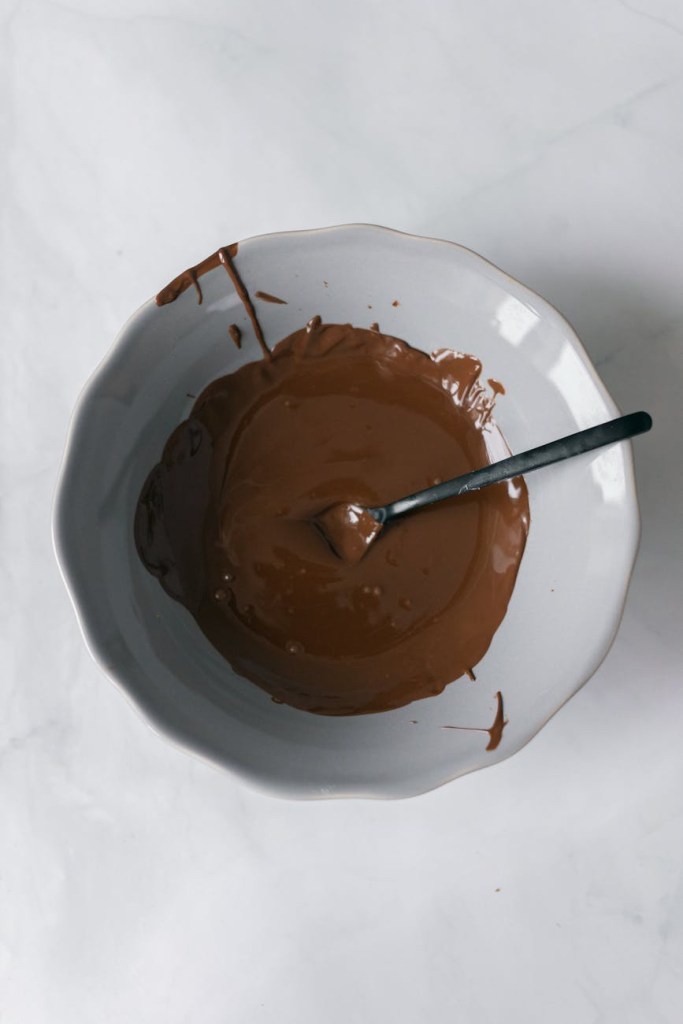
    5 The Chocolate Melt: Break up your dark chocolate into a heat-proof bowl. Microwave it in short, 20-second bursts, stirring in between, until completely smooth and glossy. If you want that gorgeous, textured look, fold your extra chopped nuts right into the melted chocolate.

    6 The Final Dip: Remove the set nut bases from their moulds. Dip each disc into the melted textured dark chocolate to coat it completely.

    7 Chill to Perfection: Arrange the coated bites on a baking tray or chopping board lined with parchment paper. Place them into the refrigerator until the chocolate shell sets completely hard.

    Easy Variations to Try

    Because this recipe is so customizable, you can reinvent it every single week depending on what’s in your pantry:

     The “Snickers” Swap: Use peanuts for the base, a robust black tea for the soak, and add a generous pinch of sea salt to the food processor.

     The Coffee Break: Soak your dates in a long shot of espresso mixed with hot water instead of tea for a rich mocha vibe.

     The Superfood Boost: Toss a tablespoon of chia seeds, hemp hearts, or flaxseeds into the food processor for an extra fiber and omega-3 kick.

    How to Store Your Bites

    Keep these stored in an airtight container in the refrigerator for up to 2 weeks, or keep them in the freezer for up to 3 months. They are absolutely perfect straight out of the fridge to conquer an afternoon energy slump or serve as a elegant evening dessert!